Georgia
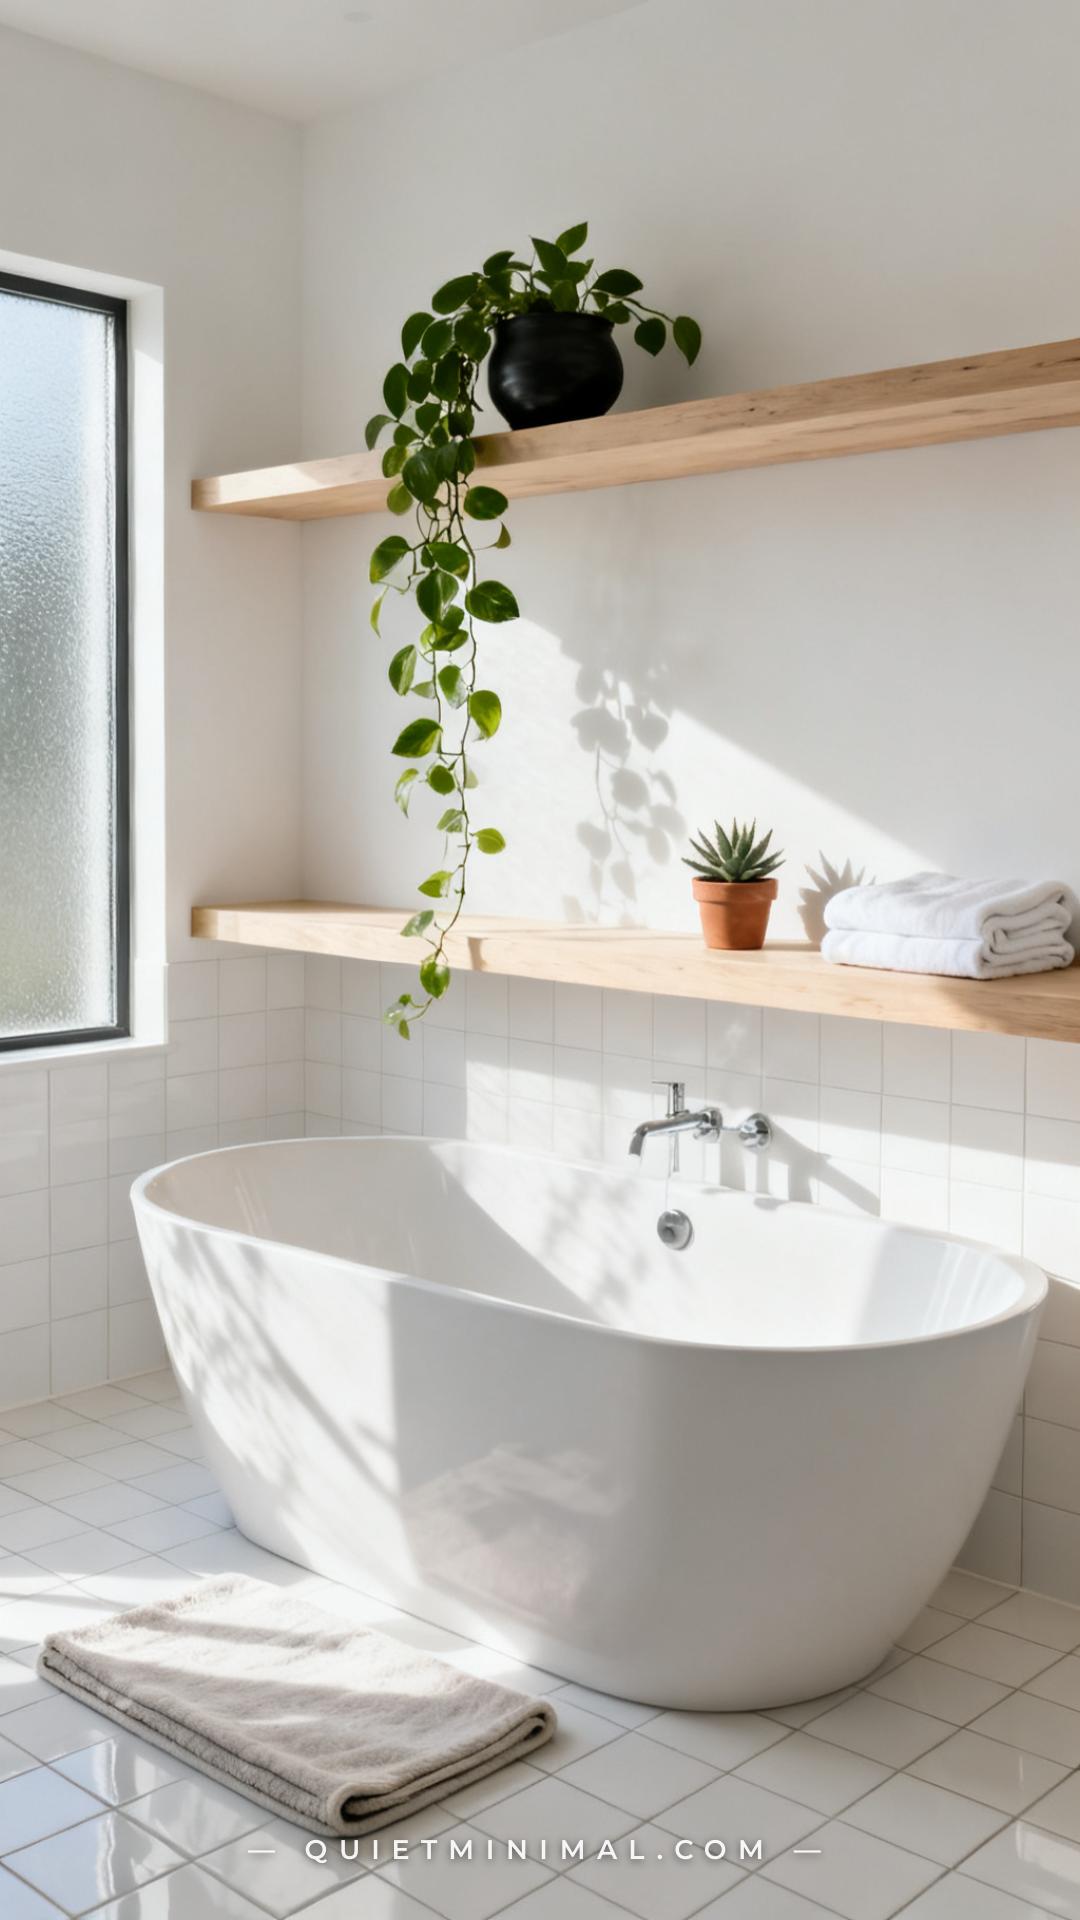
Your bathroom deserves more than a candle and a soap dish. If you’ve been pinning lush, plant-filled bathrooms and wondering why yours never quite gets there, the issue usually isn’t which plant you chose — it’s where and how you placed it. A pothos on the corner of a shelf looks like an afterthought. The same pothos trailing from a wall-mounted planter above a mirror looks deliberate and editorial. The difference is styling, not species selection.
This article is about the mechanics: how to compose a shelf, dress a narrow ledge, and maximize a windowsill so that your bathroom plants look like they belong there rather than landed there by accident. Each idea below works regardless of your bathroom’s size, light level, or existing style — because the principles are universal even when the plants aren’t.
1. Anchor Every Shelf With One Trailing Plant
 Save
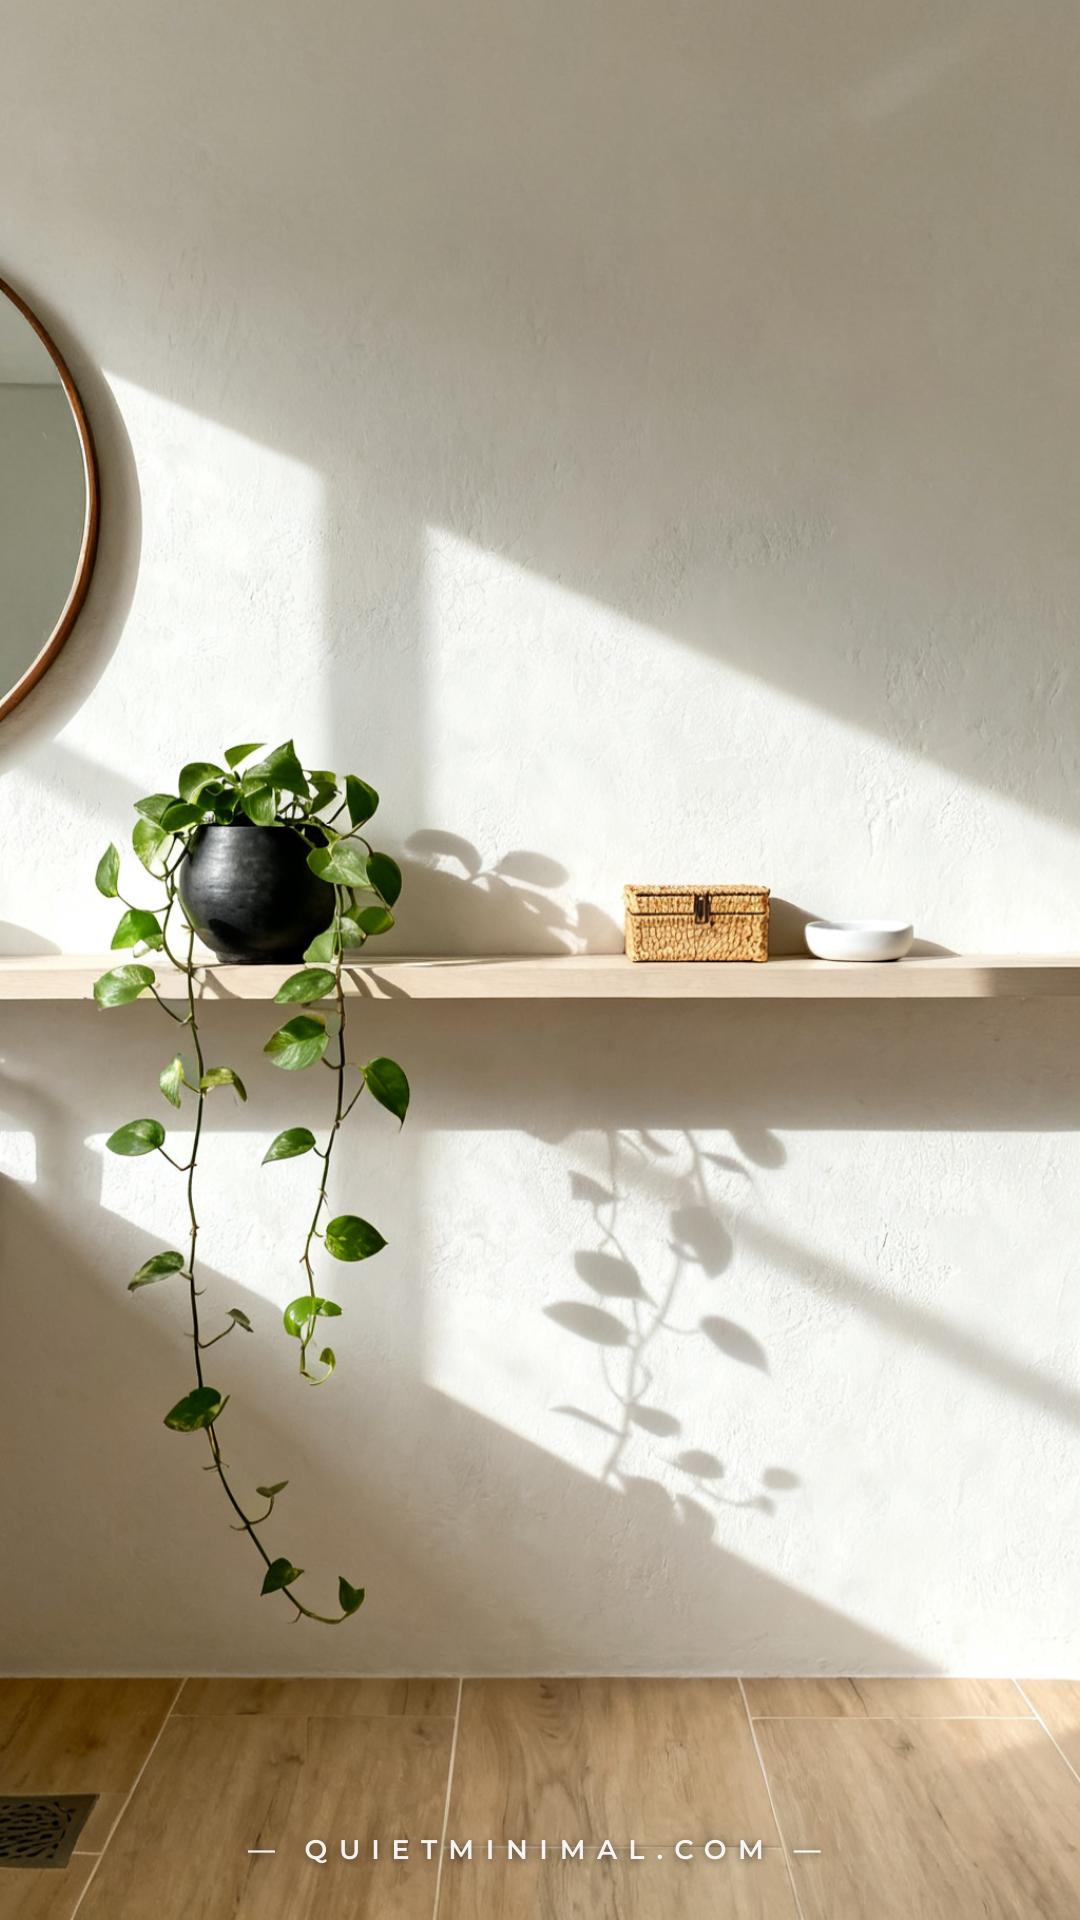
The first rule of shelf styling with plants is hierarchy: you need one element that breaks the plane of the shelf itself. A trailing plant — pothos, string of pearls, or heartleaf philodendron — does this automatically. Its vines spill below the shelf edge, creating movement and depth that static objects like candles and folded towels can’t replicate.
From the guides
You've saved it, wanted it. Here's the how: codes, measurements, order. Your choices make it yours.
 The Japandi Honest PlaybookThe honest version of the style: what to keep, what to skip, and the order to do it in.See inside →
 The Room Refresh PlaybookA repeatable four-step method, room by room, in ten minutes, thirty minutes, or one weekend.See inside →
 Make Any Room Feel Cozy on PurposeWhy some rooms hold people and others empty out, and the moves that change it.See inside →
Place your trailing plant at one end of the shelf rather than the center. The asymmetric placement creates a natural visual flow that reads as styled rather than symmetrical and stiff. The trailing element draws the eye across the shelf and down toward the room.
The specific pot matters. A matte black or terracotta ceramic pot reads as deliberate. A clear nursery pot or a bright white plastic container undercuts the whole effect. Repot your trailing plant before it goes on the shelf.
Key Takeaway: One trailing plant at the end of a shelf does more styling work than three upright plants spread across the middle.
2. Use a Wall-Mounted Planter Above Mirror Height
 Save
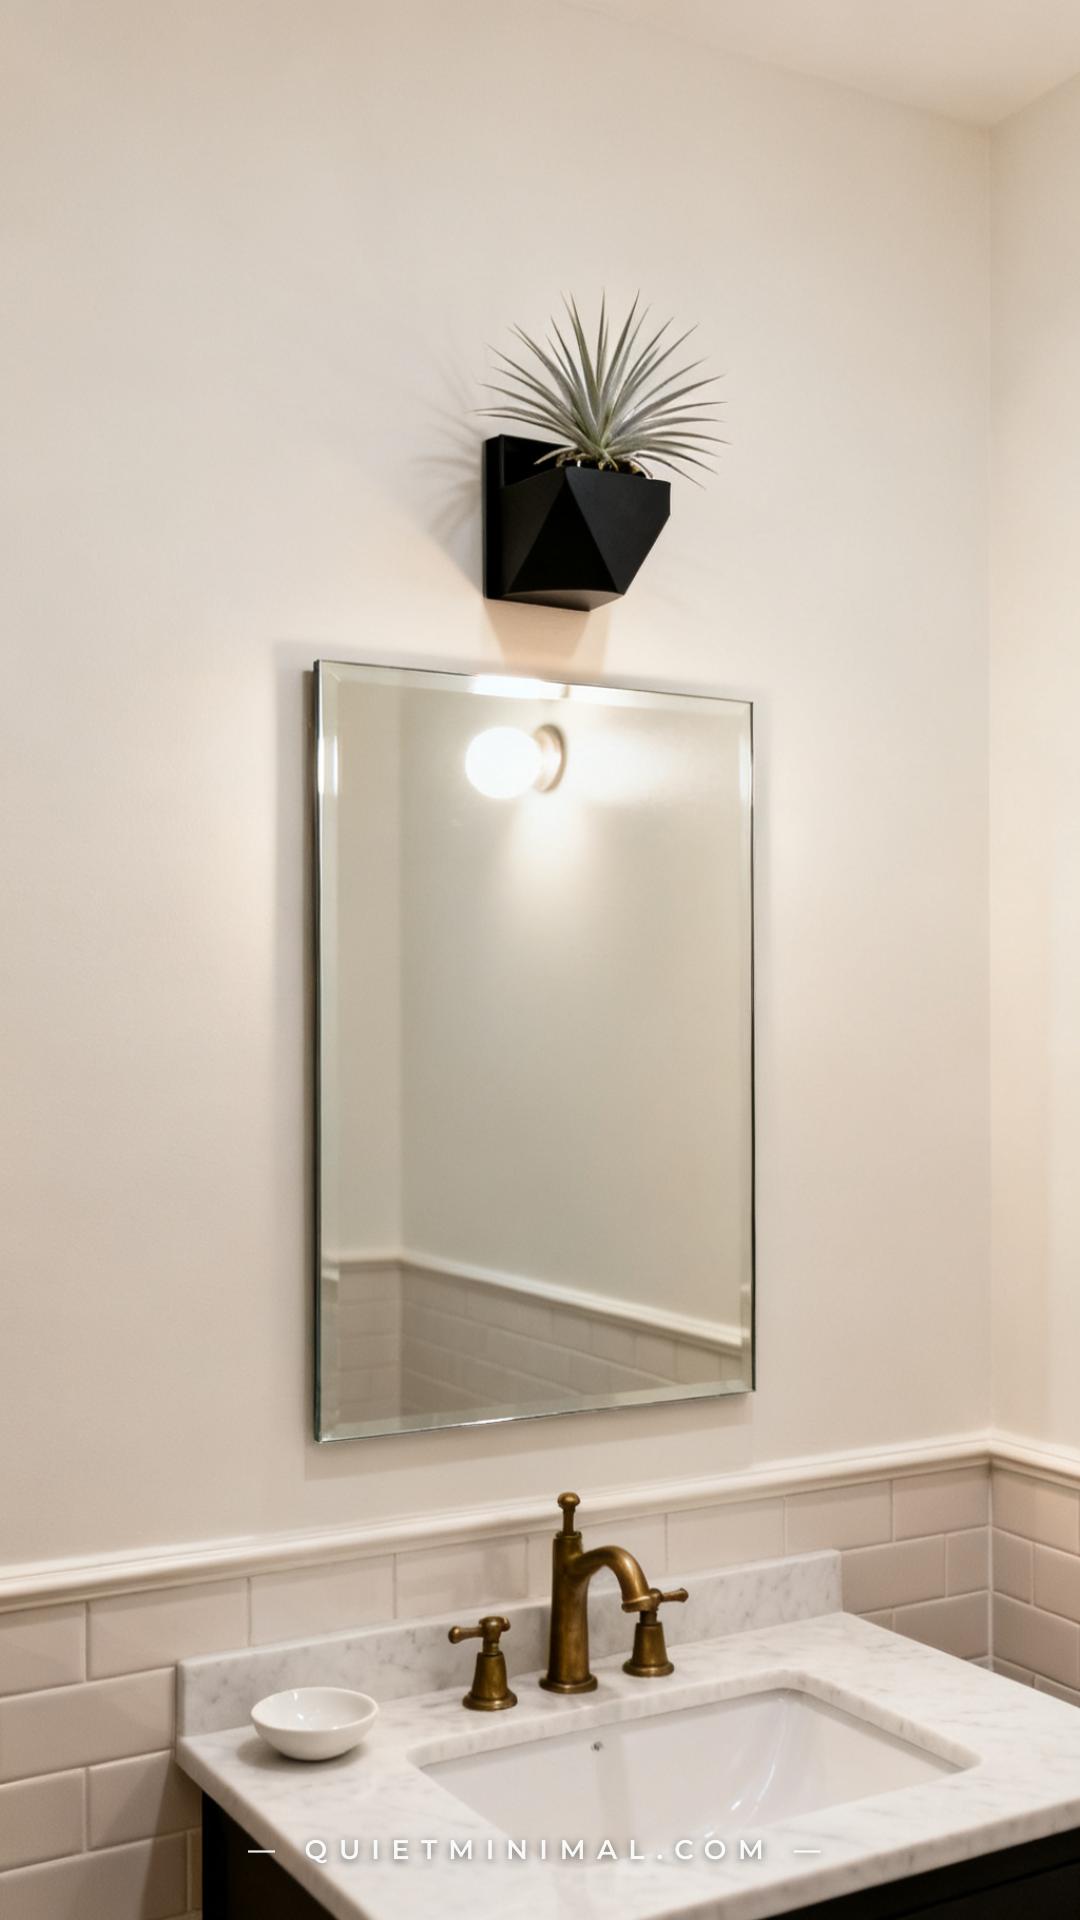
Ledge and shelf space in most bathrooms is limited. The wall above your mirror is not. A wall-mounted planter positioned above mirror height uses vertical real estate that’s otherwise empty, while keeping your vanity countertop clear and your line of sight unobstructed.
Air plants are the ideal candidate for this position. They require no soil, no drainage, and only occasional misting — which you’re already doing in the bathroom. Tillandsia varieties with an arching or spreading form look architectural against a flat wall.
Install the planter at a height where it reads as a deliberate design object from across the room. Anything below the top of the mirror gets lost in the visual noise of the counter. Six inches above the mirror frame is the reliable placement.
Key Takeaway: The wall above your mirror is prime planter real estate — use it for air plants and free up your vanity surface entirely.

3. Group Odd Numbers of Pots, Never Even
 Save
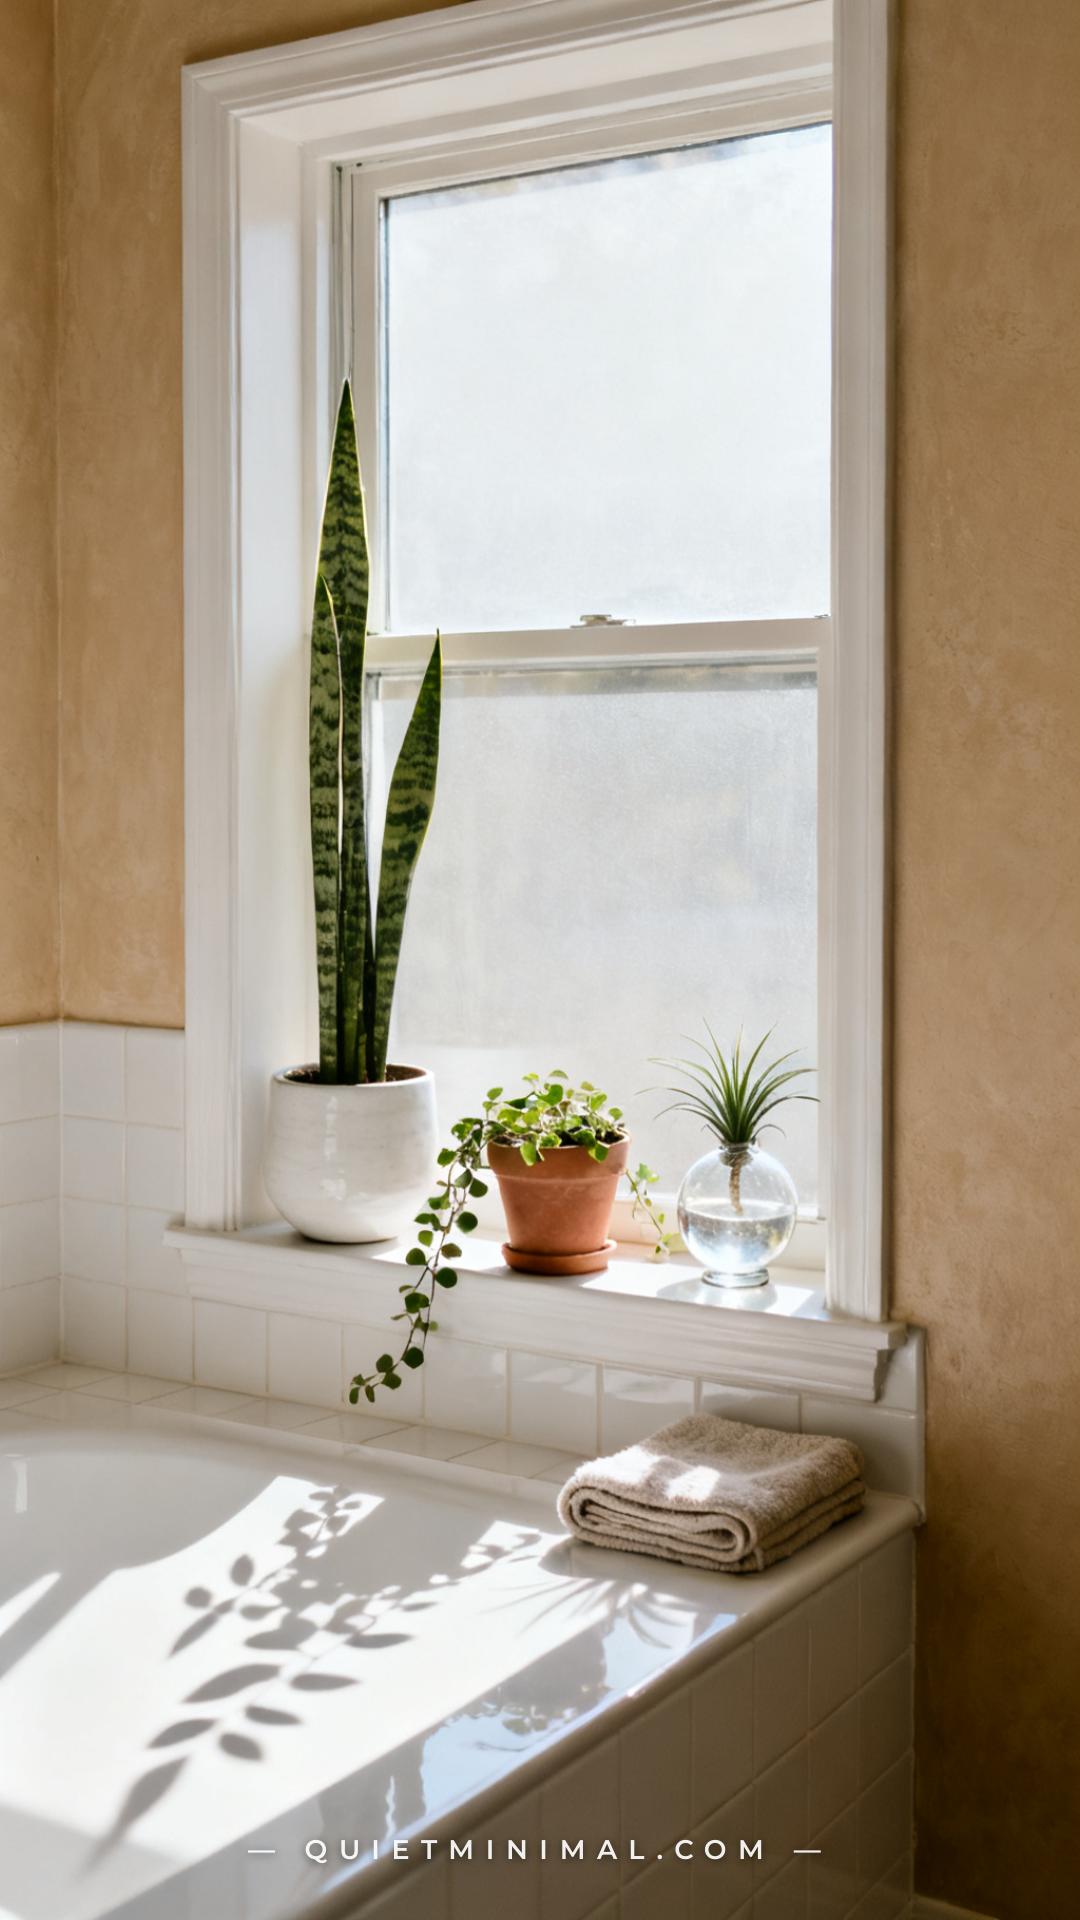
Two plants on a shelf feel like bookends — formal and unresolved. Four plants feel crowded. Three, five, or seven plants trigger the visual rhythm designers call “the rule of odds”: the eye naturally settles on an odd-numbered grouping as complete rather than searching for a missing element.
Vary the heights within your grouping. Tall-medium-short is the foundational arrangement. The tallest plant goes at the back or end, the shortest forward or center, and the mid-height plant bridges the two. This creates a silhouette with visual movement instead of a flat row.
Vary textures, too: one bold-leaf plant (snake plant, ZZ plant), one fine-leaf or trailing plant (string of pearls, pothos), one architectural minimalist form (air plant, succulent). The contrast makes each plant read more clearly.
Key Takeaway: Odd-number groupings look intentional; vary height and leaf texture within the group to create depth.

4. Match Pot Finish to Your Hardware
 Save
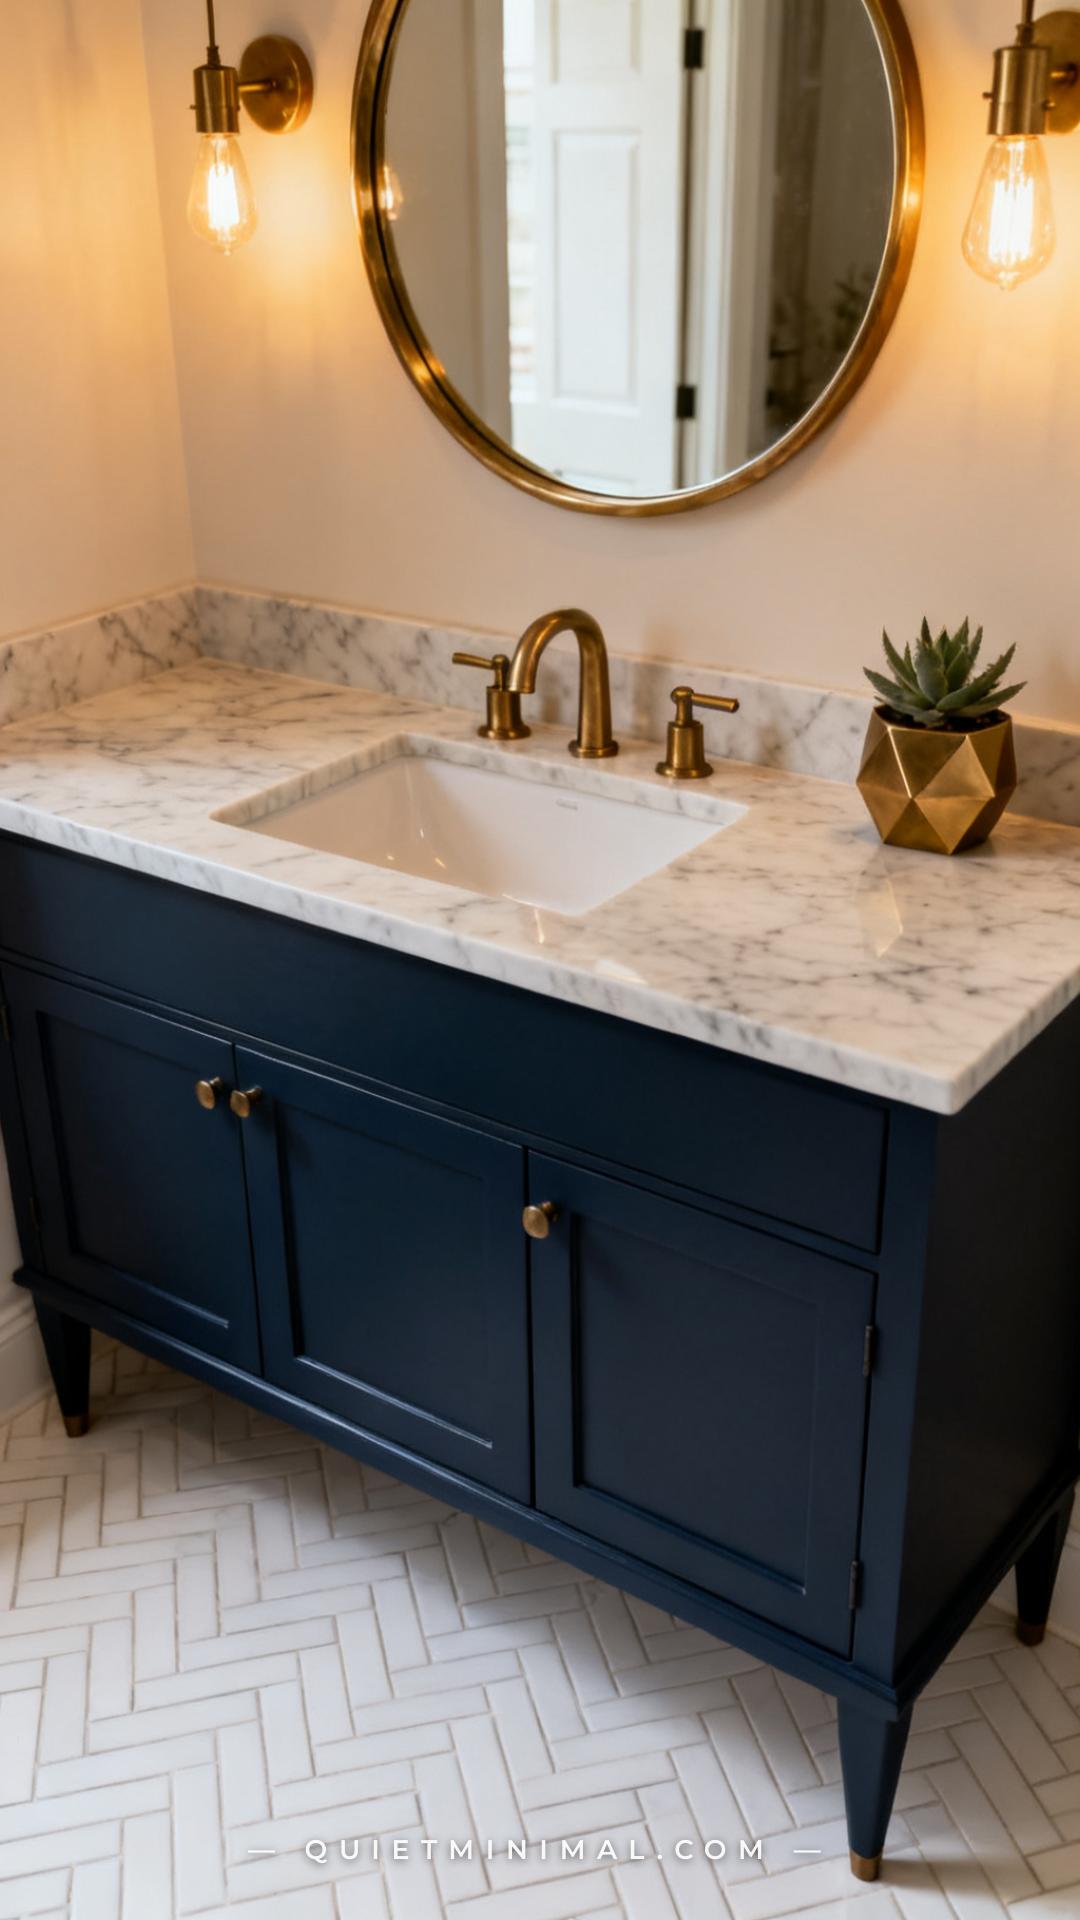
This is the detail that elevates bathroom plant styling from “nice plants” to “this looks designed.” When your pot finish echoes your hardware finish — brushed brass planter with brushed brass faucet, matte black planter with matte black towel bar — the bathroom reads as a coherent material palette rather than a collection of separate choices.
You don’t need every pot to match. One pot in the same finish as your primary hardware is enough to tie the room together. The repetition signals intention to anyone who sees the space.
If your hardware is chrome and you want warmer tones, terracotta is the bridge material. It has enough warmth to push the palette without clashing with cool chrome, and it works with almost every bathroom tile color.
Key Takeaway: One pot in the same finish as your bathroom hardware creates a visual link that makes the whole room feel more designed.

5. Turn a Windowsill Into a Layered Plant Shelf
 Save
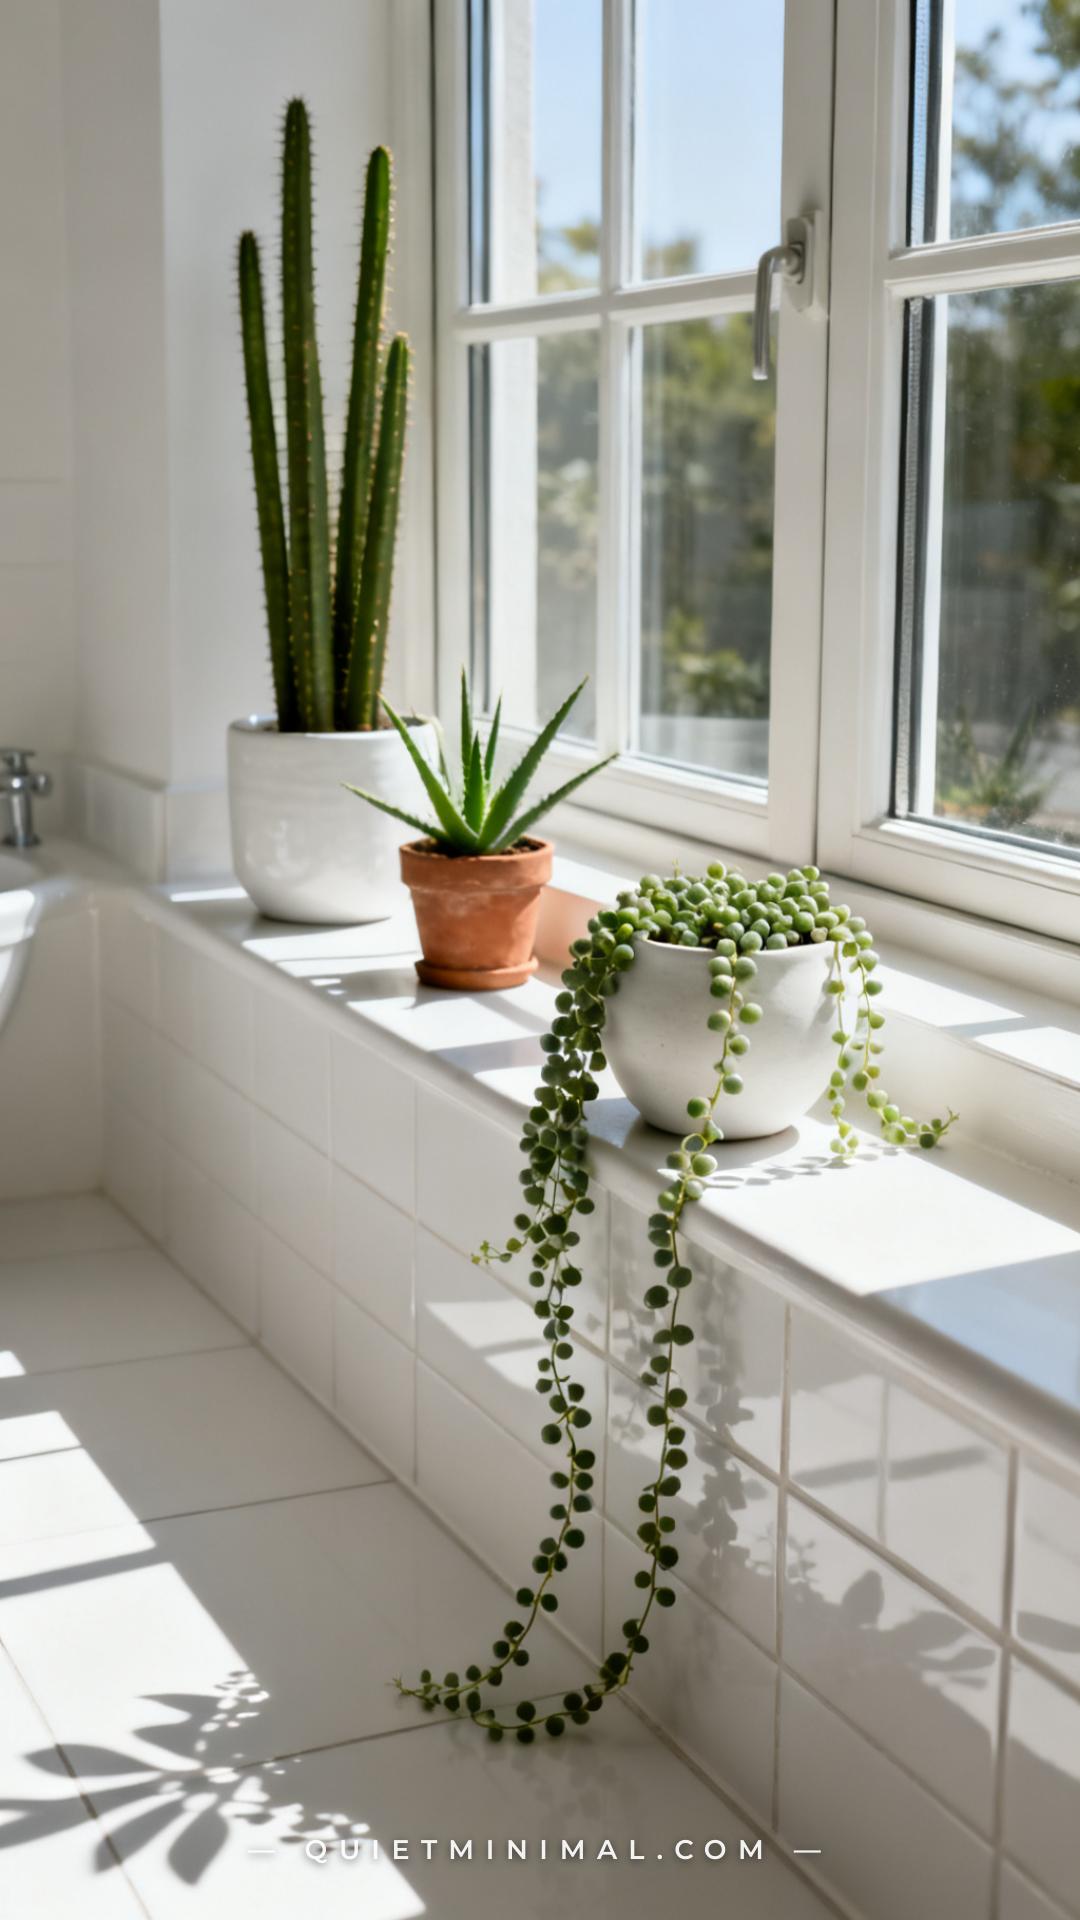
A bathroom windowsill is the highest-value plant real estate in the room — direct or indirect natural light, ambient humidity, and a visible perch. Most people put one plant on it. The stronger move is treating it as a layered shelf with a clear front, middle, and back position.
Back position: the tallest plant — something upright and architectural like a snake plant, a small cactus, or an aloe vera. Middle position: a mid-height plant in a complementary pot. Front position, at the very edge of the sill: your trailing plant, whose vines fall toward the tile and signal abundance.
If your sill is narrow (under four inches), use a tension rod across the lower third of the window frame and hang small hook planters from it. This creates a vertical layered effect even on a sill too narrow to hold three pots.
Key Takeaway: Treat the windowsill as a three-depth shelf — back, middle, and front — to turn one flat surface into a layered plant moment.

6. Use a Hanging Planter for Low-Light Corners
 Save
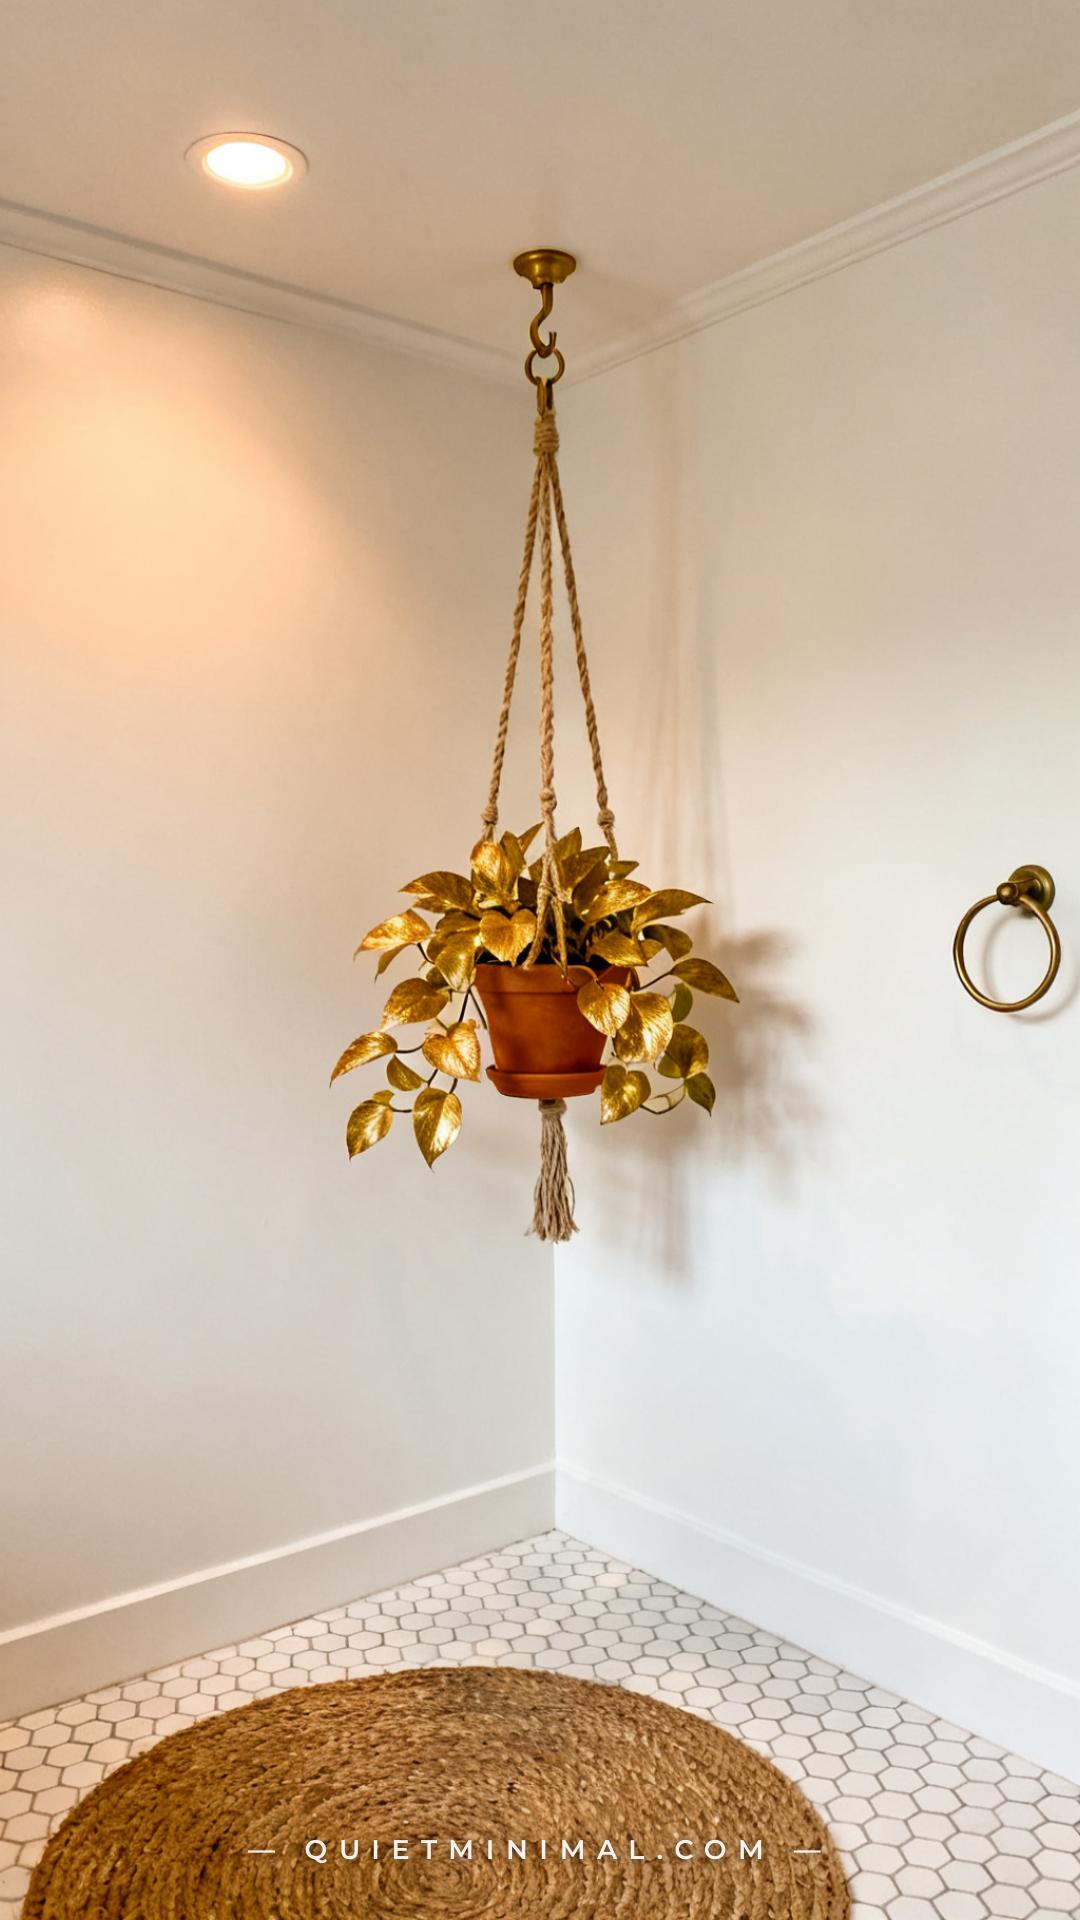
Not every bathroom position has shelf space, ledge space, or window access. Corners are the most underused vertical space in any bathroom, and a hanging planter solves the corner problem entirely while adding a layer of texture that shelves and counters can’t.
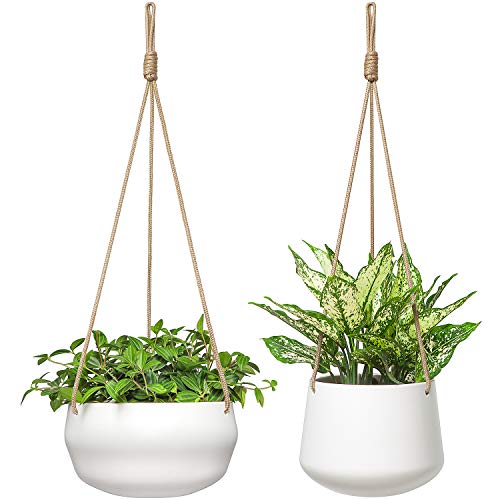
Pothos is the consensus recommendation for low-light hanging positions, and for good reason: it tolerates indirect light, grows quickly enough to produce a satisfying trail within weeks, and survives the occasional missed watering without drama. Heartleaf philodendron is the close second.
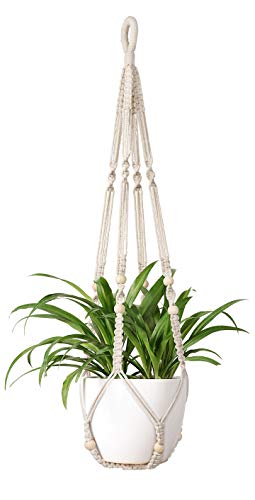
A ceiling hook rated for the weight of a full watered planter (usually five to eight pounds) is all the hardware you need. Macramé hangers are the current editorial favorite because they add warmth and texture to what is usually a cold, hard-surface room.
Key Takeaway: A ceiling-hung planter in a low-light corner adds height, texture, and greenery without using a single inch of shelf or counter space.
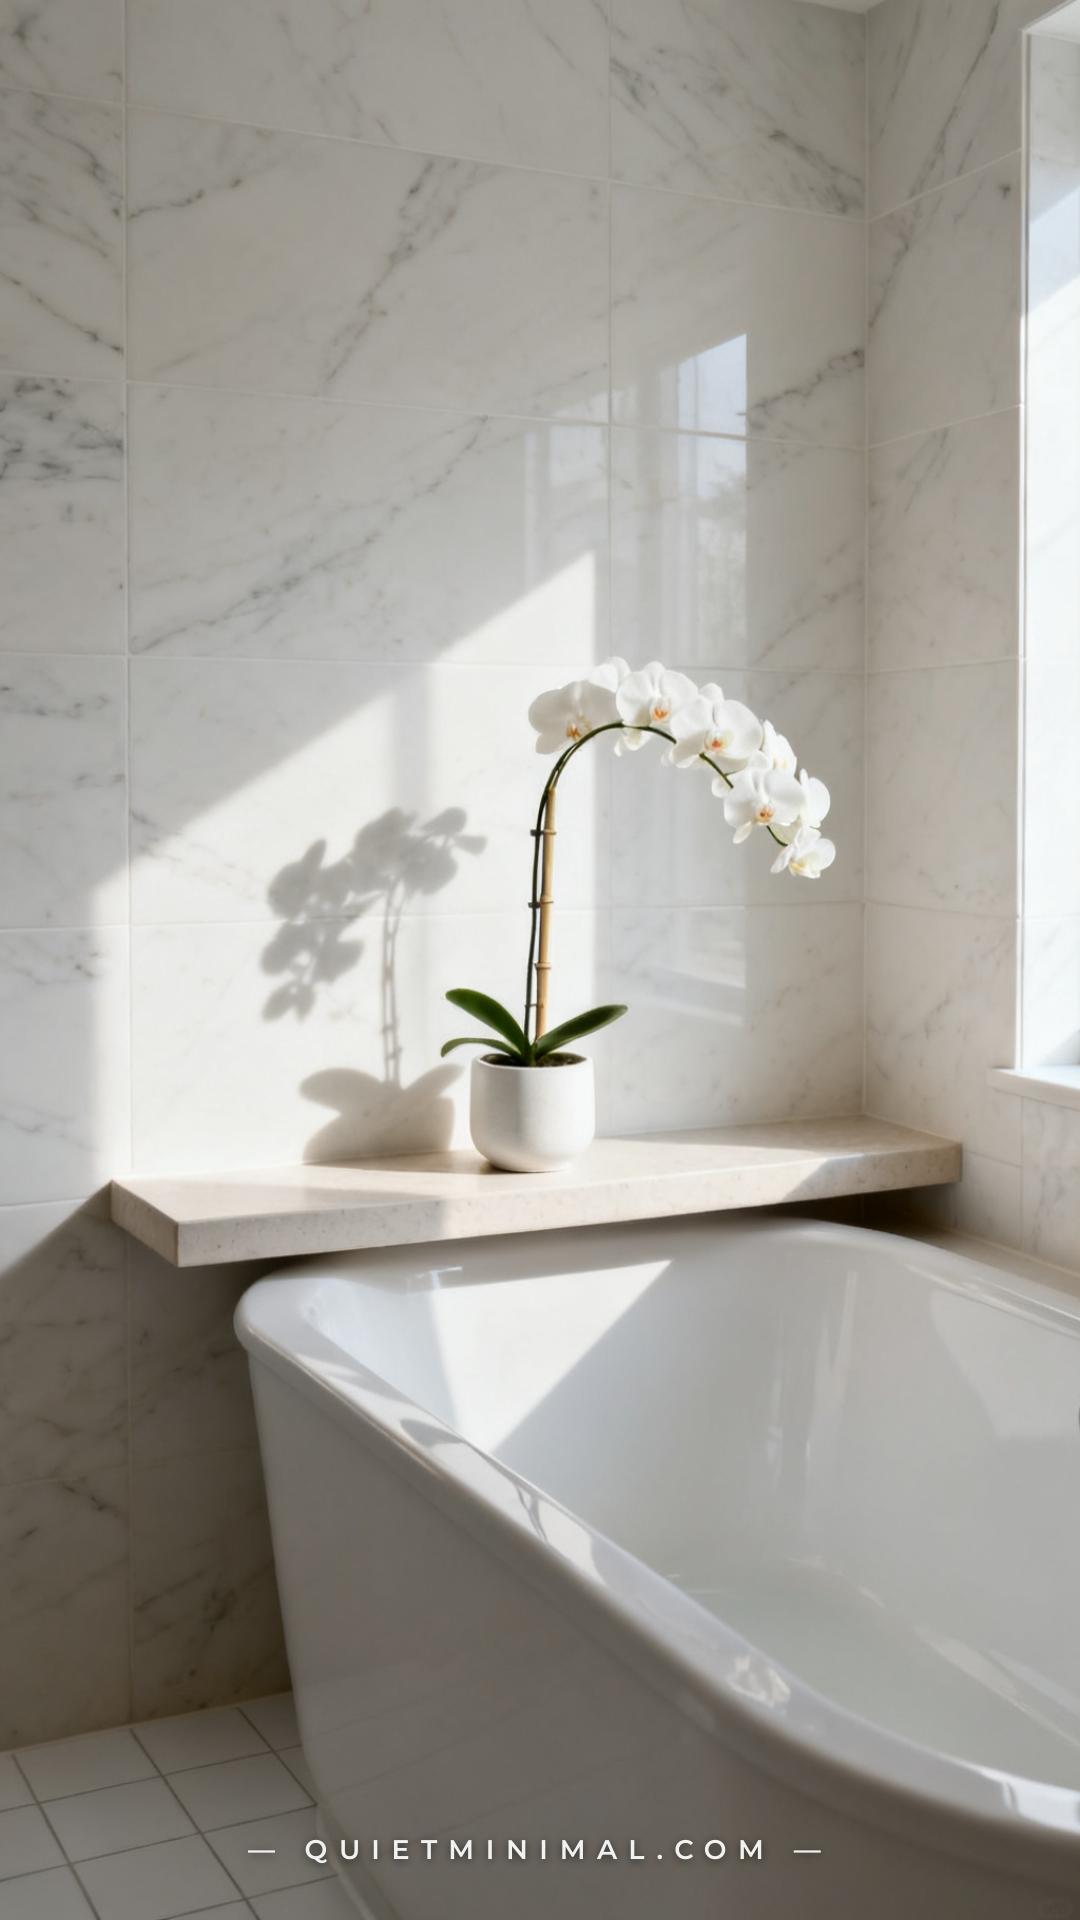
7. Style a Ledge With a Single Statement Orchid
 Save
Sometimes the most powerful styling move is restraint. A ledge above a bathtub or behind a freestanding tub is a prime position — it’s at eyeline when you’re soaking, and it’s the first thing visitors notice. Filling it with a row of objects reads as cluttered in a narrow ledge context.
One statement orchid, displayed alone with deliberate negative space on either side, reads as a considered interior choice rather than a collection of bathroom objects. Phalaenopsis orchids are the practical pick: widely available, long-blooming (six to ten weeks per bloom cycle), and tolerant of indirect bathroom light.
When the orchid isn’t in bloom, keep the ceramic pot in place with a small air plant or trailing vine. The pot alone — if it’s beautiful — is still worth leaving on the ledge.
Key Takeaway: One statement orchid with negative space on either side reads more elegantly on a narrow ledge than a row of smaller plants.

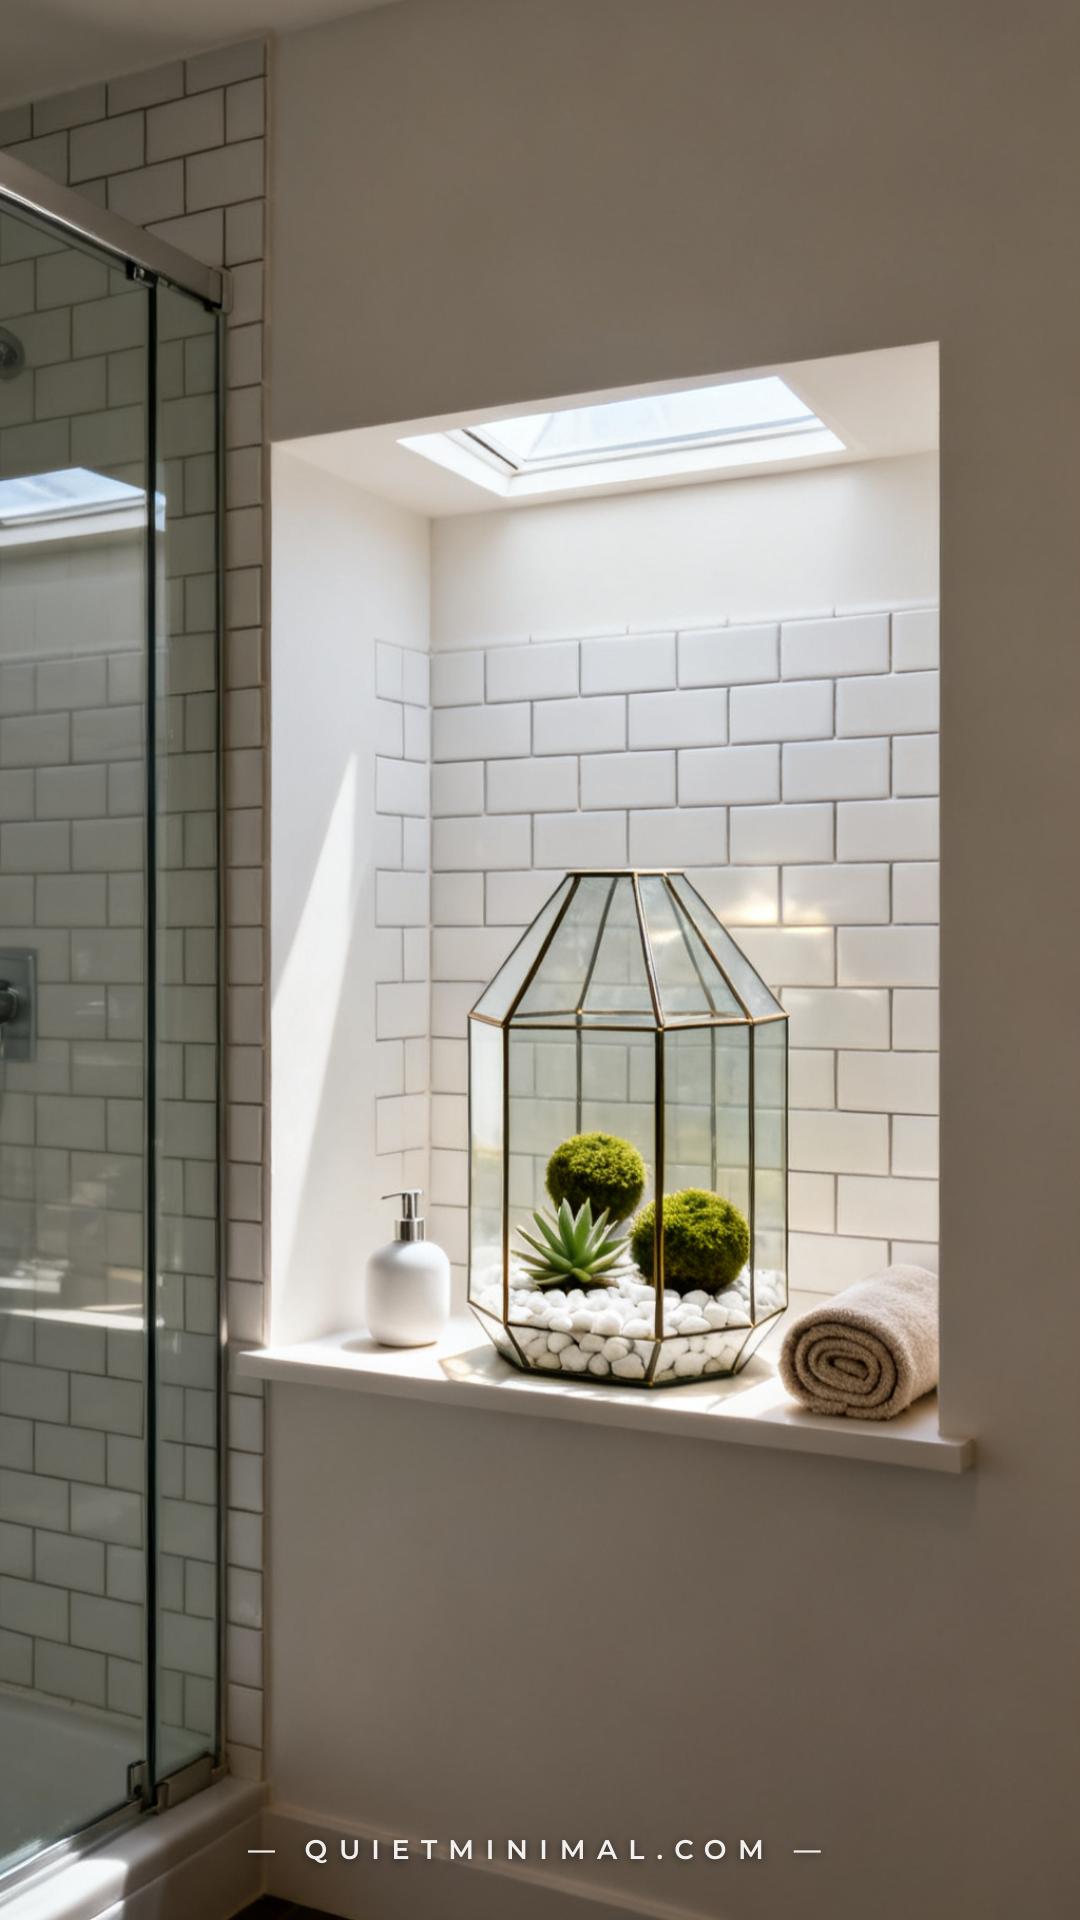
8. Create a Mini Terrarium on a Deep Shelf
 Save
A shower niche or built-in wall shelf with four-plus inches of depth is the ideal location for a glass terrarium. The enclosed or semi-enclosed glass environment maintains its own micro-humidity — which means plants inside it need less attention than anything sitting on an open shelf in the same bathroom.
Moss, succulents, and small air plants are the preferred terrarium species for bathroom shelves. They’re small enough to leave clearance inside the glass, and their forms — round, geometric, spiky — are visually interesting at the close distance of a built-in niche.
Use a layer of white pebbles or coarse sand at the base of an open terrarium for drainage. It also creates a clean visual separation between the growing medium and the glass, which reads as more polished than exposed potting soil.
Key Takeaway: A glass terrarium on a deep niche shelf creates a self-contained, low-maintenance plant moment that looks custom-designed.
From the guides
You've saved it, wanted it. Here's the how: codes, measurements, order. Your choices make it yours.
The Japandi Honest PlaybookThe honest version of the style: what to keep, what to skip, and the order to do it in.See inside →The Room Refresh PlaybookA repeatable four-step method, room by room, in ten minutes, thirty minutes, or one weekend.See inside →Make Any Room Feel Cozy on PurposeWhy some rooms hold people and others empty out, and the moves that change it.See inside →
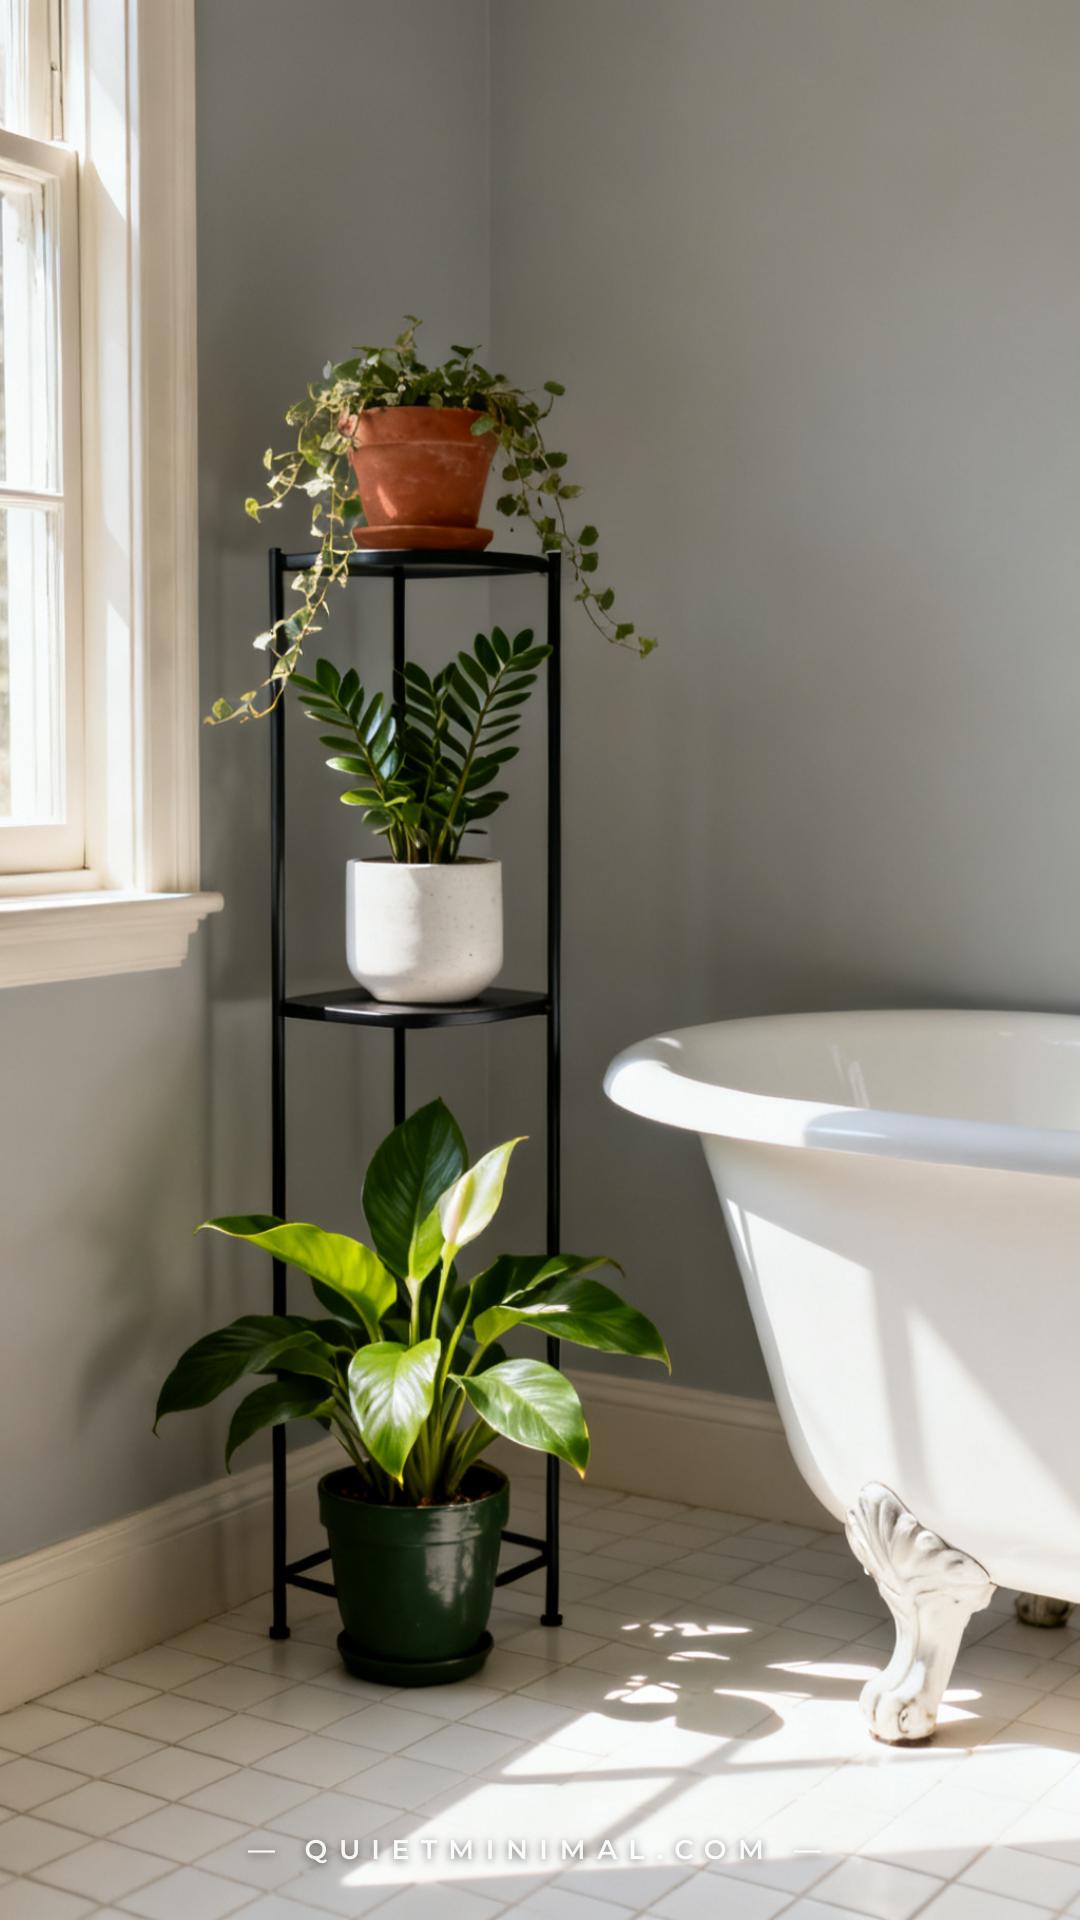
9. Stack Heights With a Plant Stand on the Floor
 Save
Not every bathroom styling challenge is a shelf problem. If your bathroom has a floor corner that’s dead space — typically beside the tub, across from the vanity, or in the corner opposite the door — a tiered plant stand solves it while creating the most layered green moment in the room.
A three-tier metal plant stand lets you create a complete floor-to-mid-height composition: low plants at the base, mid-size plants at the middle tier, and a trailing or smaller decorative plant at the top. The vertical structure draws the eye upward, which makes small bathrooms feel taller.
Matte black metal is the current dominant finish for plant stands in editorial bathroom content. Thin profiles are essential in bathrooms — a stand wider than 12 inches reads as furniture in a small bathroom rather than as a styling accent.
Key Takeaway: A slim tiered plant stand in a floor corner builds a layered green composition that uses vertical space rather than horizontal shelf space.

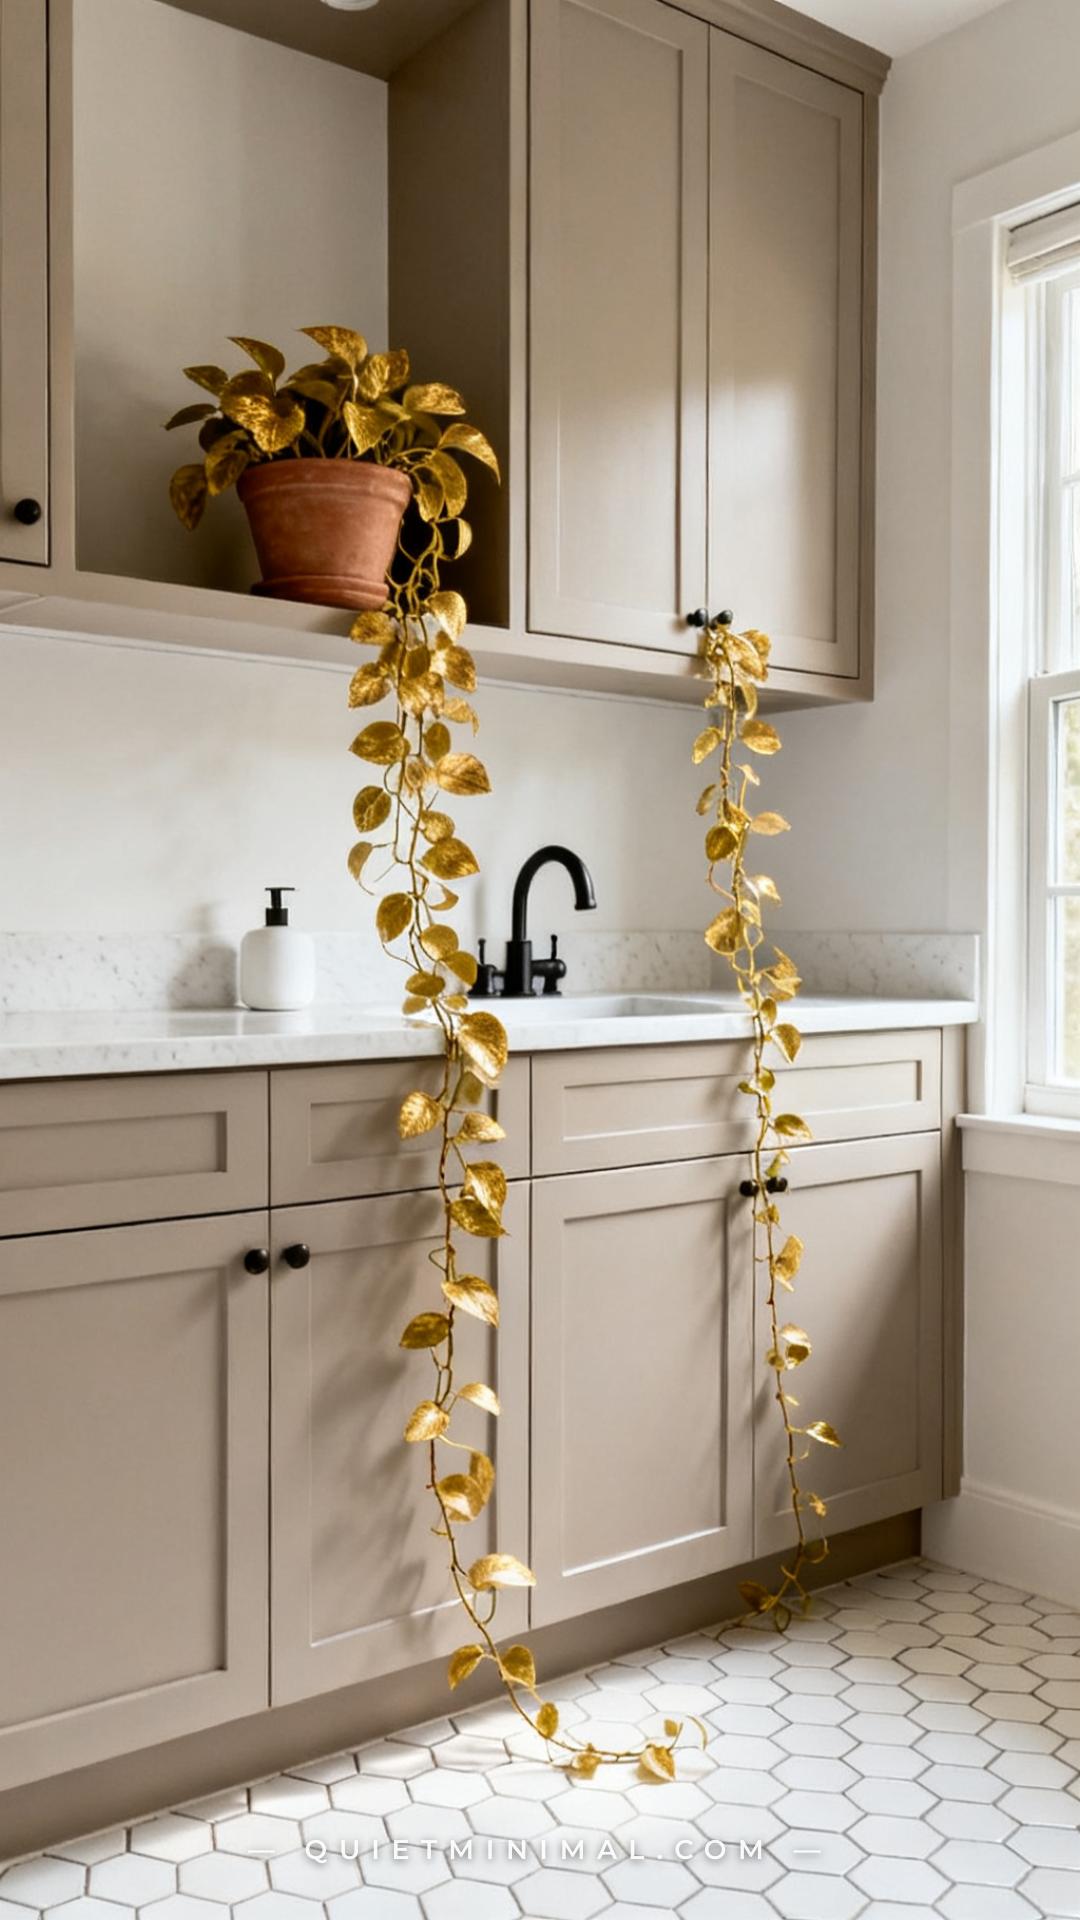
10. Add a Trailing Vine Above Cabinet Height
 Save
The top of a wall-mounted cabinet is one of the most consistently overlooked surfaces in bathroom styling. It’s typically six to twelve inches of flat, lit-from-below real estate that most people leave empty. A trailing plant positioned on top of a cabinet, with its vines allowed to cascade down the cabinet face, creates a built-in vertical green moment that looks like an architectural feature.
Pothos is the reliable choice for above-cabinet placement because it grows toward light sources naturally, trains easily, and tolerates the slightly drier air near the ceiling. Allow the trail to grow long before trimming — a vine that reaches the countertop below reads as dramatic and intentional rather than neglected.
Check the top of your cabinet with a torch before placing the pot. If there’s a layer of dust and grease (common above bathroom cabinets), clean it first — a ring of grime under a terracotta pot is visible when the vines trail away from it.
Key Takeaway: A trailing pothos on top of wall-mounted cabinets creates a vertical green cascade that looks architectural without any installation.

11. Use a Windowsill Herb Garden in a Wet Area
 Save
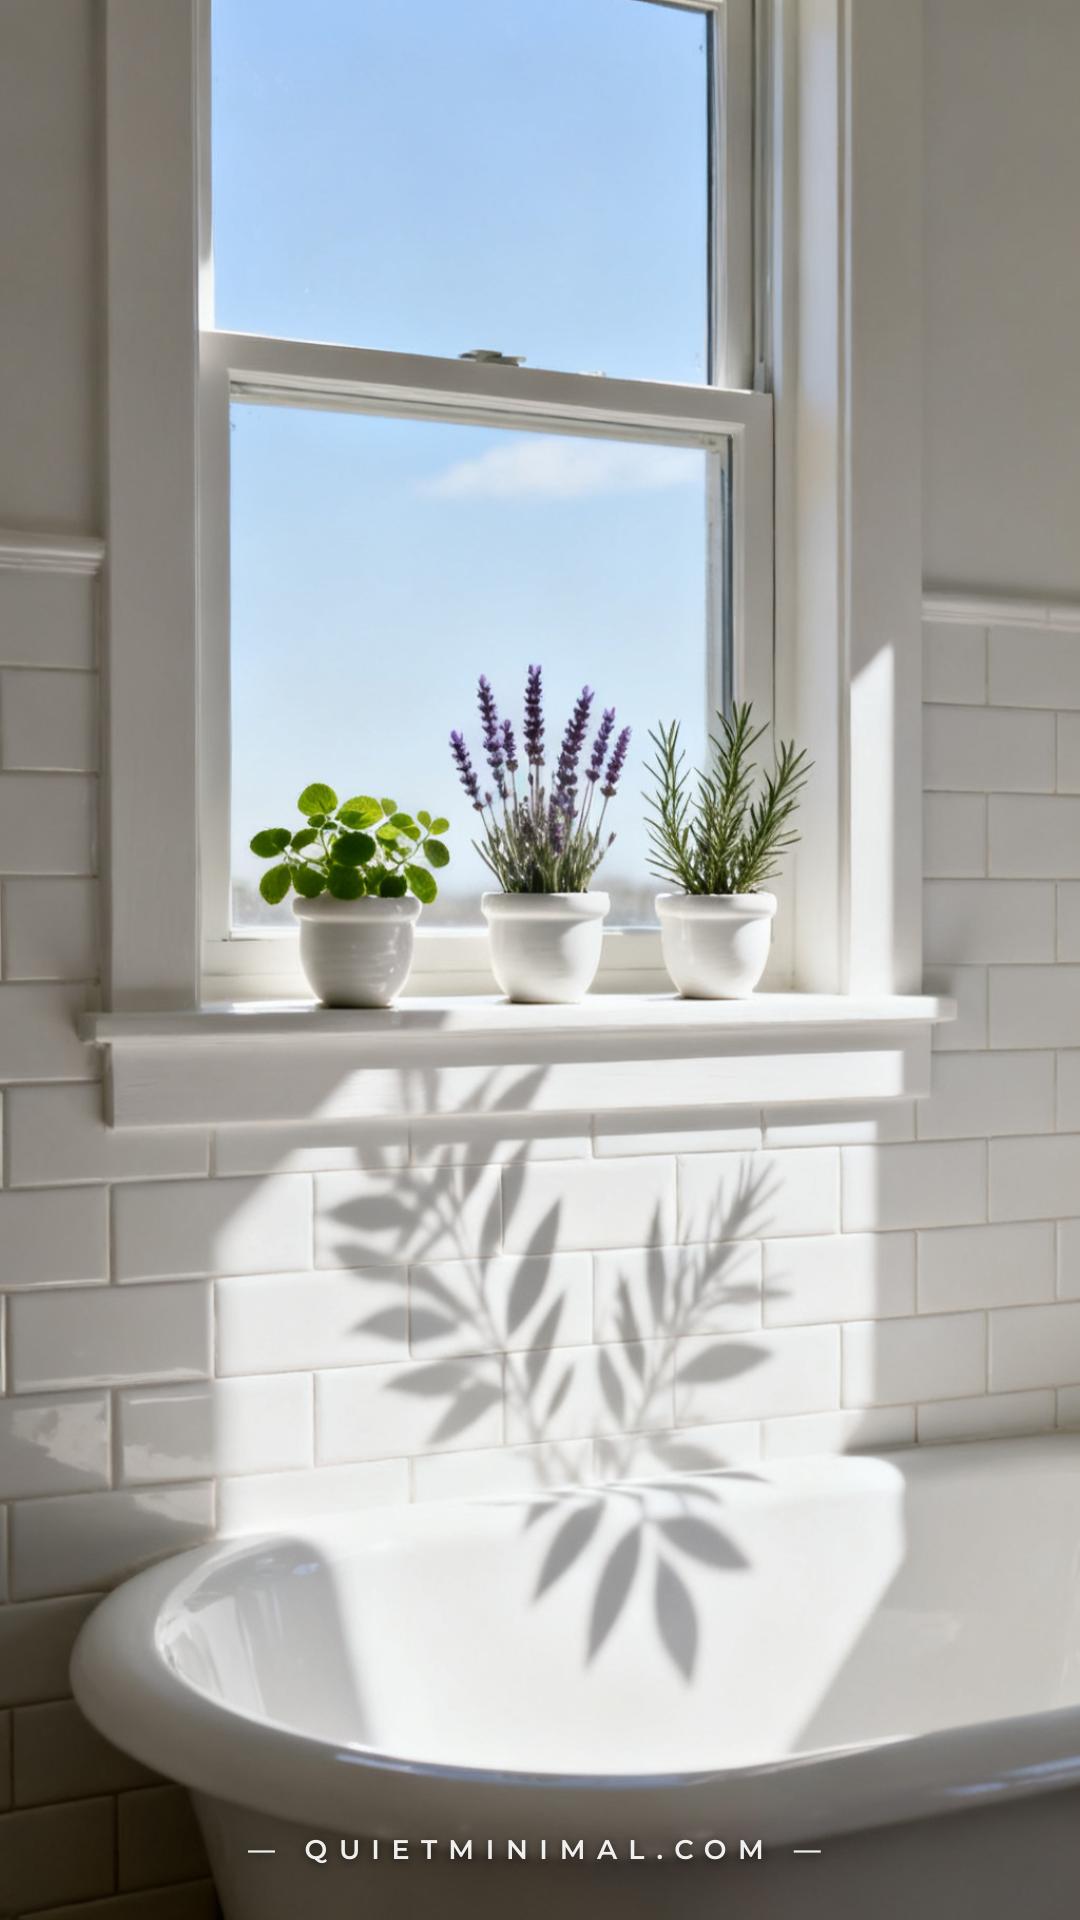
A bathroom with a south- or east-facing window gets enough direct light for a small herb garden on the sill — and lavender and mint in particular are species that benefit from bathroom humidity while adding a scent dimension that no candle or diffuser replicates.
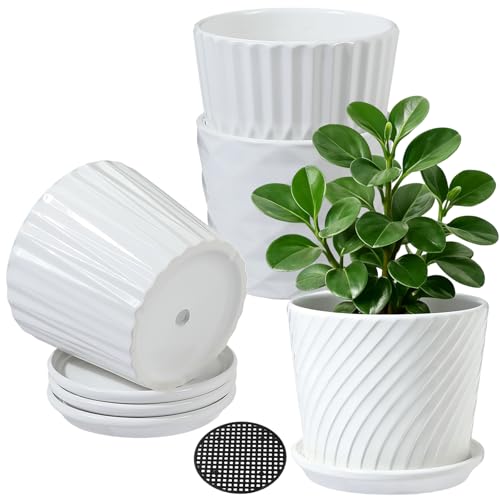
The styling constraint with herb sills is uniformity. Use identical pots in a single finish — all white ceramic, all terracotta, or all matte black — and space them at even intervals. The visual discipline of matching containers is what separates an herb windowsill from a kitchen counter overflow situation.
Lavender, mint, rosemary, and aloe vera are the four species with the best bathroom performance: tolerant of humidity, not prone to mold at the roots, and either fragrant or useful. Skip basil — it’s too demanding and fails quickly in bathroom light conditions.
Key Takeaway: A row of matching herb pots in identical containers turns a sunny windowsill into a functional and fragrant styling moment.
12. Style a Medicine Cabinet Top With Air Plants
 Save
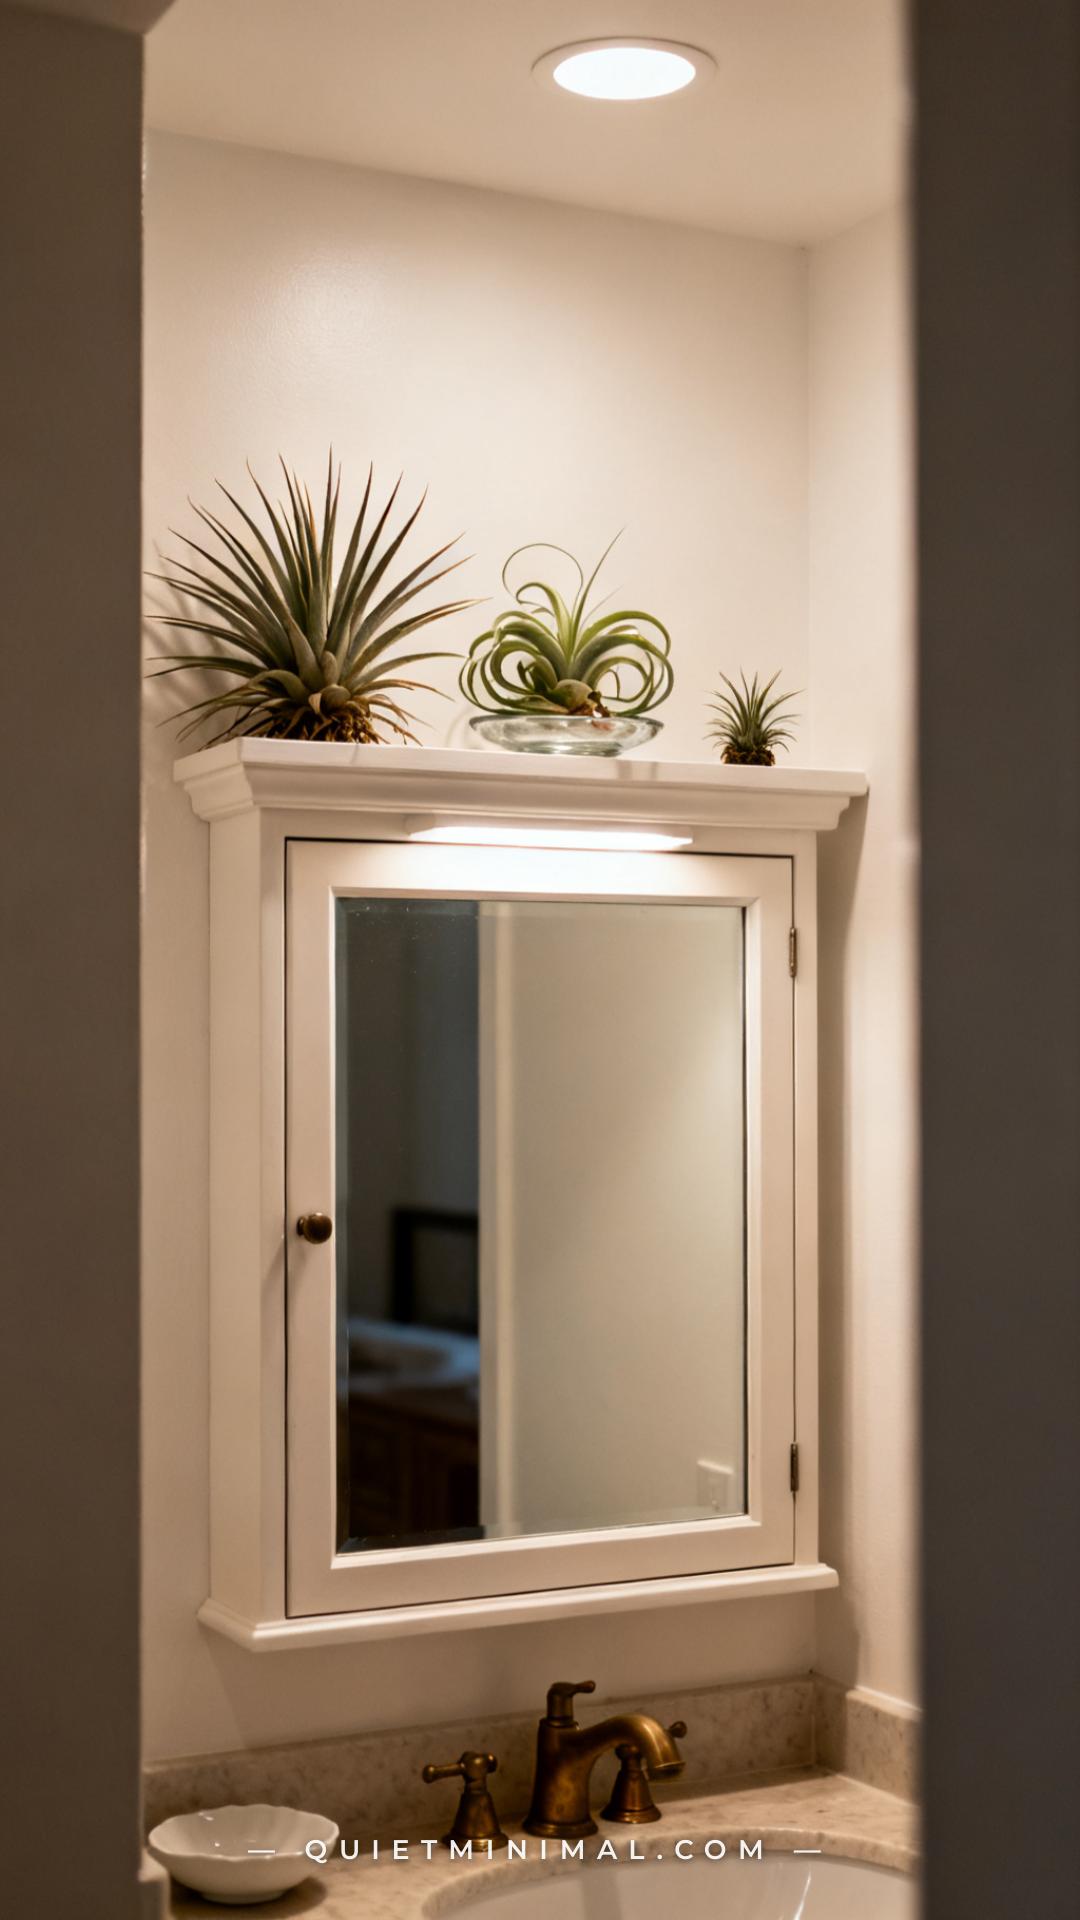
The top ledge of a recessed medicine cabinet is one of the most overlooked two inches in bathroom design. It’s narrow — usually one to two inches — which rules out almost every potted plant. Air plants are the only viable species for this ledge, and they’re perfectly suited: rootless, soil-free, and small enough in variety to sit on a ledge barely wider than a finger.
Arrange three air plants of varying sizes (large-medium-small) across the cabinet top using the rule of odds and varying silhouettes. Tillandsia ionantha, T. caput-medusae, and T. xerographica offer three very different visual textures at three very different price points.
Mist your medicine cabinet air plants every three to four days. The humidity from the bathroom will extend the time between mistings compared to the same plants in a living room.
Key Takeaway: Air plants on a medicine cabinet ledge turn a two-inch-wide space into a deliberate styling detail — no soil, no drainage, no maintenance beyond misting.

13. Combine a Shelf With a Woven Basket Planter
 Save
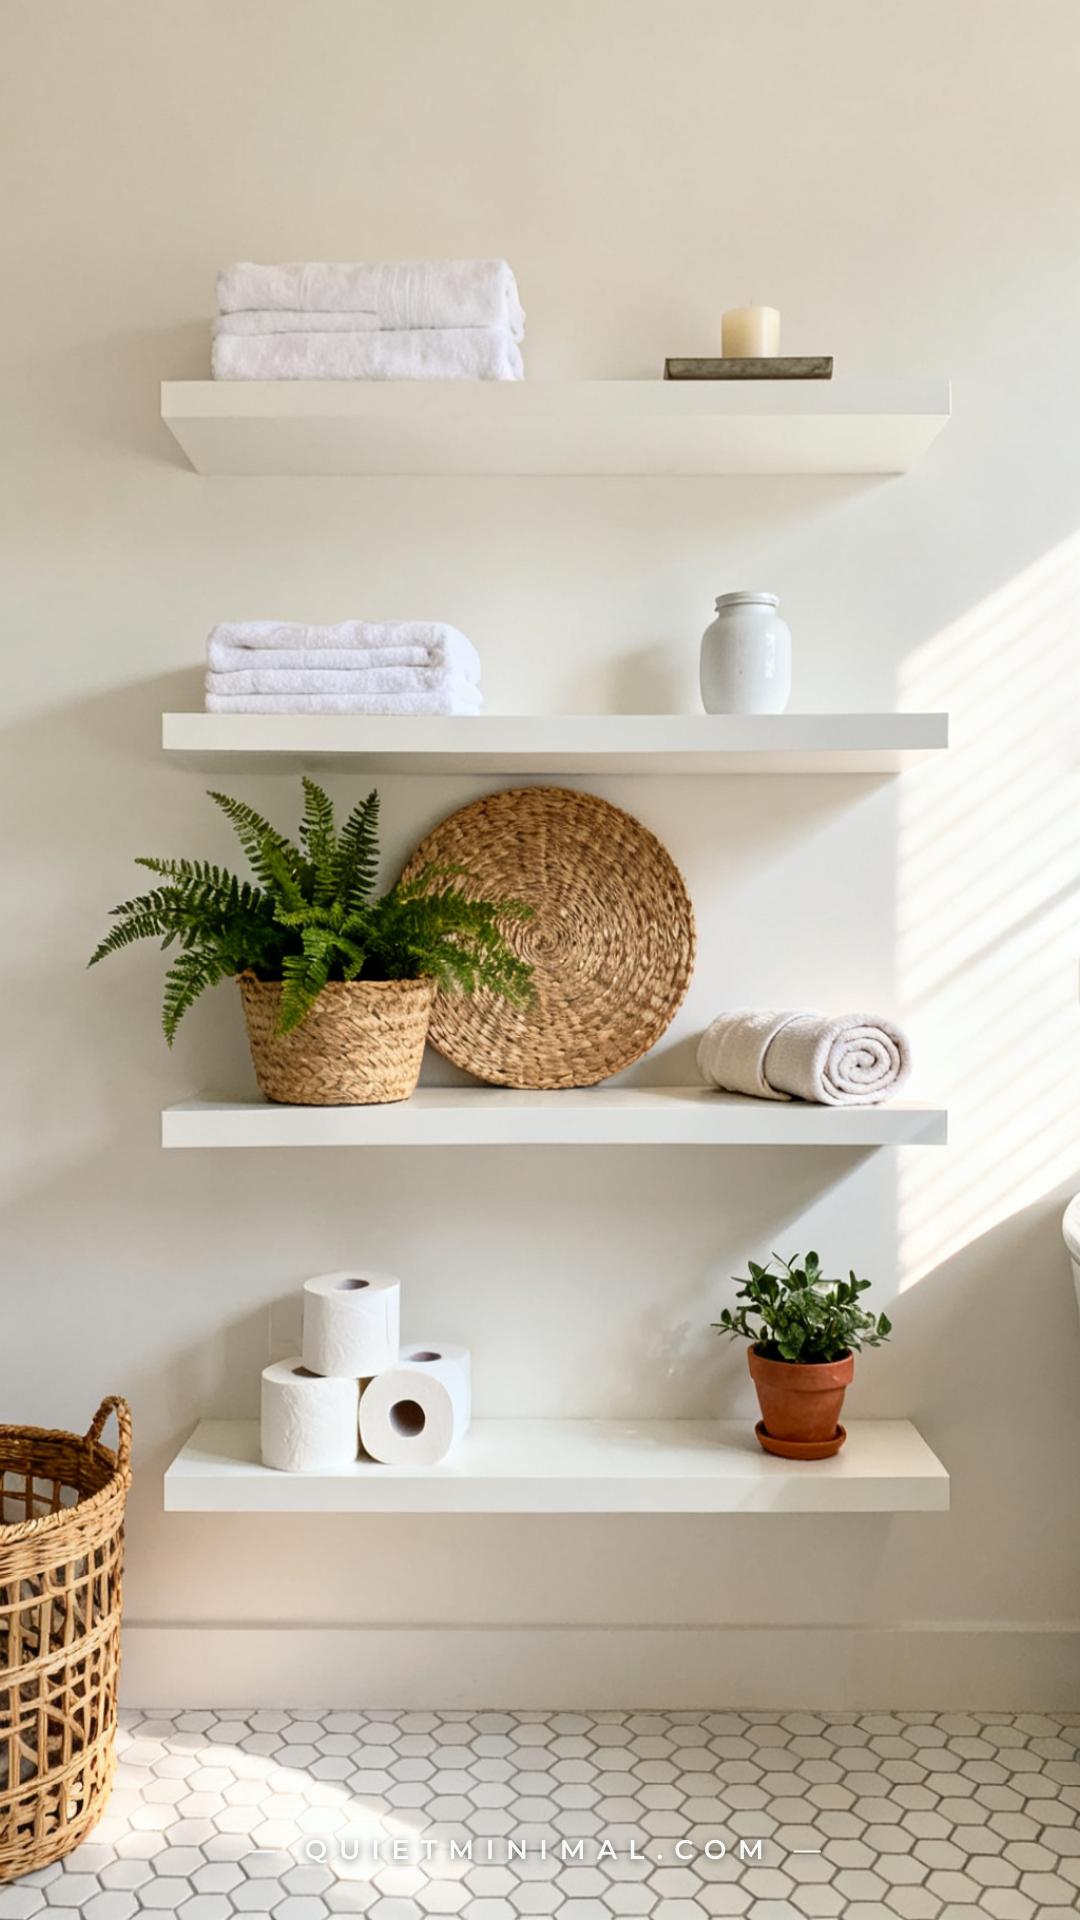
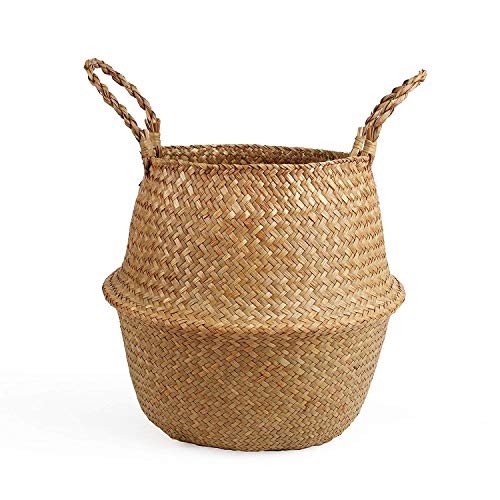
A woven basket planter does two things simultaneously: it hides a plastic nursery pot without requiring repotting, and it adds a natural texture that softens the hard-surface environment of most bathrooms. In a room dominated by tile, quartz, and chrome, woven seagrass or rattan reads as warm and organic without being high-maintenance.
Use a basket planter for ferns specifically. Boston ferns and maidenhair ferns are among the most visually lush species available at any garden center, and their cascading frond texture against a woven basket creates the layered, editorial look that straight ceramic pots can’t produce with the same species.
Basket planters also conceal the saucer, the drainage tray, and the rim of the nursery pot — all of the functional but ugly infrastructure of potted plants. This is especially important on open shelves where all sides of the planter are visible.
Key Takeaway: A woven basket planter adds organic texture, hides nursery pot infrastructure, and pairs specifically well with ferns for maximum editorial impact.
14. Use Negative Space as Part of the Composition
 Save
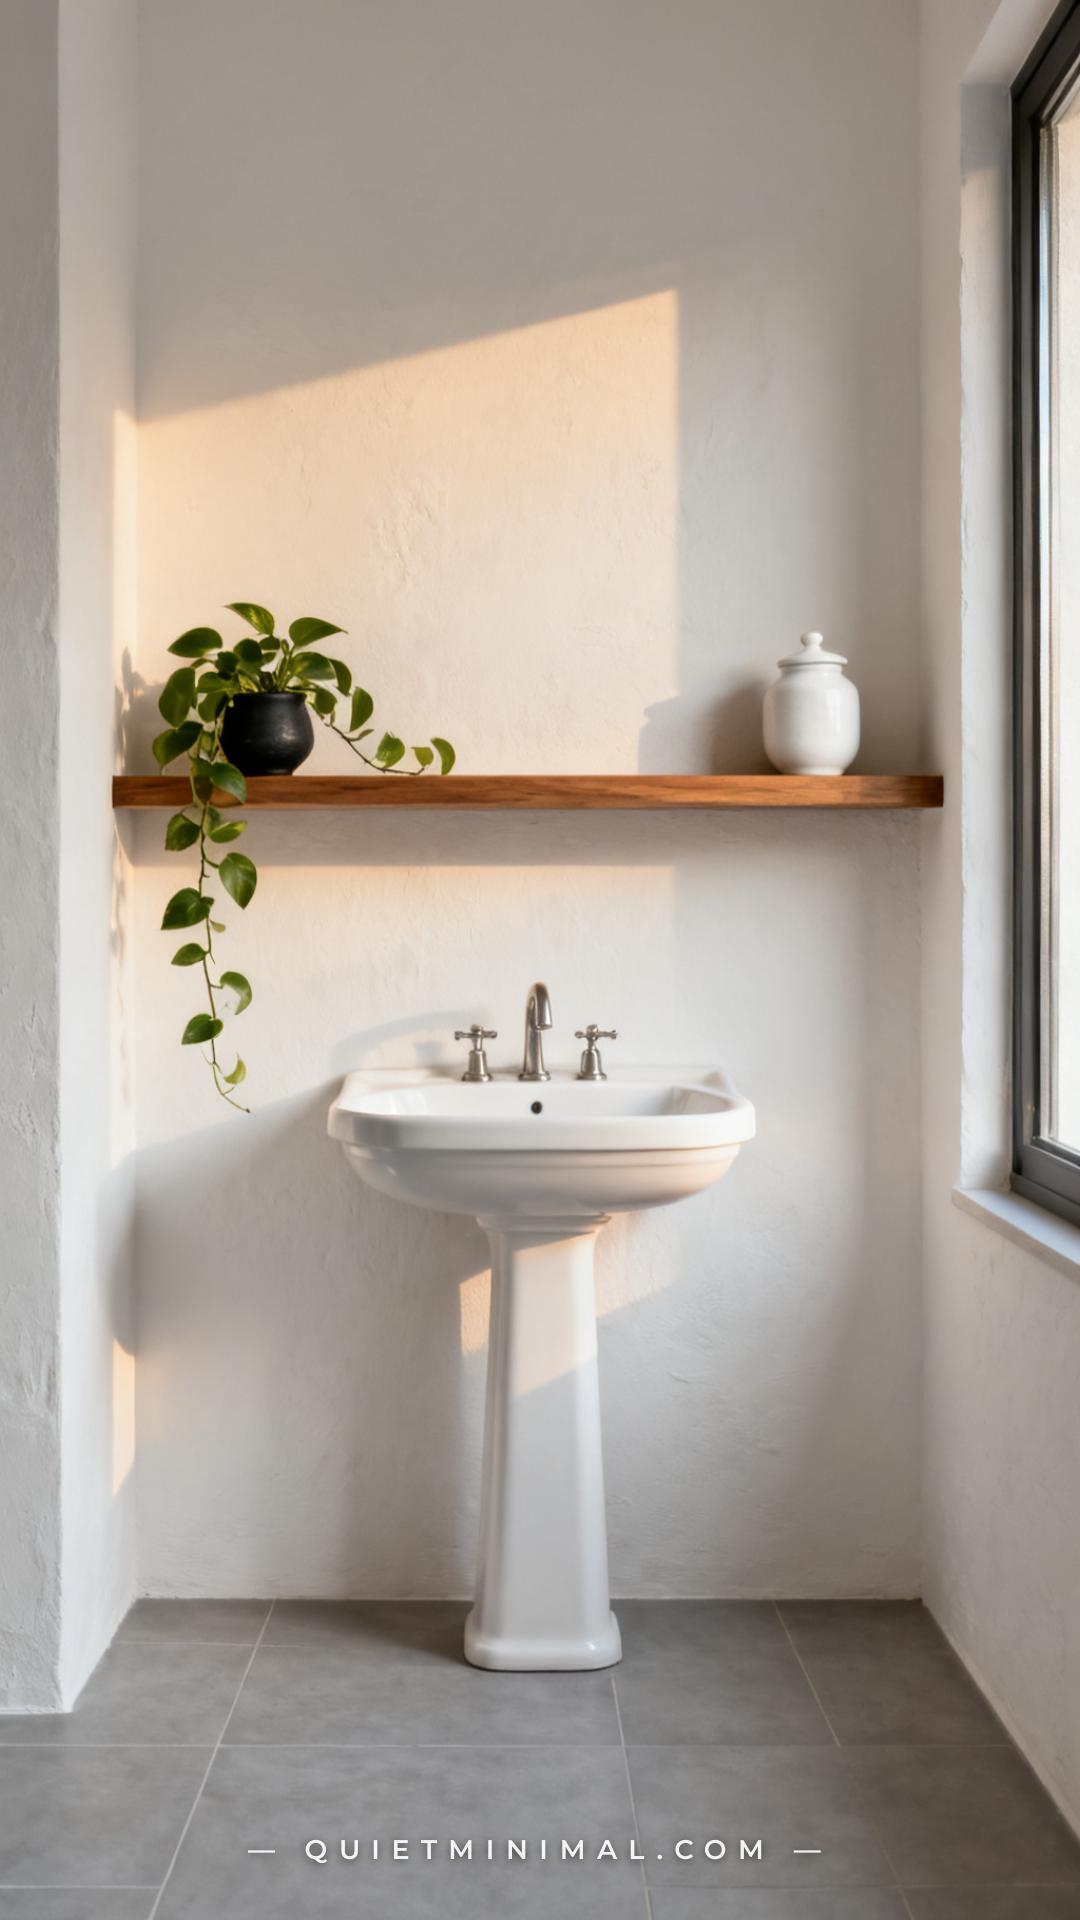
The instinct when styling a shelf or ledge is to fill it. The counter-instinct — and the one that produces the most consistently refined results — is to leave deliberate space unfilled. Negative space in a plant composition is not empty; it’s breathing room that makes every element in the frame more visible and more considered.
On a shelf, this means placing your trailing plant and one supporting object (a ceramic vessel, a small tray, a single candle) and stopping there. The long expanse of empty shelf between the two items is doing styling work: it creates visual calm, it prevents the “cluttered” label that kills an otherwise beautiful shelf, and it makes the plant itself the focal point rather than one element in a crowded row.
The rooms that stop Maya mid-scroll on Pinterest aren’t the ones with the most going on. They’re the ones where every object feels like it was placed with intention — and the space around each object confirms it. Start with less than you think you need, and add only if the shelf looks unresolved.
Key Takeaway: Deliberate negative space between objects on a shelf is not emptiness — it’s the styling decision that makes every plant you place look intentional.

The through-line in all fourteen of these ideas is the same principle: bathroom plants look their best when they’re placed within a composition, not just set down on a surface. A trailing plant at the end of a shelf, a grouped trio on a windowsill, a single orchid with room to breathe on a ledge — each of these works because the placement was considered before the plant was chosen. Start with one surface in your bathroom, apply the relevant idea from this list, and resist the urge to add more until what’s already there feels complete. That restraint is the actual skill — and once you have it, every surface in the room becomes an opportunity.
From the guides
You've saved it, wanted it. Here's the how: codes, measurements, order. Your choices make it yours.
The Japandi Honest PlaybookThe honest version of the style: what to keep, what to skip, and the order to do it in.See inside →The Room Refresh PlaybookA repeatable four-step method, room by room, in ten minutes, thirty minutes, or one weekend.See inside →Make Any Room Feel Cozy on PurposeWhy some rooms hold people and others empty out, and the moves that change it.See inside → Save