 Georgia

If your bathroom mirror makes you look tired even when you’re not, the problem almost certainly isn’t the mirror — it’s the light coming from directly above your head. Overhead-only vanity lighting is one of the most common bathroom mistakes, and it creates exactly the kind of unflattering shadows you don’t want anywhere near your face: dark circles, a shadowed chin, a complexion that reads completely differently in the bathroom than anywhere else. The good news is that you don’t need to gut your bathroom to fix it. Whether you’re renting, renovating, or just done tolerating a light that doesn’t work, these bathroom vanity lighting ideas will show you exactly what to put where — and why it works so much better than whatever is happening on your ceiling right now.
1. Side-Mounted Sconces at Eye Level: The Designer’s Non-Negotiable
 Save
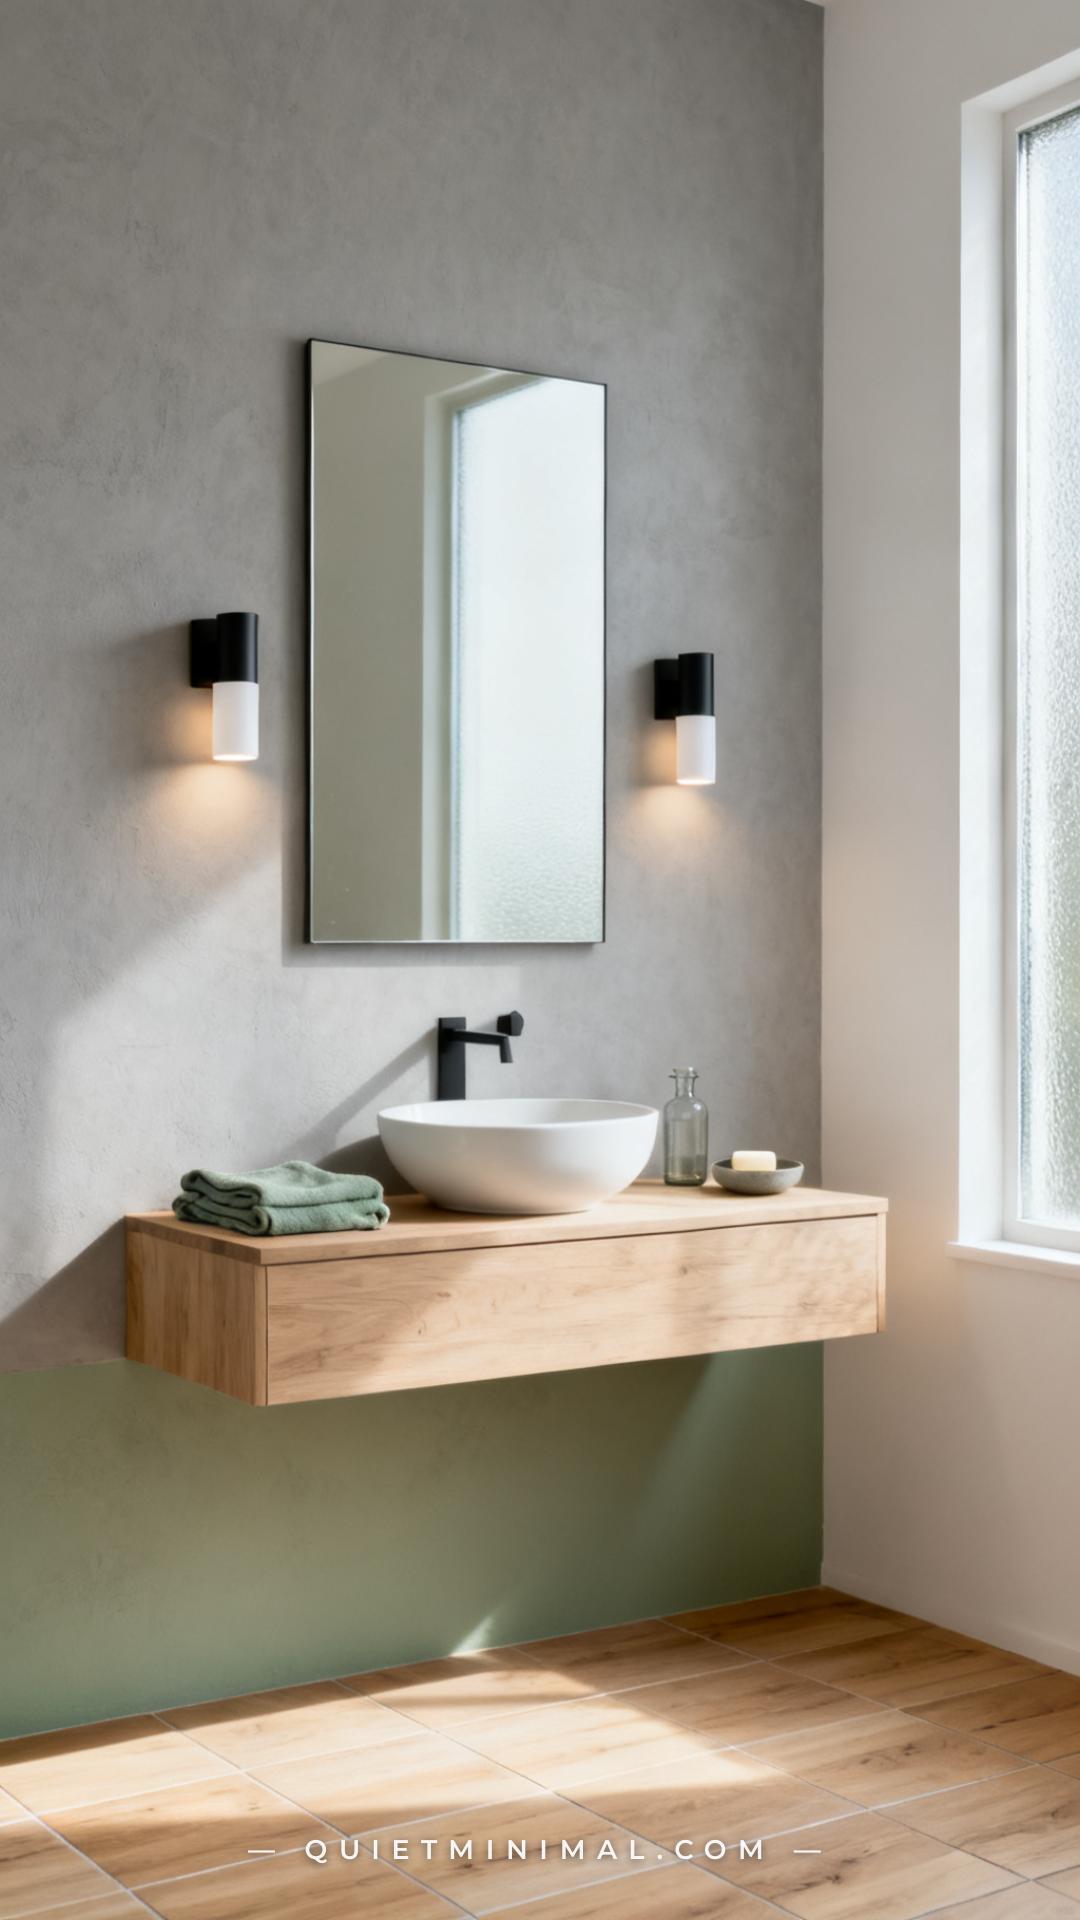
Sconces mounted on either side of your mirror — not above it — are the single most effective change you can make to a vanity lighting setup. The reason is physics: when light comes from the sides at face level, it wraps around the contours of your face instead of casting shadows downward. Designers specify side sconces at a center height of 60 to 65 inches from the floor, which puts the light roughly level with your eyes when you’re standing at the sink.
The rule is one sconce per side, spaced so that each fixture lands about 28 to 36 inches apart (center to center), or roughly 18 inches from the mirror’s center to each sconce. If your mirror is wider than 48 inches, you can push that spacing slightly wider. The goal is light that reads as wrapping, not spotlighting.
From the guides
You've saved it, wanted it. Here's the how: codes, measurements, order. Your choices make it yours.
 The Japandi Honest PlaybookThe honest version of the style: what to keep, what to skip, and the order to do it in.See inside →
 The Room Refresh PlaybookA repeatable four-step method, room by room, in ten minutes, thirty minutes, or one weekend.See inside →
 Make Any Room Feel Cozy on PurposeWhy some rooms hold people and others empty out, and the moves that change it.See inside →
Key Takeaway: Side-mounted sconces at eye level eliminate the shadows that overhead lighting creates — mount them at 60–65 inches from the floor, one on each side of the mirror.
2. Plug-In Sconces for Renters (and Anyone Who Hates Rewiring)
 Save
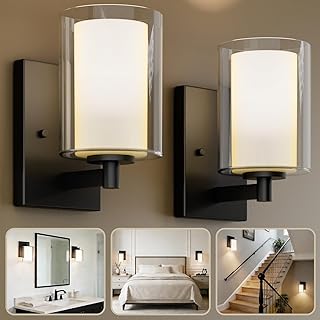
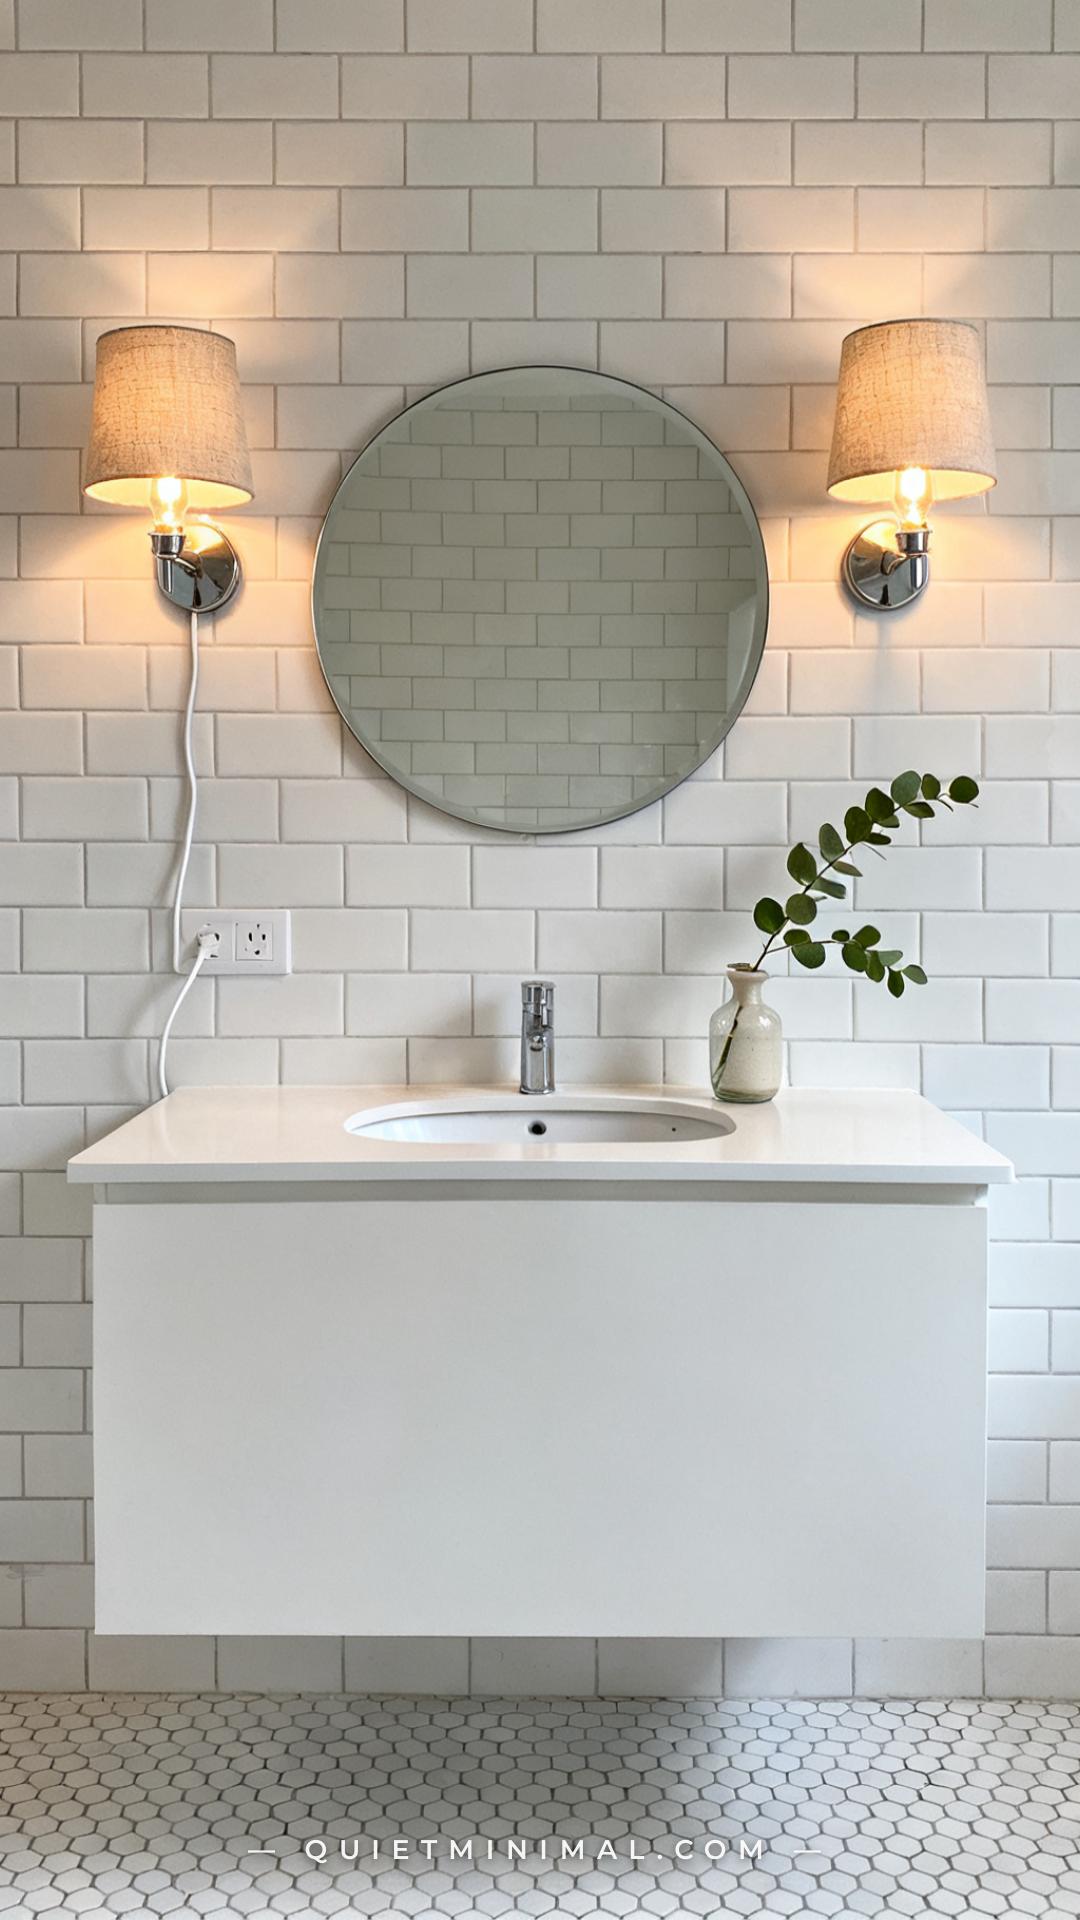
Side sconces sound like a dream until you remember your bathroom has no wall box where you’d want one. This is the reality for most renters and for plenty of older homes where bathroom electrical was never planned with side lighting in mind. Plug-in sconces exist specifically for this situation — and they’ve gotten significantly better looking in the last few years.
A plug-in sconce uses a fabric-covered cord that runs from the fixture down the wall to a standard outlet. You mount the backplate with a screw into a wall anchor (no electrician needed), and the cord can either be painted to match the wall, run inside a slim cord cover, or left visible as a deliberate design choice on an exposed brick or textured wall. The key is buying a sconce whose cord is long enough to reach your outlet without looking strained — measure before you order.
Key Takeaway: Plug-in sconces give you all the benefits of hardwired side lighting with zero electrical work — measure your outlet distance and choose a cord length that lets it reach without tension.

3. A Backlit Mirror Instead of a Light Above One
 Save
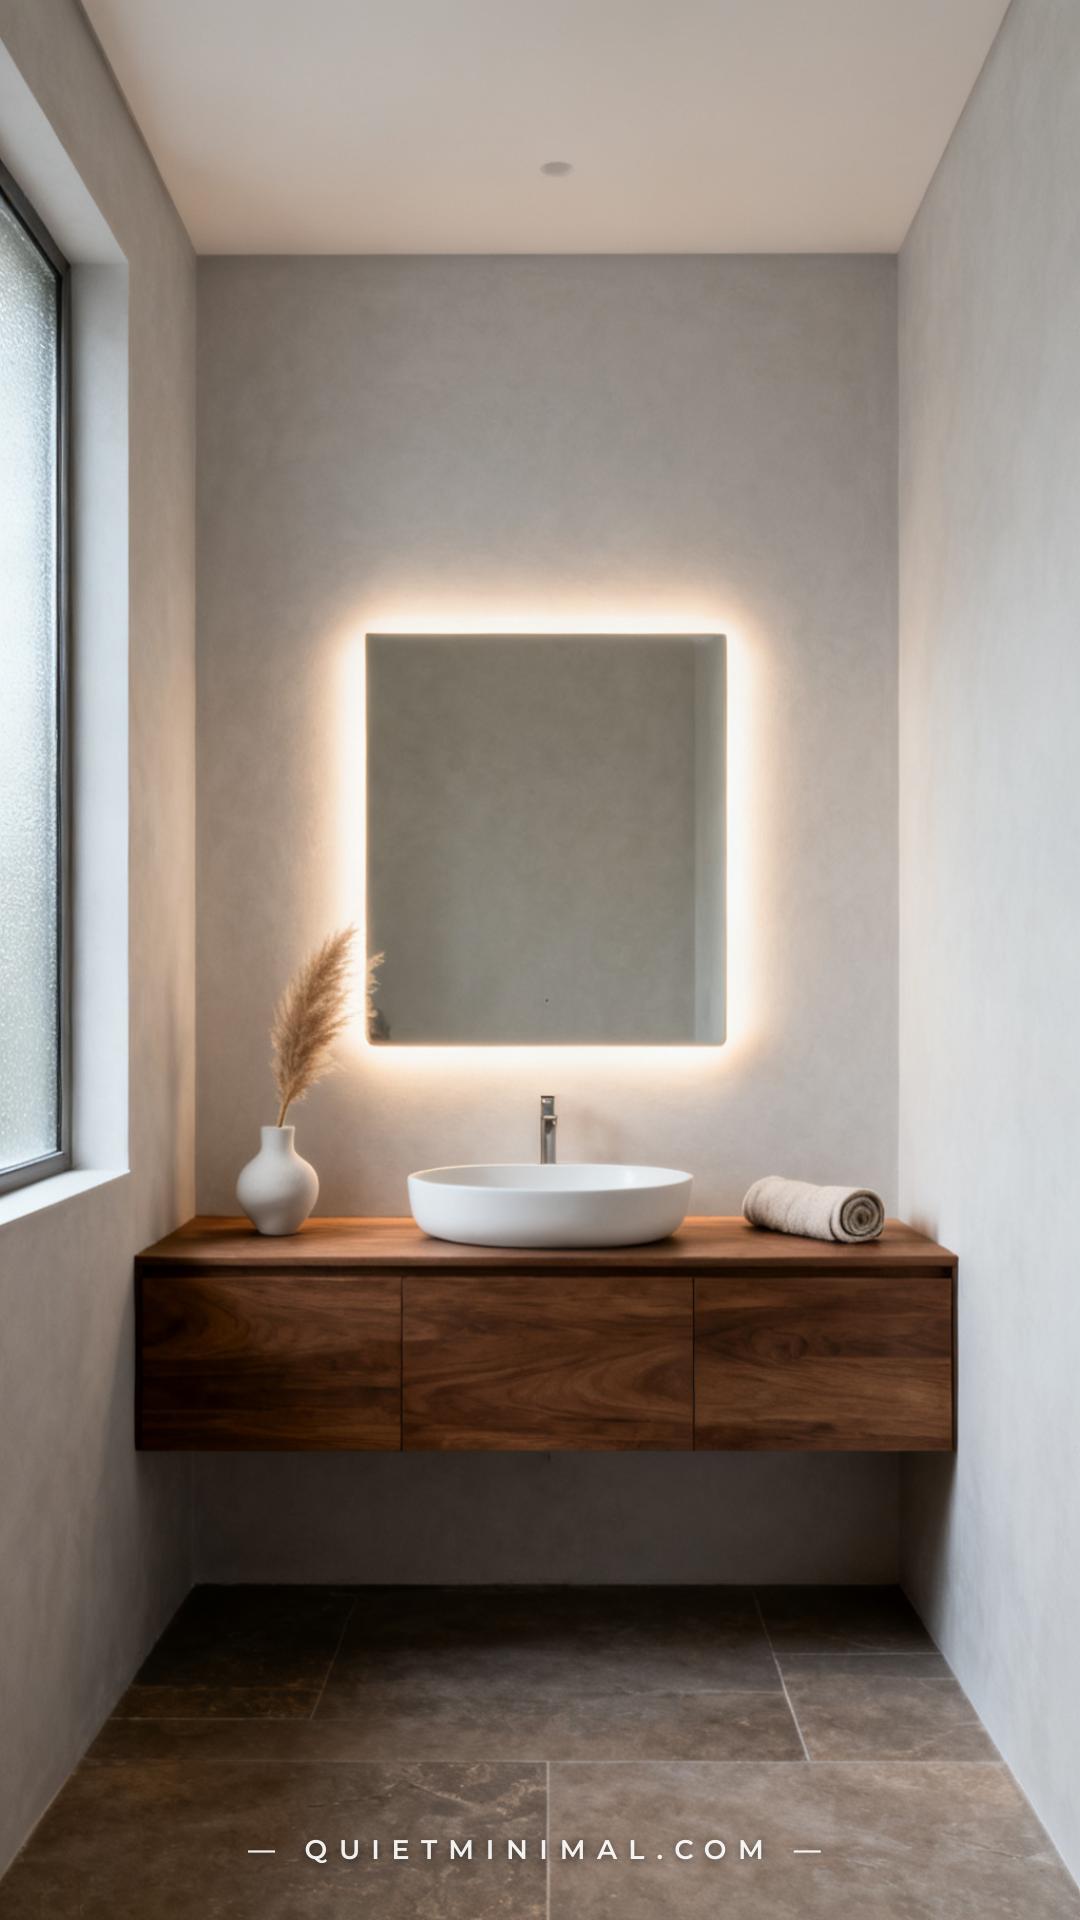
A backlit mirror doesn’t light you from behind — it lights the wall behind and around your face, which creates a soft, even glow that wraps forward. It’s not as directional as side sconces, but it’s dramatically better than a recessed can in the ceiling, and it consolidates two elements (mirror + light) into one clean installation.
Most backlit LED mirrors hardwire into the wall, which does require an electrician if there’s no existing outlet or switch in the right position. However, some models come with a direct plug-in option that plugs into a standard outlet — worth checking the product specs before assuming you need professional installation. Look for a color temperature option: 2700K to 3000K (warm white) is most flattering for skin tones at a vanity; avoid anything marketed as “daylight” at 5000K+ unless you specifically want a clinical white light.
Key Takeaway: A backlit mirror works by illuminating the wall surface around your reflection — choose warm white (2700K–3000K) for the most flattering skin-tone rendering.

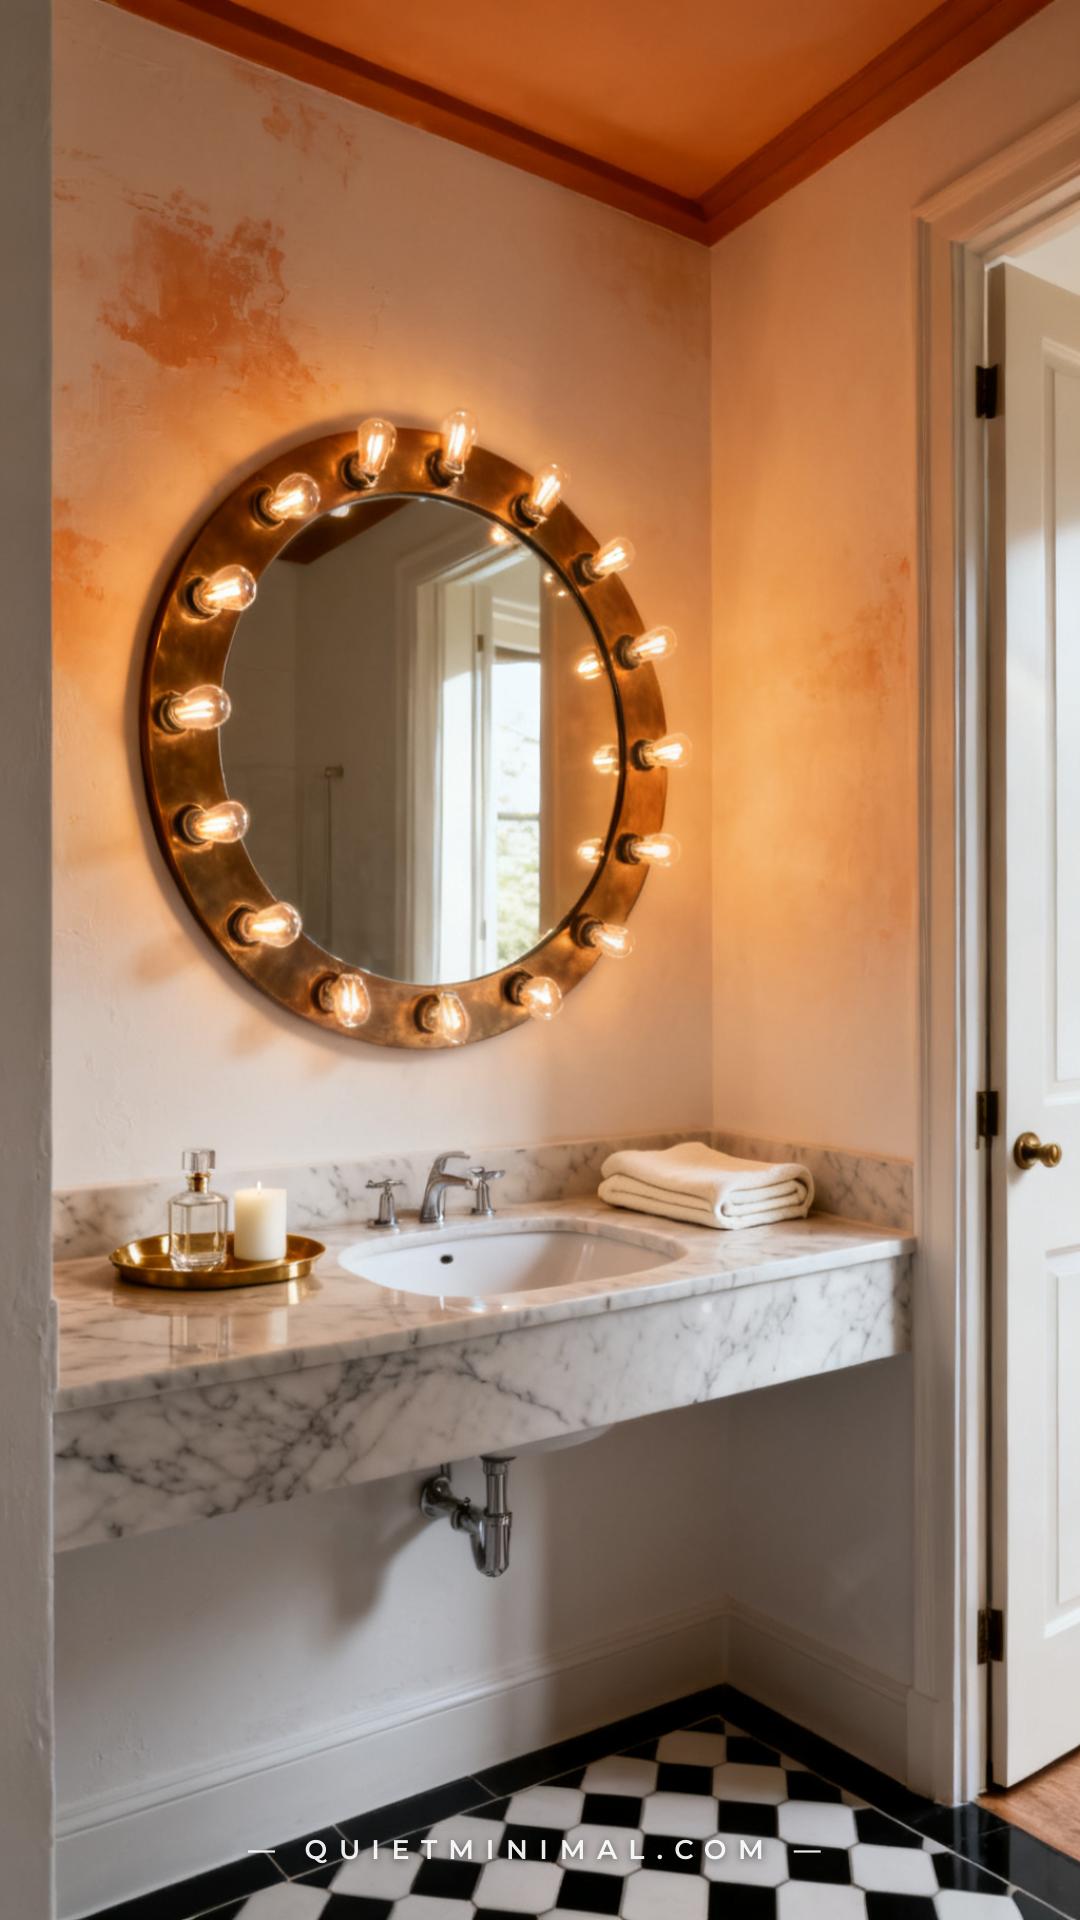
4. Hollywood-Style Lighted Mirrors With Bulbs Around the Frame
 Save
The Hollywood vanity mirror — the one with individual bulbs around the perimeter — was originally designed for backstage dressing rooms for a specific reason: surrounding the face with multiple small light sources from multiple angles eliminates directional shadows entirely. That logic applies just as well to a home bathroom vanity.
These mirrors come in round, rectangular, and arch formats, and the bulb style has evolved beyond theatrical incandescent. Many current versions use LED globe bulbs that mimic the warm glow of incandescent without the heat. The full-perimeter style works especially well in bathrooms where wall space is limited — you get the side-lighting effect without needing two separate wall fixtures. They’re also popular in rental bathrooms because they can hang on a standard picture hook without any electrical work if you choose a battery-operated or plug-in version.
Key Takeaway: Hollywood mirrors with perimeter bulbs replicate professional makeup lighting by wrapping the face in light from multiple angles simultaneously — look for LED globe versions that run cool.

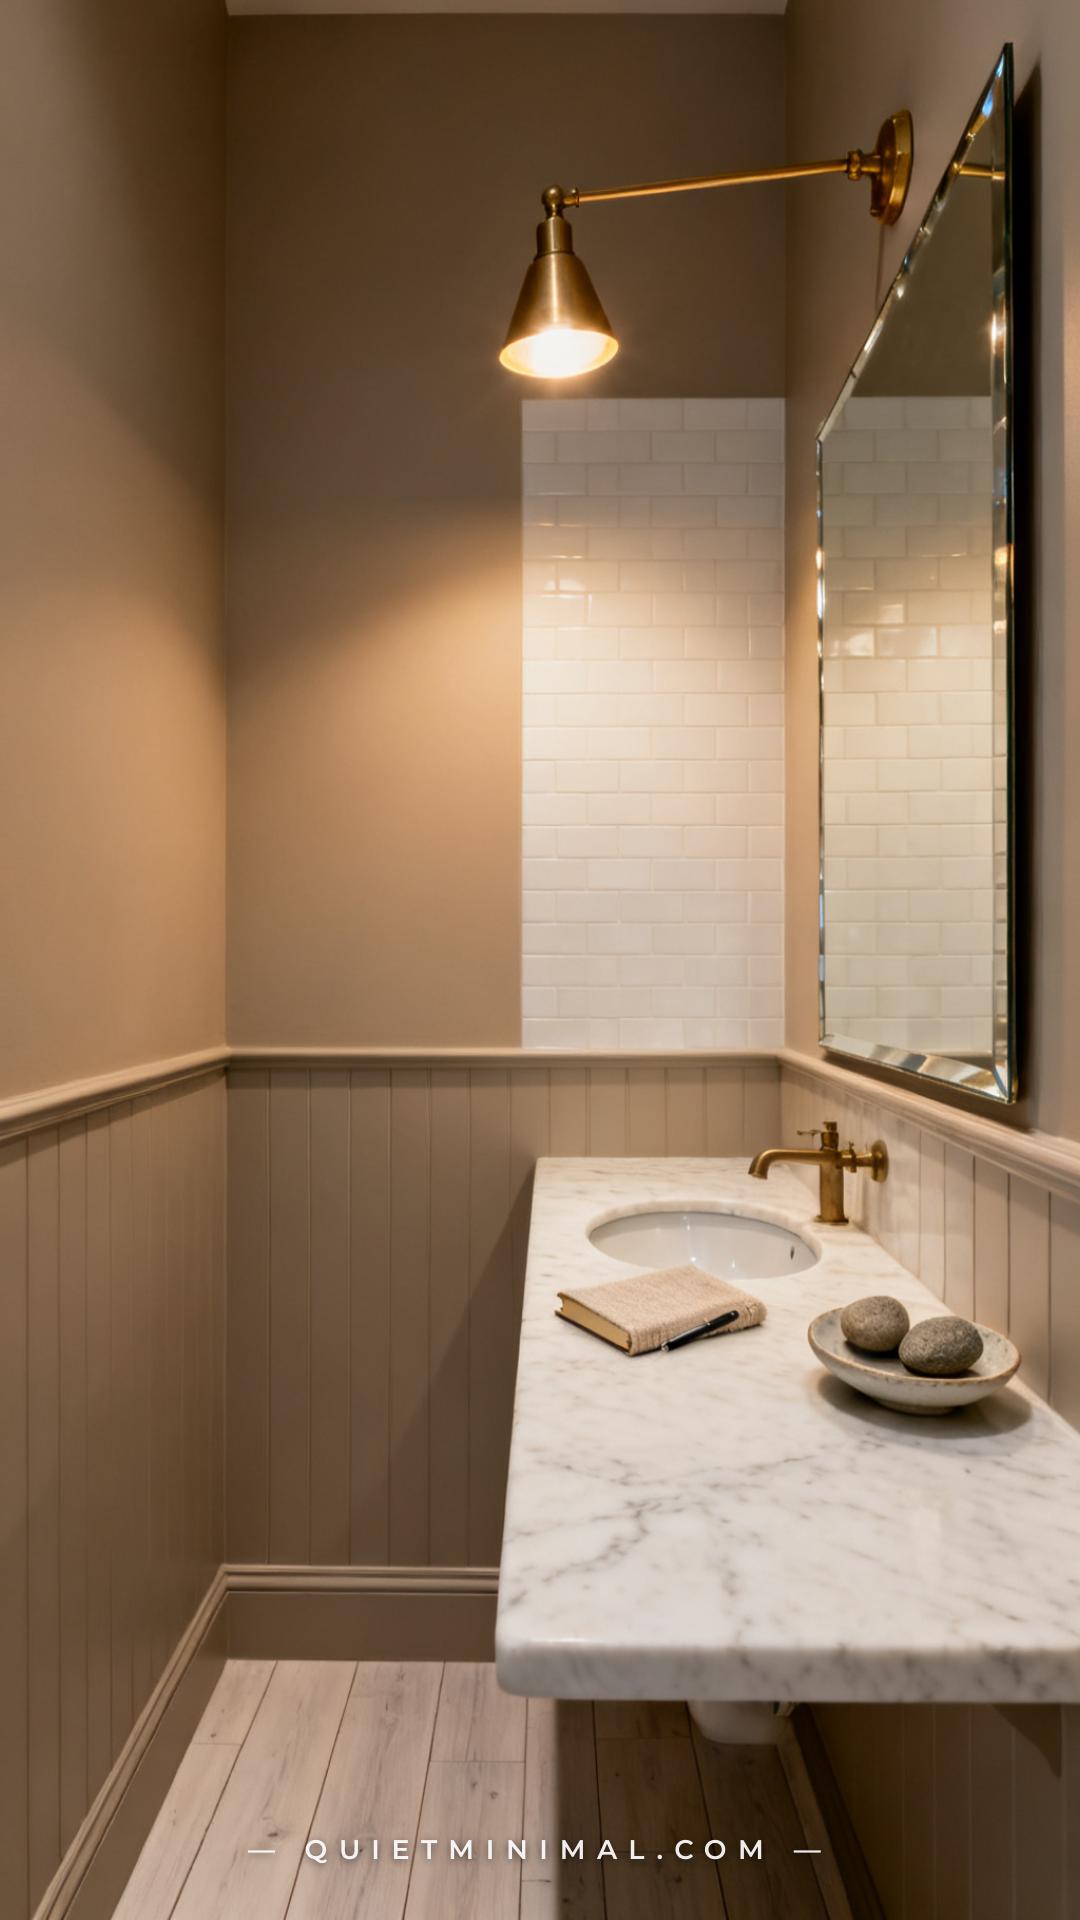
5. A Picture Light Mounted Above (and Angled Down Toward You)
 Save
A picture light sounds like a living room solution, but when it’s mounted just above a mirror frame and angled slightly downward and forward, it does something overhead ceiling fixtures can’t: it throws light toward your face rather than casting it down from behind your eye line. The key is the angle. An overhead fixture with a wide-angle bulb blasts light straight down at the top of your head. A picture light on a swing arm that tilts forward sends light onto the plane of your face.
This works best with mirrors that have a defined top edge — flat-top rectangular or arch mirrors — where the picture light can sit directly on or just above the frame. Choose a brass or matte black finish to tie it to other hardware in the bathroom. Look for an adjustable-arm model so you can dial in the exact angle rather than committing to a fixed downward throw.
Key Takeaway: A picture light works above a vanity mirror only when it’s on an articulating arm angled forward — a fixed-downward position replicates the same shadow problem you’re trying to escape.

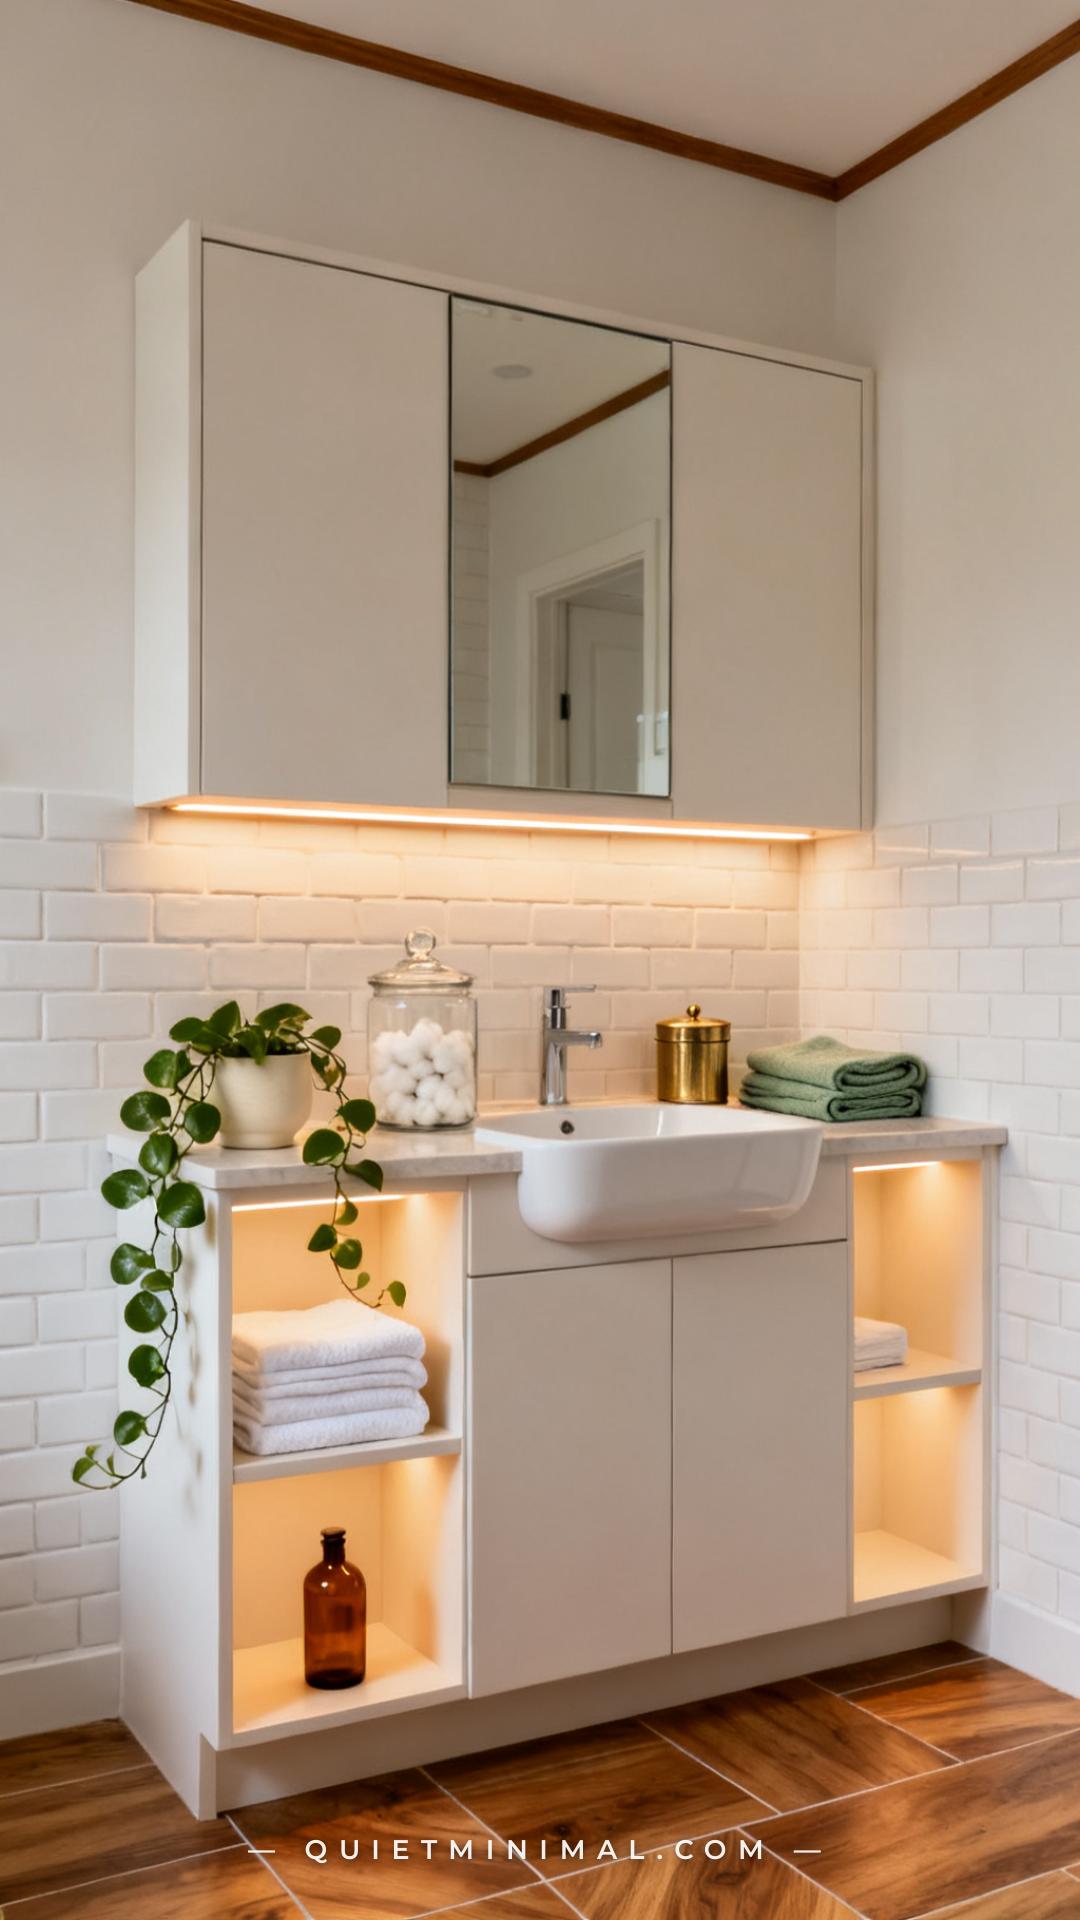
6. Under-Cabinet Strip Lighting Below Upper Shelves or Medicine Cabinets
 Save
If your bathroom has upper shelves, a floating medicine cabinet, or any open storage mounted above the counter, the underside of that storage is prime real estate for LED strip lighting. Installed correctly, under-shelf strips cast a forward and downward glow that lights the counter and lower face without any ceiling involvement at all.
The installation is low-commitment: LED strip lights with adhesive backing press directly onto the underside of a shelf, and the plug-in version runs a slim cord down the back of the cabinet into a nearby outlet. No electrician, no drilling, no patching drywall. Choose a warm white (2700K) strip and a dimmable driver so you can dial back the intensity for evening use. If the strip’s LED dots are visible from below (a common cheap-strip issue), add a diffuser channel — a slim aluminum extrusion that spreads the point-source dots into a continuous line of light.
Key Takeaway: Under-shelf LED strips work by lighting the counter and lower face from a forward-angled position — use a diffuser channel to avoid visible LED dot texture in the finished look.

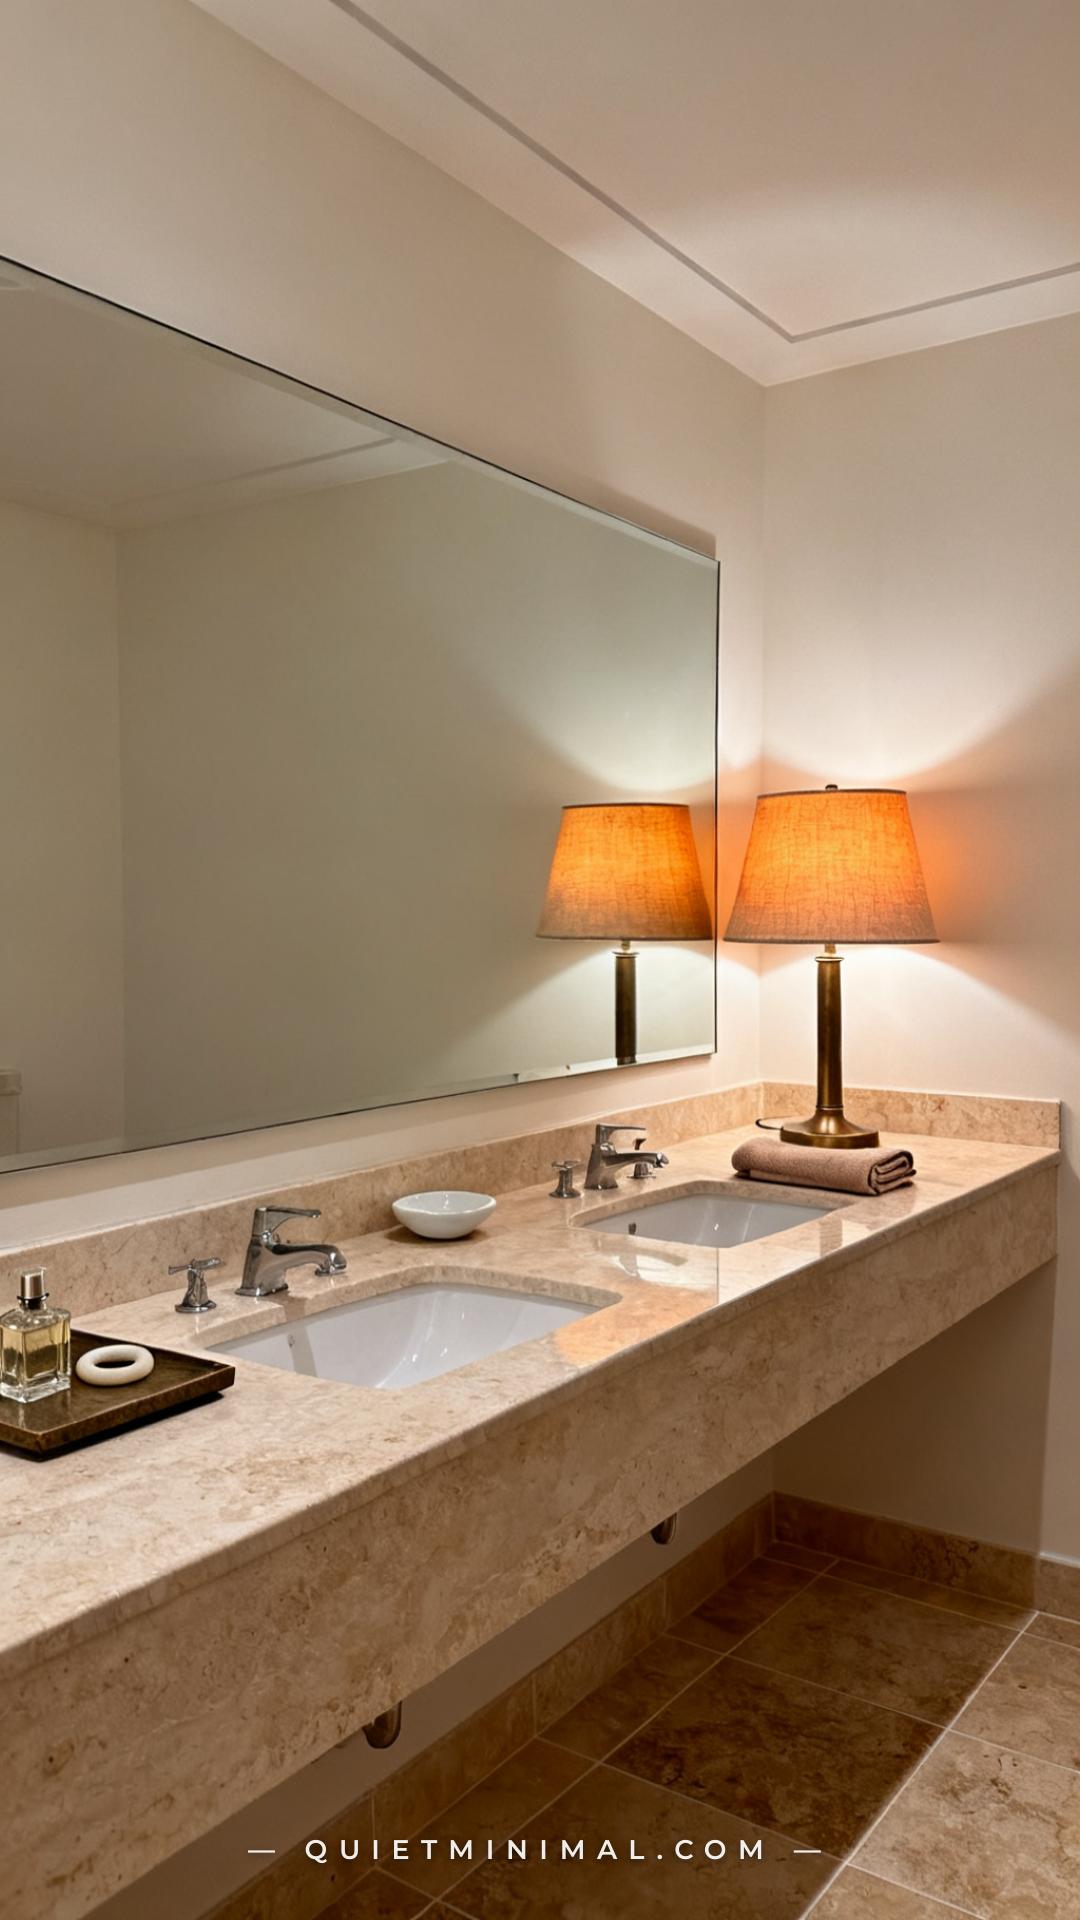
7. A Table Lamp on the Vanity Counter (Yes, This Is Real)
 Save
From the guides
You've saved it, wanted it. Here's the how: codes, measurements, order. Your choices make it yours.
The Japandi Honest PlaybookThe honest version of the style: what to keep, what to skip, and the order to do it in.See inside →The Room Refresh PlaybookA repeatable four-step method, room by room, in ten minutes, thirty minutes, or one weekend.See inside →Make Any Room Feel Cozy on PurposeWhy some rooms hold people and others empty out, and the moves that change it.See inside →This idea reads as unusual at first, and then you see it in a hotel room or a high-end designer bathroom and it makes complete sense. A small table lamp placed at the end of the vanity counter — or between two sinks — adds warm, diffused side-level light that bounces off the mirror and wraps toward the face. It’s not a makeup application light. It’s an ambient anchor that layers with another source (sconces, backlighting) to eliminate the flat, single-source problem.
The practical requirements: the lamp needs to be water-rated or placed far enough from the sink splash zone (18 inches minimum), and it needs a plug nearby. A slim hardwired outlet installed in the cabinet side panel or the backsplash is the cleanest solution. For a rental, a UL-listed bathroom-rated extension that runs along the cabinet base works in a pinch. Keep the shade low and dense — a linen or cotton drum shade that diffuses rather than directs is ideal.
Key Takeaway: A counter lamp works as vanity lighting when it’s paired with another source — it adds warm ambient fill that lifts the room’s light quality beyond a single overhead or side fixture.

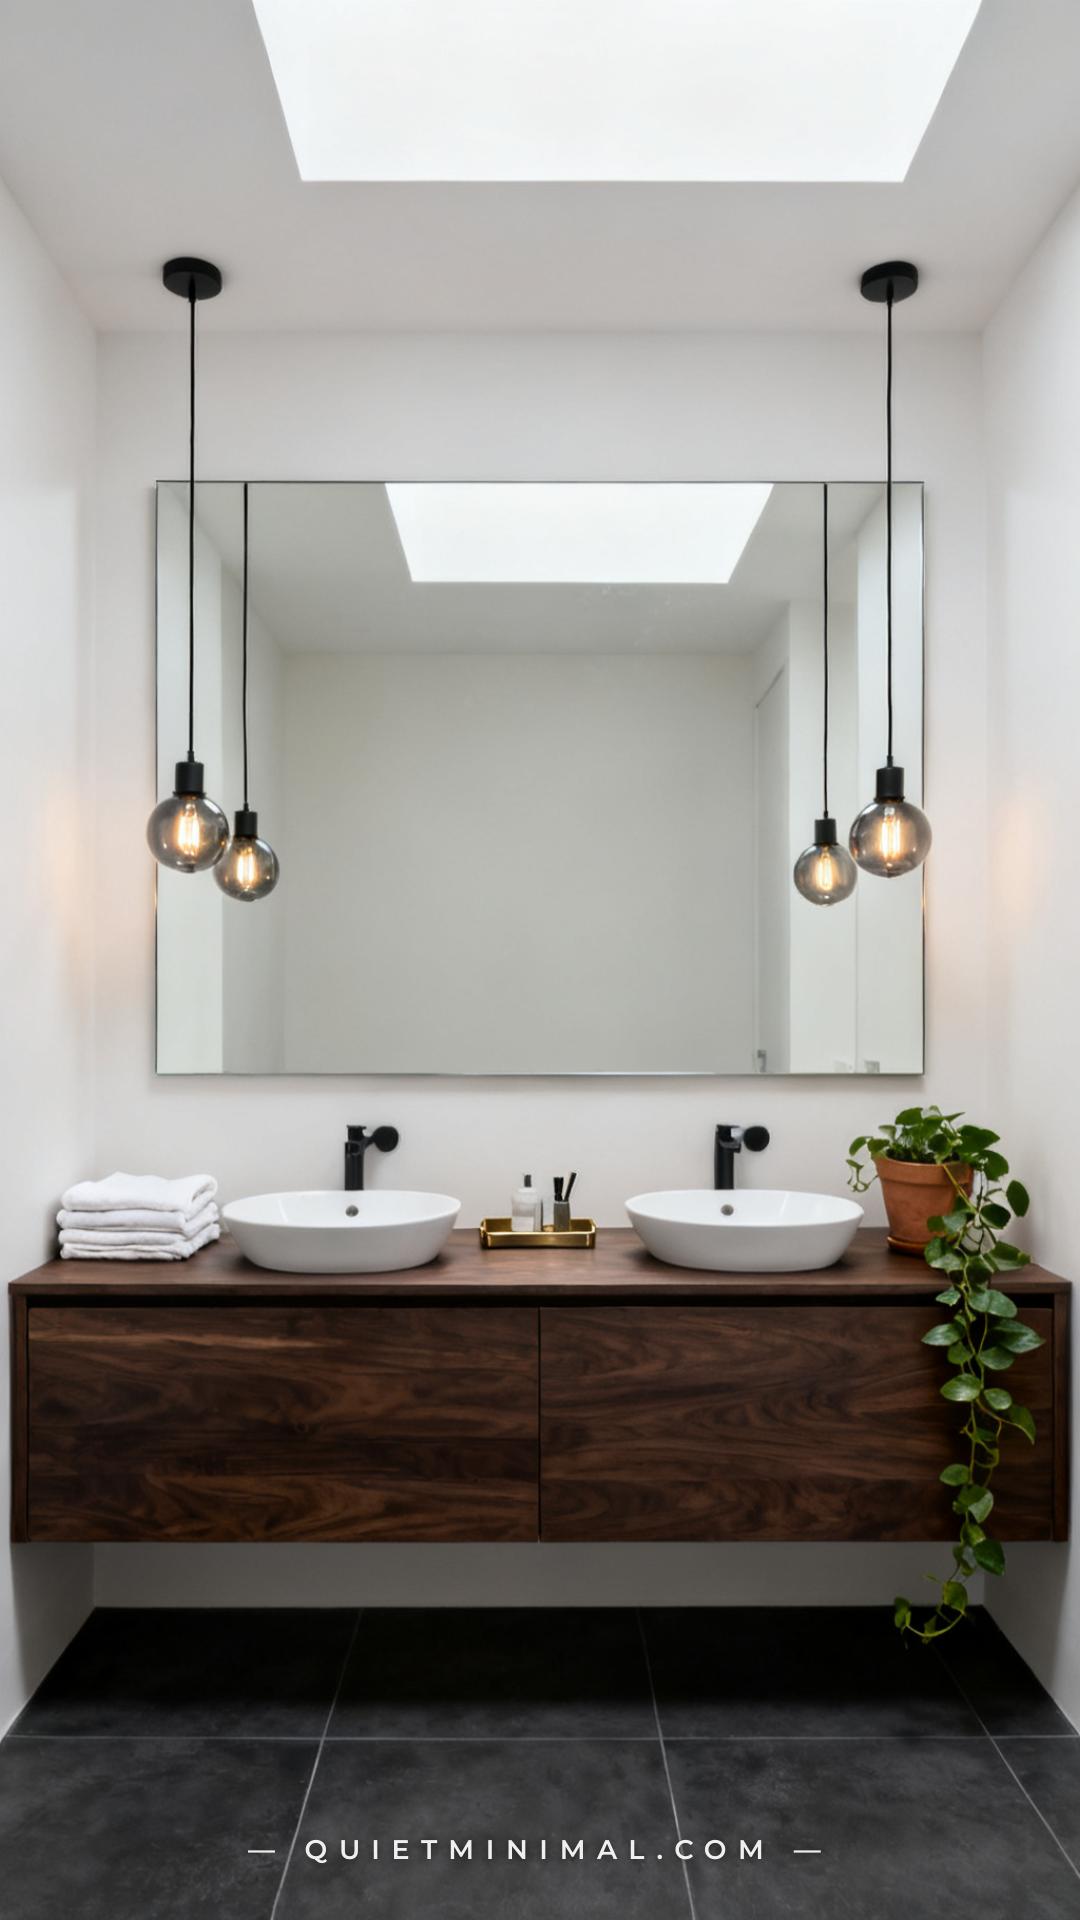
8. Pendant Lights Hung Beside the Mirror (Not Above It)
 Save
Pendant lights above a mirror are almost always a miss — they recreate the same directional downward light problem as a ceiling fixture. Pendants hung beside a mirror, from ceiling canopies positioned to the left and right of the mirror’s edges, are an entirely different proposition. They deliver side-level light in the same effective position as sconces, but with a more dramatic, sculptural presence.
This configuration works best in bathrooms with higher ceilings (8 feet minimum) where the pendants don’t crowd the space. Hang them so the bottom of the shade sits at approximately 65 to 72 inches from the floor — high enough to clear the top of your head, low enough that the light comes from a face-level angle rather than from above. A canopy-to-shade span of 12 to 18 inches typically achieves this at standard ceiling heights. This approach does require ceiling electrical boxes positioned correctly, which usually means planning it during a renovation rather than retrofitting.
Key Takeaway: Pendants work as vanity lighting only when hung beside the mirror from side-positioned canopies — center-hung pendants above the mirror are just overhead lighting with a more expensive shade.

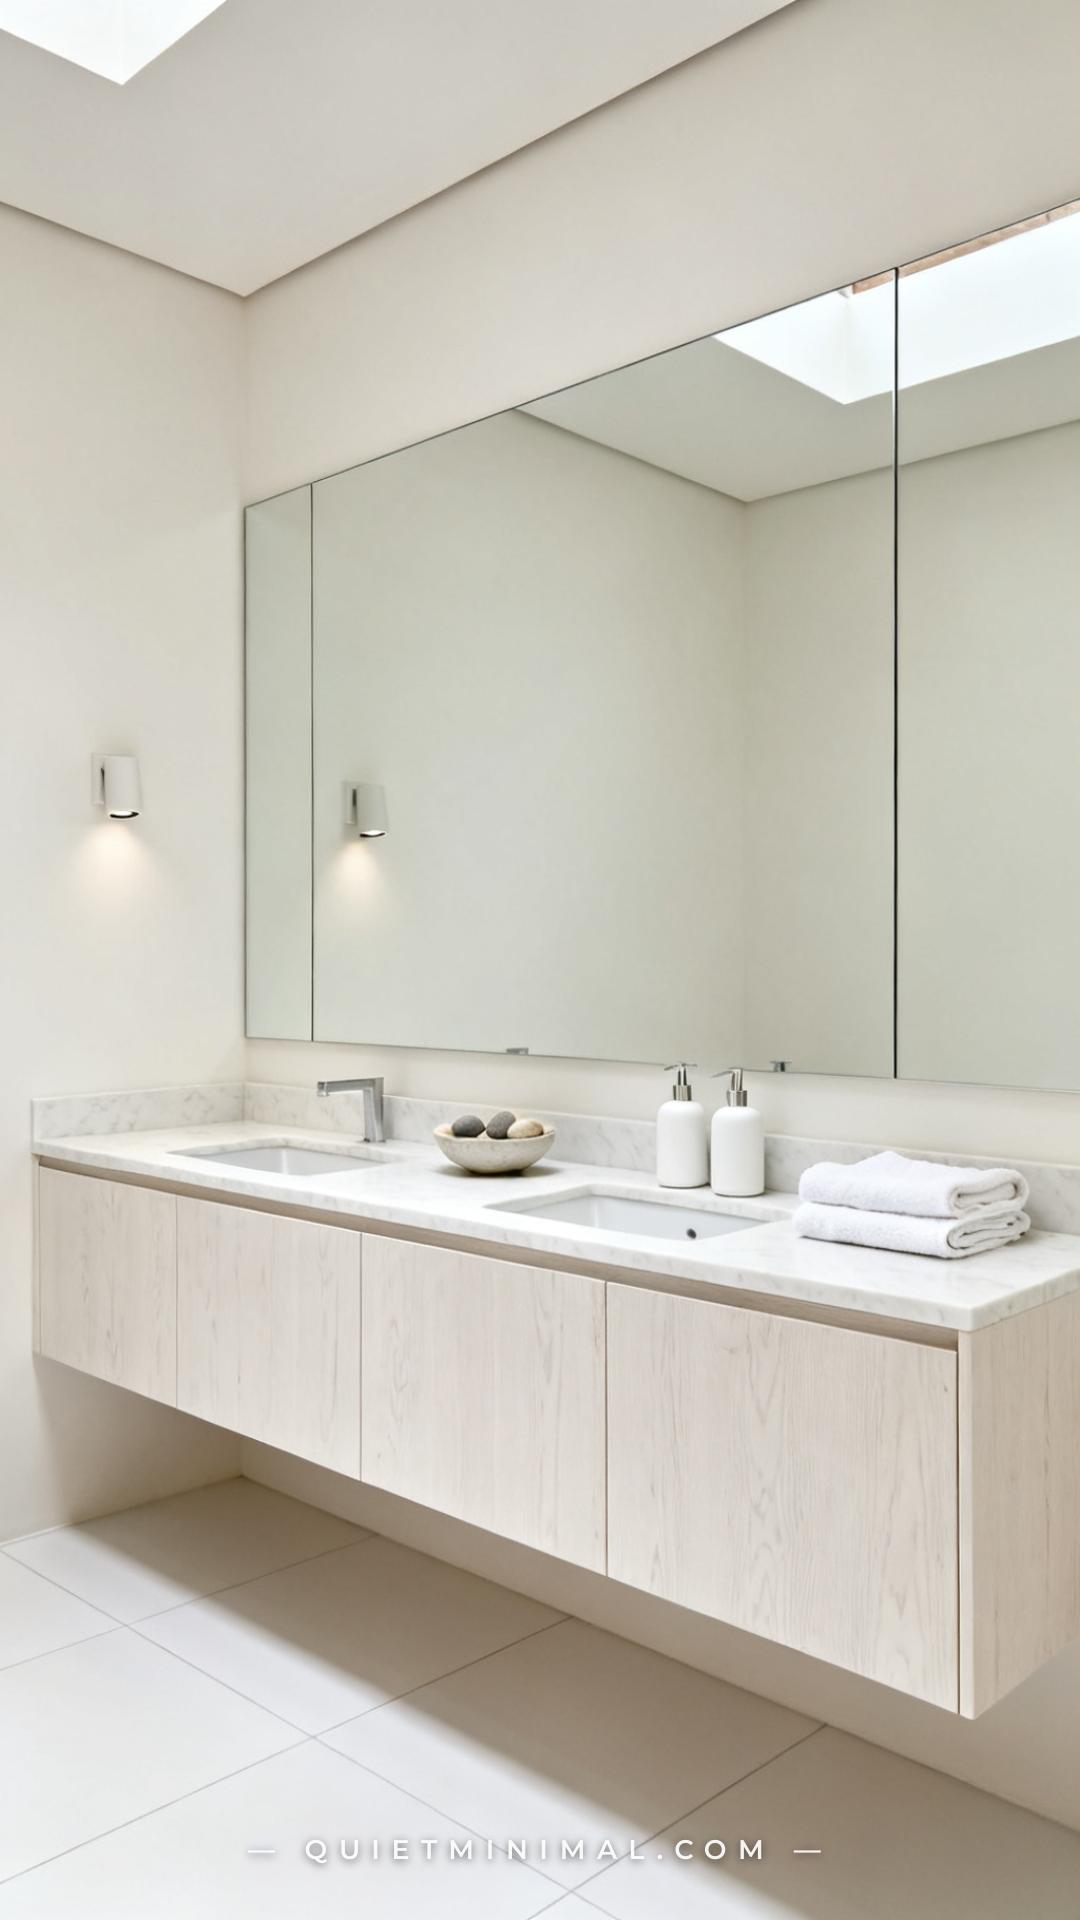
9. Recessed Lighting Repositioned to the Side Walls
 Save
This solution requires a renovation but represents the cleanest possible outcome for a dedicated bathroom build or remodel: recessed wafer lights installed in the side walls rather than the ceiling. Side-wall recessed lighting is exactly what it sounds like — small, shallow recessed fixtures (often called “niche lights” or “side-wall recessed fixtures”) set into the left and right bathroom walls at face height, aimed directly at the vanity area from the sides.
The effect is shadow-free, nearly invisible, and completely integrated. There are no fixtures to clean, no exposed hardware to maintain, and the light itself reads as architectural rather than decorative. It works best in wet-zone tile installations where the fixture can be given a proper waterproofing detail. If you’re doing a full bathroom gut renovation, this is worth discussing with your contractor — the incremental cost over ceiling recessed lighting is minimal at the rough-in stage.
Key Takeaway: Side-wall recessed lighting is the permanent renovation version of sconce lighting — it delivers identical optical benefits with zero visible hardware and is most cost-effective to plan at the rough-in stage.

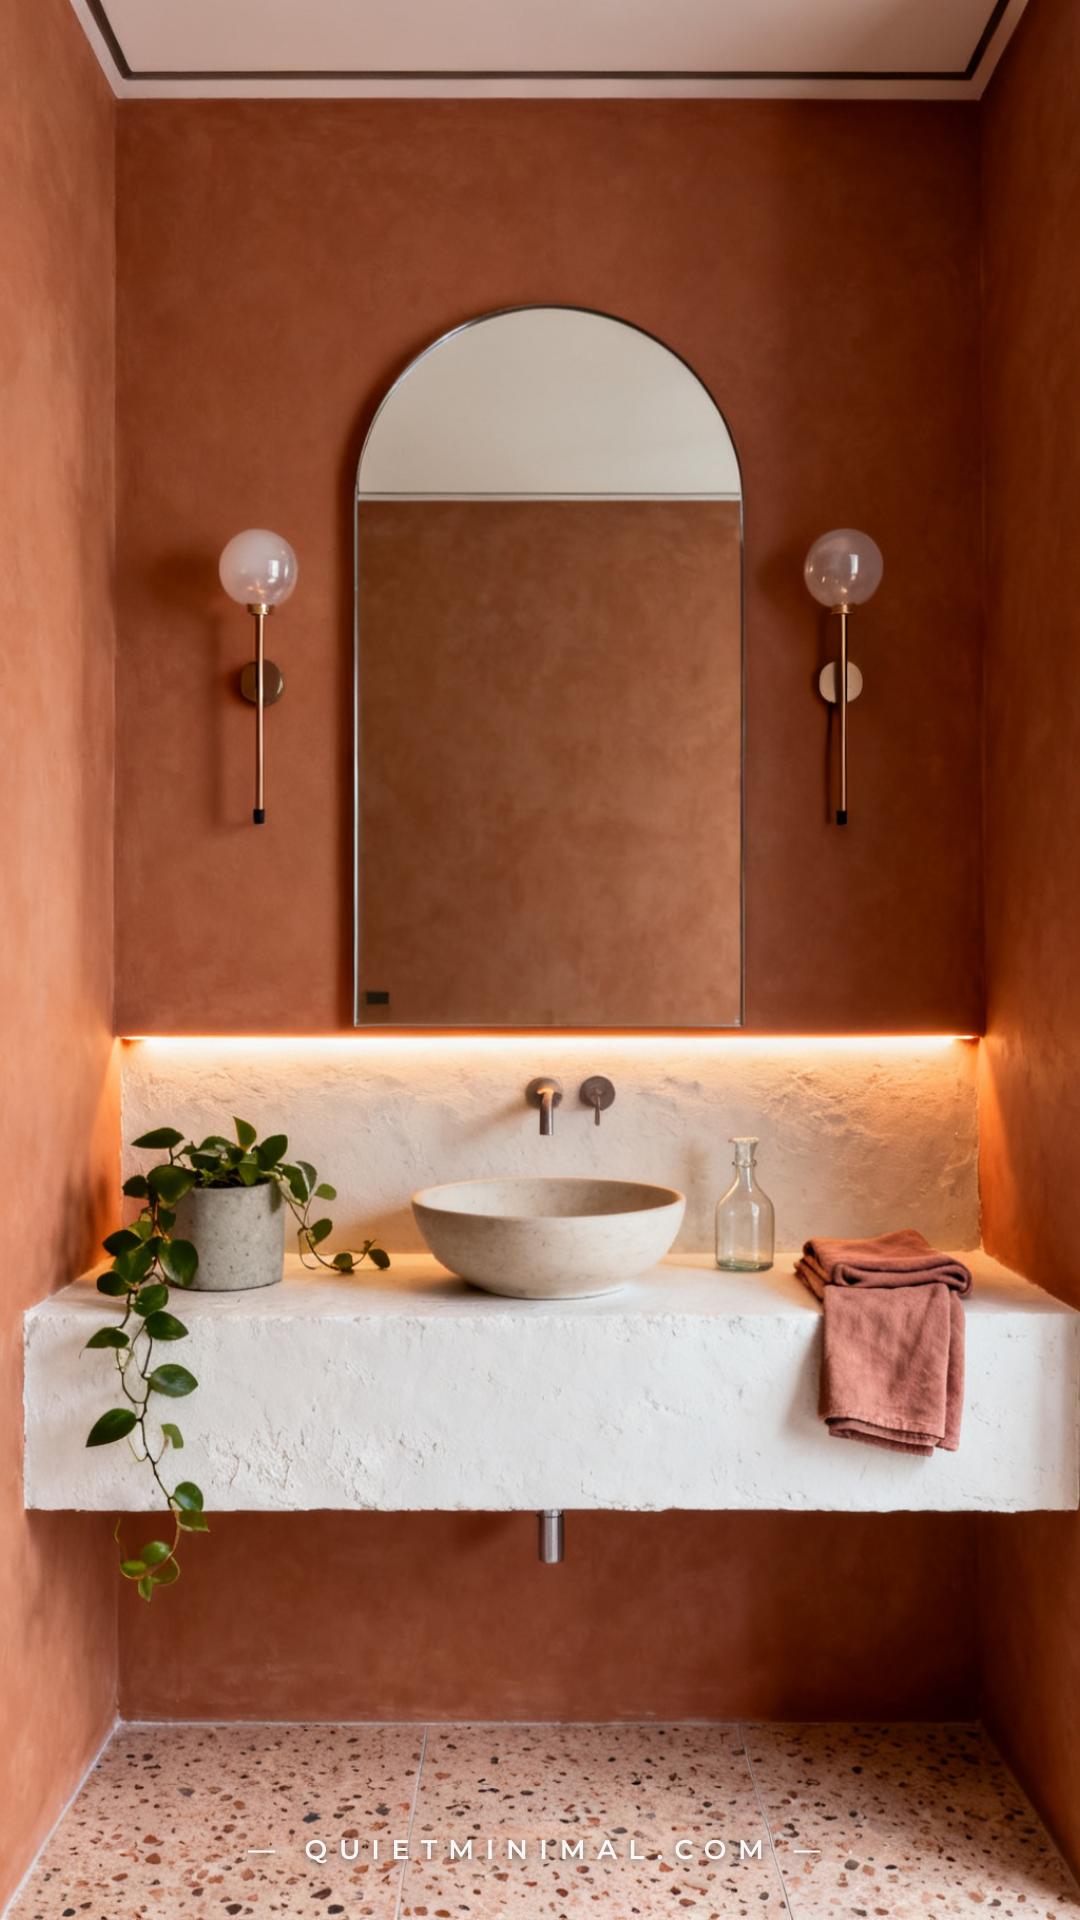
10. Layering Two Sources: The Combination Approach That Professionals Use
 Save
The reason professional bathroom designs always look better than DIY setups isn’t the quality of individual fixtures — it’s the layering. Any one of the nine ideas above improves on overhead-only lighting. Combining two transforms the bathroom. The classic professional pairing is side sconces (the key light) plus a backlit mirror or under-shelf strip (the fill light). The sconces do the heavy directional work; the fill source eliminates the residual shadows the sconces can’t reach.
For the combination to work, both sources need to be on separate switches or dimmers. The key light (sconces) runs higher; the fill runs lower. In the morning, you use both. In the evening, the fill alone creates a softer, ambient bathroom environment that’s genuinely nicer to be in. This is the principle behind hotel bathroom lighting — it’s not that the fixtures are expensive, it’s that there are always at least two independently controlled sources working together.
Key Takeaway: The professional standard is a two-source system — a key light (side sconces) plus a fill light (backlit mirror or under-shelf strip) on separate dimmers, each dialed to complement the other.

The overhead fixture in your bathroom isn’t going anywhere, and you don’t have to remove it — but it doesn’t have to do all the work. Any one of these ten approaches will give you noticeably more flattering, more functional vanity lighting than a ceiling can alone. If you’re starting from scratch, begin with plug-in side sconces flanking your mirror at eye level. It’s the highest-impact, lowest-commitment change in the group, and everything else — a backlit mirror, under-shelf strips, a layered second source — builds naturally from that foundation. Good vanity lighting isn’t about the fixture style. It’s about where the light lands relative to your face. Get that right, and everything else is just finishing.
From the guides
You've saved it, wanted it. Here's the how: codes, measurements, order. Your choices make it yours.
The Japandi Honest PlaybookThe honest version of the style: what to keep, what to skip, and the order to do it in.See inside →The Room Refresh PlaybookA repeatable four-step method, room by room, in ten minutes, thirty minutes, or one weekend.See inside →Make Any Room Feel Cozy on PurposeWhy some rooms hold people and others empty out, and the moves that change it.See inside → Save


