 Georgia
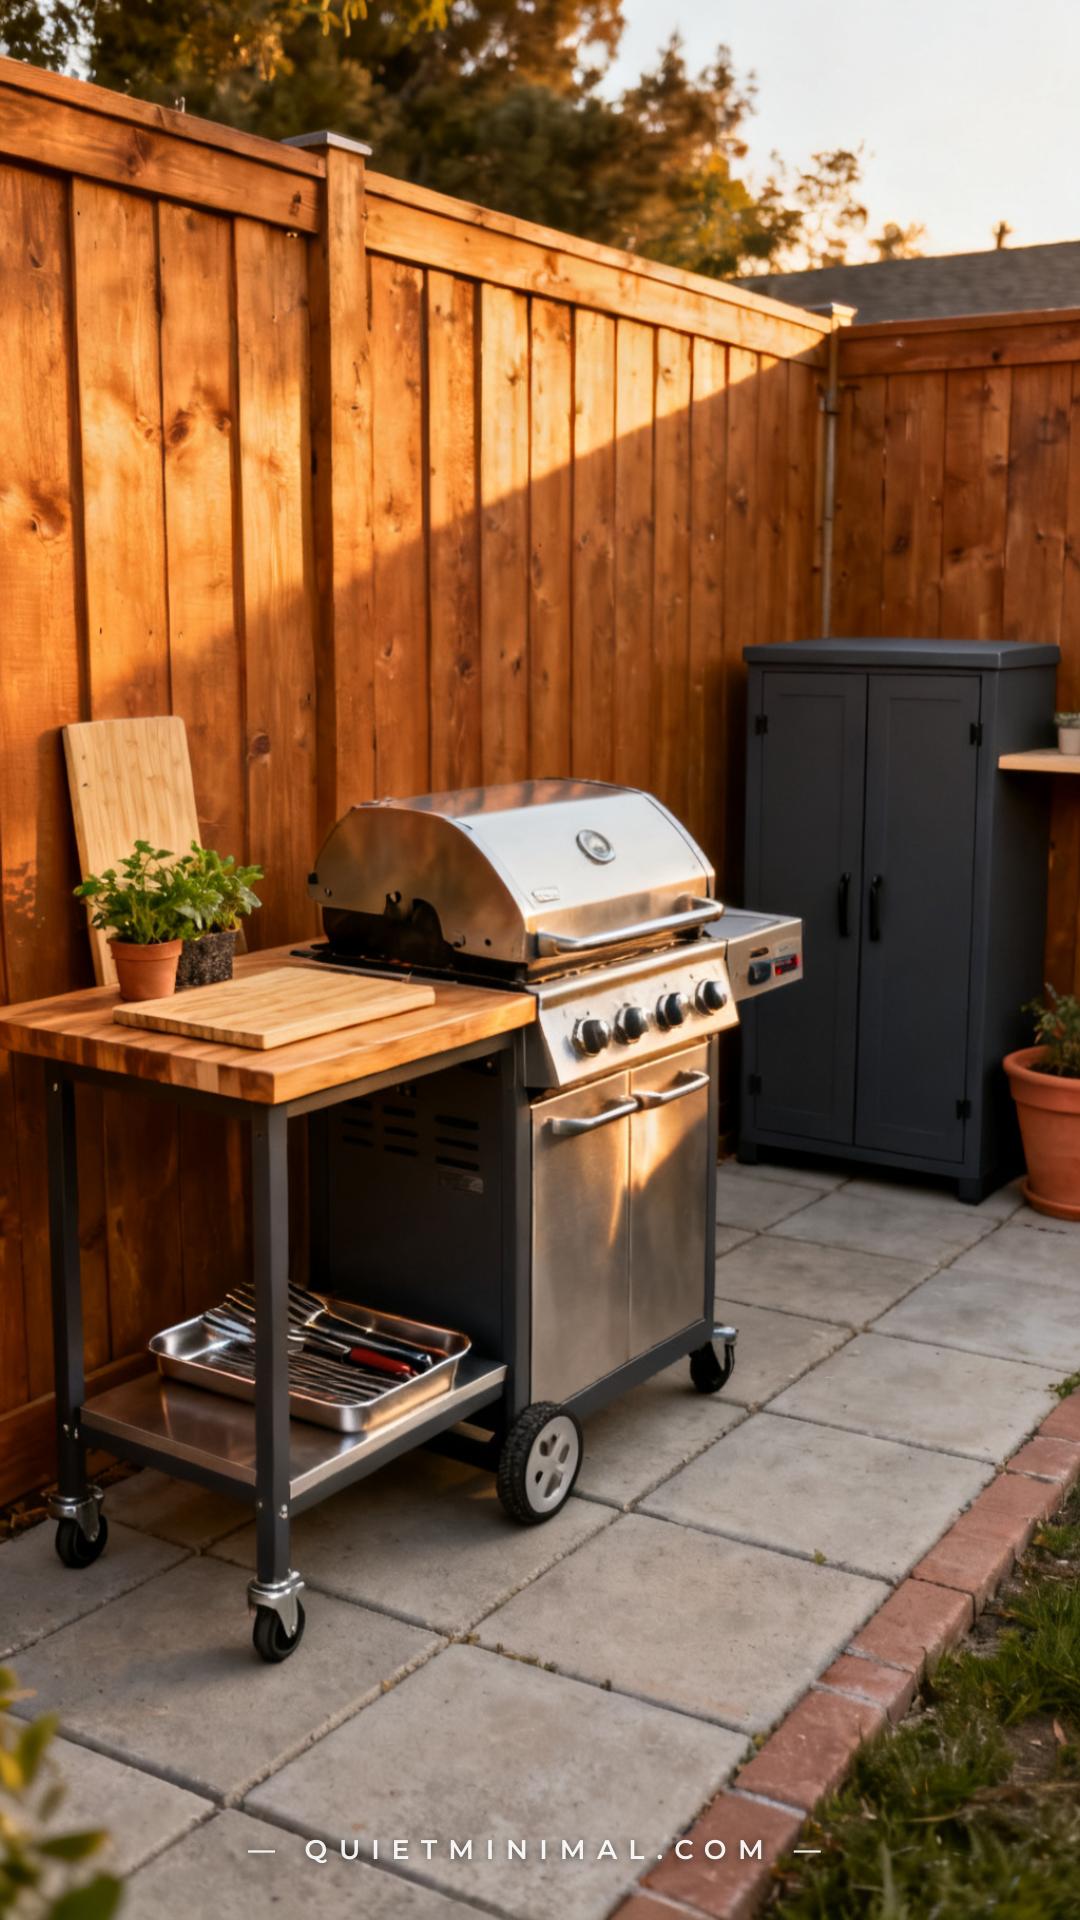
If you have a grill but nothing else, you already know the problem. There’s nowhere to set the cutting board, no place to rest the tongs, and the propane tank is just sitting on the ground next to a bag of charcoal you’ve been stepping over for three weeks. A good BBQ grill setup for your backyard isn’t just about the grill itself — it’s about the cart, the prep surface, and the storage unit working together so you’re not running back inside every five minutes. This guide breaks down 12 specific setup ideas that solve the real logistical problems, with product picks that actually exist and a layout logic you can copy whether you have a sprawling yard or a tight patio corner.
1. The Three-Zone Rule: Grill, Prep, Storage — Always in That Order
 Save
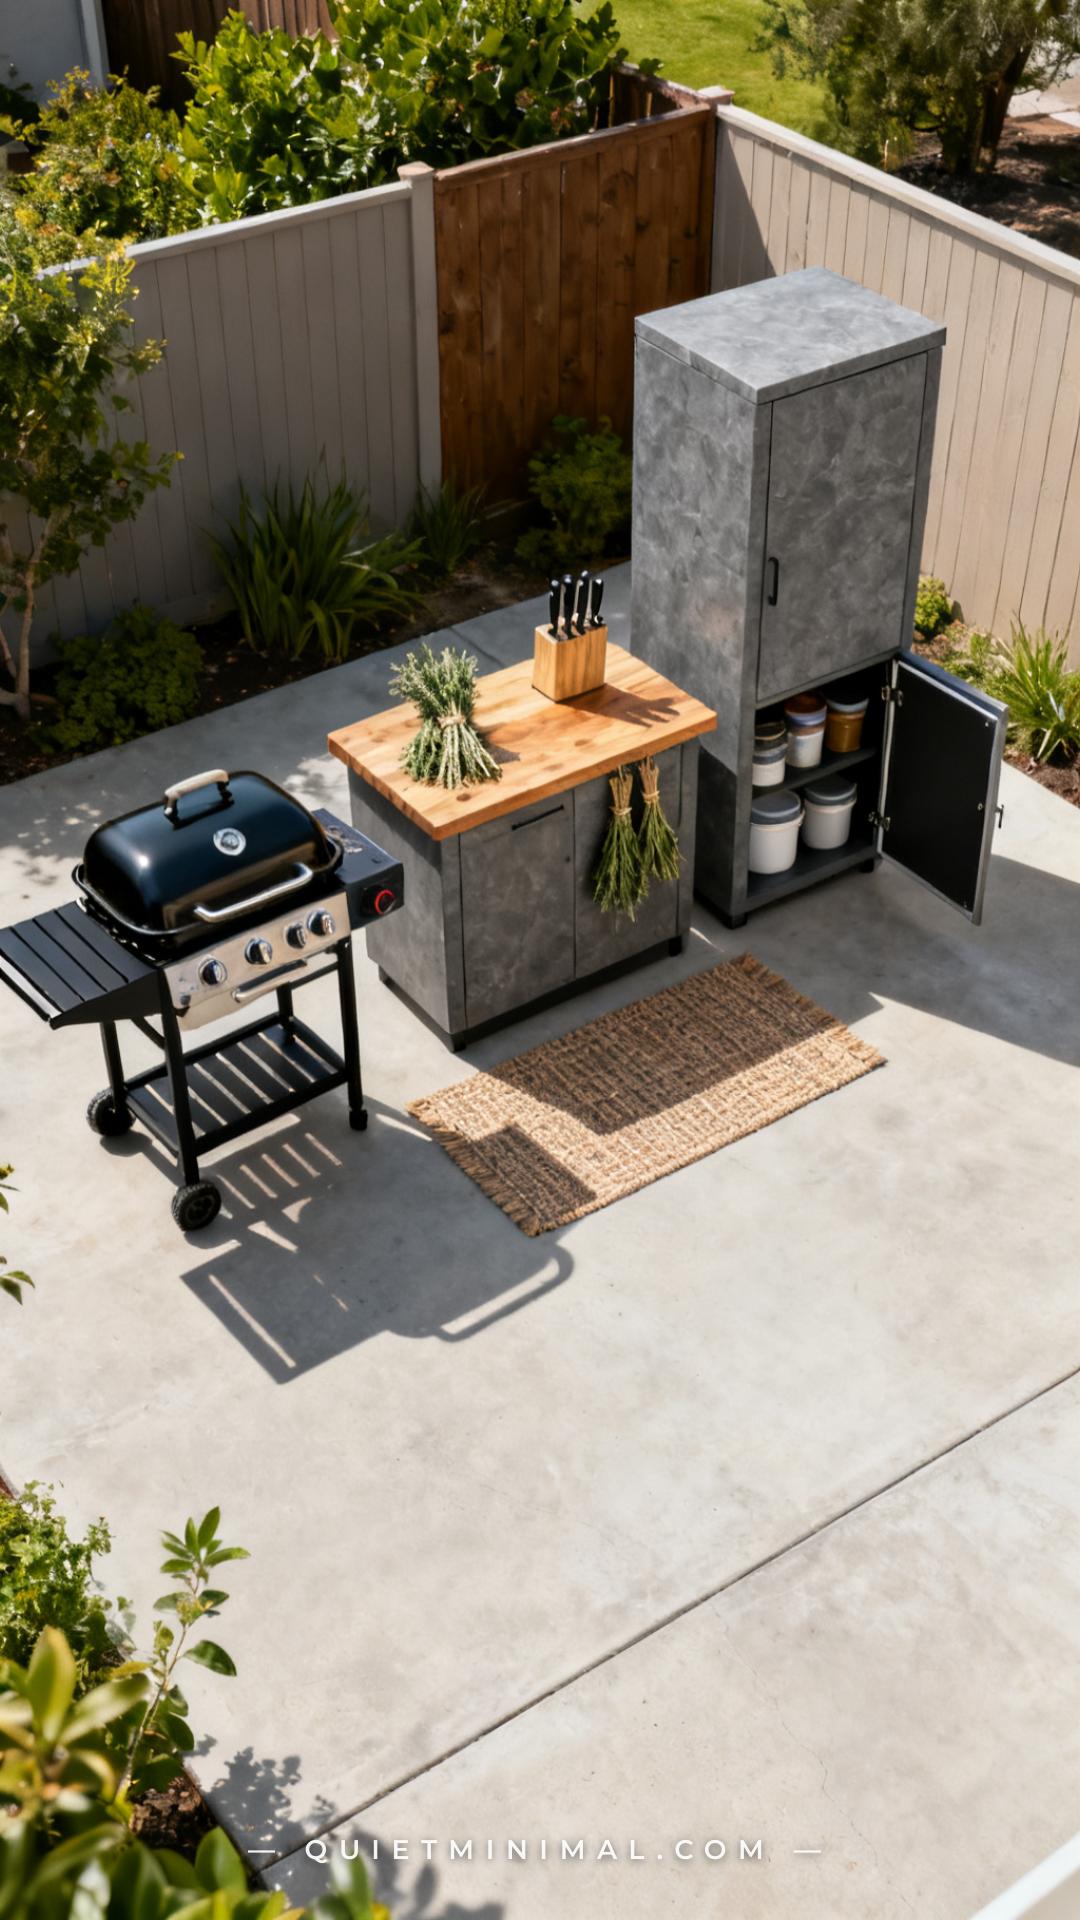
Most backyard BBQ setups fail because the zones are in the wrong order or missing entirely. The correct sequence runs grill, prep surface, storage — ideally left to right if you’re right-handed, right to left if you’re left-handed. The logic is simple: raw food comes out of storage, moves to the prep surface, and goes directly onto the grill without you carrying it across the patio. Reversing that order means you’re constantly crossing traffic and setting things down on the lid of the grill, which is both unsafe and frustrating.
Keep each zone physically distinct but close enough that everything is within arm’s reach. A gap of 12 to 18 inches between units is ideal — enough to open cabinet doors and cart drawers without units blocking each other. If your patio is narrow, put the storage unit at a 90-degree angle to the prep table rather than in a straight line.
From the guides
You've saved it, wanted it. Here's the how: codes, measurements, order. Your choices make it yours.
 The Japandi Honest PlaybookThe honest version of the style: what to keep, what to skip, and the order to do it in.See inside →
 The Room Refresh PlaybookA repeatable four-step method, room by room, in ten minutes, thirty minutes, or one weekend.See inside →
 Make Any Room Feel Cozy on PurposeWhy some rooms hold people and others empty out, and the moves that change it.See inside →
Key Takeaway: Before buying anything, decide on your three-zone layout on paper — the physical order of grill, prep, and storage determines every product choice that follows.

2. Choosing a Grill Cart With Built-In Side Shelves
 Save
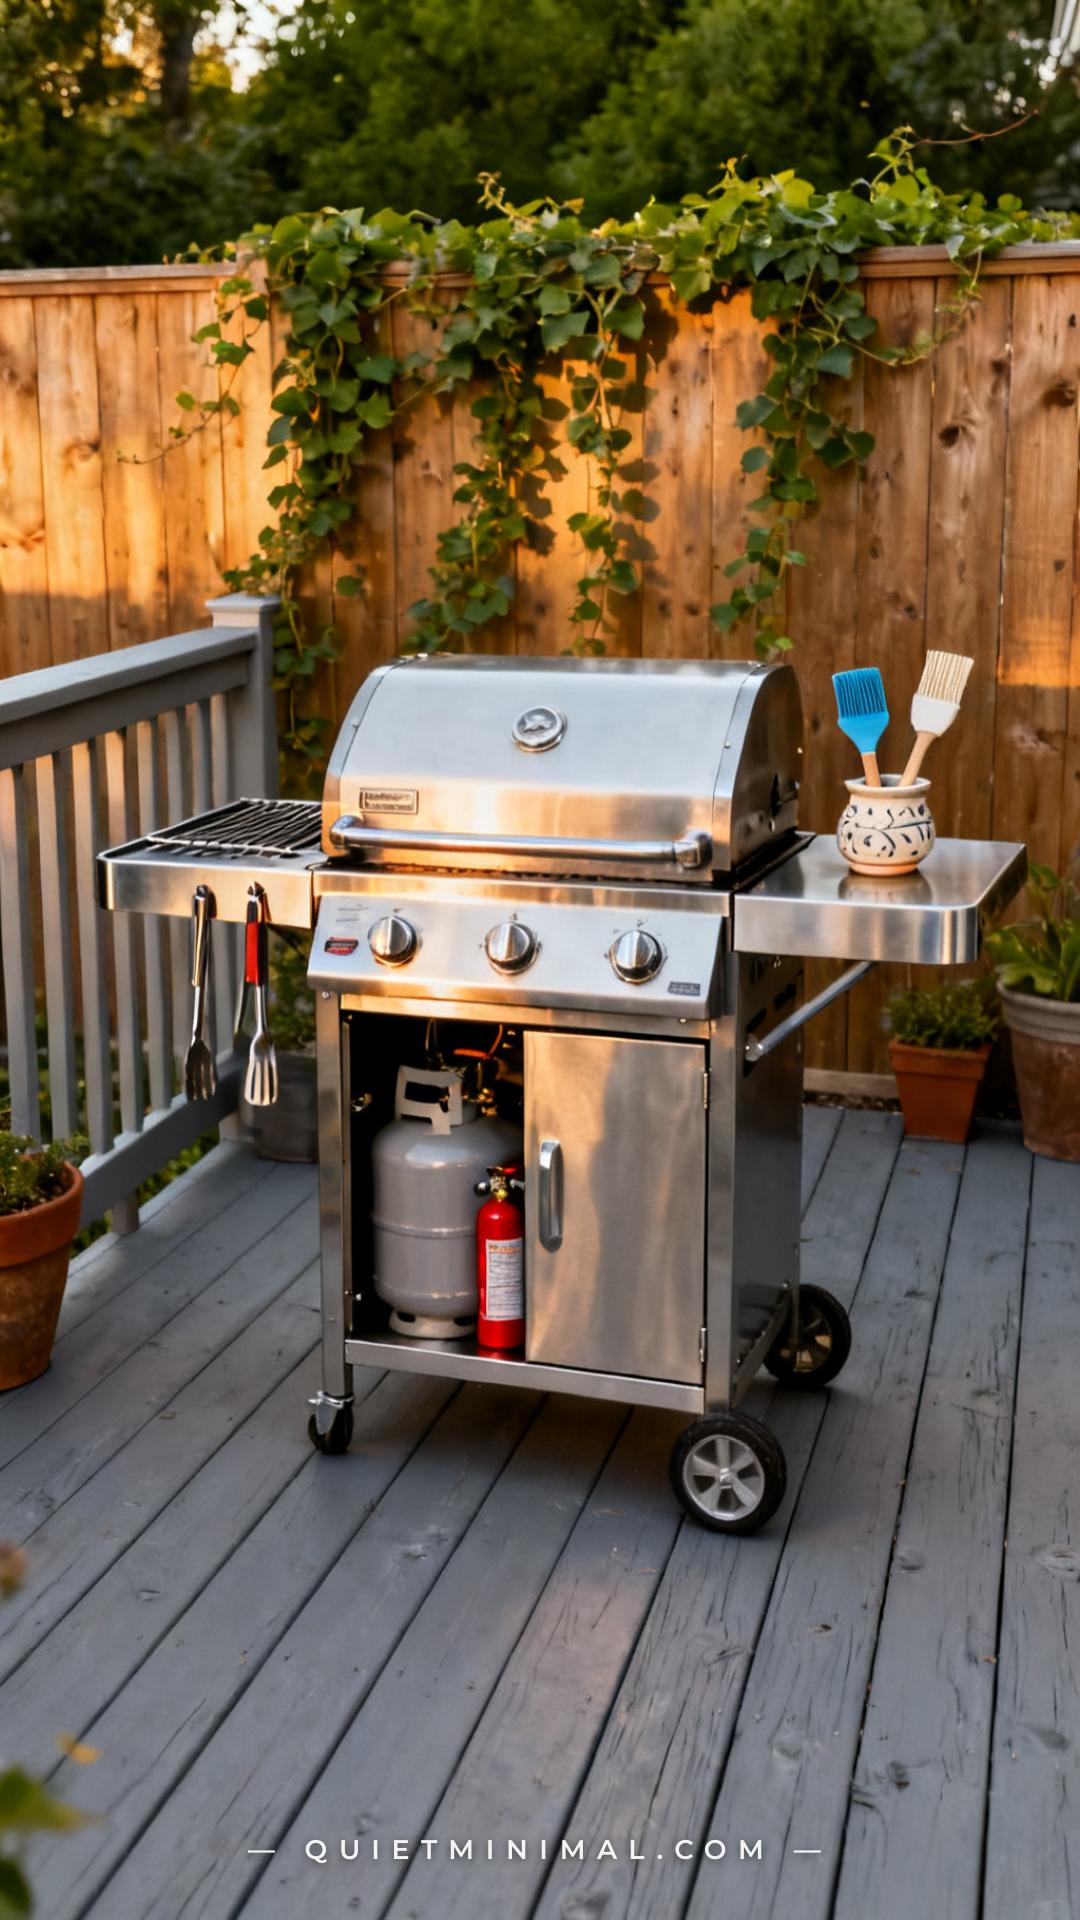
The grill cart itself is your first infrastructure decision, and the built-in side shelves are non-negotiable. A grill without attached side surfaces forces you to buy a separate prep table and push it up against the grill — which wastes space and looks disjointed. Look for a cart with at least one foldable side shelf at grill height, a lower cabinet or shelf for propane storage, and locking casters so it doesn’t roll when you’re working.
Weber’s Spirit and Genesis carts are the benchmark here — they’re designed so the side tables are structural, not bolted on as afterthoughts. Budget-friendly alternatives from Dyna-Glo and Royal Gourmet offer fold-down side shelves with hook rails, which give you a place to hang tools without a separate holder. The key spec to check: make sure the side shelves are rated for at least 20 lbs so they can hold a full platter.
Key Takeaway: Buy a grill with integrated side shelves from the start — retrofitting a cart setup around a shelf-free grill always costs more in the long run.

3. The Butcher Block Prep Table on Casters
 Save
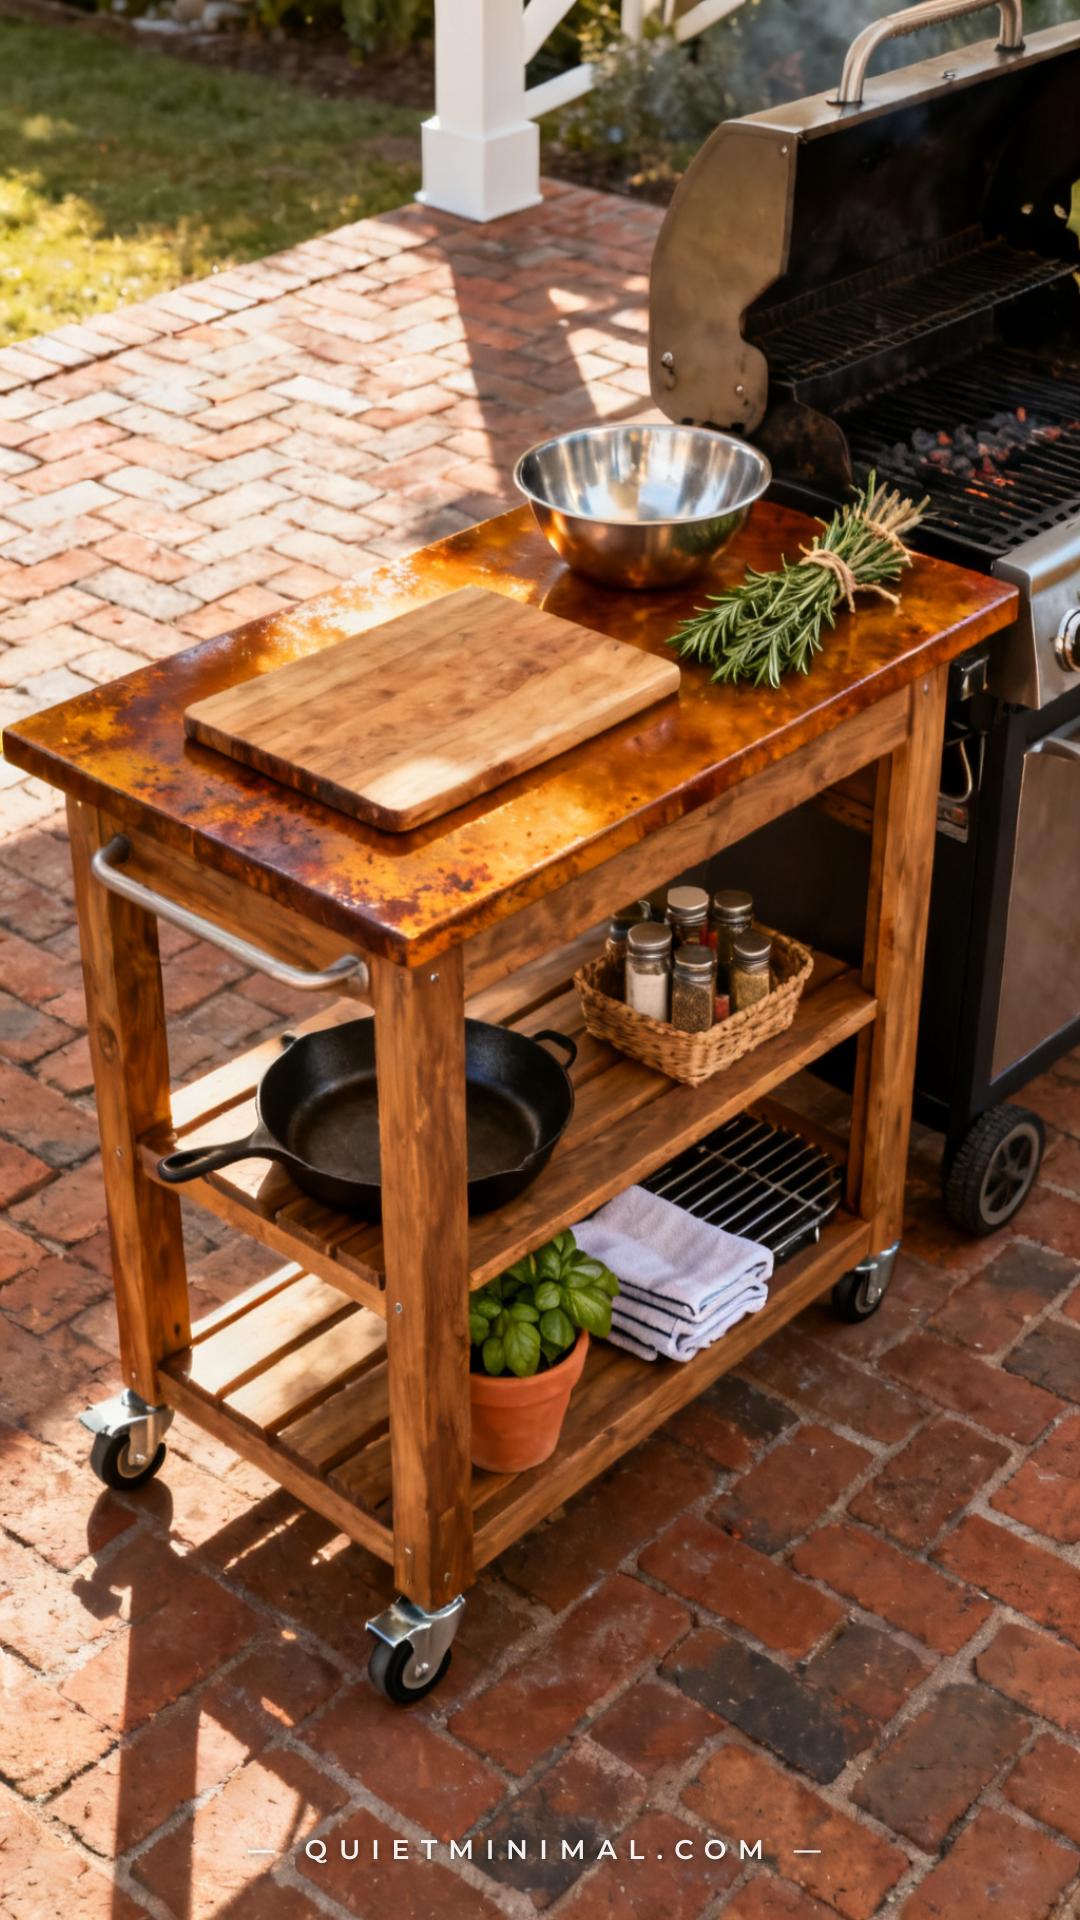
A butcher block prep table on casters is the single most versatile piece you can add to a BBQ grill setup. It rolls, it cuts, it holds platters, and it looks good in every backyard aesthetic from farmhouse to modern industrial. More importantly, it puts a dedicated cutting surface at grill height — which eliminates the habit of using the grill lid or side shelf as an improvised cutting board.
Choose a table with a lower shelf rather than a solid base — the shelf is where you store your cast iron skillet, your sheet pans, and your seasoning basket so they’re within arm’s reach. Teak and acacia wood tables are popular for outdoor use, but they require regular oiling to hold up in direct sun and rain. A sealed butcher block with a food-safe polyurethane finish is more weather-tolerant if you don’t want to commit to regular maintenance. Check that the casters lock individually — two-wheel locking (diagonal corners) is fine; all-four locking is better.
Key Takeaway: A butcher block prep table on locking casters gives your setup a dedicated work surface that moves when you need it to and stays put when you don’t.

4. Modular Outdoor Storage Cabinets That Match Your Grill Cart
 Save
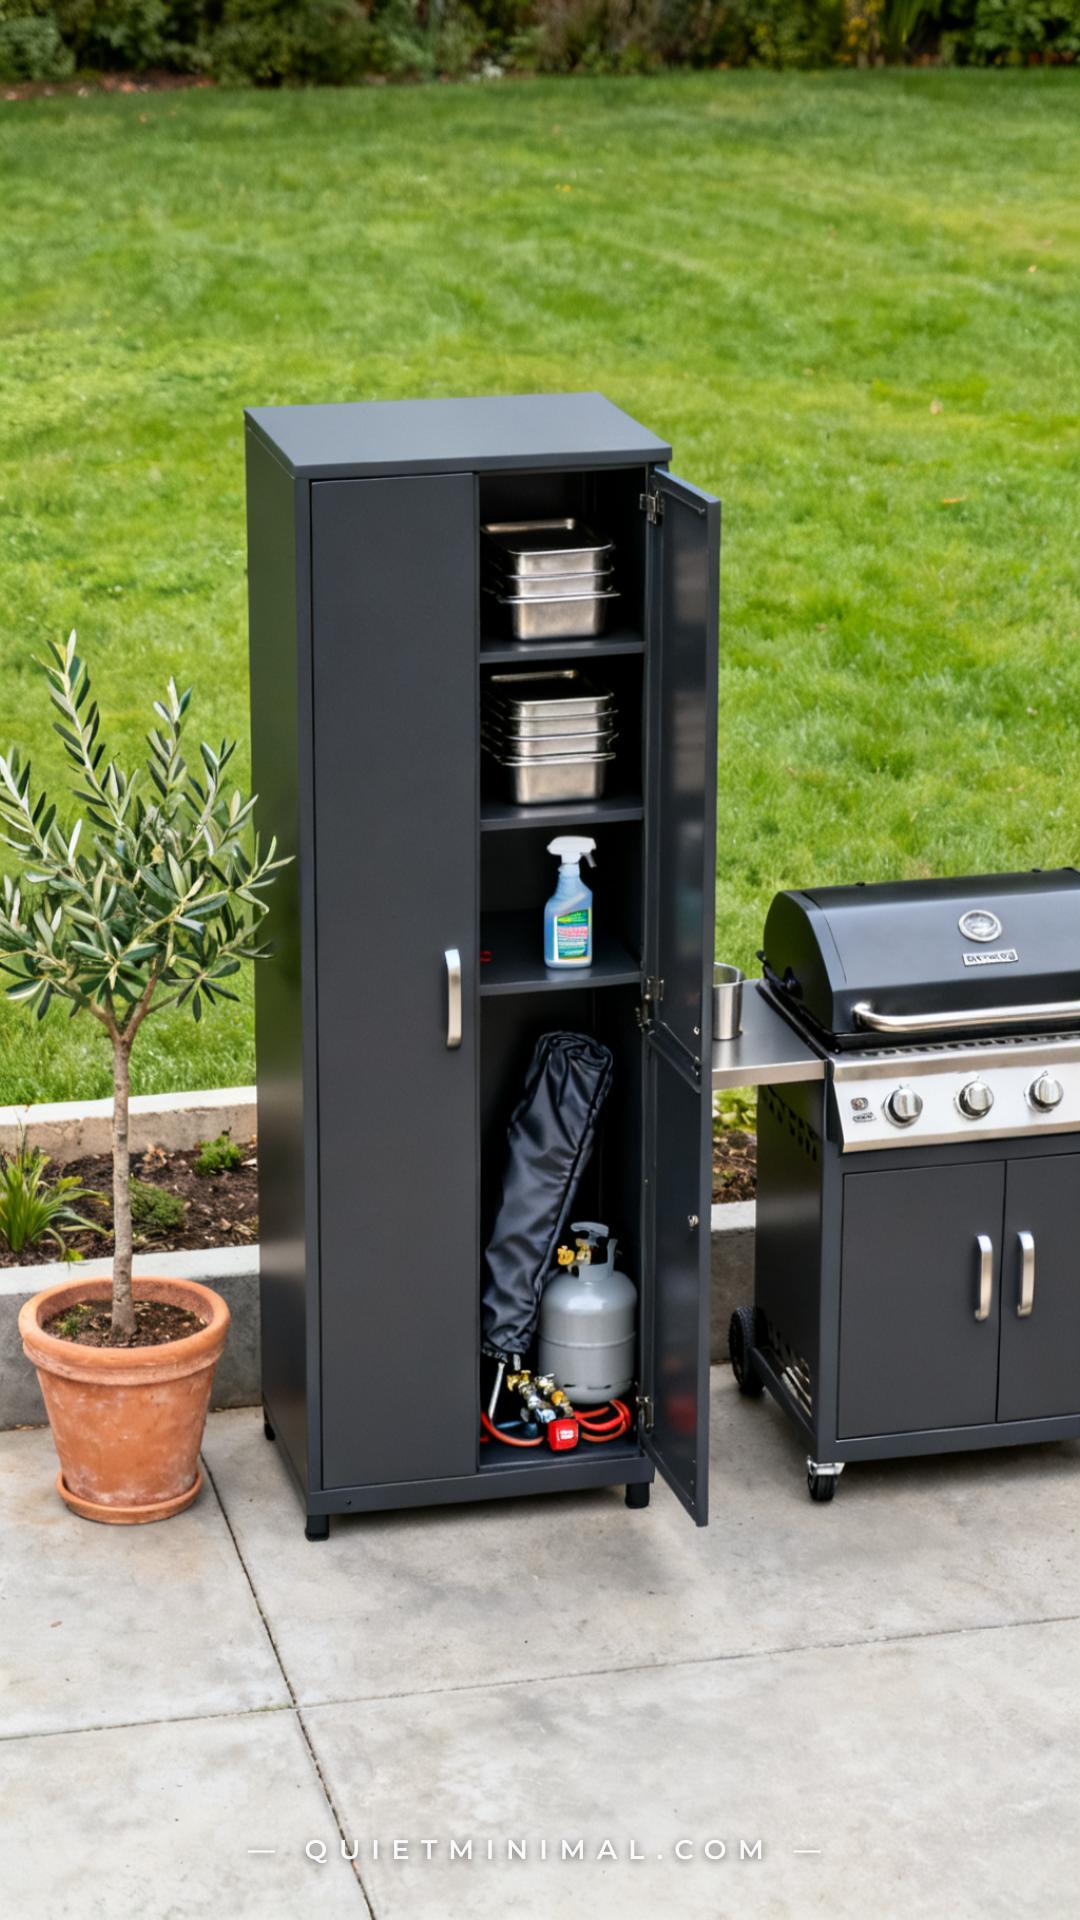
Matching your storage cabinet finish to your grill cart is what separates a curated outdoor kitchen zone from a random patio pile. The most common mistake is buying mismatched furniture — a black grill cart with a brown wicker storage unit and a wood prep table — and ending up with a chaotic look that photography sites and real-life guests both notice immediately. Stick to one material story: powder-coated steel, or natural wood, or a deliberate mix of the two.
For steel setups, Keter’s outdoor storage cabinets are weather-rated and come in neutral dark gray tones that pair cleanly with most grill carts. Sunnydaze also makes double-door outdoor utility cabinets at a lower price point with good shelf weight ratings. Whatever you choose, verify the interior shelf rating — you’ll be storing propane connections, cleaning supplies, and potentially a full 20-lb propane tank, so anything under 50 lbs per shelf is a problem.
Key Takeaway: Match the finish of your storage cabinet to your grill cart and you’ll get a cohesive outdoor kitchen look that required zero design background to achieve.

5. A Side Table With a Built-In Paper Towel Holder and Hook Rail
 Save
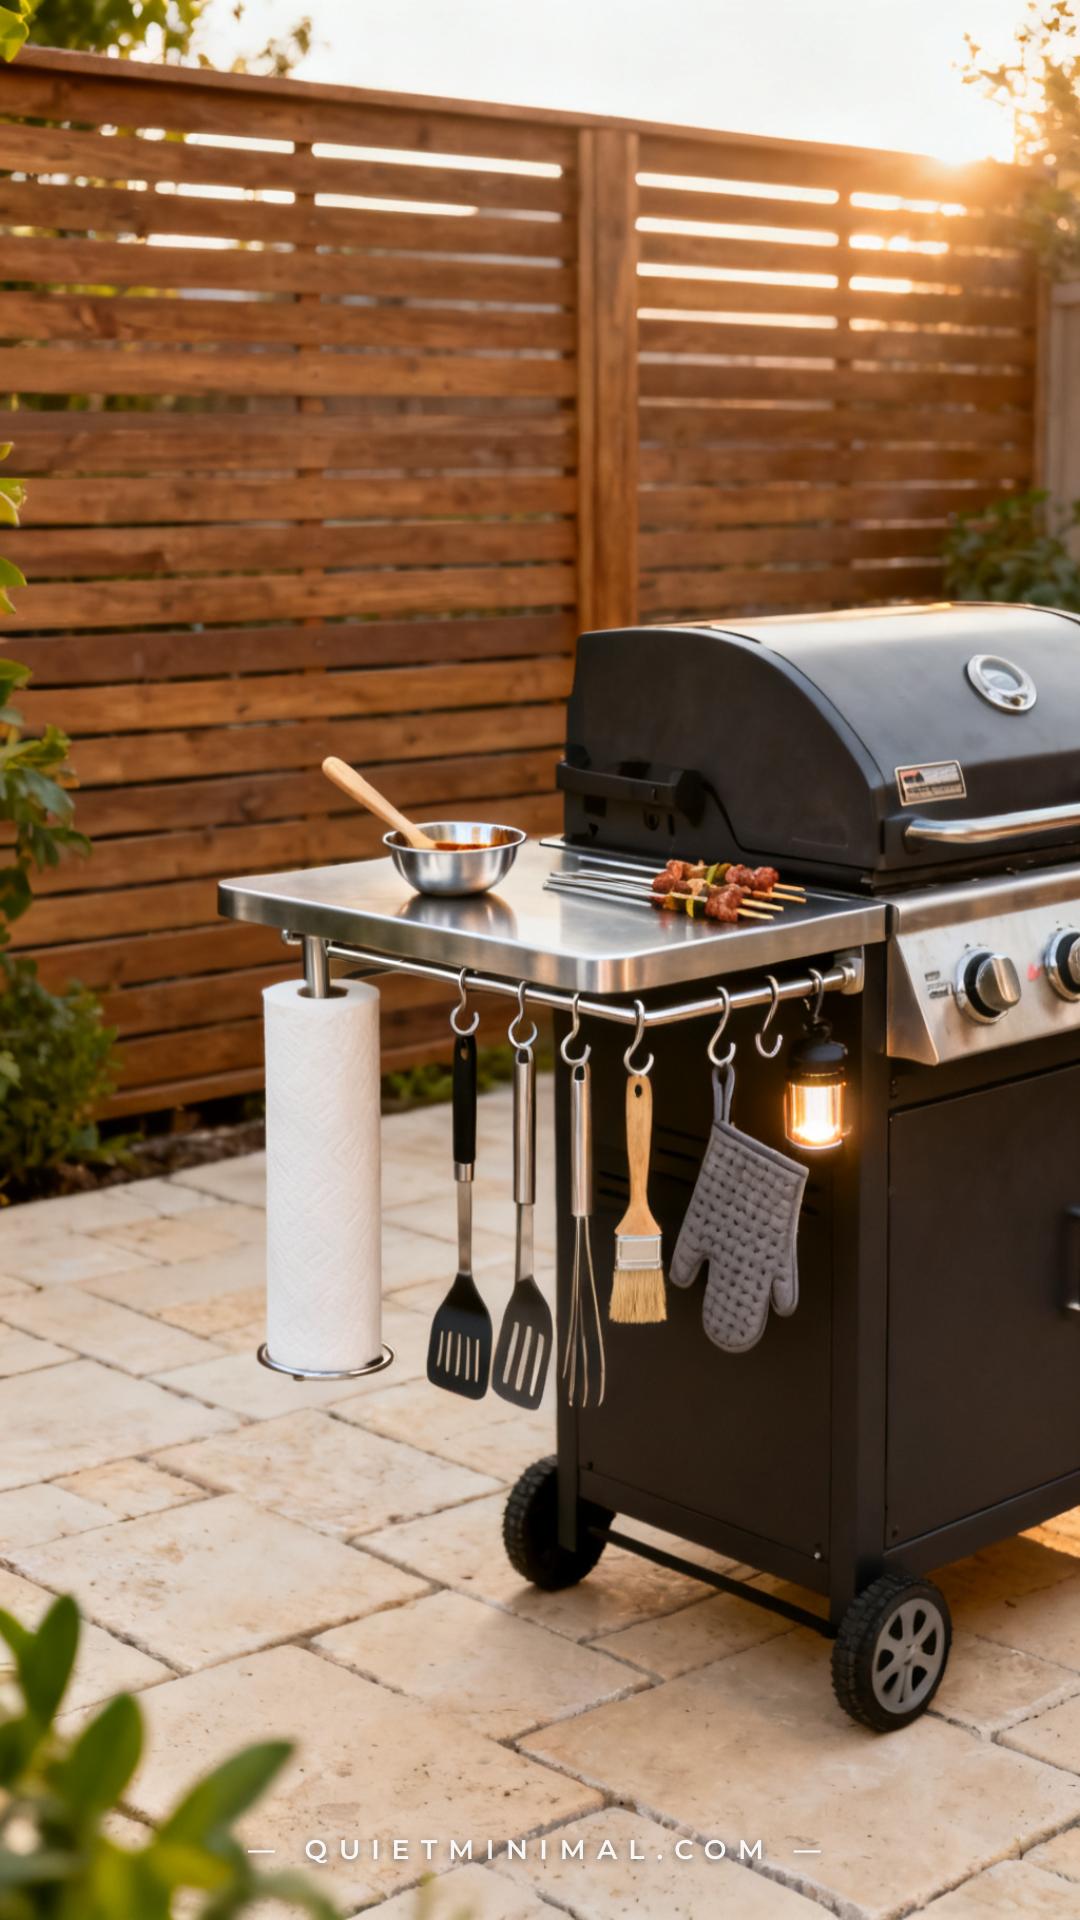
Once you have the grill and the prep table, the next most functional upgrade is a side table or shelf with a built-in paper towel holder and a hook rail. This one piece solves the three most common mid-cook frustrations: grabbing a paper towel with greasy hands, finding the tongs when they’ve been set down somewhere, and having nowhere to hang the grill light. These aren’t luxury problems — they’re friction points that make outdoor cooking feel harder than it should be.
Several brands offer side tables designed specifically to bolt or clamp onto a grill cart’s side shelf bracket. If your cart doesn’t support a bolt-on attachment, a freestanding narrow side table (under 12 inches deep) with a built-in towel holder and rail works just as well. Look for stainless steel construction so it doesn’t rust. The hook rail should have at least five hooks with weight ratings — cheap single-diameter hooks lose their grip on heavy cast iron tools.
Key Takeaway: A side table with a paper towel holder and hook rail costs very little but removes the three biggest mid-cook friction points from your BBQ setup.

6. Propane Tank Storage: The Piece Most Setups Get Wrong
 Save
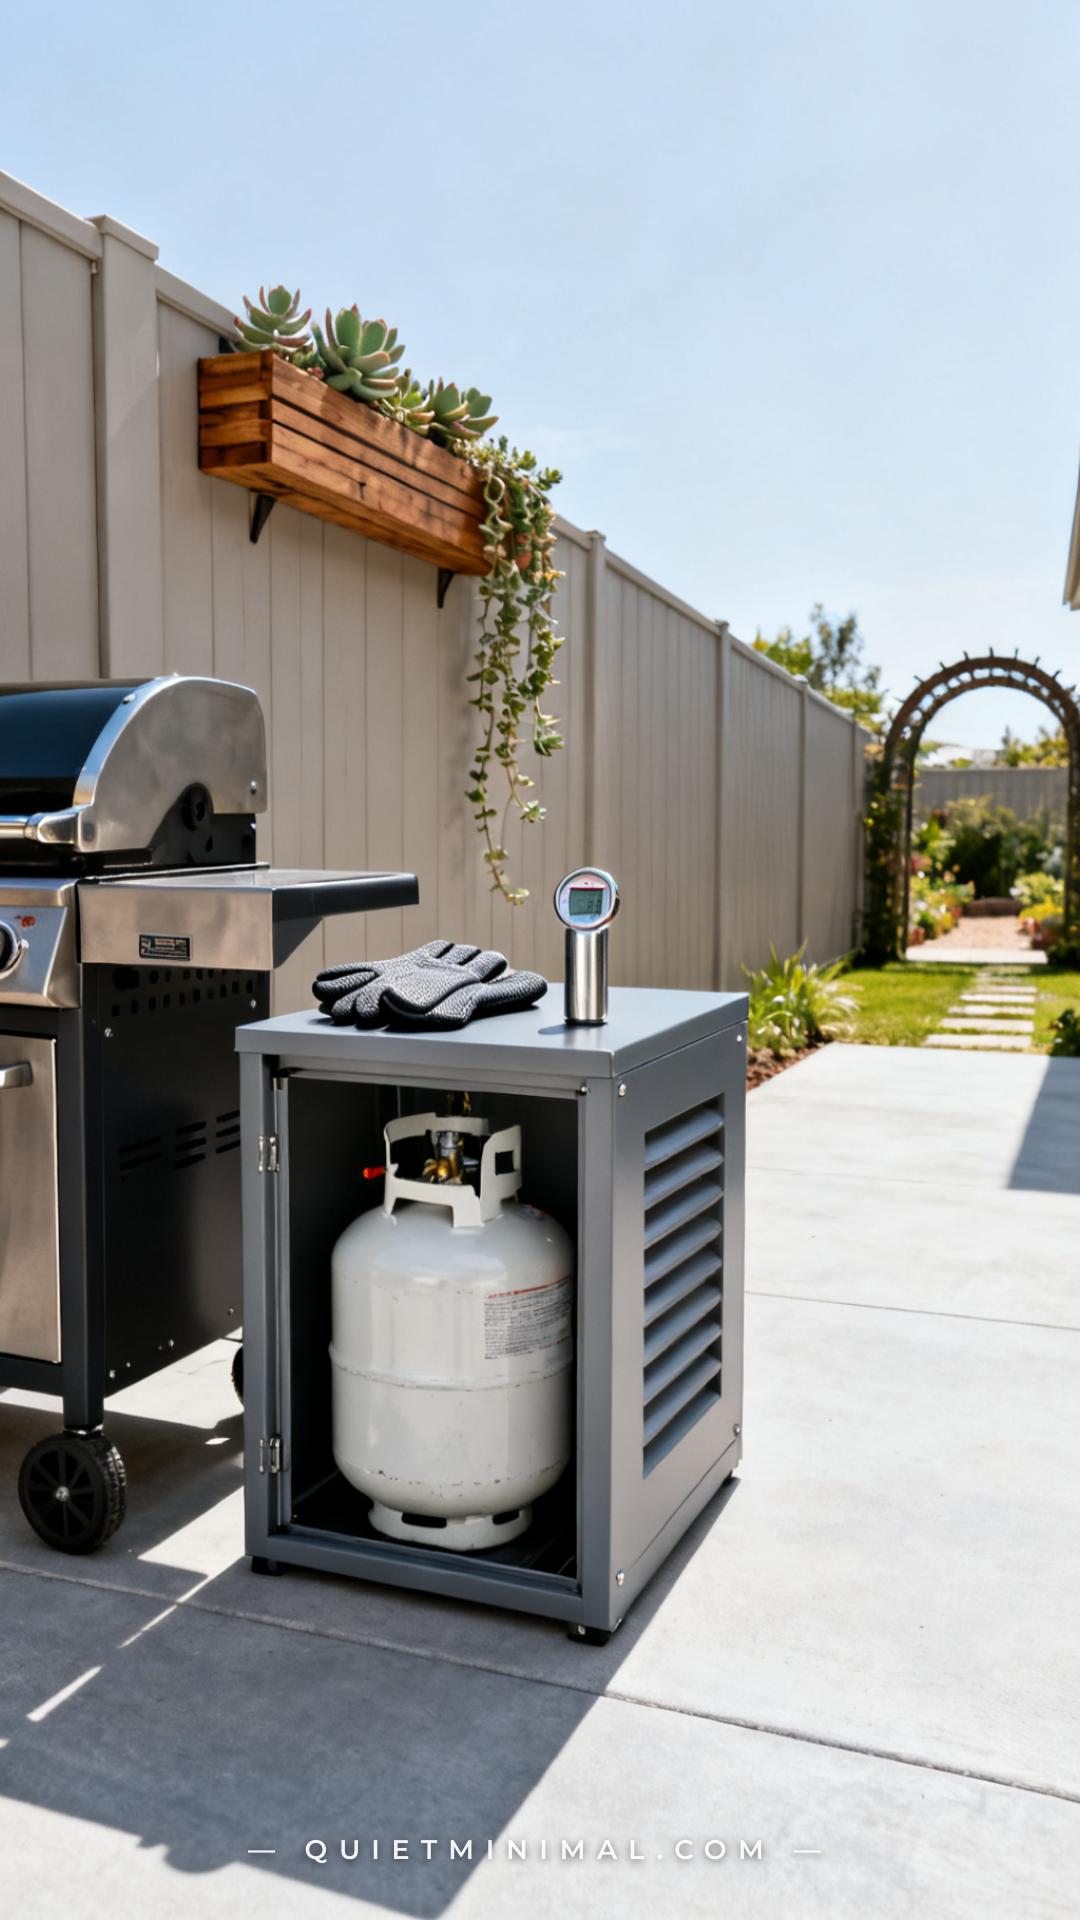
Propane tank storage is the part of a BBQ grill setup that most Pinterest articles skip entirely because it’s not photogenic — but it’s also the part that makes or breaks the safety and visual tidiness of the zone. A propane tank sitting exposed on the ground next to the grill looks unfinished, collects heat in direct sun, and creates a tripping hazard. A proper tank enclosure or storage base solves all three problems at once.
Look for a vented steel enclosure rated specifically for propane or natural gas use — the ventilation is not optional, it’s a safety requirement. Several grill manufacturers build an enclosed base directly into the cart design (Weber’s cart bases are the best example), but if your grill doesn’t have one, standalone propane tank enclosures are available from Char-Broil and several aftermarket brands. These sit low to the ground, have a clean exterior that can double as a small side surface, and make the whole zone look intentional rather than improvised.
Key Takeaway: Store your propane tank in a vented enclosure, not on the open ground — it’s a safety requirement and the single biggest visual cleanup move in any BBQ setup.

7. A Rolling Beverage Cart That Doubles as a Serving Station
 Save
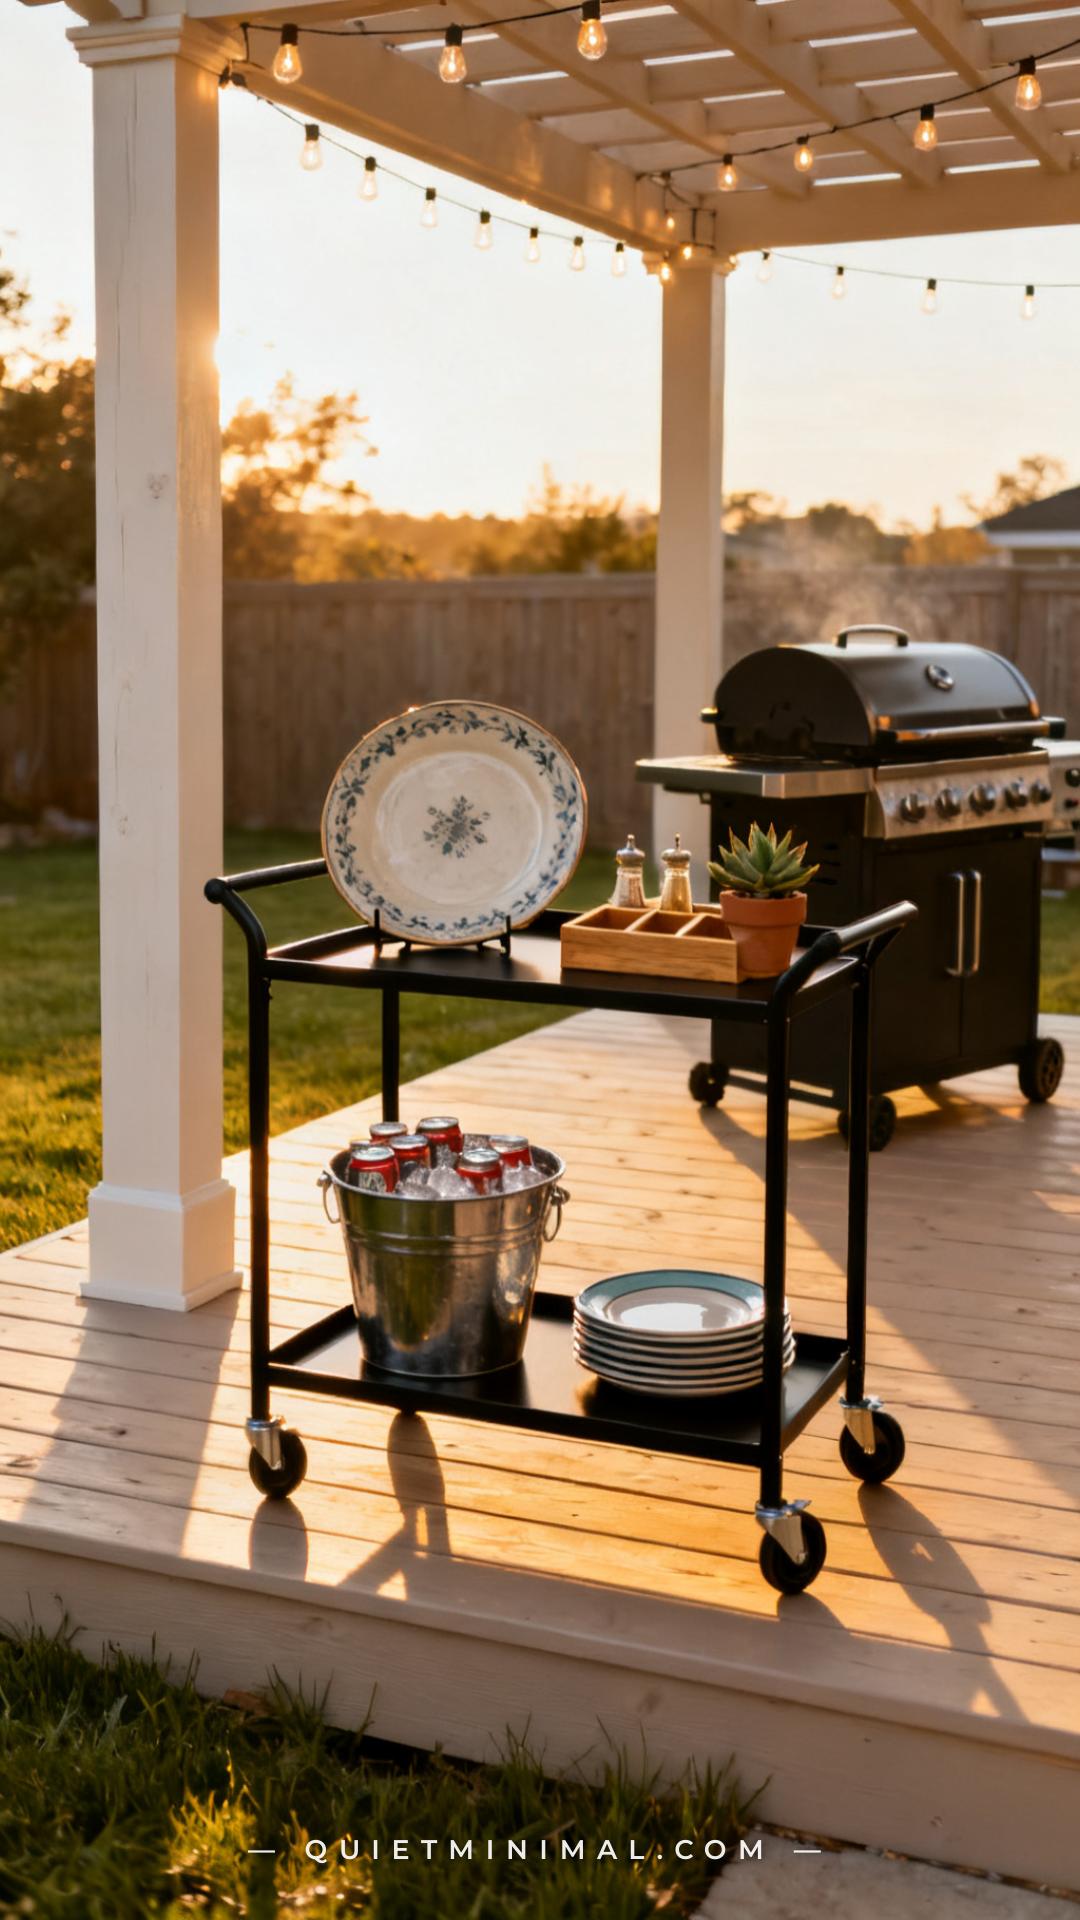
A rolling beverage cart is a functional extension of the BBQ setup that most outdoor kitchens underutilize. Rather than having guests crowd around the grill for drinks or setting drinks on the prep table (where they get in the way), a separate beverage cart creates a natural social anchor point a few feet away from the cooking zone. It doubles as a serving station when the food is ready — the top shelf holds platters and condiment caddies, the lower shelf holds drinks or plates.
The key to making this work is keeping the beverage cart on the opposite side of the prep table from the grill, so it anchors the far end of the three-zone setup. Choose a finish that complements your grill cart — matte black is the most versatile neutral, and powder-coated steel weathers well outdoors. If your patio is small, look for a narrow-profile cart (under 16 inches deep) that doesn’t block traffic flow. Add a set of casters with rubber wheels if your patio surface is textured stone or composite decking.
Key Takeaway: Position a rolling beverage cart at the far end of your three-zone setup to keep guests out of the cooking zone and create a natural serving station when the food comes off the grill.

8. Magnetic Knife Strip and Spice Rack for the Grill Zone
 Save
From the guides
You've saved it, wanted it. Here's the how: codes, measurements, order. Your choices make it yours.
The Japandi Honest PlaybookThe honest version of the style: what to keep, what to skip, and the order to do it in.See inside →The Room Refresh PlaybookA repeatable four-step method, room by room, in ten minutes, thirty minutes, or one weekend.See inside →Make Any Room Feel Cozy on PurposeWhy some rooms hold people and others empty out, and the moves that change it.See inside →Spices and cutting tools are the two items most backyard cooks drag out of the kitchen every single session — and a simple magnetic strip plus a small outdoor-rated spice rack mounted on a fence post or privacy screen eliminates both round trips permanently. This is the upgrade that professional outdoor kitchen designers build into every setup, but most homeowners never think of it until they’ve done the kitchen-to-patio sprint about forty times.
For the magnetic strip, choose stainless steel rated for outdoor use — avoid chrome-plated strips that rust within one season. Mount it on a fence board, a cedar panel, or a dedicated outdoor kitchen panel at grill height so heavy tools stay accessible without cluttering the prep surface. For the spice rack, small wall-mounted stainless or powder-coated racks with adjustable shelves work well; alternatively, a countertop caddy that sits on the lower shelf of the prep table keeps spice jars from blowing over on windy days.
Key Takeaway: Mounting a magnetic knife strip and a small spice rack in the grill zone permanently eliminates the two most common kitchen-to-patio supply runs.

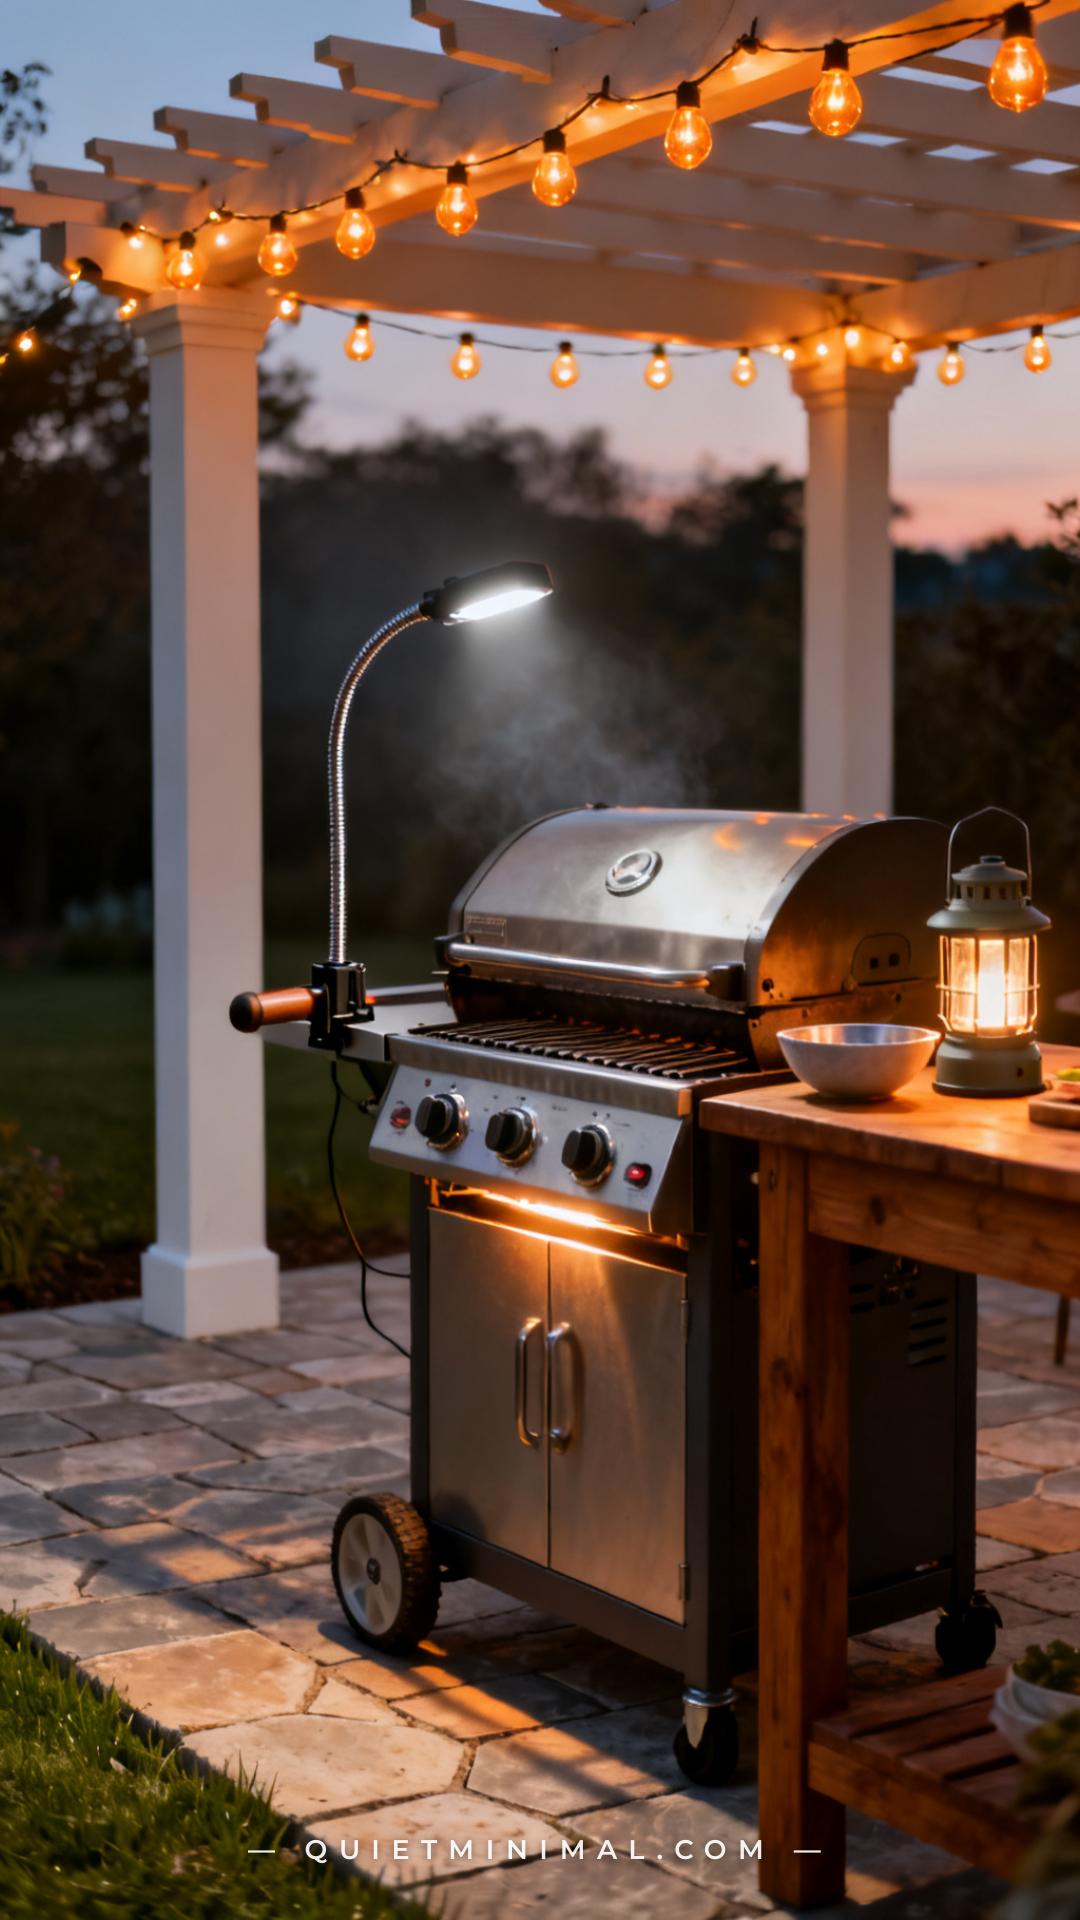
9. Overhead Grill Lighting That Attaches to the Cart or Pergola
 Save
Cooking after 6 p.m. in fall or cooking in a shaded corner of the backyard both have the same problem: the grill surface is in the dark, and lighting the grill with your phone’s flashlight is not a functional long-term solution. A grill light is one of the cheapest, most impactful additions to a BBQ setup — and most people simply forget to add one until they’ve burned a steak because they couldn’t see the internal color.
There are two options: a clamp-on grill light that attaches to the cart handle or side shelf rail, and an overhead string light system on a pergola or bracket. The clamp light is the immediate fix — flexible-neck LED clamp lights with a magnetic base are stable enough to mount above the grate, and many include a temperature sensor that reminds you the grill is still hot after you walk away. For overhead lighting, solar-powered string lights with weatherproof bulbs on a bracket arm or pergola beam add both function and ambiance without requiring an outdoor electrical outlet.
Key Takeaway: A flexible-neck LED clamp grill light solves after-dark cooking visibility immediately and costs less than a single skirt steak.

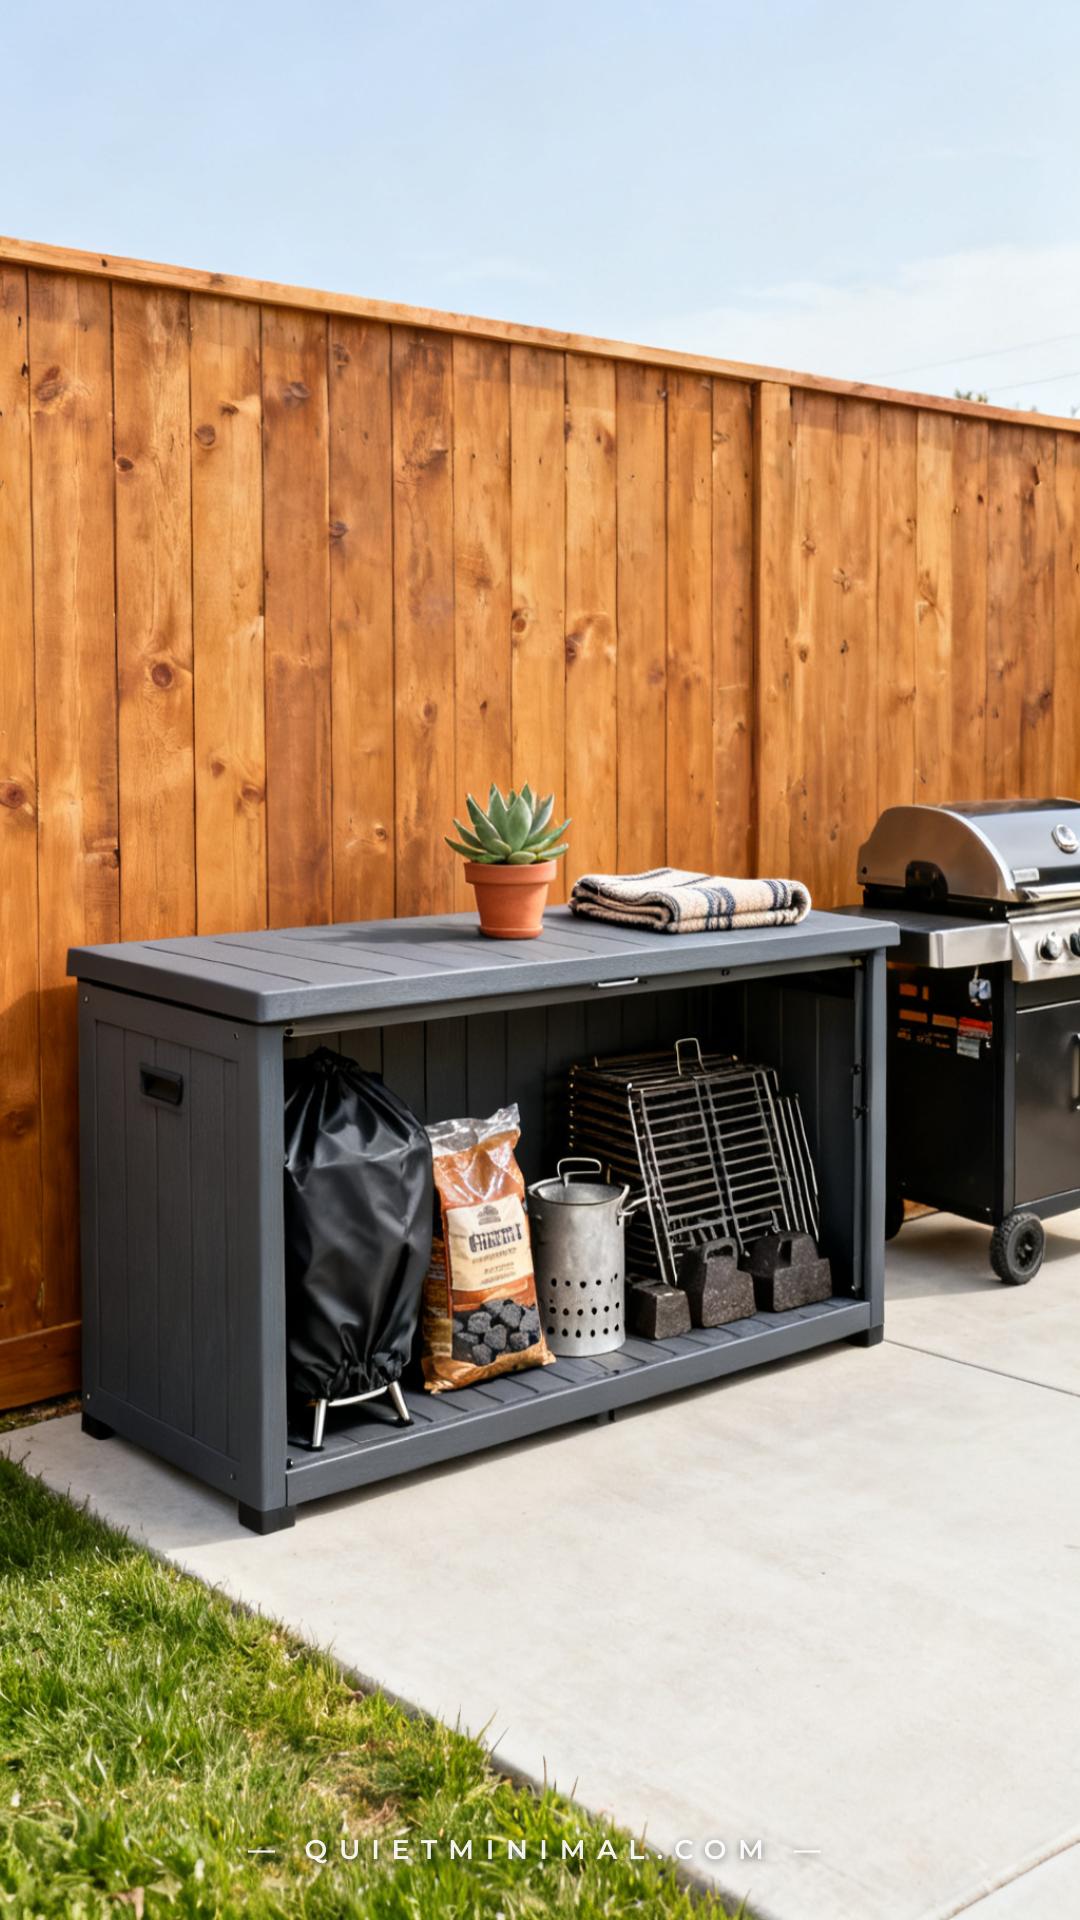
10. Outdoor-Rated Storage for Covers, Charcoal, and Accessories
 Save
Once your three-zone setup is functional, the secondary storage problem emerges: where do you keep the grill cover, the extra bag of charcoal, the chimney starter, and the accessories you don’t need every session? These items are too large for a cabinet and too weather-sensitive to leave out — a proper outdoor storage box or deck box handles all of them at once without taking up vertical space in the cooking zone.
Resin deck boxes from Keter and Suncast are the most weather-resistant options at this scale — they don’t warp, crack, or fade the way wood boxes do after a full summer of sun exposure, and the latching lid keeps moisture and pests out. Size up: a 90-gallon box sounds large until you realize a grill cover, a bag of charcoal, a chimney starter, a folded outdoor rug, and a set of extra grates fill it immediately. Position the deck box just outside the three-zone area — against the fence or along the patio edge — so it doesn’t interfere with the cooking workflow but is still within three steps of the grill.
Key Takeaway: A resin deck box positioned just outside your cooking zone stores everything that doesn’t belong on the prep table and protects it from weather year-round.

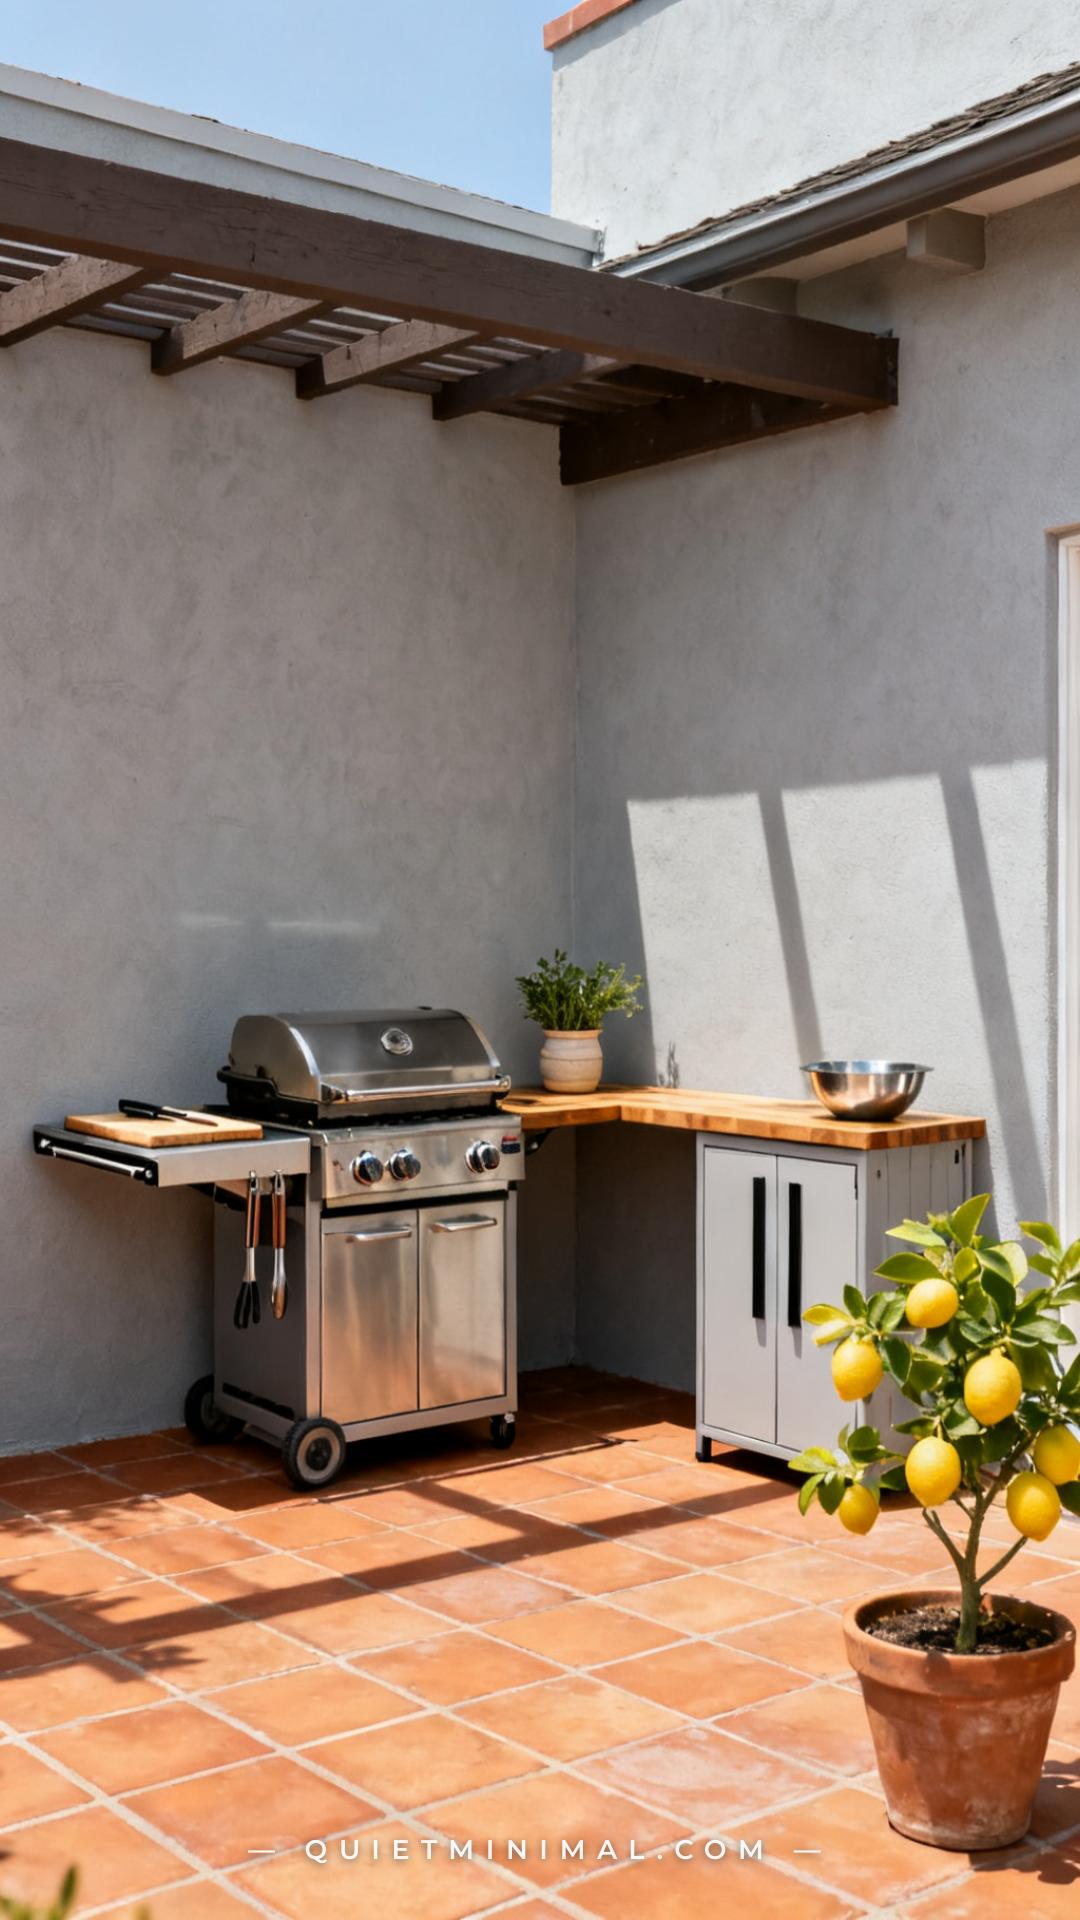
11. The Compact Corner Setup for Small Patios
 Save
Small patio BBQ setups fail when someone tries to scale a large backyard layout into a tight corner — too much space between units, redundant pieces, and zones that overlap rather than connect. A compact corner setup requires a fundamentally different strategy: the grill cart goes flush against one wall, a narrow prep table sits perpendicular in the corner, and the storage solution goes vertical instead of horizontal.
For the grill, a two-burner compact cart (Weber’s Traveler or the Cuisinart two-burner portable are both under 45 inches wide) fits into a small patio without dominating the whole space. For storage in a compact setup, a tall, narrow cabinet under 18 inches deep keeps the footprint small while giving you substantial vertical storage for tools, spices, and accessories. The corner itself is the underutilized asset: use a small corner shelf bracket mounted to the fence or wall to hold a magnetic tool strip and a potted herb garden so nothing takes patio floor space it doesn’t need.
Key Takeaway: In a small patio setup, go vertical with storage and perpendicular with your layout — and your corner will hold more function than most full-size backyard setups.

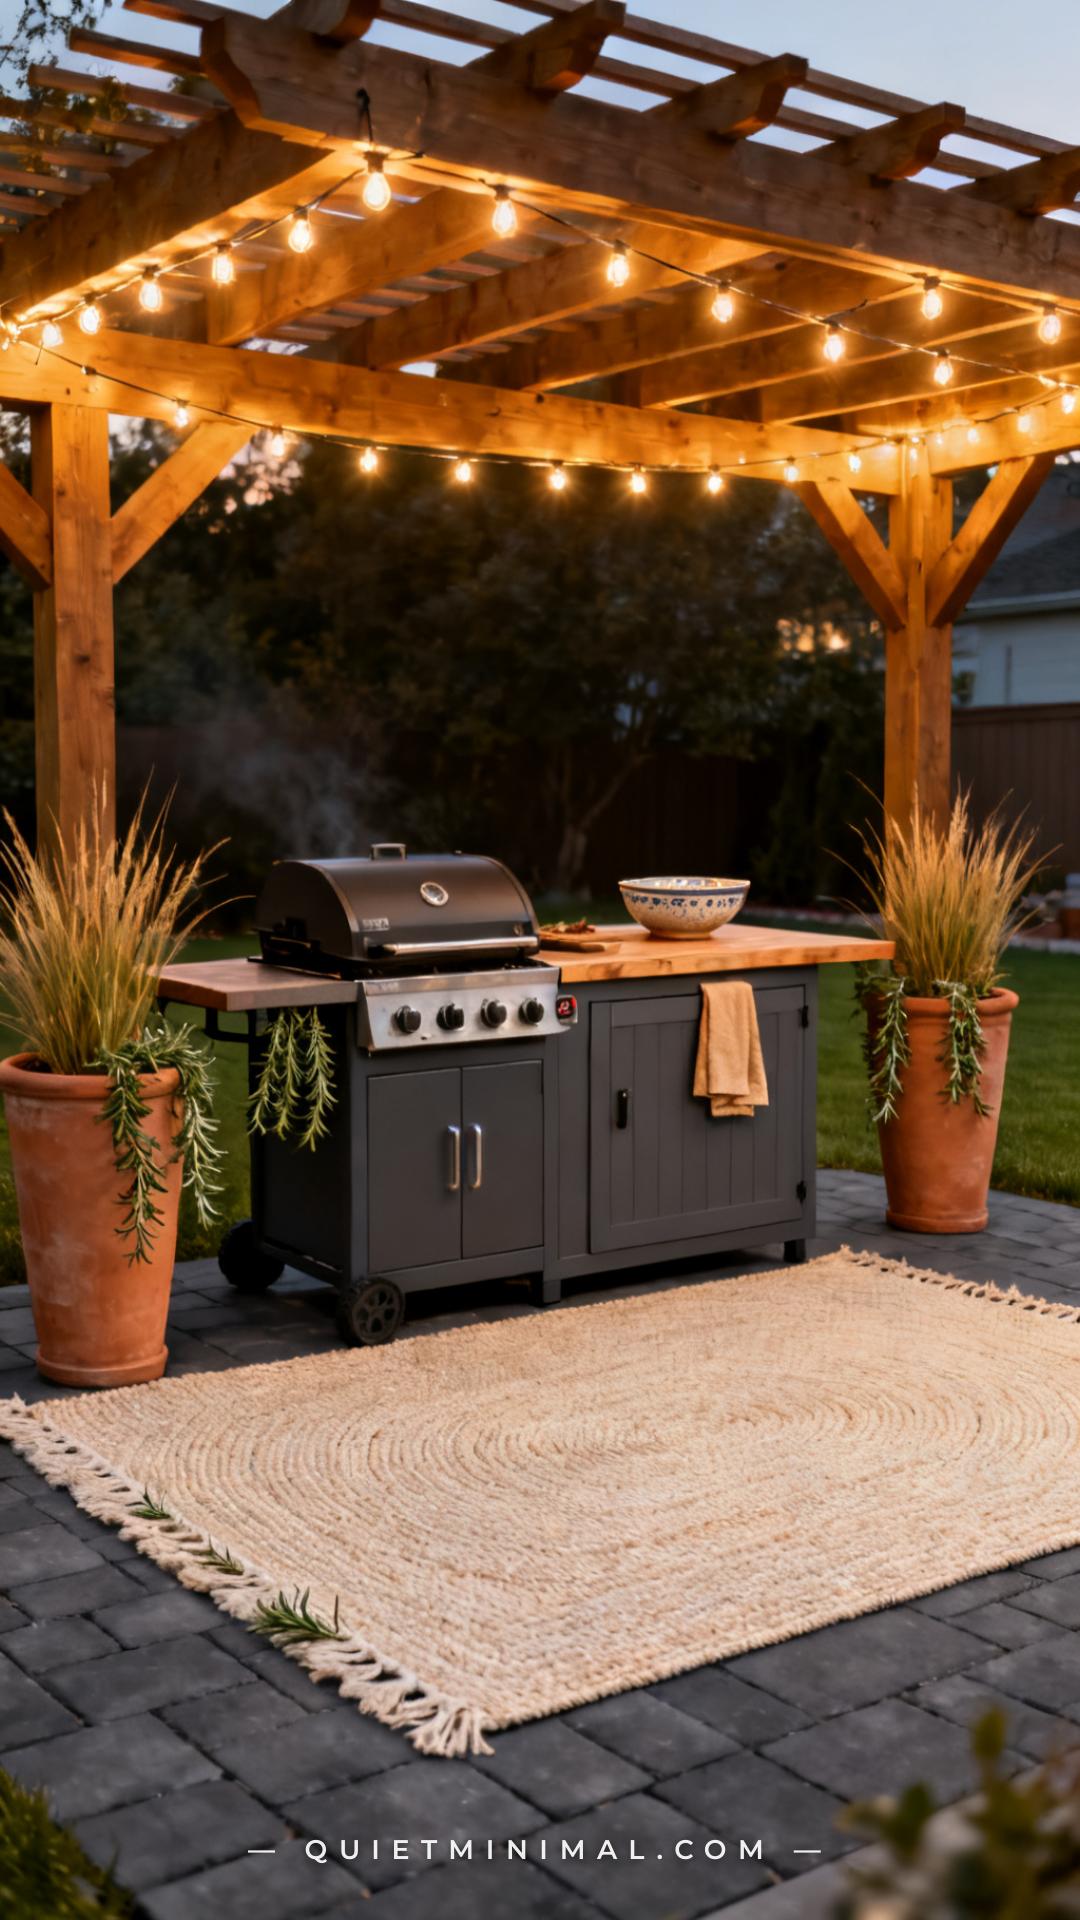
12. The Finishing Layer: Outdoor Rug, Lighting, and Greenery That Ties the Zone Together
 Save
The functional setup is done — the grill, the cart, the prep surface, the storage are all in place. The finishing layer is what makes it look like a deliberate outdoor kitchen zone rather than equipment that was arranged by default. Three elements do the most work: an outdoor rug that defines the cooking area, an overhead light source that’s separate from the grill light, and two or three large planters that bookend the zone and signal where it begins and ends.
An outdoor rug in the cooking zone serves a functional purpose beyond aesthetics: it reduces fatigue if you’re standing and cooking for two hours, and it visually anchors the zone so it reads as a room outdoors rather than a collection of objects on a patio. Choose a flat-weave or low-pile rug rated for outdoor use — high-pile rugs trap grease and moisture. For planters, large terracotta or concrete planters with ornamental grasses, rosemary, or lavender do double duty as scent, visual anchors, and a natural privacy screen on open patios.
Key Takeaway: An outdoor rug, a warm overhead light source, and two flanking planters are the three-piece finishing layer that transforms a functional BBQ setup into a room you actually want to spend the evening in.

Make Your Backyard BBQ Setup Work, Not Just Look Good
The most important thing to take away from all twelve of these ideas is the sequence: function first, aesthetics second. Start with the three-zone layout — grill, prep, storage — and build from there. Get the cart right, add a real prep surface at grill height, and give your propane and accessories a proper home before you start adding finishing pieces. Once the functional foundation is solid, the rug, the lighting, and the planters pull everything together in an afternoon. Pick two or three of these upgrades to start and your backyard cooking zone will feel completely different before the next cookout.
From the guides
You've saved it, wanted it. Here's the how: codes, measurements, order. Your choices make it yours.
The Japandi Honest PlaybookThe honest version of the style: what to keep, what to skip, and the order to do it in.See inside →The Room Refresh PlaybookA repeatable four-step method, room by room, in ten minutes, thirty minutes, or one weekend.See inside →Make Any Room Feel Cozy on PurposeWhy some rooms hold people and others empty out, and the moves that change it.See inside →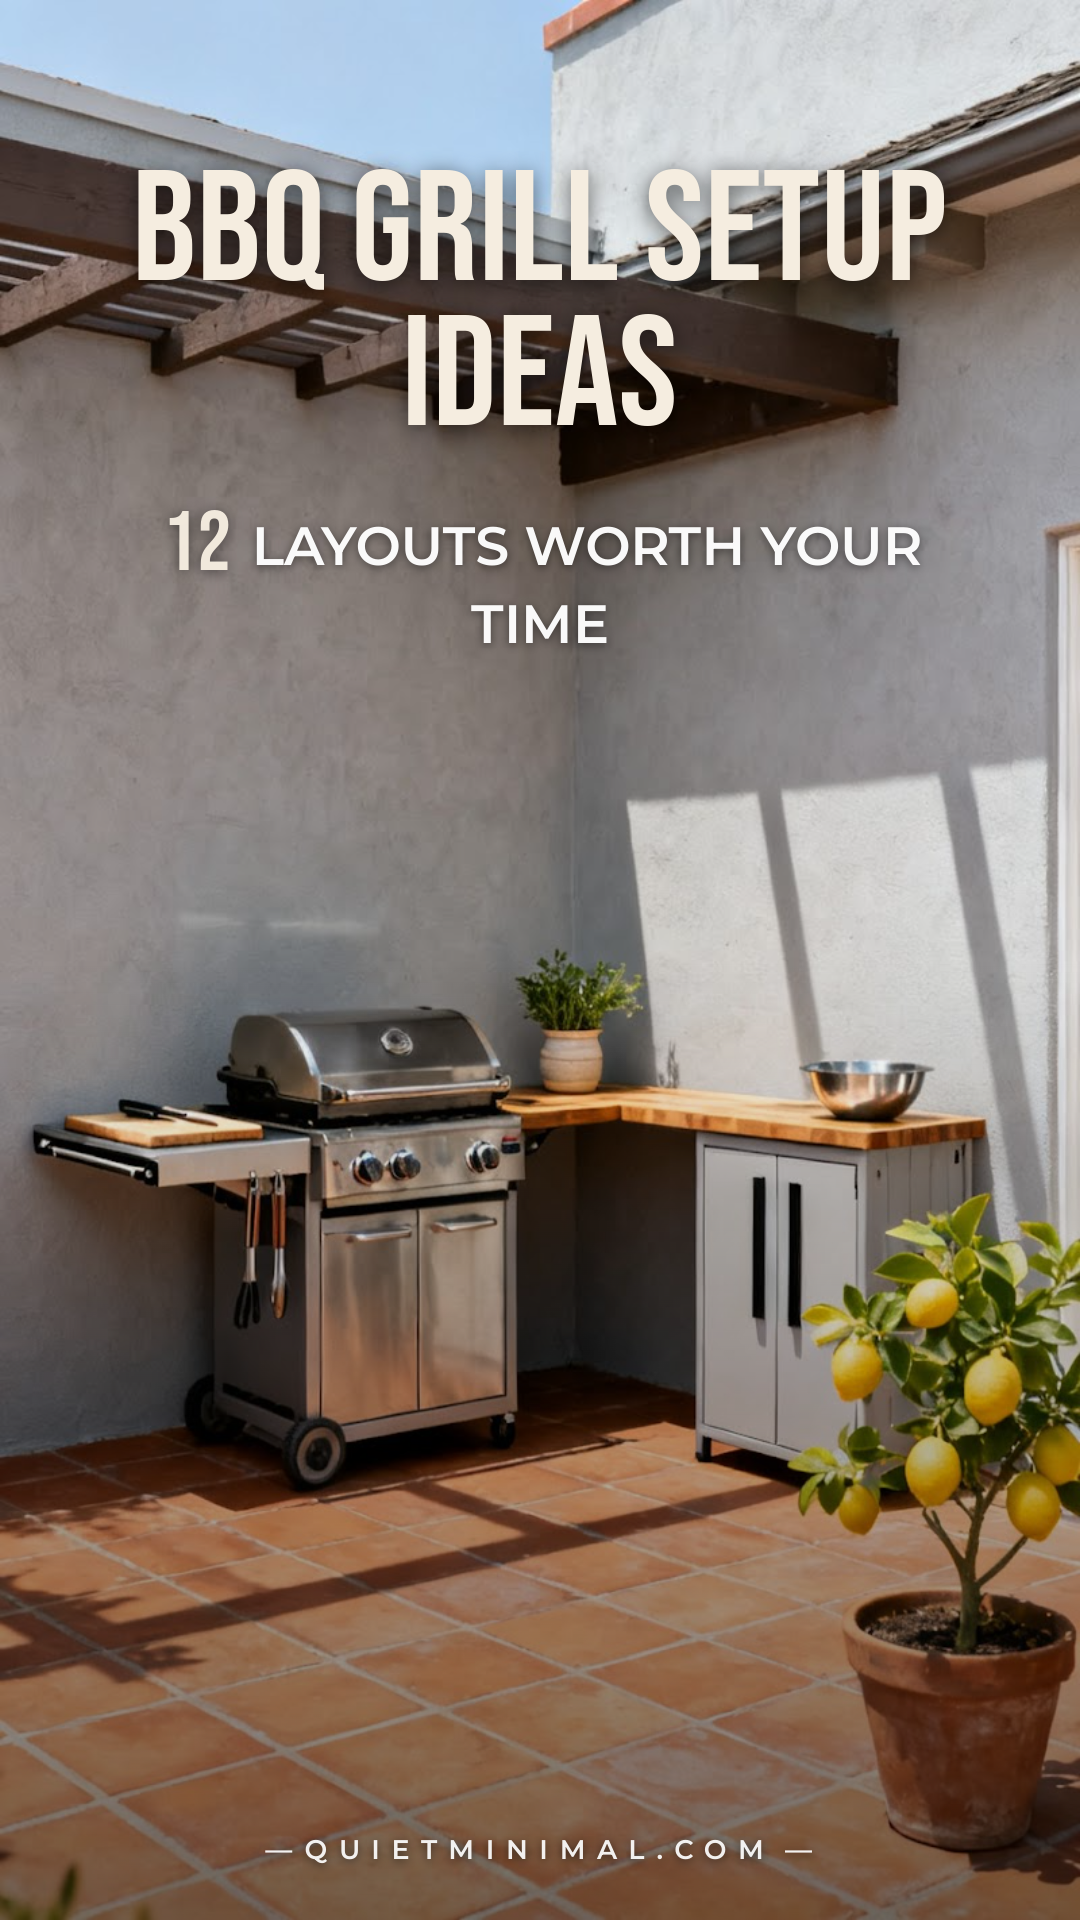 Save


