Georgia

Planning a built-in BBQ island is one of the most rewarding outdoor upgrades a homeowner can make — and one of the most expensive to get wrong. The combination of a stone surround and stainless steel countertop isn’t just a design choice; it’s a structural commitment that lives in your backyard for decades. Most inspiration content shows you the beautiful finish but skips the decisions that happen before the first block is laid or the first panel is cut. That’s what this guide covers. Every idea below is paired with the specific choice that separates a build you’ll love in ten years from one you’ll be demo-ing in three.
1. Choose Stacked Ledger Stone for the Surround — But Seal It Before You Grout
 Save
Stacked ledger stone — the kind split into irregular flat panels and adhered directly to a concrete block or steel-frame base — delivers the most dramatic visual texture of any cladding option. The stone reads as natural and substantial even when it’s a manufactured veneer, and it photographs beautifully whether the surrounding style is Spanish revival, modern ranch, or organic contemporary. The critical mistake most first-time builders make: they seal the grout joints but forget to seal the stone face itself before installation. Once the stone is mortared and grouted, resealing the face is difficult. Unsealed porous stone absorbs cooking grease, smoke residue, and rain, turning a crisp taupe facade dingy within one season.
Seal each panel with a penetrating stone sealer rated for outdoor and freeze-thaw conditions before adhering it to the substrate. This adds one afternoon to your build timeline and eliminates years of staining. Once grouted, apply a second coat to the full assembled face. Natural ledger panels in sandstone, quartzite, or slate are the most Pinterest-forward choices right now; avoid river rock rounds, which read as late-2000s and are nearly impossible to keep clean around a grill.
From the guides
You've saved it, wanted it. Here's the how: codes, measurements, order. Your choices make it yours.
 The Japandi Honest PlaybookThe honest version of the style: what to keep, what to skip, and the order to do it in.See inside →
 The Room Refresh PlaybookA repeatable four-step method, room by room, in ten minutes, thirty minutes, or one weekend.See inside →
 Make Any Room Feel Cozy on PurposeWhy some rooms hold people and others empty out, and the moves that change it.See inside →
Key Takeaway: Seal ledger stone panels before installation, not after — it’s the single step that keeps your stone surround looking new after years of cooking season.

2. Size Your Stainless Countertop Overhang for Function, Not Just Looks
 Save
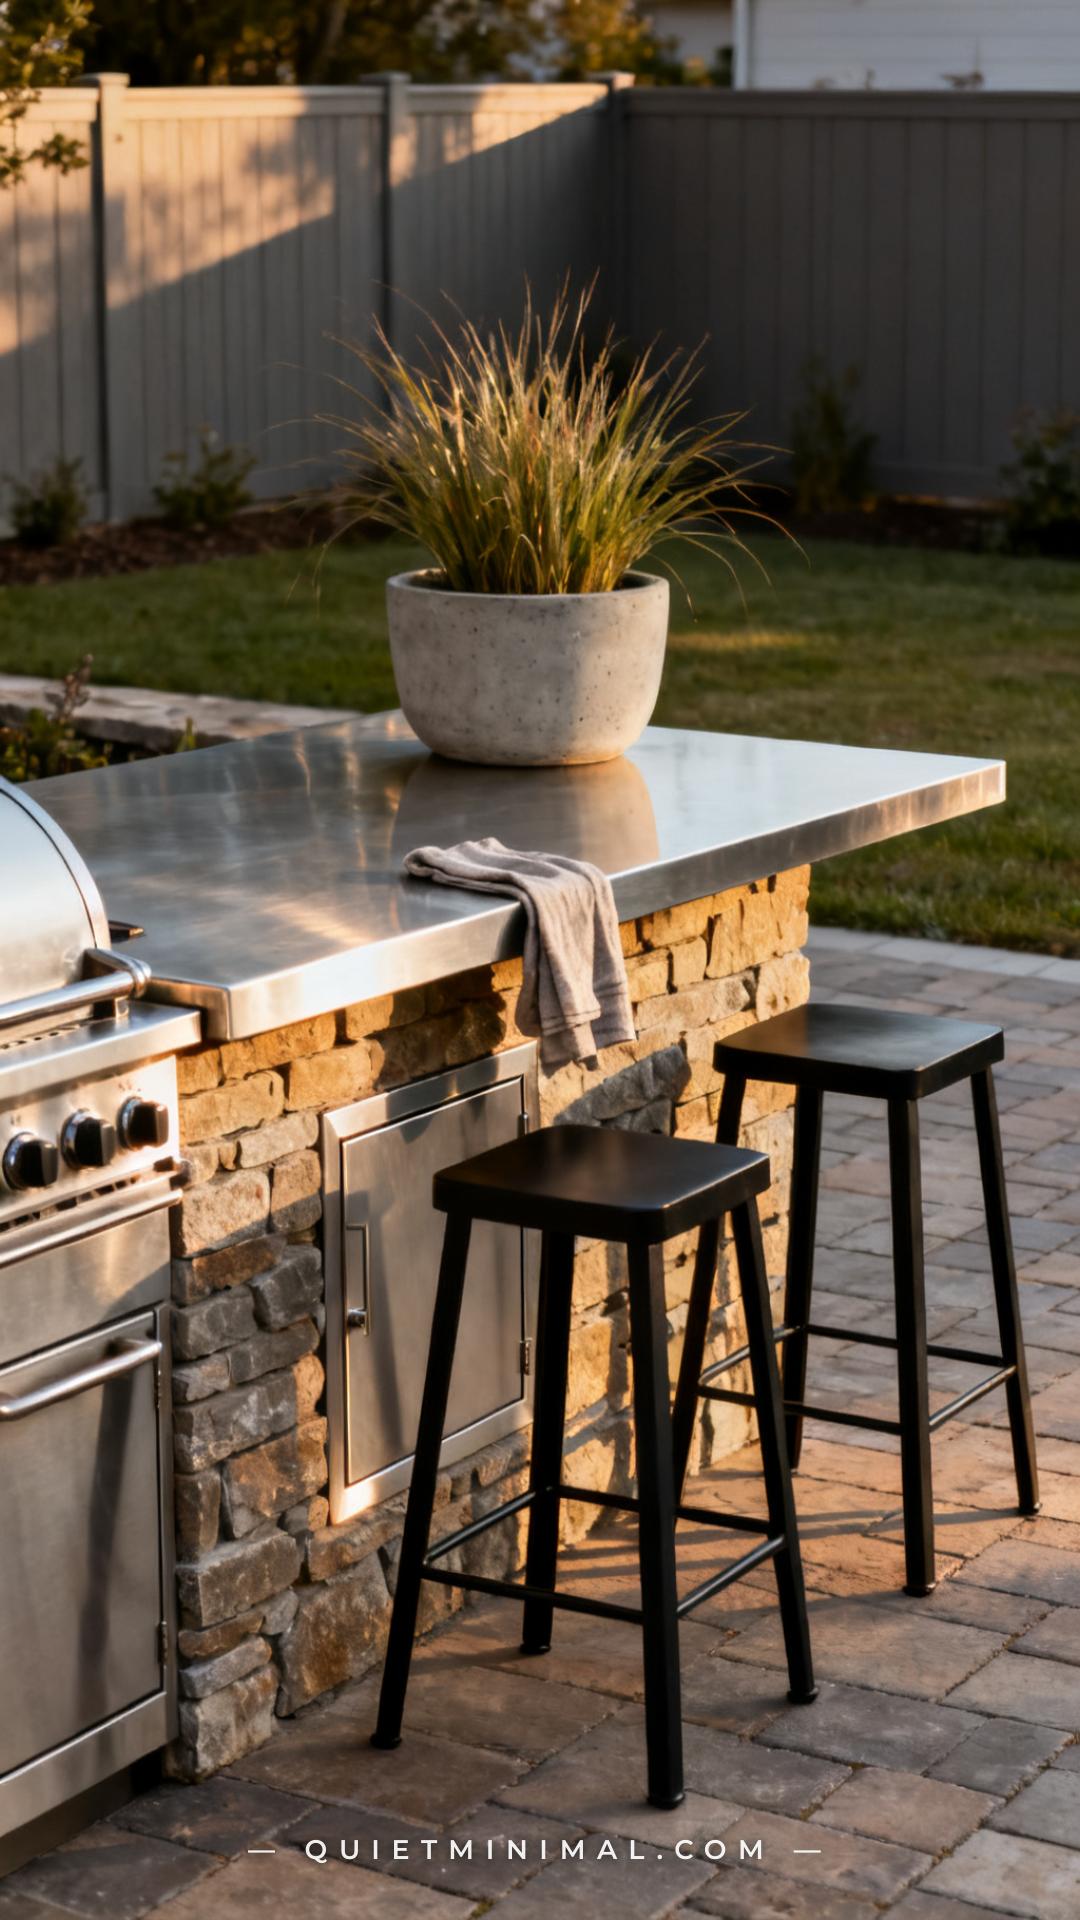
A stainless countertop with no overhang looks unfinished and forces anyone working the grill to stand uncomfortably close to the stone face. The standard mistake is ordering or cutting the countertop to the exact footprint of the base — flush on all sides — because it seems cleaner in a CAD sketch. In practice, you want a minimum 1.5-inch overhang on the back and sides for water to drip clear of the stone face, and a 10–12 inch overhang on any seating side to allow bar stools to tuck under comfortably.
For countertop thickness, 14-gauge stainless is the minimum for a permanent outdoor installation; 12-gauge is the better choice if budget allows and the island spans more than six feet, because 14-gauge will oil-can (flex with a hollow pop underfoot) on long unsupported runs. Request a brushed #4 finish rather than mirror-polished — it hides fingerprints and light scratches far better in a cooking environment, and it complements stone texture without competing for attention.
Key Takeaway: A 10–12 inch seating overhang and a brushed #4 finish on 12-gauge stainless are the two spec choices that make a countertop feel custom-designed rather than off-the-shelf.

3. Leave the Right Ventilation Gap for Your Built-In Grill Head
 Save
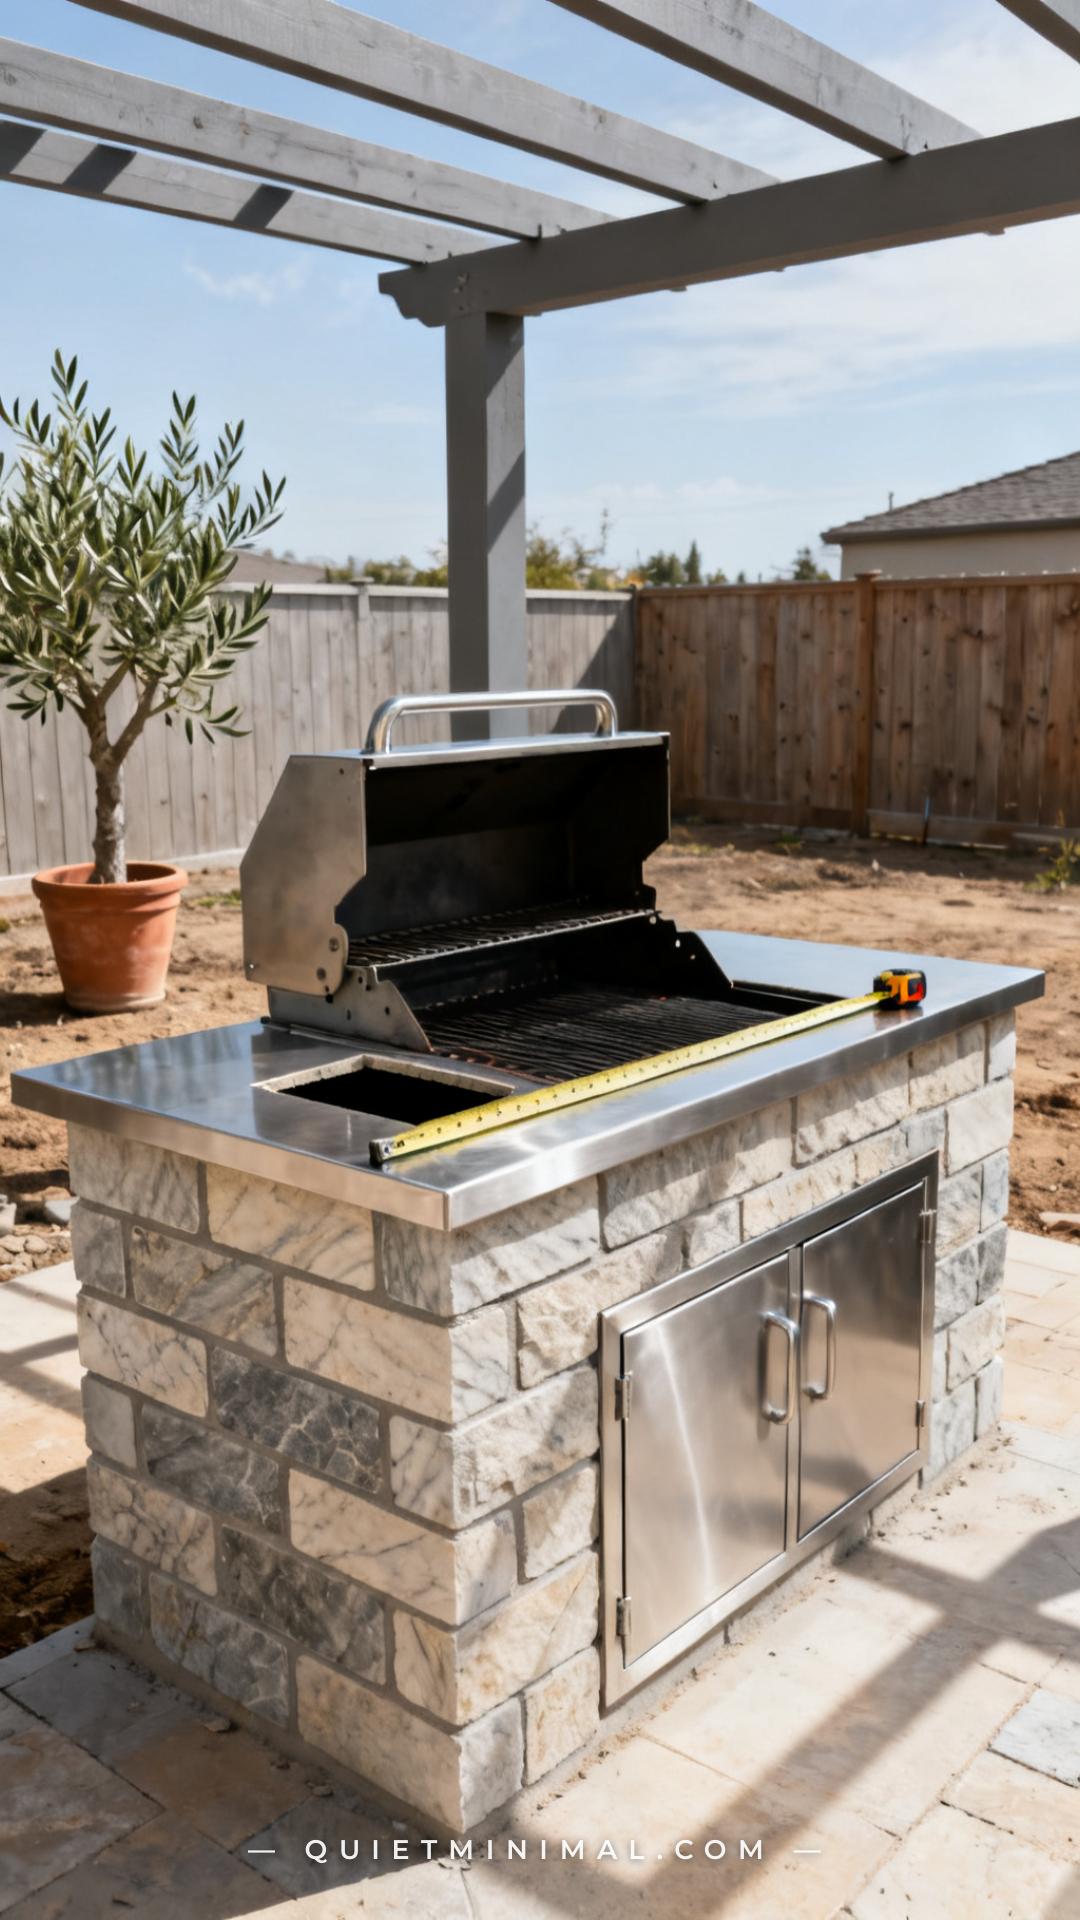
Every built-in gas grill head specifies minimum clearance distances in its installation manual — from the cutout edges, from the LP tank door, from adjacent combustibles — and almost no one reads them before they pour the concrete base or mortar the stone. The result is a grill installed in a cavity that’s too tight, which causes burner problems, difficulty with lighting, and in the worst cases, accelerated corrosion of the stone surround from trapped heat.
The standard rule for most 30–36 inch built-in heads: leave 3 inches of clearance on each side of the cutout within the countertop, and ensure the grill’s bottom (where combustion air enters) has at least 1 inch of clearance from the bottom of the cutout box. If your island has an LP compartment, it must be vented with a minimum of two vents totaling 100 square inches of open area — this is a fire code requirement in most municipalities, not just a design preference. Build your island base dimensions around the grill’s installation sheet, not the other way around.
Key Takeaway: Download your grill head’s installation manual before designing the island base — the clearance specs determine the build dimensions, not the other way around.

4. Pick a Stone Color That Works With Your House, Not Just the Pinterest Photo
 Save
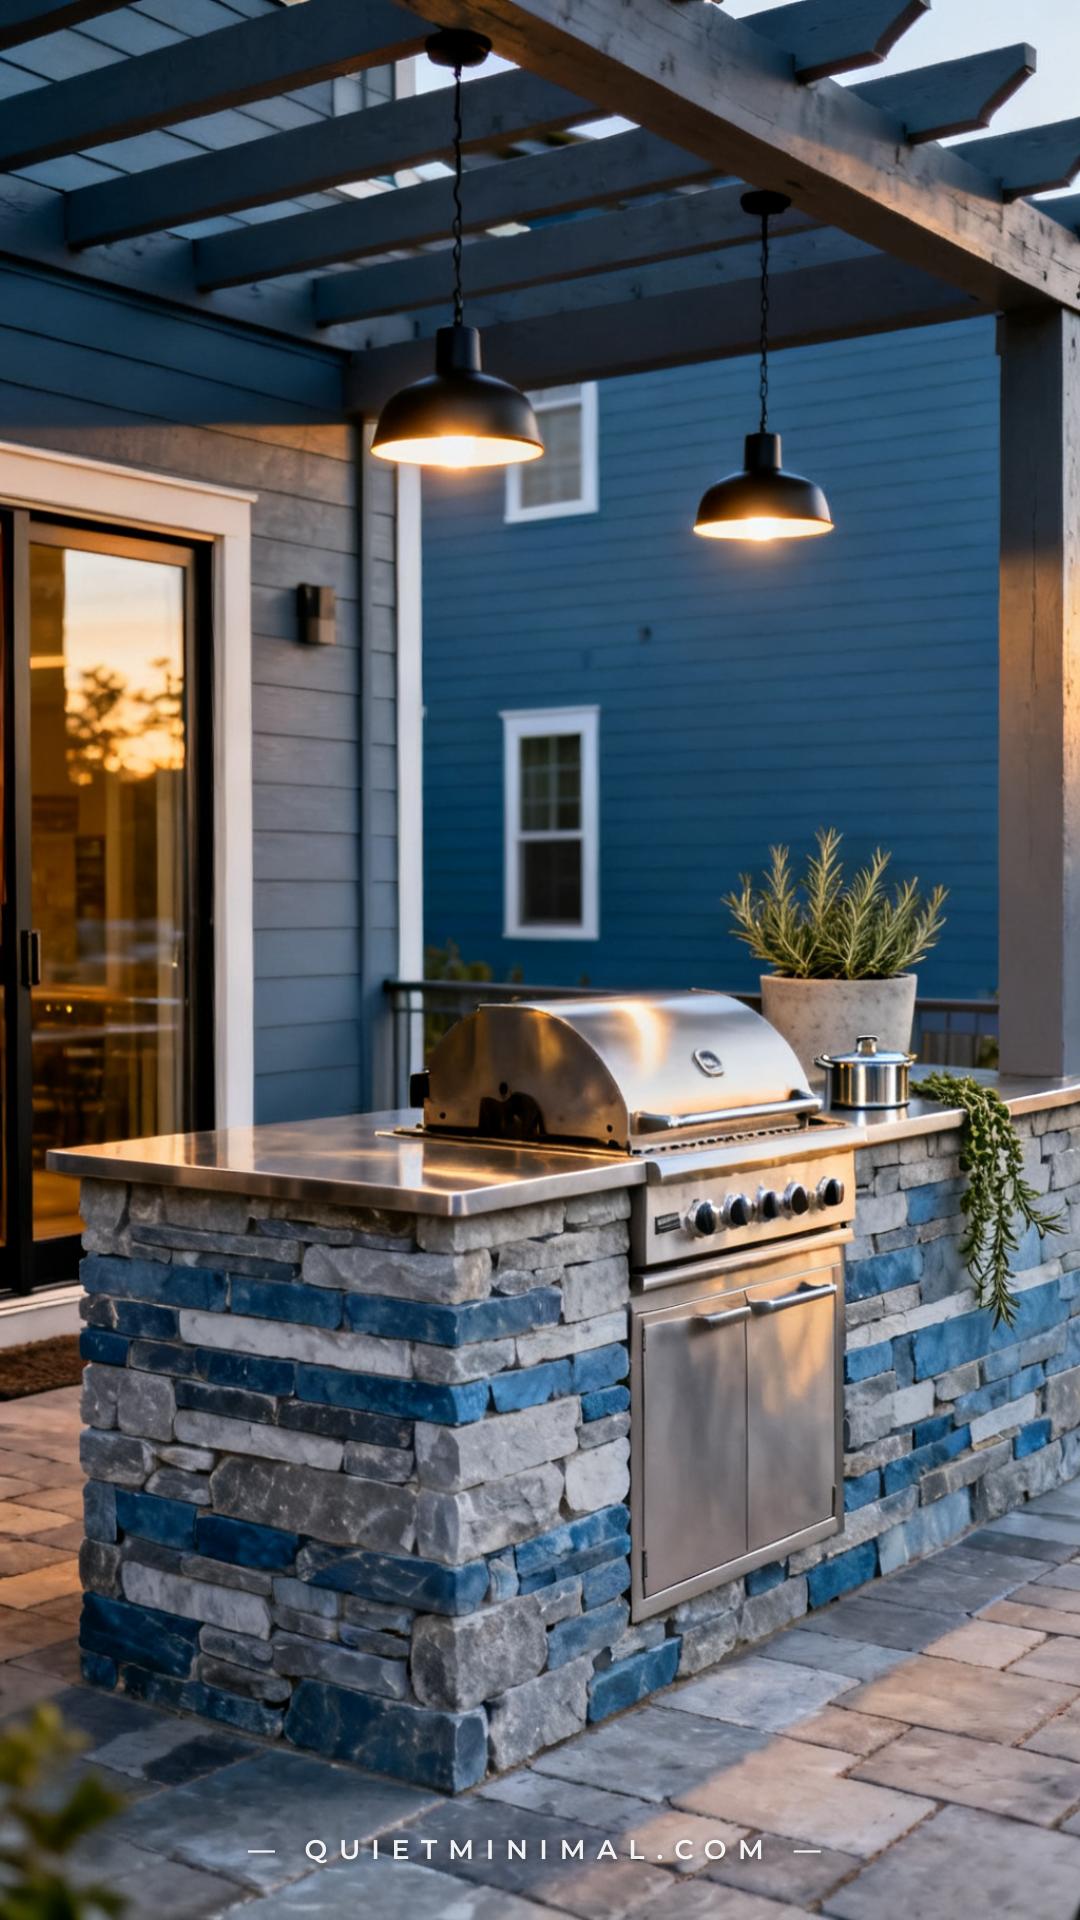
The most common sourcing regret in outdoor kitchen builds: choosing a stone color from a website photo that looks nothing like the actual material once it arrives in your yard. Screen-calibrated studio photos of travertine can look four shades lighter than the actual material in morning shadow next to your house’s warm brick exterior. Before committing to any stone cladding, order physical samples and hold them against your home’s exterior wall, your patio surface, and your countertop sample in the actual lighting conditions of your backyard — at noon and at 5 p.m.
Current stone pairings with stainless countertops that are performing well on Pinterest in 2026: warm-toned quartzite in buff and sand tones (pairs with wood-toned fencing and cedar pergolas); cool bluestone veneer panels (pairs with painted stucco or Hardie board exteriors in gray-blue tones); and charcoal stacked slate (pairs with black-framed windows and concrete patio surfaces). Avoid multi-color blended stone kits that try to do too much — they rarely read as intentional next to the clean plane of a stainless countertop.
Key Takeaway: Order physical stone samples and evaluate them in your actual backyard light before purchasing — what looks right on a screen often reads wrong against your home’s exterior.

5. Plan Access Door Placement Before You Lay the First Block
 Save
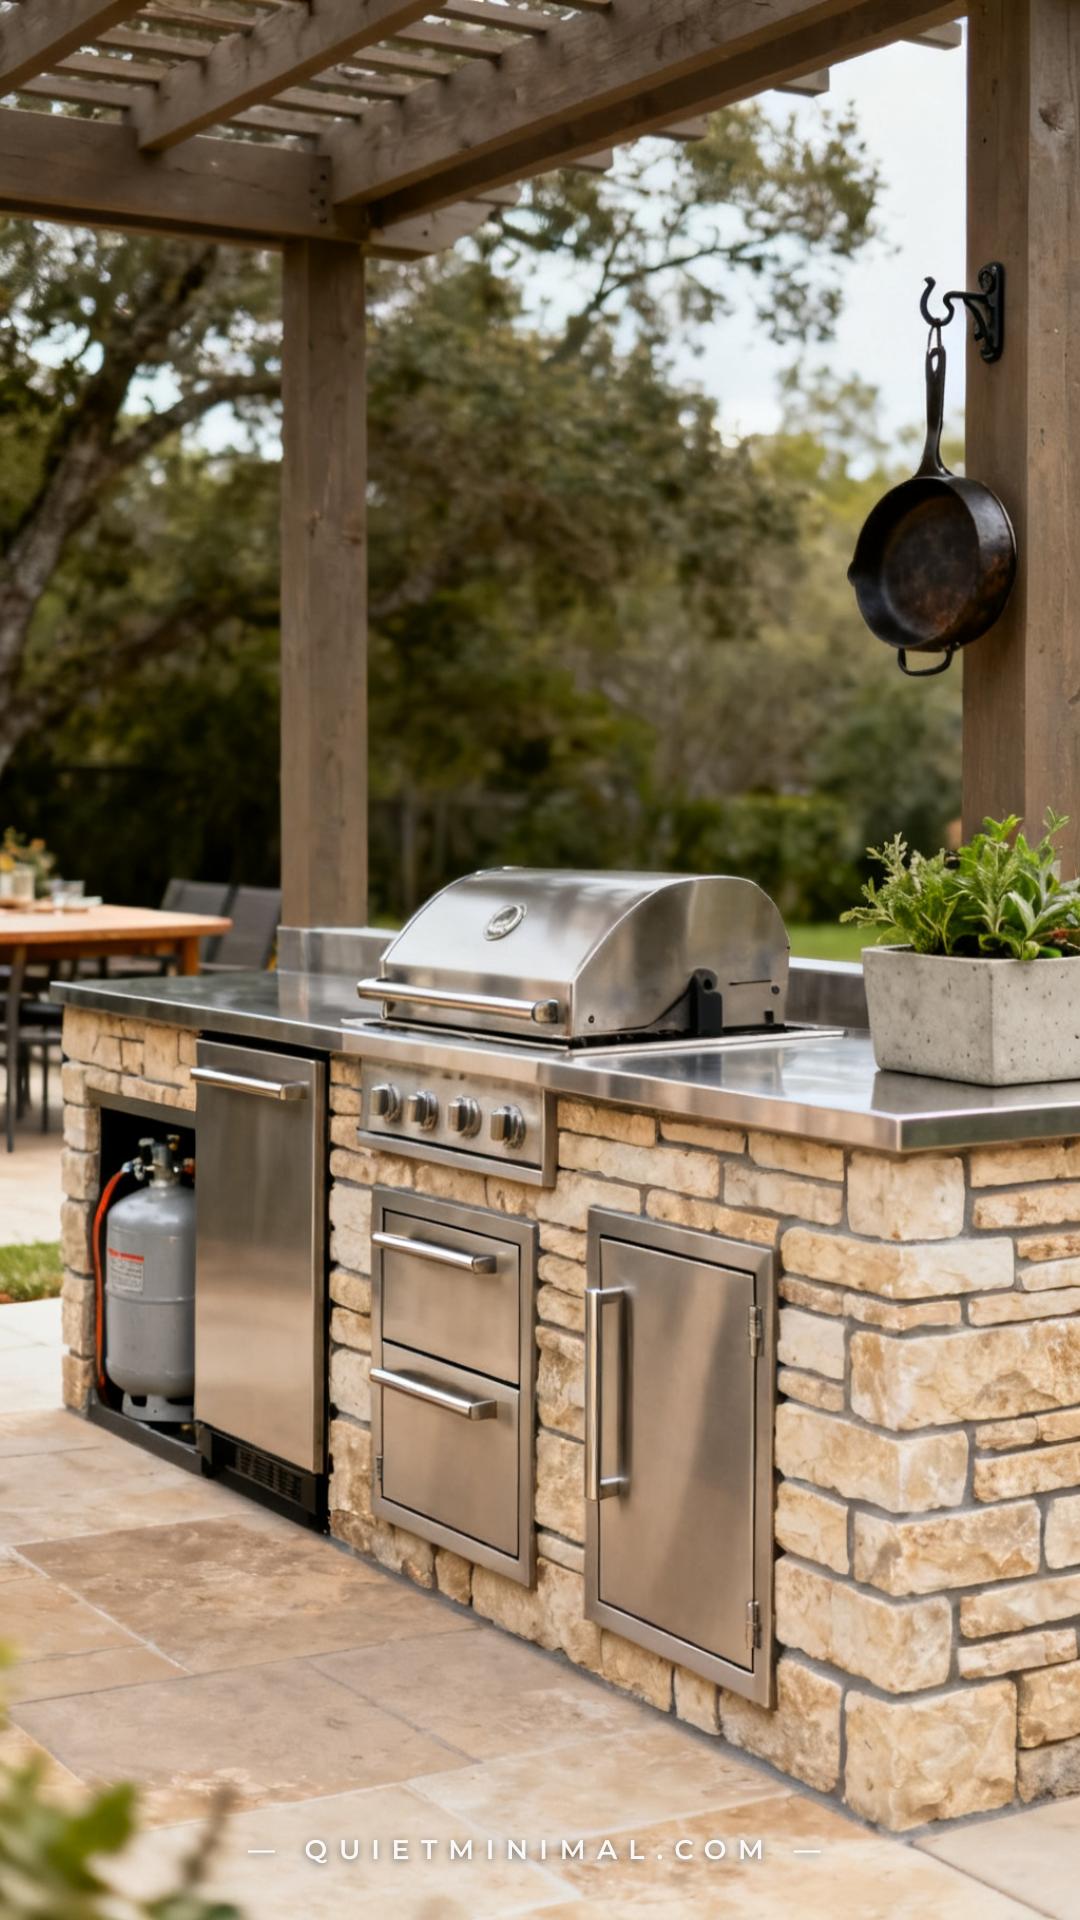
Access door placement is decided almost universally too late — after the base is framed or the stone is already mortared — and that forces compromises no one would have accepted at the planning stage. The LP tank compartment must be at one end of the island with a dedicated vented door. Refrigerator drawers, if included, require their own compartment with specific minimum depth. Trash pull-outs need door widths that accommodate the actual bin size. None of these can be added mid-build without tearing out completed work.
Map every door and drawer opening on paper before you set a single block. Use the actual dimensions of each item you plan to store — LP tank diameter, refrigerator unit footprint, utensil rail length — and work the door cutouts into your block course layout from the start. Stainless access doors come in standard widths (12″, 15″, 18″, 24″) and should be specified before the base is framed so rough openings are sized correctly. Doors with full-extension hinges are worth the upgrade over single-pivot doors for any opening where you need to reach to the back of the compartment.
Key Takeaway: Map every door and drawer opening on paper using actual component dimensions before laying the first block — retrofitting access openings into finished stone is the most expensive rework mistake in outdoor kitchen builds.

6. Add a Side Burner — But Only If You’ll Actually Use One
 Save
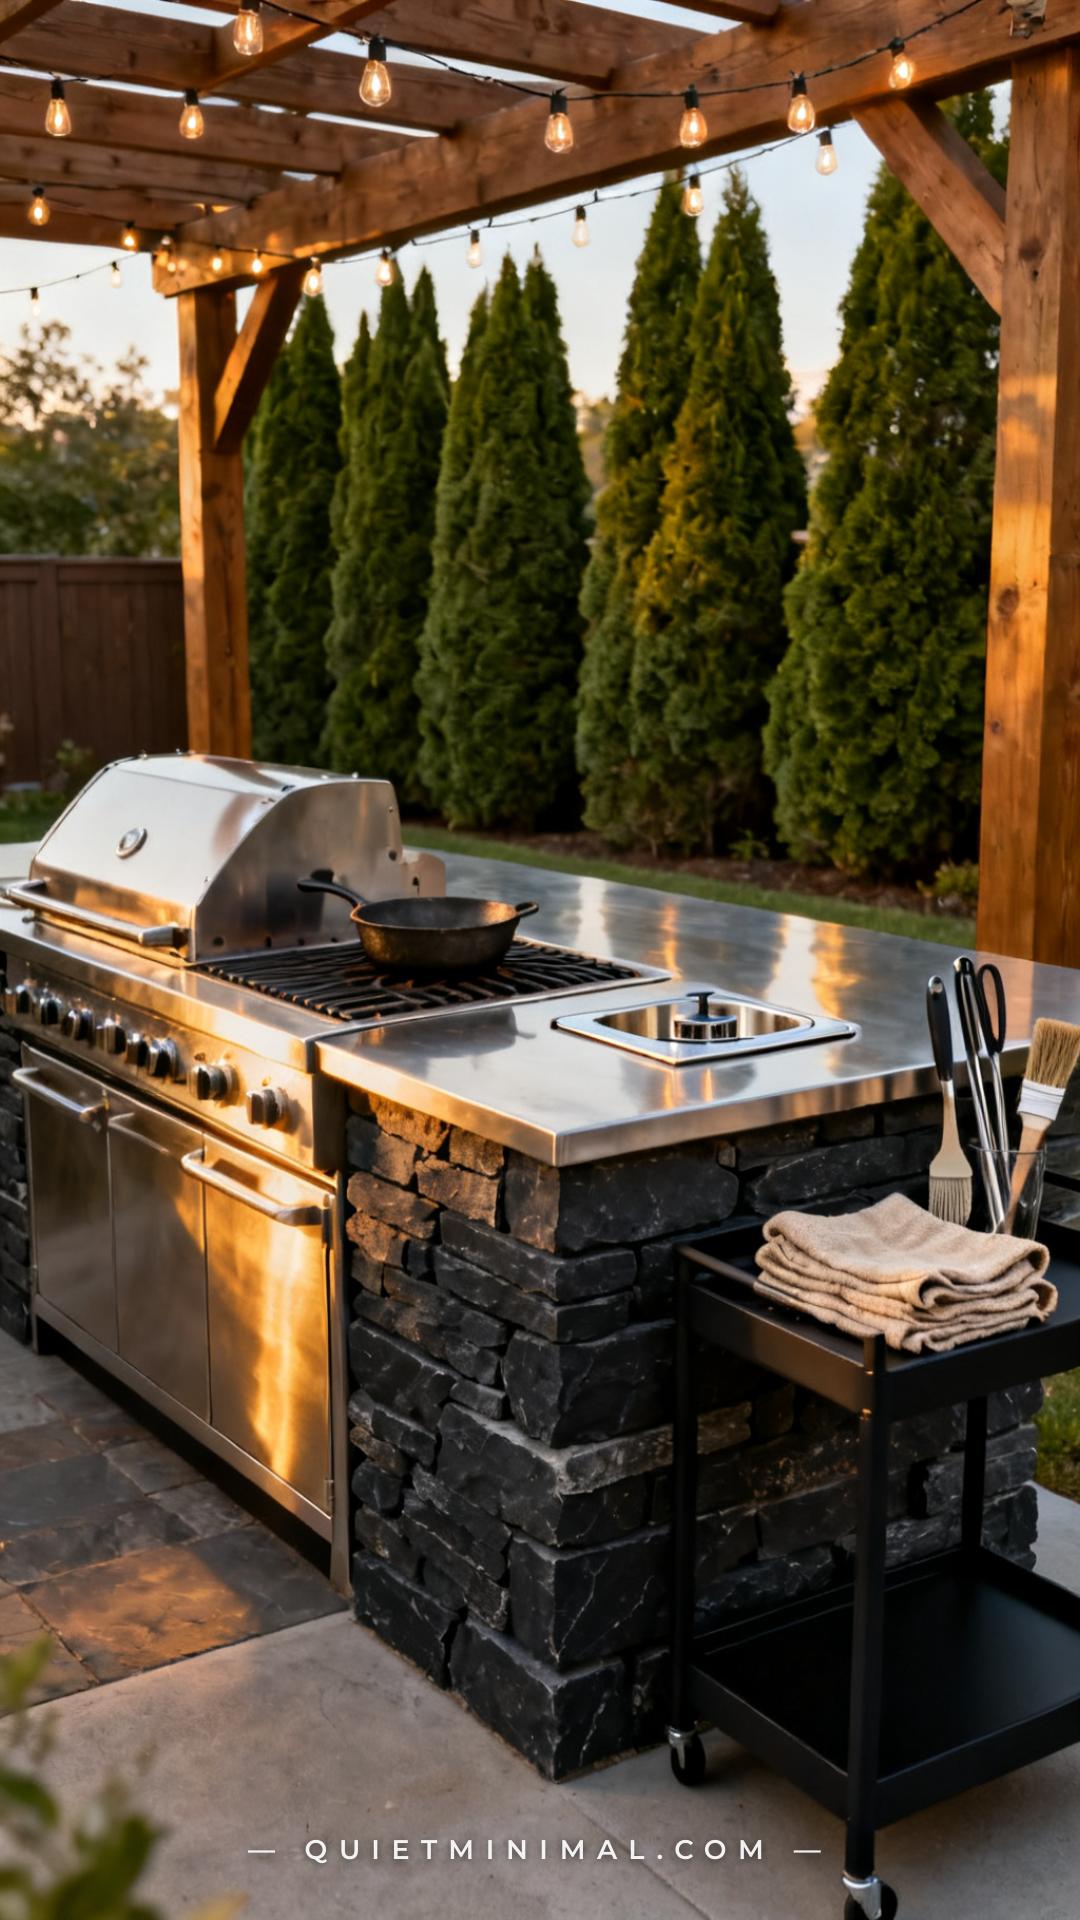
A side burner looks great in renderings and almost always ends up as a flat surface that collects debris in real use. Design publications promote it heavily; homeowners who have had one for three years are more divided. It’s genuinely useful if you cook sauces, sauté vegetables alongside grilling, or deep-fry outdoors — those are specific cooking behaviors. If your actual grilling style is set-it-and-go steaks and burgers with no stovetop component, a side burner takes up 12–15 inches of premium countertop real estate that would serve you better as prep space.
If you do include one, specify a BTU output between 12,000 and 15,000 — enough for a rolling boil — and make sure the side burner lid is included and rated for outdoor conditions. Low-grade side burner lids warp quickly from the temperature cycling of outdoor use. Locate the side burner on the opposite end from your LP tank access door to simplify the gas line routing within the island base.
Key Takeaway: Include a side burner only if your actual cooking behavior involves stovetop components — otherwise the counter space creates more value than a feature you’ll use twice a summer.

7. Use a Concrete Block Base — Not Combustible Wood Framing Under Stone
 Save
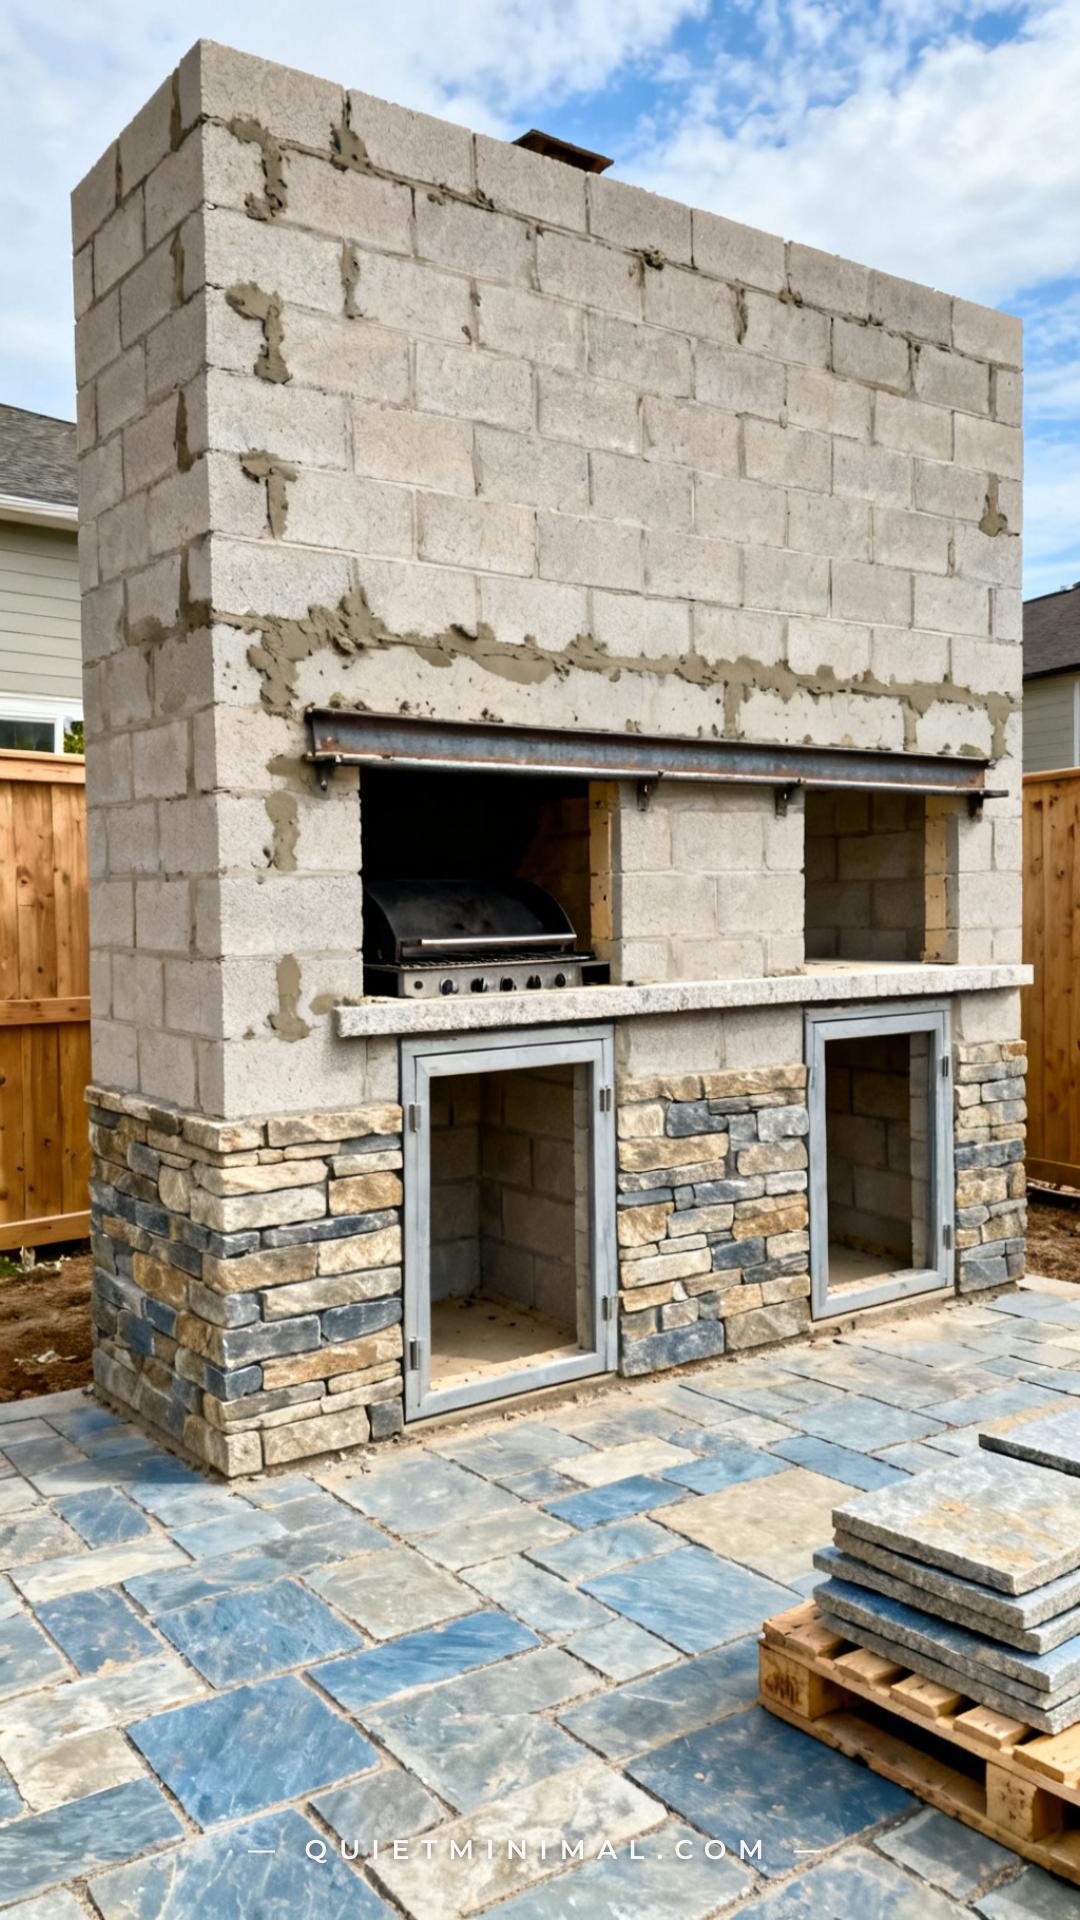
Wood-framed outdoor kitchen islands covered in cement board and stone veneer are a popular DIY approach because they’re faster and cheaper to build than masonry. They’re also the most common source of long-term regret in the outdoor kitchen category. Wood framing expands and contracts with moisture and temperature at a different rate than the stone and mortar applied over it, eventually cracking grout lines and loosening veneer panels — typically within five to seven years in climates with real winters or sustained humidity. In freeze-thaw climates, the failure timeline is shorter.
Concrete masonry unit (CMU) block bases — standard 8×8×16 hollow core blocks, filled with rebar and concrete — move at the same rate as the mortar and stone applied to them, because they’re made of essentially the same material. The base costs more and takes longer to build, but it’s the only substrate that genuinely holds indefinitely. If local code requires a footing, size it to the full footprint of the island plus four inches on each side. A freestanding island without a footing in a freeze-thaw climate is the second-most common structural mistake after wood framing.
From the guides
You've saved it, wanted it. Here's the how: codes, measurements, order. Your choices make it yours.
The Japandi Honest PlaybookThe honest version of the style: what to keep, what to skip, and the order to do it in.See inside →The Room Refresh PlaybookA repeatable four-step method, room by room, in ten minutes, thirty minutes, or one weekend.See inside →Make Any Room Feel Cozy on PurposeWhy some rooms hold people and others empty out, and the moves that change it.See inside →Key Takeaway: Build your island base from CMU block with rebar-reinforced cores, not wood framing — it’s the single structural choice that determines whether your build lasts 10 years or starts failing in 5.

8. Match the Island Orientation to the Sun and Wind, Not the Yard Layout
 Save
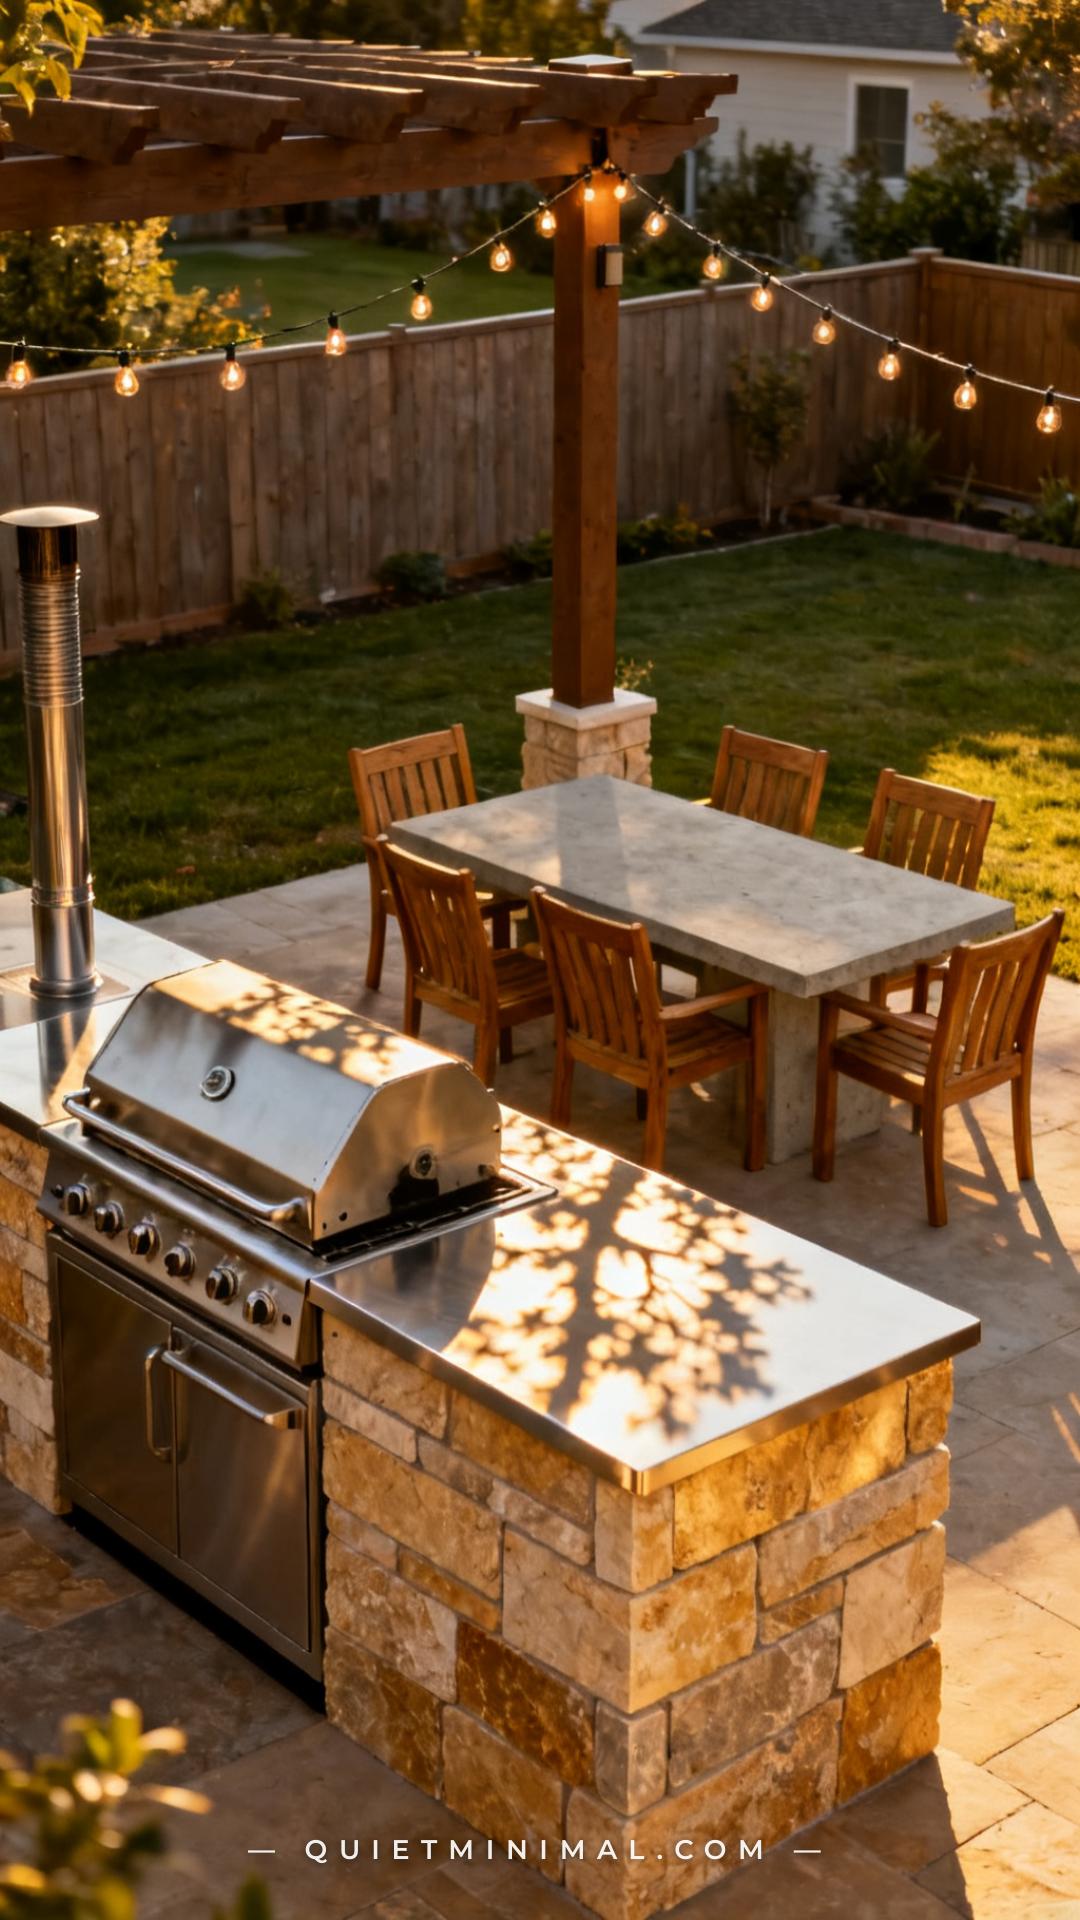
Most backyard island projects are positioned based on where the gas line is easiest to run or where the corner of the patio happens to fall — rather than on where the cook will face and where the wind typically blows. The result is a cook who spends every grill session squinting into the afternoon sun or chasing smoke away from guests. Both are fixable at the planning stage and nearly impossible to correct after the block is laid.
Orient the island so the cook faces the interior of the yard (toward the dining area or seating) rather than a fence or wall — this keeps the social dynamic alive while cooking. Position the grill so the prevailing wind direction carries exhaust plume away from the seating zone. In most US backyards, prevailing summer wind comes from the southwest; a quick check of your local wind rose (available through Weather.gov) gives you the actual data for your specific location. Run this orientation check before finalizing the island position relative to your gas stub-out and patio edge.
Key Takeaway: Determine your prevailing wind direction before finalizing island orientation — positioning the grill so exhaust drifts away from seating is a planning-stage fix that can’t be made after concrete is poured.
9. Integrate Outdoor-Rated Lighting Into the Countertop Design, Not as an Afterthought
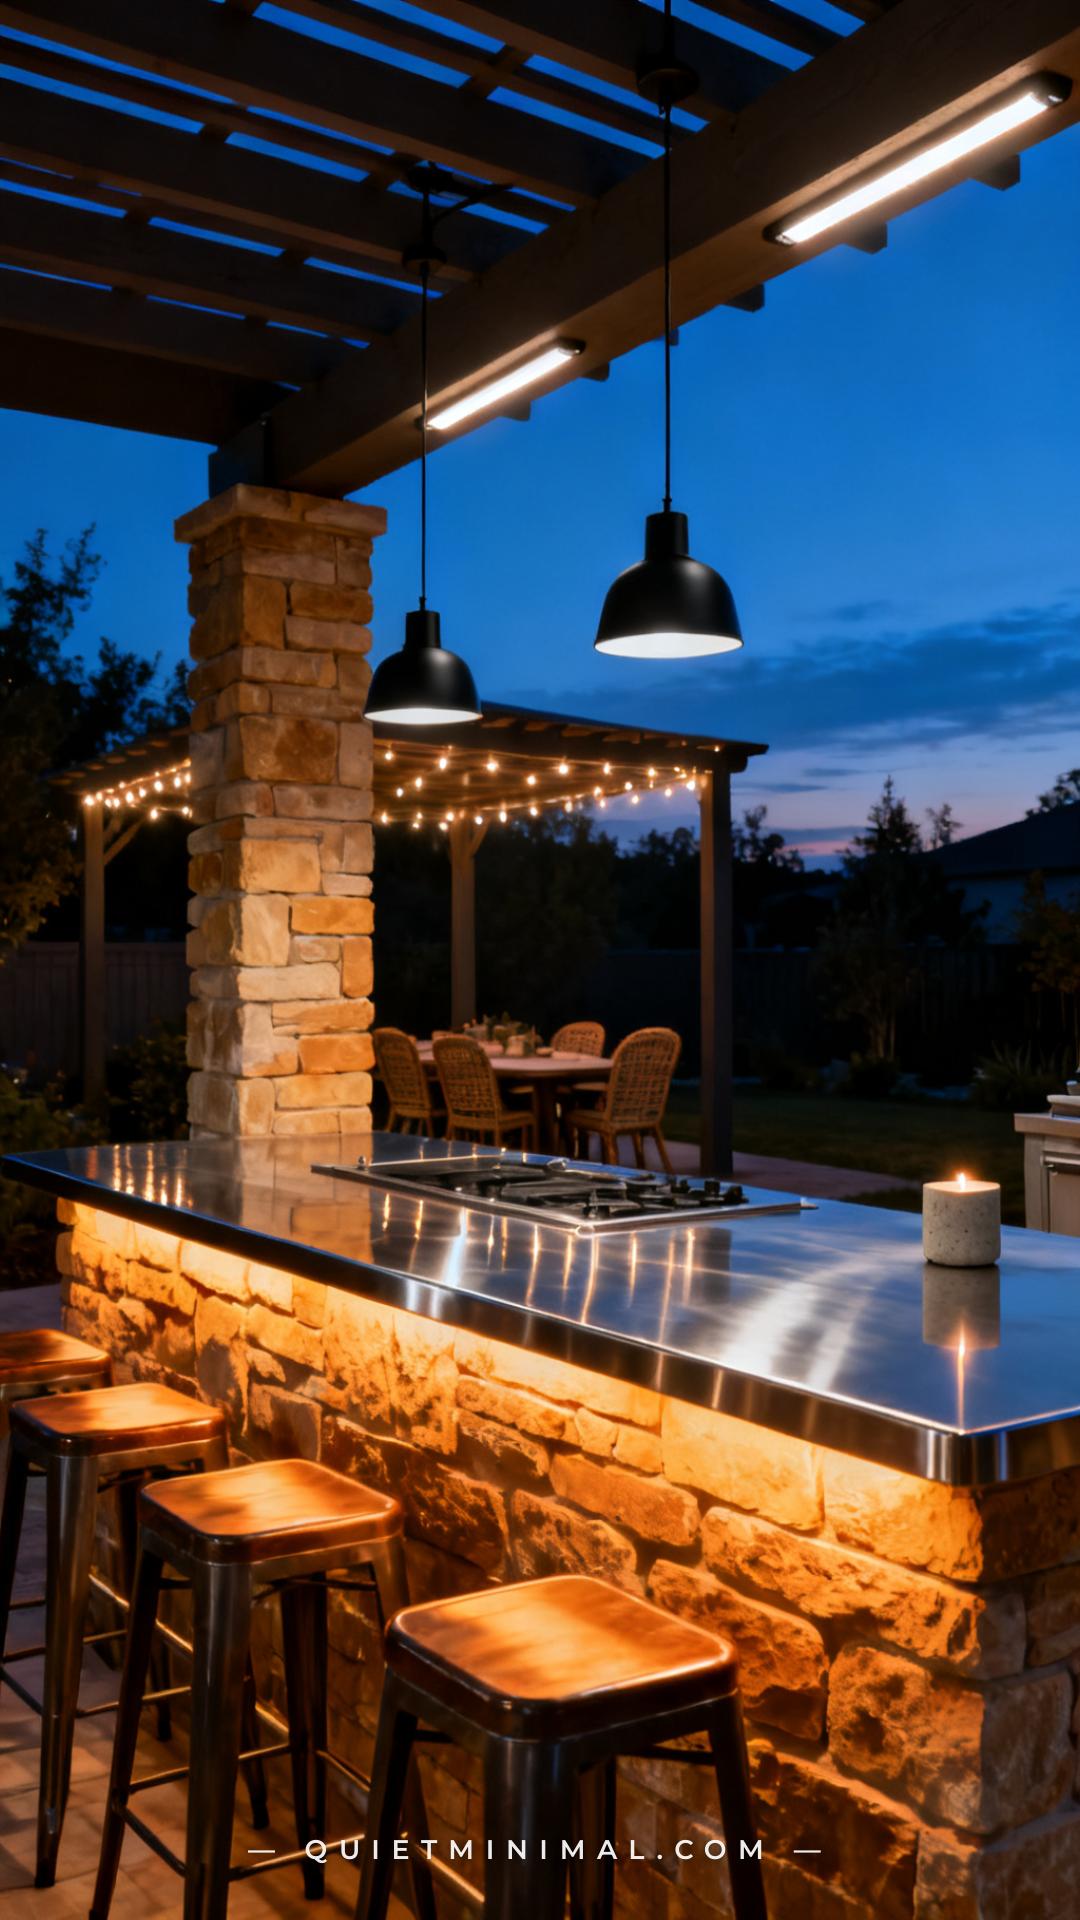 Save
Outdoor kitchens that look incredible in daytime photos often feel unusable after 7 p.m. because lighting was never part of the original design. Electricians and contractors rarely volunteer this consideration — they build what’s in the plan. If lighting isn’t in the plan, you end up retrofitting exterior fixtures to a pergola post or extension-cording a shop light to a wall outlet.
Plan for three light sources in any built-in island setup: task lighting directly over the grill surface (a recessed outdoor-rated fixture or a directional LED in the pergola above the cook position); accent lighting under the countertop overhang on the seating side (LED strip in a waterproof channel); and ambient lighting at the dining zone beyond the island. All fixtures must be rated for wet locations (UL listed “wet”), not just damp locations — the difference matters over a grill where steam and grease vapor are present. Conduit for wiring should be run inside the CMU base before the countertop is installed; running wire after the fact requires drilling finished stone.
Key Takeaway: Run electrical conduit through the CMU base during construction and specify wet-rated fixtures — retrofitting lighting into a finished stone island is one of the most disruptive and expensive add-ons you can make post-build.

10. Add a Stainless Backsplash Behind the Grill — It’s Practical, Not Optional
 Save
The area directly behind a built-in grill takes an enormous amount of grease splatter, smoke staining, and heat radiation — more than any other surface in the outdoor kitchen. Stone that’s left unprotected in this zone absorbs grease and smoke permanently even if sealed. The grout joints between stacked ledger panels are essentially impossible to clean of sustained cooking residue. Many homeowners discover this after one season and wish they’d installed a backsplash behind the grill from the start.
A stainless steel backsplash panel (matching your countertop gauge and finish) mounted from the countertop surface up to the underside of an overhead structure — pergola beam, hood mounting plate, or wall — solves this problem entirely. It’s easy to wipe clean with the same products you use on the countertop, it reflects heat back into the cooking zone improving efficiency, and it creates a visual anchor behind the grill that reads as intentional rather than improvised. If no overhead structure exists, mount the backsplash panel to a height of 18–24 inches above the countertop surface, secured to the wall or to a steel angle welded to the CMU base frame.
Key Takeaway: Install a stainless backsplash panel behind the grill bay from day one — stone in this location cannot be cleaned of sustained cooking grease, and replacing it means demolishing finished work.

11. Finish the Island With a Cap That Protects the Stone Top Edge
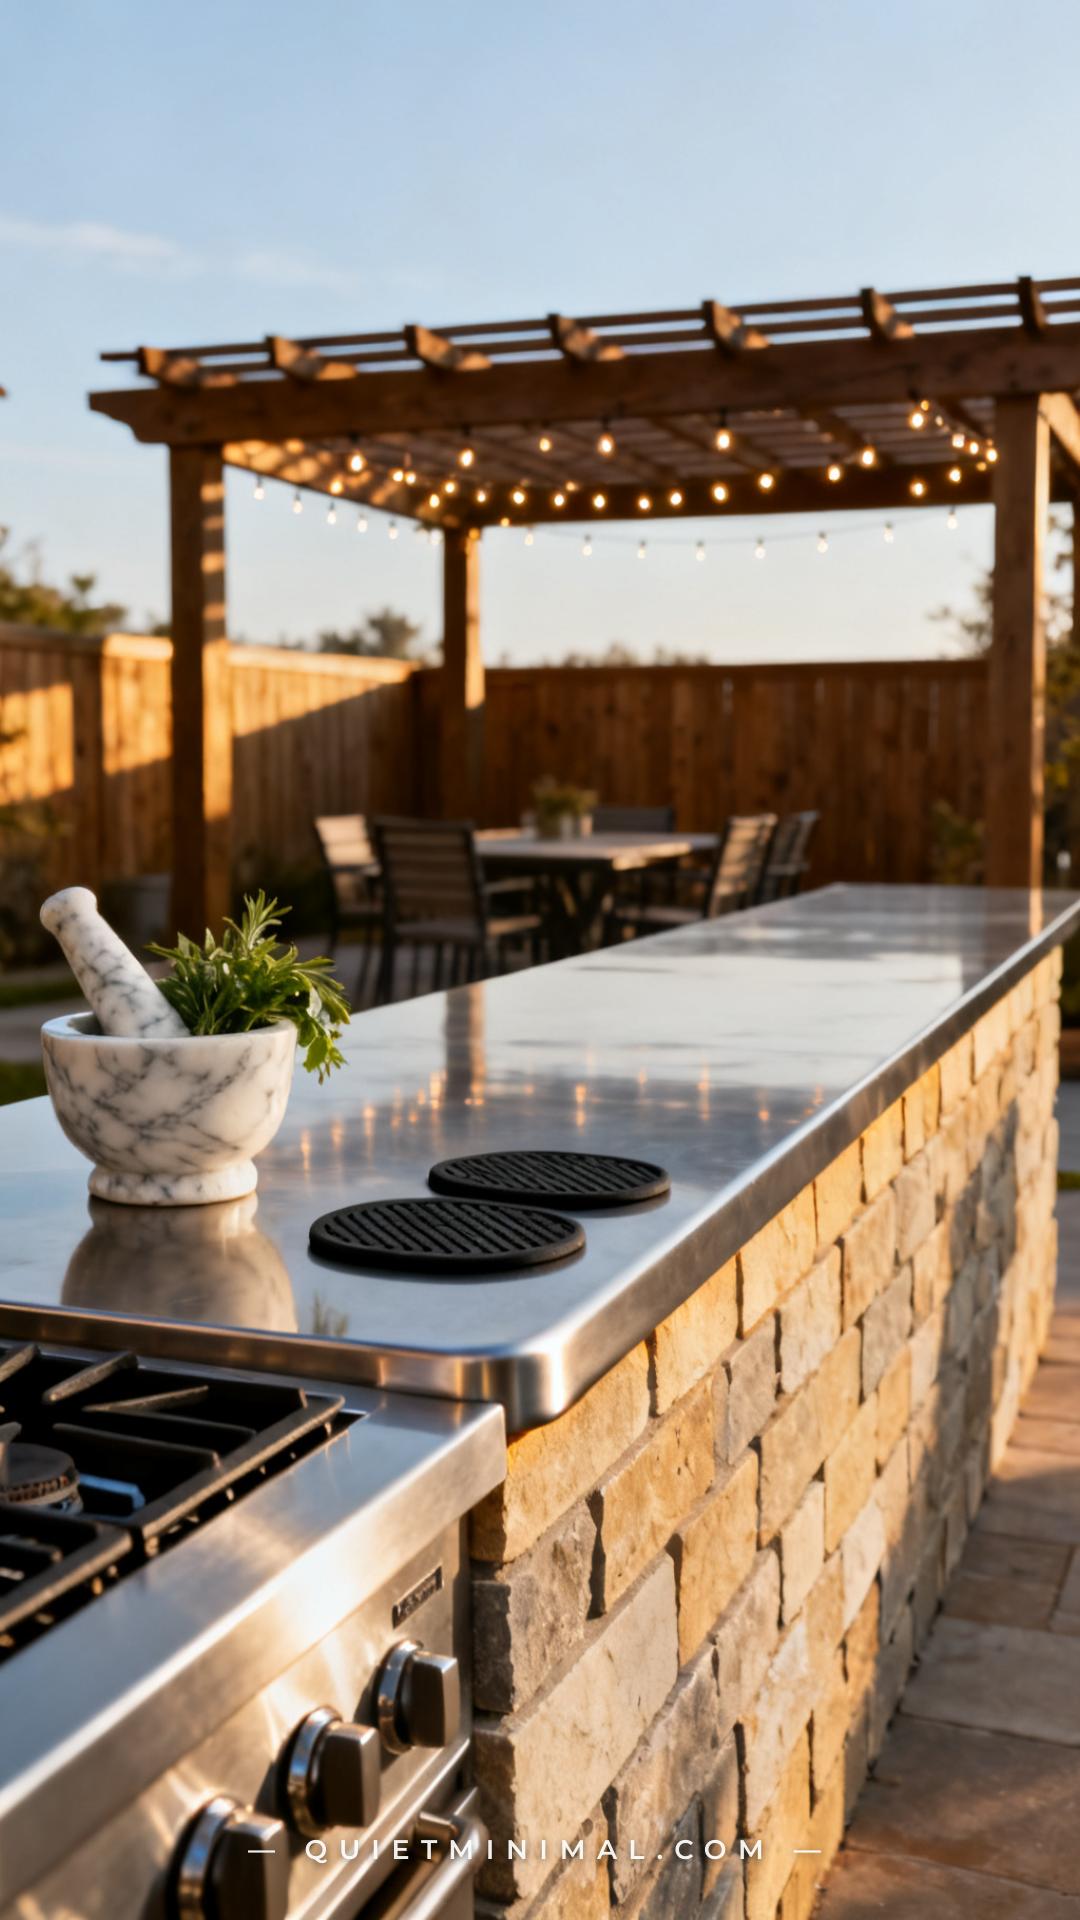 Save
The top edge of a stone surround — where the stone terminates at the underside of the countertop — is the most vulnerable point in the entire cladding system. It’s where water infiltrates if the junction isn’t properly sealed, where freeze-thaw damage initiates in cold climates, and where the visual quality of the whole build either reads as finished or as improvised. Many builders simply terminate the ledger stone wherever it lands and caulk the joint — this fails within two to three seasons.
The correct approach: install a dedicated cap course at the top of the stone using flat, full-thickness stones (not split-face) that provide a uniform horizontal surface for the countertop to bear on, then bed the countertop in a continuous bead of food-safe, high-temp outdoor silicone at the perimeter. The stainless countertop itself should have a drip edge machined into its underside on the exposed sides — a shallow 1/4-inch kerf cut that stops water from tracking under the panel by surface tension. These two details together — a proper cap course and a machined drip edge — are what separate professional fabricator-quality installations from the ones that start leaking after the first winter.
Key Takeaway: Install a flat cap course at the top of the stone surround and specify a machined drip edge on the countertop underside — these two junction details determine whether the build sheds water cleanly or starts failing at the stone-to-counter seam.

The decisions that make a built-in BBQ island with a stone surround and stainless countertop last for a decade — rather than needing a redo in five years — happen almost entirely before the first block is placed or the first panel is mortared. Get the substrate right, seal the stone before it goes up, run your conduit and door rough openings from the start, and spec your grill clearances from the installation manual rather than guessing. Those structural choices are invisible in the finished photos, which is exactly why most inspiration content skips them. If you take away two things from this guide, make it these: build on CMU block, not wood, and seal your stone before it’s installed. Everything else can be refined as you go — but those two decisions can’t be undone without demolition.
From the guides
You've saved it, wanted it. Here's the how: codes, measurements, order. Your choices make it yours.
The Japandi Honest PlaybookThe honest version of the style: what to keep, what to skip, and the order to do it in.See inside →The Room Refresh PlaybookA repeatable four-step method, room by room, in ten minutes, thirty minutes, or one weekend.See inside →Make Any Room Feel Cozy on PurposeWhy some rooms hold people and others empty out, and the moves that change it.See inside → Save