- There are some steps to follow when building your own DIY vegetable storage bin, including procuring the necessary tools and wood for the project.
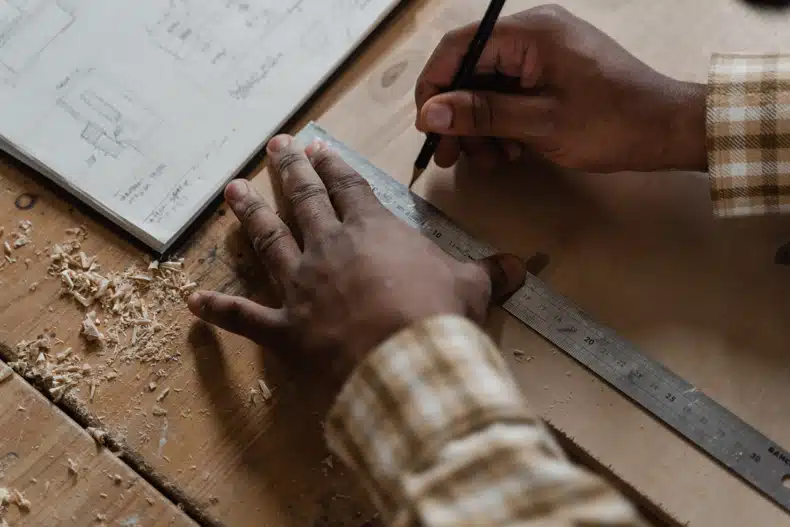
- You will then need to use a pencil and ruler to mark out where you will cut the wood and assemble the pieces you have cut by gluing them together.
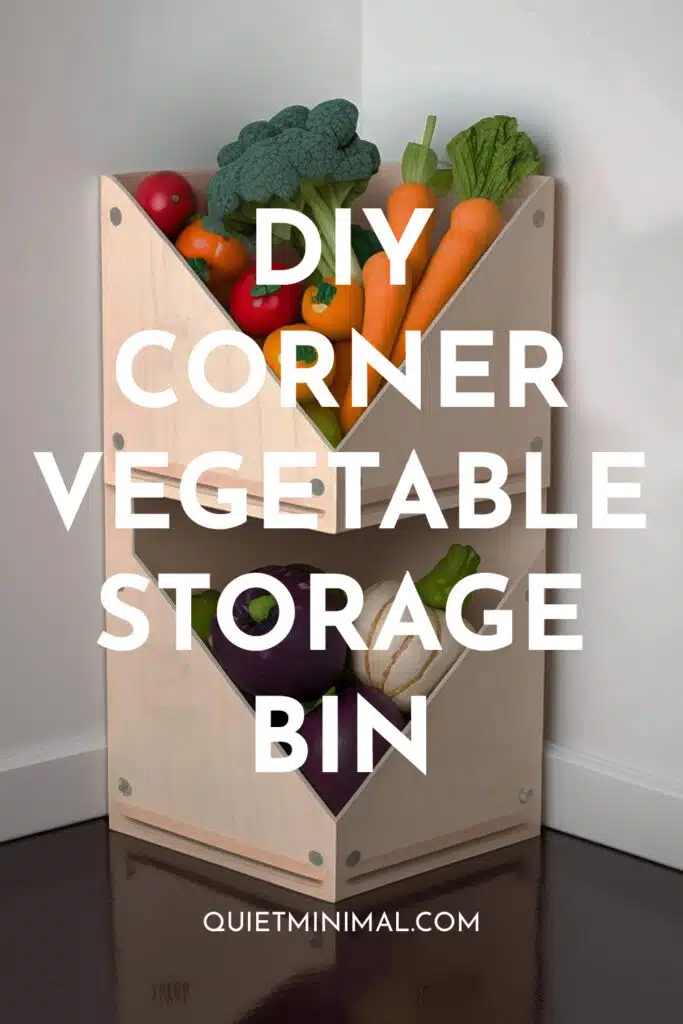
To ensure that your vegetables stay fresh and last for as long as possible, you must correctly store them. One of the easiest DIY solutions for keeping your vegetables is to use a storage bin, which you can make by yourself with suitable materials.
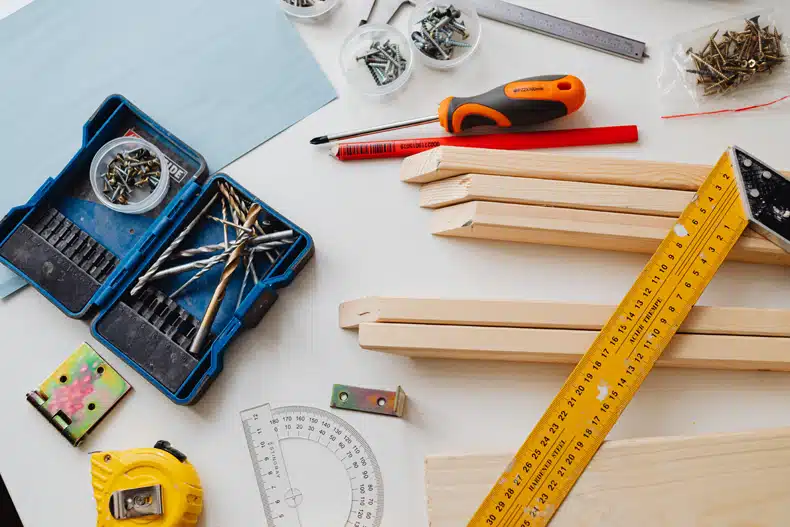
Before attempting to make your own DIY storage bin, you must ensure that you have all the necessary tools and materials to complete your project.
Building A DIY Corner Vegetable Storage Bin
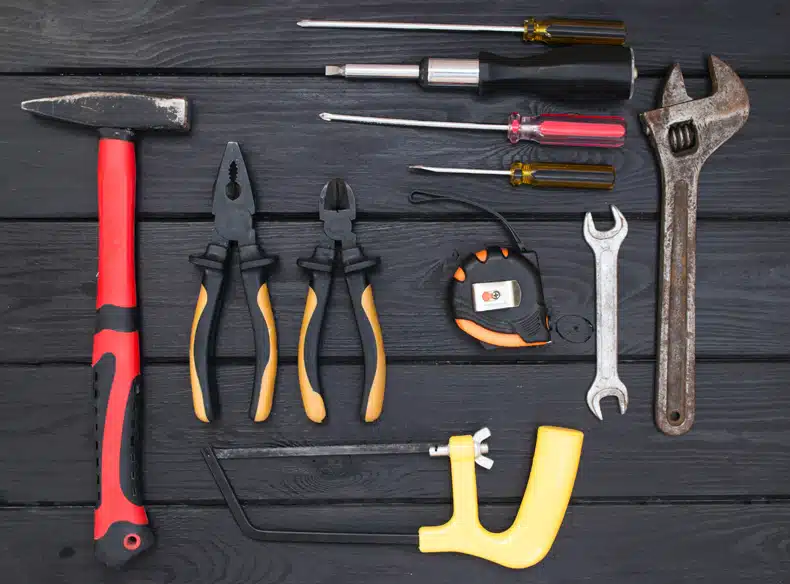
Before starting your DIY project, it is essential that you first gather all the necessary equipment needed to complete the project. This includes gathering tools such as:
- A saw
- A pencil
- A ruler
- Wood glue
- Sandpaper
You will also need to pick all the pieces of wood required to build the bins. Once you have all the necessary equipment, you can begin your project.
For this bin, you will need to get three long and relatively wide rectangular pieces of wood, two for the backboard and one which can be cut up into two pieces to form the sides of the bin.
You will also need to get three square pieces of wood that have the same width as the rectangular pieces, which will serve as the bottoms for the bin.
You will also need to get a piece of wood half the width of the square-shaped wood. This piece should be long enough to cut into three smaller pieces to be used for the front pieces of the bins.
Planning Where To Cut The Wood
Before simply starting to cut up your wooden pieces, it is important to plan where you will cut the wood by marking out the lines where you will cut the wood with a pencil and a ruler.
The two back pieces of the bin do not need to be cut.
To make the bottoms of the wooden stacking bins, you will need to take your square pieces of wood and draw a line to cut off one of the four corners diagonally.
To do this, divide your square into four equal quarters and make a diagonal line across one of the squares. This is where you will cut the wood. This should be done with three pieces of wood.
Next, measure out half the width of one of the squares, take that measurement and mark it off onto two pieces of wood that are the same length as the back sides of the bin. This will serve as the side pieces of the bin.
Lastly, measure out and cut three pieces of wood to fit the length of the front side of the square bottoms on the side you have cut.
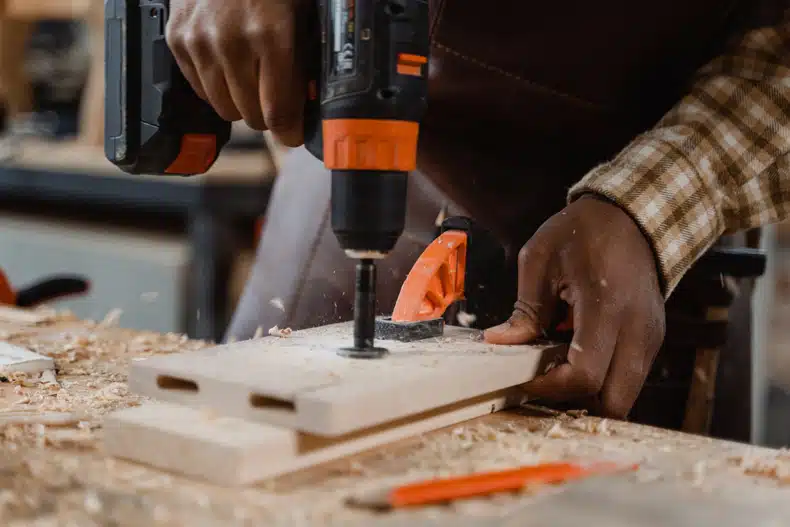
Assembling The Storage Bin

The first pieces of wood to glue together will be the two back pieces of the bin. Attach these pieces together by gluing longer sides to one another at a 90-degree angle.
Once the glue has dried, take your three-square bottom pieces and glue them at equal distances from one another in between the back sides of the bin, with the corners you cut off facing the front of the bin.
When these pieces have dried and set, take your two pieces of wood the same length as the back side of the bin and glue them onto the sides of the bin, ensuring they are glued to both the backs and the bottoms of the bin.
Lastly, glue the remaining three pieces of wood to the front of the bin, ensuring they are glued horizontally to the sides and front of the bin where you had cut off the corner of the bottoms.
After letting all the glue dry properly, you can use sandpaper to sand down rough edges.
Conclusion
When building a DIY vegetable storage bin, it is important first to gather all the necessary tools and materials to complete the project.
After collecting all the required equipment, you must plan and mark out where you will cut your pieces of wood. Once all the pieces of wood have been cut, assemble them by gluing them all together step by step and sand any rough edges.
Follow Quiet Minimal on Pinterest for more home inspiration and ideas.