- A vegetable bin cupboard is an answer to neatly storing vegetables while keeping them fresh for longer.
- Building a vegetable bin cupboard requires research, a plan, the correct supplies and equipment, woodworking experience, hard work, and patience.
Vegetables are typically stored in the fridge, in a bowl on the kitchen counter, in paper bags inside a cupboard, or on a tiered vegetable tray. The challenge is to store vegetables in a way that avoids cluttering the fridge, cupboards, or workspace and still have them close by.
Before starting the project, you must know what type of vegetable bin cupboard will suffice. Surfing the internet and talking to family and friends may spark exciting ideas. You can constantly adjust plans and designs to meet your needs.
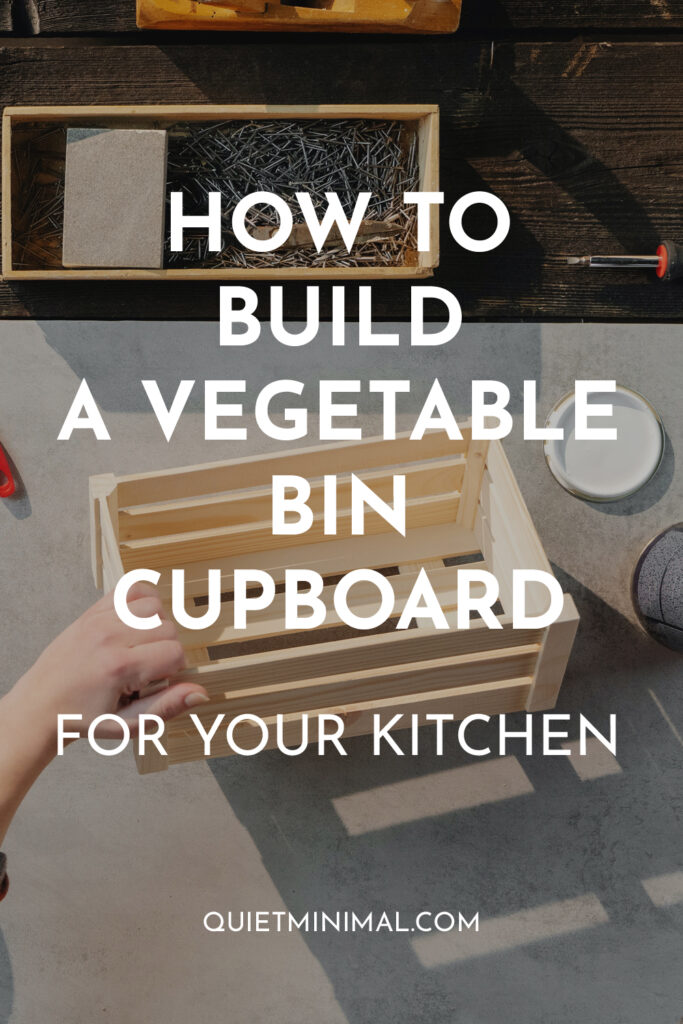
How To Build A Vegetable Bin Cupboard
First, find or draw a plan of the vegetable bin cupboard you want to build and gather all the materials and equipment needed. An internet search will provide sites that offer plans that you can use for this project.
We will refer to the vegetable bin cupboard plan we found during our internet search and follow the steps provided.
Step 1: Gather The Materials
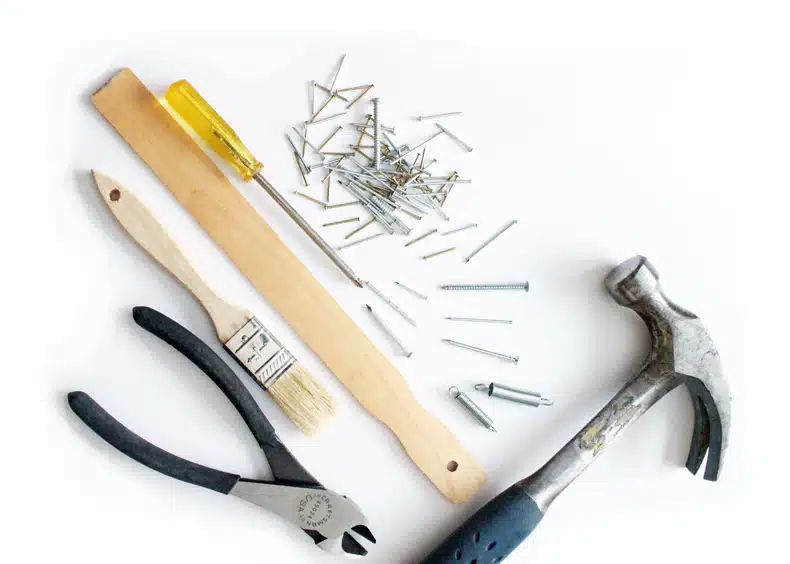
You will need the following tools and equipment to make a sturdy vegetable bin cupboard.
- Plan or blueprint of the project
- Lumber
- Plywood
- Wire mesh, door pulls, and hinges
- Drill machinery and drill bits
- Mitre saw and jigsaw
- Safety gloves and glasses
- Carpentry pencil, tape measure, chalk line, and a level
- Sandpaper
- Wood stain or paint and paintbrushes
- Magnetic latches.
- Nails and screws.
Step 2: Prepare The Components
Prepare all the components beforehand. It ensures easier control and assembly.
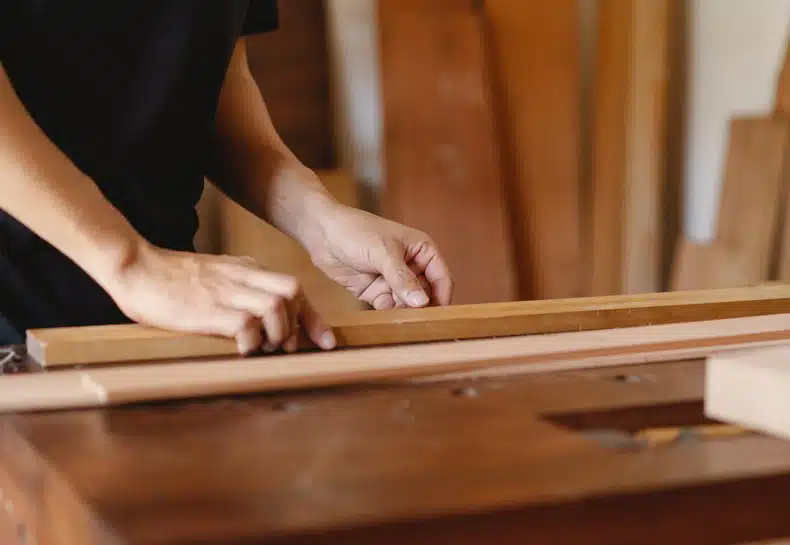
- Cut the wood to the required lengths and sizes as indicated on your drawings.
- Use a mitre saw to make the angle cuts.
- Measure, mark and drill all the required screw holes on each wooden component.
Step 3: Assemble The Vegetable Bin Cupboard
Follow these fourteen steps to assemble the vegetable bin cupboard.
- Smooth the edges of all the cupboard components with sandpaper.
- Fit the cleats to the inside of the panels using glue and screws.
- Assemble the front face by drilling pocket holes at both sides of the horizontal supports and screw them unto the vertical supports. Ensure the edges are flush and the corners are square.
- Fit the front trims to the sides, ensuring a flush fit. Glue the joints and fix them with nails.
- Fit the plywood to the back of the “box,” ensuring a flush fit, and nail the parts together.
- Fit the plywood top and secure it with nails. Glue the joints and add the trims.
- Fit the top shelve. Nail the plywood shelf to the cleats.
- Build the top drawer. Align the edges of the drawer and nail them together. Apply glue to all the joints and staple the wire mesh to the frame.
- Build the front frames for the bin. Align the components and fix them with screws.
- Assemble the bins. Use glue and nails or screws to assemble the bins taking care not to leave any gaps between components.
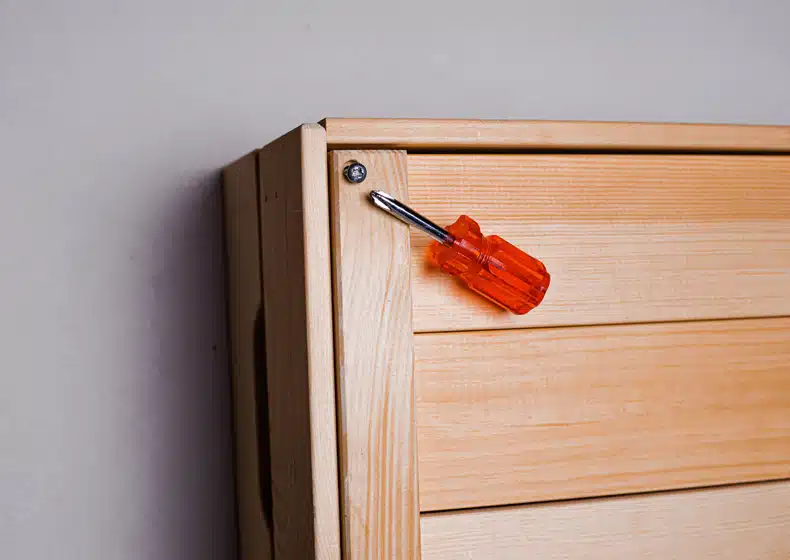
- Fit the boxes. Fit the top drawer and bins to the openings. Centre the drawer and bins and attach the hinges and magnetic latches.
- Fit pulls to easily open and close the drawer and bins.
- Make the final additions. Fill all the drill holes with wood putty and sand down any unevenness.
- Finish off the project by applying a few coats of wood stain or paint. Refrain from putting paint or stain on the surface where the vegetables will lay.
Conclusion
If the idea of working with woodworking machinery intimidates you, have the wood cut to size by the wood shop. Leaving you only to do the sanding, drilling, assembly, and finishing touches. Enjoy the project!
Follow Quiet Minimal for more minimalist living tips and interior design ideas!