 Georgia

The laundry room is the one space in the house that gets used every single week but almost never gets any design attention. If yours still has builder-beige walls, original cabinet hardware from 2003, and a floor that makes you wince every time you walk in, that ends now — without a gut renovation and without spending a fortune.
The key to making this feel achievable is sequencing. Most refresh guides throw ideas at you in random order, which means you paint the wall, then install the backsplash tile and scratch the paint, then realize the hardware you ordered doesn’t match the tile. This guide gives you 12 specific upgrades in a logical order — paint first, tile second, hardware and finishing details last — so every step builds cleanly on the one before it.
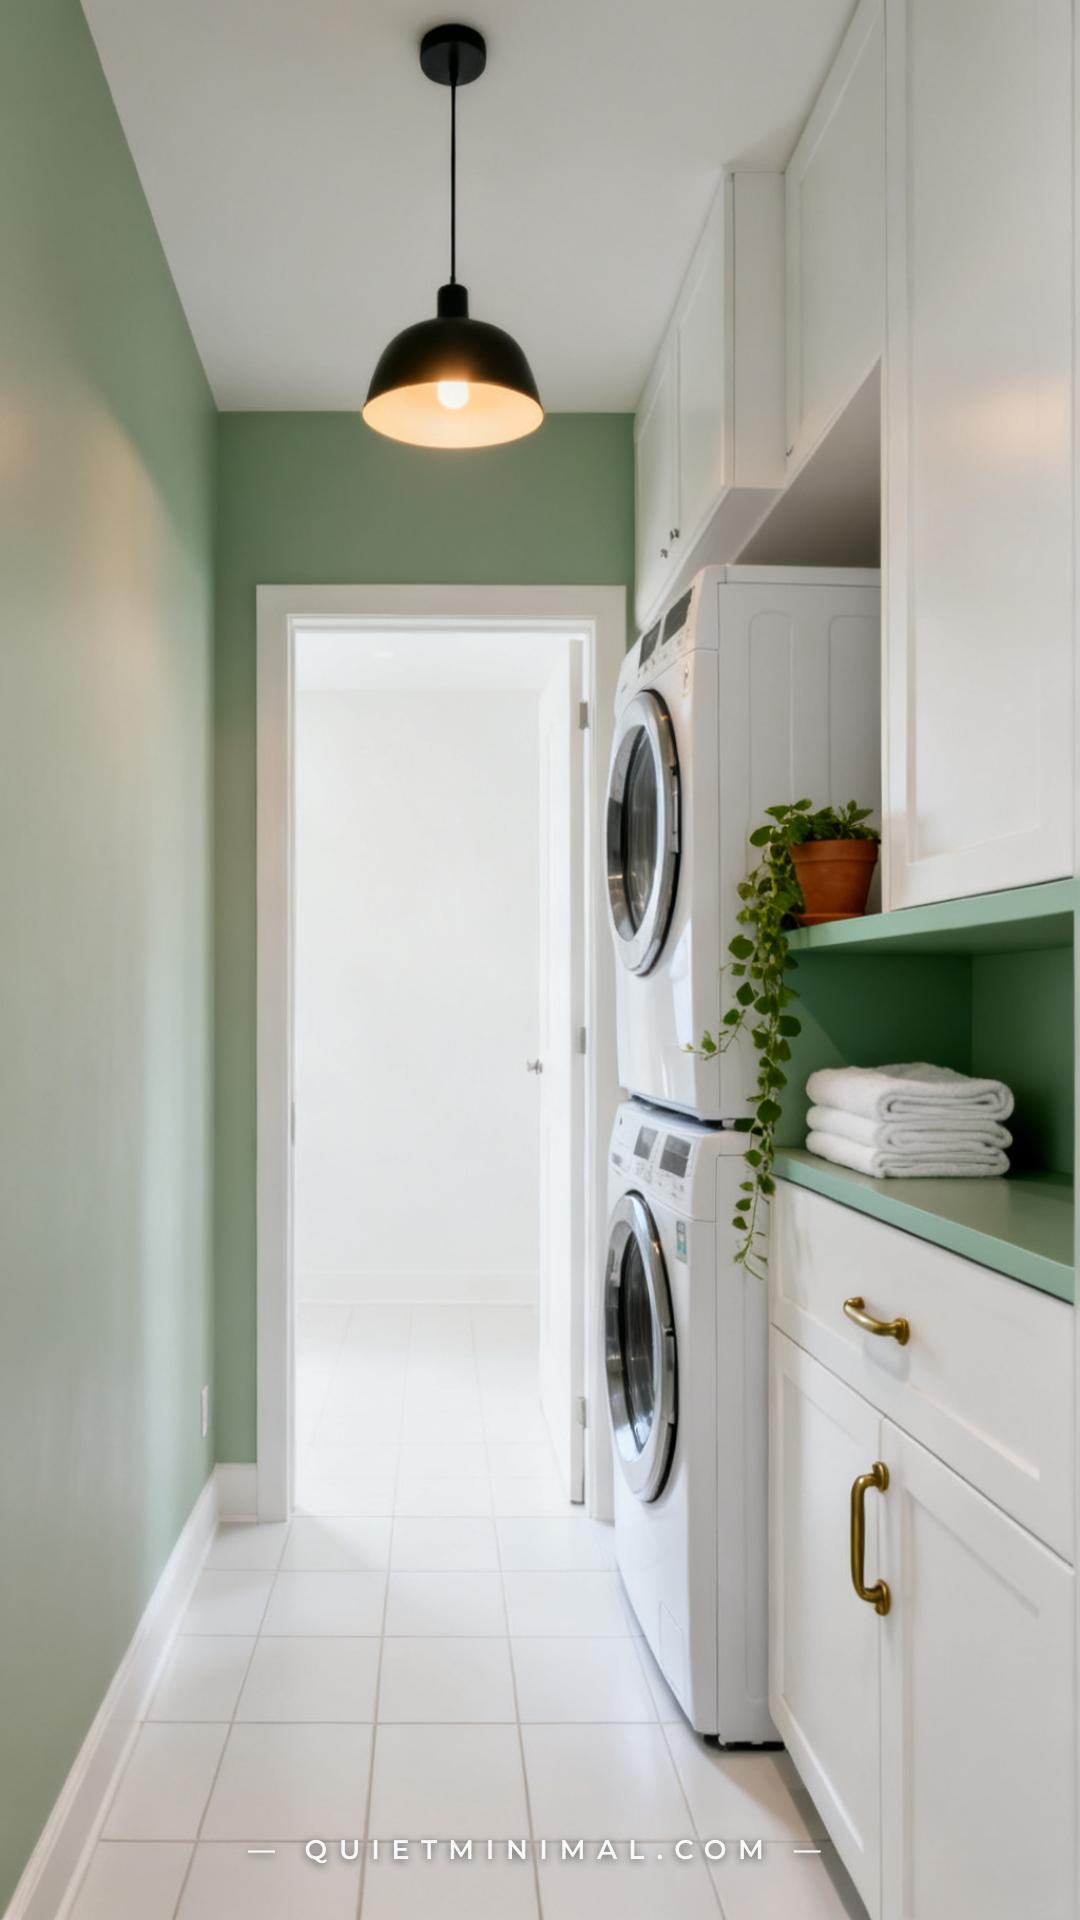
Step 1: Commit to One Paint Color Before You Touch Anything Else
 Save
Every other upgrade in this room — the tile, the hardware, the accessories — is calibrated against your wall color. If you pick it last, you will either repaint or live with a mismatch. Picking the paint color first is a non-negotiable foundation.
From the guides
You've saved it, wanted it. Here's the how: codes, measurements, order. Your choices make it yours.
 The Japandi Honest PlaybookThe honest version of the style: what to keep, what to skip, and the order to do it in.See inside →
 The Room Refresh PlaybookA repeatable four-step method, room by room, in ten minutes, thirty minutes, or one weekend.See inside →
 Make Any Room Feel Cozy on PurposeWhy some rooms hold people and others empty out, and the moves that change it.See inside →
For laundry rooms, the color logic is different from living spaces. You want something that makes the room feel larger and cleaner than it is, while still having personality. Soft whites with warm undertones (think cream rather than bright white), pale sage, soft slate blue, and warm greige all photograph beautifully on Pinterest and hold up well with the high humidity that laundry rooms generate. Avoid cool grays with blue undertones — they read as cold and clinical in artificial light, which is what most laundry rooms rely on.
Before committing, buy 3-inch peel-and-stick paint sample swatches from your chosen brand and stick them directly on the wall for 48 hours. Assess them in the morning, midday, and under your overhead light at night. The color that looks best under your actual artificial light is the right one.
Key Takeaway: Choose paint color before anything else — every other material decision in the room will respond to it.

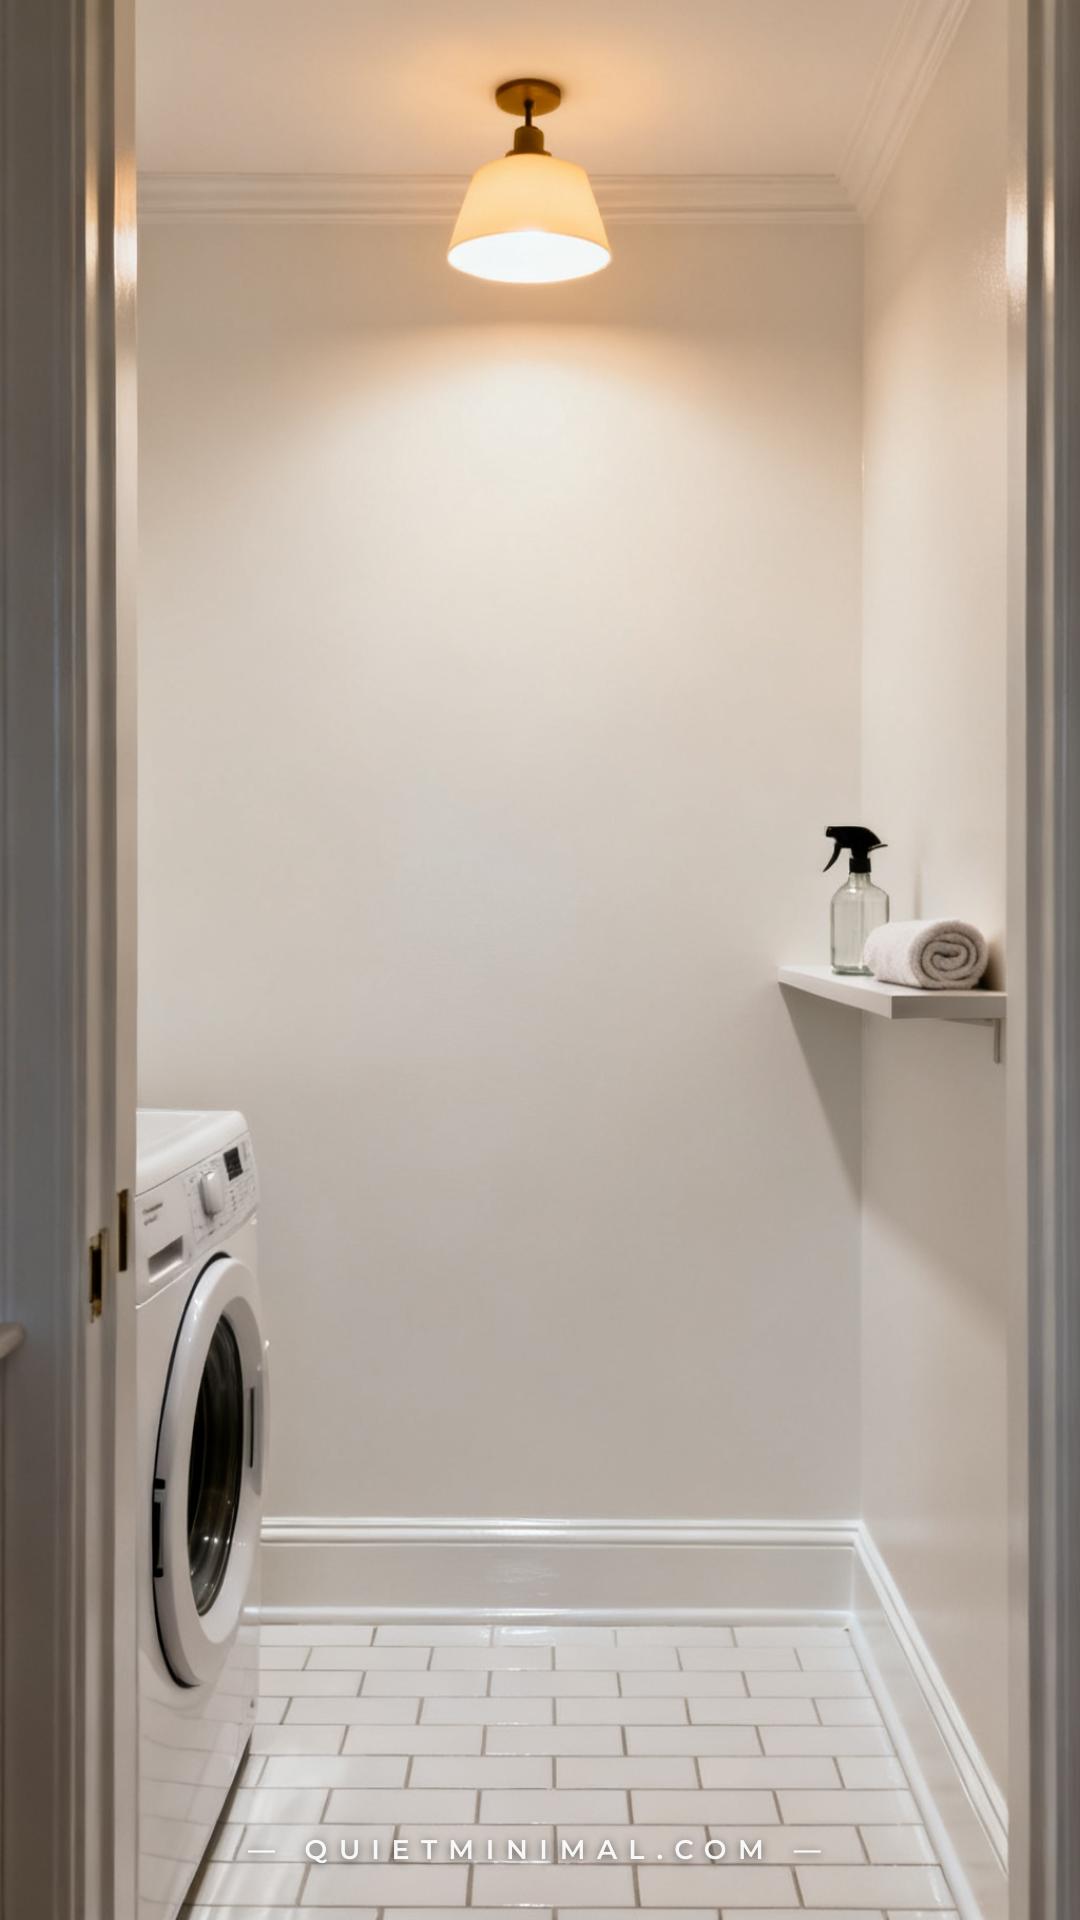
Step 2: Use a Semi-Gloss or Satin Finish — Not Flat — on Laundry Room Walls
 Save
This is the detail most first-timers skip, and it causes real problems within six months. Flat and matte paints absorb moisture and are nearly impossible to wipe clean. In a laundry room — where detergent drips, fabric softener mist, and steam from drying are constant — a flat-finish wall will stain and scuff within a season.
Satin and semi-gloss finishes have enough sheen to be wiped down with a damp cloth and resist humidity far better. They do show wall imperfections slightly more, so skim over any dents or holes with lightweight spackling before you paint. One thin coat of spackling, sanded smooth with 220-grit sandpaper, is all you need for a typical laundry room wall.
The good news is that most major paint brands — Benjamin Moore, Behr, Sherwin-Williams — offer every color in multiple sheens at no additional cost. Request satin or eggshell (which sits between flat and satin) when you order.
Key Takeaway: Always use satin or semi-gloss in a laundry room — flat paint won’t survive the humidity and detergent exposure.

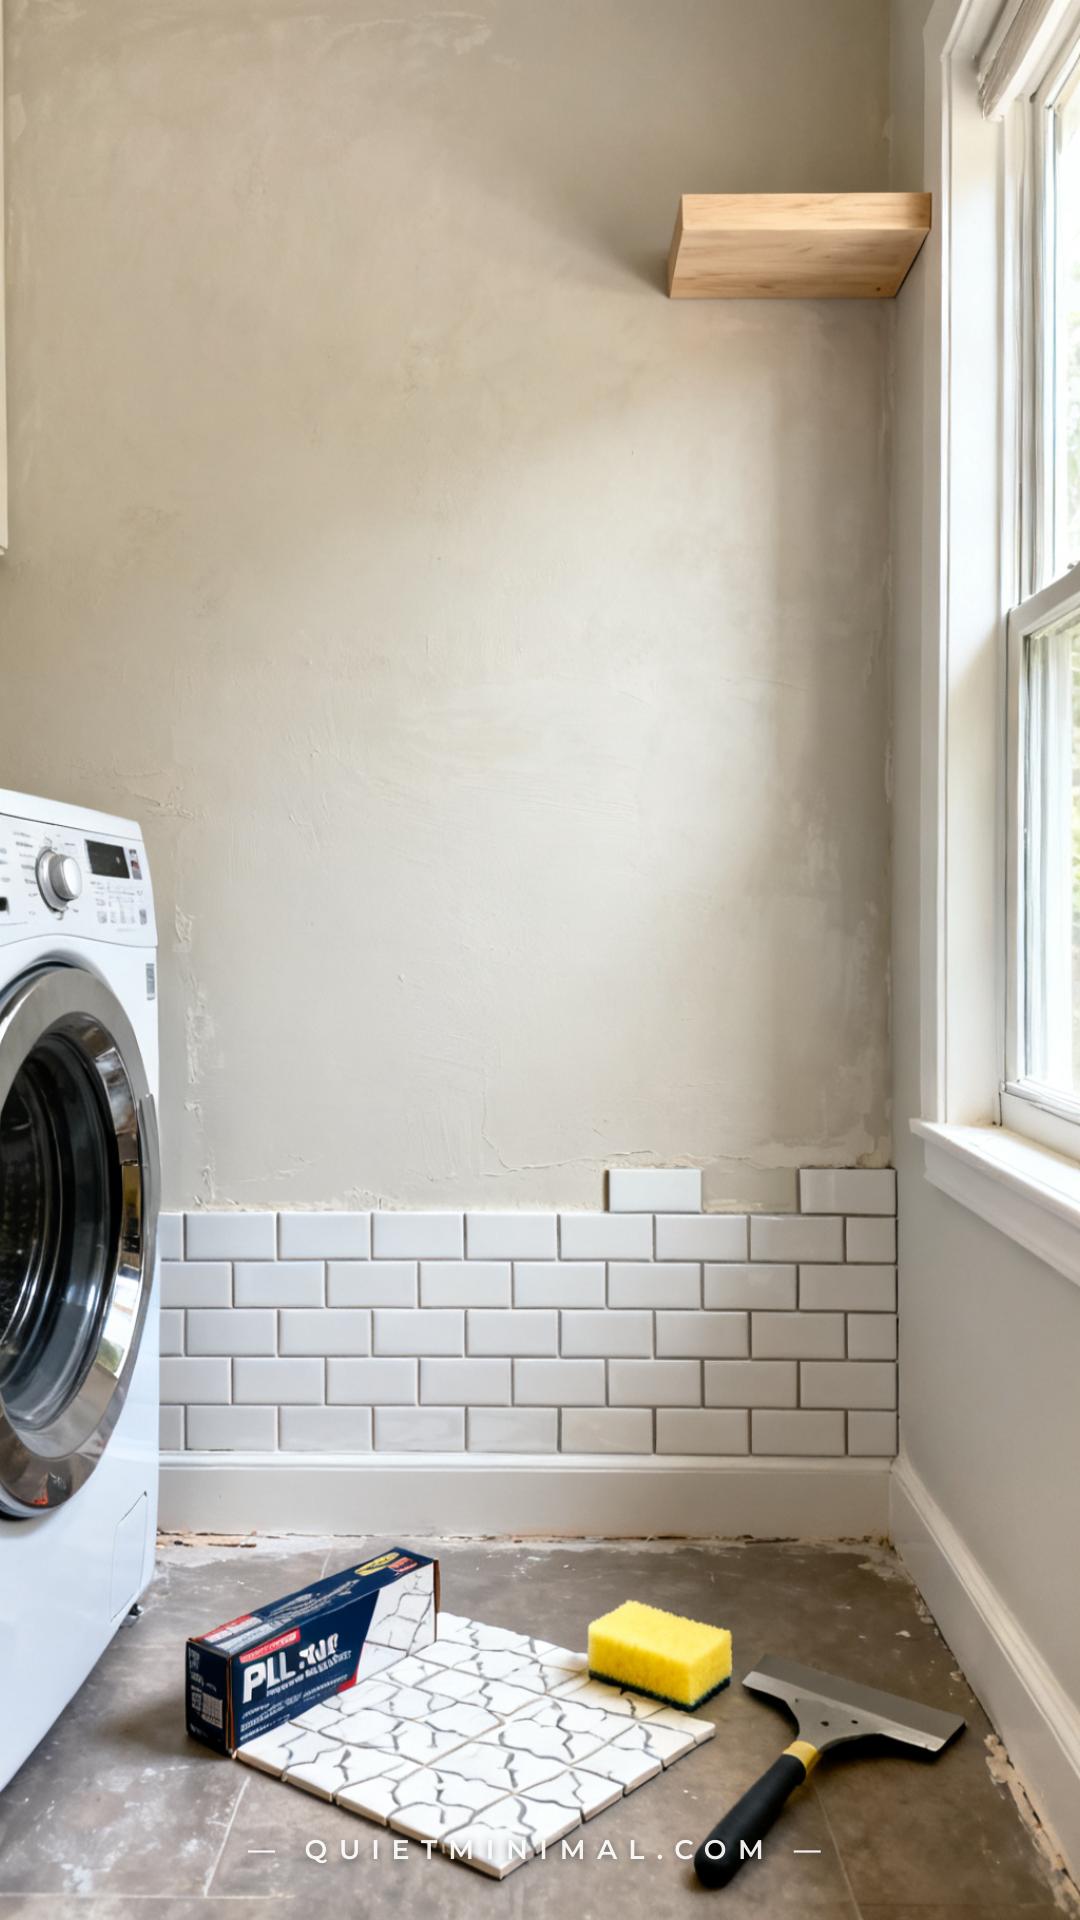
Step 3: Prep the Wall Surface Before Any Peel-and-Stick Tile Goes Up
 Save
The single biggest reason peel-and-stick tile fails — bubbling up at the corners within weeks, peeling off entirely within months — is inadequate surface prep. Every Reddit thread about peel-and-stick backsplash disasters points to the same root cause: the tile was applied to a wall that was dusty, slightly textured, or had residual grease or cleaning product on it.
The correct prep sequence for a laundry room backsplash wall is: clean with TSP substitute solution (available at any hardware store), rinse and allow to dry completely for at least 24 hours, then lightly sand with 220-grit paper if the wall has any texture. Wipe again with a dry microfiber cloth before peeling the first tile. The adhesive on quality peel-and-stick products is extremely strong on a properly prepped smooth surface — the prep is not optional.
For floors, the same logic applies: the subfloor or existing tile must be clean, level, and fully adhered. Loose existing tiles, lumps, or grout lines deeper than 1/16 inch need to be addressed with a leveling compound before your new peel-and-stick layer goes down.
Key Takeaway: Prepping the surface for 24 hours costs nothing and is the single most important factor in how long your peel-and-stick tile will last.
Step 4: Choose the Right Peel-and-Stick Tile Pattern for a Small Room
 Save
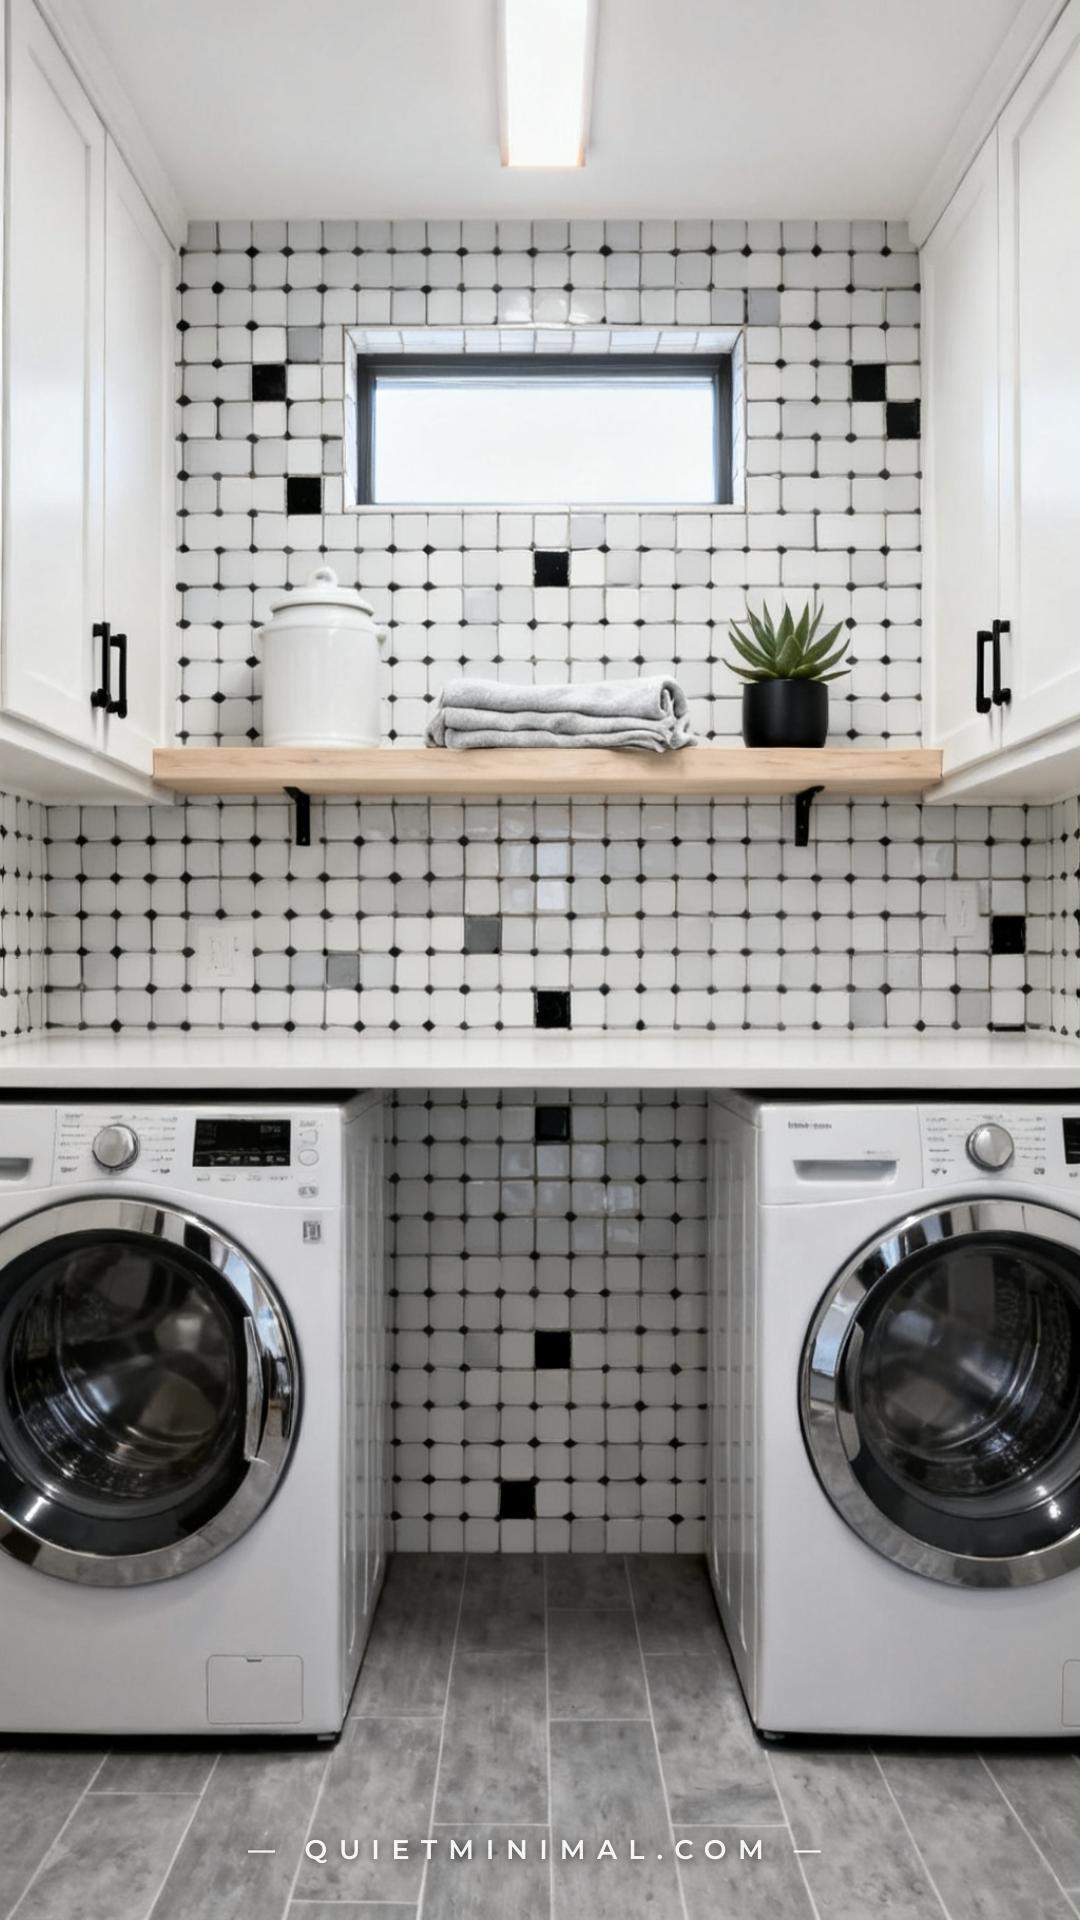
Not all peel-and-stick tile patterns read the same way at small scale. Some patterns that look striking in a large kitchen feel busy and cramped when applied to a 3-foot-wide laundry room backsplash. The patterns that consistently work best in small laundry rooms are: classic subway (timeless, elongates the wall), small-scale encaustic geometric (adds personality without overwhelming), and neutral hexagon (works with almost any paint color and hardware finish).
Patterns to avoid in small laundry rooms: large Moroccan medallions, high-contrast diagonal checkerboard at full scale, and anything with grout lines thicker than 1/8 inch. The grout line scale matters because thick simulated grout lines read as heavy and dated in a small space, and they’re harder to clean around detergent bottles and hardware.
For a 10-square-foot backsplash, you’ll typically need 2–3 boxes of standard 10-pack peel-and-stick tile sheets. Order one extra box to account for cuts around outlets and under cabinet lips.
Key Takeaway: Subway, small encaustic geometric, and neutral hexagon are the three patterns that consistently work well in small laundry rooms without overwhelming the space.

Step 5: Install Peel-and-Stick Floor Tile Starting From the Center, Not the Wall
 Save
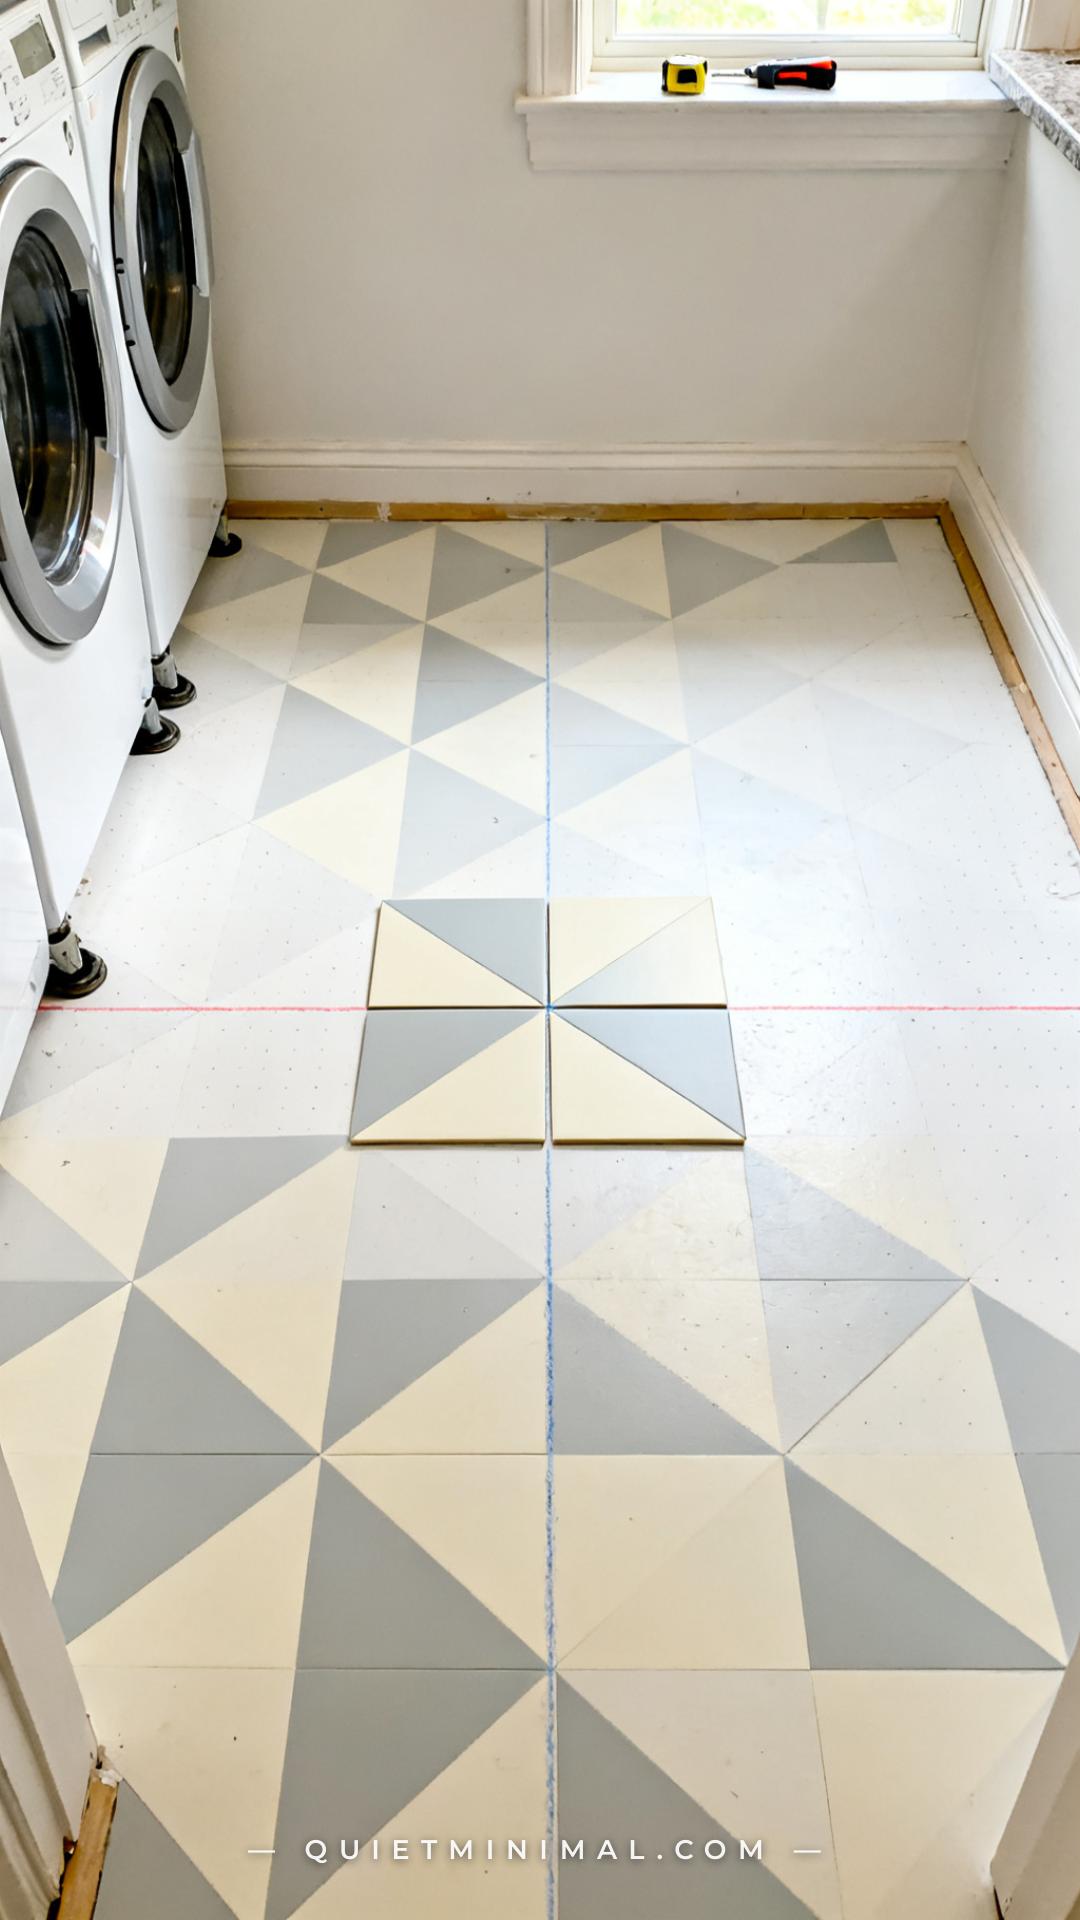
Starting peel-and-stick floor tile from a wall seems logical — you’d think the edge creates a clean reference line. The problem is that almost no laundry room wall is perfectly straight or square. If you start from the wall and the room is even 2 degrees out of square (which most are), your tiles will visibly drift by the time you reach the opposite wall.
The professional approach: find the center of the room by snapping two chalk lines from the midpoints of opposite walls. Their intersection is your starting tile. Work outward from center in all four directions, cutting border tiles last. This guarantees the pattern is optically balanced when you stand in the doorway and look in — which is the view point every Instagram photo and Pinterest pin of a laundry room uses.
For rooms with floor drains or oddly shaped footprints, a sharp utility knife or inexpensive vinyl tile cutter handles all the edge cuts. Score and snap — no wet saw needed.
Key Takeaway: Always start floor tile from the center of the room — not from the wall — to keep the pattern visually balanced from the doorway.

Step 6: Swap Every Cabinet and Drawer Pull Before You Paint the Cabinets
 Save
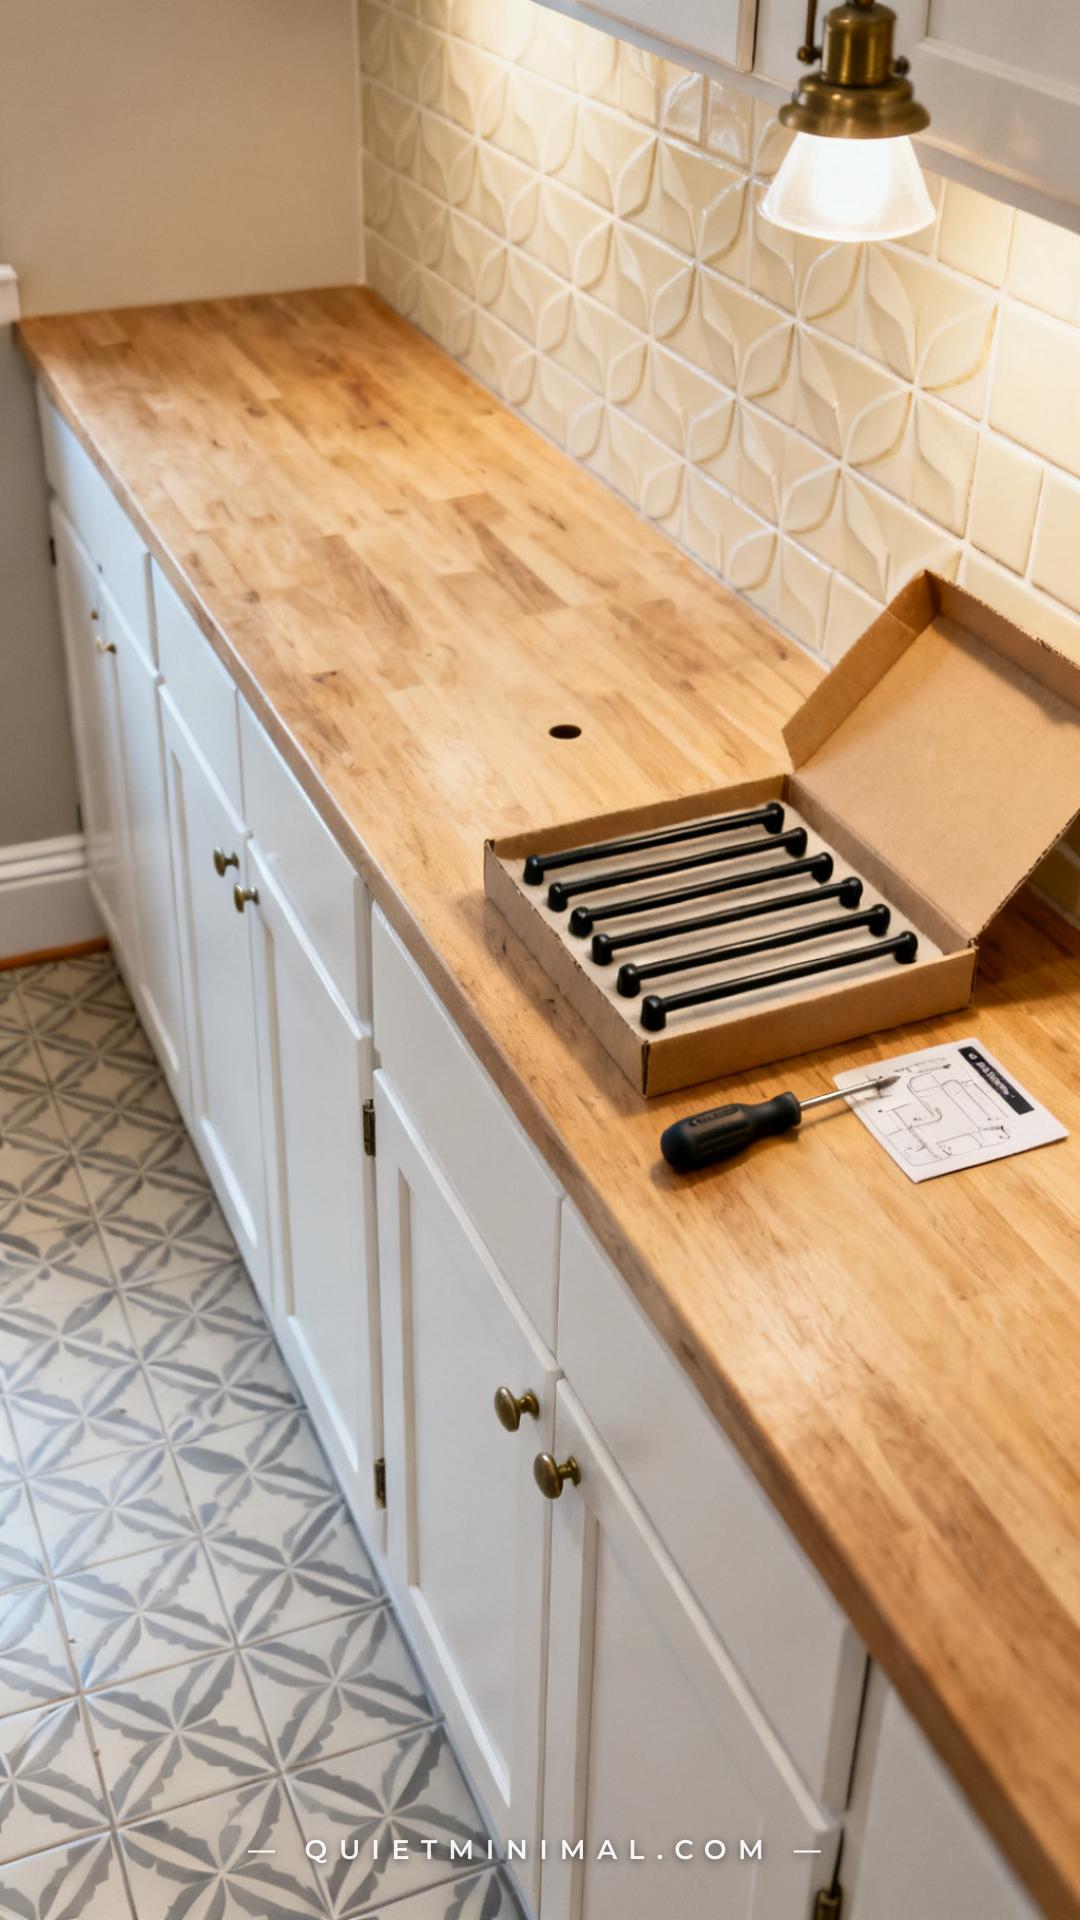
Swapping cabinet hardware is the highest perceived-value upgrade relative to cost and effort in any room. A set of outdated brass bar pulls or knobs replaced with matte black or brushed gold equivalents can make builder-grade cabinets look intentional and designed. In a laundry room, this reads as a complete personality shift.
The sequencing reason to do this before painting the cabinets: if you decide later to paint the cabinets (a future upgrade), you’ll already know the hole spacing of your current hardware. More importantly, swapping hardware now without repainting the cabinets is a $30–$60 investment that immediately upgrades the room — you don’t need to paint the cabinets to get the effect.
For standard cabinet doors, the most common pull center-to-center spacings are 3-inch and 3-3/4-inch. Before ordering, measure your existing holes. Hardware from brands like Franklin Brass, Amerock, and Cosmas is all available in standard spacings on Amazon with verified in-stock listings.
Key Takeaway: Replace cabinet hardware before any painting — it’s the fastest visual upgrade in the room and it anchors every other material decision that follows.

Step 7: Replace the Utility Faucet If There’s a Laundry Sink
 Save
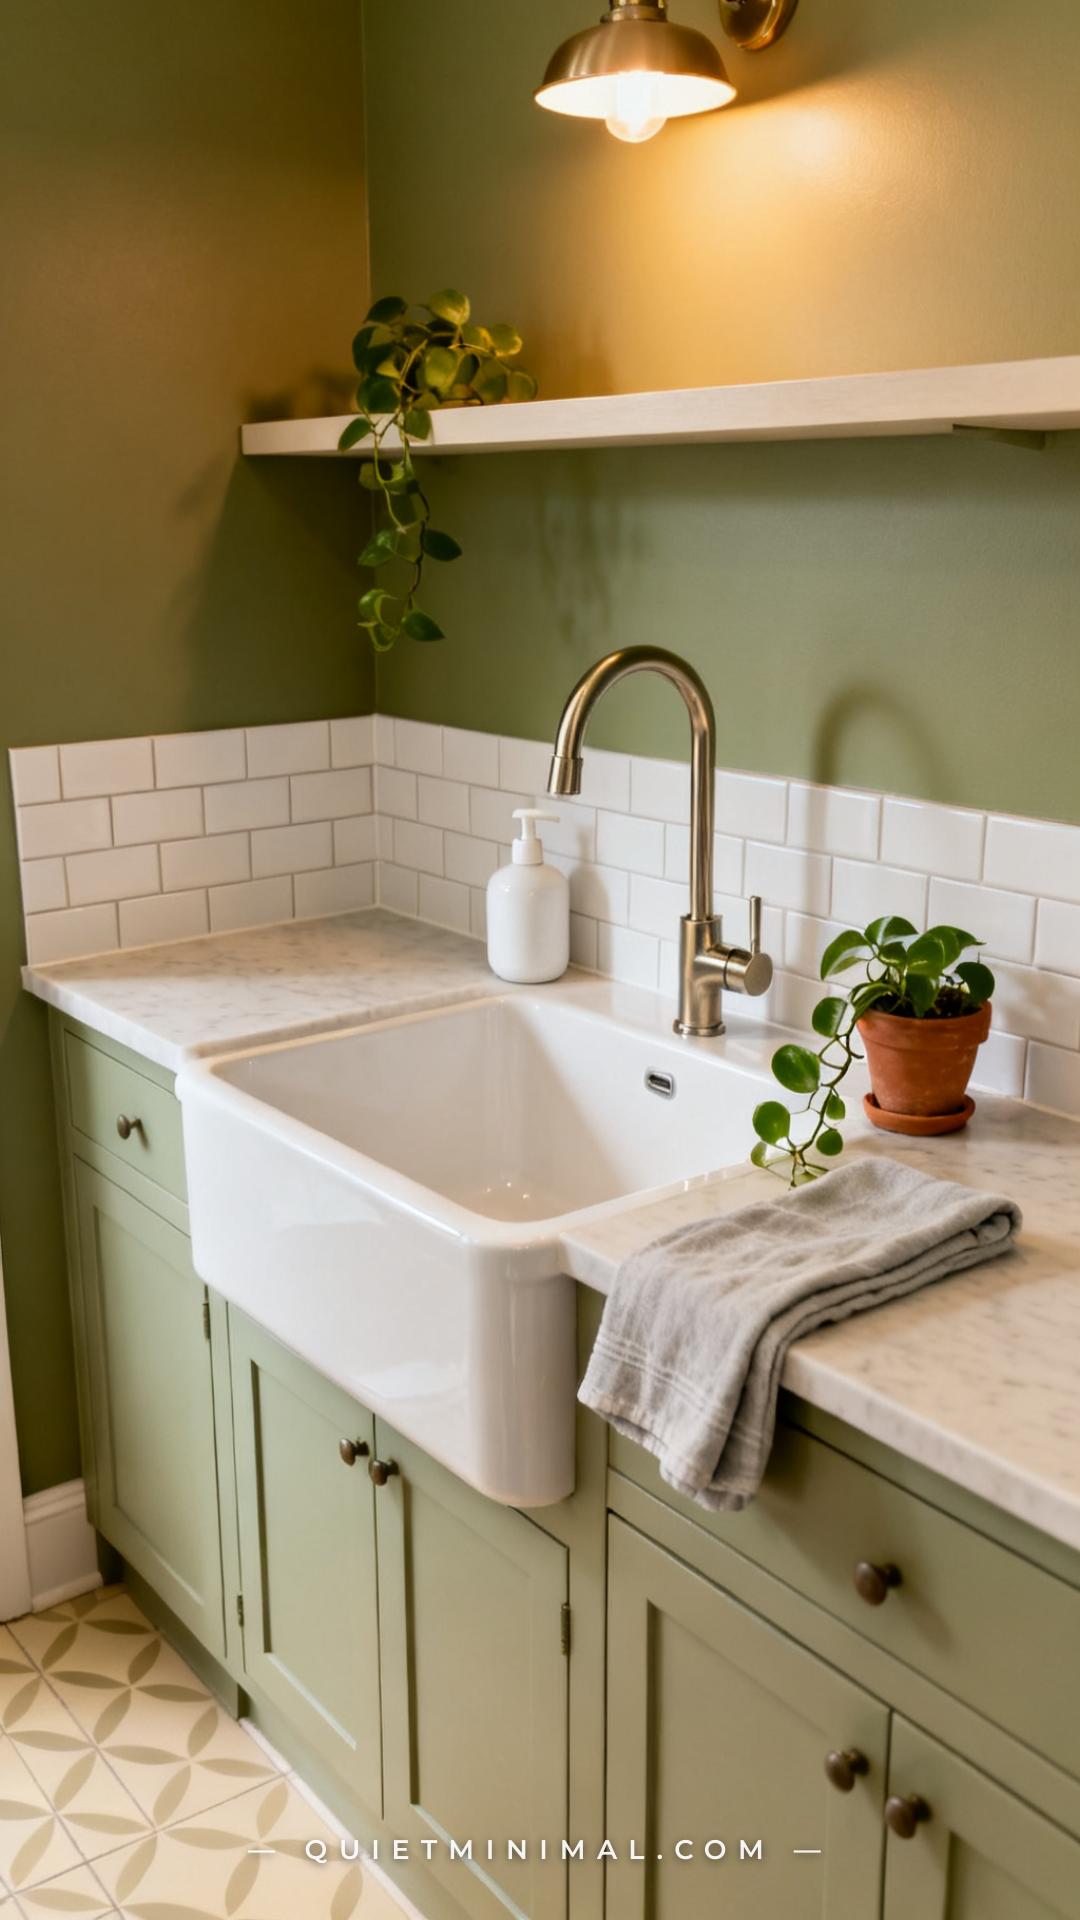
If your laundry room has a utility sink, the faucet is almost certainly dated — chrome single-handle models from the early 2000s are standard in builder-grade homes and they read as institutional. A faucet swap is a straightforward DIY job that takes about 45 minutes and dramatically shifts the room’s personality.
The best swap for a laundry utility sink: a gooseneck or high-arc single-handle faucet in brushed nickel, matte black, or oil-rubbed bronze. The high arc is practical — it accommodates filling buckets, soaking clothes, and cleaning larger items. Matte black finishes currently have the strongest visual impact on Pinterest and coordinate well with matte black cabinet hardware if you’re committing to one metal throughout the room.
Check the number of mounting holes in your existing sink before ordering — most utility sinks have a single center hole, but some have three-hole setups. The product listing will specify compatibility.
Key Takeaway: A faucet swap on a laundry room sink takes under an hour and shifts the room’s perceived quality more than almost any other single change.
From the guides
You've saved it, wanted it. Here's the how: codes, measurements, order. Your choices make it yours.
The Japandi Honest PlaybookThe honest version of the style: what to keep, what to skip, and the order to do it in.See inside →The Room Refresh PlaybookA repeatable four-step method, room by room, in ten minutes, thirty minutes, or one weekend.See inside →Make Any Room Feel Cozy on PurposeWhy some rooms hold people and others empty out, and the moves that change it.See inside →
Step 8: Add a Floating Shelf Above the Washer and Dryer
 Save
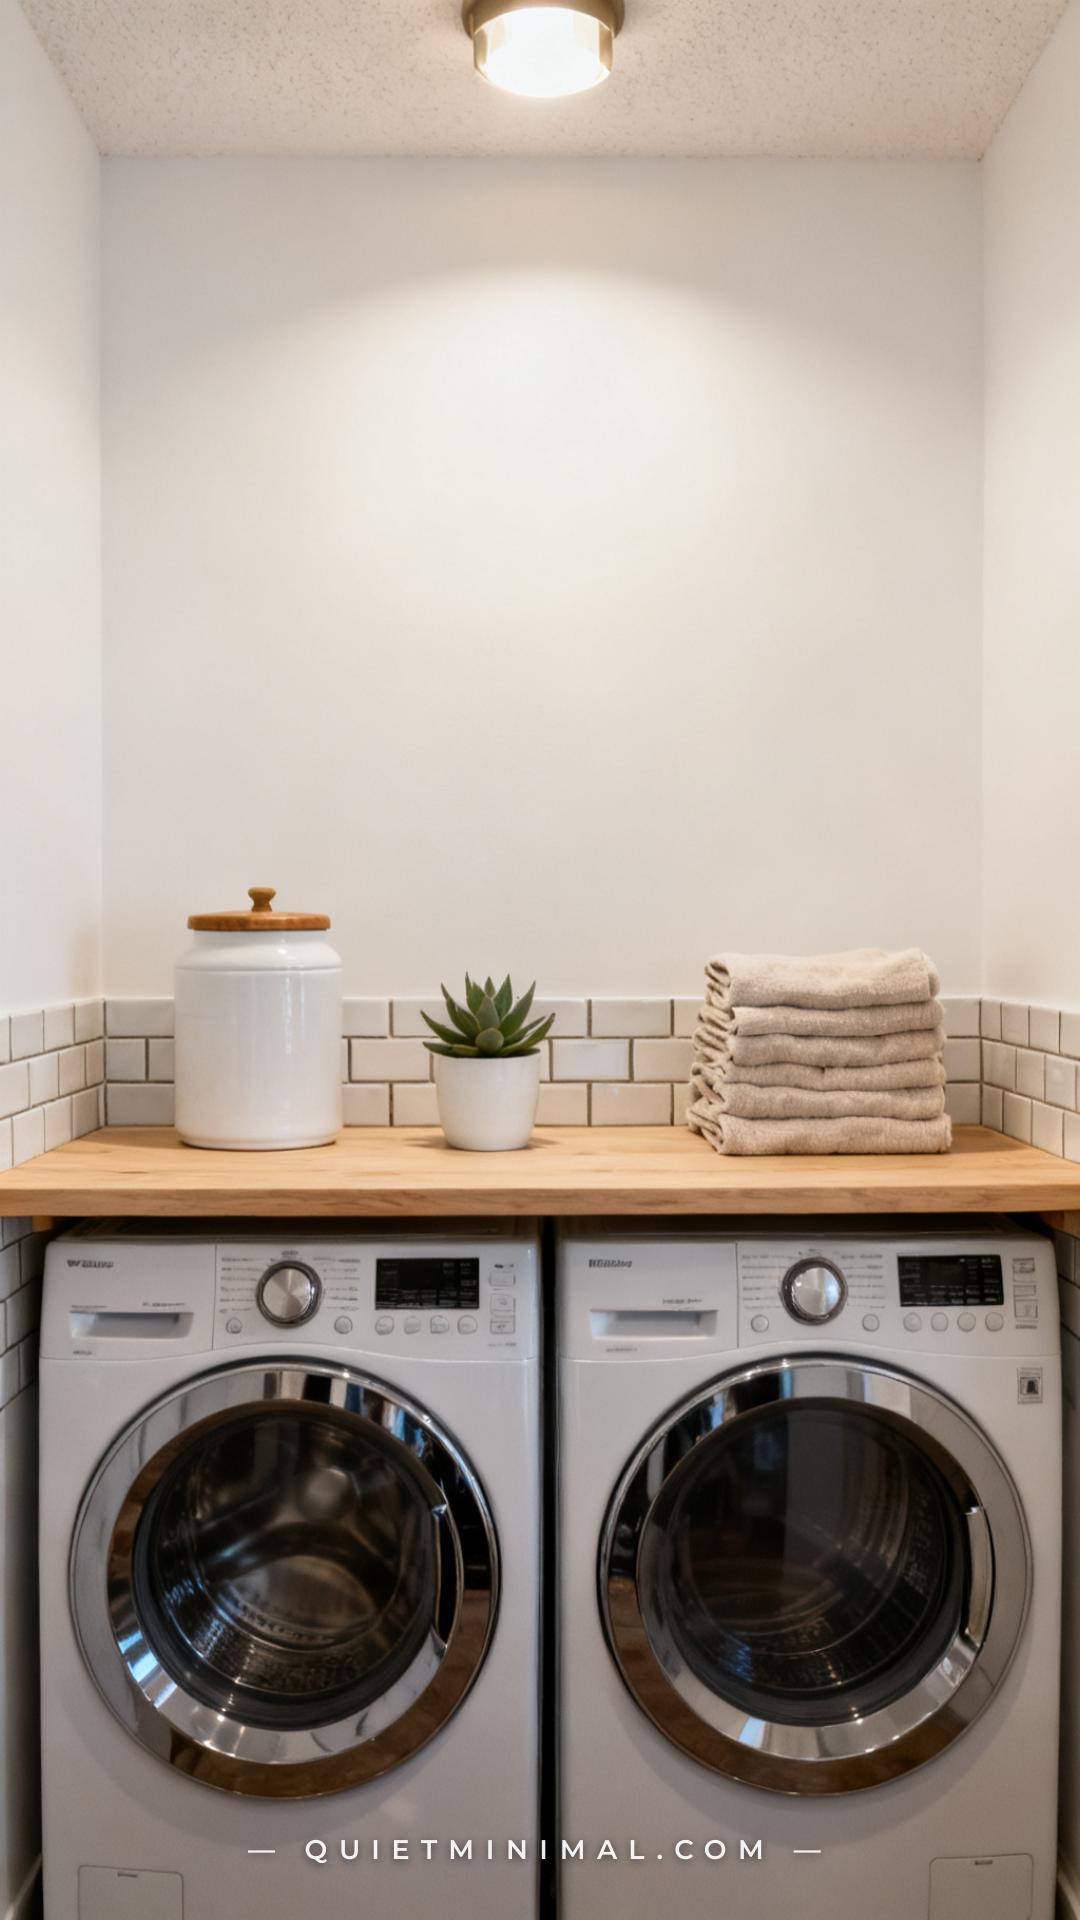
One floating shelf above the washer and dryer turns a purely functional wall into a styled, organized one. It provides visual weight at the right height to balance the machines below, creates a convenient home for detergent and supplies, and — critically — gives you a surface to style for any photograph you take of the room.
For a standard laundry room, a shelf that spans the full width of the washer-dryer pair (typically 54–60 inches for a side-by-side pair) is the most satisfying proportion. In a depth of 10–12 inches, it won’t interfere with opening machine lids or loading front-load doors.
Floating shelf brackets in matte black or brushed steel are widely available and easy to install into studs. Use a stud finder before mounting — a shelf that will hold detergent bottles and glass canisters needs to be anchored into framing, not just drywall anchors.
Key Takeaway: A single full-width floating shelf above the machines is the one structural element that most transforms a laundry room from functional to designed.

Step 9: Upgrade the Light Fixture — One Swap, Huge Impact
 Save
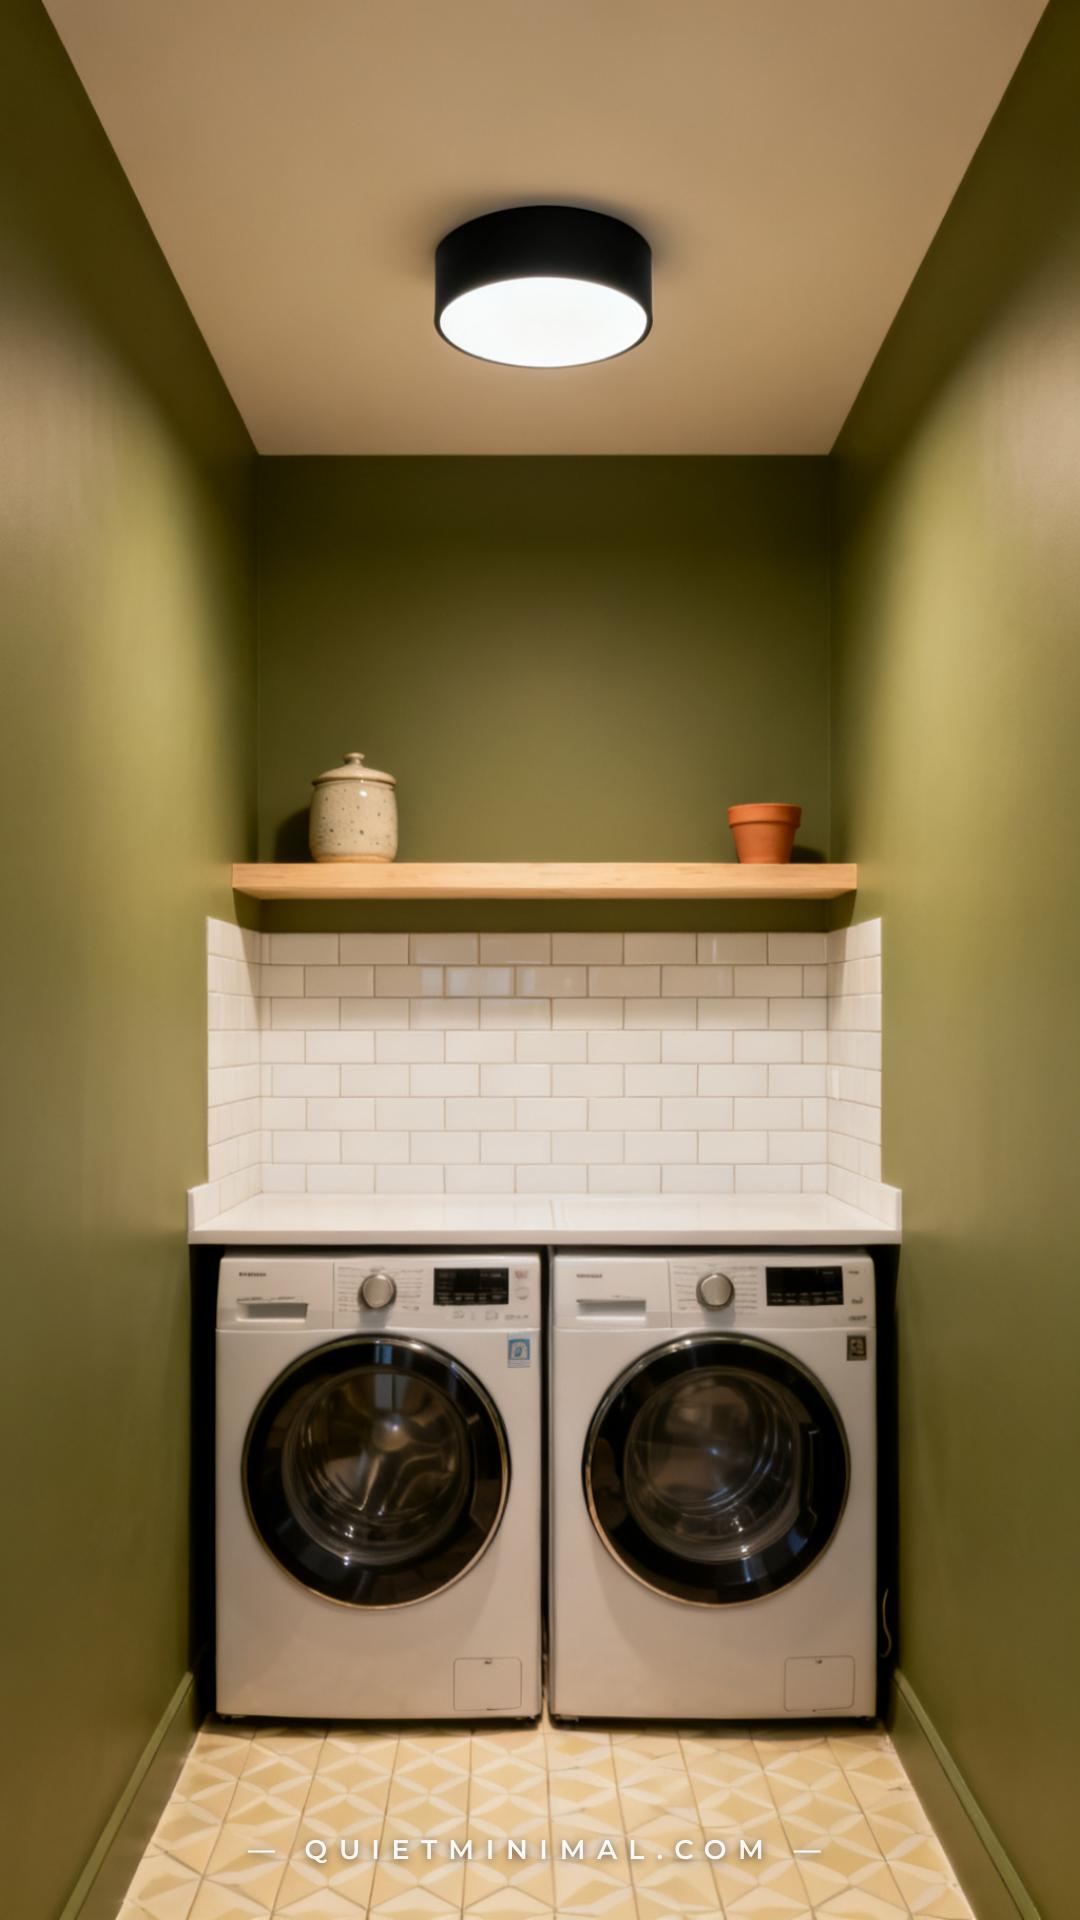
Most laundry rooms ship from the builder with a basic flush-mount globe in cheap chrome or white plastic. It’s the visual equivalent of a visible price tag — it signals that nobody thought about the space. Replacing it with a matte black flush-mount fixture, a small black drum shade, or a simple black cage pendant takes 20 minutes and requires no electrical skills beyond turning off the circuit breaker and matching wire connections.
The replacement fixture must be rated for damp locations if your laundry room generates significant steam. Check the fixture’s UL listing before purchasing — “damp location” or “wet location” rated fixtures are required by code in rooms with direct moisture exposure. Most laundry rooms fall in the damp location category.
Matte black flush-mount fixtures in the $30–$60 range from brands like Globe Electric, Kira Home, and Commercial Electric are currently available on Amazon with verified listings and are dimensionally compatible with standard 4-inch electrical boxes.
Key Takeaway: Replacing a builder-grade flush-mount light fixture is a 20-minute swap that signals the whole room was intentionally designed.

Step 10: Add a Magnetic Backsplash Organizer for the Wall Space Between Machines
 Save
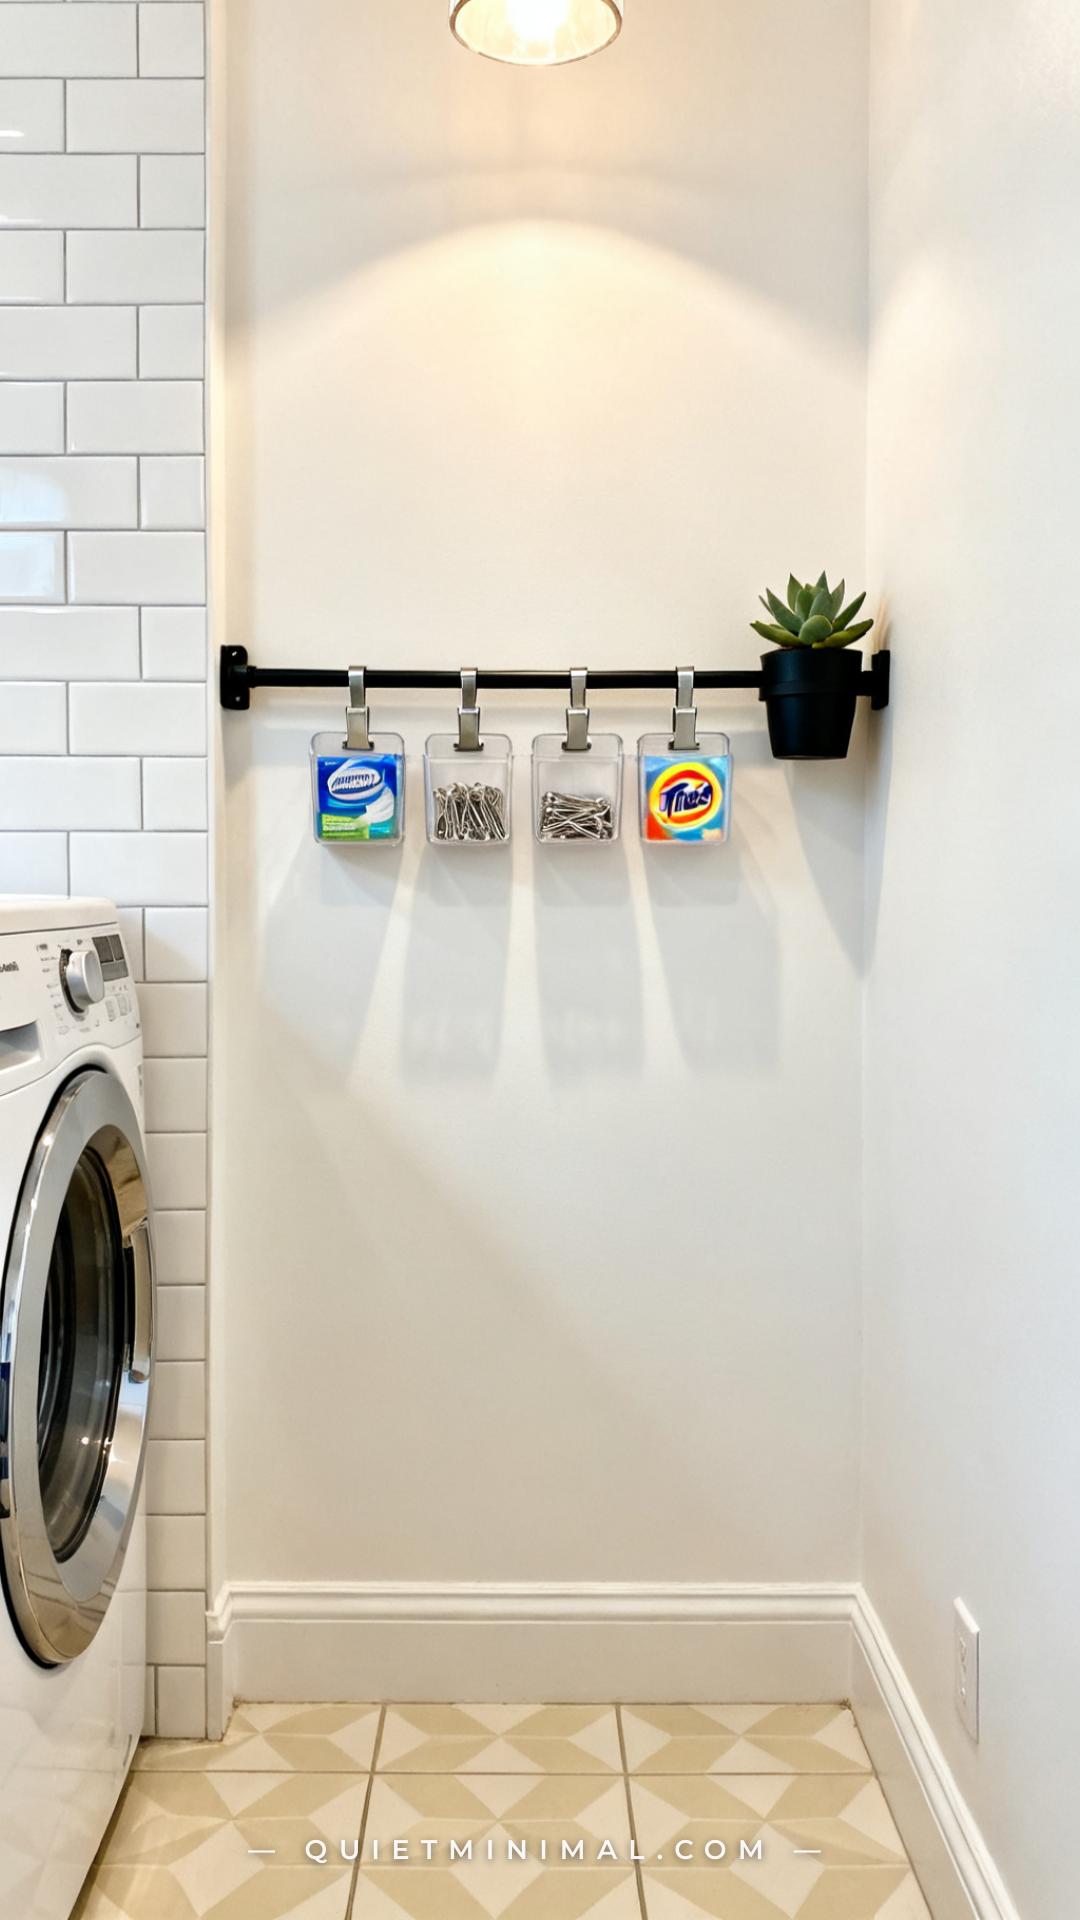
The gap between a front-load washer and the wall is one of the most wasted vertical surfaces in any home. It’s just wide enough to accumulate dryer sheets, lost socks, and forgotten detergent pods — but also just wide enough to mount a slim magnetic organizer rail that turns that dead zone into functional wall storage.
Magnetic backsplash rail systems designed for kitchens work perfectly in laundry rooms. The small magnetic containers — typically 2–4 inches in diameter — hold dryer sheets, stain sticks, safety pins, and small tools. Mounting it at the level of the countertop or shelf creates a continuous visual horizontal line that makes the whole room feel more composed.
For tiled backsplash walls, use adhesive-backed picture rail hooks rated for the rail’s weight rather than drilling into the tile. On painted drywall, a single screw into a stud handles it easily.
Key Takeaway: The vertical wall beside the washer is the most underused organizational surface in the room — a slim magnetic rail turns it into active storage without any floor footprint.

Step 11: Replace the Laundry Room Door Knob or Lever Handle
 Save
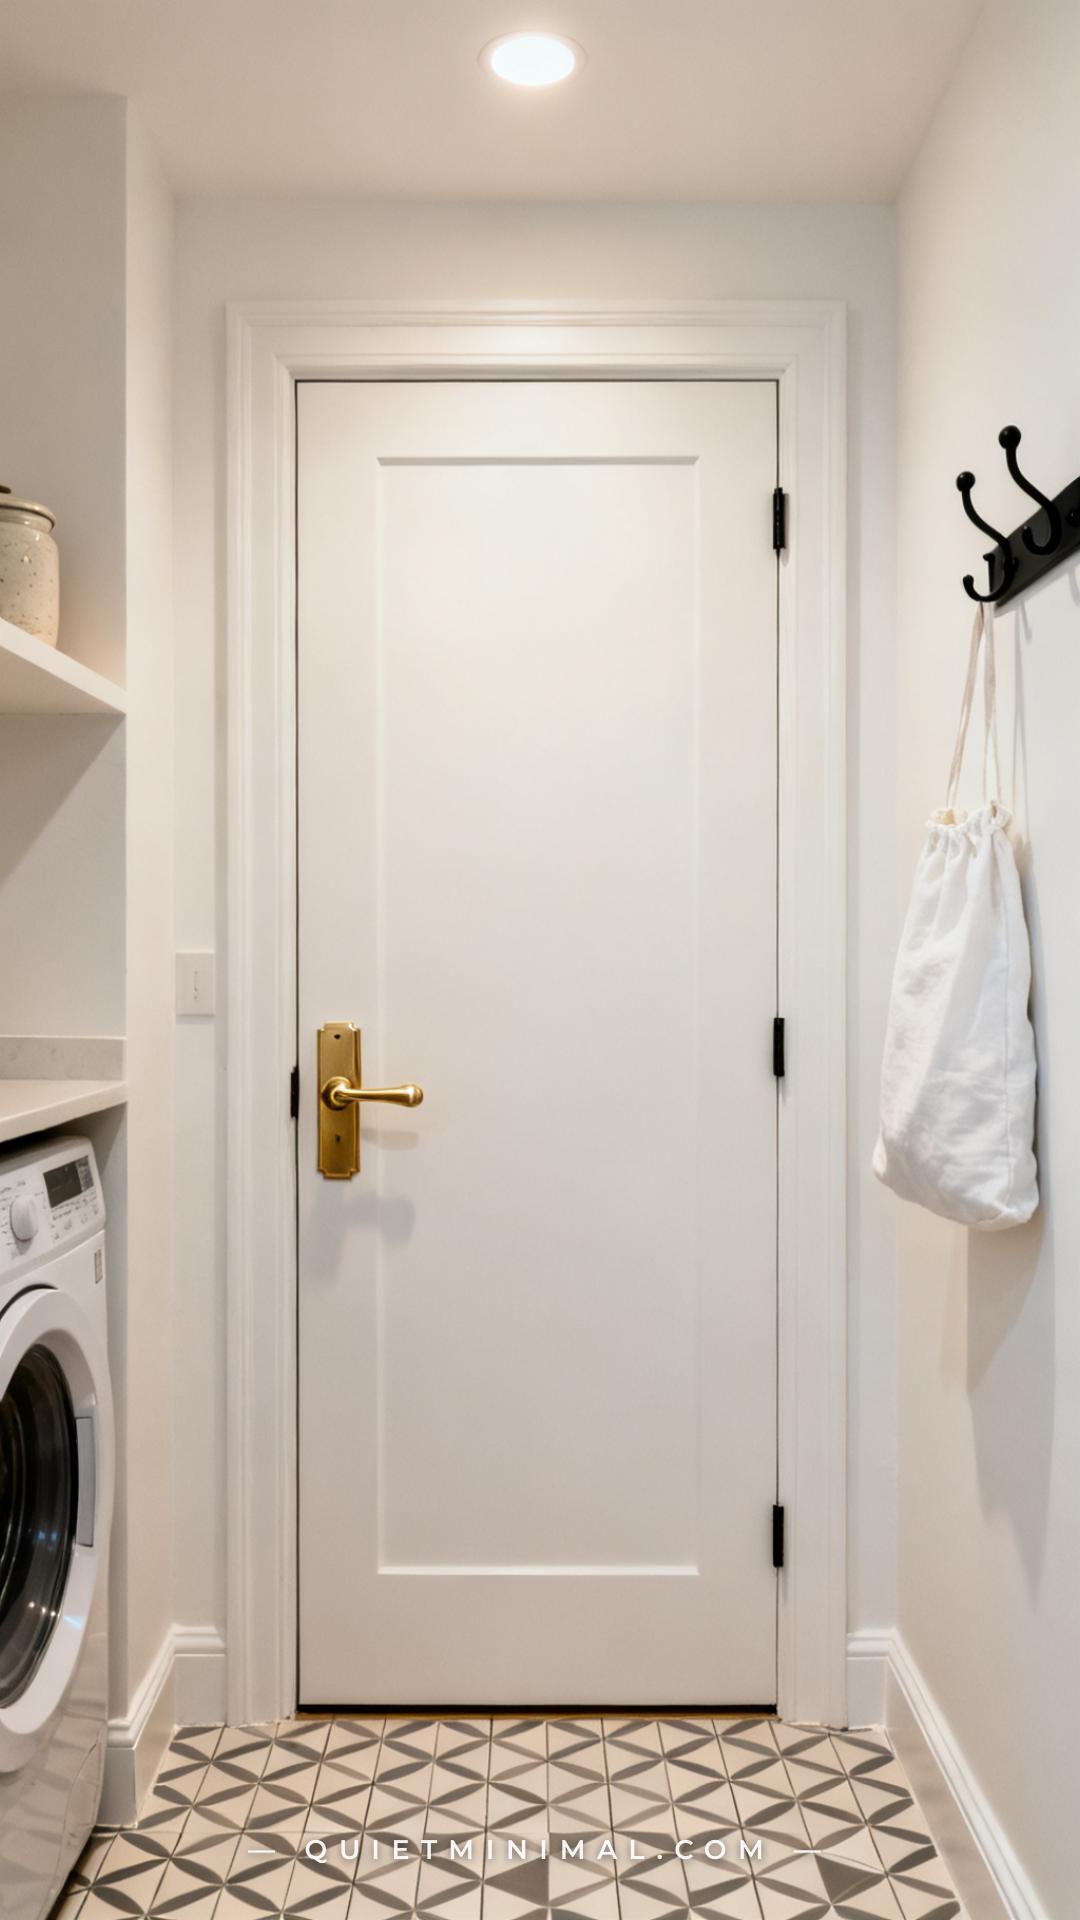
The door knob is a detail that most people never consciously notice — until they replace it, and then they wonder why they waited. The original builder-installed interior door hardware in most homes is a chrome passage set that costs the builder about $8. It communicates nothing except that the developer was running a tight budget.
Replacing the passage knob or lever with a matte black or brushed gold lever handle (a lever is more practical in a room where your hands are often full) costs under $30 and takes 10 minutes. No special tools — a Phillips screwdriver handles the full swap.
The key is matching the metal finish to the cabinet hardware and light fixture you’ve already chosen. If you’ve gone matte black throughout, the door lever should be matte black. Consistency across the three or four metal touchpoints in the room (cabinet pulls, faucet, light fixture, door hardware) is what separates a designed laundry room from a random collection of upgrades.
Key Takeaway: Matching the door lever finish to your cabinet hardware and light fixture is the detail that makes the whole room feel cohesive rather than assembled.

Step 12: Style the Shelf and Add One Plant to Finish the Room
 Save
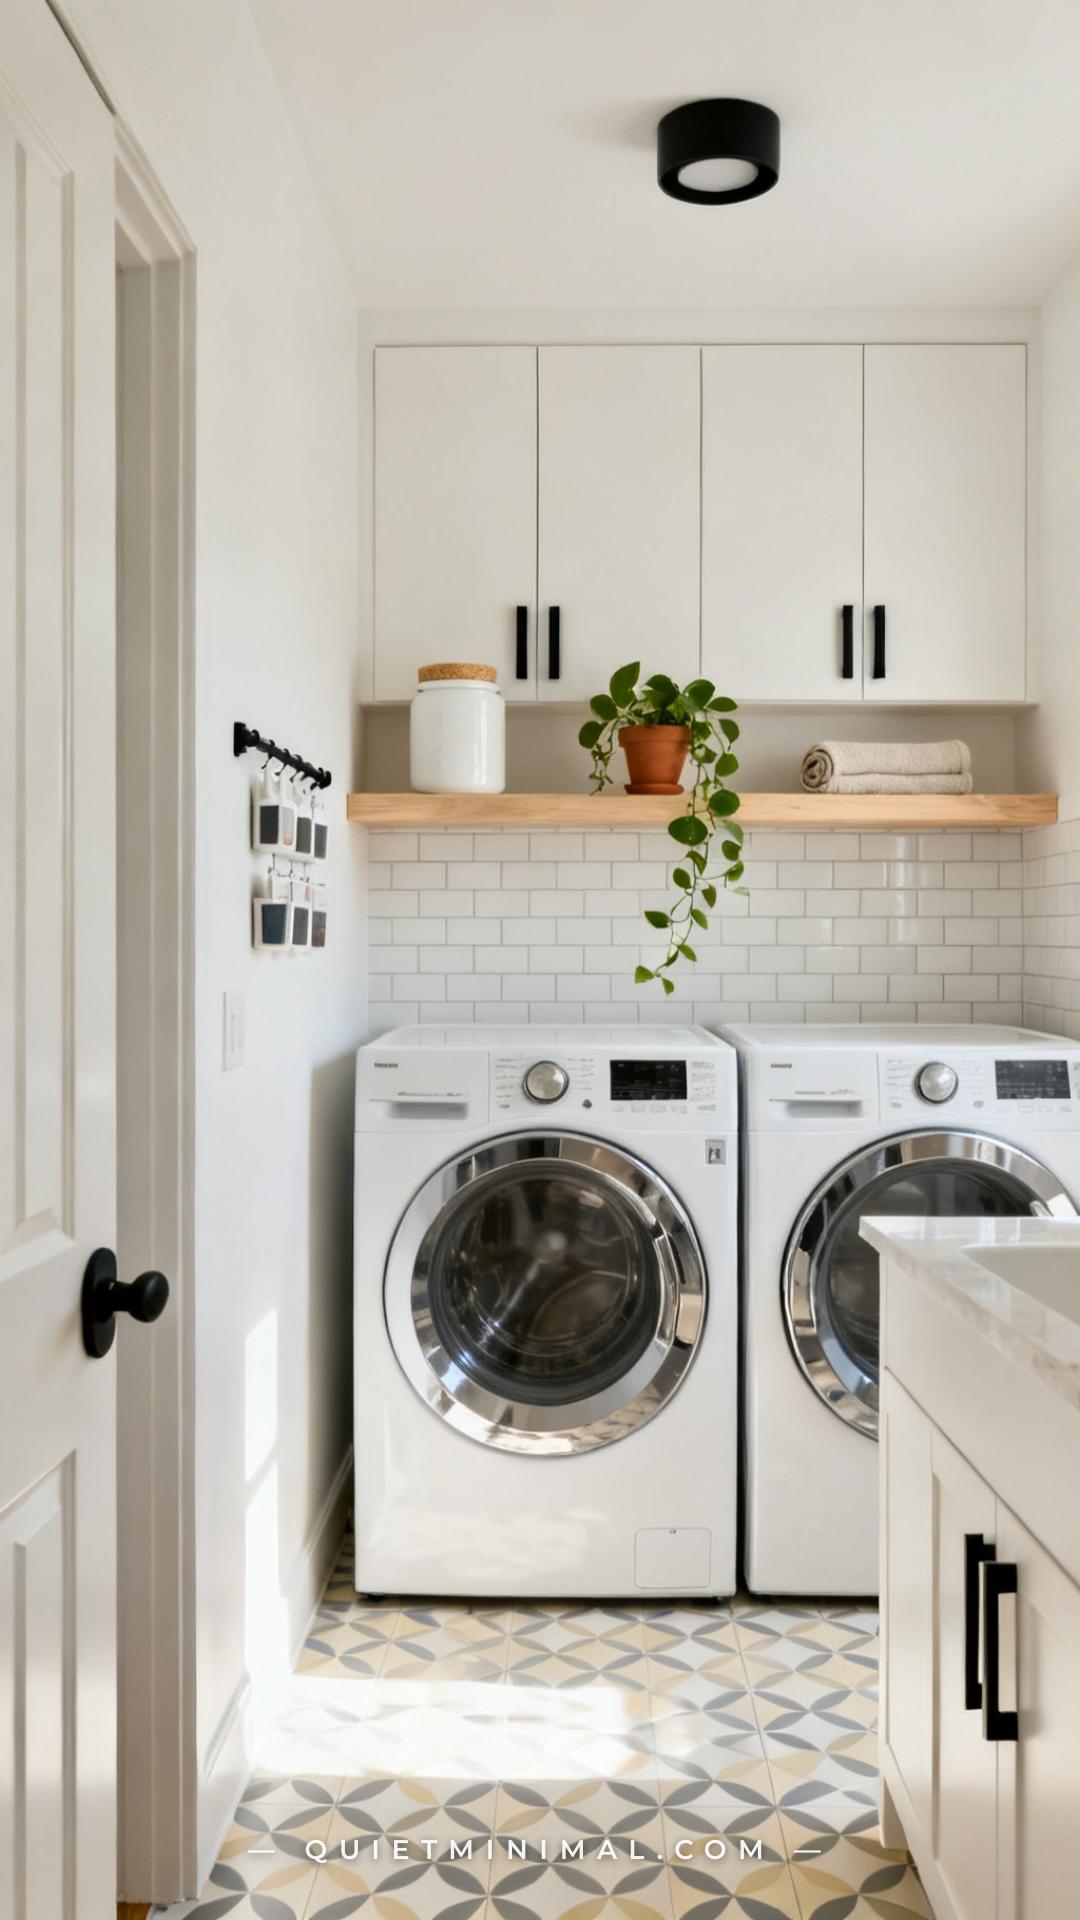
The final step is the one that turns a clean, updated room into a room someone saves on Pinterest. A floating shelf styled with three to five objects — a ceramic canister, a small plant, one textile — and a single live plant somewhere in the room is the difference between a functional space and a designed one.
For laundry rooms, trailing plants work particularly well: pothos, philodendrons, and heart-leaf varieties tolerate low-to-medium light and the higher humidity from the dryer. A small terracotta pot on the shelf keeps the scale right and adds the warmth of a natural material that photos of all-white laundry rooms often lack.
The three-object shelf rule: one tall/vertical item (a jar, a canister, a taller plant), one low/horizontal item (a folded towel, a flat tray, a stack of books), and one organic element (a plant, a dried branch, a stone). This combination reads as styled rather than cluttered in every room at every scale, and it gives any photographer’s eye a clear focal point when shooting.
Key Takeaway: Three objects plus one plant is the styling formula that makes a laundry room shelf look curated on camera — and it costs under $20 to execute.

The most satisfying thing about a laundry room refresh done in sequence is that you feel the shift at every stage. Paint changes the mood of the room in a single afternoon. Tile brings a surface-level polish that makes everything around it look cleaner. Hardware and finishing details — the door lever, the light fixture, the shelf styling — are what take it from “I repainted the laundry room” to “I designed this space.” The whole project, done in this order, stays under $200 for most rooms and can be completed over a single weekend. Start with the paint color today — everything else follows from that one decision.
From the guides
You've saved it, wanted it. Here's the how: codes, measurements, order. Your choices make it yours.
The Japandi Honest PlaybookThe honest version of the style: what to keep, what to skip, and the order to do it in.See inside →The Room Refresh PlaybookA repeatable four-step method, room by room, in ten minutes, thirty minutes, or one weekend.See inside →Make Any Room Feel Cozy on PurposeWhy some rooms hold people and others empty out, and the moves that change it.See inside → Save


