 Georgia
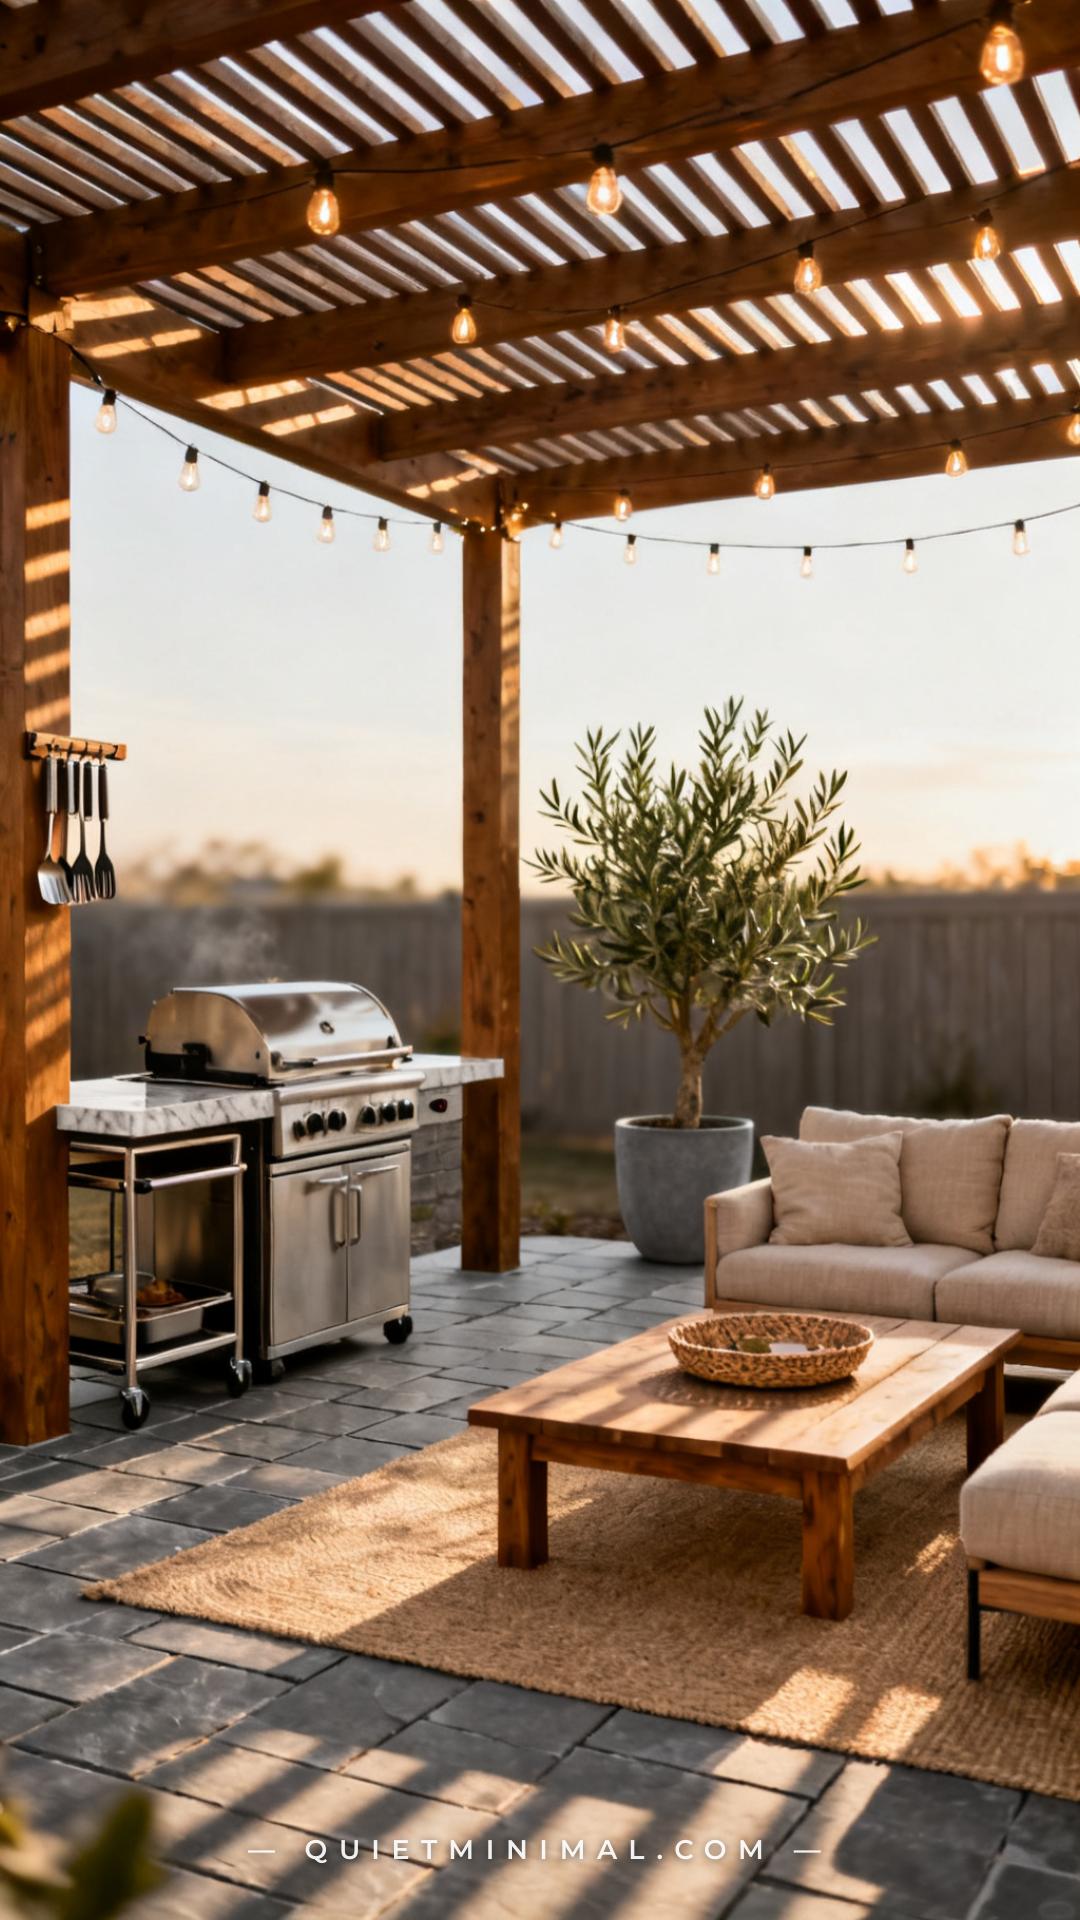
If you’ve ever watched your guests hover awkwardly next to a hot grill while you’re trying to flip burgers, you already know the problem. Most outdoor spaces have a grill and a patio set — but no real boundary between them. The smoke drifts into the seating cushions, the cooking prep takes up half the gathering space, and the whole setup feels improvised rather than intentional.
Defining your cooking zone and your seating zone as two separate, purposeful spaces changes everything about how your backyard functions and feels. You don’t need a built-in outdoor kitchen or a major renovation to do it. You need the right layout logic, a few anchoring pieces, and a clear idea of where one zone ends and the other begins. These 14 design ideas cover both zones — what goes in each, how to separate them, and exactly what to buy to make it work.
1. Use a Prep Cart to Anchor the Cooking Zone
 Save
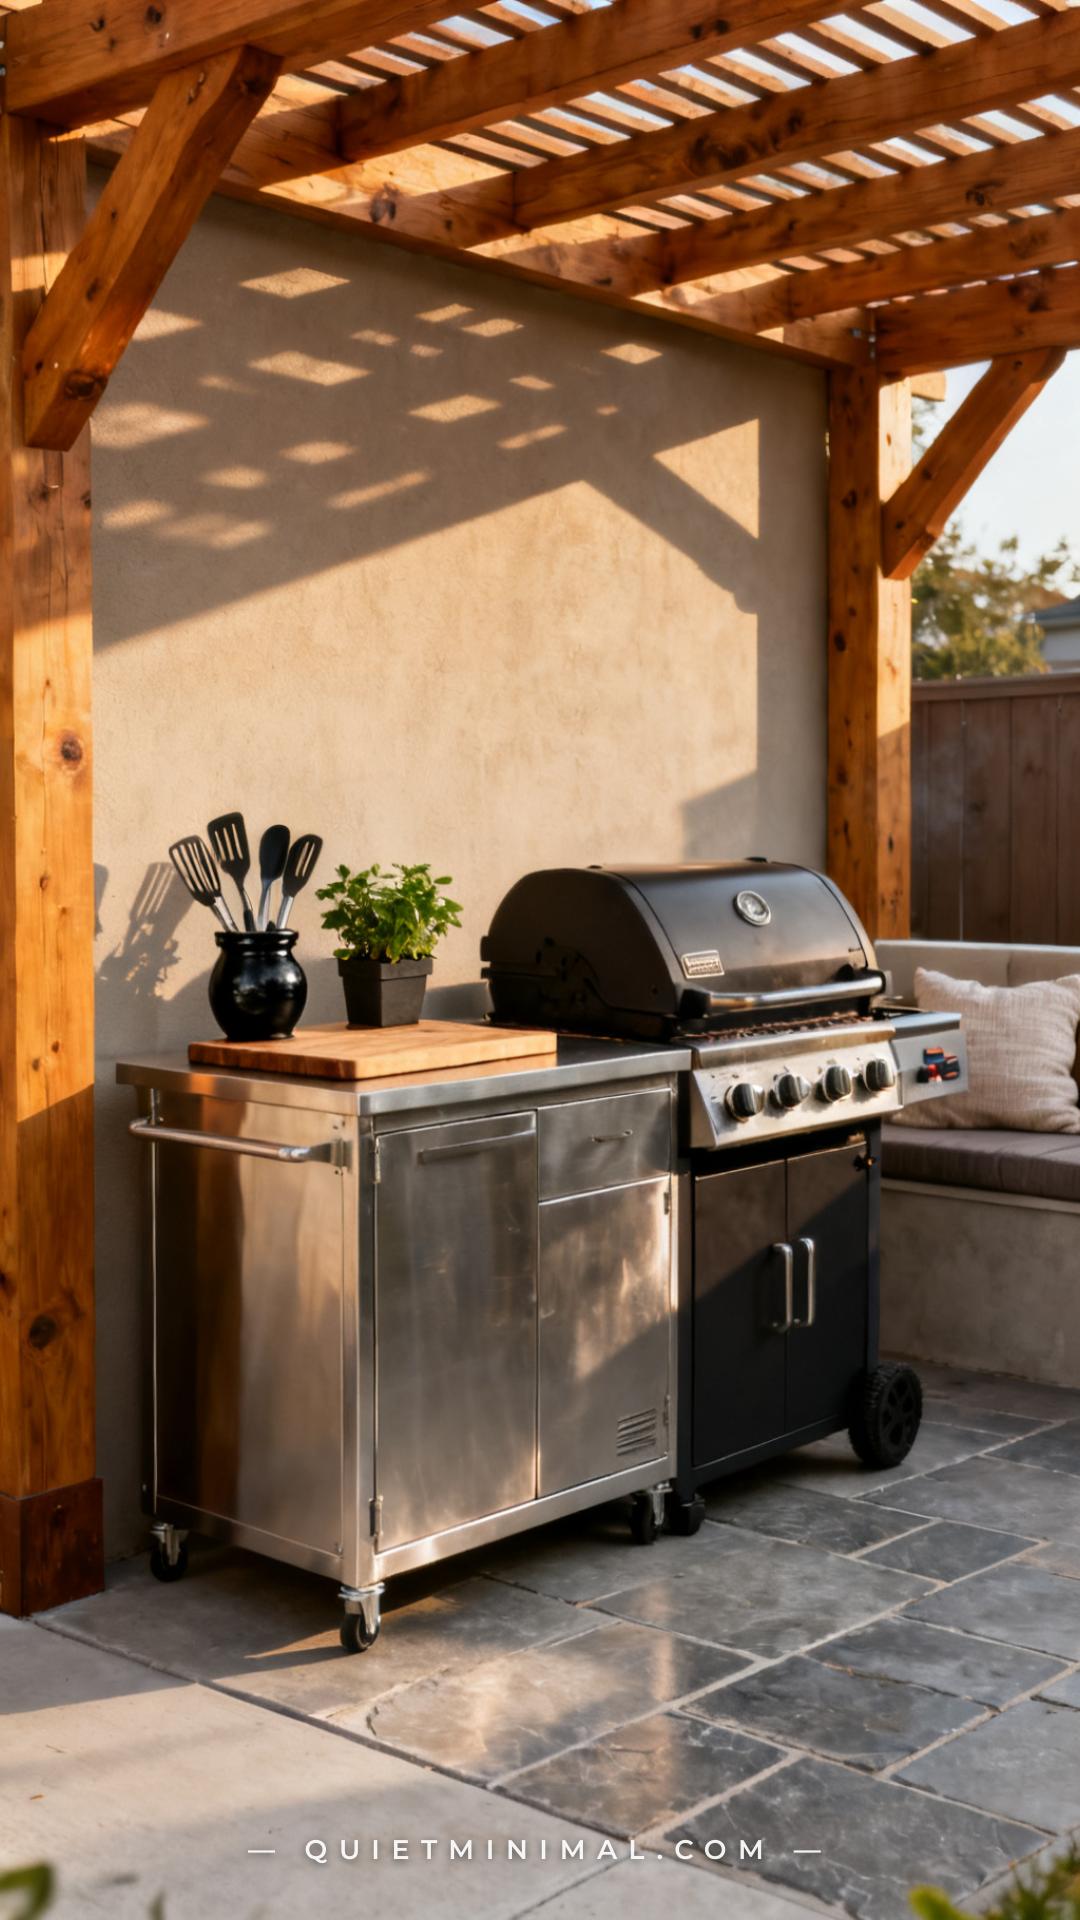
The single most effective way to define a cooking zone is to give the grill a companion piece — a prep cart — that signals “this is the work area.” A prep cart beside the grill creates visual symmetry and gives you a dedicated surface for plates, seasonings, and raw ingredients that isn’t the grill lid or a nearby chair.
From the guides
You've saved it, wanted it. Here's the how: codes, measurements, order. Your choices make it yours.
 The Japandi Honest PlaybookThe honest version of the style: what to keep, what to skip, and the order to do it in.See inside →
 The Room Refresh PlaybookA repeatable four-step method, room by room, in ten minutes, thirty minutes, or one weekend.See inside →
 Make Any Room Feel Cozy on PurposeWhy some rooms hold people and others empty out, and the moves that change it.See inside →
Choose a cart with a bottom shelf and a towel rail. The shelf holds propane tanks, a cooler, or a bag of charcoal out of sight. The towel rail keeps a utility cloth within reach without draping it over furniture. A butcher block top reads warmer than stainless and holds up to outdoor conditions when sealed seasonally.
Position the cart on the non-traffic side of the grill — the side facing away from where guests approach — so the grill and cart form a working L-shape that naturally keeps people out of the cook’s path.
Key Takeaway: A prep cart beside your grill creates the cooking zone’s visual boundary and doubles your usable prep surface without any permanent installation.

2. Define the Seating Zone with an Outdoor Rug
 Save
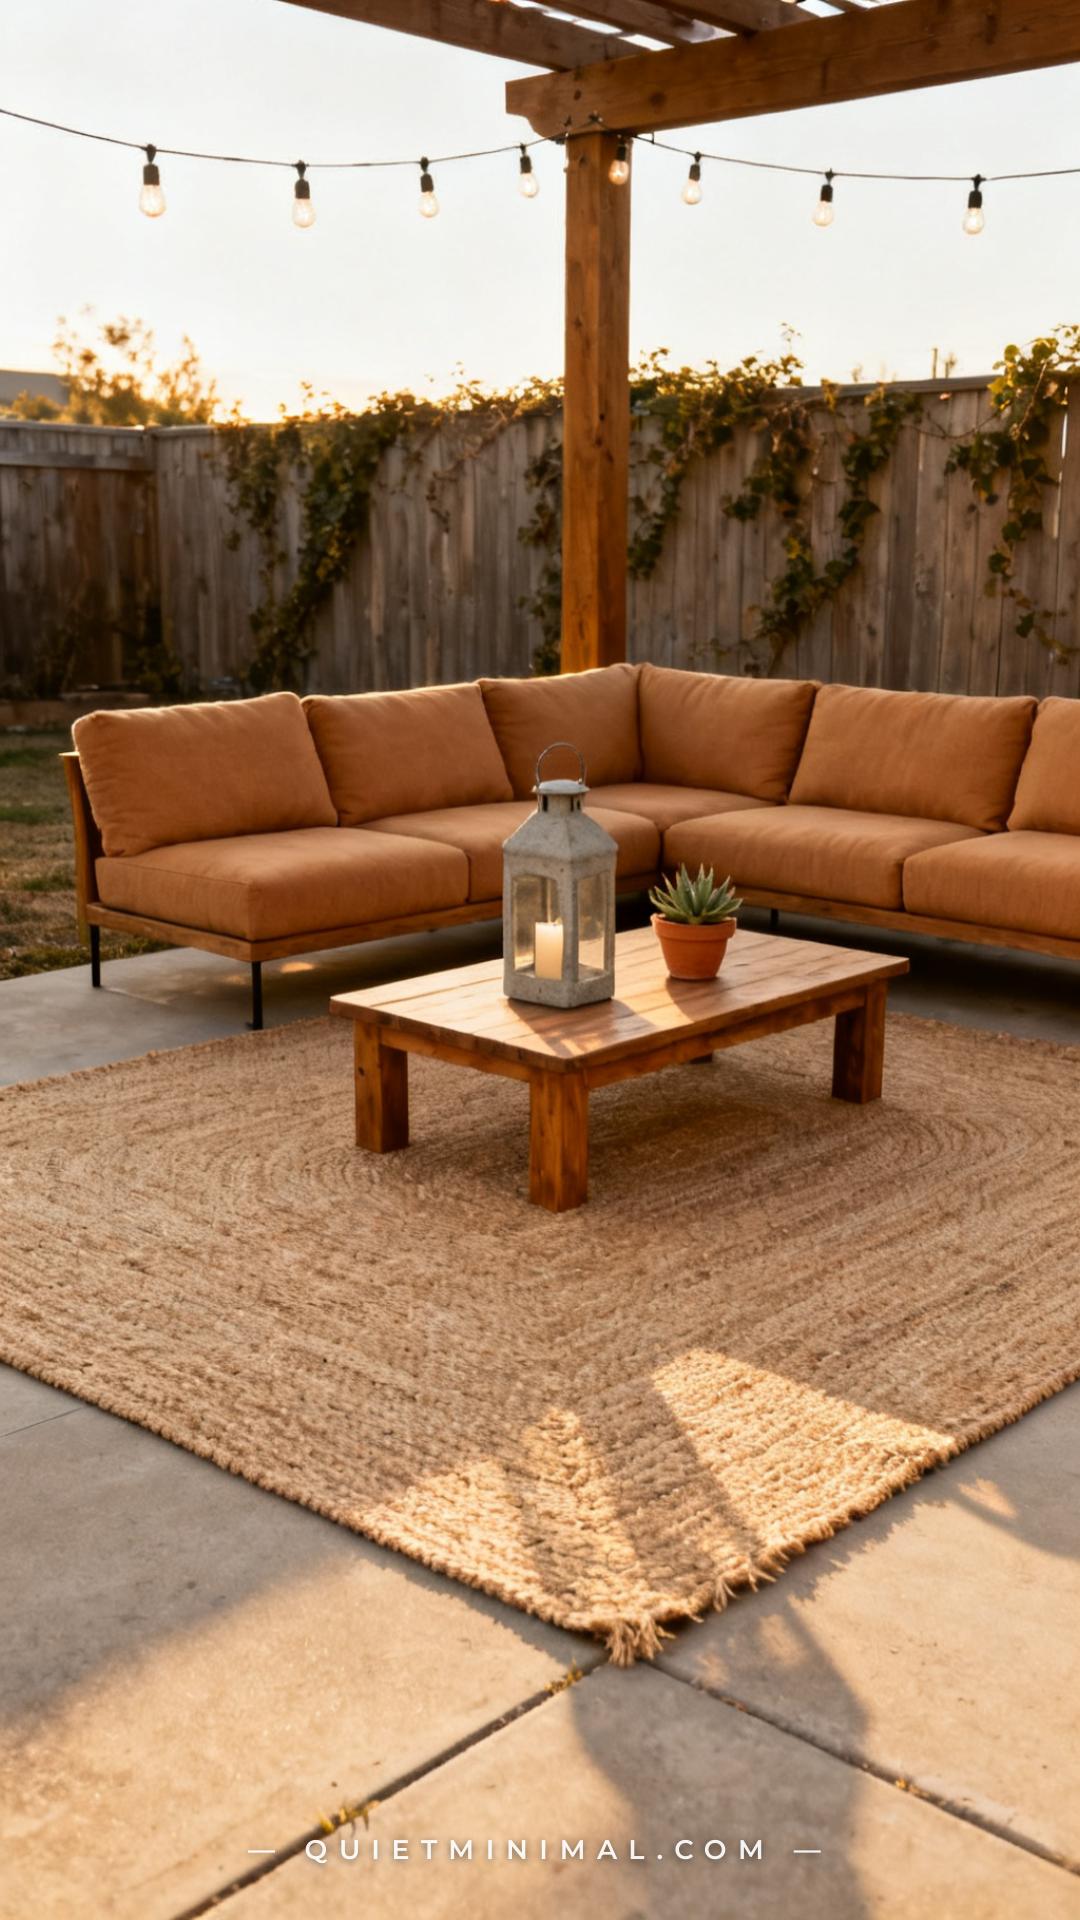
An outdoor rug is the single most underused zoning tool in backyard design. It does for outdoor spaces what a living room rug does inside — it tells the eye exactly where the seating area begins and ends. Without it, furniture floats on a patio slab with no sense of containment.
For a standard 6–8 person seating zone, go with a 9×12 rug. Place the front legs of all seating pieces on the rug. The coffee table sits fully on it. This configuration grounds the furniture as a unit and leaves clear patio space between the seating zone edge and the grill area.
Choose a flatweave or polypropylene outdoor rug — not a looped material that traps debris. Neutral tones in warm sand, terracotta, or charcoal work in both cooking-zone-adjacent contexts and in fully shaded seating areas.
Key Takeaway: A correctly sized outdoor rug anchors the seating zone instantly — it’s the cheapest, most reversible way to create two distinct spaces on a single patio slab.
3. Position the Grill Perpendicular to the Seating Area
 Save
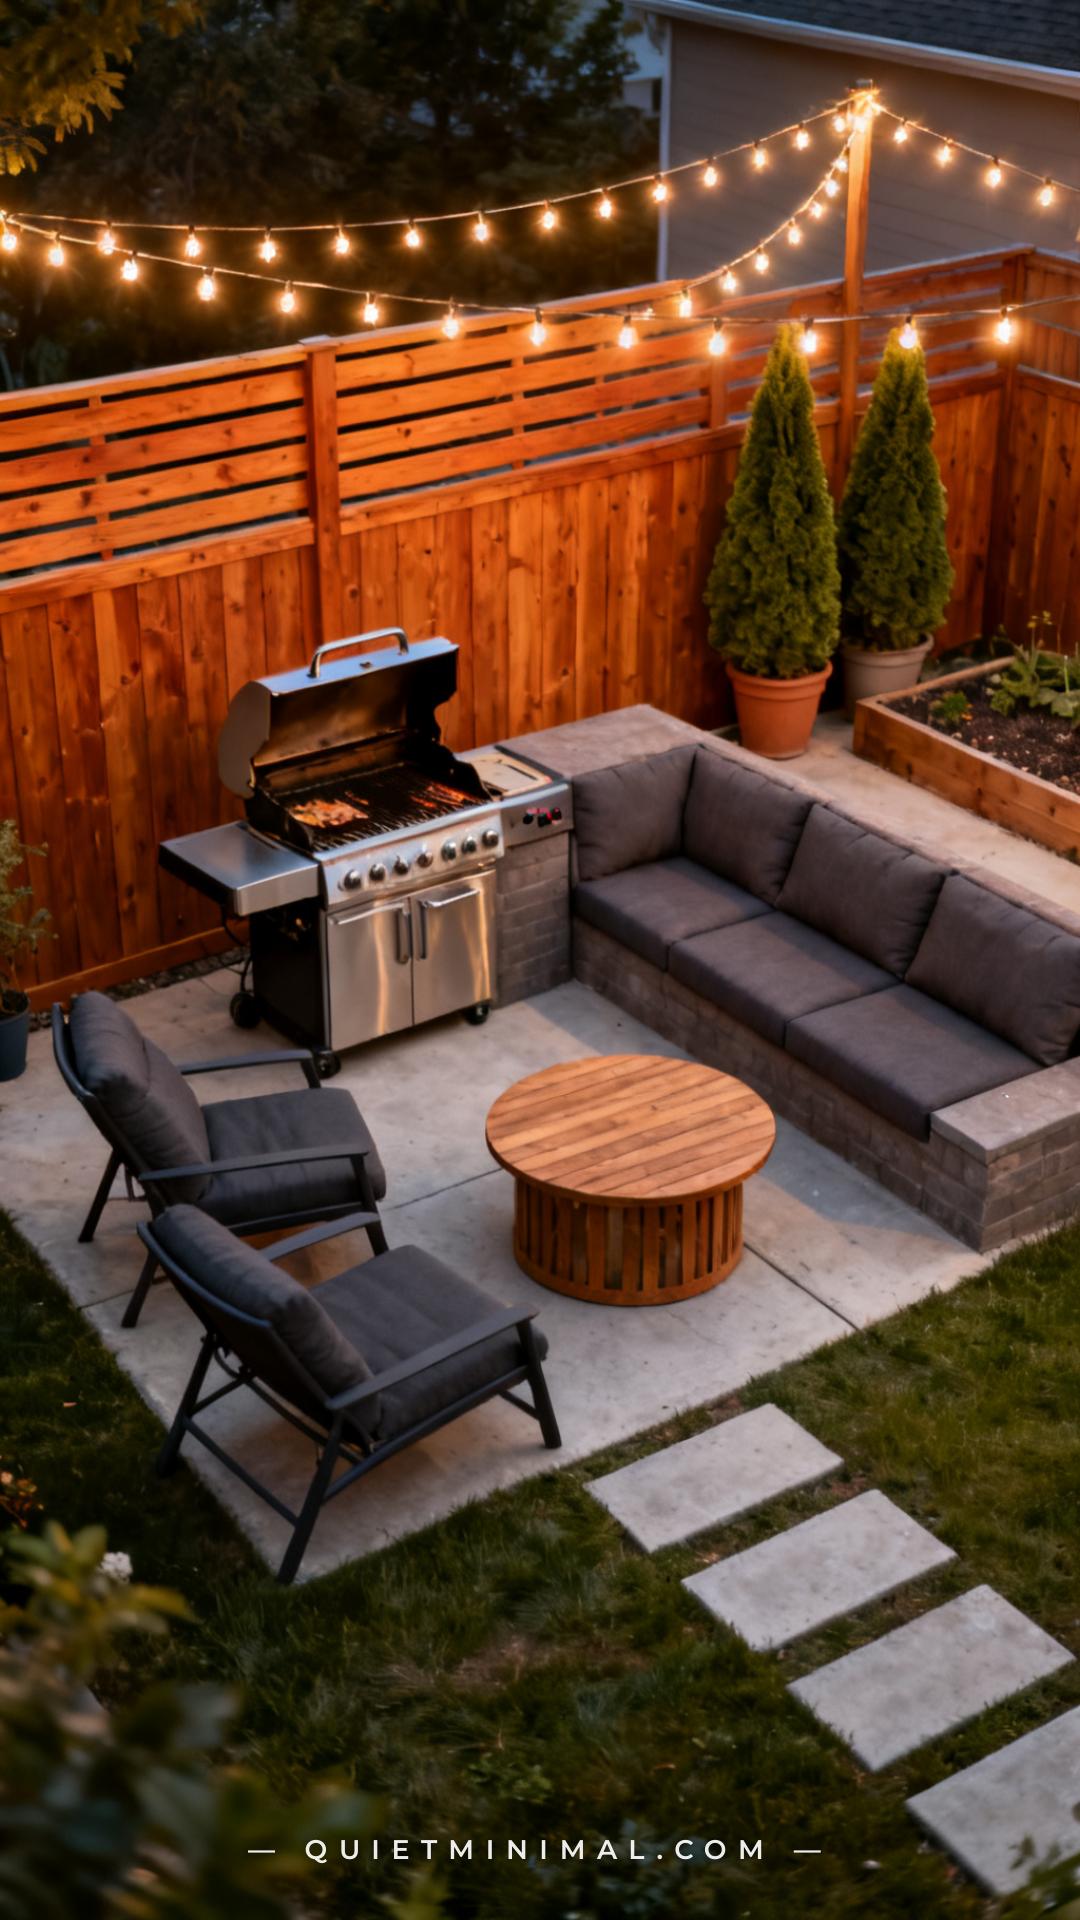
Grill placement relative to your seating is the most overlooked design decision in outdoor zoning. Most people push the grill toward the back fence and aim it outward — which sends smoke and heat directly across the seating area when the wind shifts. Position the grill perpendicular to your seating instead.
When the grill runs perpendicular, its open-lid side faces the yard (and the chef faces the yard), while the hot side vents away from guests. The physical body of the grill creates a natural visual barrier between the zones without needing any additional dividers.
Allow at least 10 feet between the grill surface and the nearest seating piece. This isn’t just a safety clearance — it’s the minimum distance needed to make the zones feel functionally separate rather than just slightly apart.
Key Takeaway: Orienting the grill perpendicular to your seating — not parallel or directly facing it — solves the smoke problem and creates a natural zone divide without any additional barriers.

4. Add a Pergola Over the Cooking Zone
 Save
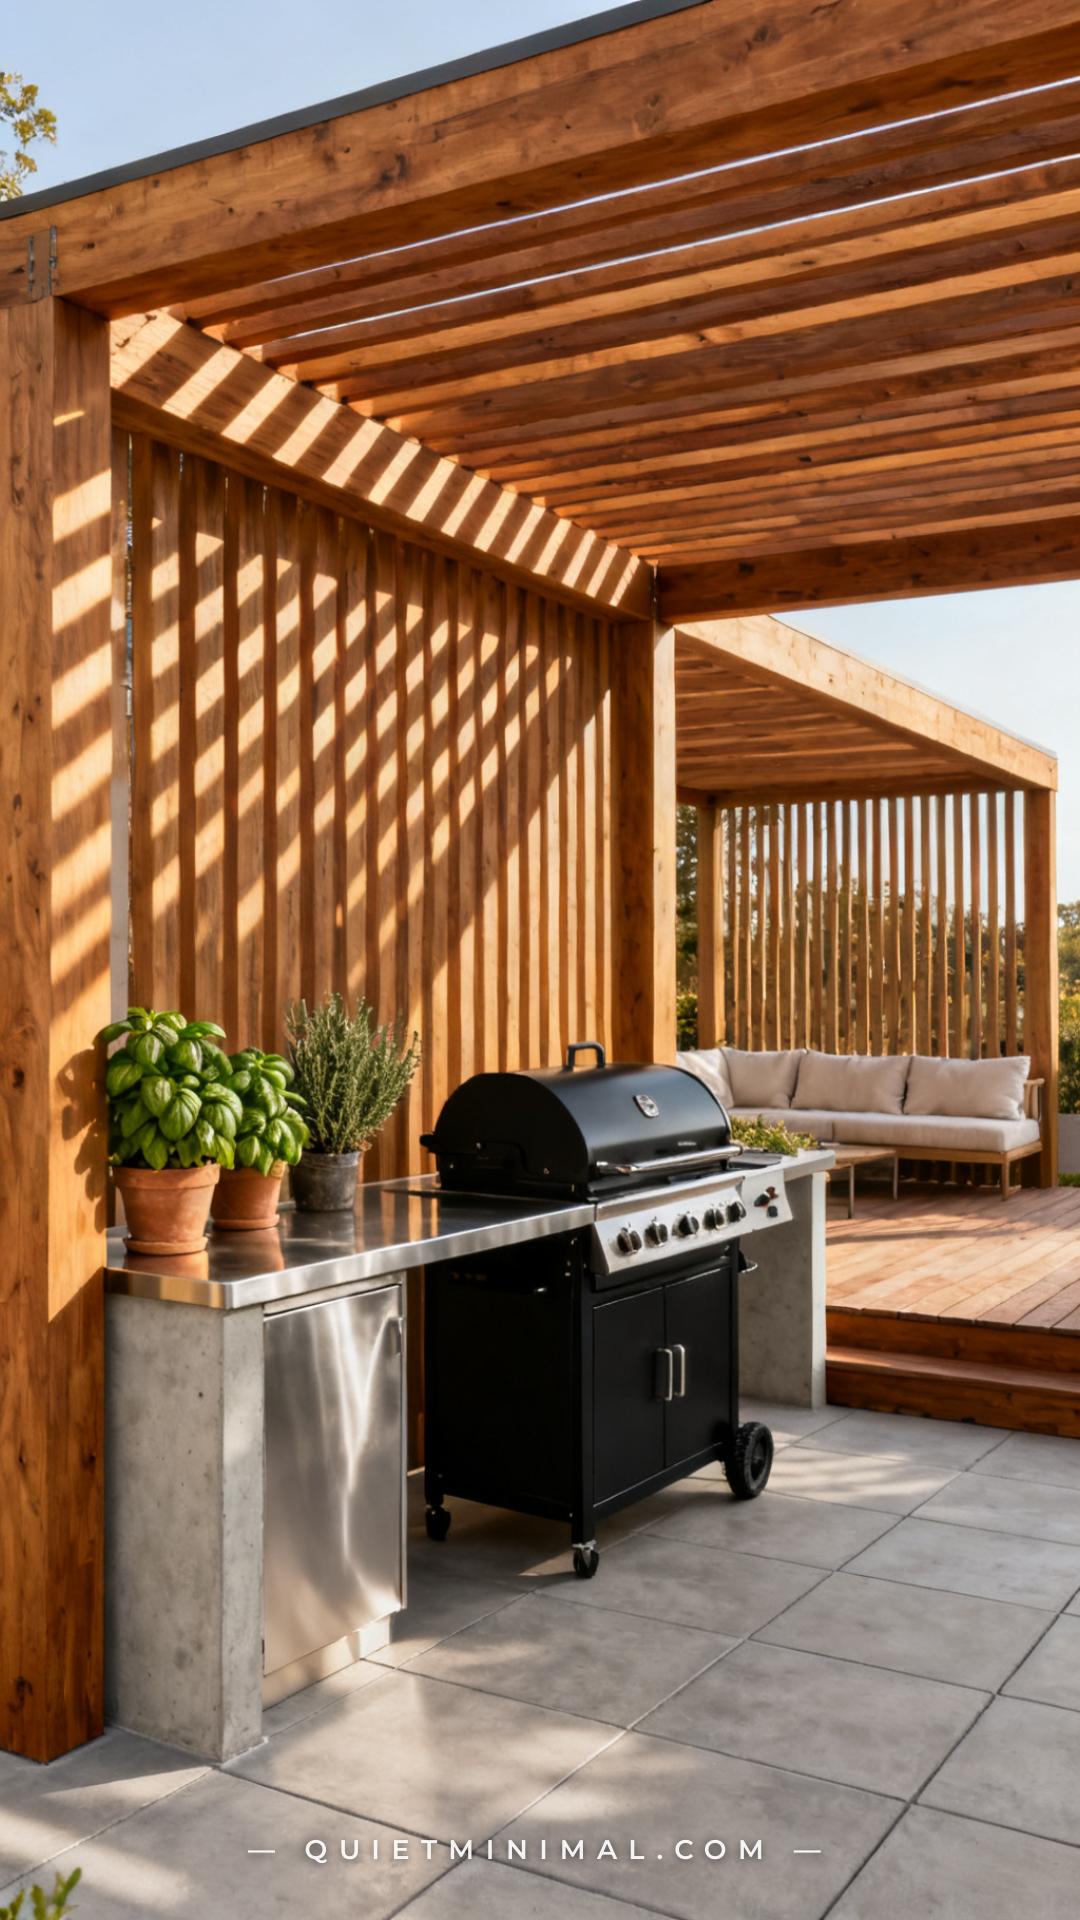
A pergola over the grill area does three things: it gives the cooking zone its own architectural identity, it provides partial shade for the cook, and it creates a visual ceiling that separates the cooking area from the open sky of the seating zone. This is the clearest possible signal that these are two different rooms.
Freestanding pergolas require no permanent attachment to a house and can anchor directly into the patio with ground anchors or concrete footings. Choose a natural cedar or pressure-treated pine pergola for a warm material contrast against a concrete or stone floor. The pergola posts also give you a place to hang a utensil rail, a small pendant light, or a weather-resistant shelf.
Don’t try to put both the grill and the seating under one pergola — this defeats the zoning purpose. One structure covers the cooking zone. The seating zone stays open or gets a separate shade solution (umbrella, sail shade, or second smaller pergola).
Key Takeaway: A freestanding pergola over the cooking zone is the single fastest architectural move to make your grill area look like a designed outdoor kitchen rather than a grill near a fence.

5. Choose Counter-Height Bar Seating at the Grill Zone Edge
 Save
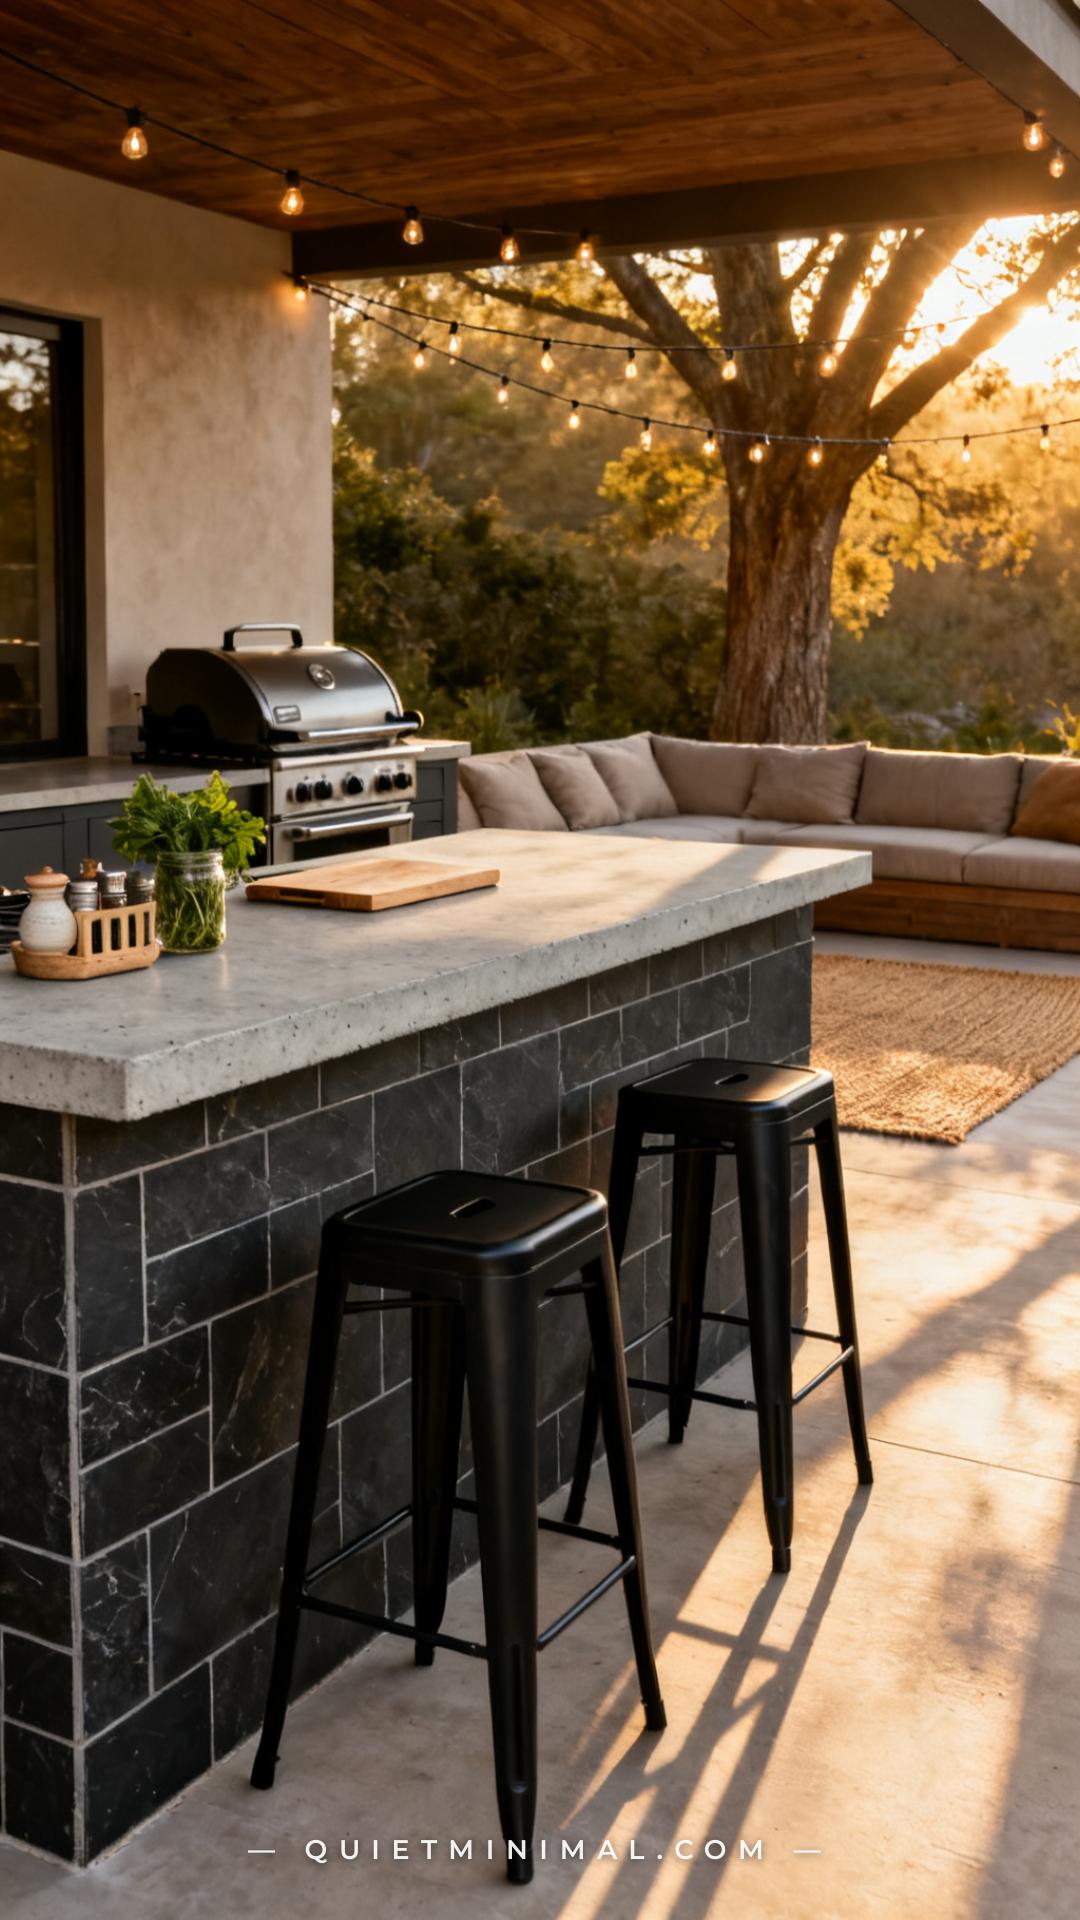
Counter-height bar seating at the grill zone’s edge gives guests a place to be near the cooking action without standing directly in the cook’s workspace. It recreates the kitchen island dynamic outdoors — the cook has their territory, the guests have a perch with a drink and a view of the grill.
Use two to three bar stools in a durable material: powder-coated aluminum or all-weather HDPE plastic in a matte finish. Position them facing the grill along the exterior edge of the cooking zone — not inside the working triangle between grill, prep cart, and any counter surface.
This setup is particularly effective in smaller backyards where you can’t afford a full 10-foot zone separation. The bar stools create a social bridge that makes a tight space feel like a design choice rather than a limitation.
Key Takeaway: Counter-height bar stools at the cooking zone edge replace the awkward “standing too close to the grill” problem with a purpose-built gathering point that guests actually want to use.

6. Use Flooring Material to Mark the Zone Transition
 Save
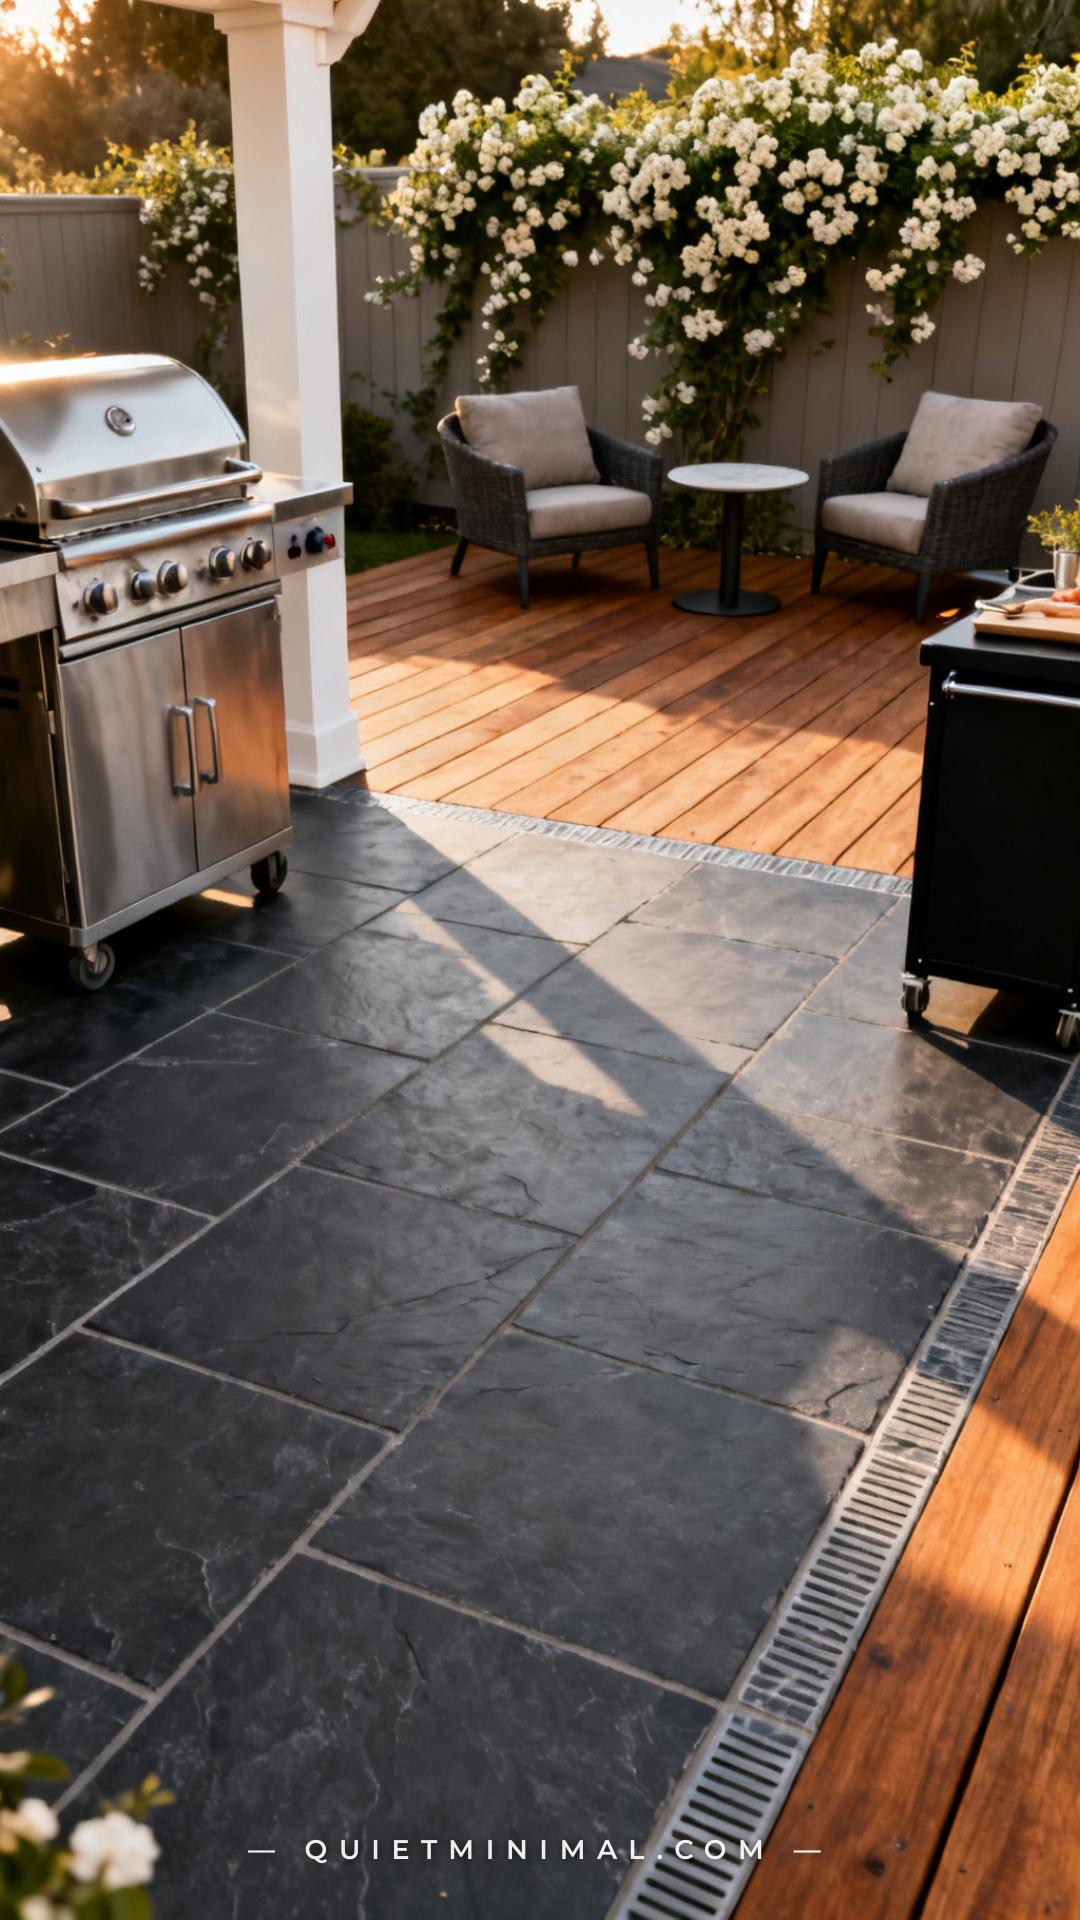
Using two different flooring materials — one for the cooking zone, one for the seating zone — is the most permanent and visually decisive way to mark the boundary between zones. It’s also the option that looks most like a professional outdoor kitchen design without requiring built-in appliances.
The most effective pairing: large-format porcelain or natural slate tile under the grill and prep area (heat-resistant, easy to clean grease) and teak, composite wood decking, or a large outdoor rug over concrete in the seating zone (warm underfoot, comfortable for bare feet). The material shift acts as a floor-level visual cue that guests subconsciously follow.
If you’re renting or want a non-permanent version, interlocking deck tiles over concrete achieve the same effect with no adhesive. They can be removed, reordered, or taken to your next home.
Key Takeaway: Two different flooring materials do more zone-defining work than almost any other design element — the transition line between materials tells guests and cooks exactly where they belong.

7. Add an Outdoor Kitchen Cart for Built-In Look Without Built-In Cost
 Save
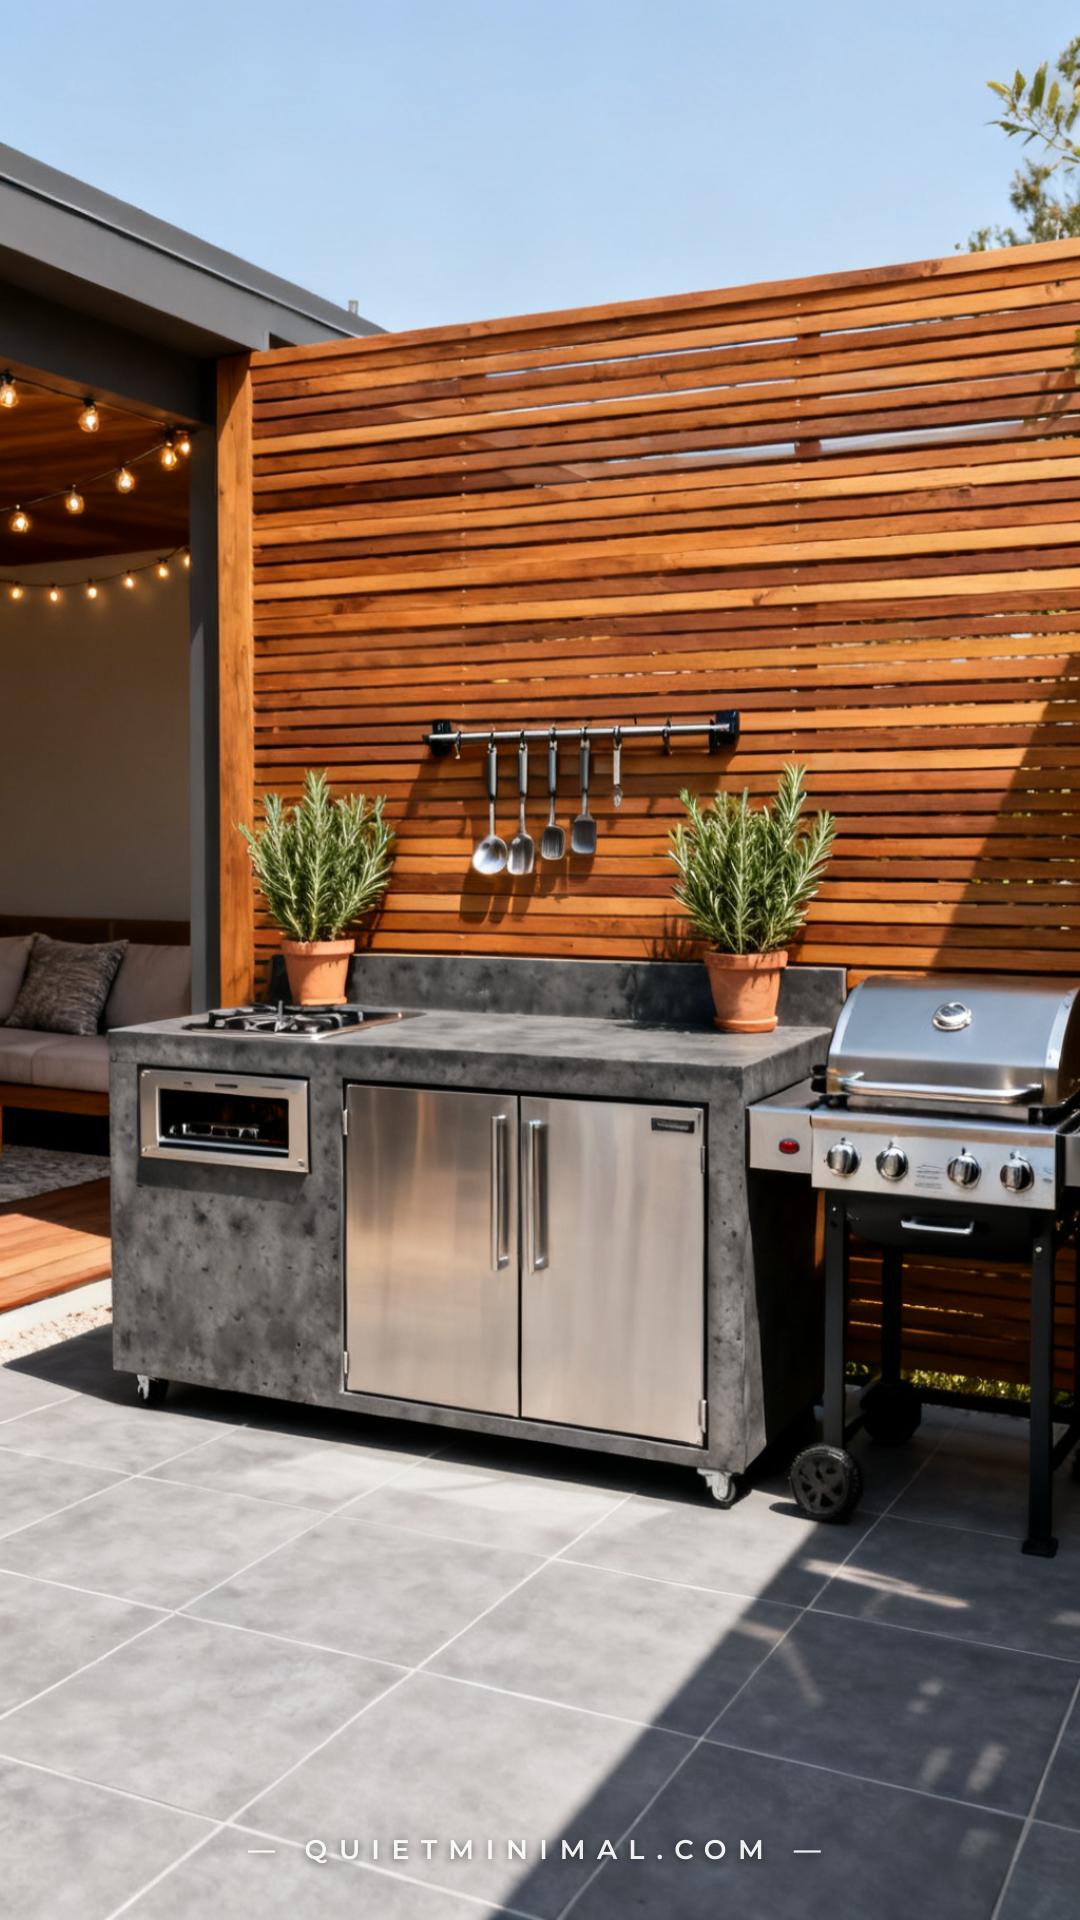
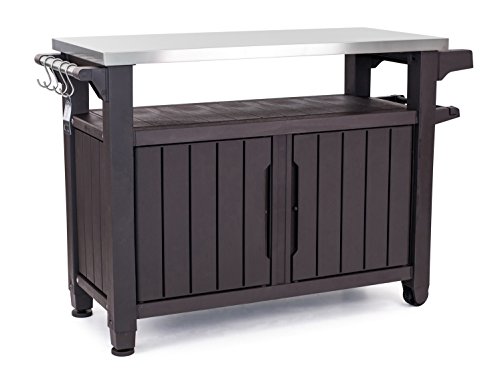
A modular outdoor kitchen cart — the kind with stainless doors, a built-in burner, and a solid countertop — gives the cooking zone the visual weight of a built-in outdoor kitchen without any masonry or permanent installation. It’s the piece that makes the zone look finished rather than assembled.
Look for units with enclosed storage below and a solid surface top rated for outdoor use. The best options include a side burner (doubles as a warming station during service), at least two cabinet doors for propane and supply storage, and a countertop rated for heat exposure. Position it against a fence or exterior wall with the grill flanking it on one side — this creates a straight run of cooking surface that reads as a unified station.
This is the anchor investment in an outdoor cooking zone. The prep cart, grill, and accessories build around it.
Key Takeaway: A modular outdoor kitchen cart is the highest-ROI piece in a cooking zone — it gives built-in kitchen visual credibility while remaining fully portable and renter-friendly.
8. Light the Two Zones Differently
 Save
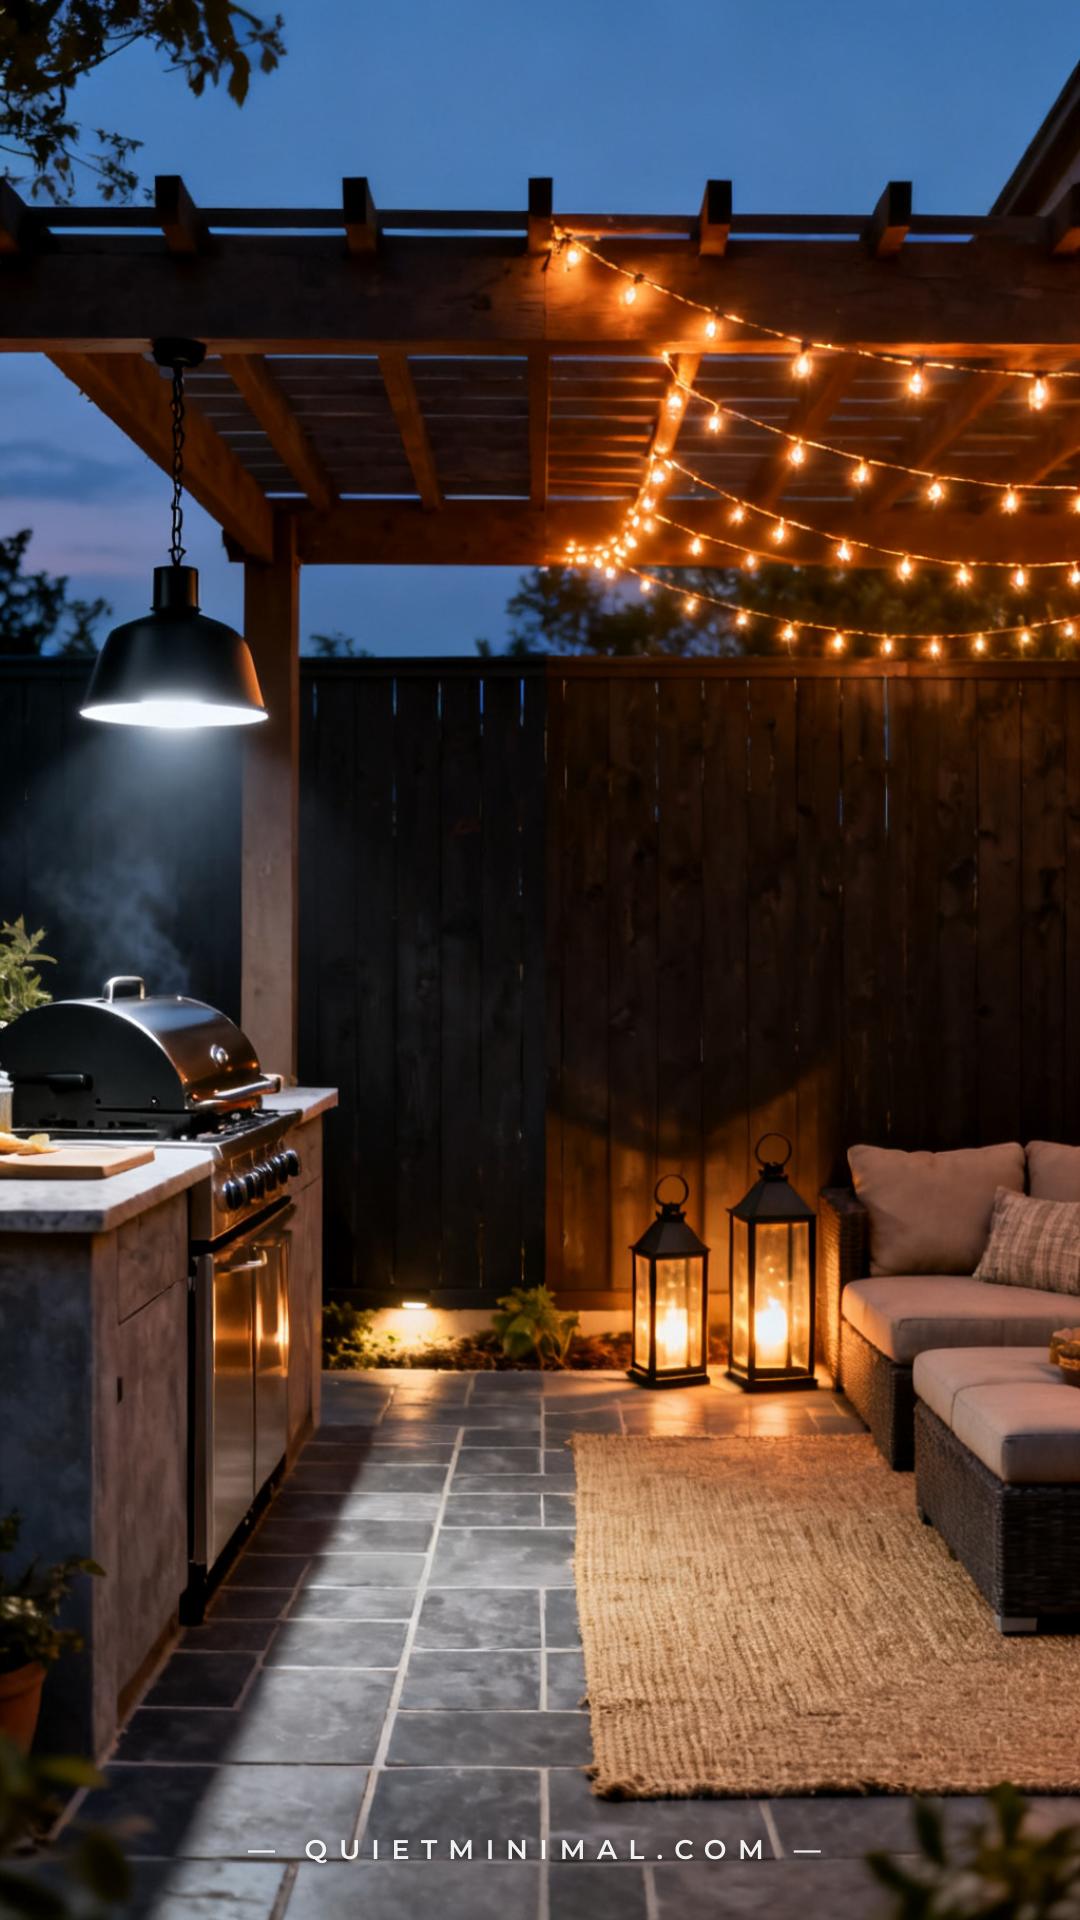
Lighting does more than make spaces usable at night — it signals the purpose of each zone. The cooking area should have task lighting: a direct-source, weather-rated pendant or wall sconce positioned over the grill and prep surface so you can see what you’re actually doing after 7 p.m. The seating zone should have ambient lighting: warm, low, diffused, the kind that makes people settle in.
String lights work beautifully as seating zone ambient light — run them overhead on a grid or catenary drape, using a warm-white bulb (2700K) for the most flattering tone. For the cooking zone, a weather-rated black pendant hung from a pergola beam directly over the grill is both functional and design-intentional.
The contrast between “bright and task-oriented” in the cooking zone and “warm and atmospheric” in the seating zone reinforces the zone split at night when visual floor cues are harder to read.
Key Takeaway: Different light types in each zone — task lighting for cooking, warm ambient lighting for seating — make the zone separation visible and functional after dark.
From the guides
You've saved it, wanted it. Here's the how: codes, measurements, order. Your choices make it yours.
The Japandi Honest PlaybookThe honest version of the style: what to keep, what to skip, and the order to do it in.See inside →The Room Refresh PlaybookA repeatable four-step method, room by room, in ten minutes, thirty minutes, or one weekend.See inside →Make Any Room Feel Cozy on PurposeWhy some rooms hold people and others empty out, and the moves that change it.See inside →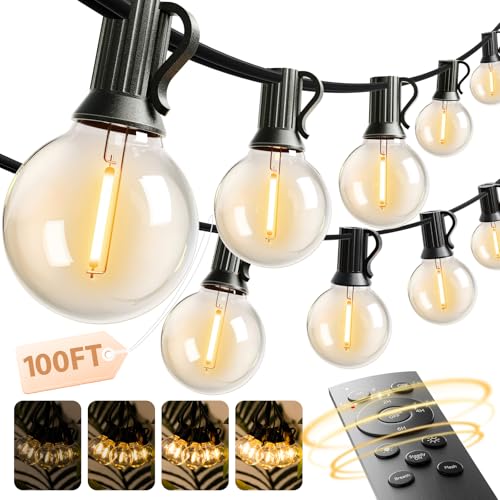
9. Create a Dedicated Seating Zone with a Sectional and Fire Pit
 Save
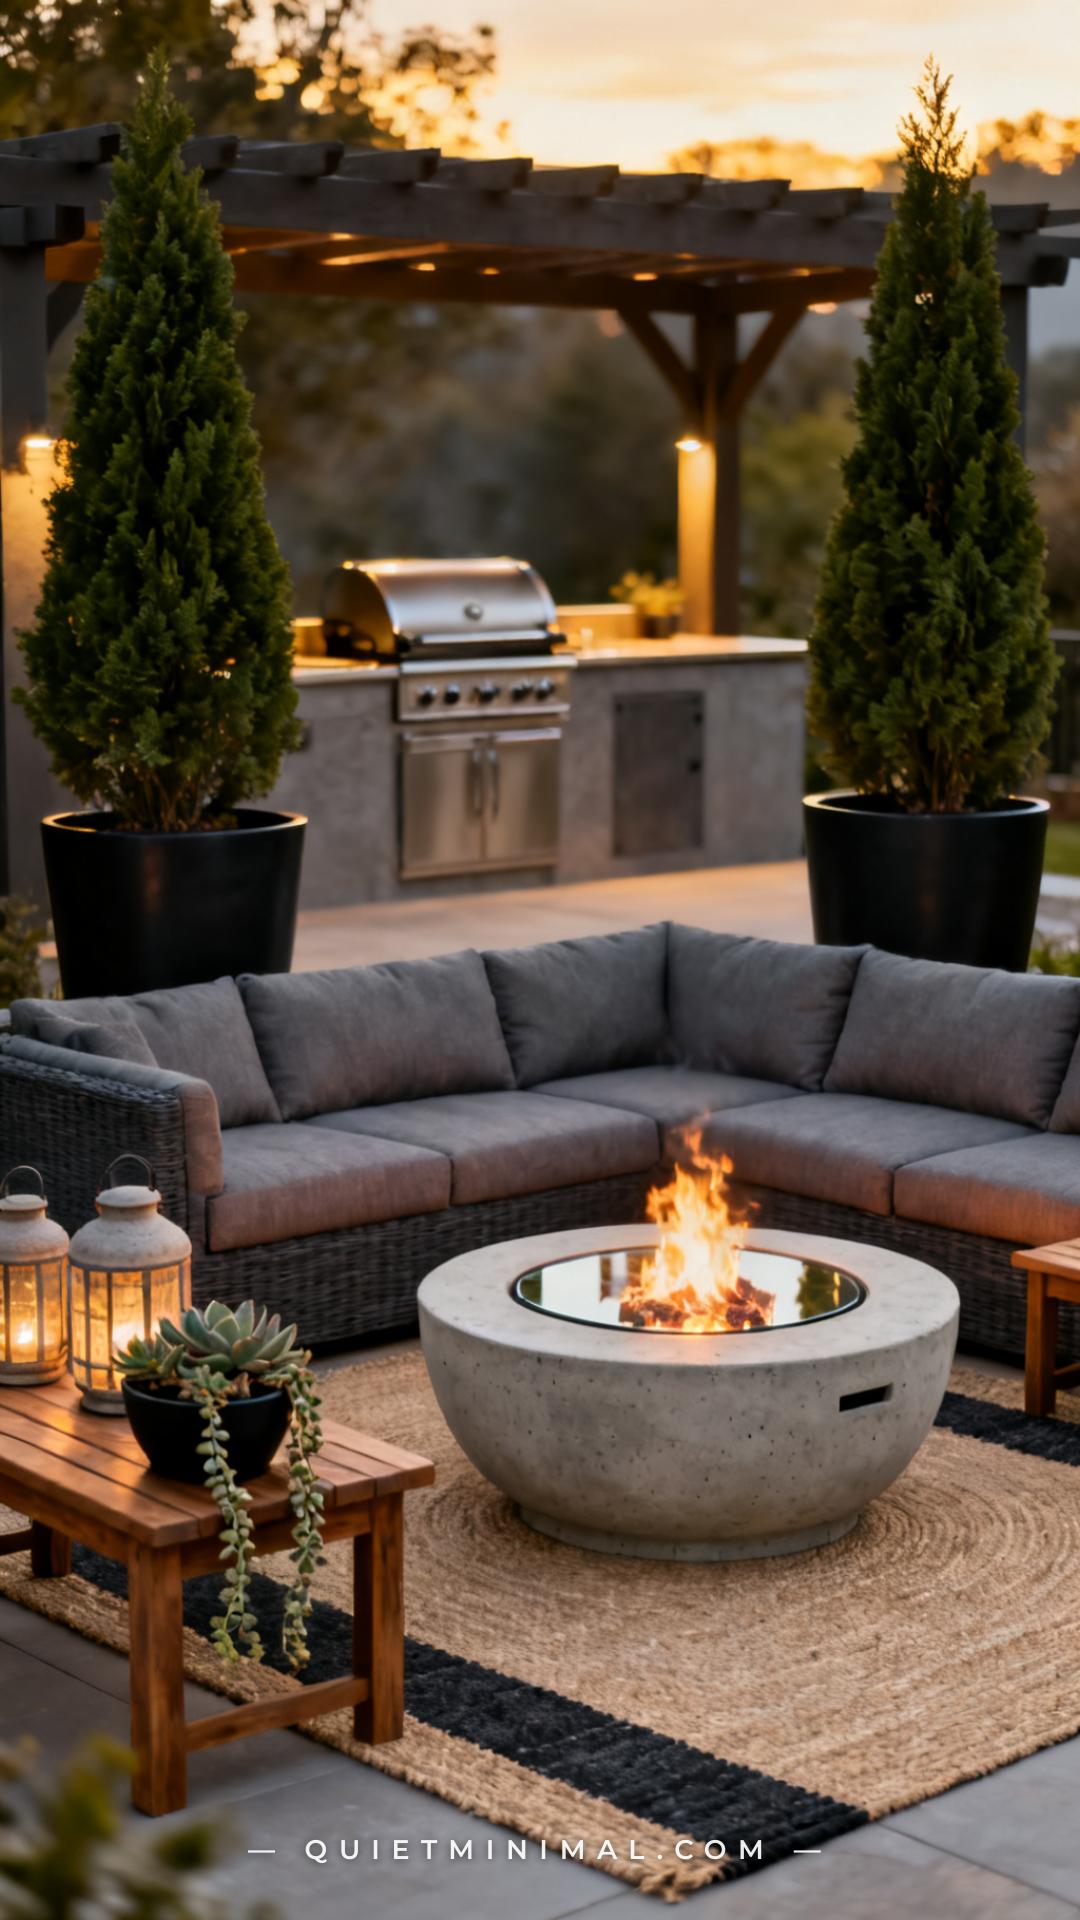
Once the cooking zone is anchored, the seating zone needs equal design intention. The most effective seating configuration for outdoor entertaining is an L-shaped or U-shaped sectional with a fire pit table at its center — this gives guests a reason to stay in the seating zone rather than migrating toward the grill.
A fire pit table does double duty: it’s a gathering focal point during cooking and an evening destination after the meal. Choose a propane fire pit table with a tempered glass wind guard and a cover that converts the pit surface into a regular table when the flame is off. Place it 18 inches from the front edge of the sectional — the standard coffee table clearance — so it functions as both.
Frame the seating zone’s back corners with two large planters in a matching finish (matte black, terracotta, or aged concrete) to create soft enclosure without walls.
Key Takeaway: A sectional plus a fire pit table creates a seating zone with its own gravitational pull — guests gather there intentionally, not just because there’s nowhere else to sit.

10. Use Tall Planters as a Soft Divider Between Zones
 Save
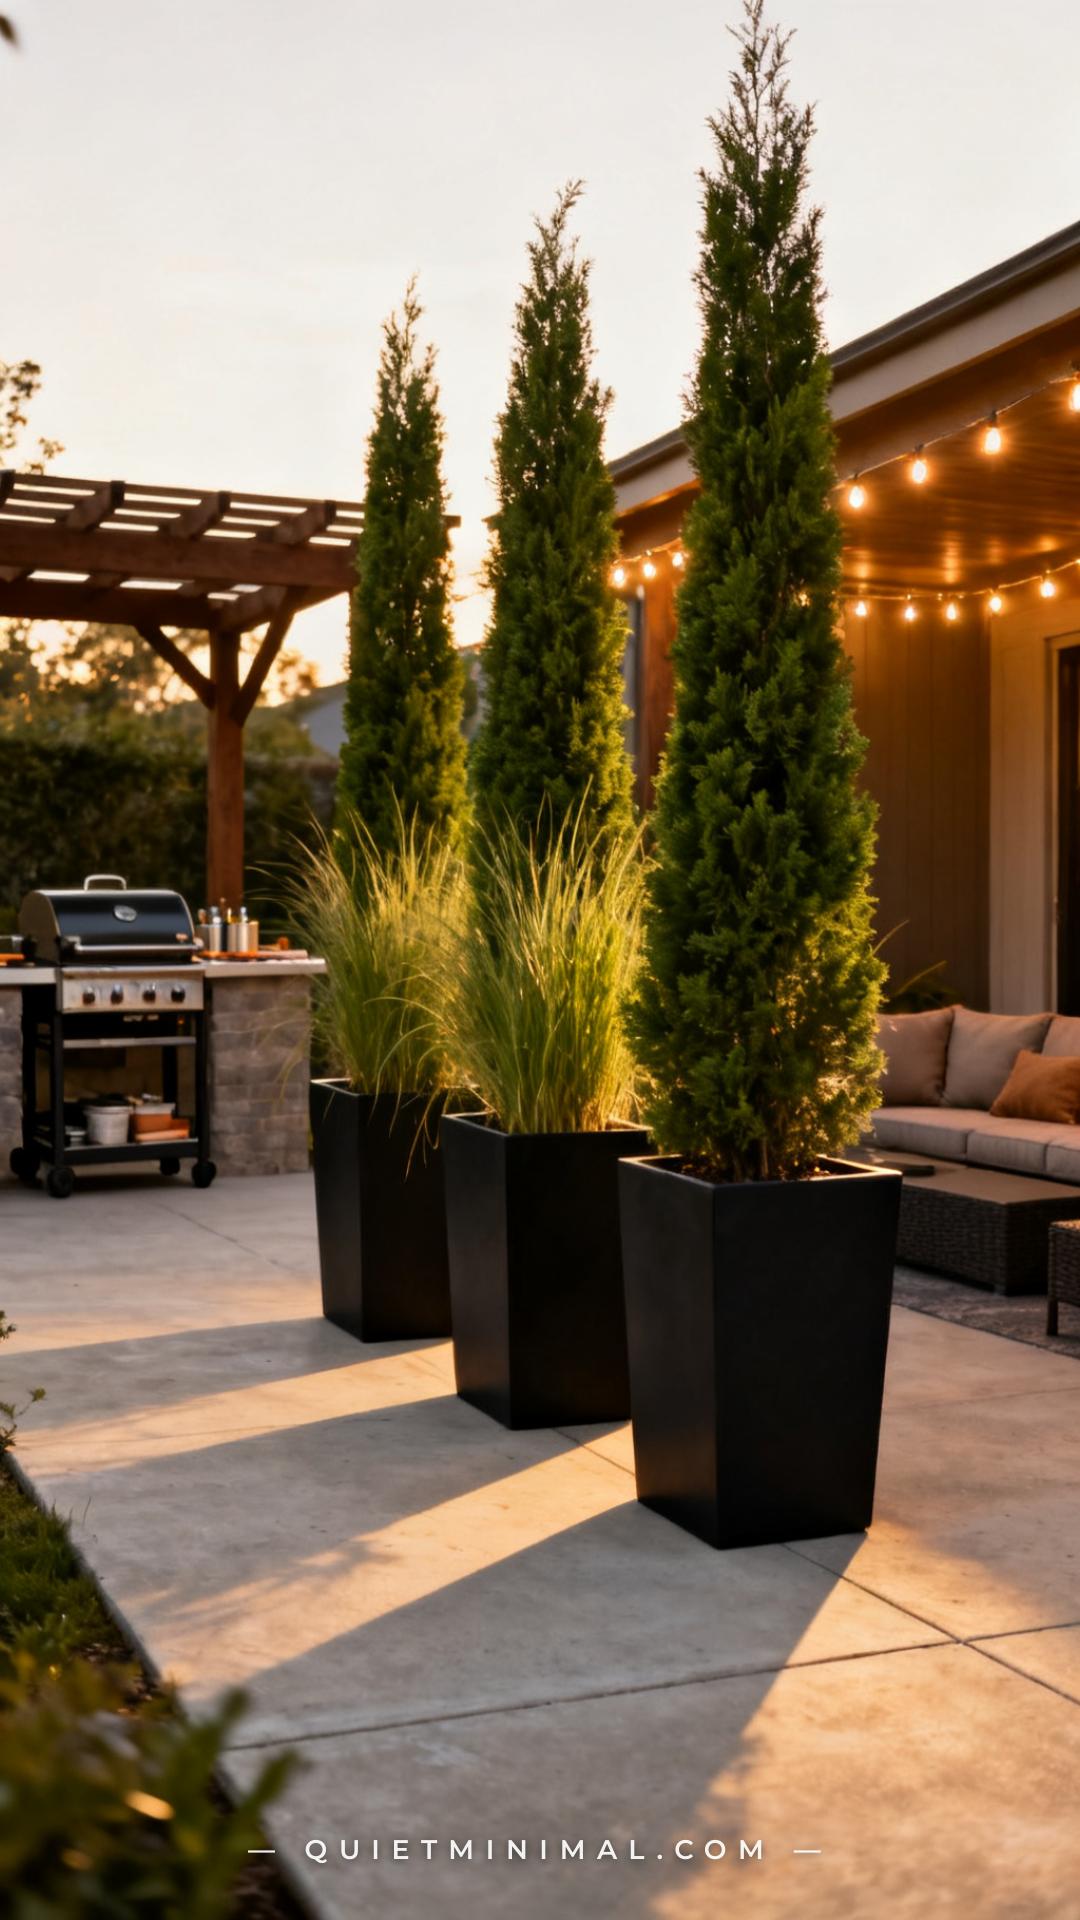
If you want separation between zones without building a wall or fence, tall planters with columnar plants are the most design-forward solution. They’re movable, they introduce living material into a hardscape space, and they scale in a way that shorter plantings can’t — a 24-inch matte black square planter with a 5-foot arborvitae reads as architecture, not just gardening.
Use three planters spaced roughly 3 feet apart in a diagonal or straight line between the cooking and seating zones. This creates a permeable green divider — guests can see through it and move around it, but it clearly delineates the zones at standing height. Columnar evergreens (Sky Pencil holly, Italian cypress, columnar arborvitae) maintain their shape year-round and require minimal pruning.
Choose planters in a finish that ties to another element in your outdoor scheme — if your grill is black and your furniture legs are black, black planters complete the palette.
Key Takeaway: Three tall planters with columnar plants create a green divider that’s more visually sophisticated than any fence panel and requires no permanent installation.

11. Install a Grill Canopy or Shade Sail Over the Seating Zone
 Save
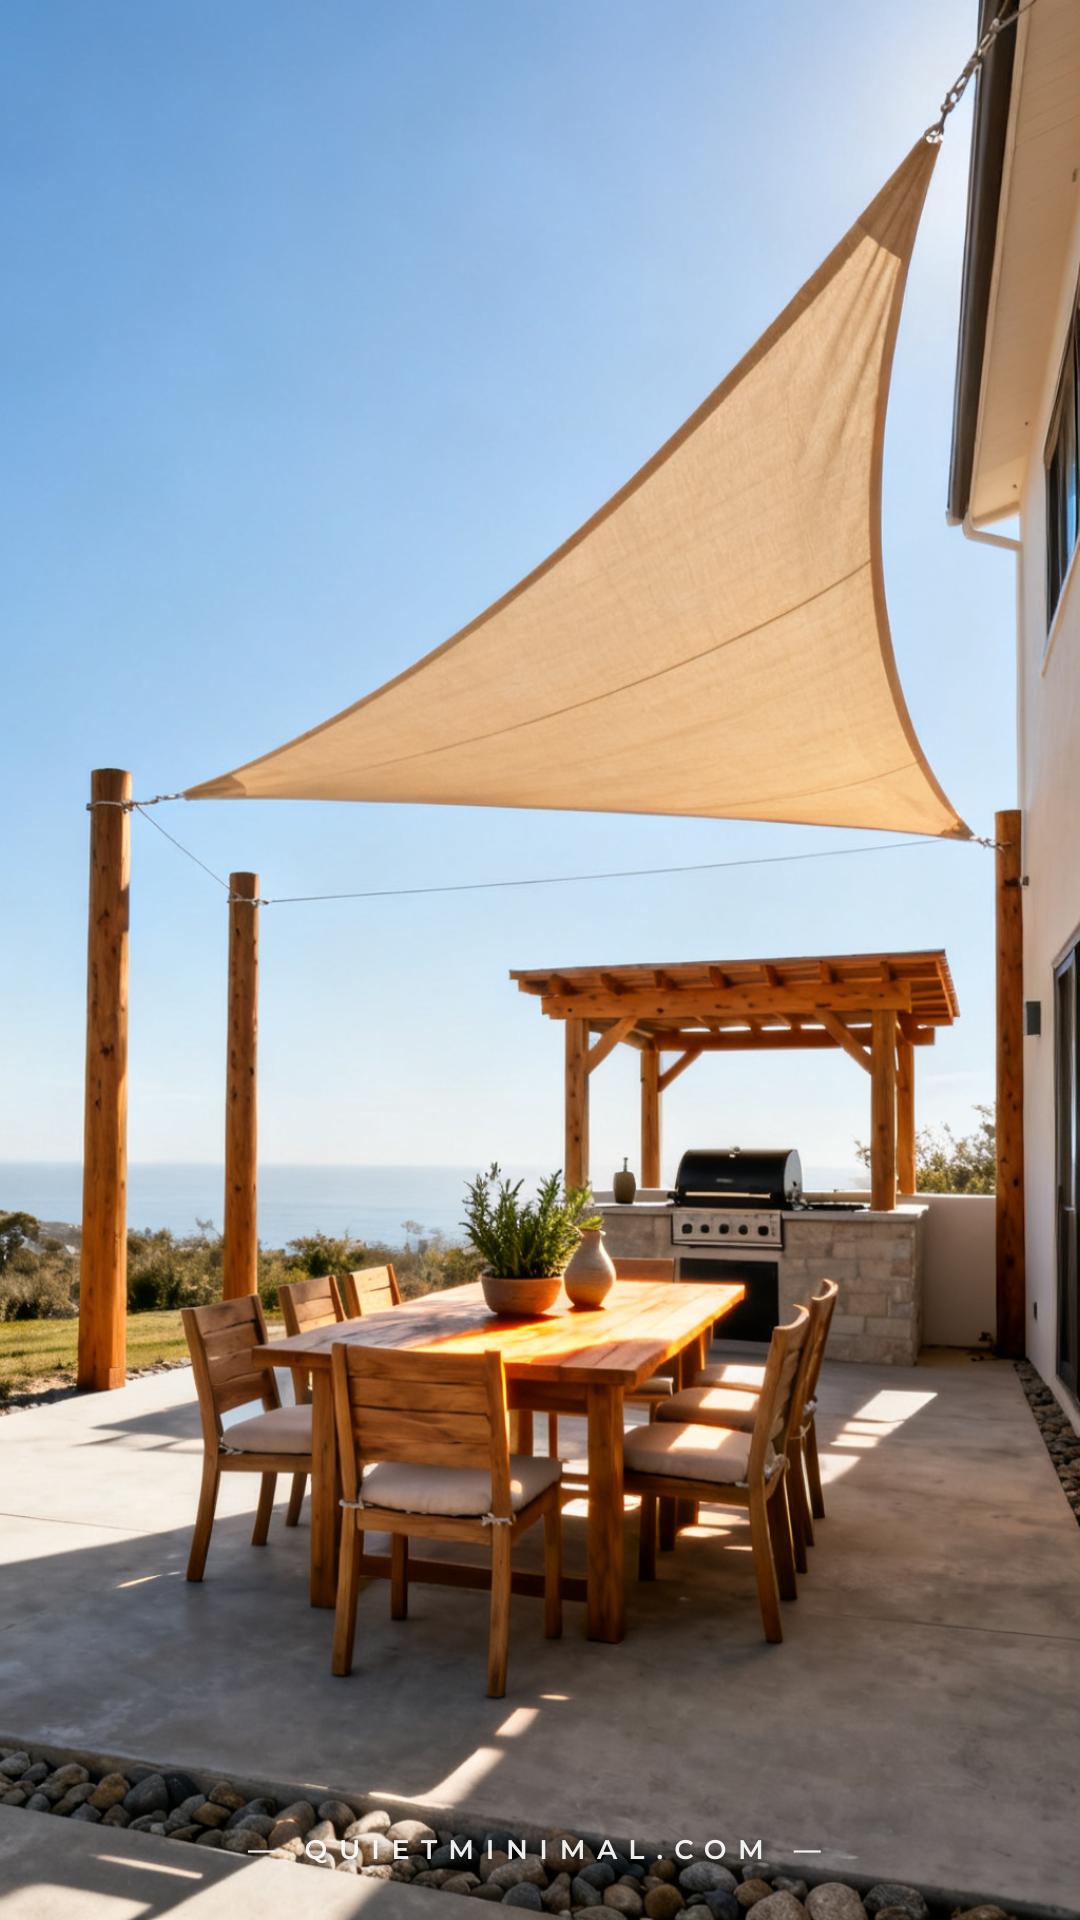
Shade structures over the seating zone solve the summer entertaining problem that no one mentions in design articles: your beautifully designed outdoor space goes unused between noon and 4 p.m. because it’s too hot to sit in. A shade sail or grill canopy provides UV protection and makes the seating zone genuinely usable during the hours when most outdoor gatherings happen.
A triangle or rectangle shade sail works for most residential patios and installs in an afternoon using included hardware. Choose a HDPE (high-density polyethylene) fabric in a neutral — sand, warm gray, or natural white — that transmits some light without creating a cave effect below. Install the sail so its highest point is toward the sun’s peak angle (south or southwest in most of the U.S.) and its lowest edge doesn’t block sightlines between zones.
The cooking zone should remain open or under its own pergola — a unified shade sail covering both zones undermines the separation you’re trying to create.
Key Takeaway: A shade sail over the seating zone makes it usable during peak sun hours and reinforces the zone divide by giving each area its own distinct overhead treatment.

12. Choose an Outdoor Dining Set That Scales to Your Zone
 Save
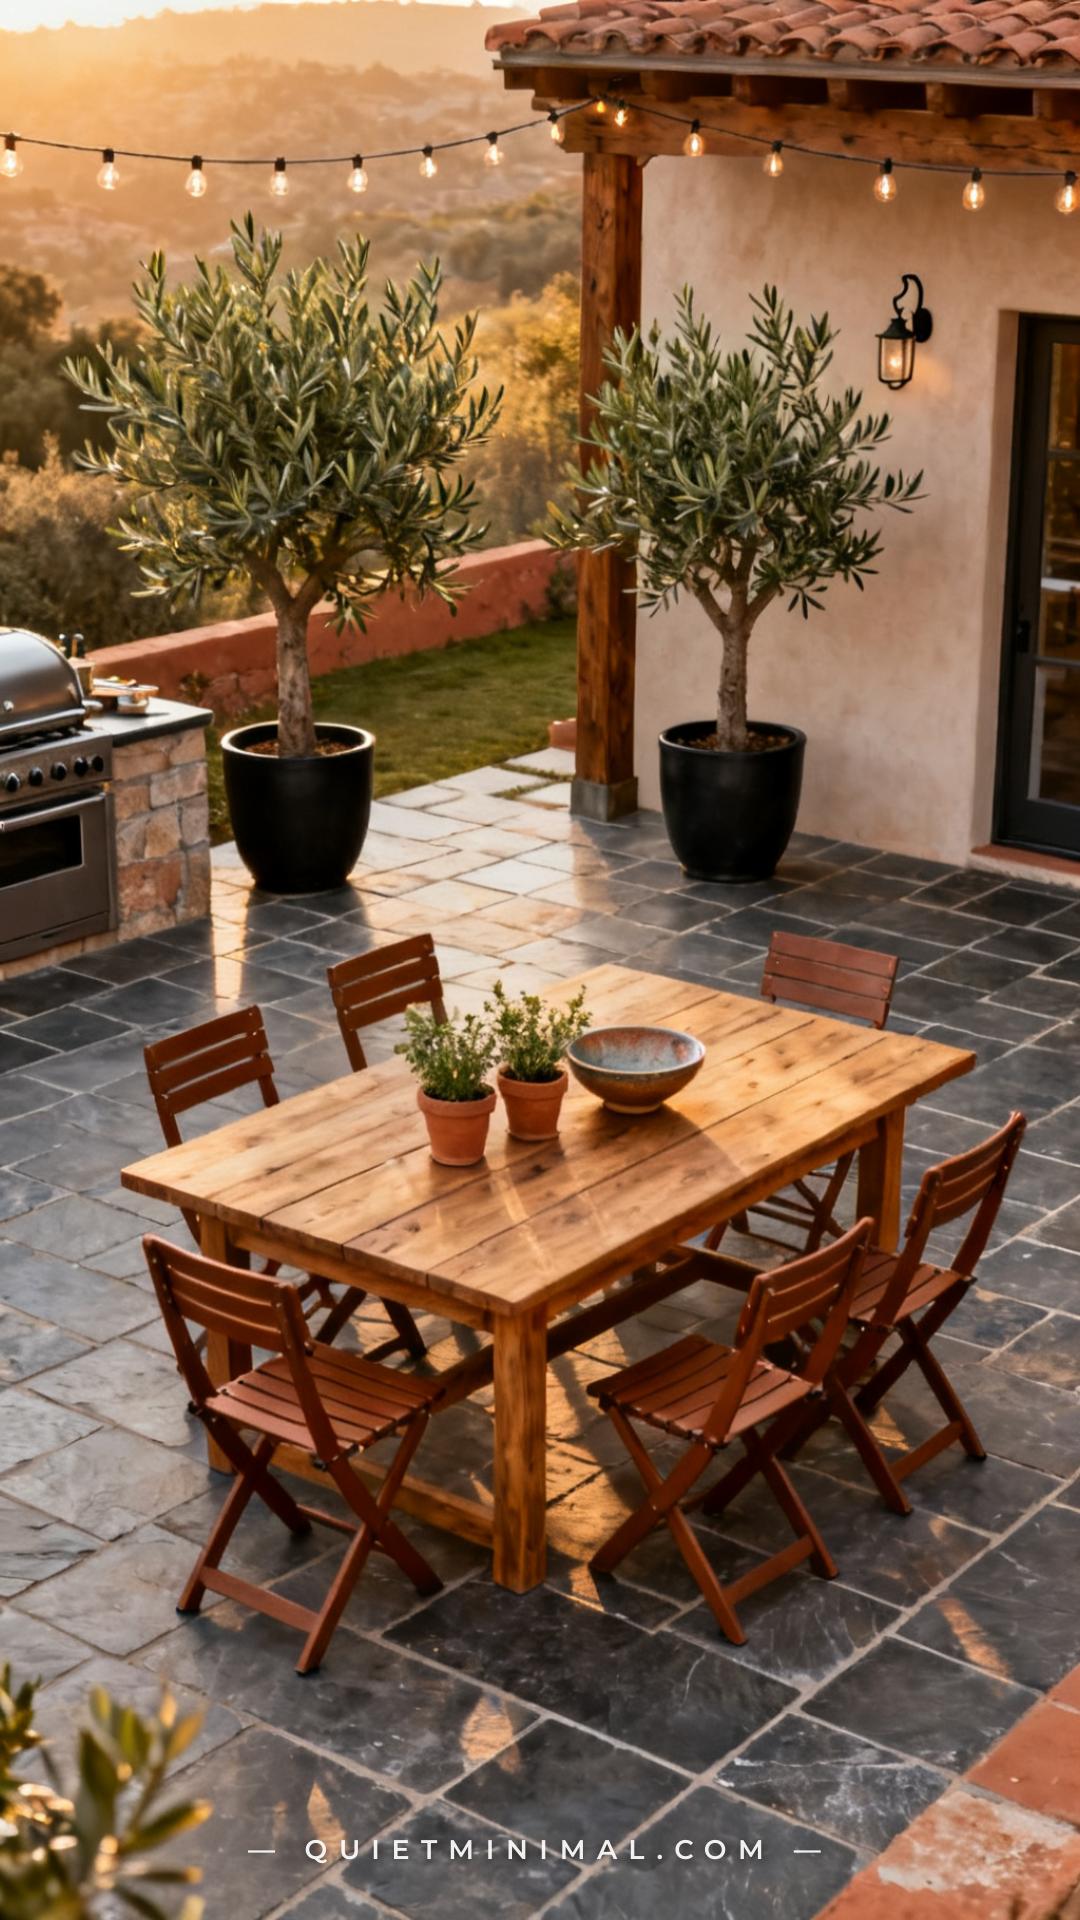
The outdoor dining set is the seating zone’s most functional piece — and the most commonly mis-scaled. Most people buy a set that’s either too small (seats four, serves eight) or too large (dominates the patio and leaves no room for the fire pit or lounge area). Scale to your actual use case, not your aspirational guest count.
For a zone that primarily handles sit-down meals, a 6-person rectangular teak or powder-coated aluminum dining table with stackable chairs is the most versatile configuration. Rectangular tables use zone space efficiently, can push against the zone’s edge when not in use, and read as more intentional than round tables in zoned outdoor spaces.
If your seating zone doubles as a lounge area outside of meal times, choose a dining set with chairs that look good pushed in — so the table reads as furniture rather than an obstacle when the lounge chairs and fire pit take center stage.
Key Takeaway: Right-size your dining table to the actual footprint of your seating zone, not your wishlist — a well-scaled table makes the zone feel designed; an oversized one makes it feel crowded.

13. Build a Beverage Station at the Zone Boundary
 Save
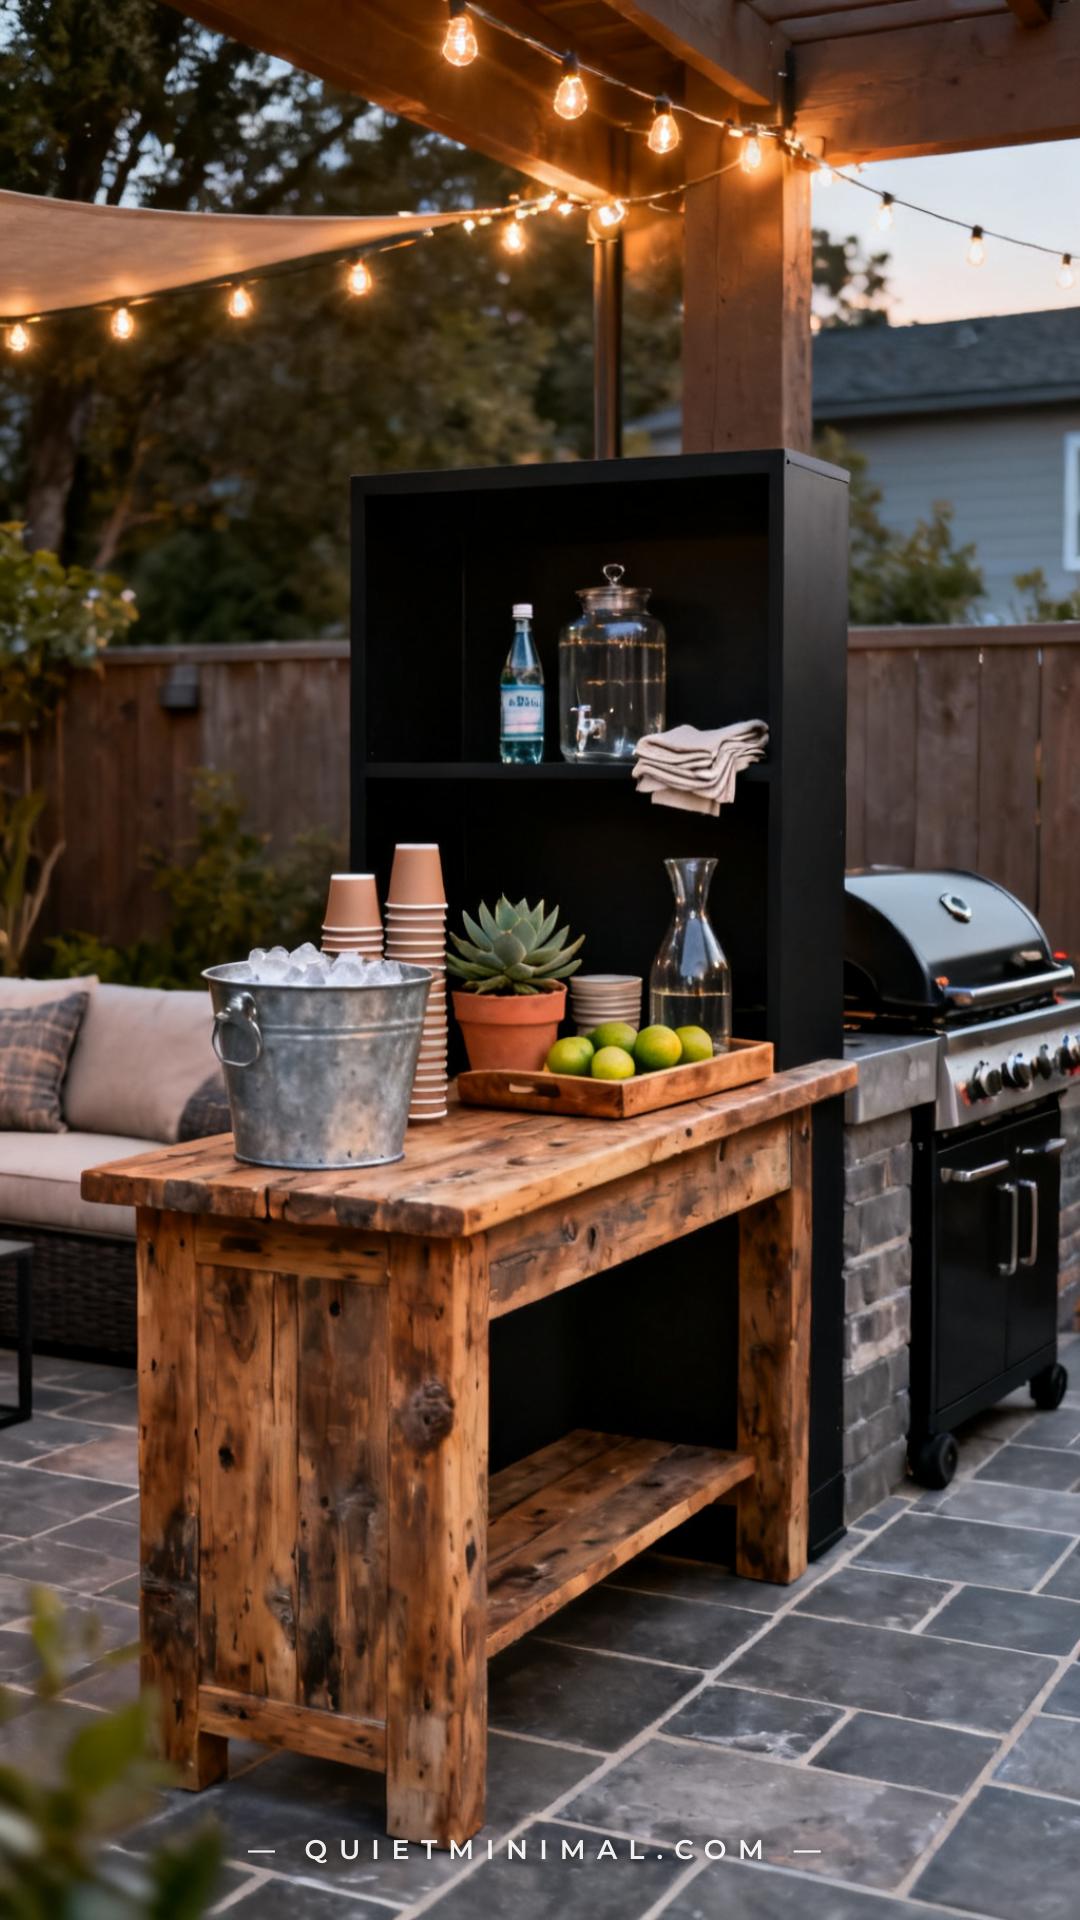
A beverage station positioned exactly at the boundary between cooking and seating zones is one of the most functional layout decisions you can make for outdoor entertaining. It gives guests a destination that’s close to the cook but not in the cook’s workspace — and it keeps the grill area clear of the inevitable drink traffic that otherwise turns into a bottleneck.
A beverage station can be as simple as a weathered teak console table with an ice bucket, a glass dispenser, and a serving tray — or as structured as a freestanding outdoor bar cart with shelving and a towel rail. Position it perpendicular to both zones, running along the invisible boundary line, so it’s equidistant and accessible from either side.
This station also serves as a visual anchor for the zone transition point — guests naturally congregate here briefly before dispersing into the seating zone, which keeps the cooking zone clear.
Key Takeaway: A beverage station at the zone boundary solves traffic flow, gives guests a reason to stay out of the cooking area, and serves as a physical marker of the transition point between zones.
14. Finish the Cooking Zone with Weather-Rated Storage
 Save
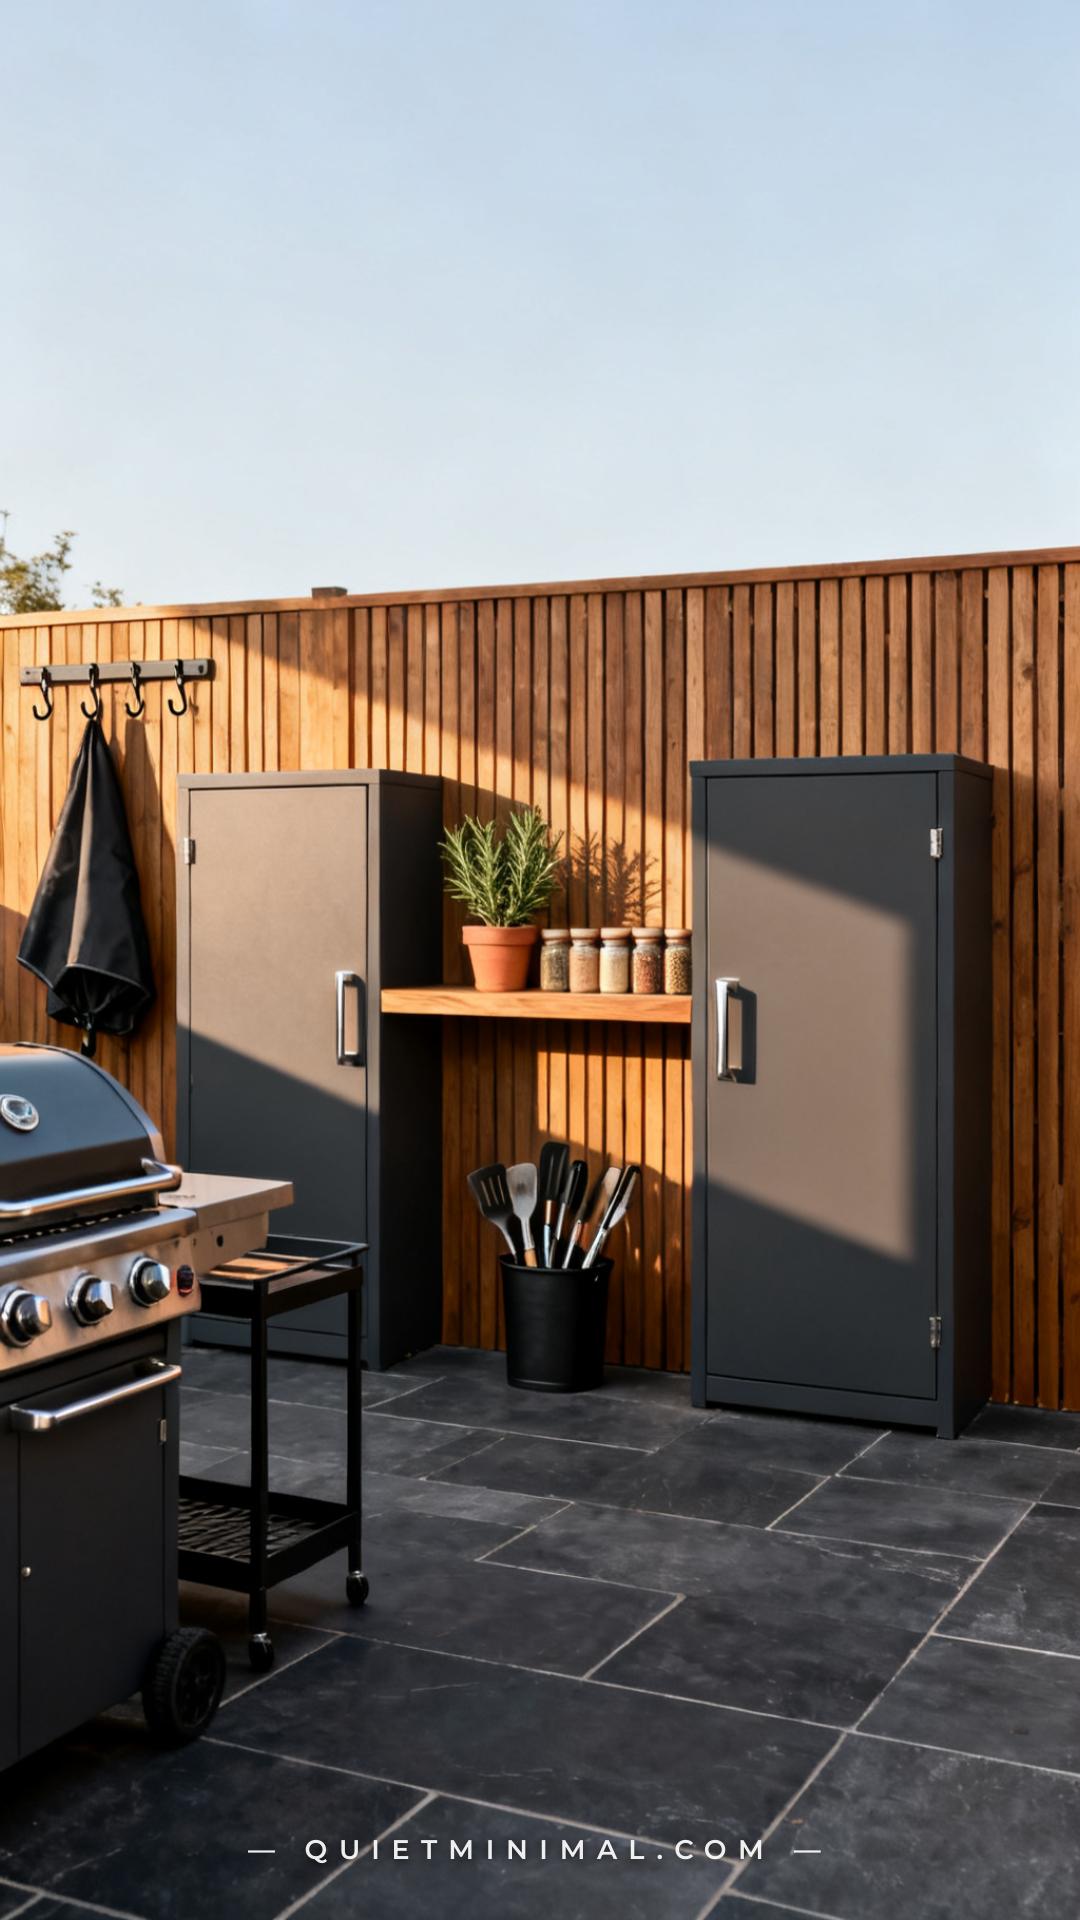
A cooking zone without storage is a cooking zone that falls apart the moment you start actually using it. Grill accessories, cleaning supplies, extra propane, and outdoor cooking tools all need a home that isn’t a shed at the back of the yard or a pile near the grill legs. Weather-rated outdoor storage cabinets close the loop on the cooking zone design and make the space genuinely functional.
Look for cabinets with a UV-resistant resin or powder-coated steel construction, adjustable interior shelving, and a locking mechanism. Position them against the back fence or exterior wall of the cooking zone, flanking the grill or prep cart. The cabinets create a backdrop that makes the cooking zone feel enclosed and purposeful — like a real outdoor kitchen wall — without any built-in construction.
Mount a weatherproof hook rail on the fence above the cabinets for hanging grill tools, oven mitts, and a brush. This keeps the prep cart surface and grill side tables clear for actual cooking tasks.
Key Takeaway: Outdoor storage cabinets are the finishing element that makes the cooking zone look complete — they eliminate visual clutter, protect supplies from weather, and give the zone a defined back wall.

The difference between a backyard with a grill and a backyard with an outdoor cooking and seating space comes down to intention — specifically, where you draw the line between working and gathering. Start with two moves: anchor the cooking zone with a prep cart and pergola, and anchor the seating zone with an outdoor rug and a fire pit or sectional. Everything else — the flooring transition, the lighting split, the beverage station at the boundary — builds on those two foundations. Get those two anchor pieces right first, then layer in the details. Your next outdoor gathering will show you exactly which zone needs more definition, and you’ll know precisely what to add.
From the guides
You've saved it, wanted it. Here's the how: codes, measurements, order. Your choices make it yours.
The Japandi Honest PlaybookThe honest version of the style: what to keep, what to skip, and the order to do it in.See inside →The Room Refresh PlaybookA repeatable four-step method, room by room, in ten minutes, thirty minutes, or one weekend.See inside →Make Any Room Feel Cozy on PurposeWhy some rooms hold people and others empty out, and the moves that change it.See inside →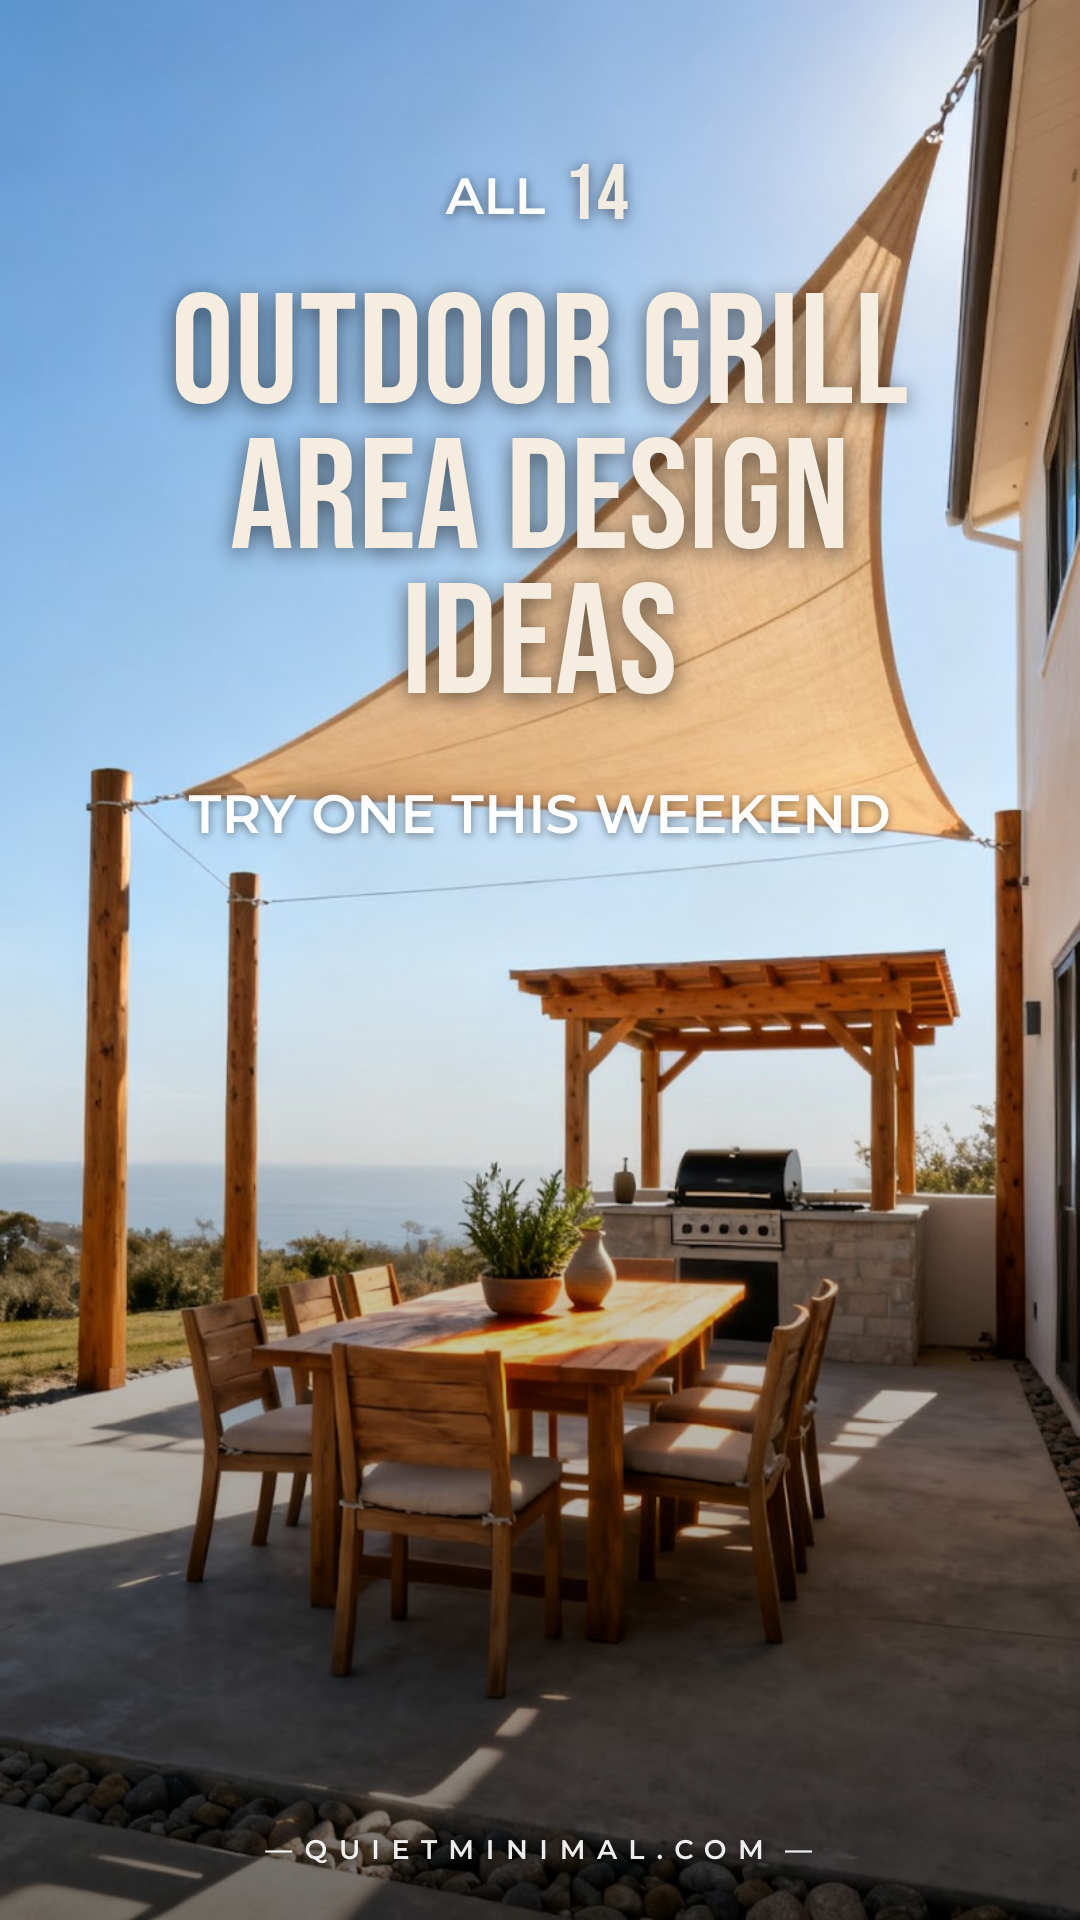 Save


