 Georgia
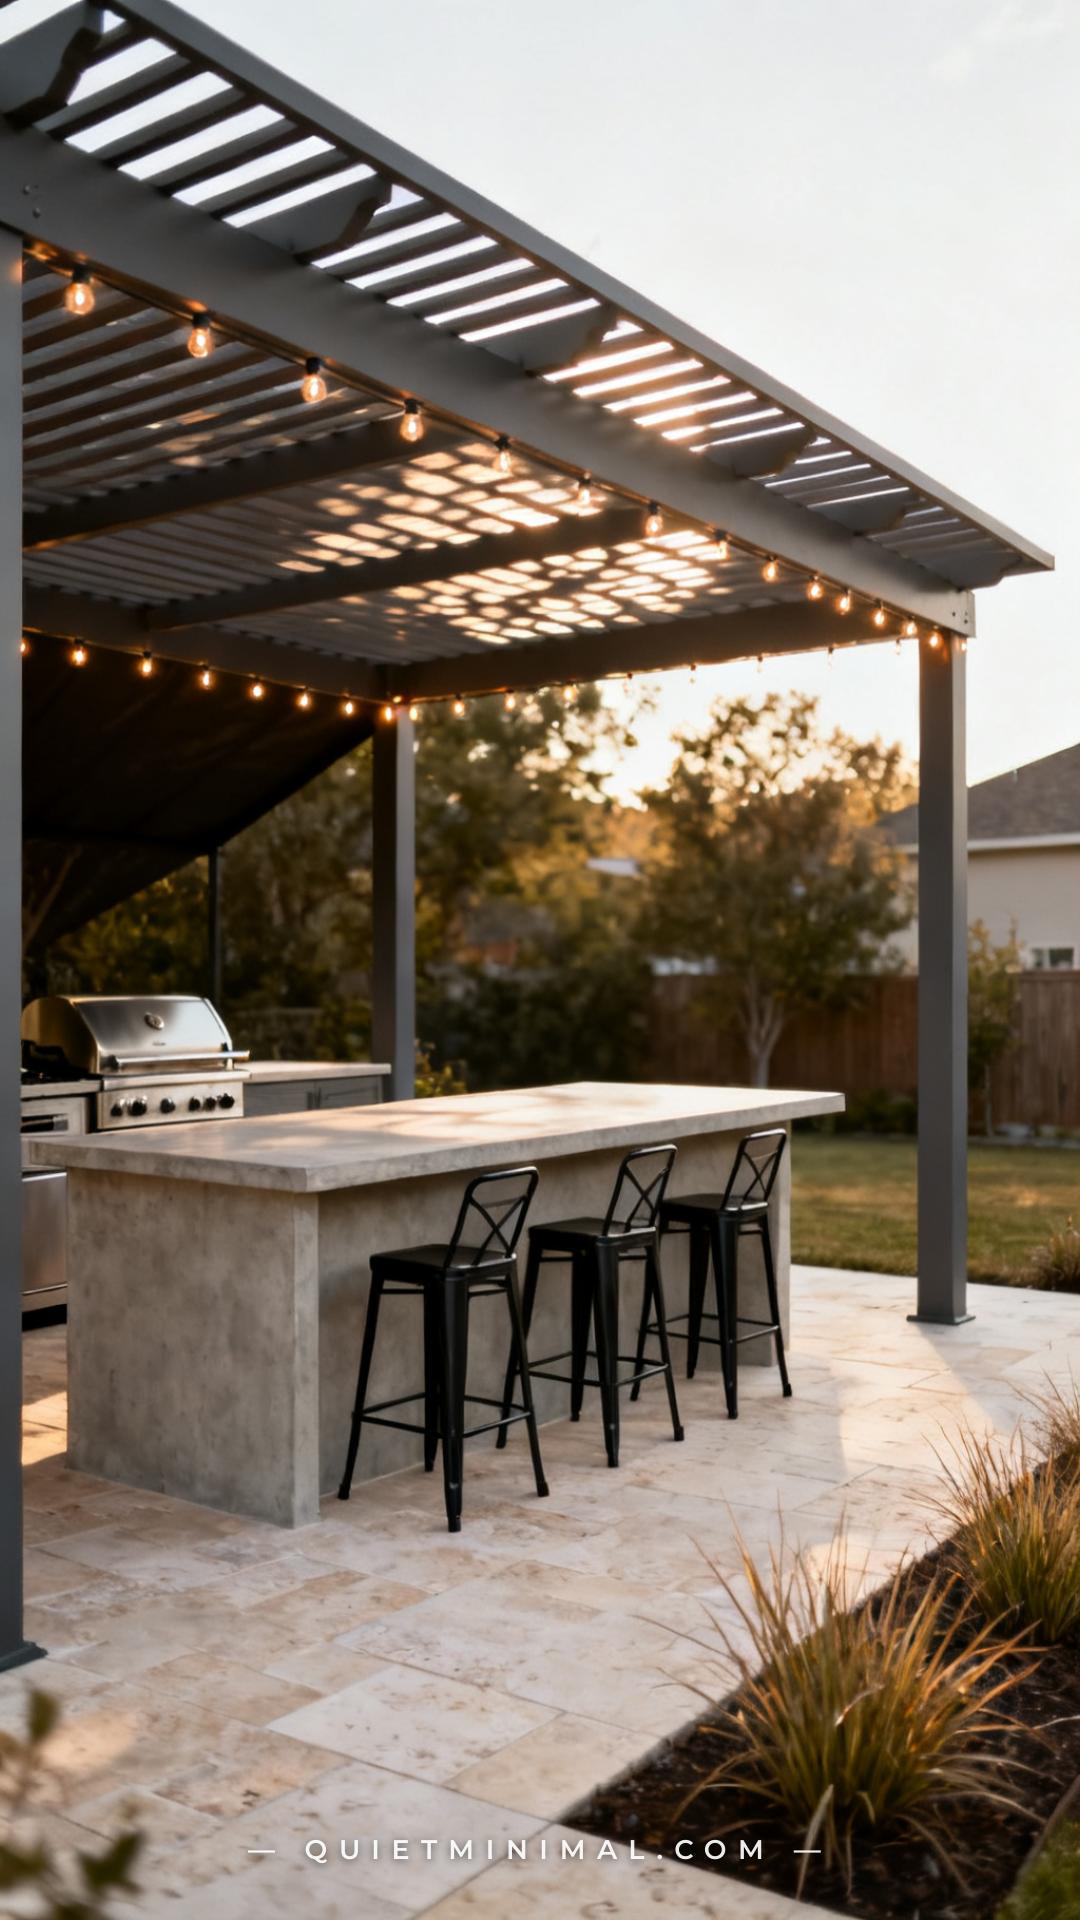
Most outdoor kitchens look incredible in the planning stage and underwhelm by the second summer. The covered cooking zone gets positioned where the light is prettiest, not where the afternoon sun won’t bake the cook. The island seating faces the view instead of the conversation. The whole layout gets designed around a mood board instead of around how people actually move through a backyard.
These ten ideas do the opposite. Each one is built around a specific functional decision — shade angle, seating height, material durability, storage logic — that separates a backyard kitchen you use every weekend from one that collects leaves nine months a year. Whether you’re planning a full build or upgrading an existing patio, the details here will change how you think about the whole project.
1. Anchor the Covered Zone Over the Grill, Not the Seating
 Save
The single most common layout mistake in outdoor kitchens: the shade structure gets centered over the island seating area — where it looks most photogenic — while the grill itself bakes in direct afternoon sun. That means the cook stands in full heat, grease smoke has no overhead draft management, and on hot days the kitchen becomes genuinely uncomfortable to use.
From the guides
You've saved it, wanted it. Here's the how: codes, measurements, order. Your choices make it yours.
 The Japandi Honest PlaybookThe honest version of the style: what to keep, what to skip, and the order to do it in.See inside →
 The Room Refresh PlaybookA repeatable four-step method, room by room, in ten minutes, thirty minutes, or one weekend.See inside →
 Make Any Room Feel Cozy on PurposeWhy some rooms hold people and others empty out, and the moves that change it.See inside →
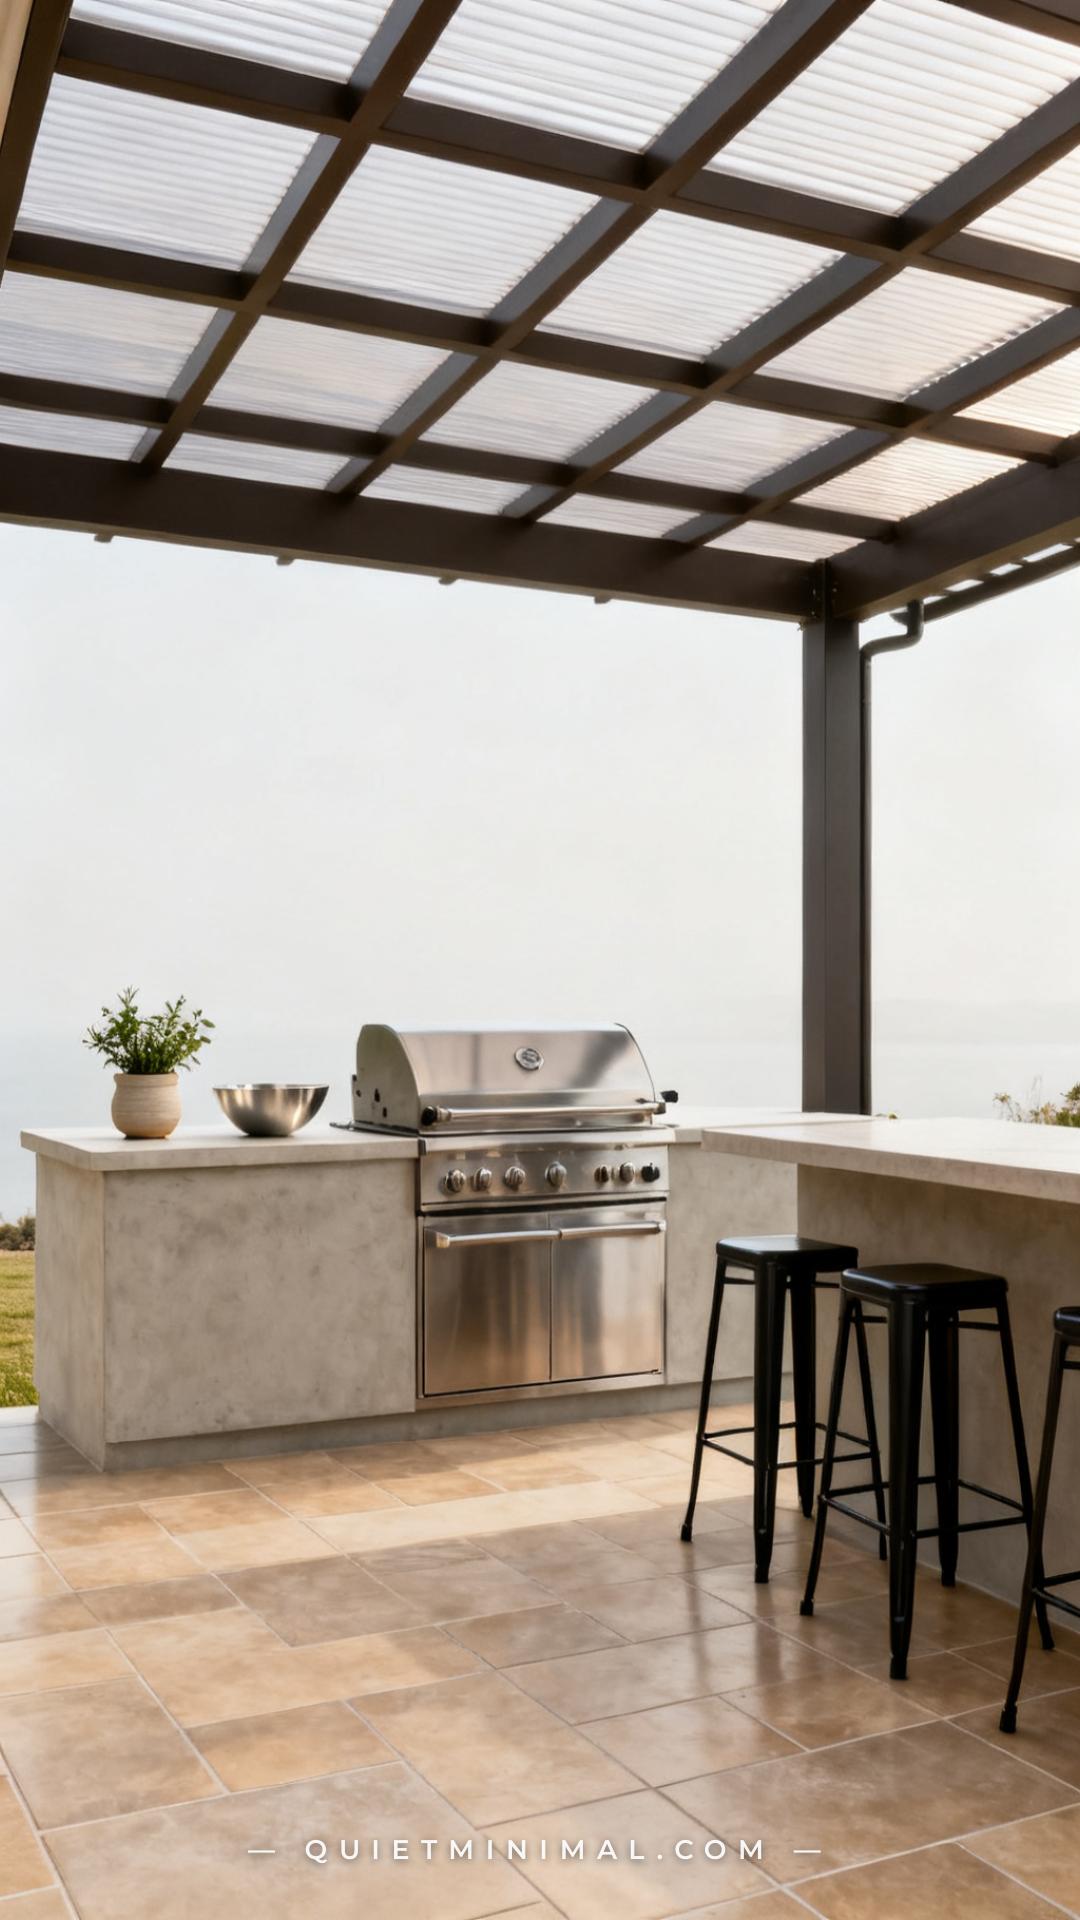
Reverse the logic. Anchor your covered zone — whether it’s a pergola, attached roof extension, or shade sail — directly over the cooking and prep surface. The grill, side burner, and cutting area all live under coverage. Seating can extend partially under or fully outside the covered zone; guests are mobile and can adjust. The cook is stationary.
When positioning the cover, account for your prevailing afternoon wind direction so smoke drafts away from seating rather than across it. A 12×14 ft hard-top aluminum pergola gives enough footprint to cover a 6-foot island and a standing prep zone with clearance to spare.
Key Takeaway: Shade the grill first, the seating second — the cook’s comfort drives usability more than any other single decision.

2. Choose an Island Height That Serves Both Cooking and Conversation
 Save
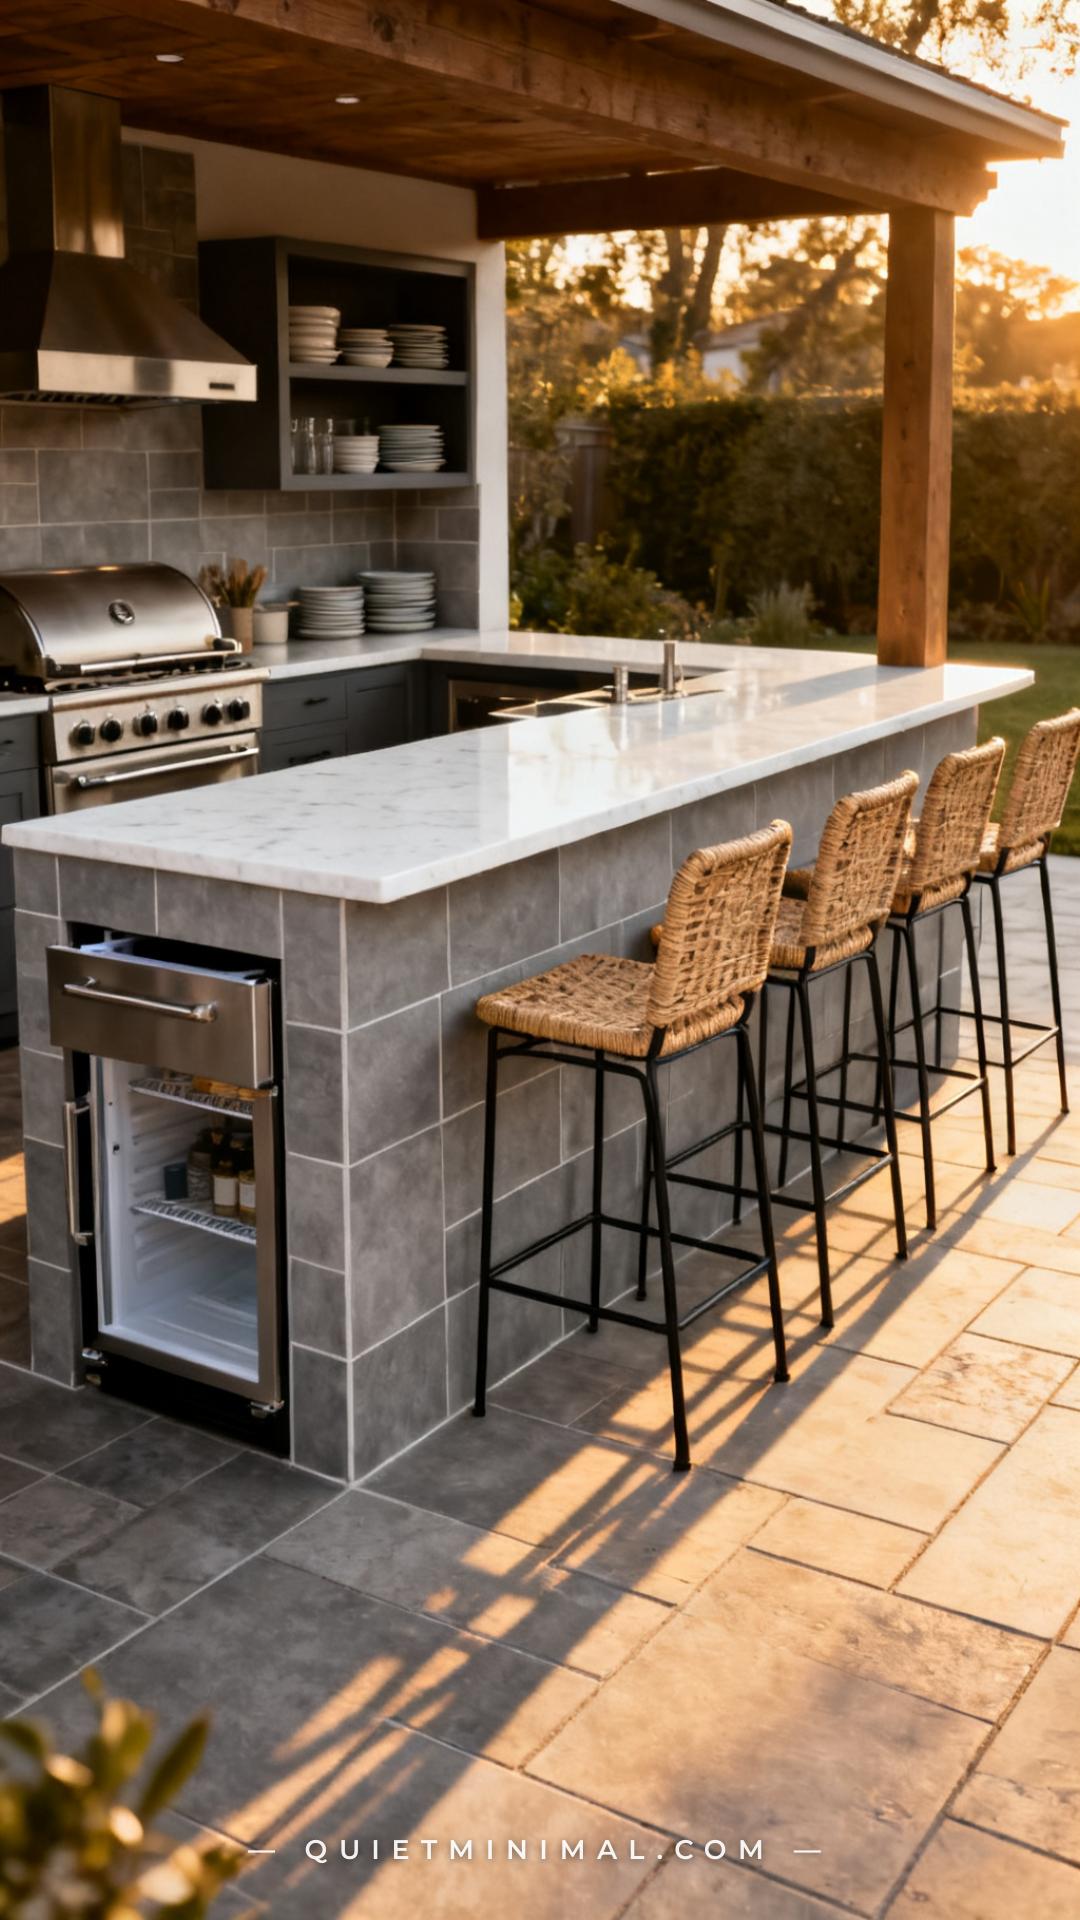
Bar height (36–42 inches) is the standard for outdoor kitchen islands and it works well — but only if the seating matches it precisely. A 36-inch island demands 24-inch seat-height stools. A 42-inch island needs 28–30-inch seat-height stools. This sounds obvious but the mismatch is one of the most frequently cited frustrations in outdoor living forums: guests perch uncomfortably, lean awkwardly, and drift toward lawn chairs instead.
Counter height (34–36 inches) is a better choice if the island doubles as a prep surface used for extended periods, since standard ergonomic prep height for most adults is 34–36 inches depending on arm reach. It also allows standard counter-height stools (24–26 inch seat height), which are more widely available in weather-resistant materials.
Pick your height first, then specify your stools — not the other way around. When selecting outdoor stools for island seating, look for powder-coated aluminum or resin wicker frames with quick-dry foam cushions. These handle humidity, rain, and UV exposure without the rusting and fading that plague most budget options after one season.
Key Takeaway: Decide island height before purchasing any seating — a 4-inch mismatch makes the entire setup feel wrong regardless of how good it looks.

3. Build L-Shaped or U-Shaped Layouts for Natural Traffic Flow
 Save
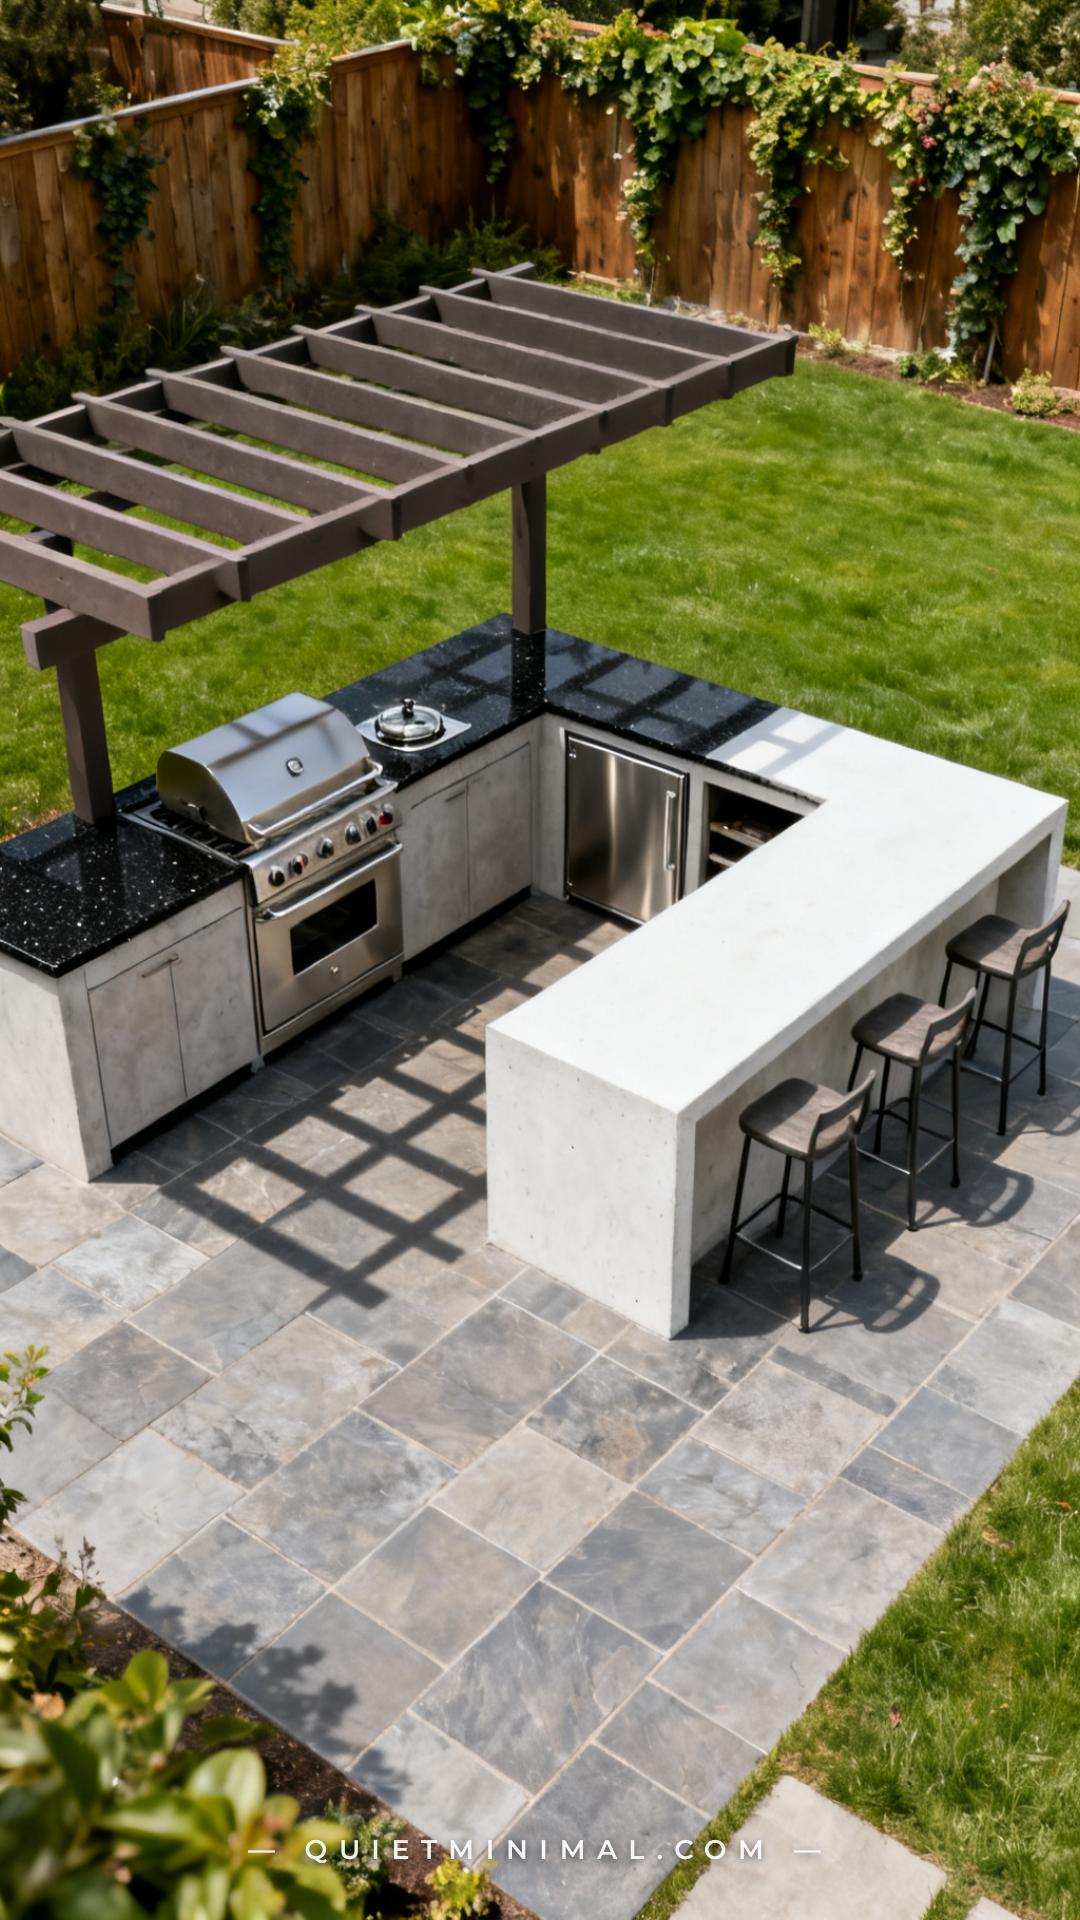
A straight single-run island with seating on one end forces guests and the cook into the same narrow zone — the cook needs to pivot past seated guests to reach the refrigerator, guests get bumped by tongs, and the whole layout feels cramped within the first dinner party. An L-shaped or U-shaped configuration solves this with built-in zone separation.
In an L-shaped layout, one run holds all appliances (grill, side burner, sink, refrigerator drawer); the perpendicular run becomes the dedicated seating island. The cook has an unobstructed 4–6 foot work corridor. Guests face the cook naturally, which supports conversation without anyone being in the workflow.
A U-shape extends this by adding a third run that can serve as a beverage station or bar area — excellent for larger patios (16×20 ft and up). For smaller patios in the 12×14 to 14×16 ft range, the L-shape is almost always the right answer. Leave at minimum 42 inches between parallel runs as a work corridor; 48–54 inches is the comfortable target.
Key Takeaway: An L-shaped layout gives the cook a clear work corridor and gives guests a defined seating zone — the two groups stop competing for the same space.

4. Use Concrete or Porcelain Countertops — Not Natural Stone
 Save
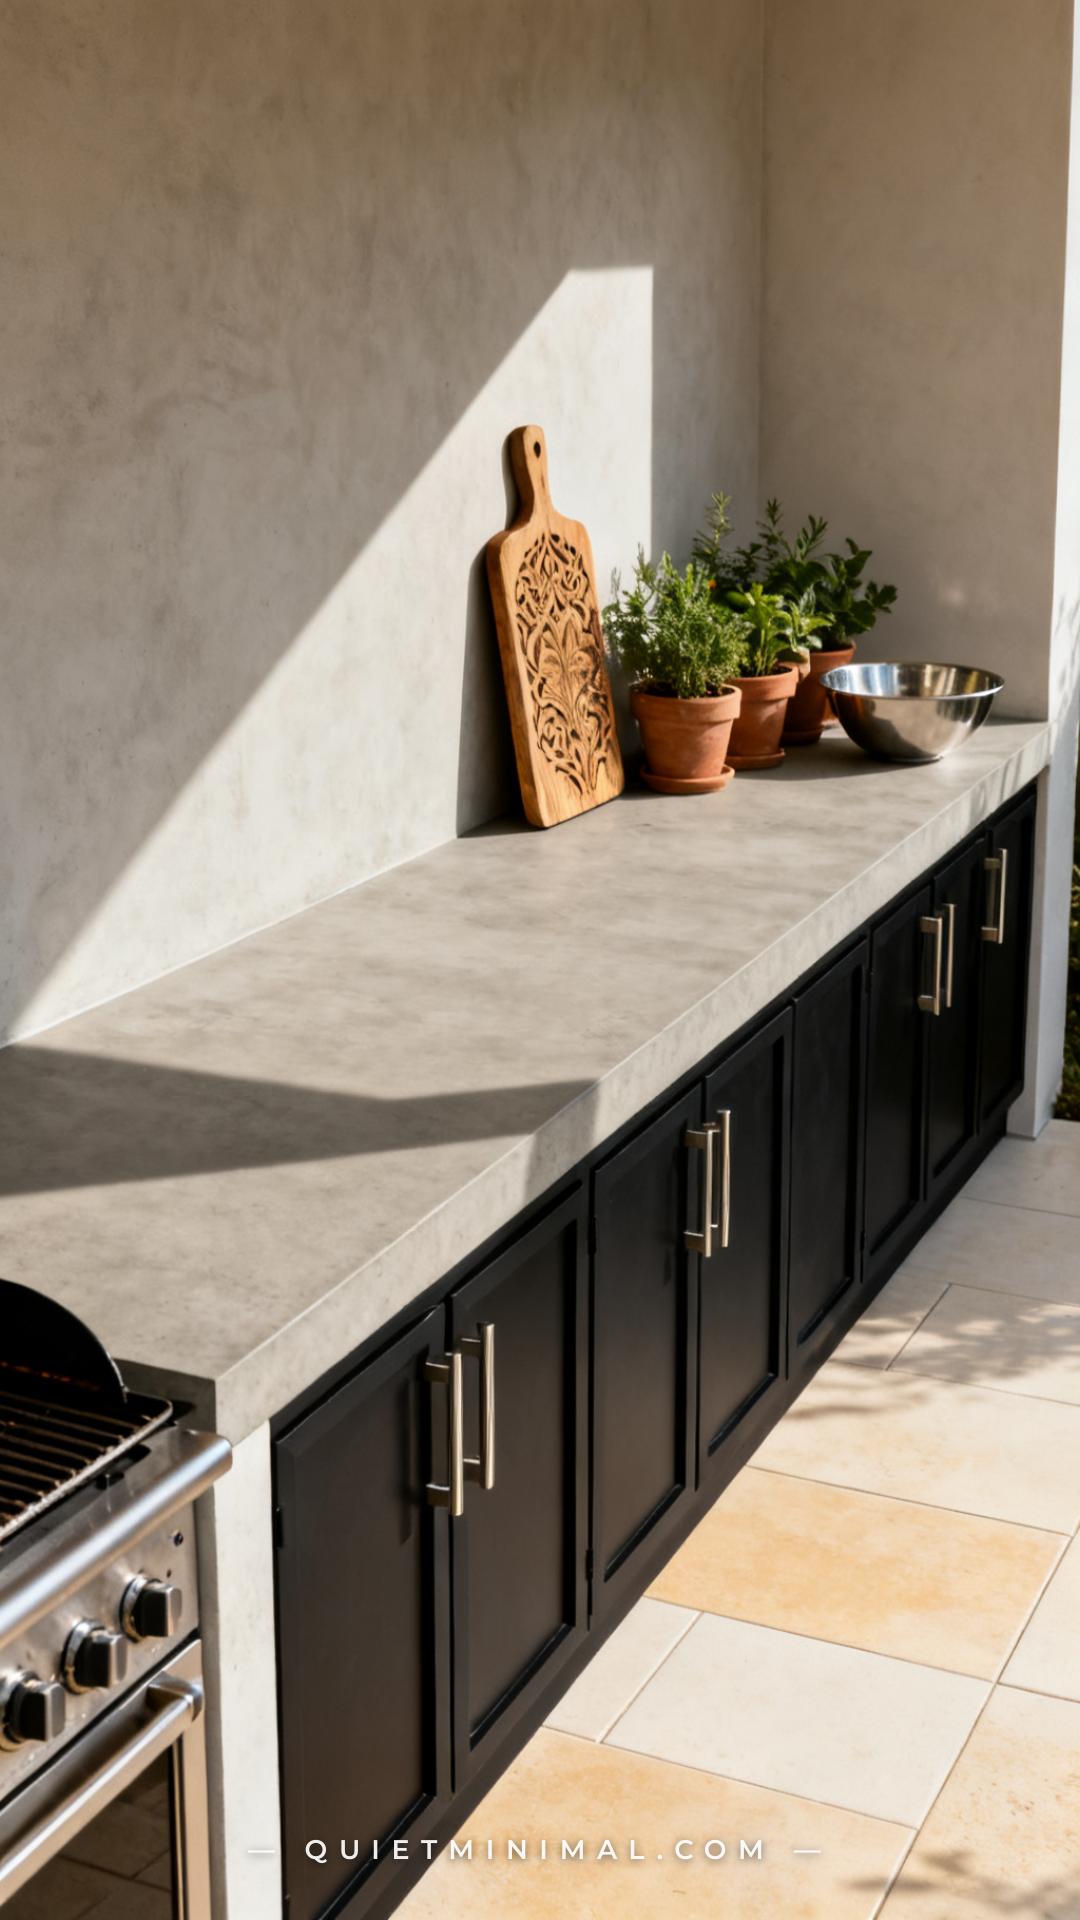
Granite and marble look beautiful in outdoor kitchen inspiration photos and perform poorly in real outdoor conditions. Natural stone is porous — it absorbs cooking grease, stains from citrus and wine, and requires resealing annually to resist freeze-thaw cycles in climates with cold winters. Most homeowners stop resealing by year two, and the stone begins to pit and stain by year three.
Concrete countertops (either poured-in-place or precast) offer excellent heat resistance, a matte aesthetic that photographs beautifully, and durability that improves with age rather than degrading. They do require sealing at installation and a light re-seal every two to three years, but the maintenance window is far more forgiving than natural stone.
Porcelain slab is the lowest-maintenance option: non-porous, UV-stable, freeze-thaw resistant, and increasingly available in large-format outdoor-rated slabs that look like concrete or stone. For island seating areas specifically, matte porcelain in a warm greige or light charcoal tone hides prep marks and wear better than polished finishes.
Key Takeaway: Concrete or outdoor-rated porcelain will outlast and outperform natural stone in an exposed outdoor kitchen — choose material based on actual outdoor performance specs, not indoor kitchen aesthetics.
5. Integrate a Side Burner for True Outdoor Cooking Independence
 Save
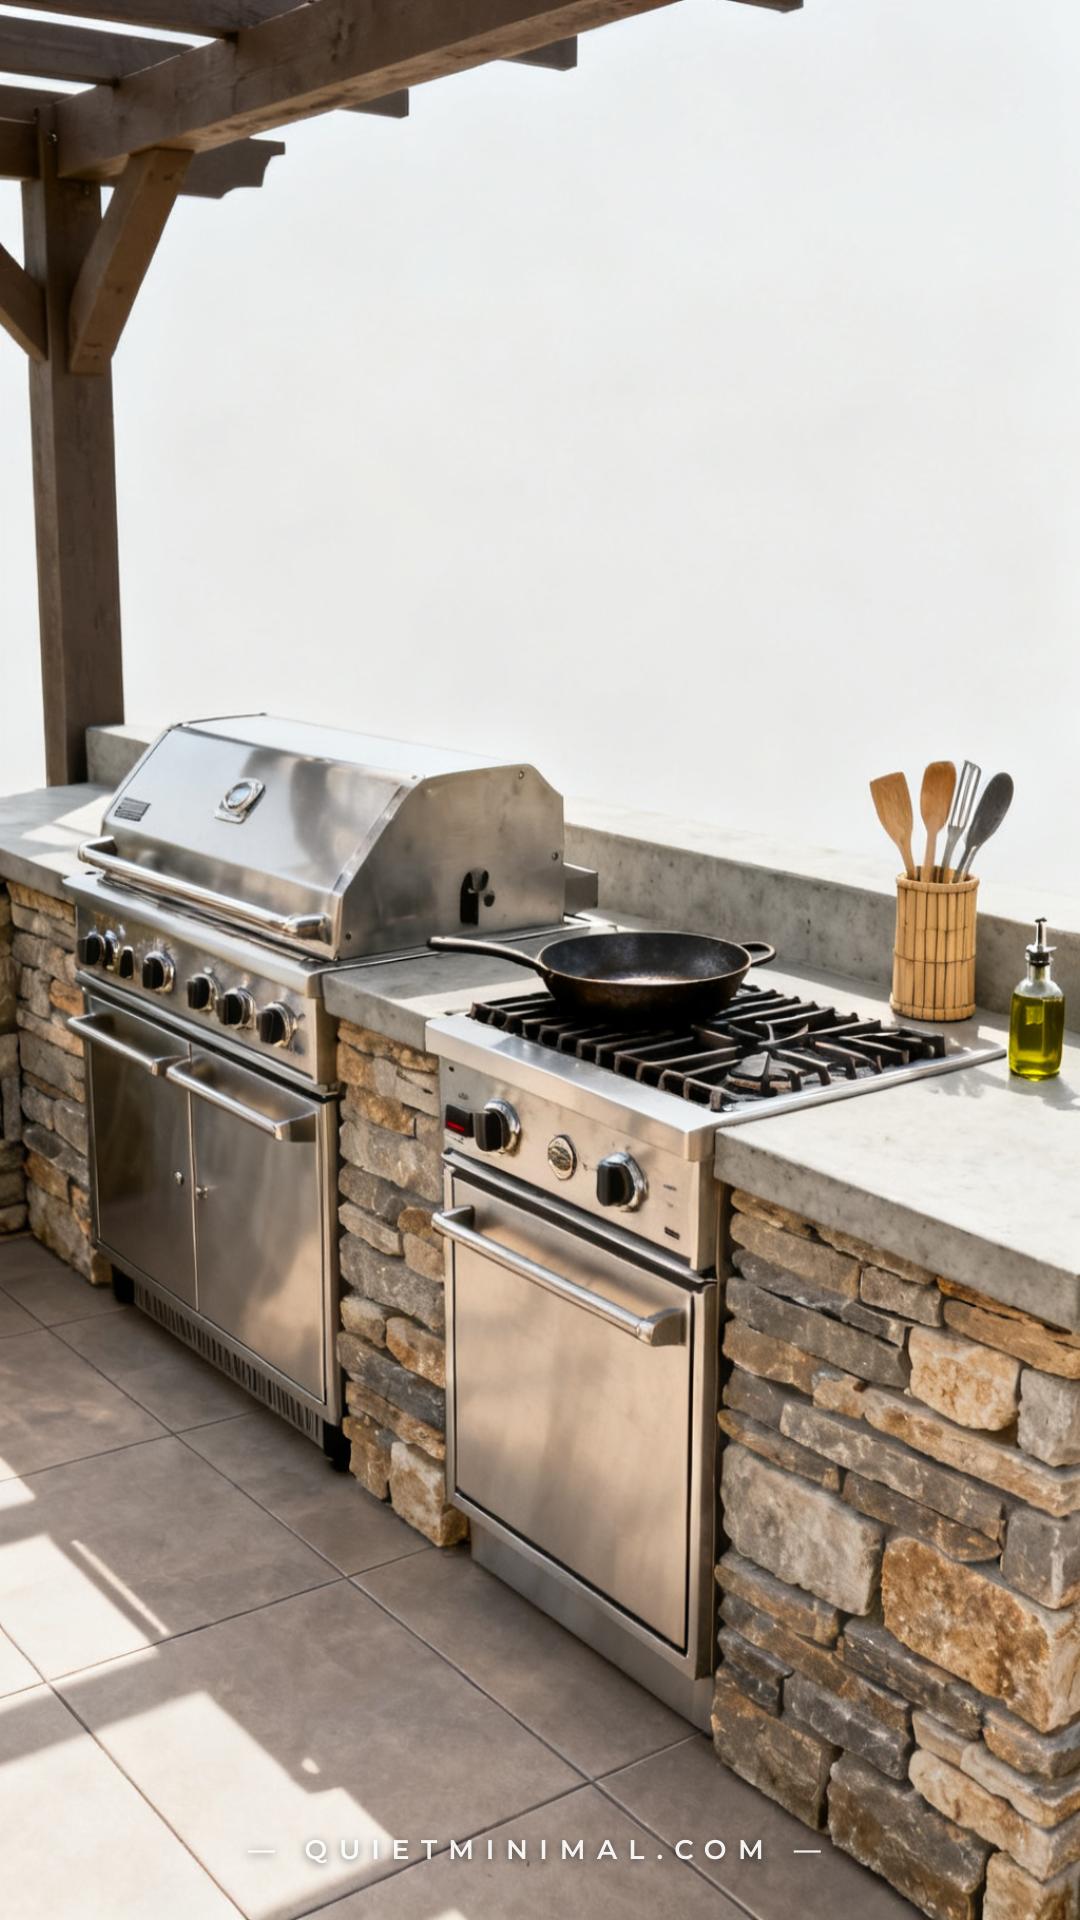
A grill-only outdoor kitchen sends you back inside every time you need a sauce, a side dish, or boiling water. A side burner — a two-burner or single-burner gas unit integrated flush into the island — eliminates that friction and is the difference between an outdoor cooking setup and an outdoor cooking experience.
Position the side burner at the end of the cooking run farthest from the seating zone. This keeps flame and steam away from guests and gives the cook logical workflow: prep in the center, grill on one end, simmer on the other. A built-in side burner with at least 30,000 BTU output handles large stockpots, cast iron, and wok cooking without the energy drop that cheaper units show under load.
Cover your side burner with an integrated stainless lid when not in use — this protects the grates and gives you additional prep surface. Most built-in side burner models include a hinged lid; if yours doesn’t, a custom-cut cutting board in a matching width works well.
Key Takeaway: A side burner integrated at the end of the cooking run completes the kitchen’s functionality — without it, you’re just grilling, not cooking outdoors.

6. Add an Outdoor Refrigerator Drawer Within Arm’s Reach of the Grill
 Save
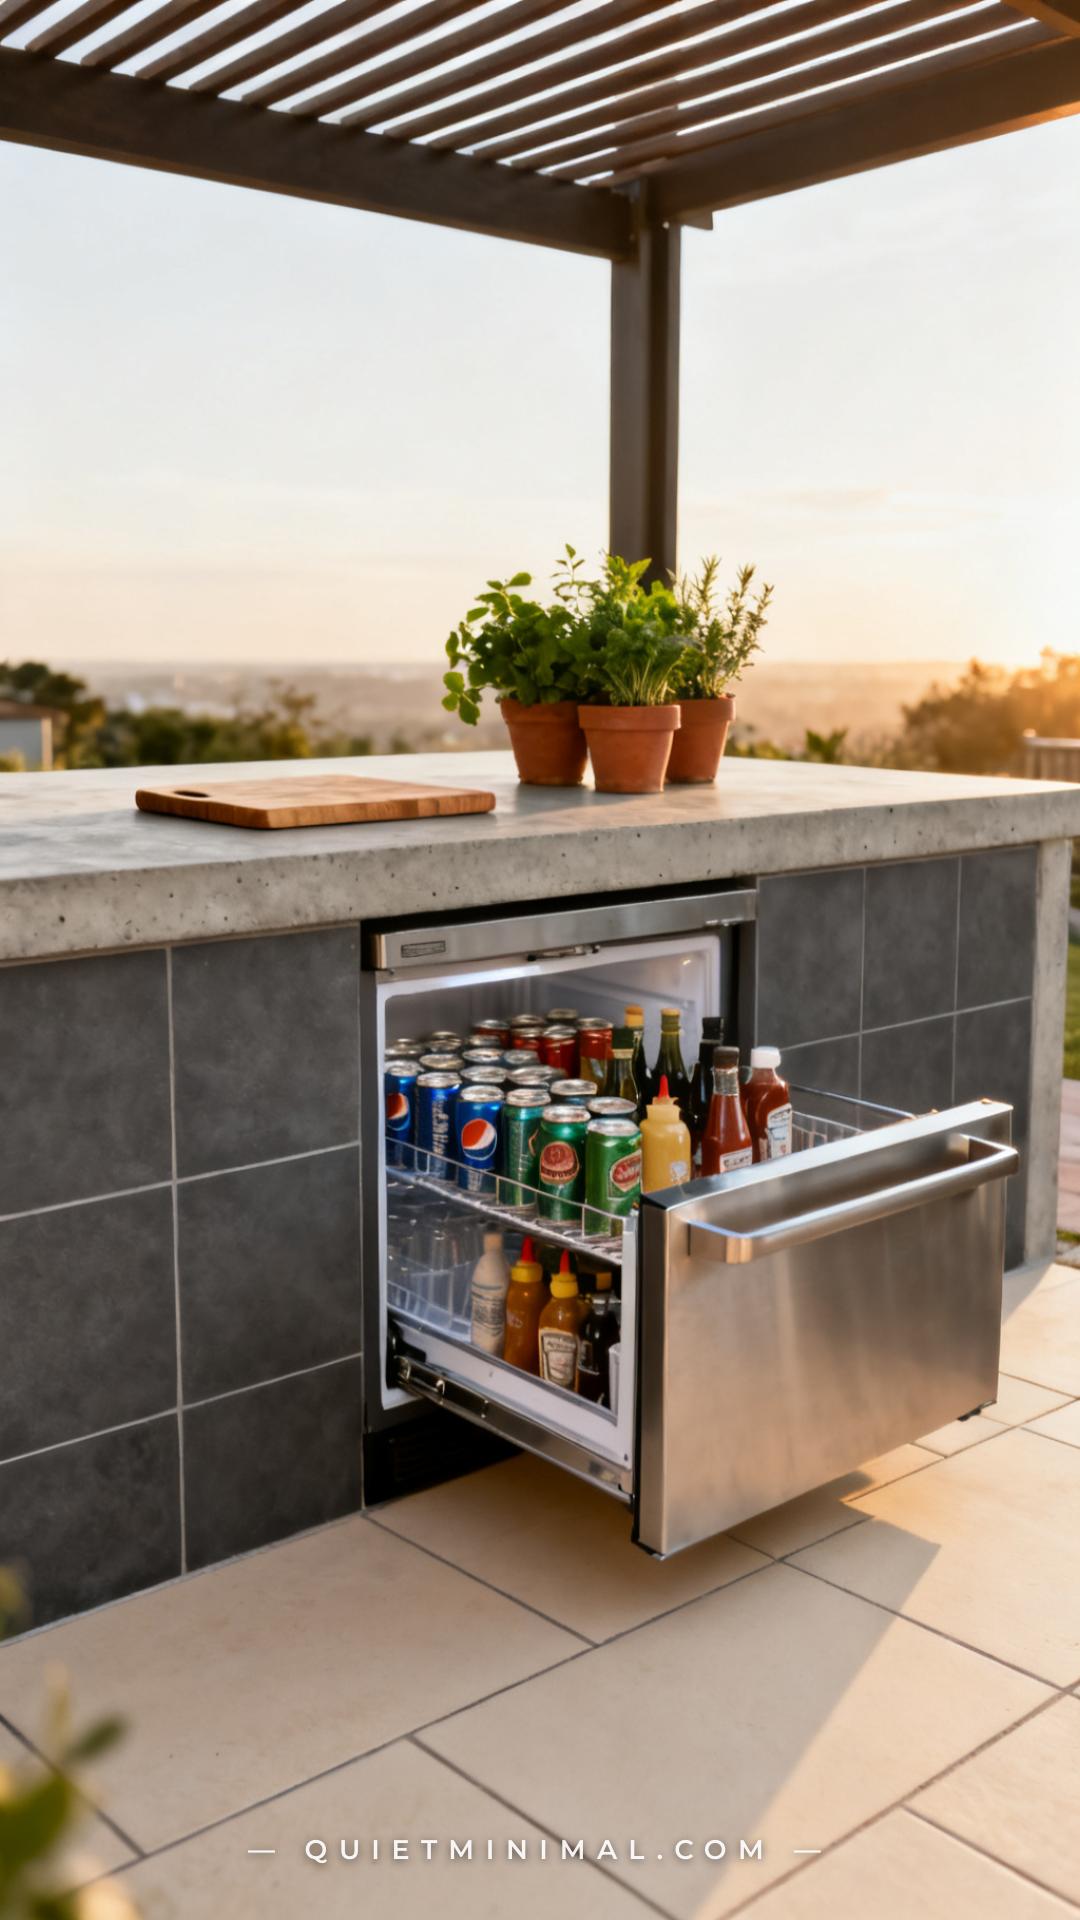
Outdoor refrigeration is the single upgrade that most homeowners wish they had added earlier and are most likely to skip during the planning phase to save cost. The problem surfaces the first summer: every time you need a marinated protein, fresh herbs, or a cold drink, someone has to walk back to the house. By the second round trip of a dinner party, it’s obvious.
An outdoor-rated refrigerator drawer (24-inch width is the most common footprint) installs flush into the island base directly below the prep counter, within two steps of the grill. It’s rated for outdoor temperature ranges — most units are certified for ambient temperatures between 20°F and 110°F, which covers nearly all North American climate zones. Standard indoor mini-fridges are not; they fail in cold winters because the ambient air temperature drops below the compressor’s operating range.
Pull-drawer style models are preferable to door-style for island applications because they don’t require swing clearance in front of the unit — critical when guests are seated on the opposite side of the island. Drawer units also allow you to see all contents from above at a glance.
Key Takeaway: An outdoor-rated undercounter refrigerator drawer installed at grill-side eliminates the single biggest friction point in outdoor cooking — and protects your appliance from thermal failure in winter.
From the guides
You've saved it, wanted it. Here's the how: codes, measurements, order. Your choices make it yours.
The Japandi Honest PlaybookThe honest version of the style: what to keep, what to skip, and the order to do it in.See inside →The Room Refresh PlaybookA repeatable four-step method, room by room, in ten minutes, thirty minutes, or one weekend.See inside →Make Any Room Feel Cozy on PurposeWhy some rooms hold people and others empty out, and the moves that change it.See inside →
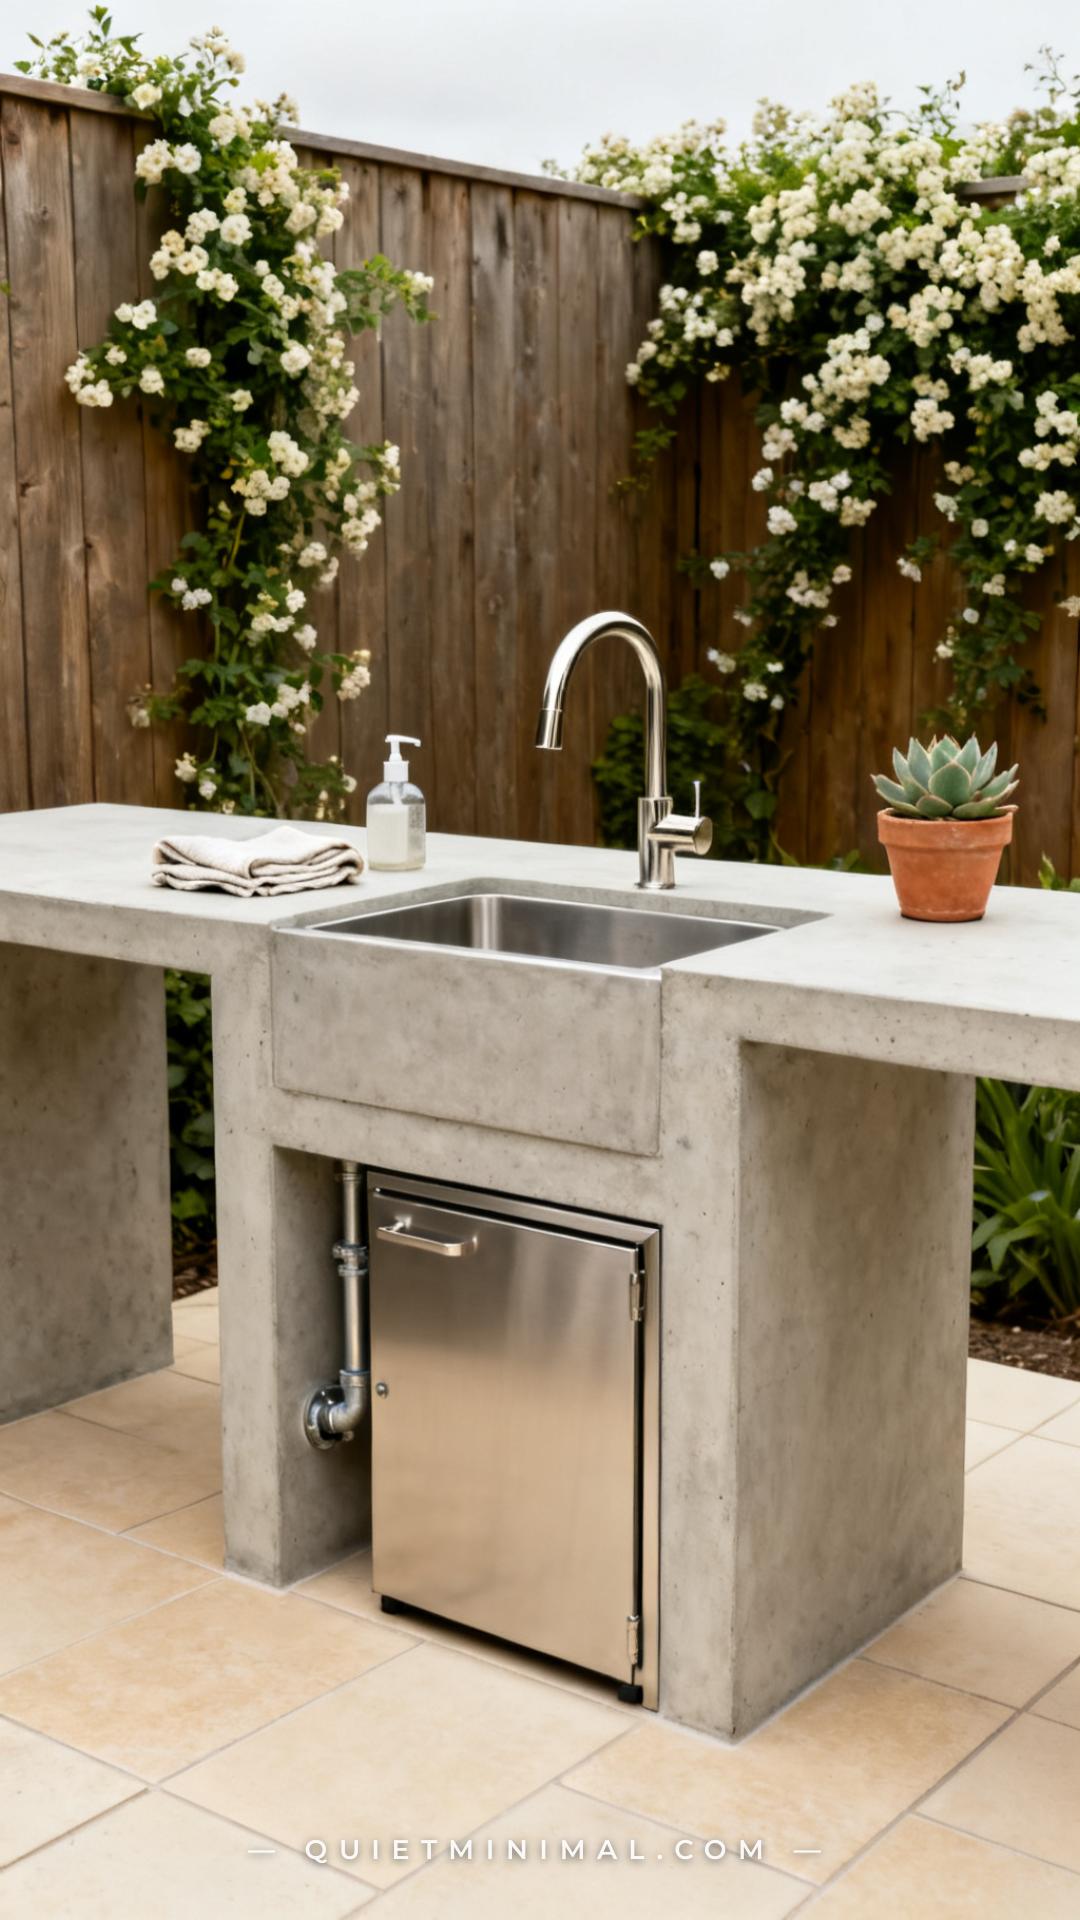
7. Incorporate a Sink With Hot and Cold for Real Cleanup Capability
 Save
An outdoor sink connected to hot and cold water lines is not a luxury — it’s what separates a kitchen from a prep station. Cold-water-only setups work for rinsing produce but can’t handle grease cleanup, which requires hot water and soap. Without it, every cook session ends with greasy trays and utensils being carried back inside.
For a covered cooking zone, running a dedicated water line from the house isn’t significantly more expensive than cold-only at the rough-in stage; the marginal cost is mostly the addition of a mixer faucet and the hot water line stub-out. Budget this into the original build rather than trying to retrofit it later — retrofitting means reopening the patio surface.
Choose a stainless drop-in sink (single basin, 16×18 inches is a practical outdoor size) with a deck-mounted gooseneck faucet in either brushed stainless or matte black. Both finishes hold up to UV exposure and outdoor humidity far better than chrome. Install a P-trap drain with freeze protection access if your climate drops below 32°F in winter.
Key Takeaway: Build in hot-and-cold water at the original rough-in stage — it costs a fraction of what a retrofit costs and makes the outdoor kitchen genuinely functional year-round.

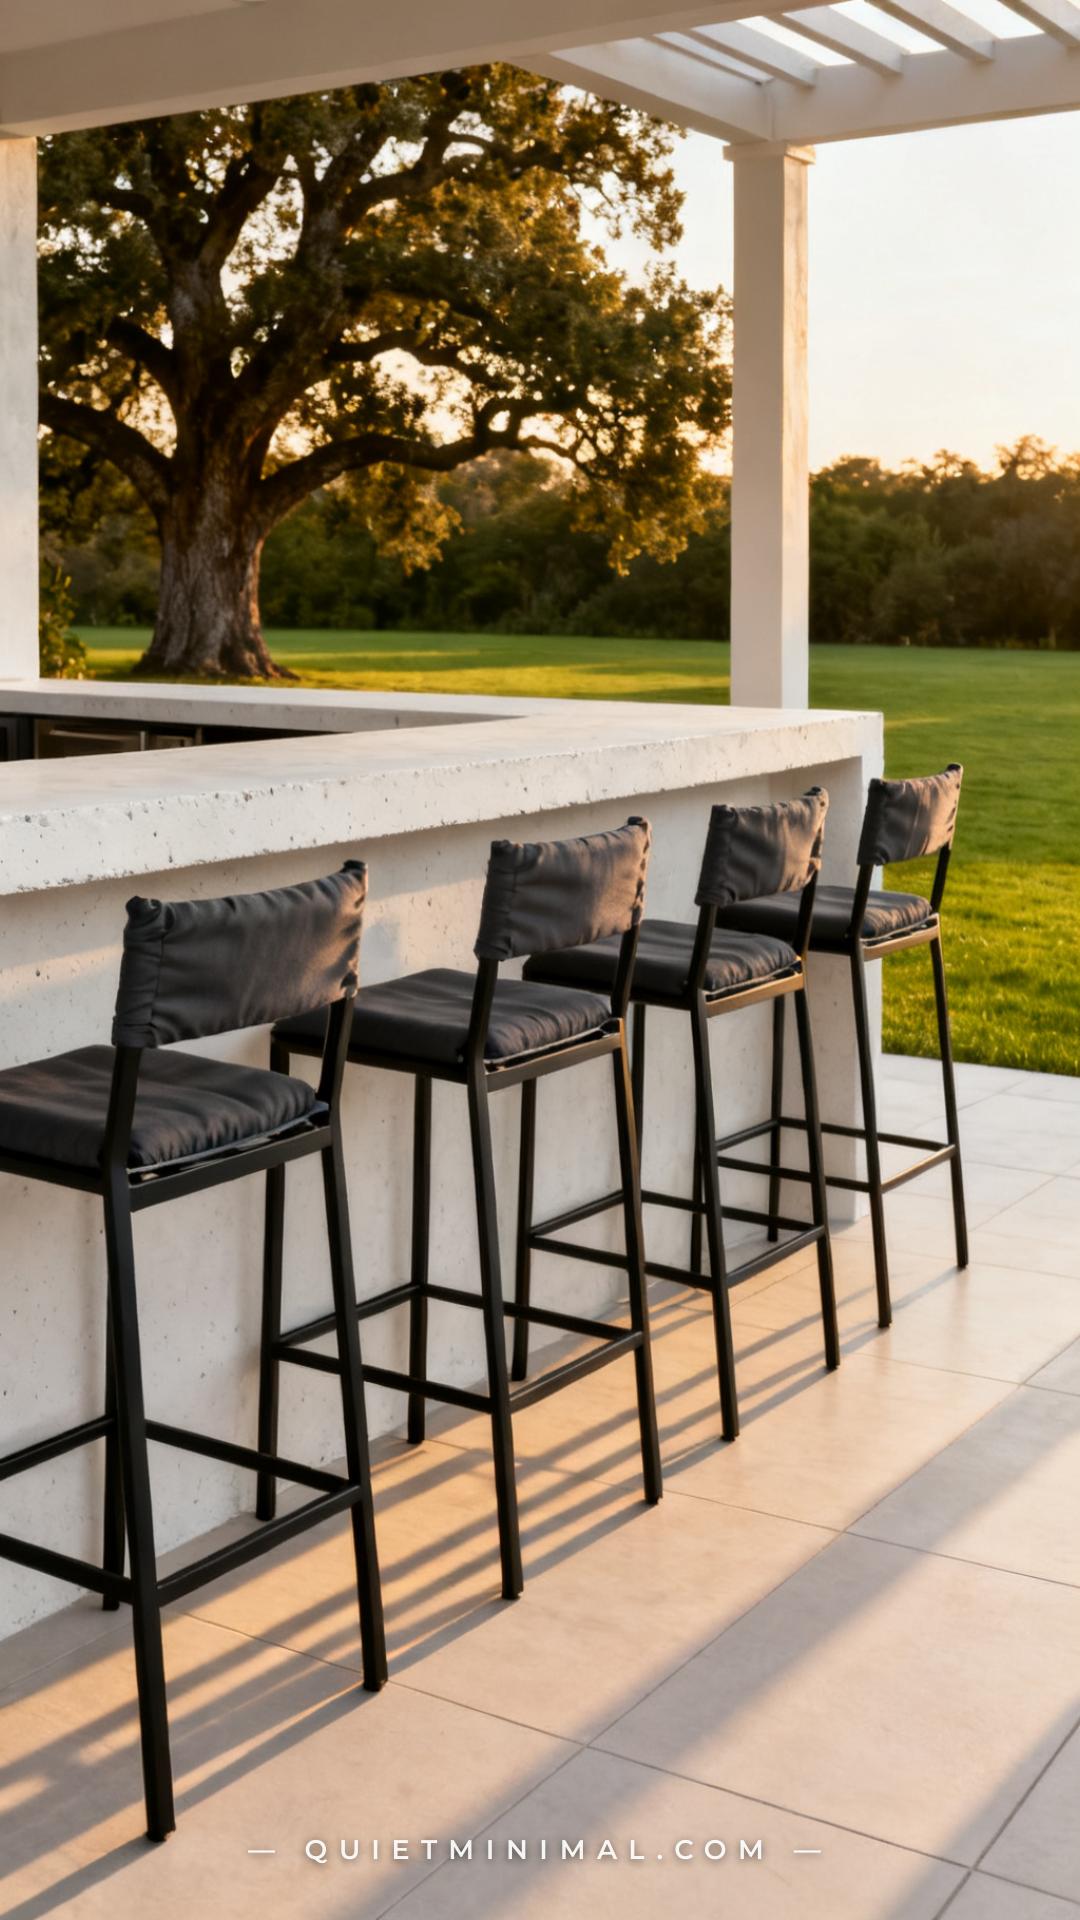
8. Select Barstools Rated for Full Outdoor Exposure — Not Transitional Use
 Save
“Outdoor” is a marketing category that covers a wide range of actual weather resistance. A stool labeled “outdoor” in a furniture catalog may be constructed for covered patio use only — light rain, minimal UV, no standing water. Placed in a fully exposed or semi-covered kitchen setting with cooking humidity, airborne grease, and direct sun exposure, these stools fade, rust, or delaminate within 18 months.
For island seating in an outdoor kitchen specifically, the criteria are tighter: powder-coated aluminum or high-density polyethylene (HDPE) frames (both are rust-proof), solution-dyed acrylic fabric cushions (Sunbrella or equivalent — dyed through the fiber so UV doesn’t bleach the surface), and drainage holes in the seat base to prevent water pooling.
HDPE material like POLYWOOD is virtually indestructible in outdoor conditions — it doesn’t splinter, rust, warp, or need seasonal sealing. Aluminum is slightly lighter and more varied in design options. Avoid resin wicker over a steel frame (the steel rusts even when the wicker looks fine), and avoid teak unless you commit to annual oiling.
Key Takeaway: For outdoor kitchen seating, specify powder-coated aluminum or HDPE frames with solution-dyed acrylic cushions — anything less performs poorly in the cooking zone’s specific humidity and UV conditions.

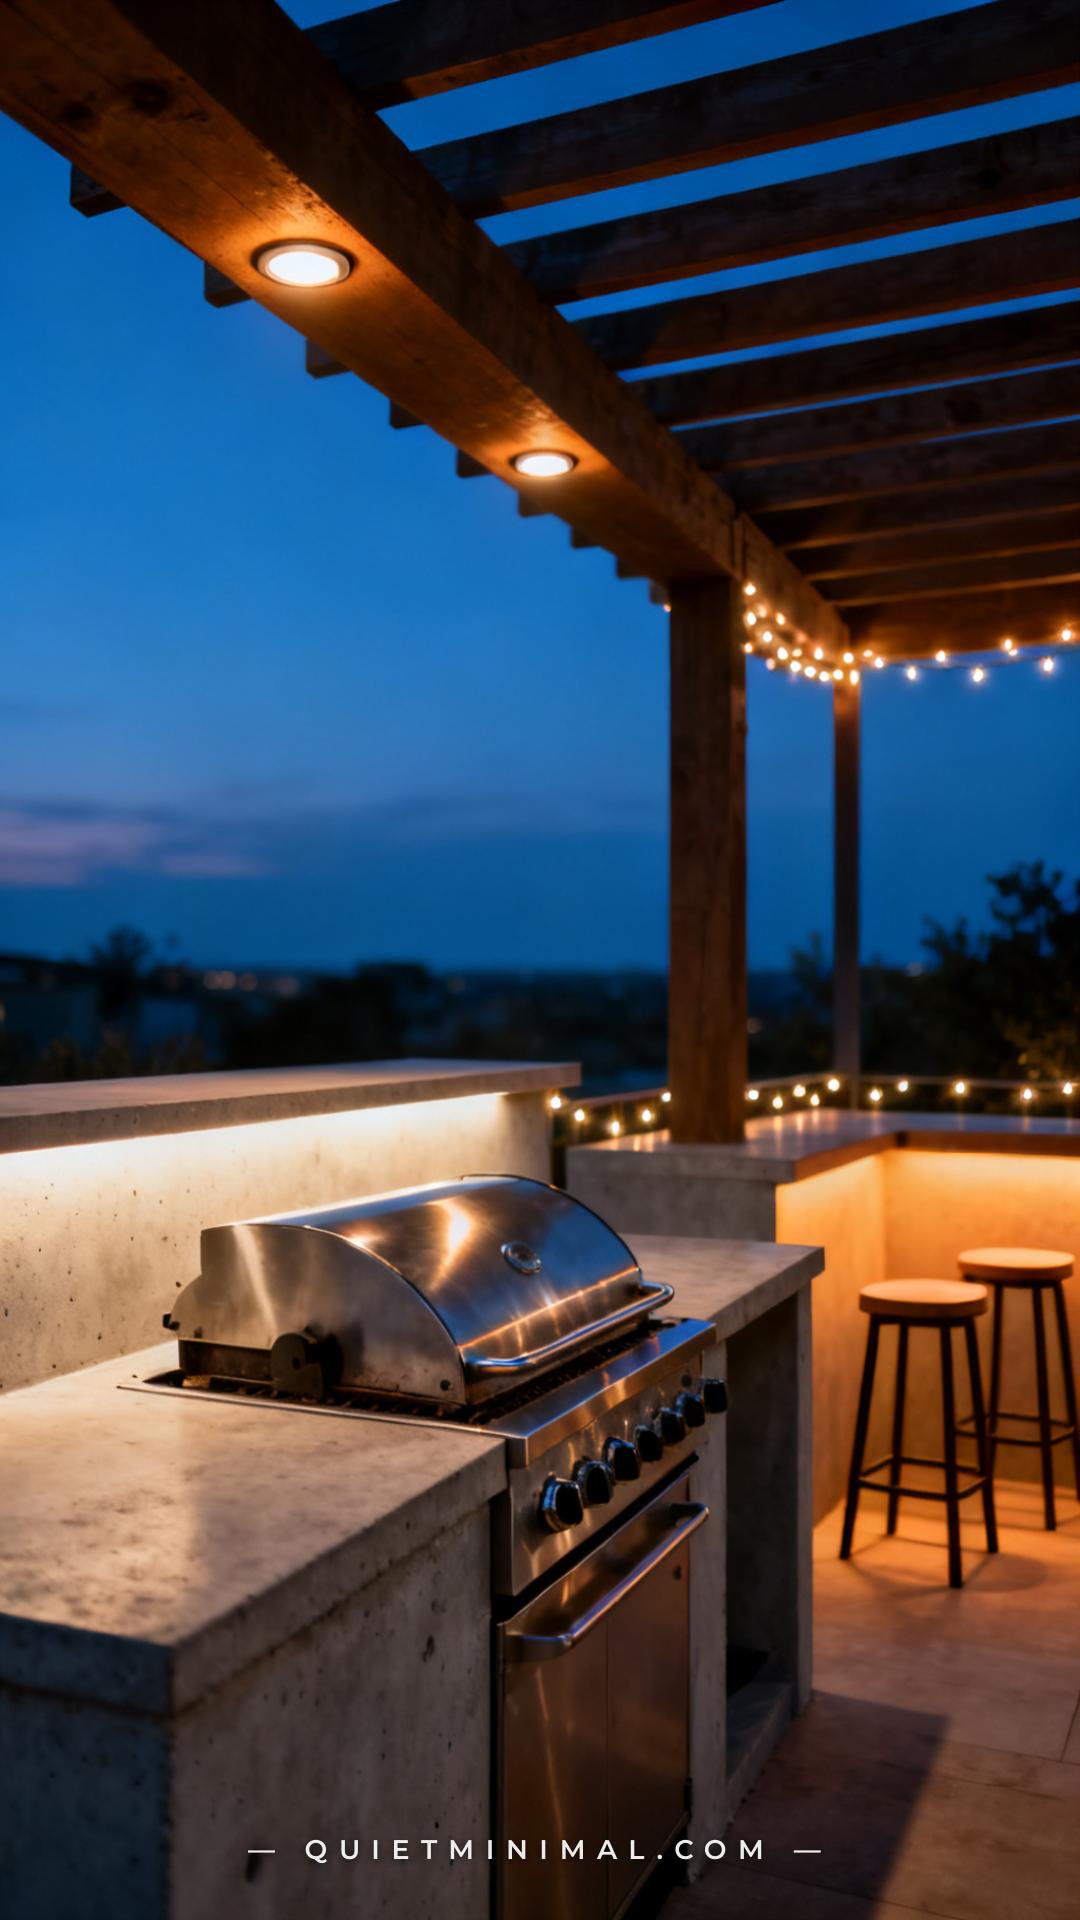
9. Light the Cooking Zone With Task Lighting, Not Just Ambiance
 Save
String lights across a pergola look beautiful in photos. They provide approximately zero useful light for reading a meat thermometer, checking doneness on a dark grill grate, or seeing whether a sauce is reducing or scorching. Outdoor kitchens designed with ambiance-only lighting become hazardous and frustrating to use after sunset — which, in summer, is prime outdoor cooking time.
The fix is a two-layer lighting system. Layer one: task lighting — recessed LED puck lights or integrated LED strip lights mounted on the underside of the pergola beam directly above the cooking and prep surface. These should deliver at least 500 lumens directly onto the counter. Wet-rated or damp-rated fixtures only (check the UL label — “dry location” fixtures are not outdoor safe). Layer two: ambient lighting — string lights, lanterns, or LED strip lighting along the pergola perimeter for atmosphere and seating zone mood.
Spec your task lights on a separate dimmer switch from your ambient lights. This lets you run full task brightness while cooking and then dim to ambiance when the cooking is done and the social phase begins.
Key Takeaway: Task lighting above the grill and prep surface is a safety and usability requirement — design your lighting in two separate layers with separate controls.

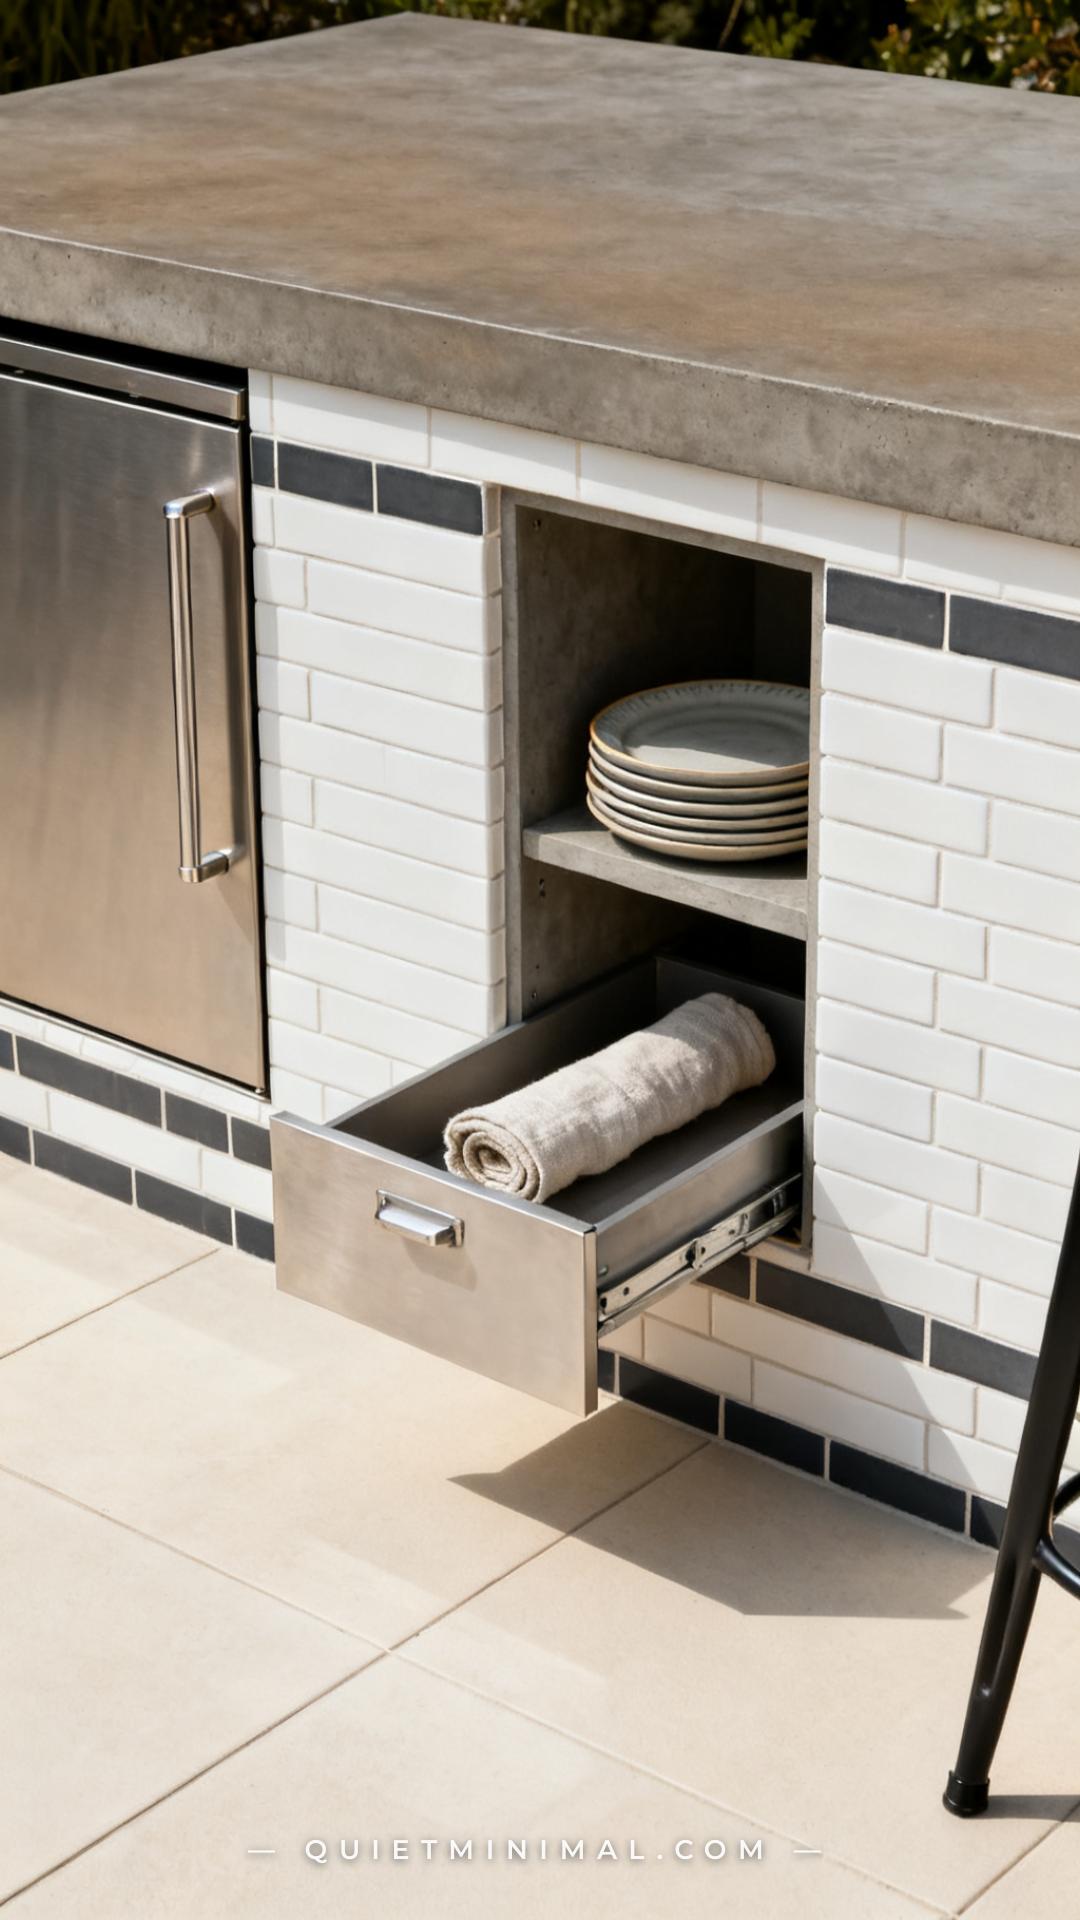
10. Design Storage Into the Island Base From the Start
 Save
Outdoor kitchens planned around appliances and countertops routinely run out of storage by the second season. Propane accessories, grill tools, extra charcoal bags, placemats, cleaning supplies, and spare cushions accumulate and end up in a deck box 20 feet away — which means nobody uses them. Base storage built into the island from the start solves this entirely.
Standard outdoor kitchen base cabinets use marine-grade polymer or stainless steel doors rather than wood (which warps and molds outdoors), mounted on stainless or marine-grade aluminum frames. Plan for: at least two full-height door cabinets for larger items (propane, cleaning supplies), two drawer banks for utensils and small accessories, and one open shelf section for everyday-reach items like grilling tools and tongs.
Size your storage runs to the actual island length. A 10-foot island has room for a grill, side burner, refrigerator drawer, sink, and still fit two door cabinets and one drawer bank in remaining base space. Sketch the layout in linear feet before ordering components to ensure no awkward filler gaps.
Key Takeaway: Design the base storage configuration before finalizing the island length — storage needs should determine the total footprint, not be squeezed into whatever space the appliances leave behind.

An outdoor kitchen patio with island seating and a covered cooking zone is one of the highest-ROI backyard investments available — but only when the layout decisions are made in the right order. Anchor shade over the grill first. Specify island height before selecting seating. Build storage and water lines into the original plan, not as afterthoughts. Those three priorities, more than any tile pattern or lighting choice, will determine whether your outdoor kitchen gets used twice a week or twice a summer. Start with the functional triangle — covered cooking zone, ergonomic seating, organized storage — and every aesthetic decision that follows will have a solid foundation to build on.
From the guides
You've saved it, wanted it. Here's the how: codes, measurements, order. Your choices make it yours.
The Japandi Honest PlaybookThe honest version of the style: what to keep, what to skip, and the order to do it in.See inside →The Room Refresh PlaybookA repeatable four-step method, room by room, in ten minutes, thirty minutes, or one weekend.See inside →Make Any Room Feel Cozy on PurposeWhy some rooms hold people and others empty out, and the moves that change it.See inside → Save


