 Georgia
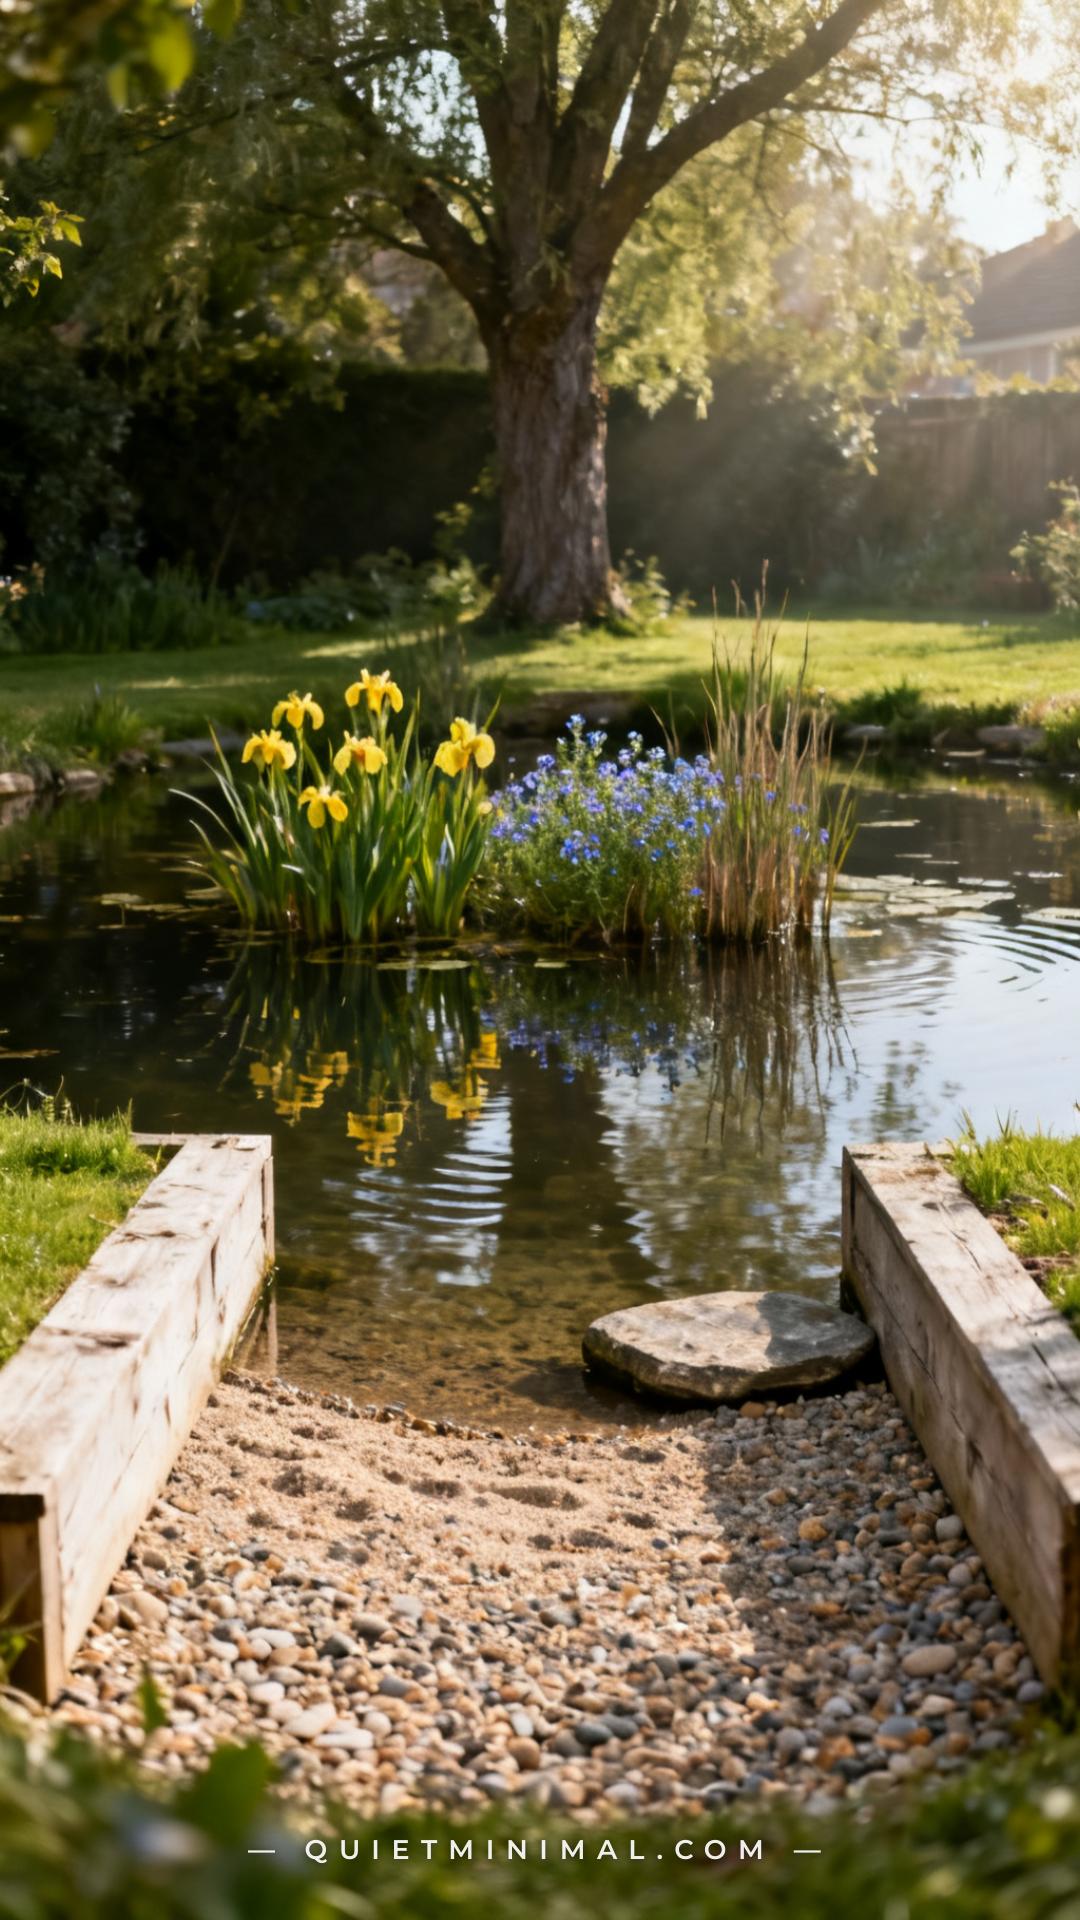
If you’ve ever added a pond and then watched nothing move in for months, you’re not alone — and it almost certainly wasn’t bad luck. Wildlife ponds fail for structural reasons: the wrong shelf depth, no exit route for small mammals, no cover planting at the edge. The good news is that the fixes are specific, affordable, and genuinely satisfying to implement. A well-designed wildlife pond doesn’t just attract frogs and dragonflies. It becomes the anchor of your entire outdoor space — something Maya-coded in every way: purposeful, beautiful, and worth every save on Pinterest.
These 15 pond design ideas cut through the vague advice and focus on what actually determines whether your yard pond becomes a living ecosystem or an expensive garden ornament.
1. Start With a Graduated Shelf (The One Detail That Changes Everything)
 Save
A graduated shelf system — typically a shallow 20–25cm marginal zone, a mid-depth ledge around 40cm, and a deeper central area of 60–90cm — is the single most important structural feature in any wildlife pond. The shallow shelf lets marginal plants root in baskets, gives tadpoles a warm, oxygenated nursery zone, and allows birds to wade and bathe. The deeper central zone stays frost-free in winter, giving frogs and newts somewhere to overwinter safely. Most budget pond guides skip this entirely and describe a single-depth hole. That’s why so much wildlife never shows up.
From the guides
You've saved it, wanted it. Here's the how: codes, measurements, order. Your choices make it yours.
 The Japandi Honest PlaybookThe honest version of the style: what to keep, what to skip, and the order to do it in.See inside →
 The Room Refresh PlaybookA repeatable four-step method, room by room, in ten minutes, thirty minutes, or one weekend.See inside →
 Make Any Room Feel Cozy on PurposeWhy some rooms hold people and others empty out, and the moves that change it.See inside →
When digging, step down gradually rather than cutting vertical walls. Angled sides also prevent liner stress and make it far easier for any small mammal that falls in to climb back out. Think of it less like a bowl and more like a layered landscape beneath the water.
Key Takeaway: A three-tier shelf system — shallow, mid, deep — is the structural foundation every wildlife pond needs before you consider any planting or edging.

2. Choose a Butyl Rubber Liner Over Preformed Shells
 Save
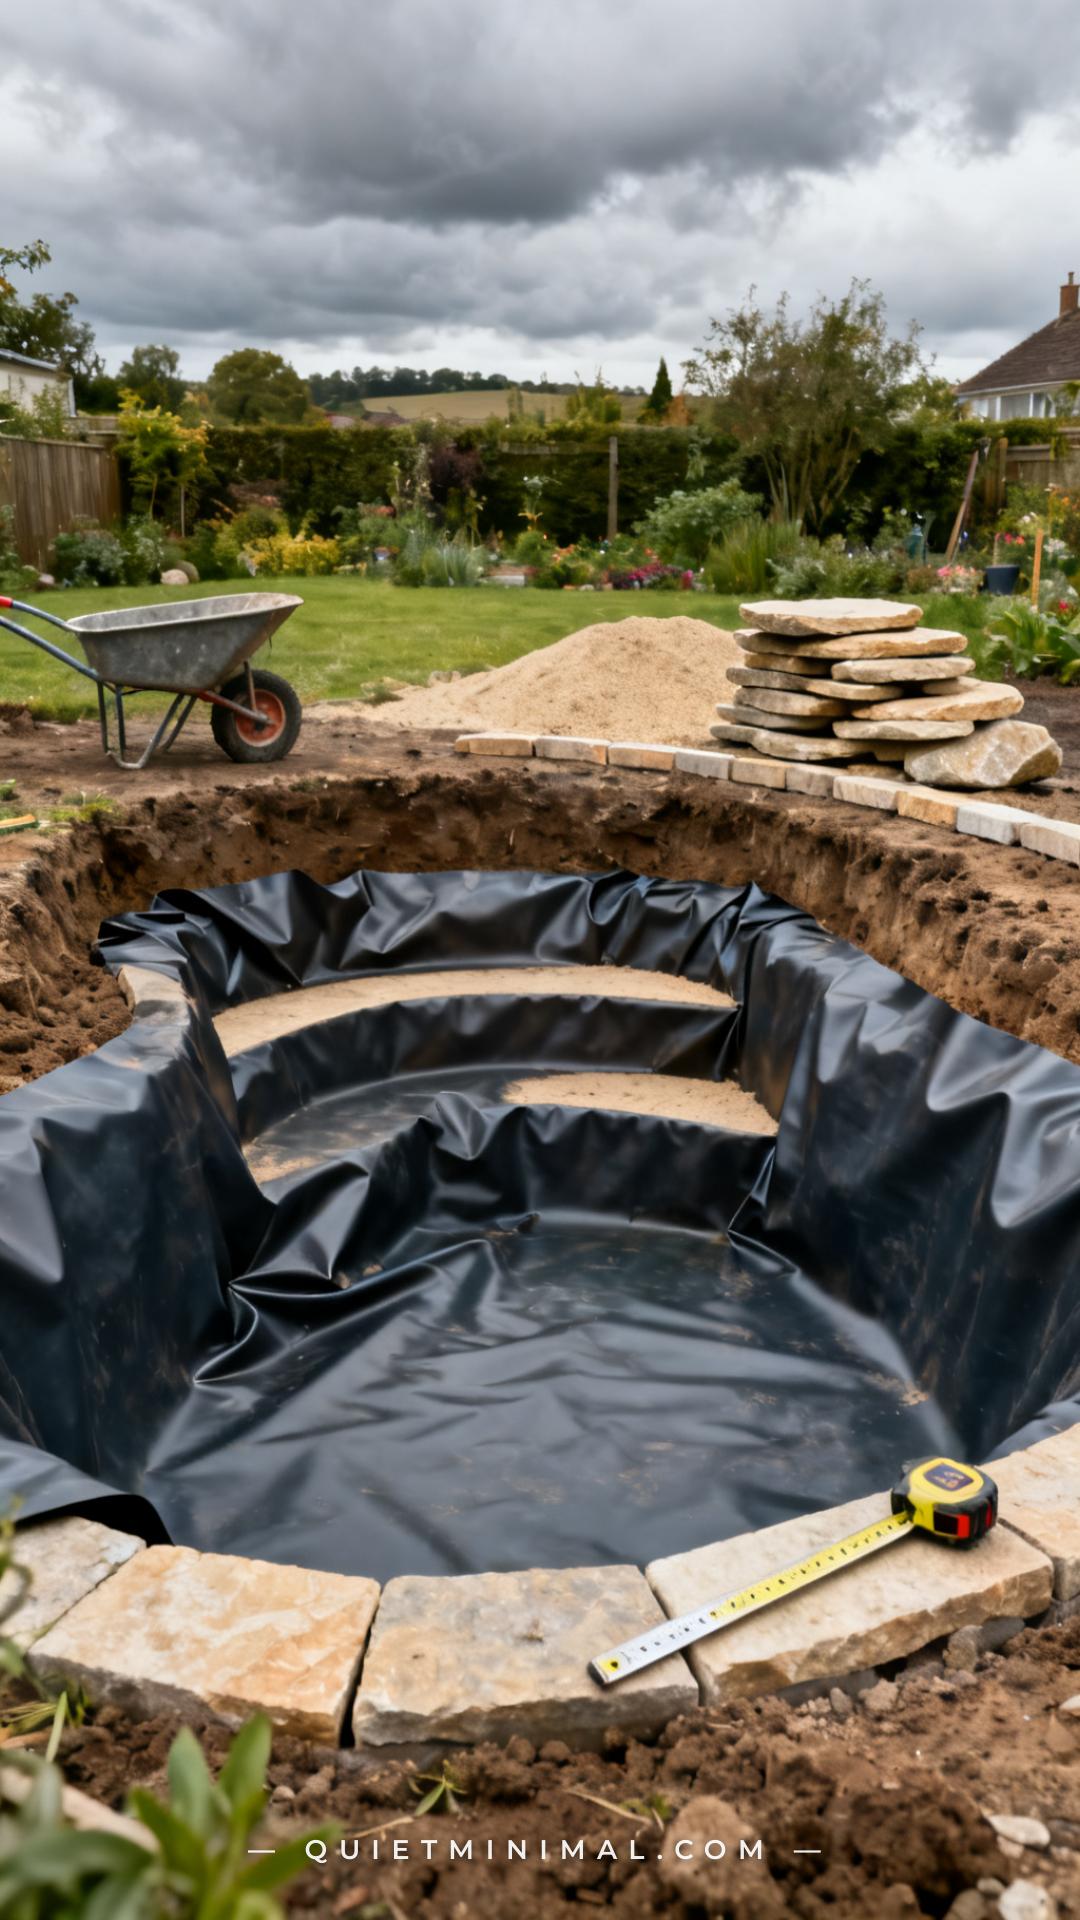
Butyl rubber pond liner is flexible, UV-resistant, and will conform to any shape you dig — including those all-important graduated shelves. Preformed rigid shells look convenient but they force you into a fixed shape with limited shelf options, often no true shallow zone, and a rim that sits awkwardly at ground level. They’re also notoriously difficult to level correctly, and the gap between shell and soil edge creates a frost-vulnerable air pocket.
A quality butyl liner, sized correctly (add twice the maximum depth to both the length and width measurement, plus a 50cm overlap all round), will outlast a rigid shell by decades. EPDM liner is a reliable alternative for larger ponds — it’s used in commercial water features for its durability. Lay a 5cm layer of sand or purpose-made underlayment fabric beneath the liner to prevent sharp stones puncturing it from below.
Key Takeaway: Butyl rubber liner gives you full creative control over pond shape and shelf depth — and it’s the more durable long-term choice over any preformed shell.

3. Build a Wildlife Ramp at Every Entry Point
 Save
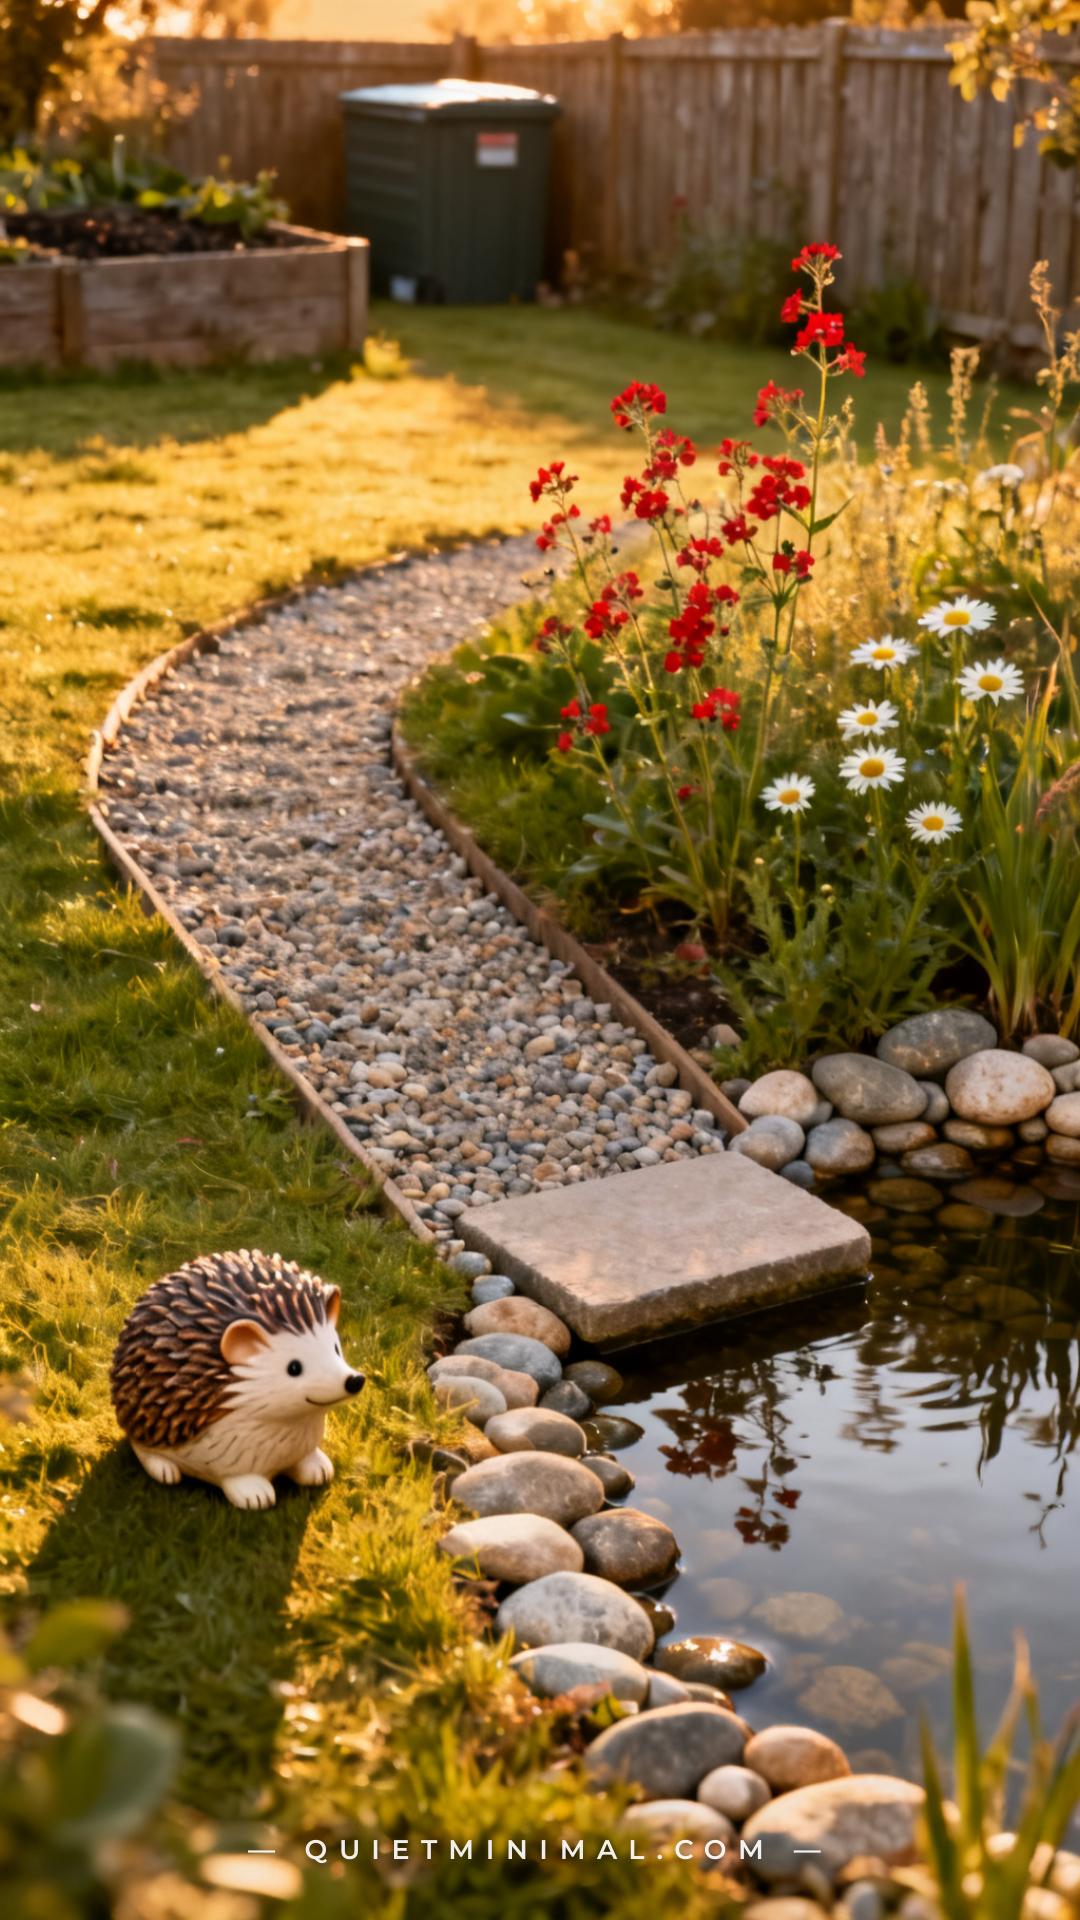
A wildlife ramp is the most underappreciated feature in pond design, and its absence is the single biggest reason small mammals drown in garden ponds. Hedgehogs, mice, and frogs all explore pond edges and regularly fall in. If the sides are vertical or steeply lined, they cannot get out. It takes only a few hours of struggling to exhaust and drown a hedgehog in a pond with no exit.
A ramp doesn’t need to be elaborate. A gentle slope of gravel, cobbles, or stacked flat stones from the pond base up to the lawn level works perfectly. Aim for a gradient no steeper than 45 degrees, and extend the ramp at least 30cm below the waterline so animals can get purchase even from deeper water. Some gardeners add a length of chicken wire or a knotted rope as a secondary exit — both are effective and cheap to retrofit.
Key Takeaway: Every wildlife pond needs at least one gradual exit ramp — without it, small mammals that fall in cannot escape.

4. Use Native Marginal Plants, Not Ornamental Varieties
 Save
Native marginal plants — yellow flag iris, water forget-me-not, marsh marigold, purple loosestrife, water mint — do something ornamental pond plants cannot: they provide the right kind of structure for native insects to breed, lay eggs, and shelter. Dragonflies prefer native emergent stems to climb up and shed their larval cases. Pond skaters need specific surface conditions that native plants help create. Frogs and toads use dense marginal planting as cover when leaving the water.
Ornamental varieties like water hyacinth and some cultivated water lilies may look striking, but many are invasive, spread aggressively in warmer months, and provide almost no ecological value to native species. When planting marginals, use aquatic planting baskets filled with specialist aquatic compost (not general-purpose compost, which leaches fertilizers that cause algae blooms). Position the heaviest planting on the north or east side of the pond so it doesn’t shade the warmer south-facing open water that insects prefer.
Key Takeaway: Native marginal plants are non-negotiable for a functional wildlife pond — they’re the structural habitat, not just decoration.

5. Add a Submerged Oxygenating Plant Layer
 Save
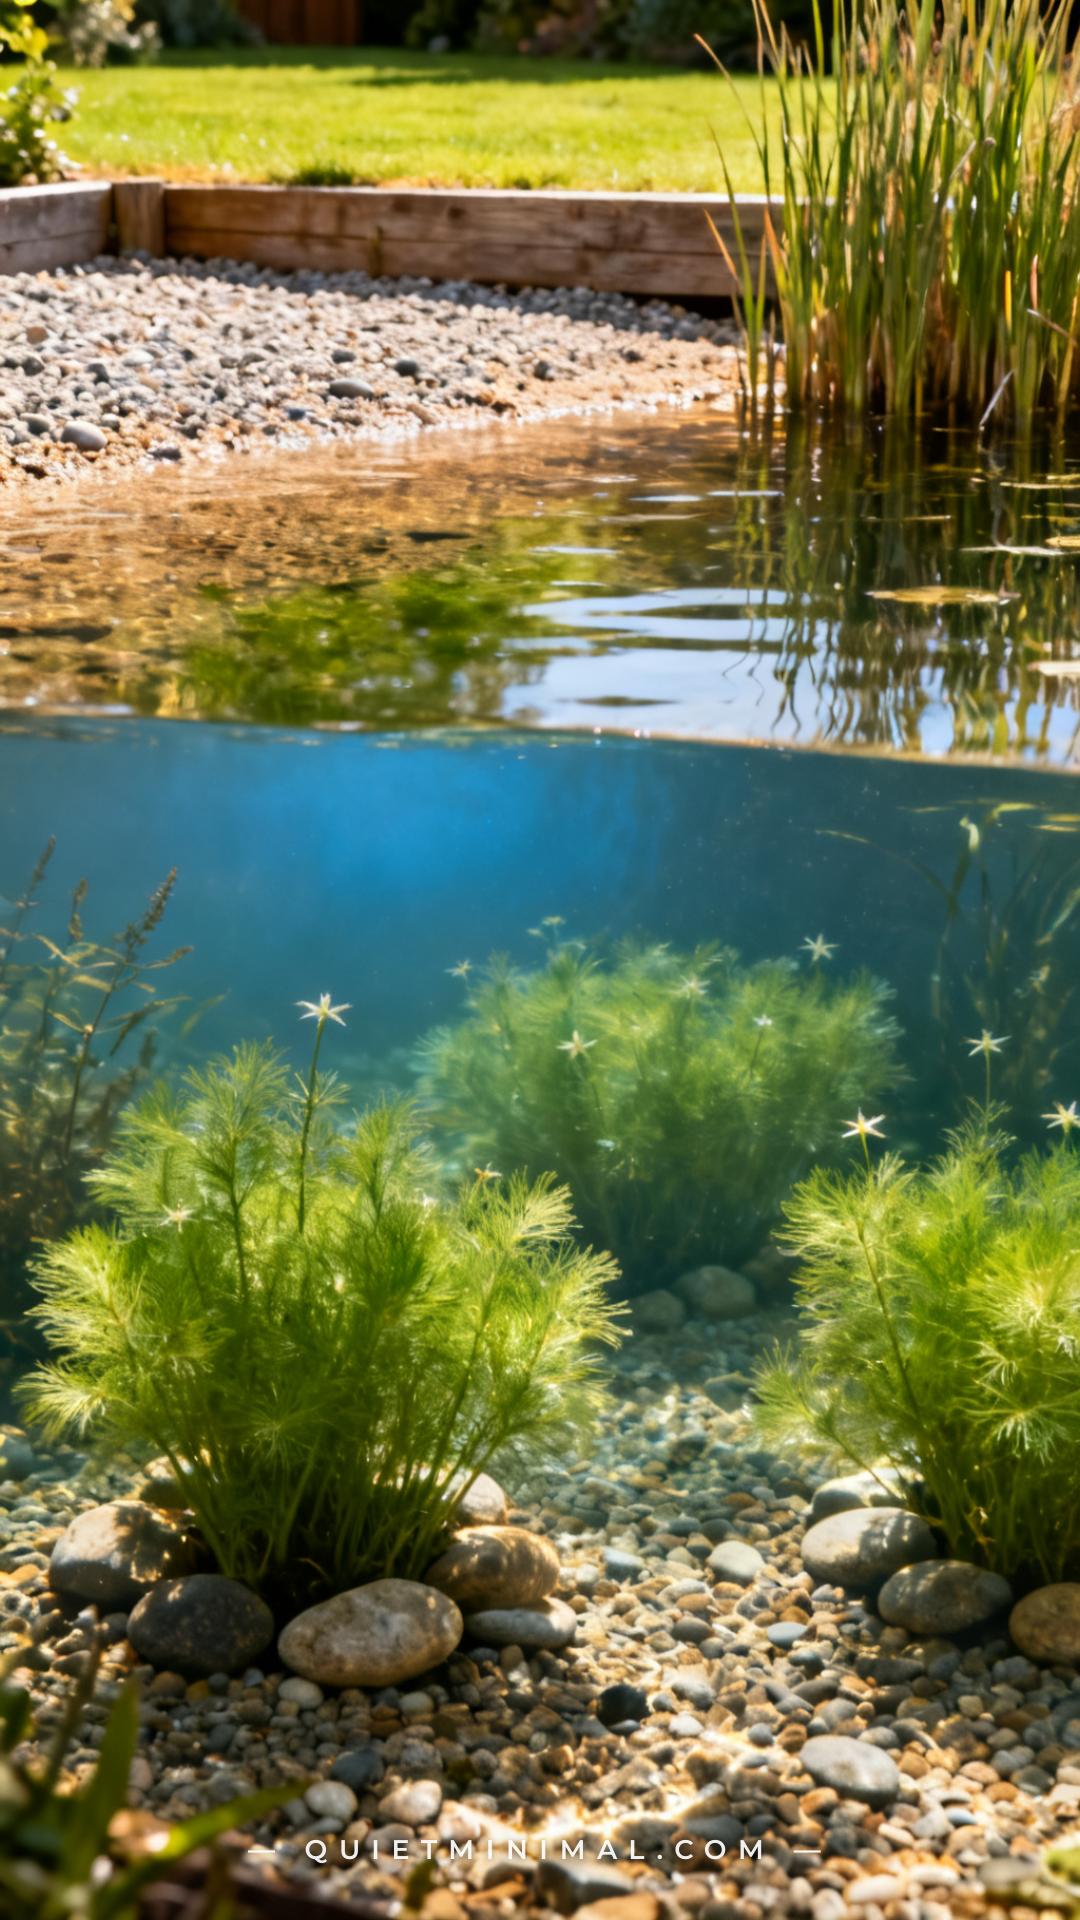
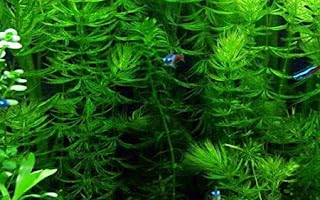
Oxygenating plants — hornwort, water starwort, spiked water milfoil — are the invisible engine of a healthy wildlife pond. They grow fully submerged, photosynthesizing during daylight to pump oxygen directly into the water column. This keeps the water clear, suppresses algae by out-competing it for nutrients, and creates a microhabitat for water snails, invertebrates, and frog spawn. Without oxygenators, a still pond quickly turns green and stagnant.
Plant oxygenators in weighted mesh bags or small aquatic baskets and place them directly on the pond floor in the deeper zone. They don’t need soil — they absorb nutrients directly from the water. A rough guide is one bunch of oxygenating plant per 30cm² of pond surface. In the first season, they may look sparse; by year two, a healthy mat will have established and you’ll notice the water clarity improving significantly.
Key Takeaway: Submerged oxygenating plants are the biological filter system of a wildlife pond — add them before anything else goes in the water.
6. Position the Pond in Partial Shade, Not Full Sun
 Save
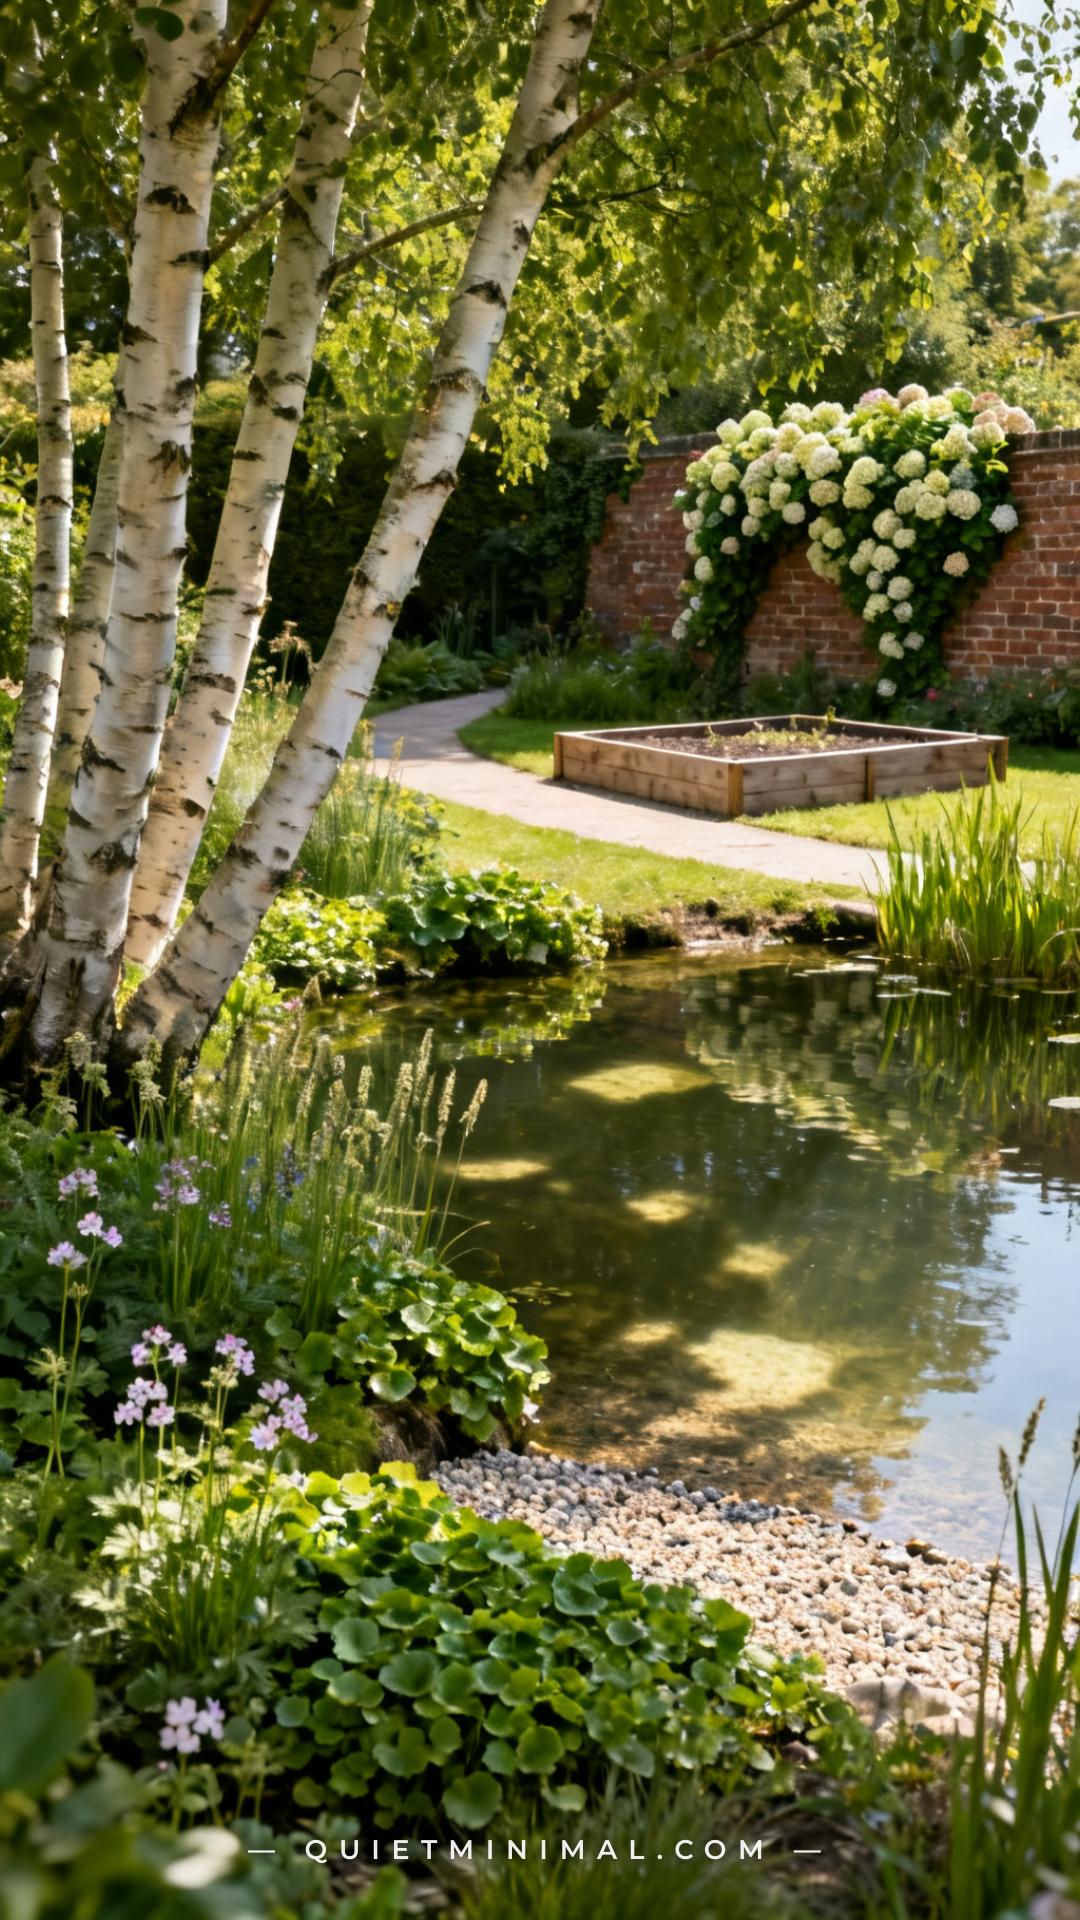
Pond placement is a decision most guides treat as an afterthought. Full sun all day causes rapid algae growth, raises the water temperature beyond what many invertebrates and amphibians can tolerate, and increases evaporation in summer. Full shade — beneath dense tree canopy — drops water temperature too much, prevents native plants from flowering, and fills the pond with decaying leaf matter in autumn.
Partial shade is ideal: roughly four to six hours of direct sunlight per day, with shade during the hottest part of the afternoon. A position that receives morning sun and afternoon dappled shade is close to perfect. Avoid placing the pond directly beneath deciduous trees — not because of shade, but because autumn leaf fall creates an anaerobic decomposition problem on the pond floor that depletes oxygen. A 1.5–2 metre clearance from the drip line of the nearest tree is a practical minimum.
Key Takeaway: Aim for four to six hours of sunlight and afternoon shade — this single placement decision determines water quality for the life of the pond.
7. Create a Gravel Beach Entry on at Least One Side
 Save
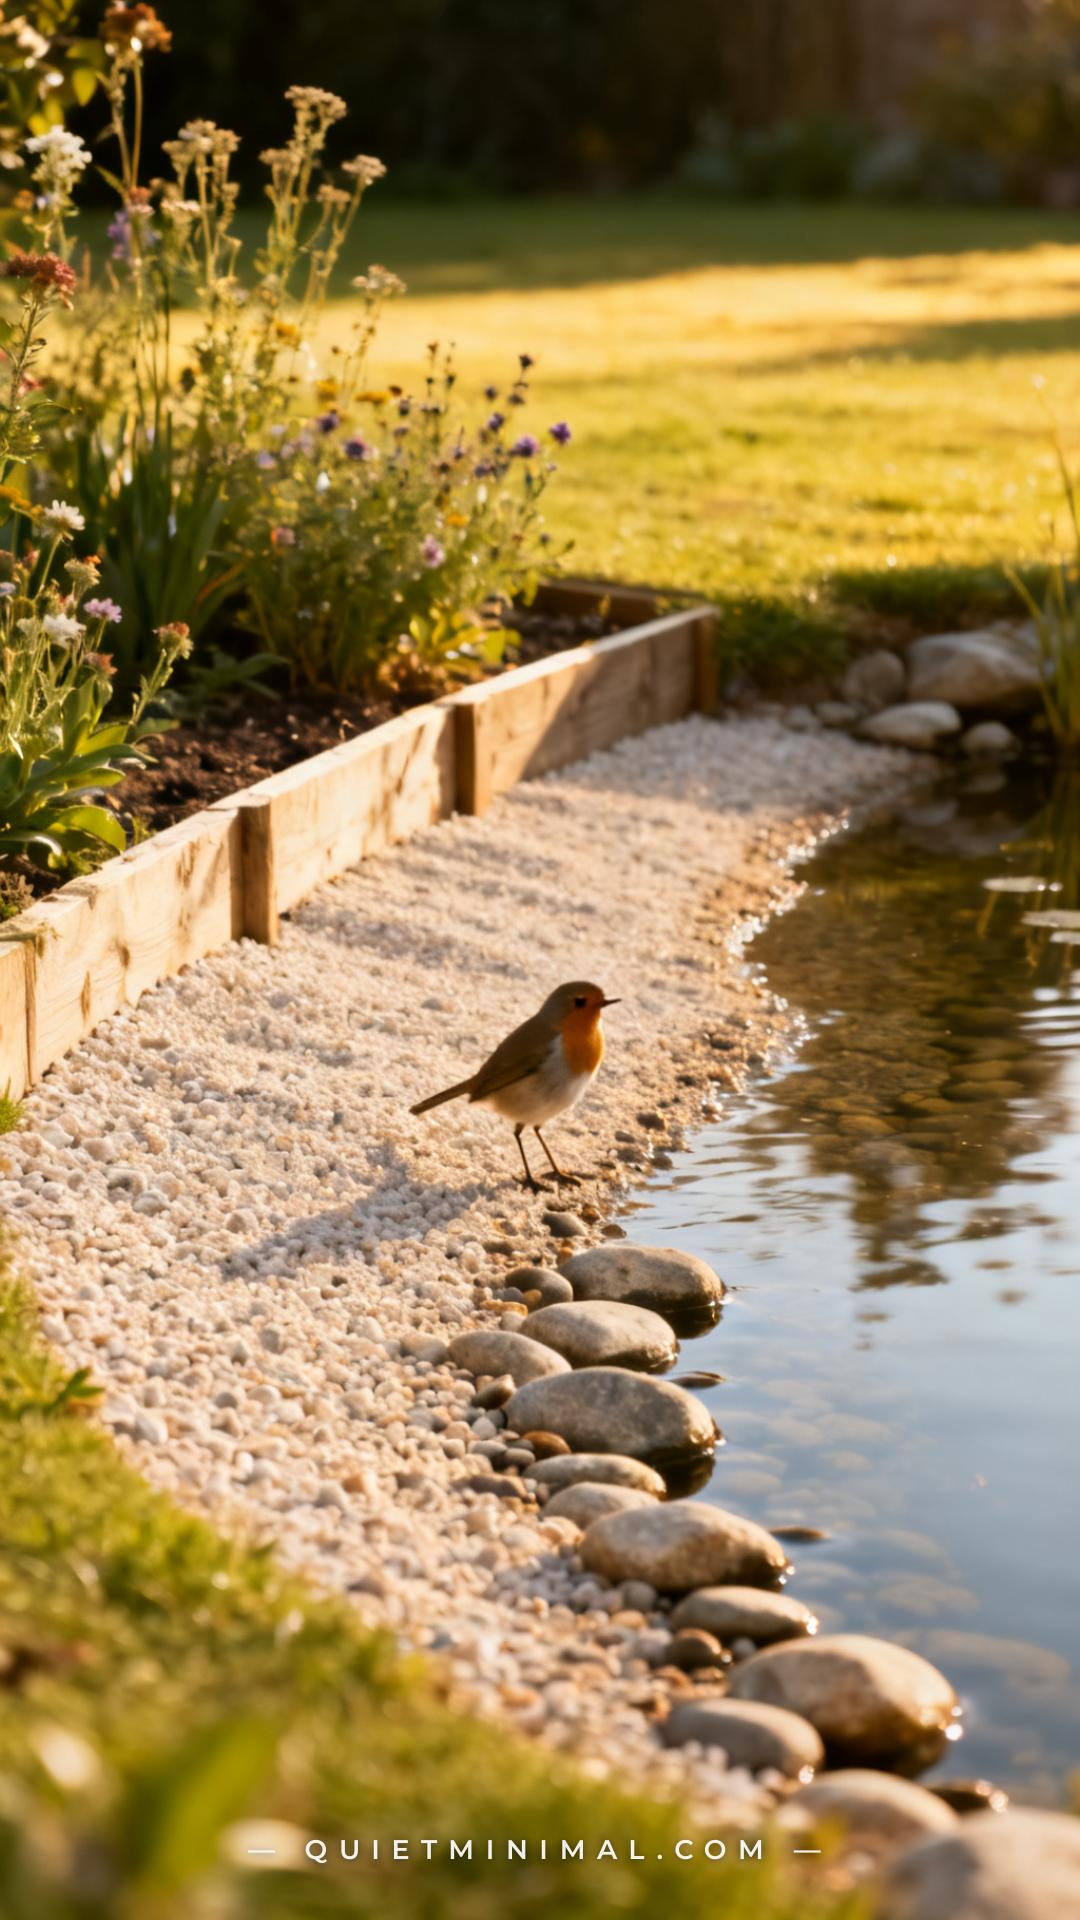
A gravel beach is both the most practical and the most visually appealing feature you can add to a wildlife pond. Functionally, it creates a gentle gradient entry that birds use to bathe and drink (they won’t approach a pond with a vertical edge), hedgehogs use as an exit ramp, and bees use to access water safely without drowning. Aesthetically, it reads as naturalistic and considered — exactly the kind of detail that elevates a garden pond from a plastic-rimmed hole in the ground to something editorial.
To construct it, extend your pond liner slightly beyond the waterline on the chosen side, cover with a 10–15cm layer of washed rounded gravel or pea shingle (avoid sharp stone), and blend the gravel into the lawn or planting bed above it. The beach should slope at roughly 20–30 degrees. Keep the beach partially in sun so it stays warm — this is the area birds will use most actively.
Key Takeaway: A gravel beach entry is the single most wildlife-functional edge detail you can add — and it’s the feature that makes a pond look intentional rather than improvised.
8. Treat Algae Naturally With Barley Straw
 Save
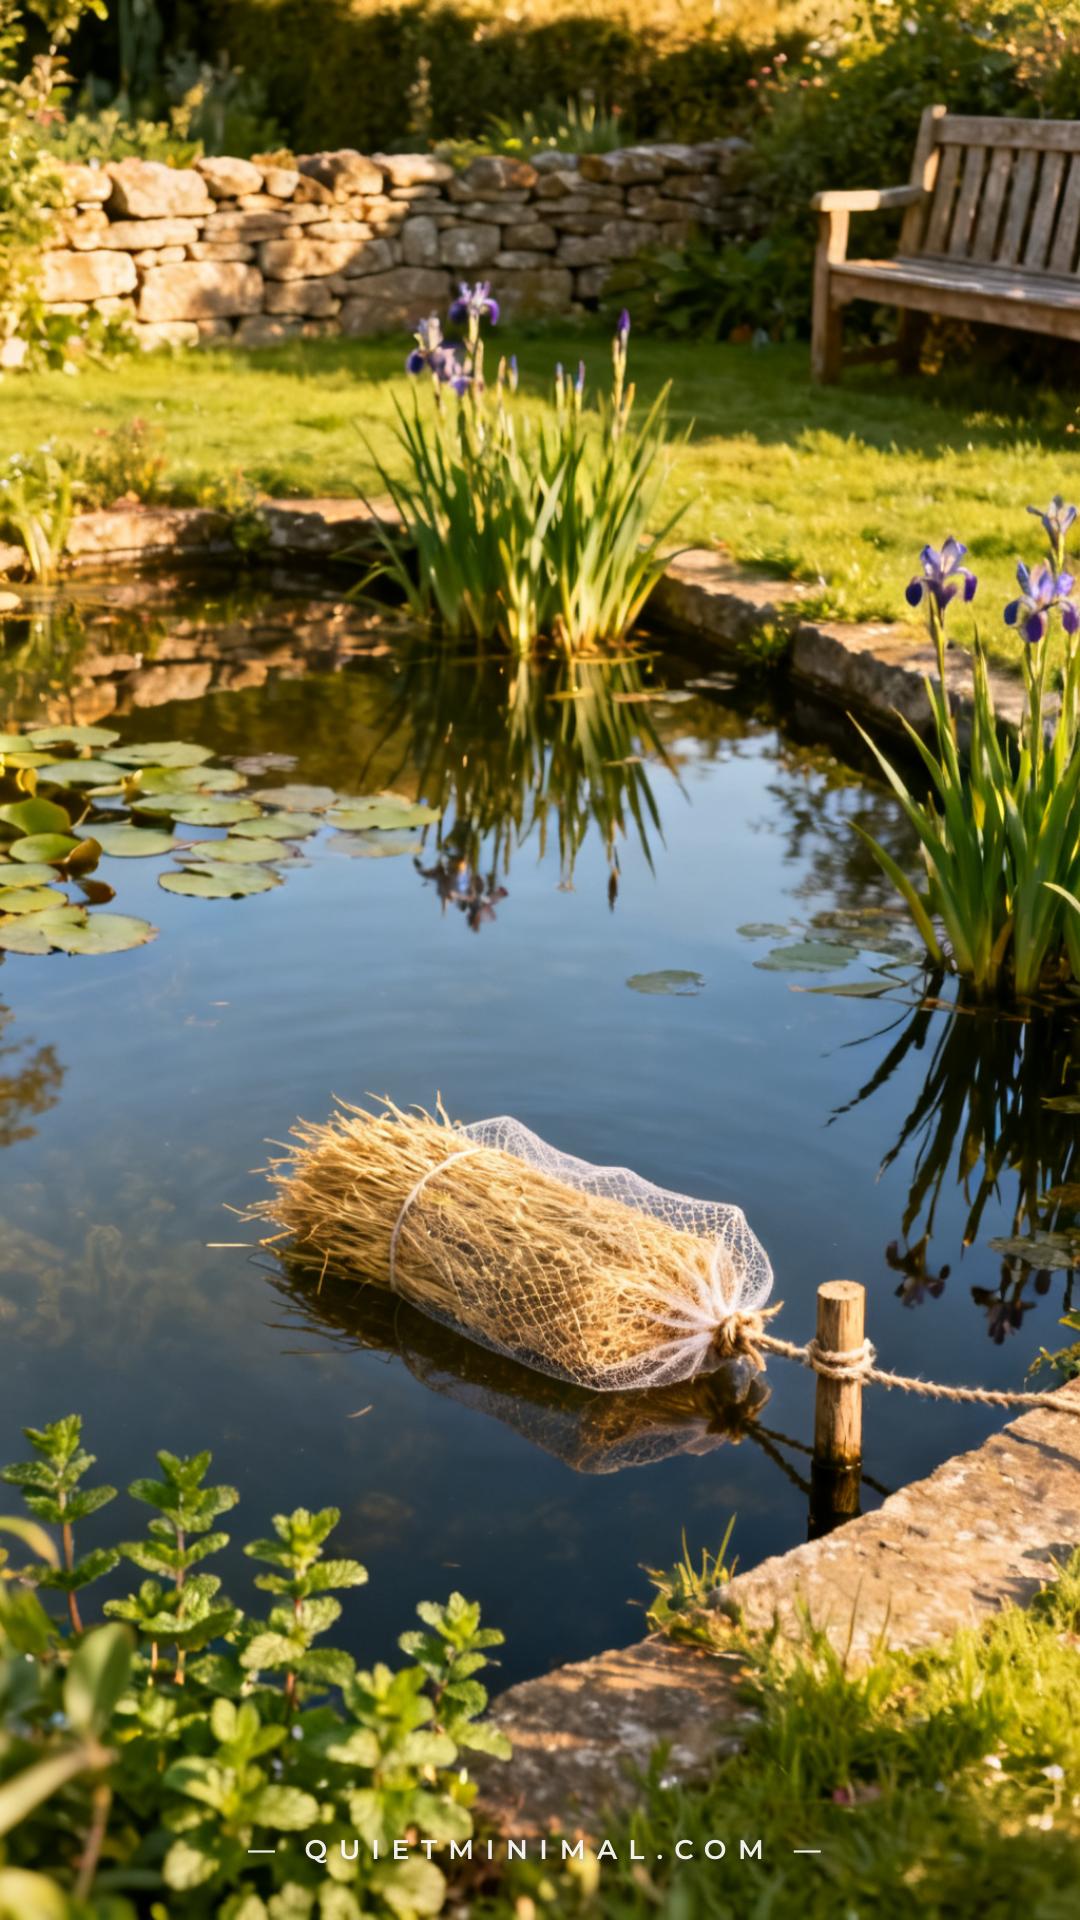
Algae is the first visible problem in almost every new wildlife pond, and it’s also one of the most mismanaged. Chemical algaecides kill the algae but also harm invertebrates, destabilize water chemistry, and create an ongoing dependency cycle. The better solution — slower, but genuinely effective — is barley straw.
Barley straw releases compounds as it decomposes that inhibit algae growth without harming aquatic life. A small mesh bag or bundle placed in the pond in spring will suppress blanket weed and green water for several months. Replace it every 4–6 months. It’s not instant — expect to wait 4–6 weeks to see results — so patience is required in year one. Combined with good oxygenating plant coverage and correct sun placement, barley straw is usually enough to keep the water clear without any chemical intervention.
Key Takeaway: Barley straw is the most wildlife-safe algae treatment available — it works with the pond’s biology rather than against it.

9. Skip the Pump in a Small Wildlife Pond
 Save
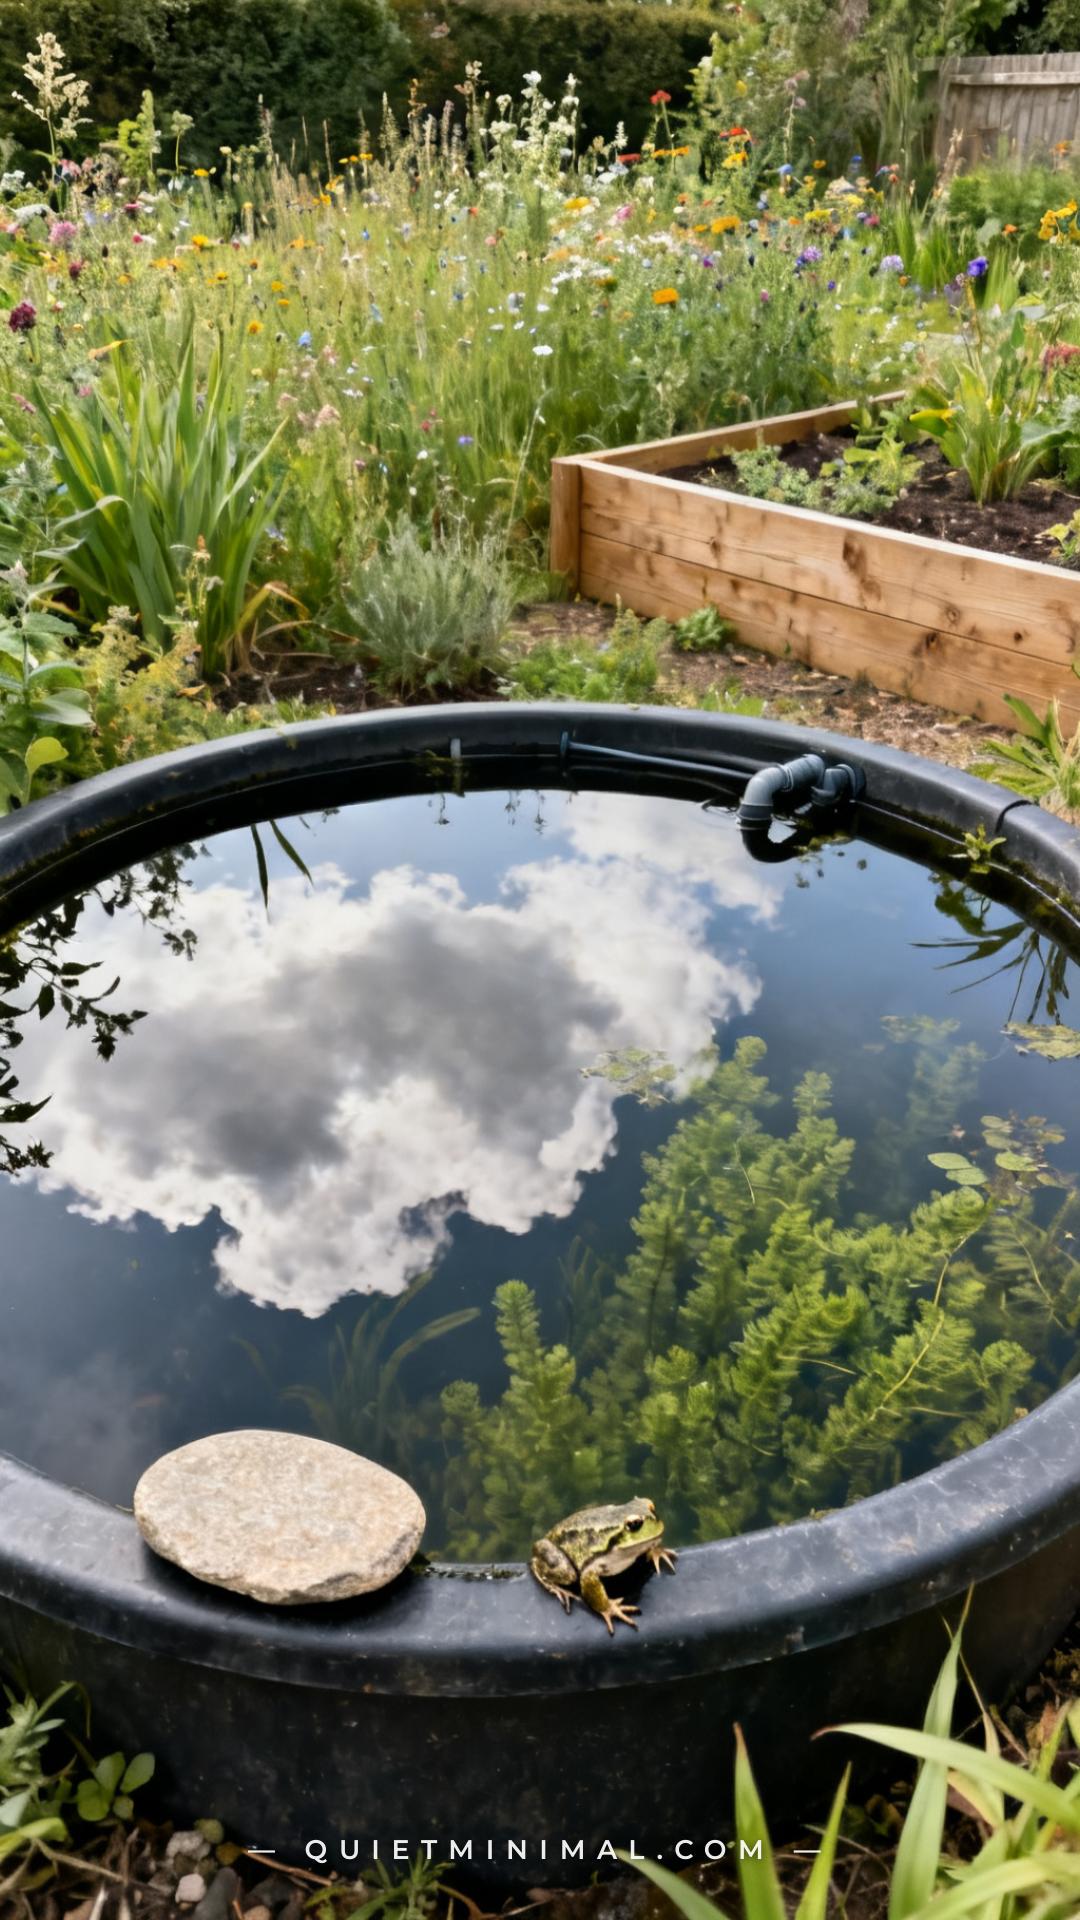
The instinct to add a pump and filter is understandable — it’s how ornamental pond culture works. But for a wildlife pond, a pump-and-filter system is often counterproductive. The suction intake can kill invertebrates and frog spawn. The water movement discourages the still-water insects — water boatmen, pond skaters, diving beetles — that are the most ecologically valuable visitors. And the maintenance obligation of a pump turns a low-intervention wildlife habitat into a piece of garden equipment.
A small wildlife pond — anything under 2 metres in diameter — doesn’t need a pump if it’s correctly planted with oxygenators and sited in partial shade. The plants do the biological filtering work. Larger ponds can benefit from a gentle solar-powered oxygenator placed in the deeper zone, which adds oxygen without the strong flow of a conventional pump. The key is to keep any water movement subtle and positioned away from the planted shelves.
From the guides
You've saved it, wanted it. Here's the how: codes, measurements, order. Your choices make it yours.
The Japandi Honest PlaybookThe honest version of the style: what to keep, what to skip, and the order to do it in.See inside →The Room Refresh PlaybookA repeatable four-step method, room by room, in ten minutes, thirty minutes, or one weekend.See inside →Make Any Room Feel Cozy on PurposeWhy some rooms hold people and others empty out, and the moves that change it.See inside →Key Takeaway: A correctly planted small wildlife pond doesn’t need a pump — and skipping it makes the habitat significantly better for invertebrates and amphibians.

10. Add a Log Pile or Rock Stack at the Pond Edge
 Save
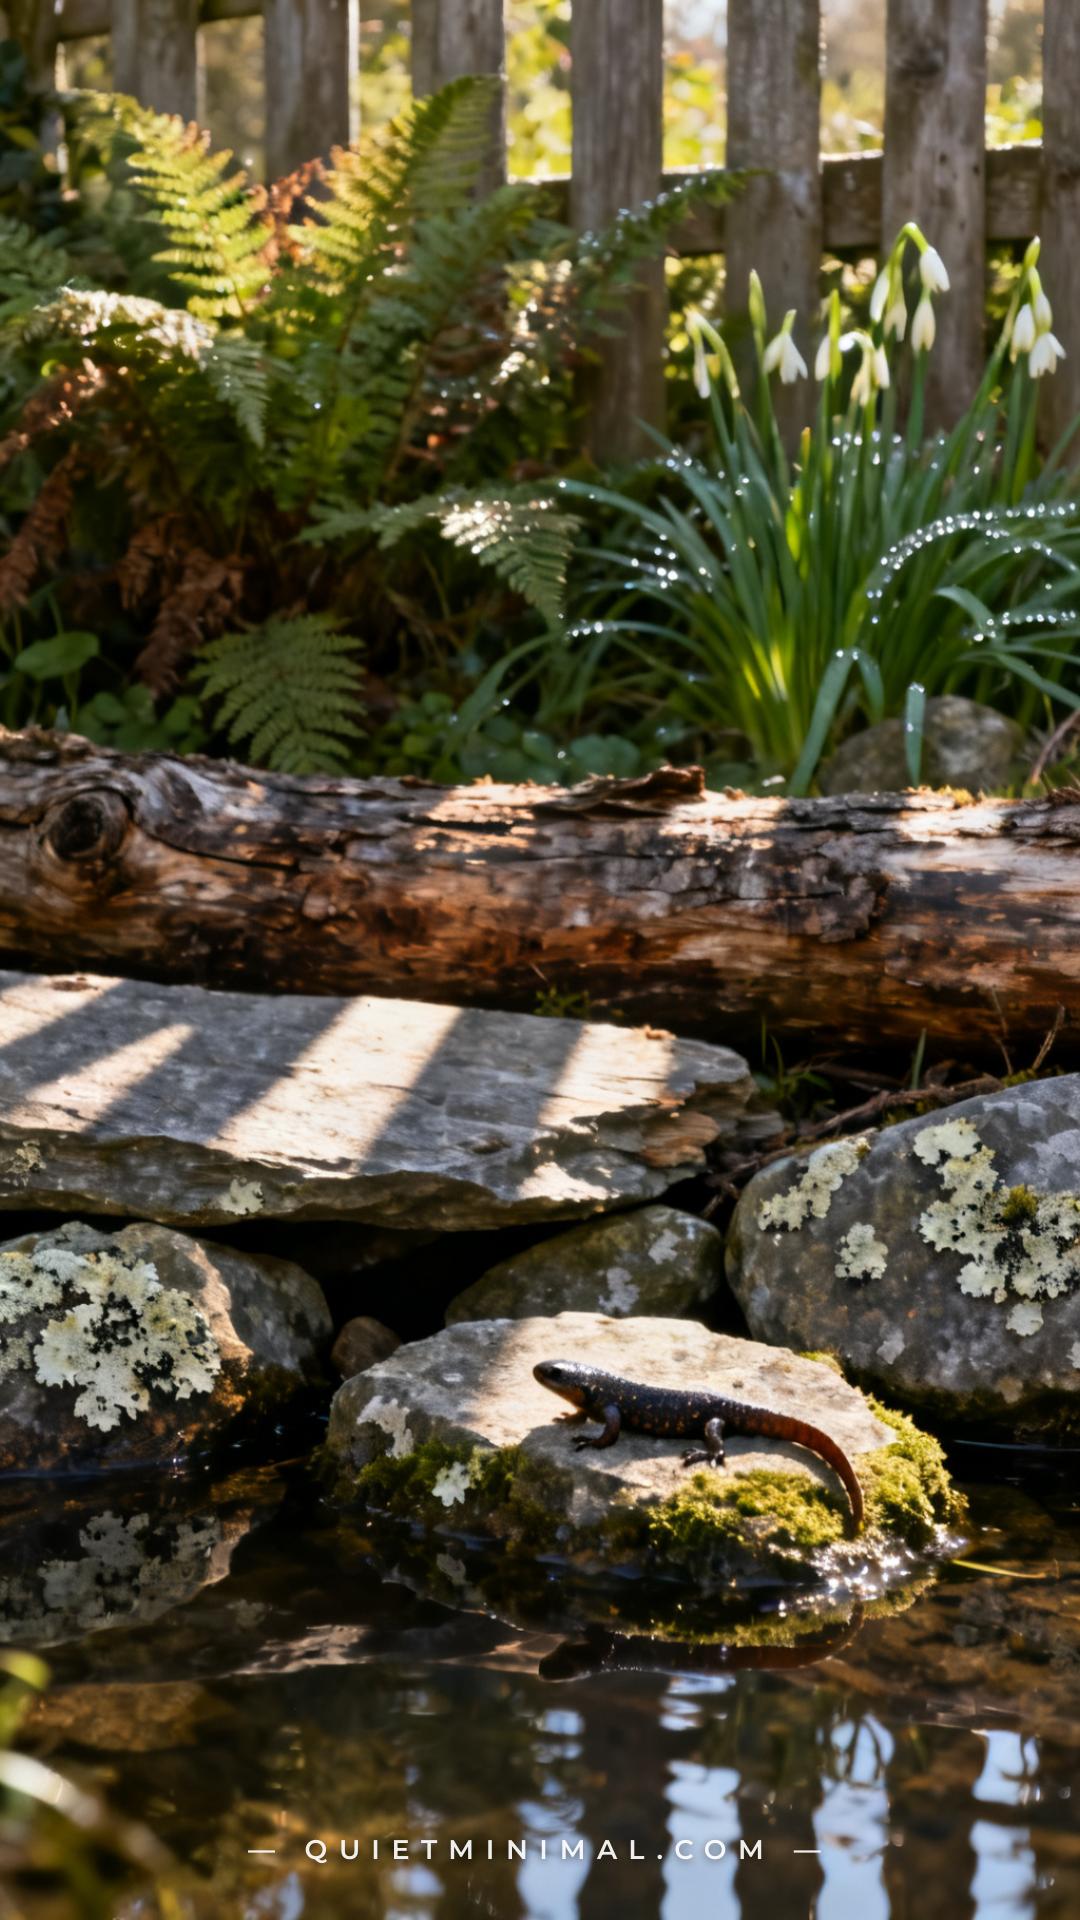
The pond itself is the water habitat. But wildlife uses the surrounding area just as critically — for shelter, overwintering, egg-laying, and predator avoidance. A log pile or rock stack placed immediately adjacent to the pond edge creates a microhabitat that completes the ecosystem. Newts overwinter in log piles. Slow worms shelter under flat stones. Bumblebees nest in undisturbed dead wood. Ground beetles — which predate garden pests — colonize rock crevices.
The log pile doesn’t need to be large or tidy. Three or four chunky sections of untreated hardwood — oak, ash, or cherry — stacked loosely so air and moisture can penetrate is more valuable than a neat timber stack. Leave it undisturbed and let moss and lichen colonize it naturally. Position it on the north or east side of the pond where it stays slightly damp.
Key Takeaway: A log pile or rock stack at the pond edge turns a water feature into a full terrestrial-aquatic habitat corridor — one of the highest-value additions you can make.

11. Plant Native Wildflowers Around the Pond Perimeter
 Save
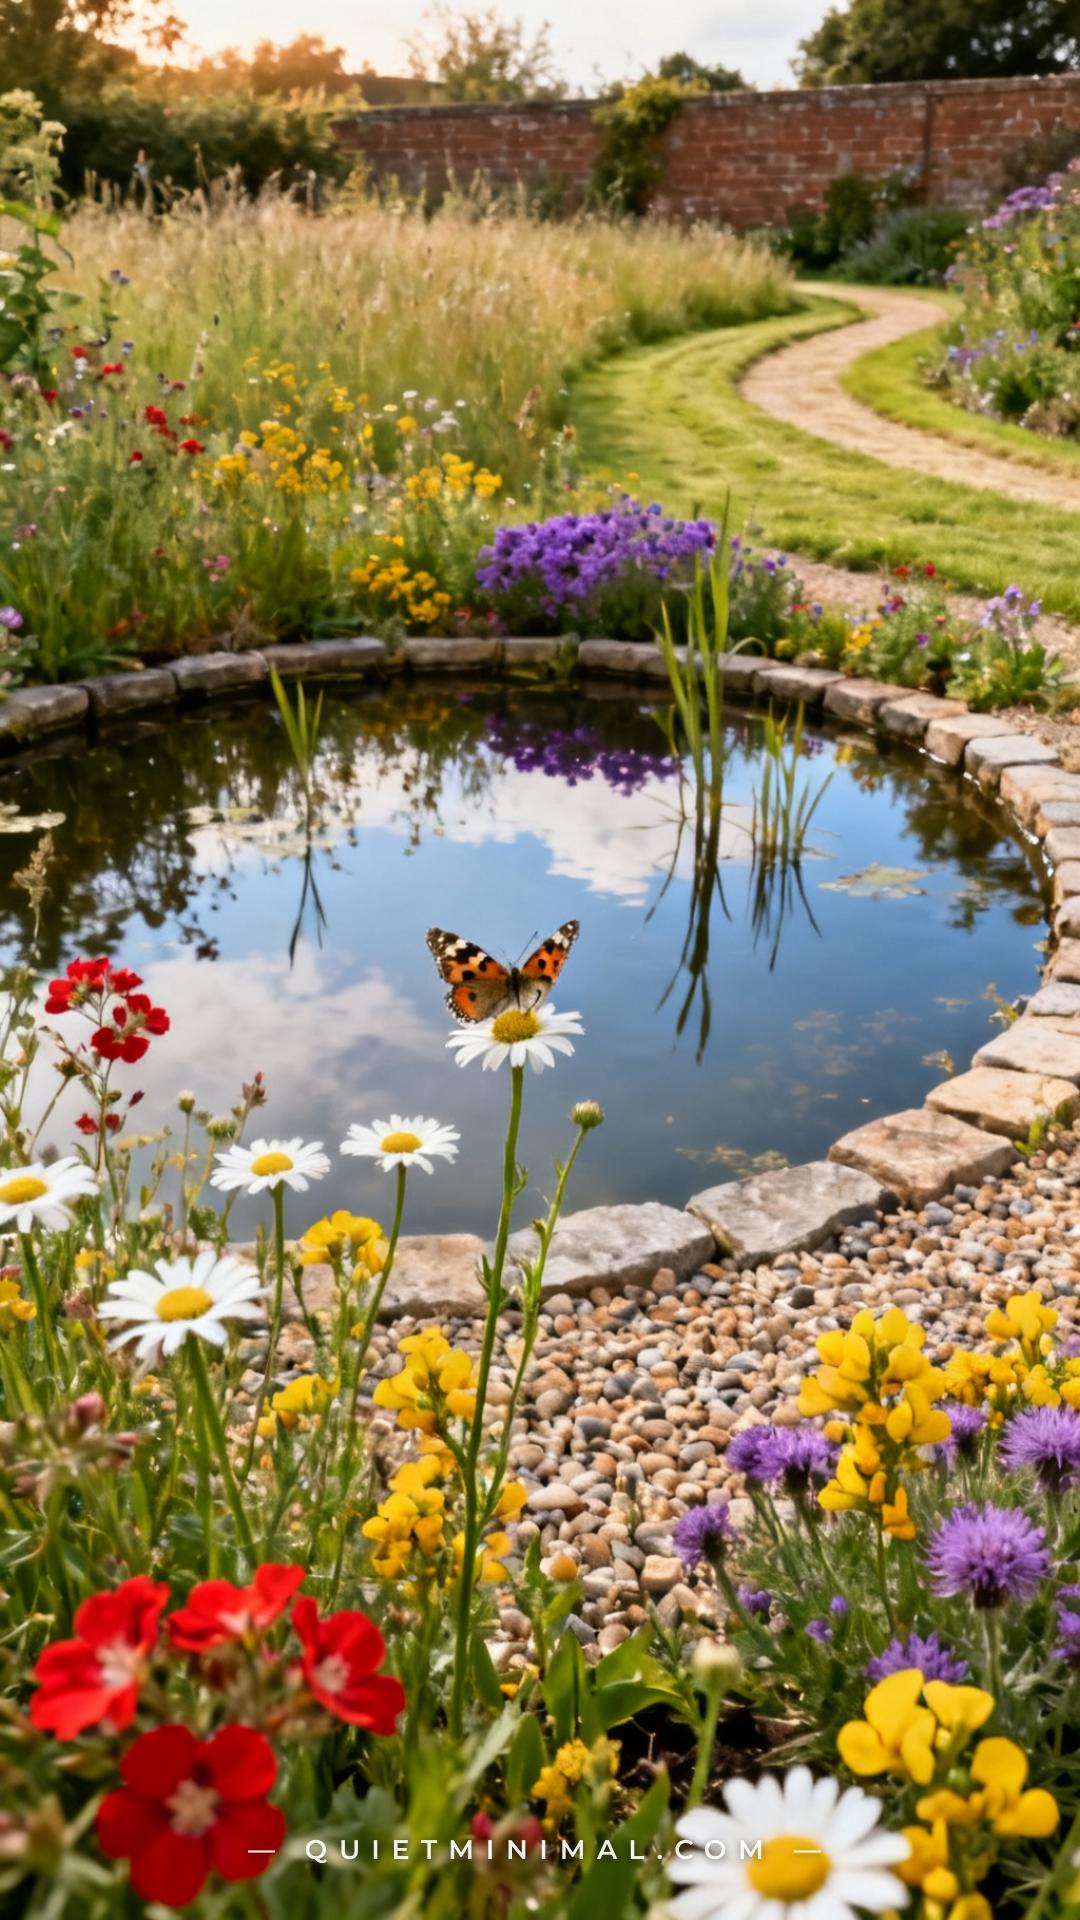
The pond perimeter is one of the most valuable planting zones in any wildlife garden, and most guides either ignore it or suggest ornamental border plants. Native wildflowers — ox-eye daisy, red campion, bird’s-foot trefoil, knapweed, ragged robin — serve as foraging habitat for the insects that will colonize the pond. Hoverflies that lay eggs in pond debris need nearby nectar. Bees that drink at the pond edge need plant cover for shelter. Dragonflies that hunt over the water need tall stems nearby for perching and ovipositing.
Keep a strip of at least 30–50cm around the pond edge uncut and unmowed. Let it naturalize with low-growing wildflowers and native grasses. This transition zone — sometimes called an ecotone — is where the highest density of wildlife activity happens. It’s also the element that makes a wildlife pond look designed rather than neglected when you do it intentionally with the right species mix.
Key Takeaway: A native wildflower border around the pond perimeter is the habitat connector that brings insects to the water — and makes the whole area look curated, not chaotic.

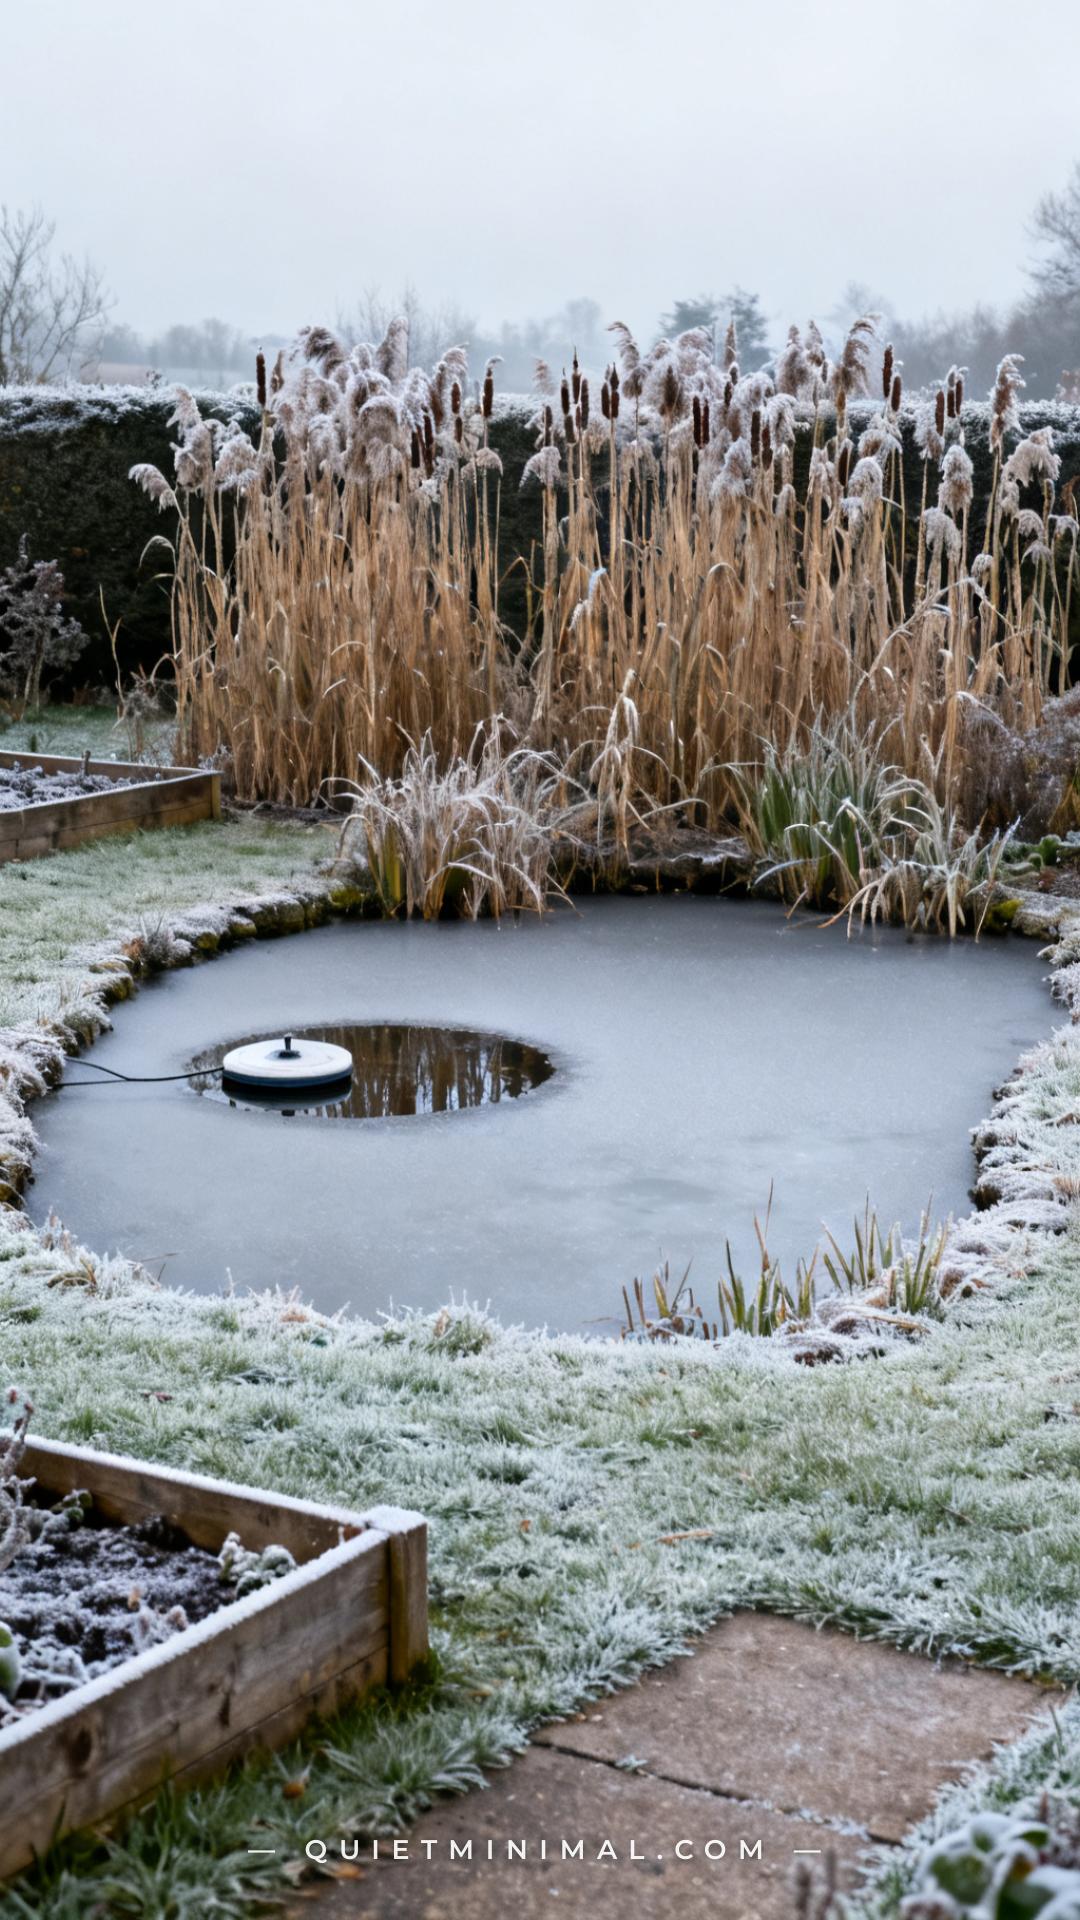
12. Install a Pond De-Icer for Safe Winters
 Save
A frozen pond surface in winter is far more dangerous to wildlife than most gardeners realize. When ice seals the pond completely, toxic gases produced by decaying plant matter build up beneath the surface — and frogs, newts, and other wildlife overwintering on the pond floor can be suffocated. The standard advice to pour boiling water or smash the ice is actively harmful: the shock wave can kill hibernating amphibians.
The correct solution is a floating pond heater or de-icer — a small thermostatically controlled device that sits on the water surface and maintains a small area of open water in freezing conditions. They use minimal energy and need no intervention once placed. Alternatively, float a ball or a piece of polystyrene on the surface before freezing weather — these create a natural break in the ice that can be lifted out each morning to allow gas exchange.
Key Takeaway: A floating pond de-icer is the only safe way to prevent toxic gas buildup under ice — it protects overwintering wildlife and costs almost nothing to run.

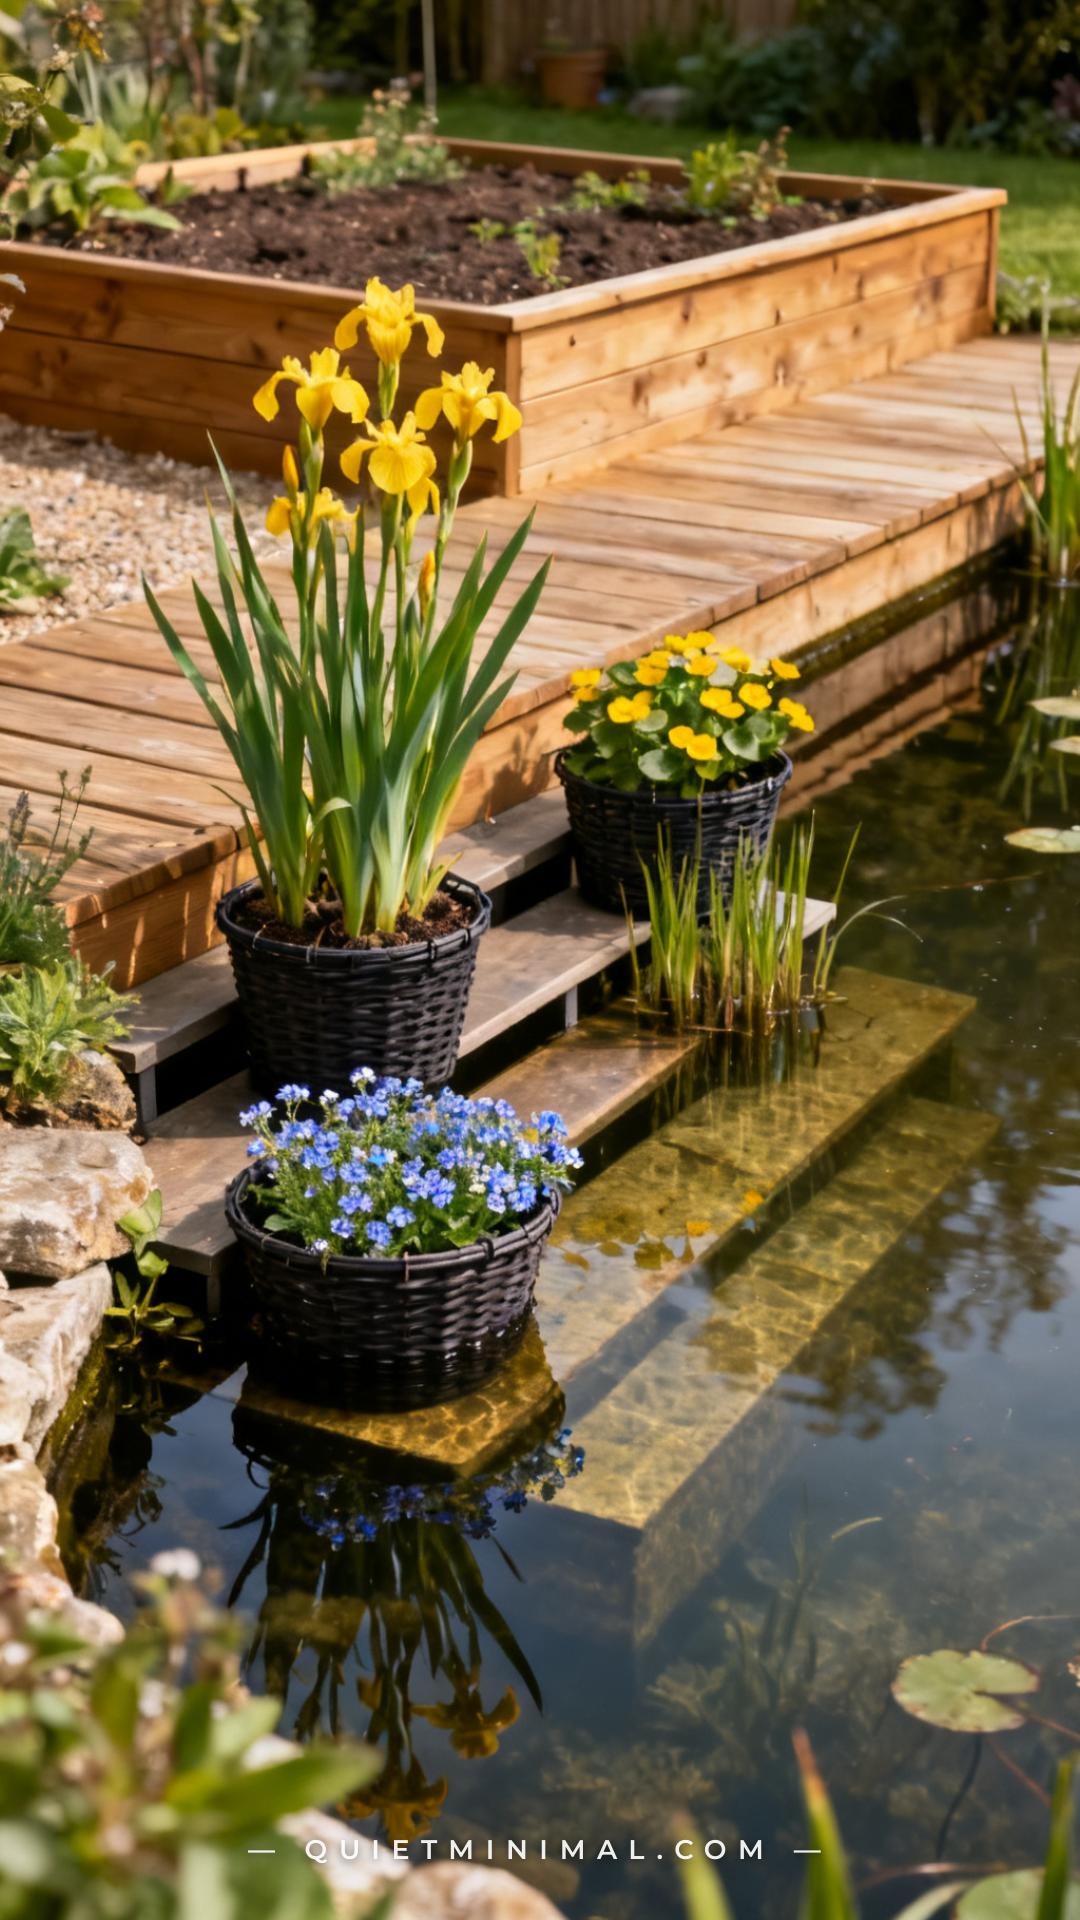
13. Create Depth Zones With Aquatic Planting Baskets
 Save
Aquatic planting baskets allow you to manage plant placement with precision — positioning species at the correct depth for their growing requirements, moving plants as the season progresses, and preventing aggressive spreaders like yellow iris from taking over the entire pond floor. They’re one of the most practical tools in a wildlife pond garden and almost entirely absent from beginner guides.
Use baskets with wide mesh sides that let roots interact with the pond water column. Fill with specialist aquatic compost topped with a layer of fine rounded gravel to prevent the compost from clouding the water. Place baskets at the correct shelf depth for each species — marginal plants like water mint and iris sit on the 20–25cm shelf; deeper-water plants like certain native water lilies sit on the 40cm ledge. Label baskets in year one so you remember what’s where when growth dies back in autumn.
Key Takeaway: Aquatic planting baskets give you full control over depth placement and prevent competitive species from spreading unmanaged across the pond floor.

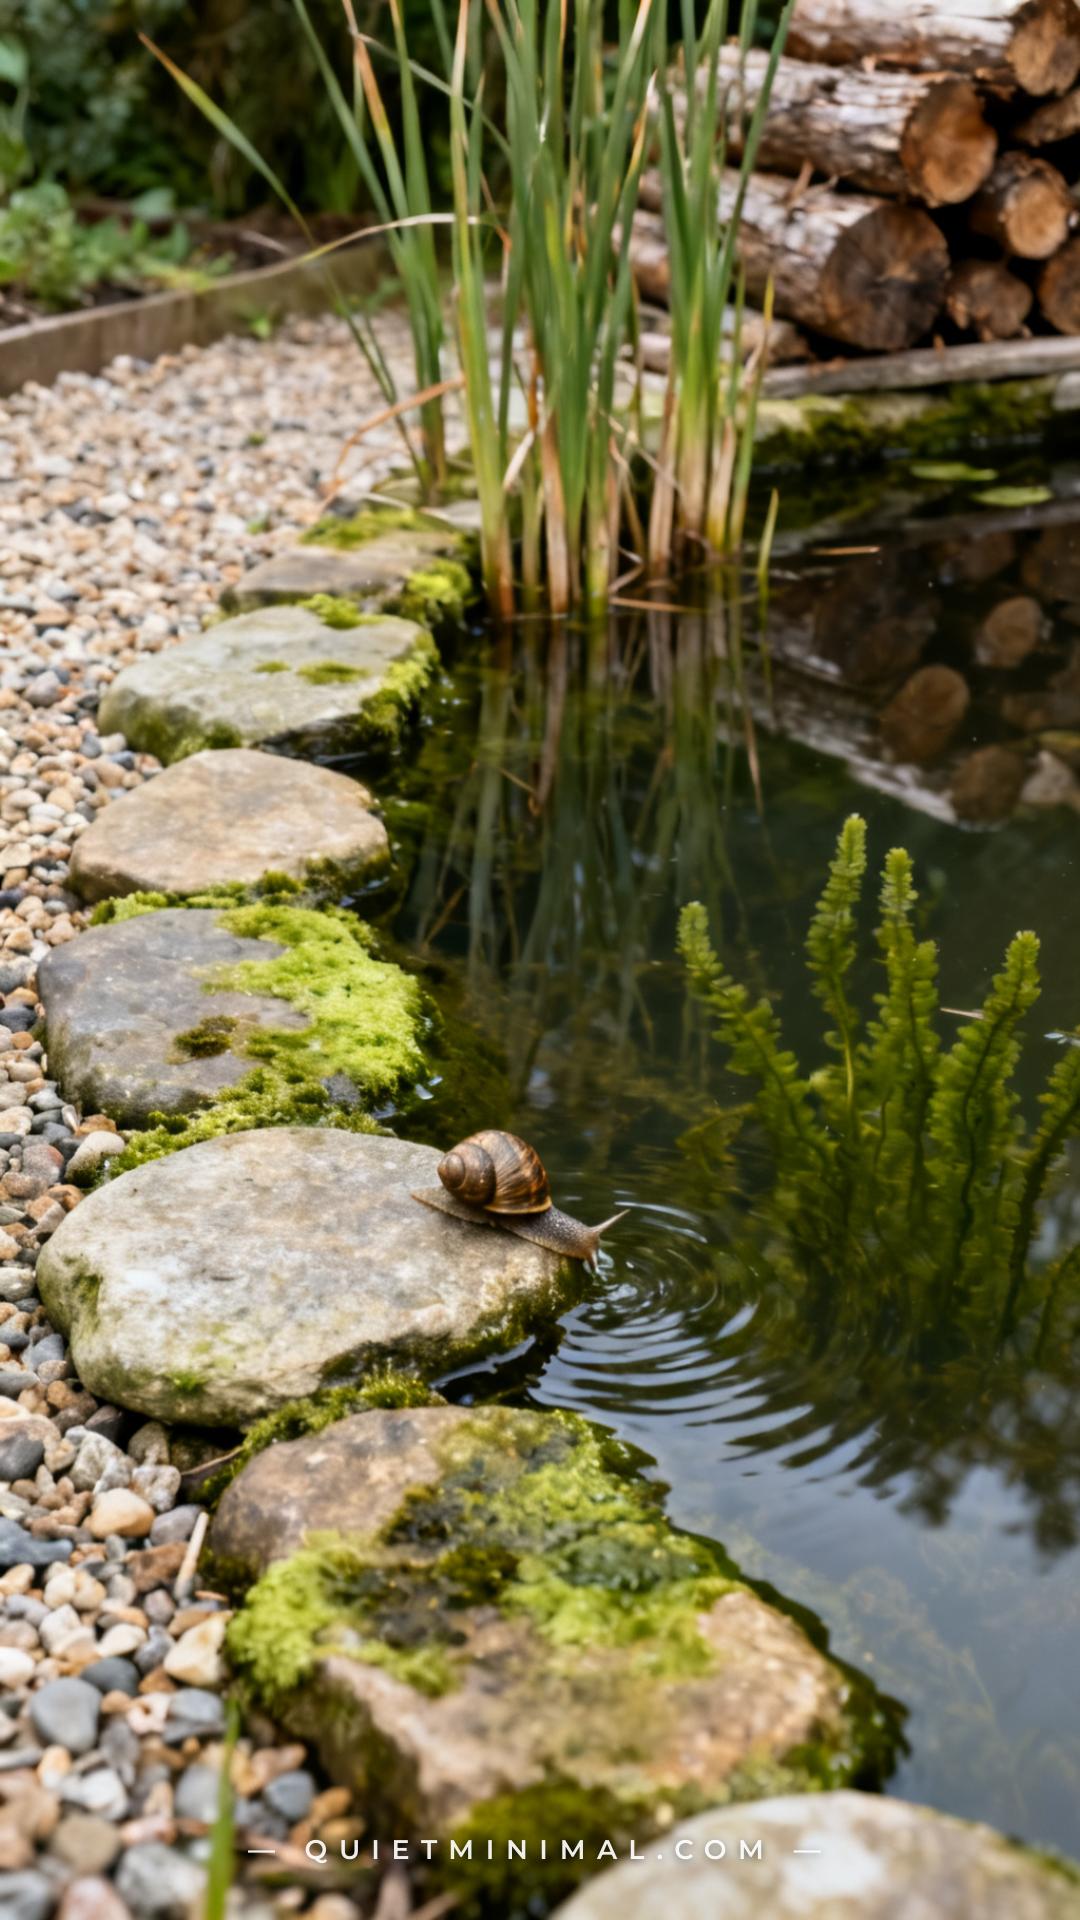
14. Welcome Algae on Rocks and Liner — It’s Habitat
 Save
There’s a reflexive urge in new pond owners to scrub algae off stones and liner as soon as it appears. Resist it completely. The biofilm that forms on hard surfaces in a wildlife pond — that soft greenish coating on stones, liner folds, and planting baskets — is one of the most ecologically valuable components of the whole system. It’s grazed by water snails, freshwater shrimp, and invertebrate larvae. It forms the base of the food chain that eventually supports dragonflies, newts, and frogs.
Blanket weed — the stringy, filamentous algae that forms mats — is different and can be removed when it becomes excessive (use a stick to wind it out in clumps, not a net that disturbs everything else). But a general policy of leaving surfaces “dirty” and biofilm-covered is the right approach. A pond that looks a little green and lived-in is doing its job.
Key Takeaway: Surface algae and biofilm on stones and liner are food sources, not problems — remove blanket weed only, and leave everything else undisturbed.

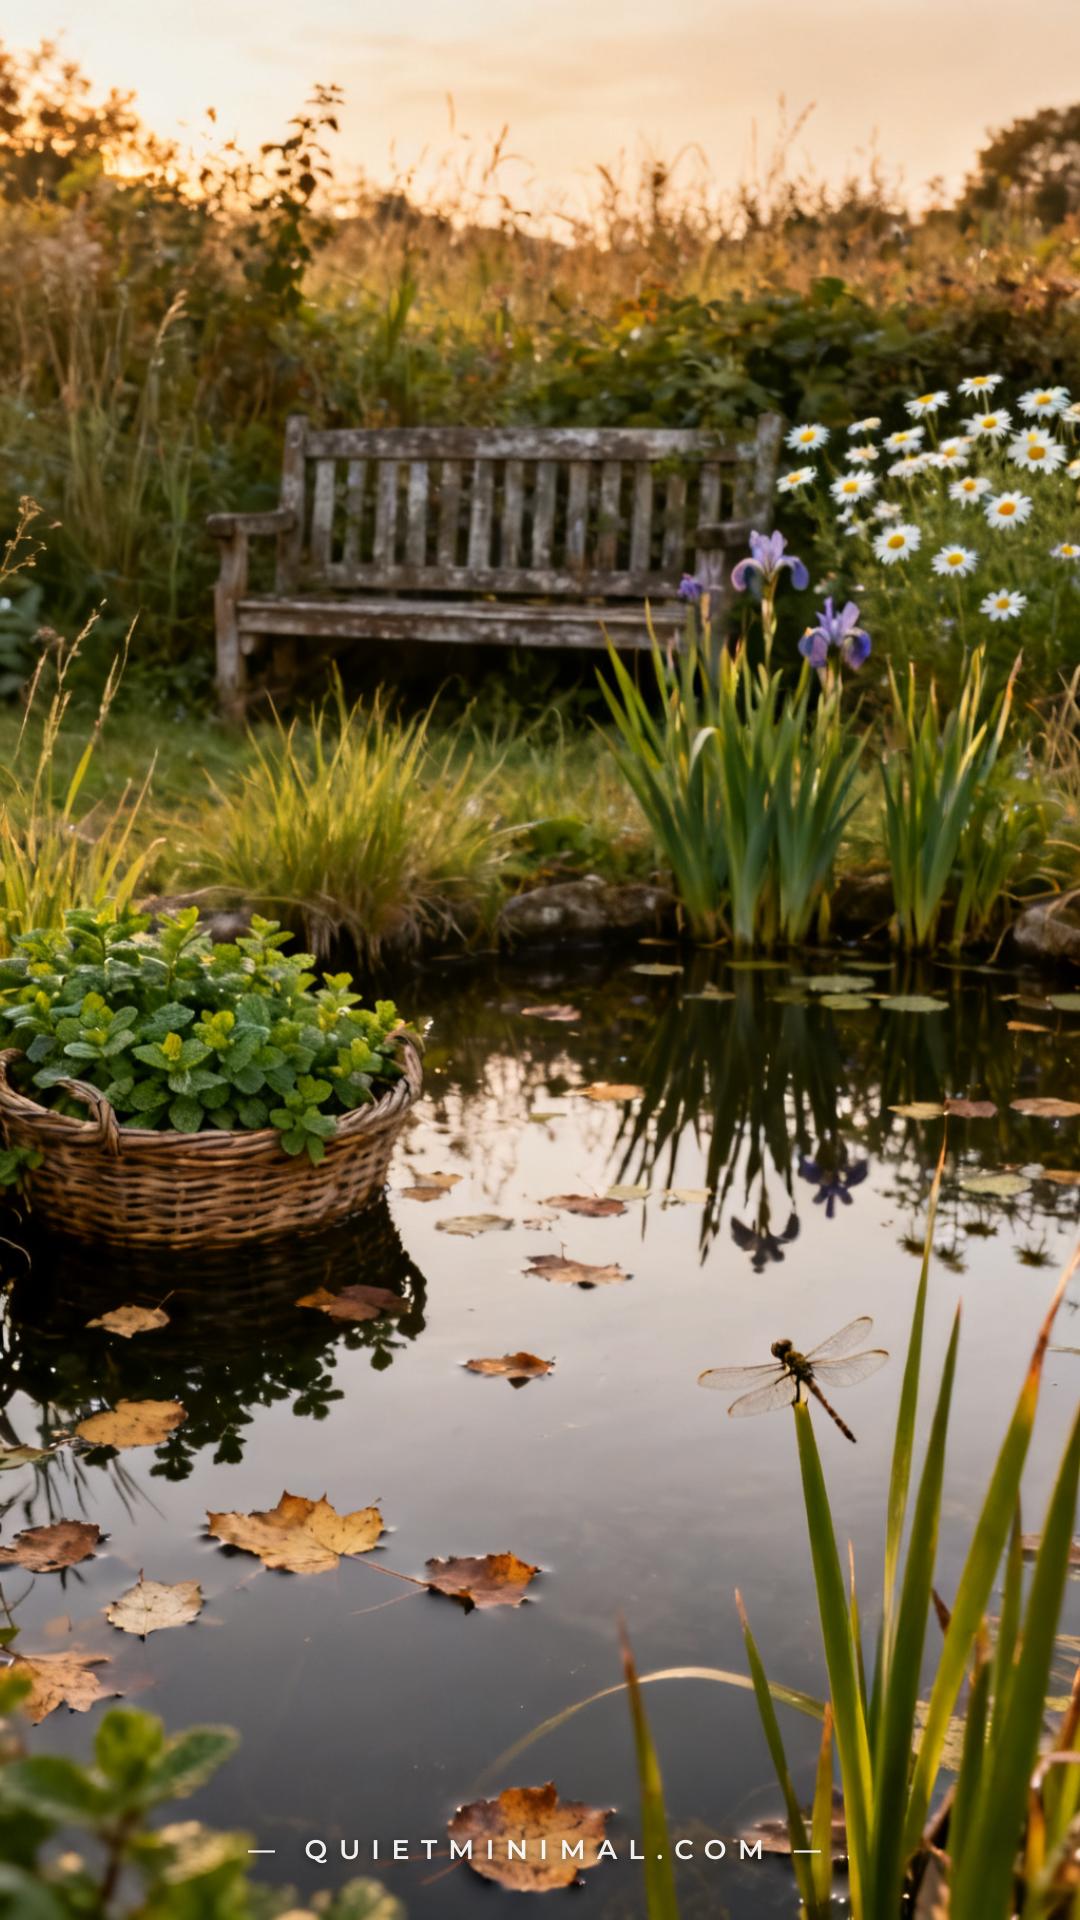
15. Let the Pond Evolve — Resist the Urge to Intervene
 Save
The hardest part of wildlife pond ownership is doing less than you think you should. Every impulse to tidy, clear, trim, and clean should be interrogated before acting. Wildlife ponds reach their ecological peak through accumulation — layers of sediment that host invertebrate larvae, dense plant growth that provides shelter, established biofilm on every hard surface, and leaf litter in the margins that overwinters hundreds of invertebrate species.
In practical terms: remove no more than one-third of plant growth per season, never in autumn (that’s when everything retreats to the pond floor). Avoid disturbing the pond between October and March. Don’t top up with chlorinated tap water — use rainwater collected in a water butt if levels drop in summer. And accept that a thriving wildlife pond in year three looks nothing like a freshly installed water feature. It looks alive. That’s the point.
Key Takeaway: The single best thing you can do for a wildlife pond after year one is to intervene as little as possible — let the ecosystem do the work it was designed to do.

A wildlife pond that actually works comes down to a handful of non-negotiable structural choices: a graduated shelf with a proper shallow zone, at least one exit ramp, native plants at every level of the water column, and a commitment to letting the whole thing mature without constant interference. Get those foundations right and the wildlife follows — not immediately, but reliably, within a single season. Start with the shelf, add the beach entry, plant native oxygenators, and let the biofilm do the rest. Your yard pond won’t just look good on Pinterest. It will do something.
From the guides
You've saved it, wanted it. Here's the how: codes, measurements, order. Your choices make it yours.
The Japandi Honest PlaybookThe honest version of the style: what to keep, what to skip, and the order to do it in.See inside →The Room Refresh PlaybookA repeatable four-step method, room by room, in ten minutes, thirty minutes, or one weekend.See inside →Make Any Room Feel Cozy on PurposeWhy some rooms hold people and others empty out, and the moves that change it.See inside → Save


