Georgia

Your front porch has real potential — but potential and “actually looks designed” are two different things. Most porches stall out at a single chair and a potted geranium, and the space never quite feels like it belongs to the house. What separates a porch that stops scrollers on Pinterest from one that just exists is layering: the deliberate stacking of airflow, seating depth, plant height, and light so every element earns its place.
This guide breaks down exactly how to build that layered look, section by section — from choosing the right outdoor ceiling fan to arranging flowering planters at three heights for maximum color impact. Every idea is actionable for a standard front porch, whether you own the space or rent it.
1. Start With the Fan — It Sets the Whole Room’s Tone
 Save
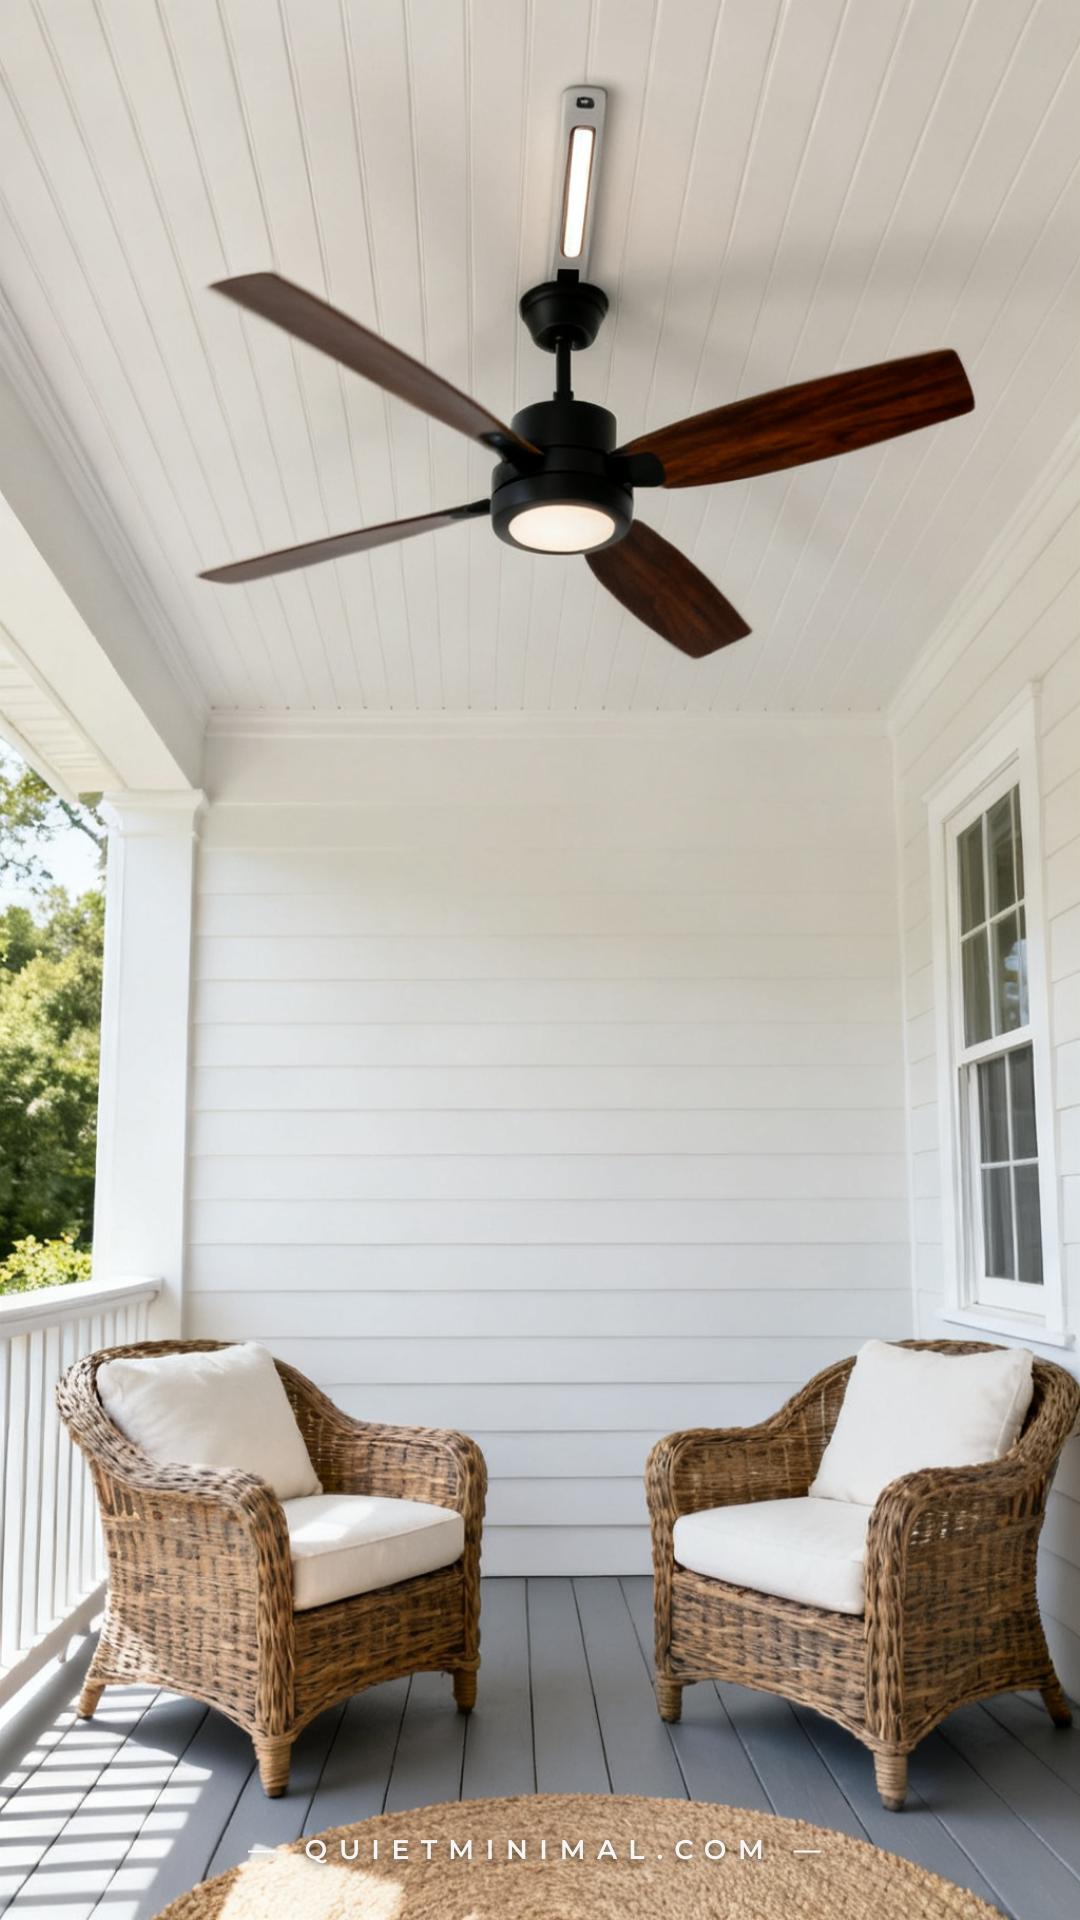
Most people treat the ceiling fan as an afterthought — something to bolt up for comfort and ignore visually. That’s a mistake. The fan is the largest overhead fixture on any covered porch, and its finish anchors the entire color story of the space. Choose a finish first — matte black for contrast against white ceilings and light trim, brushed brass for warmth against natural wood tones, or brushed nickel for a cleaner, more minimal look — and then pull that finish into your hardware, planter legs, and accent pillows.
From the guides
You've saved it, wanted it. Here's the how: codes, measurements, order. Your choices make it yours.
 The Japandi Honest PlaybookThe honest version of the style: what to keep, what to skip, and the order to do it in.See inside →
 The Room Refresh PlaybookA repeatable four-step method, room by room, in ten minutes, thirty minutes, or one weekend.See inside →
 Make Any Room Feel Cozy on PurposeWhy some rooms hold people and others empty out, and the moves that change it.See inside →
For a front porch, look for fans rated for “damp” or “wet” locations (not just “indoor” or “dry”). Blade span matters too: a 6–8 foot porch ceiling does well with a 42–44 inch fan; anything deeper than 10 feet benefits from a 52–56 inch span to actually move air across the seating zone.
Key Takeaway: Pick your fan finish first — it becomes the metallic anchor that every other finish on the porch echoes.

2. Layer Your Seating — Depth First, Then Width
 Save
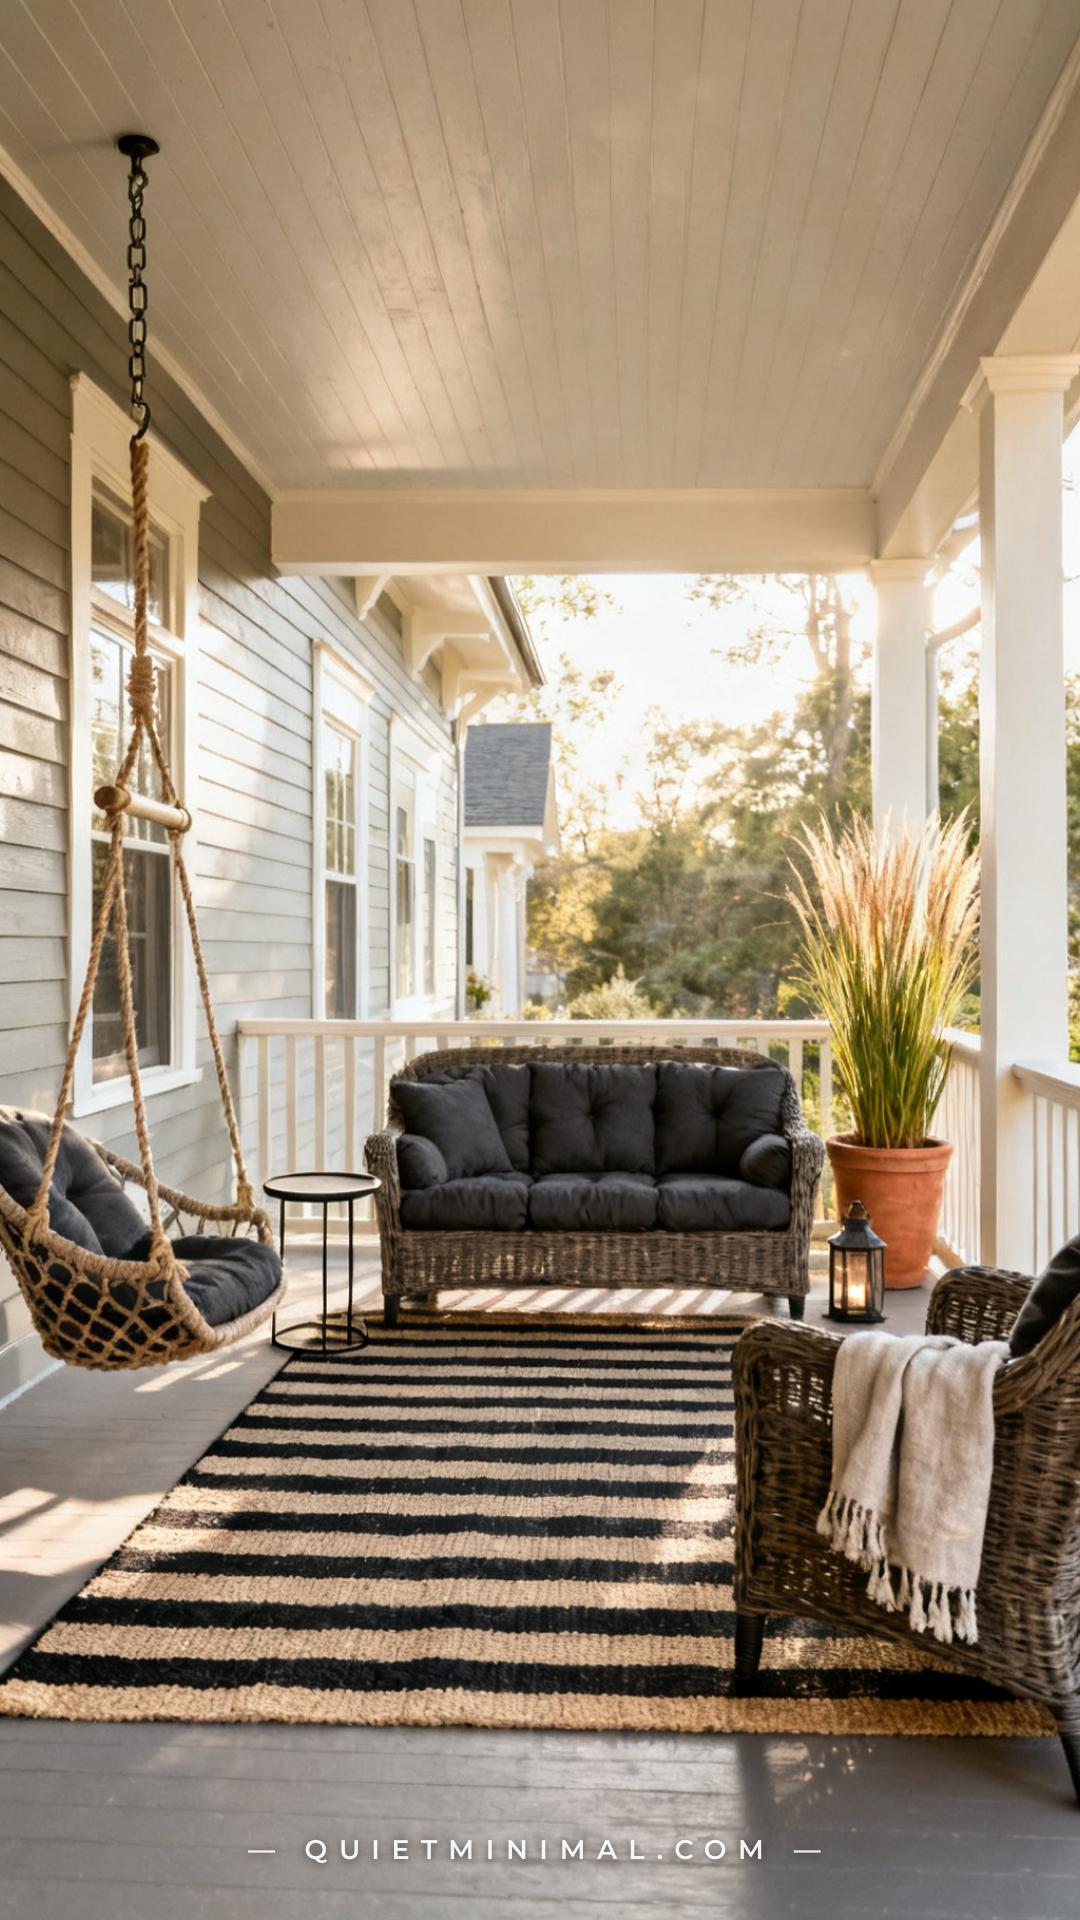
The number one reason a porch looks flat is uniform seating height. If everything sits at the same level — matching chair set, no variation — the eye has nowhere to travel. Break the monotony by mixing at least two seating depths: a deep-seat sofa or loveseat as the anchor piece, paired with something lower (a side chair or pouffe) or something suspended (a hanging egg chair or swing).
You don’t need to buy an entire set to make this work. A single deep-seat loveseat from your current collection pairs beautifully with two folding rattan chairs you can bring in seasonally. The rule is variety of posture: one piece you sink into, one piece you perch on. That contrast is what creates a “room” rather than a waiting area.
Key Takeaway: Mix at least two seating depths — one sink-in anchor piece and one perch or suspended option — to give the space a genuine conversational shape.

3. Anchor Everything With an Outdoor Rug
 Save
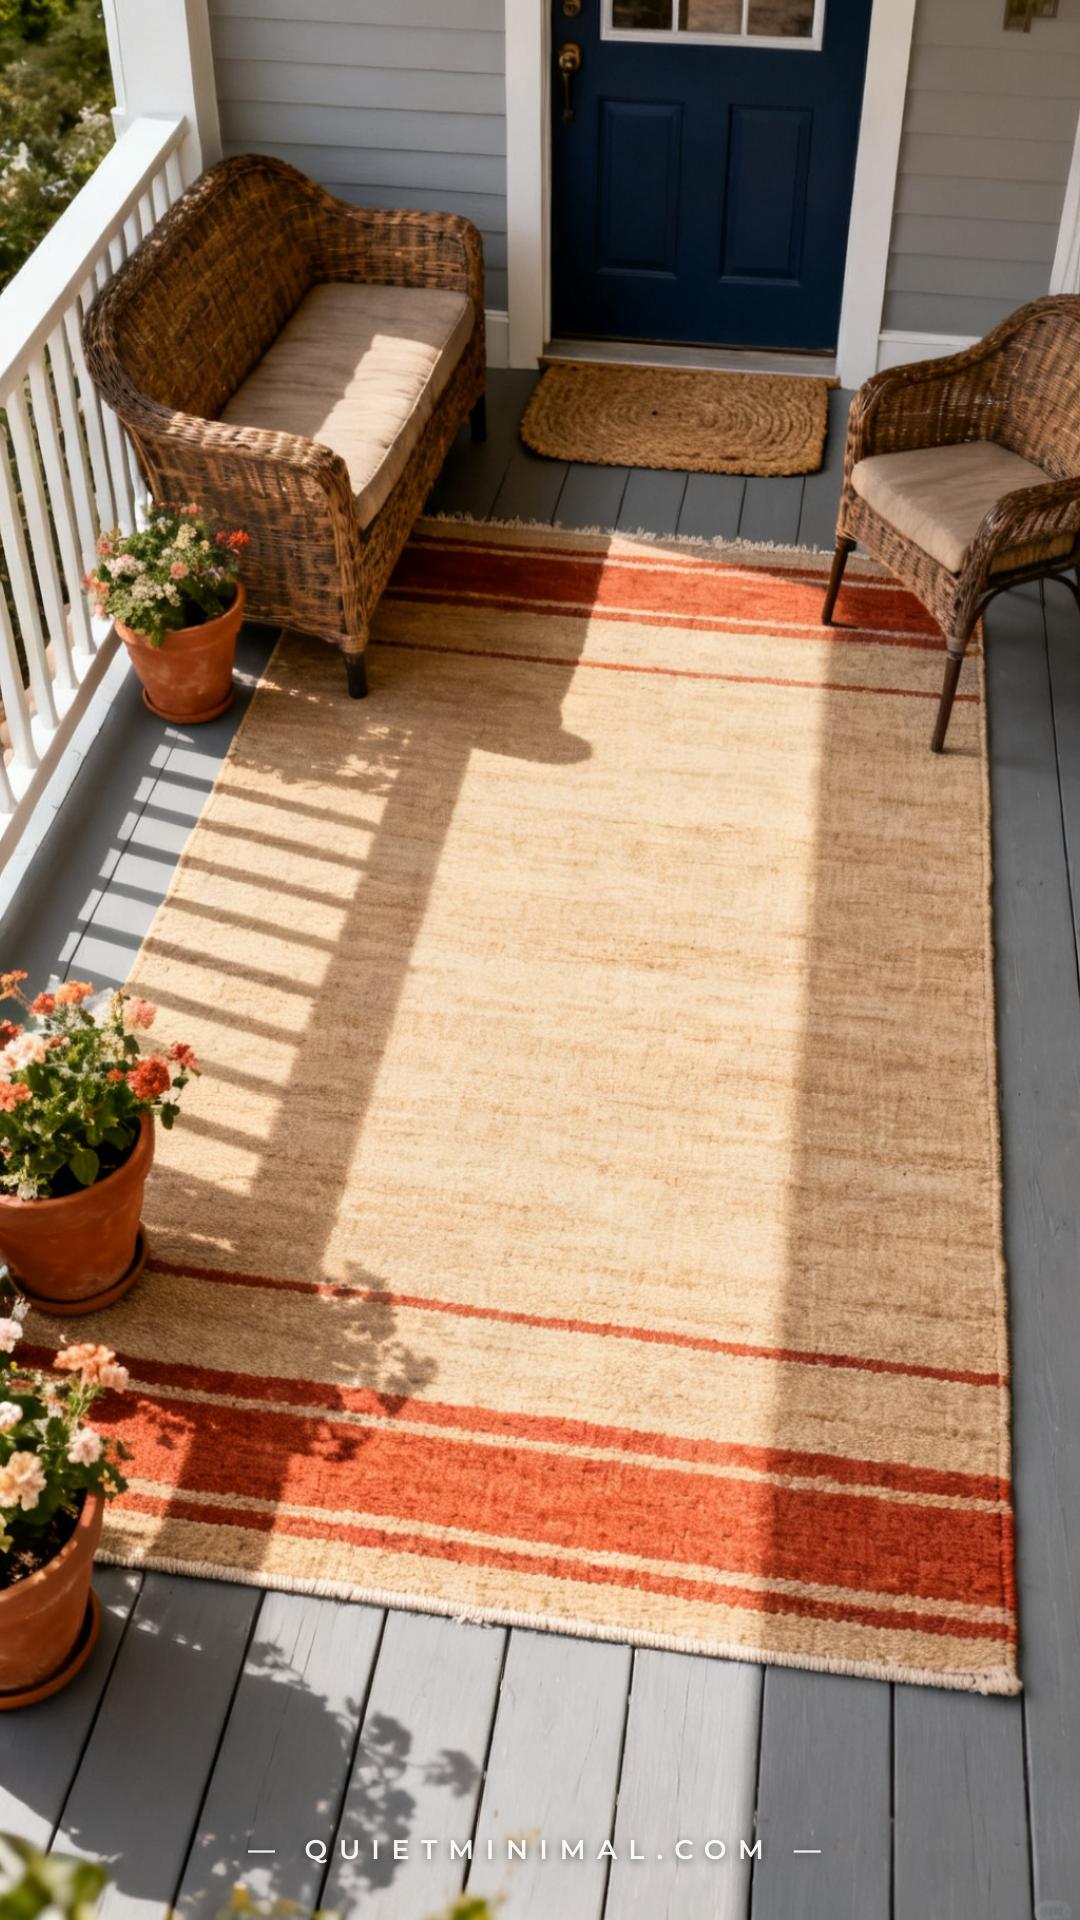
An outdoor rug does something invisible but critical: it tells the eye where the “room” begins and ends. Without one, even a well-curated furniture grouping looks like pieces floating on a porch floor. The rug defines the social zone, and everything else gets organized around it.
For summer porches, look for flat-weave polypropylene rugs — they drain quickly after rain, resist mildew, and hold color through direct sun exposure better than woven natural fiber options. Size up rather than down: the rug should sit fully under the front legs of every seating piece at minimum, and ideally under all four legs of your anchor sofa.
Pattern-wise, stripes and simple geometric prints photograph best on Pinterest and tend to hold up visually against the competing patterns of flowering planters and throw pillows around them.
Key Takeaway: Size up — the rug should extend at least 6 inches beyond your seating group on all sides to properly define the zone.

4. Build Your Planter Arrangement in Three Heights
 Save
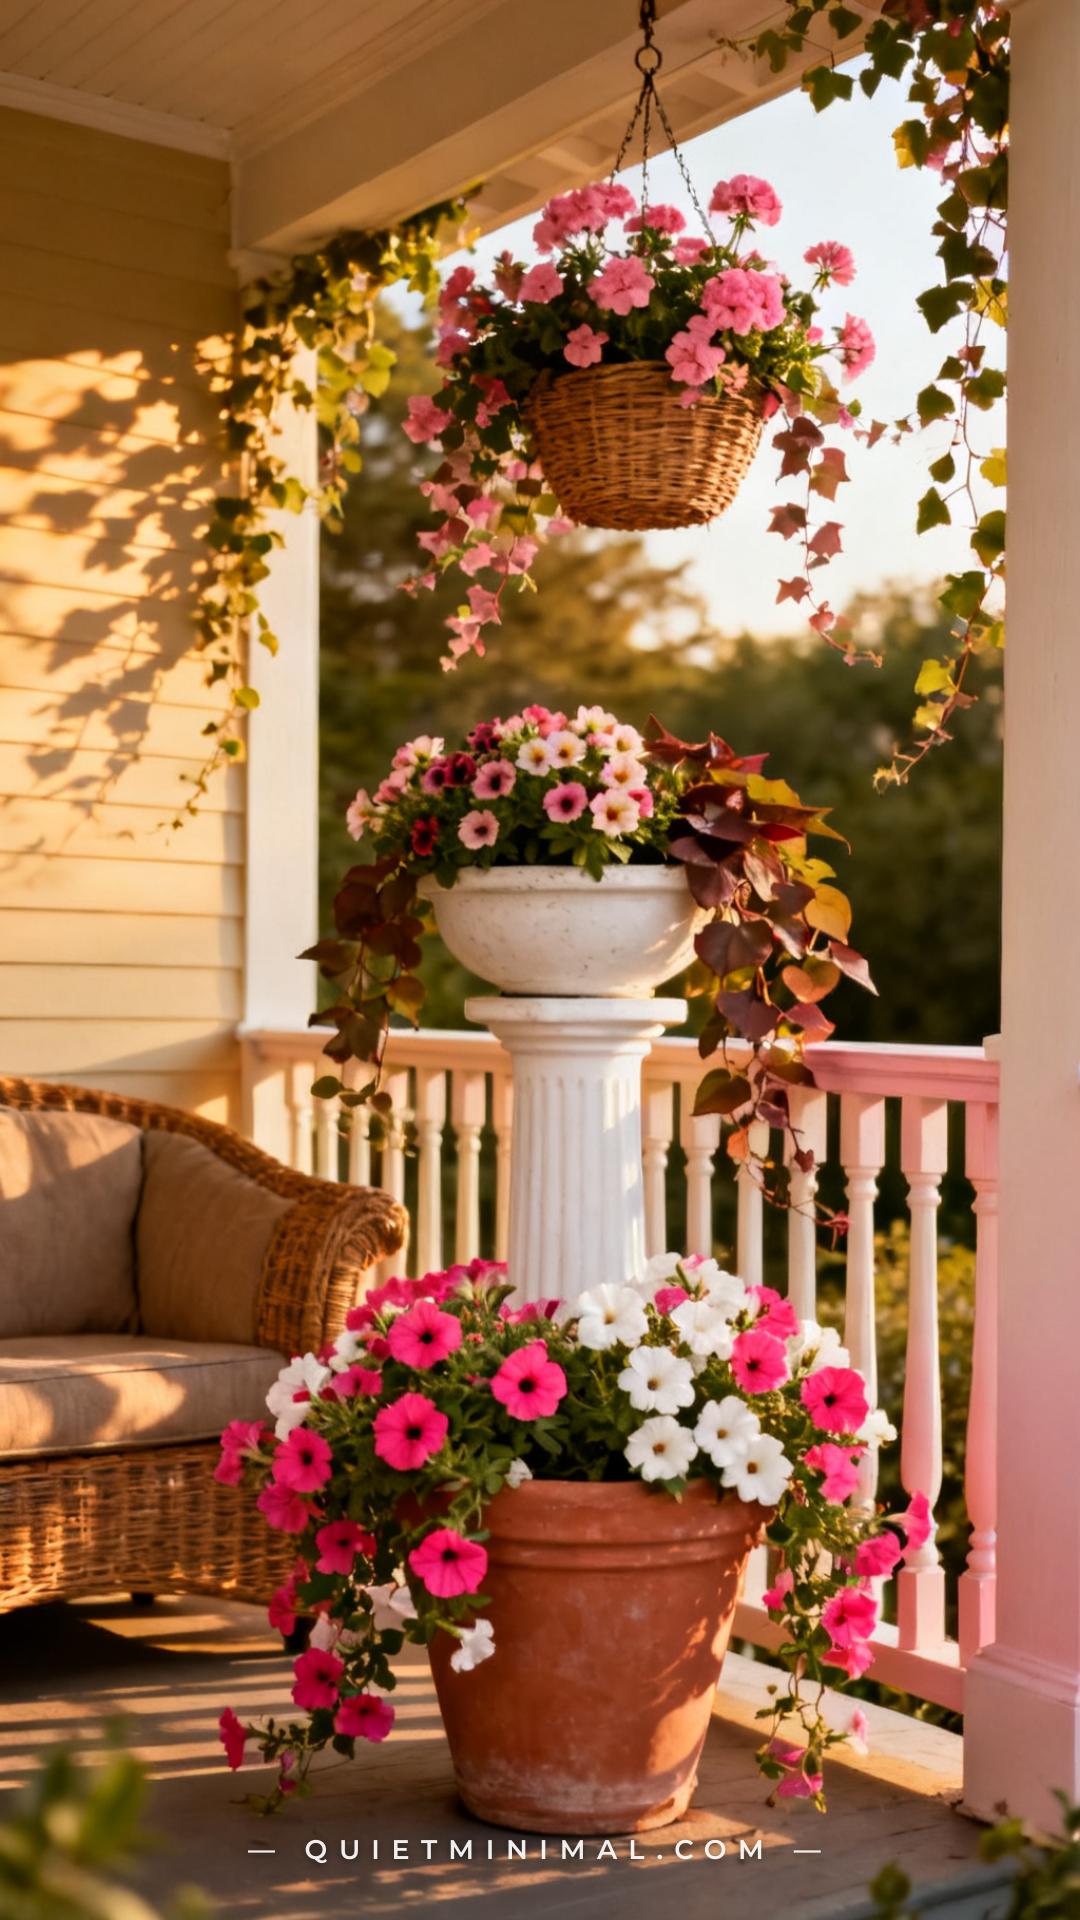
Single pots at a single height are the most common porch planting mistake. They read as decoration rather than design. The fix is a tiered arrangement that spans the vertical plane of the porch — ground level, railing or table height, and overhead — using three distinct planters whose colors, textures, and plant choices relate to each other without being identical.
A proven summer combination: terracotta floor pots with trailing petunias or sweet potato vine at ground level; a pedestal planter or railing box at railing height with calibrachoa (excellent color all summer with minimal deadheading); and hanging baskets with ivy geraniums or trailing lobelia overhead. Vary the container material between terracotta, ceramic, and wicker or rattan for texture contrast that holds visual interest up close and from the street.
Key Takeaway: Plan your planter arrangement in three vertical zones — ground, mid-height, and overhead — before buying a single pot.

5. Choose One Bold Flower Color and Repeat It Three Times
 Save
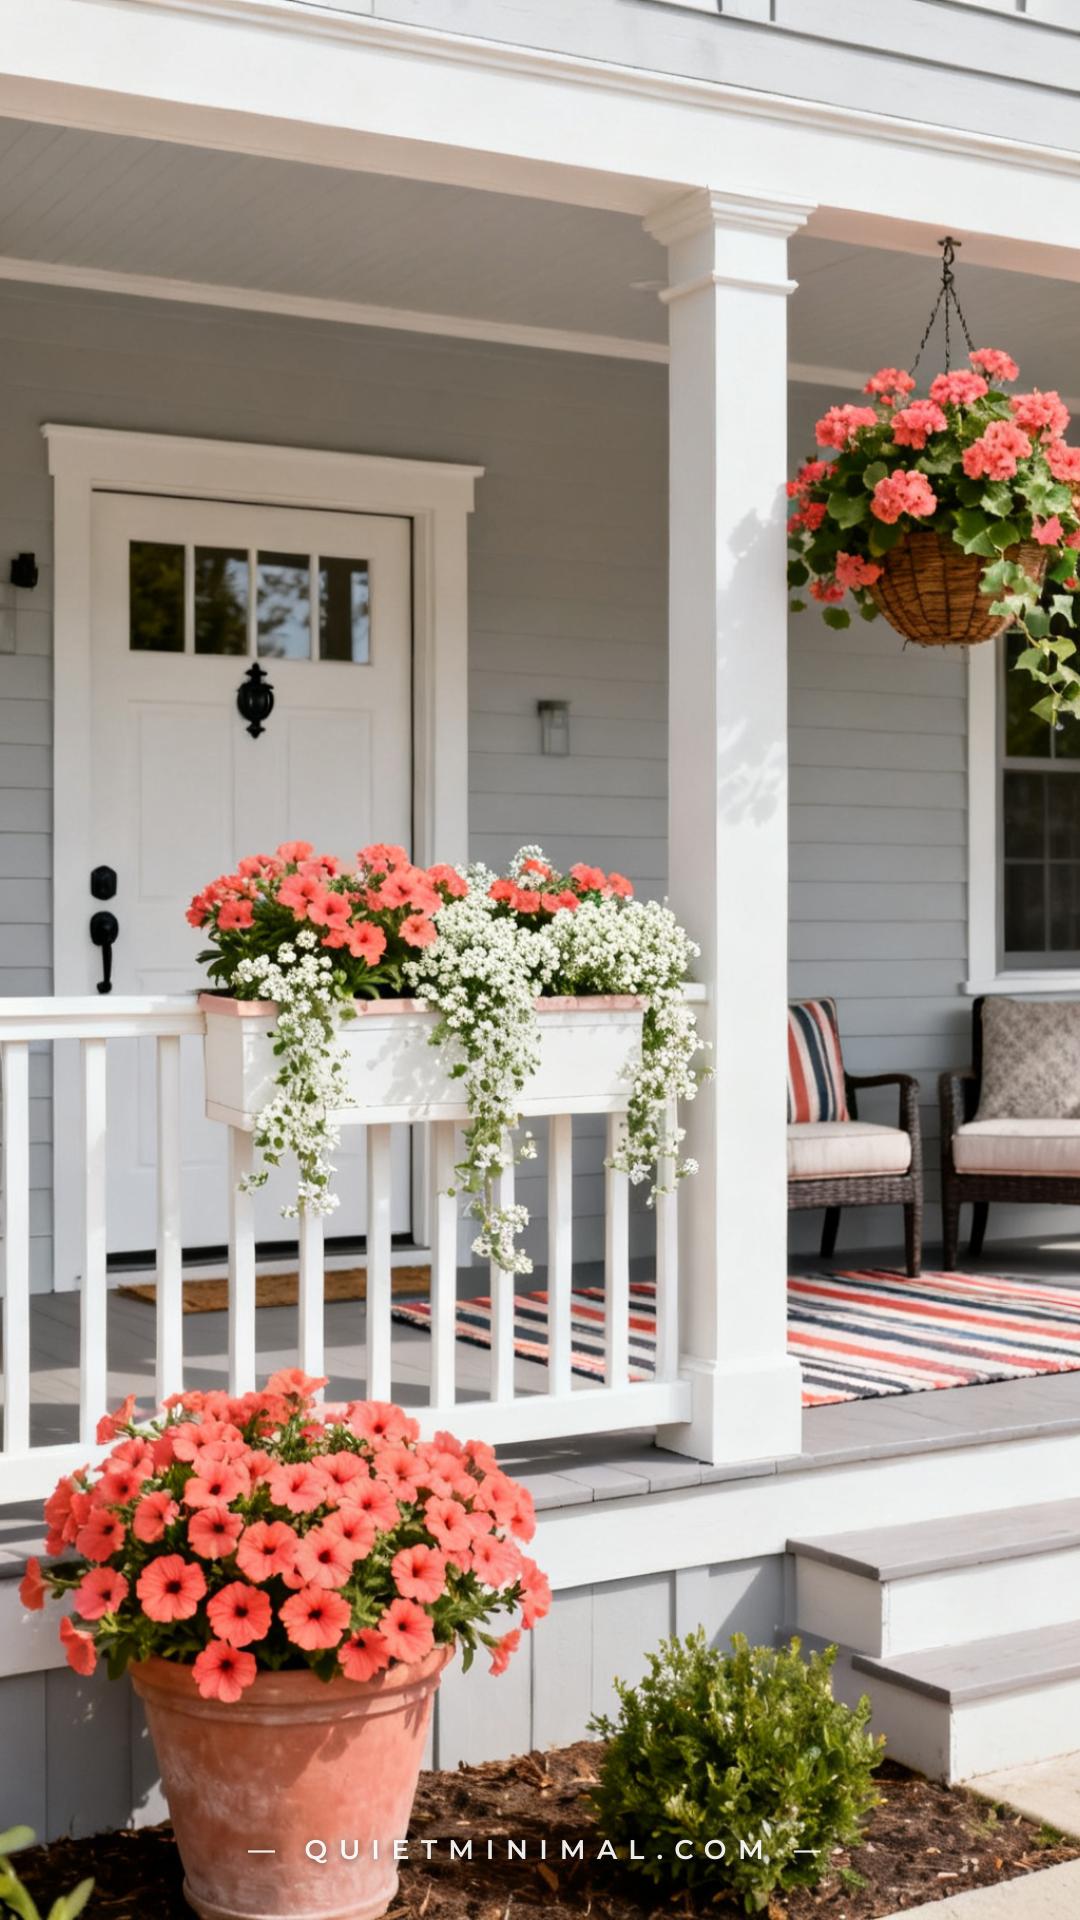
Color chaos is the fastest way to make a beautiful planter arrangement look amateur. Even if every plant you chose is gorgeous in isolation, mismatched colors in adjacent pots compete with each other and tire the eye. The fix is what designers call the “repeat-three” rule: pick one dominant flower color, and make sure it appears in at least three separate spots across the porch — never grouped together, always spaced out.
For summer longevity, coral, hot pink, and soft yellow are the most stable annual colors in heat. They hold their saturation through July and August, unlike lavender or white-only plantings that tend to burn out or wash against painted siding by midsummer. Pair your bold color with a white or lime green filler (sweet alyssum, bacopa, or chartreuse sweet potato vine) to give the eye a visual rest point between color spots.
Key Takeaway: Pick one dominant flower color before buying a single plant, and deliberately space it across ground, mid-height, and overhead planters to create visual rhythm.

6. Use Throw Pillows to Bridge Indoors and Outdoors
 Save
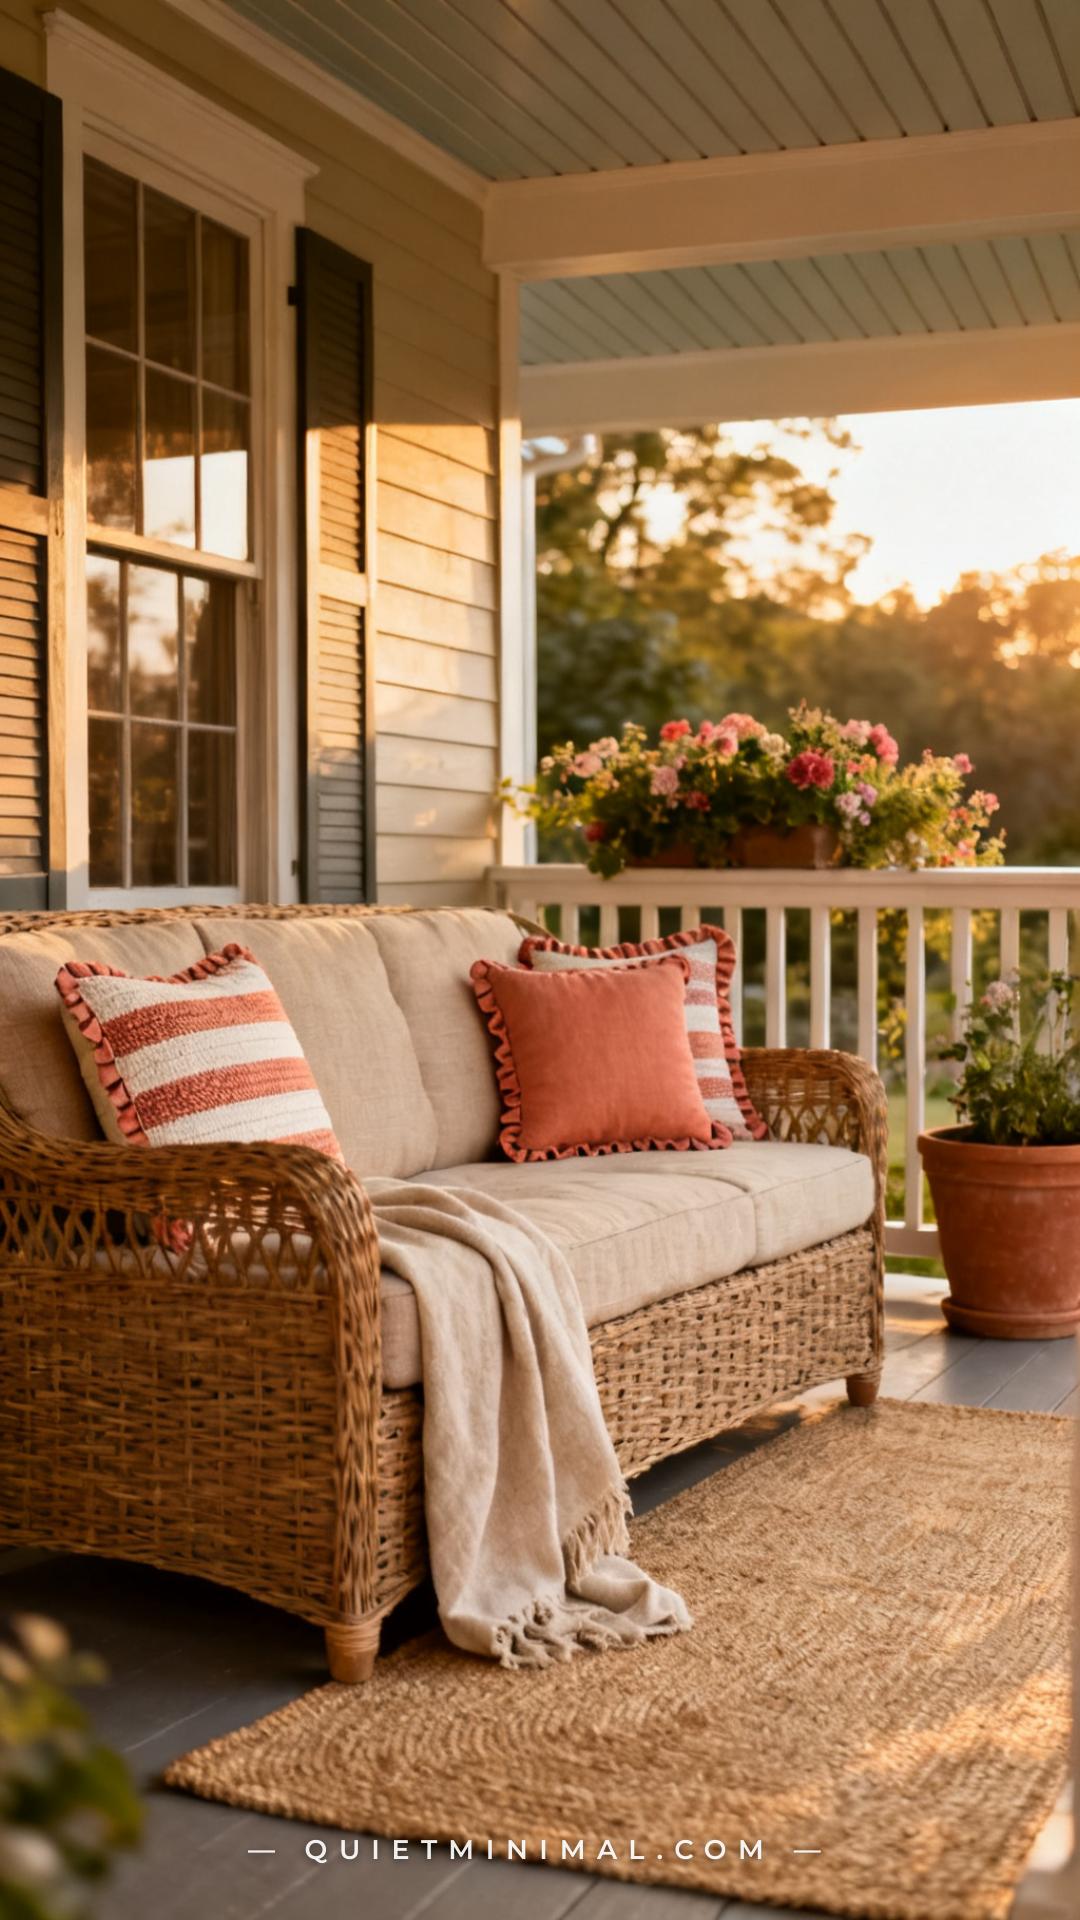
Outdoor throw pillows do two jobs: they add comfort that actually invites people to sit down, and they introduce pattern and color that links the planter scheme to the seating scheme. The mistake most people make is treating outdoor pillows as purely decorative — choosing pretty patterns without connecting them to the rest of the porch’s color story.
The simplest formula: use your dominant flower color as the accent color in at least one pillow, and pull your planter pot color (terracotta, white, black) into your largest pillow’s neutral. This creates a closed color loop — everything on the porch refers back to everything else. For outdoor durability, look for solution-dyed acrylic fabric (Sunbrella or comparable) rather than polyester prints, which fade in direct sun within a single season.
Key Takeaway: Connect your pillow palette directly to your flower colors and planter finishes — the porch should look like one designed room, not separate shopping decisions.

7. Add a Side Table for Every Seat
 Save
From the guides
You've saved it, wanted it. Here's the how: codes, measurements, order. Your choices make it yours.
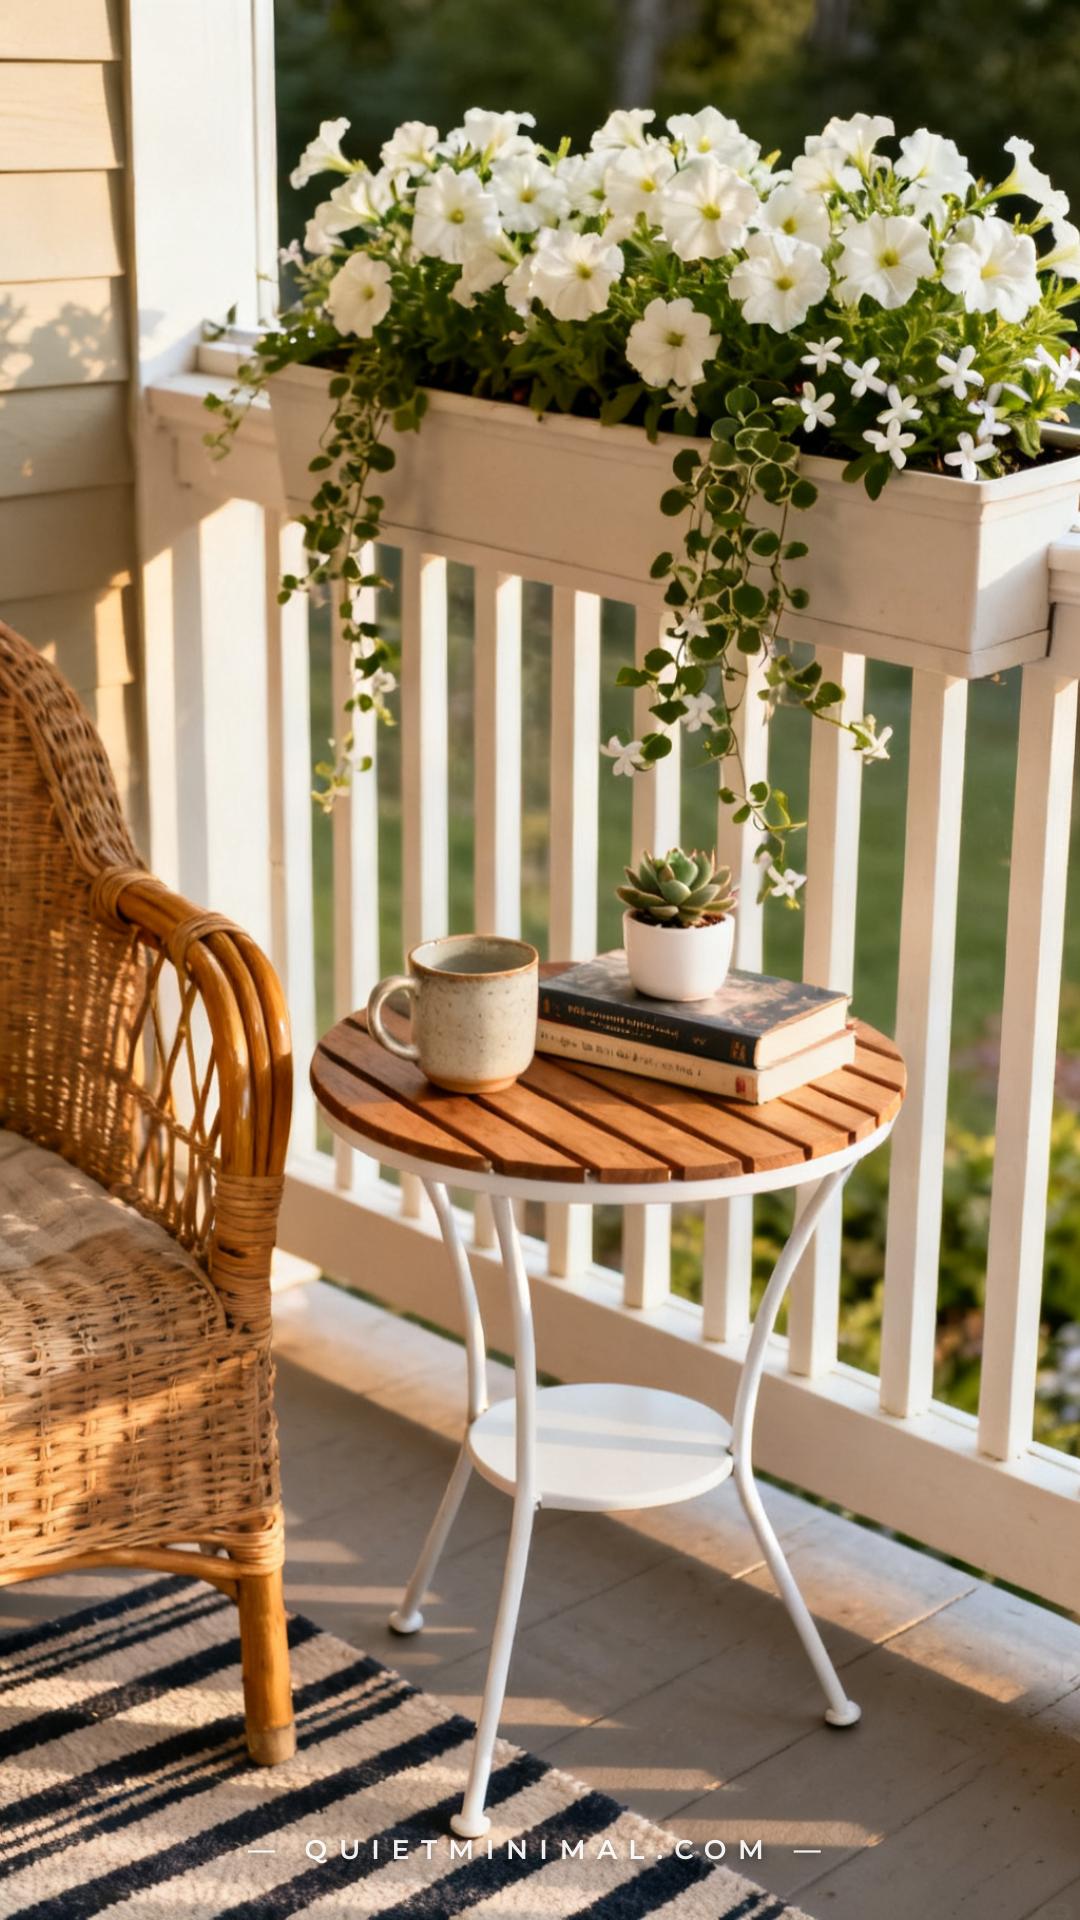
The Japandi Honest PlaybookThe honest version of the style: what to keep, what to skip, and the order to do it in.See inside →The Room Refresh PlaybookA repeatable four-step method, room by room, in ten minutes, thirty minutes, or one weekend.See inside →Make Any Room Feel Cozy on PurposeWhy some rooms hold people and others empty out, and the moves that change it.See inside →Nothing makes a front porch feel less functional — and therefore less used — than seating with nowhere to set a drink, a book, or a candle. A side table beside every seat is not a luxury; it’s the difference between a porch you actually spend time on and one you photograph but avoid. This is also one of the most frequently skipped items in porch setups, which is why porches often feel staged rather than lived-in.
For a standard-width porch, nesting tables or small folding side tables are better choices than fixed-base tables, since you can rearrange them easily when you need more floor space. Material-wise, powder-coated steel, cast aluminum, or teak slatted tops hold up to humidity and rain exposure without warping or rusting. Teak develops a natural silver patina if left untreated, which pairs beautifully with both natural wicker and painted metal furniture.
Key Takeaway: Every seat needs a surface — even a small $30 folding side table transforms a chair from decorative to functional.

8. Hang a Pendant or String Light Zone for Evening Use
 Save
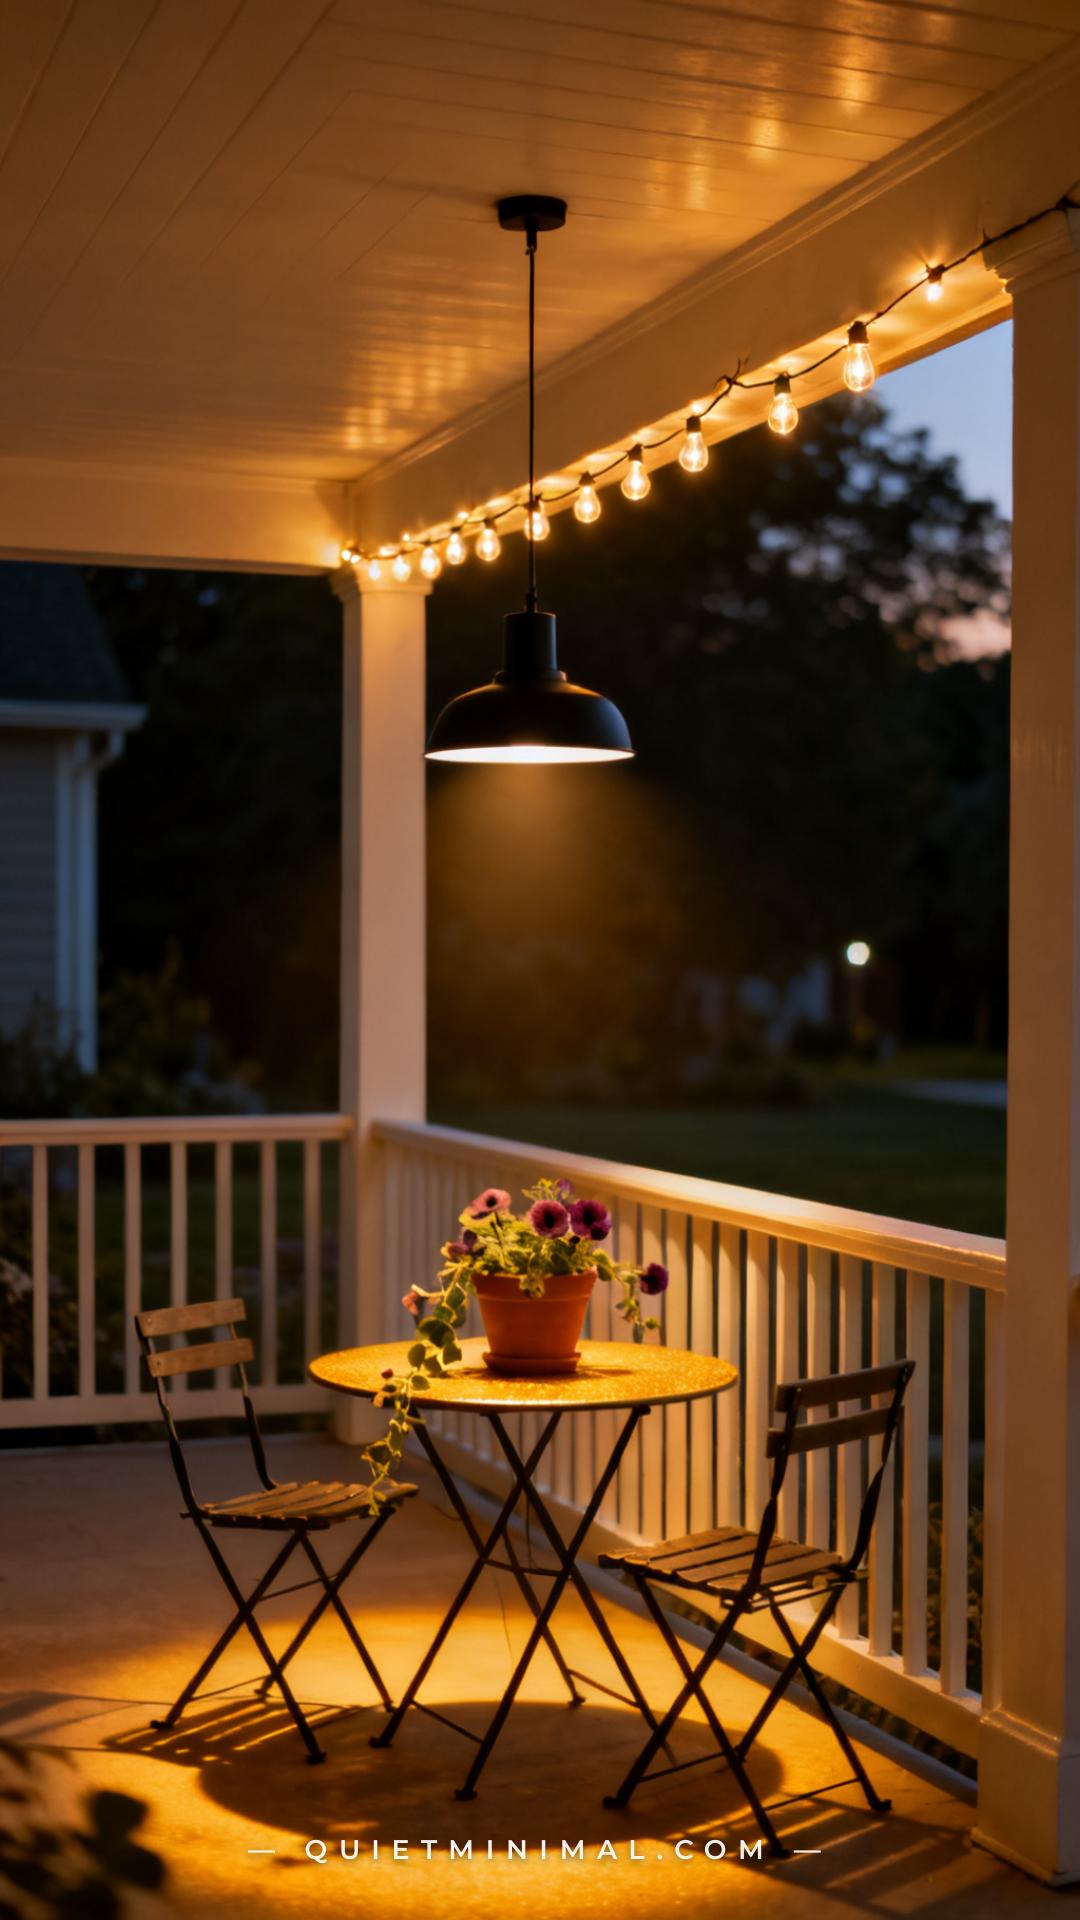
A porch that only works in daylight isn’t truly functional as a living space. Evening lighting transforms the front porch from an arrival point into a genuine destination — and it’s one of the most pinned elements in summer porch content for good reason. The warm glow of a well-placed pendant or string light setup photographs beautifully and is immediately aspirational.
The most effective approach is layered lighting: one anchor fixture (a ceiling fan with integrated light, or a hardwired outdoor pendant) for ambient coverage, and one accent layer (string lights along the porch ceiling edge, or small solar lanterns at ground level) for mood. Avoid cold-white LED strips — they read clinical on camera and make skin tones unflattering in photos. Warm white (2700K–3000K) is the target range for both fixture lights and string lights.
Key Takeaway: Layer two light sources — one ambient overhead anchor and one warm accent layer — so the porch is as functional at 9pm as it is at noon.

9. Frame the Entrance With Matching Flank Planters
 Save
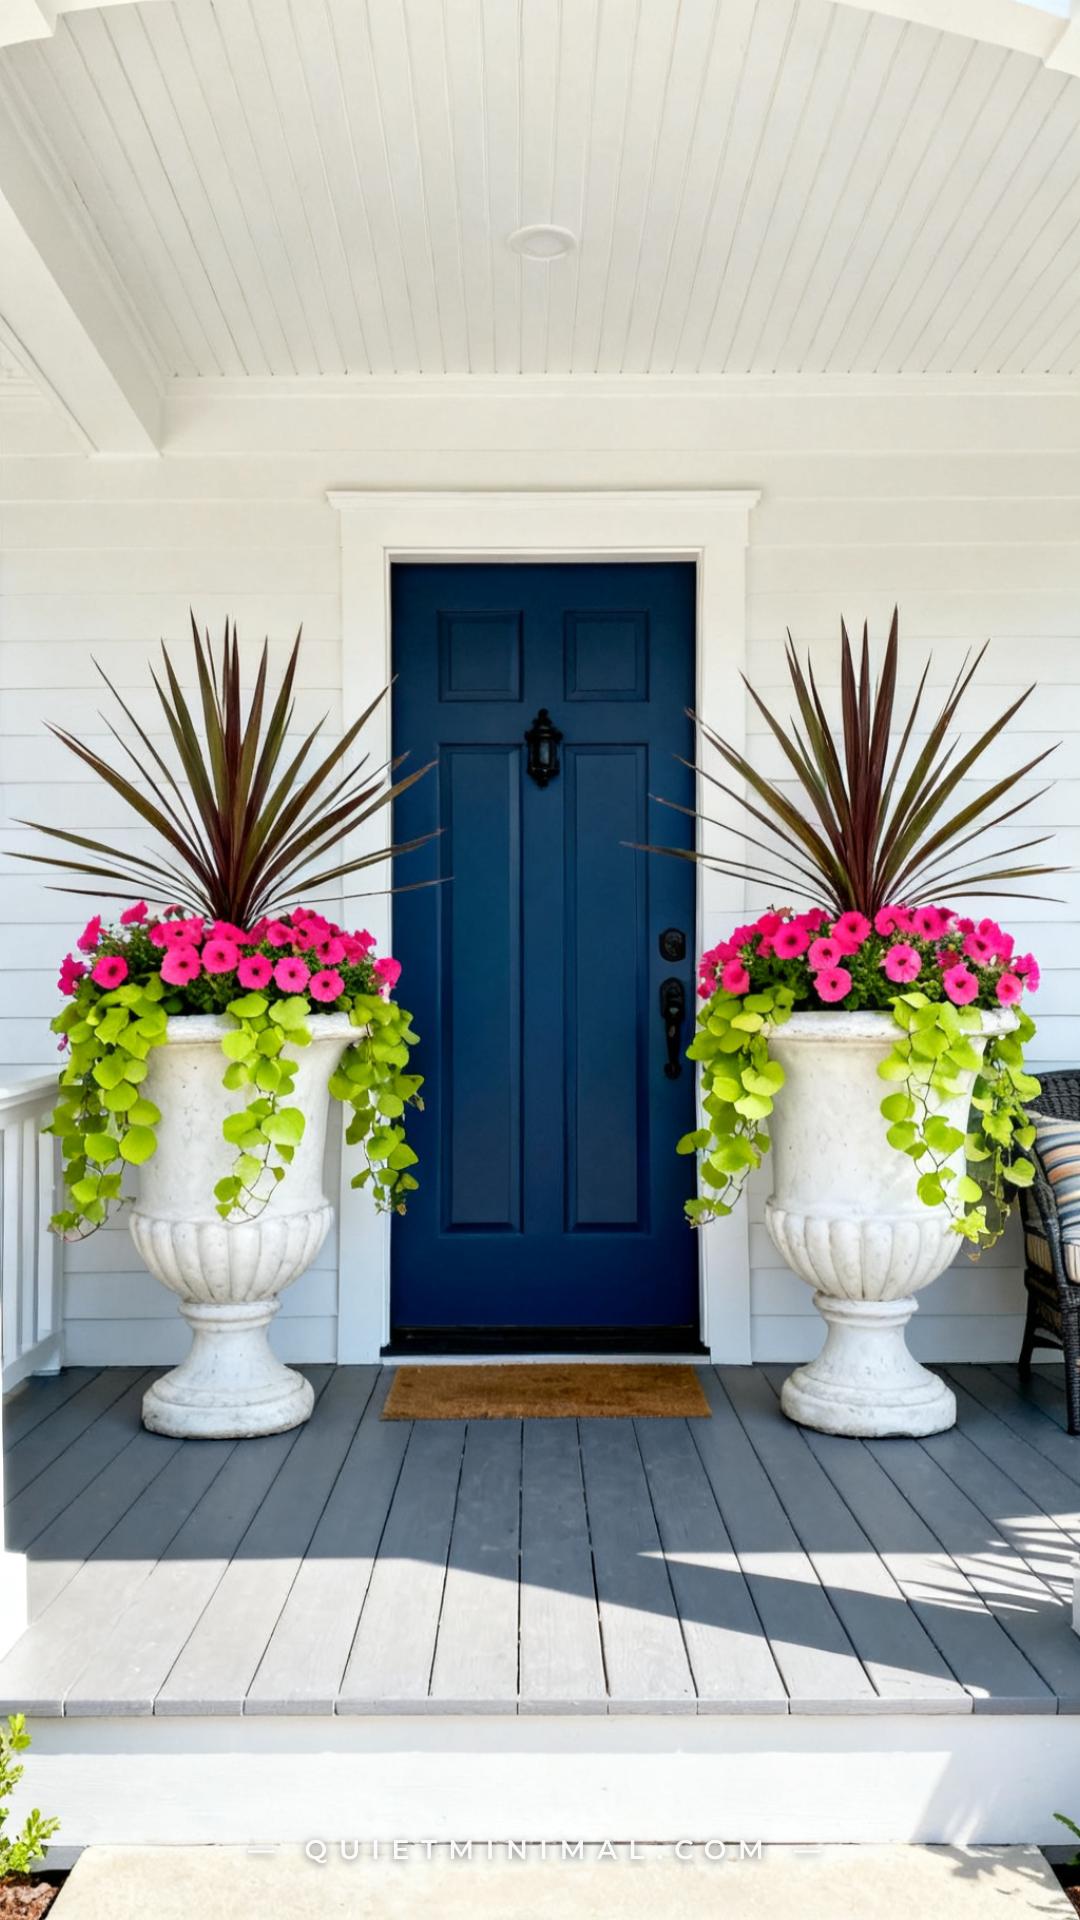
The front door is the natural focal point of any porch — your eye goes there first when approaching the house. Framing it with a pair of matching planters is the single highest-impact move in porch styling because it works architecturally, not just decoratively. Two identical planters on either side of the door signal “this space was designed” in the same way a framed mirror above a console table signals “this entryway was designed.”
The classic thriller-filler-spiller formula works perfectly in flank planters: one upright thriller element (dracaena spike, ornamental grass, or upright coleus) at the back center; medium flowering filler plants (petunias, begonias, impatiens for shade) in the middle ring; and a trailing spiller (sweet potato vine, bacopa, or trailing verbena) over the rim. Use the same planting recipe in both pots for symmetry, even if you vary the container color slightly.
Key Takeaway: Matching flanking planters at the door are the one porch investment that pays the most visual return — they make the entire house look more intentional from the street.

10. Finish With One Oversized Lantern or Statement Accent
 Save
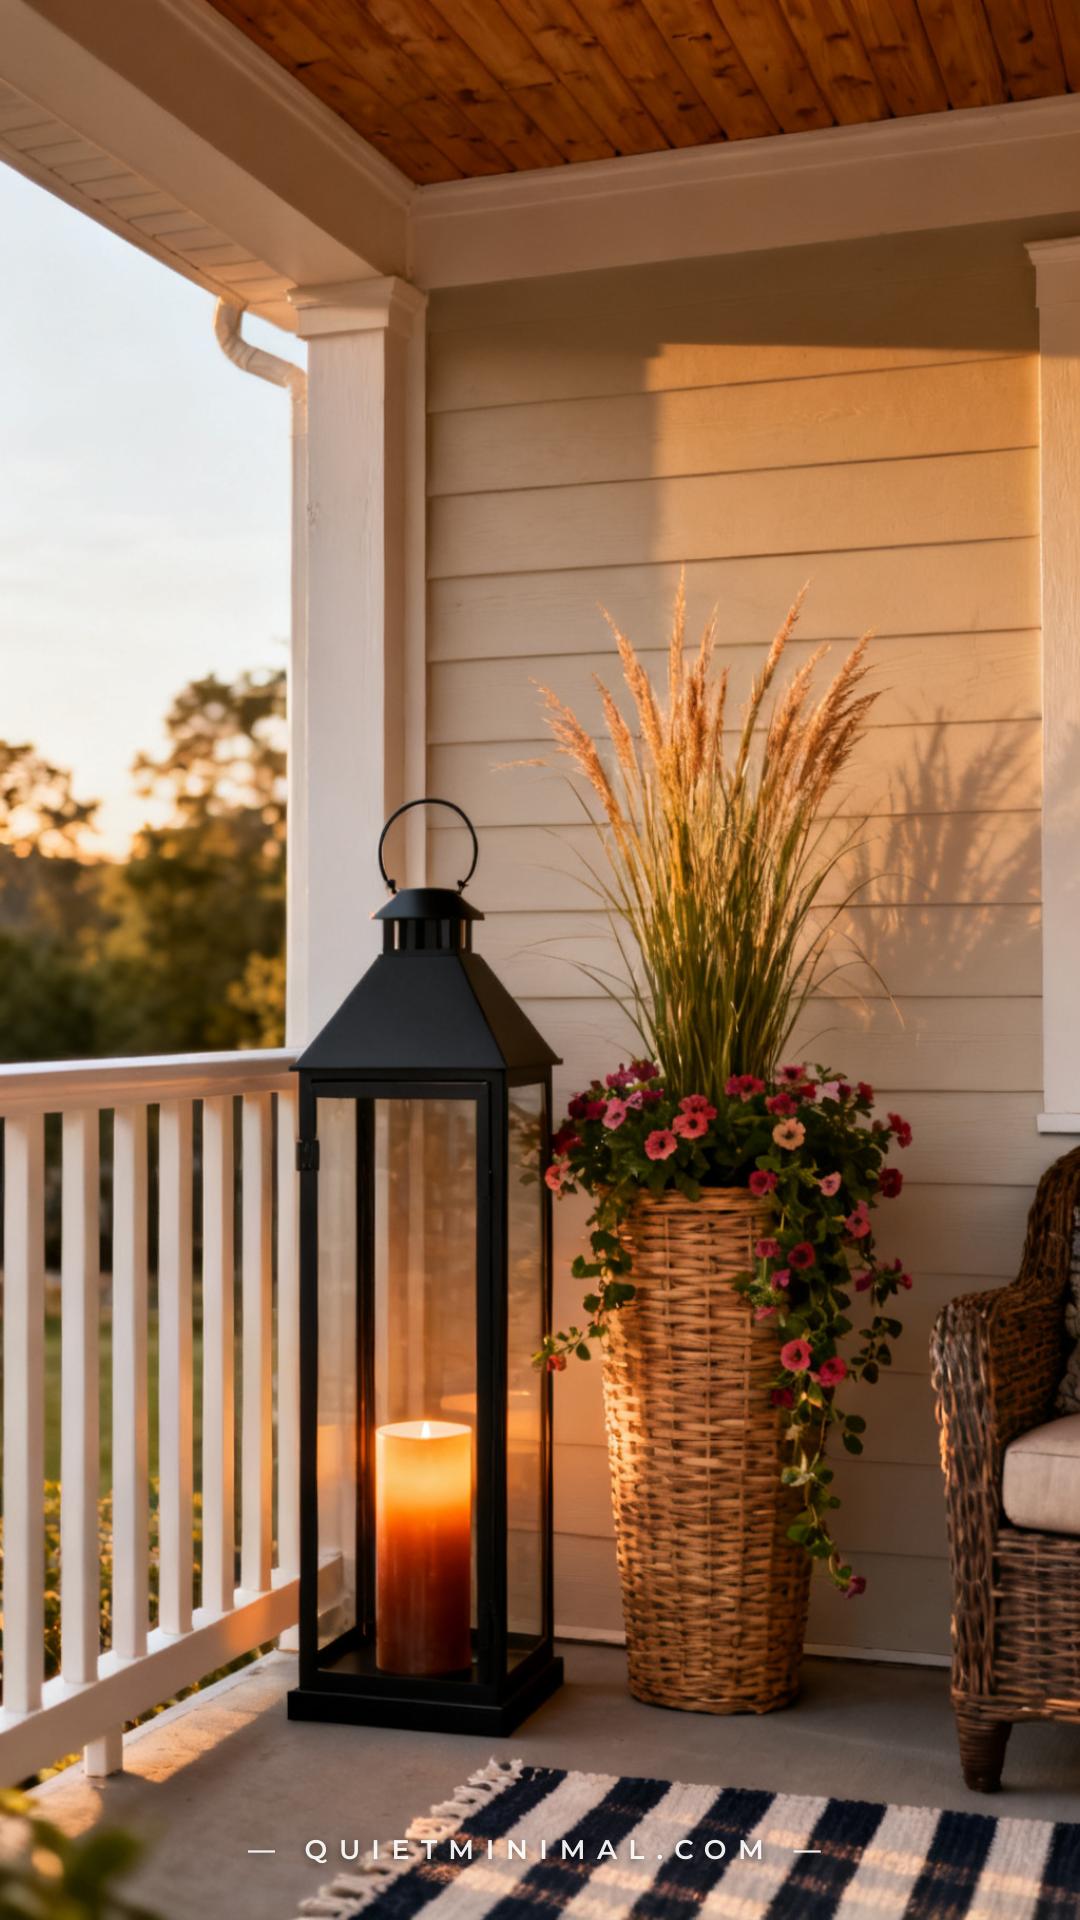
Every well-designed room has a moment — one piece that the eye settles on and that communicates “this space is finished.” On a front porch, that piece is usually a large-scale floor lantern, a ceramic garden stool used as an accent table, or an oversize driftwood or rattan decorative object. It’s not the most functional item on the porch, but its presence is what makes everything around it read as intentional.
For summer, a matte black oversized floor lantern is the most versatile option: it echoes the fan finish (if you followed Step 1), works with any planting scheme, and reads well at street-level scale. Place it at a corner where the porch railing meets the house wall — it anchors that visual dead zone and completes the layered arrangement. Use a flameless LED pillar candle inside for safety and weather resistance.
Key Takeaway: One oversized accent piece — a floor lantern, ceramic stool, or sculptural planter — is what moves your porch from “decorated” to “designed.”

Your Porch Is a Room — Treat It Like One
The difference between a front porch that earns saves on Pinterest and one that earns a second glance from the sidewalk comes down to one principle: every element has to belong to the same design conversation. Your fan finish echoes in your lantern and hardware. Your dominant flower color reappears in your throw pillows. Your seating arrangement has a rug that defines its zone and side tables that make it actually livable. None of these decisions are expensive in isolation — it’s the intentionality between them that creates the look.
Start with the fan and the rug — they’re the two structural anchors that make everything else easier to place. Build your planter heights next, then layer in the seating and textiles. By the time you add the lantern at the corner, the porch should feel like a room that was always meant to be there.
From the guides
You've saved it, wanted it. Here's the how: codes, measurements, order. Your choices make it yours.
The Japandi Honest PlaybookThe honest version of the style: what to keep, what to skip, and the order to do it in.See inside →The Room Refresh PlaybookA repeatable four-step method, room by room, in ten minutes, thirty minutes, or one weekend.See inside →Make Any Room Feel Cozy on PurposeWhy some rooms hold people and others empty out, and the moves that change it.See inside → Save