Georgia
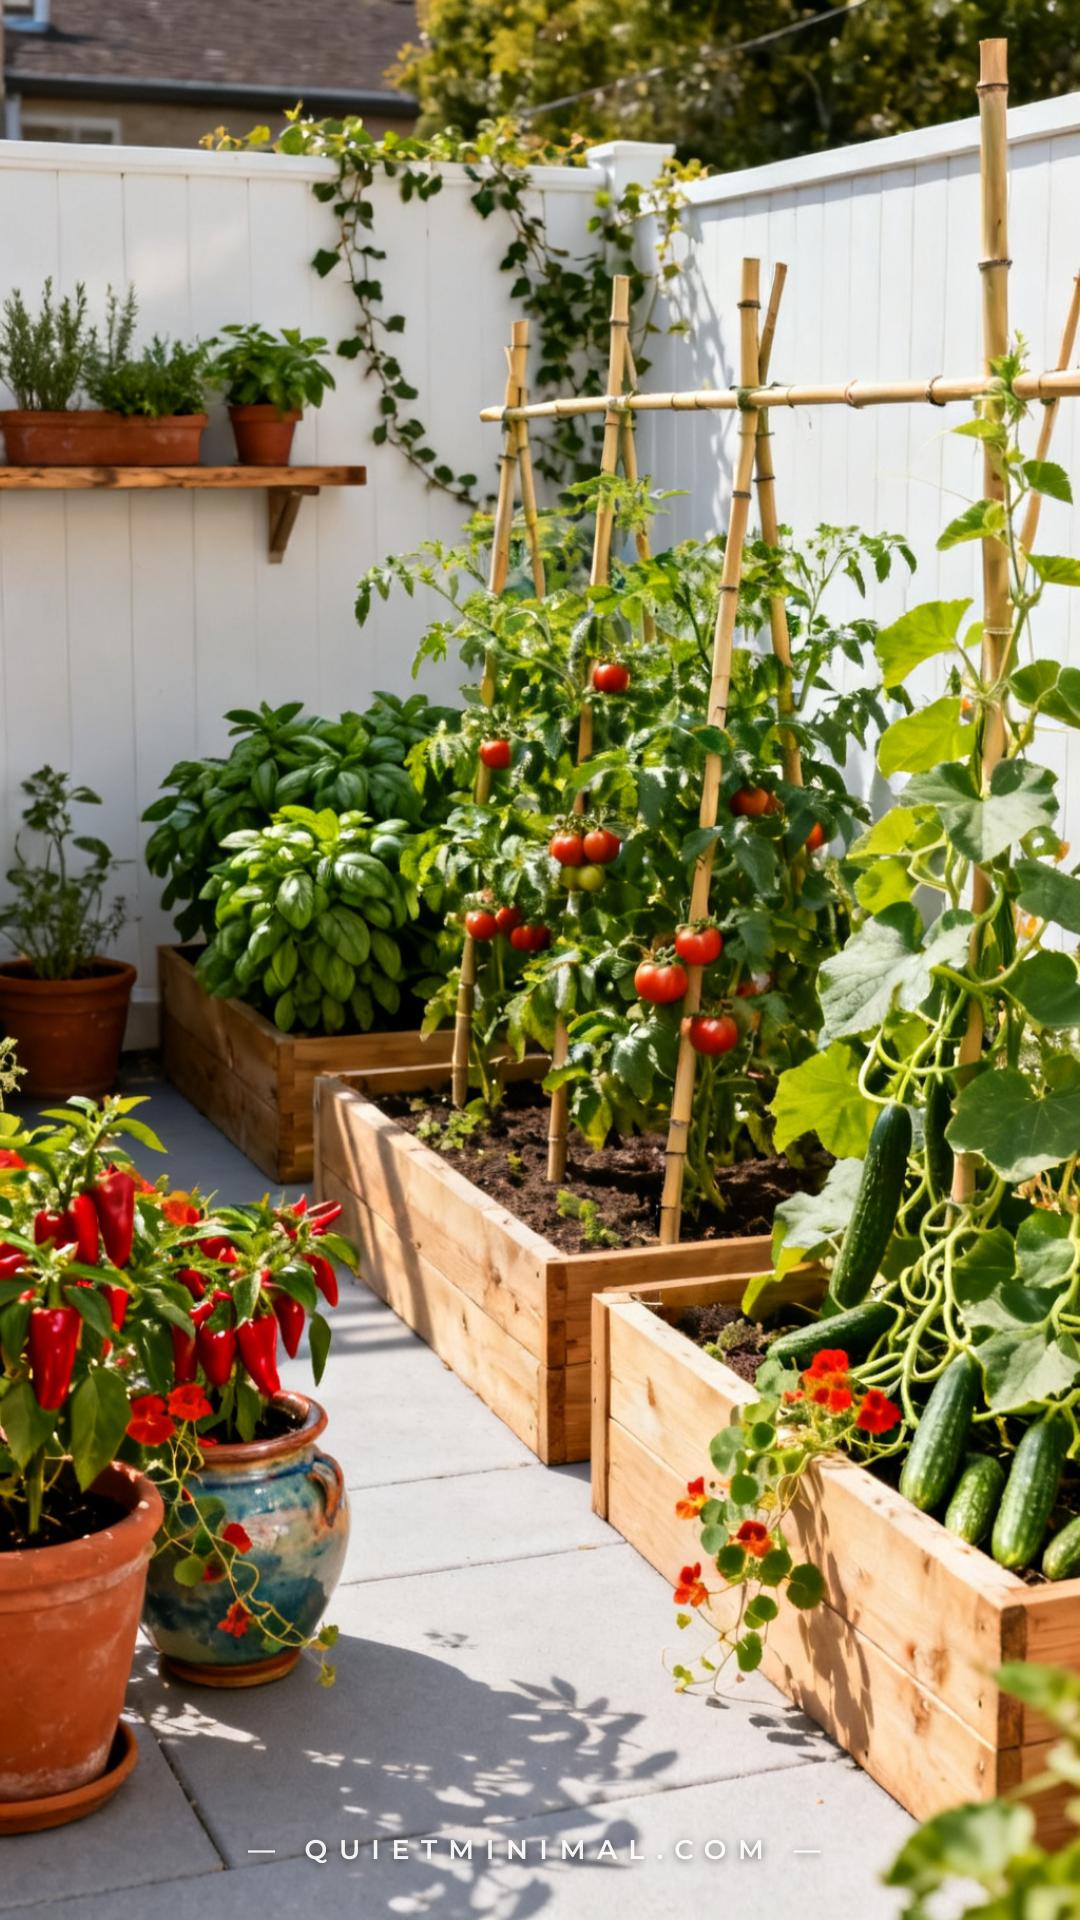
If you’ve ever planted a summer garden with the best intentions and ended up with either nothing, or twenty zucchinis arriving at the exact same moment, this is the article for you. The problem usually isn’t the plants — it’s the setup. Most small-space gardening guides hand you a planting list and call it a day. What they skip is the strategy: how to organize raised beds, containers, and compact backyard plots so that something is ready to harvest from June through September, not just once in August. These 13 ideas cover exactly that — the layout decisions, the plant pairings, the container choices, and the small fixes that turn a patio or postage-stamp yard into a genuinely productive summer kitchen garden.
1. Start With a Succession Planting Calendar, Not a Shopping List
 Save
The single most effective thing you can do before you buy one seed packet is map out a succession planting schedule. This means staggering your plantings every two to three weeks so that as one crop finishes, another is just hitting its stride. For a small raised bed or container setup, this is what separates a garden that feeds you for four months from one that overwhelms you for two weeks and goes dormant.
A simple way to build this: divide your summer into three planting windows — early summer (late May to mid-June), midsummer (mid-June to mid-July), and late summer (late July to mid-August). Assign a different crop to each window in each bed or container. Lettuce and radishes go in early, give way to tomatoes and peppers in the prime window, and make room for a fall crop of kale or chard as summer winds down.
From the guides
You've saved it, wanted it. Here's the how: codes, measurements, order. Your choices make it yours.
 The Japandi Honest PlaybookThe honest version of the style: what to keep, what to skip, and the order to do it in.See inside →
 The Room Refresh PlaybookA repeatable four-step method, room by room, in ten minutes, thirty minutes, or one weekend.See inside →
 Make Any Room Feel Cozy on PurposeWhy some rooms hold people and others empty out, and the moves that change it.See inside →
Key Takeaway: Plan your planting calendar before you shop — staggered timing is the difference between a one-burst harvest and a full-season kitchen garden.
2. Treat Raised Beds and Containers as Separate Ecosystems
 Save
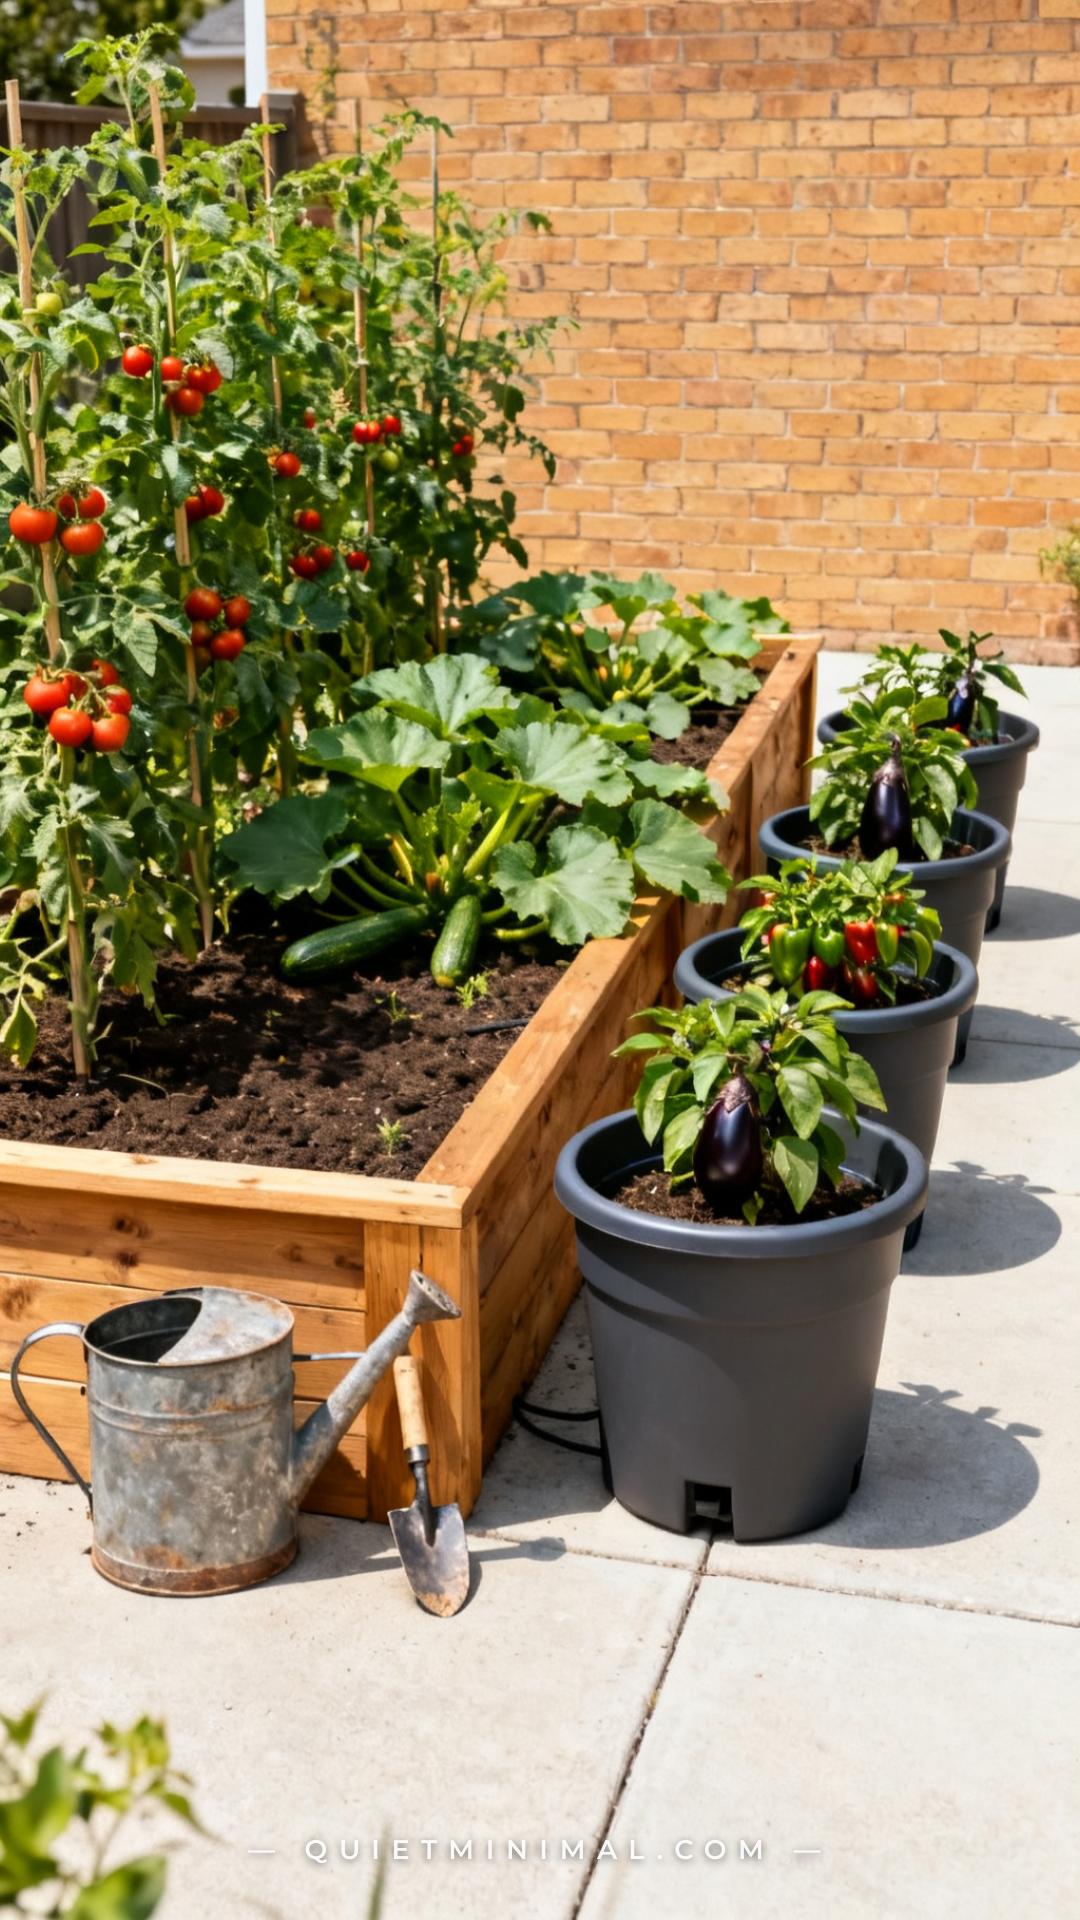
This is the mistake most small-space gardeners make: they treat their raised bed and their patio containers exactly the same way — same watering schedule, same fertilizer timing, same expectations. They’re not the same. A raised bed has significantly more soil volume, which means it retains moisture longer, regulates temperature better, and supports deeper root systems. Containers, especially smaller ones, dry out faster, overheat on pavement in direct sun, and exhaust nutrients much more quickly.
For containers in summer heat, this means watering daily (sometimes twice on 90°F+ days), using a slow-release granular fertilizer at planting, and supplementing with a liquid feed every two weeks. For raised beds, you can stretch to every two to three days with a soaker hose or drip line, and fertilize monthly. Plants that are drought-tolerant or heat-loving — peppers, eggplant, cherry tomatoes — handle containers better. Plants that want consistent moisture — cucumbers, lettuce, chard — thrive in raised beds where the soil buffer is deeper.
Key Takeaway: Water, fertilize, and plant according to each container type’s actual conditions — not a single schedule applied to everything.
3. Build Your Raised Bed Layout Around Vertical Space
 Save
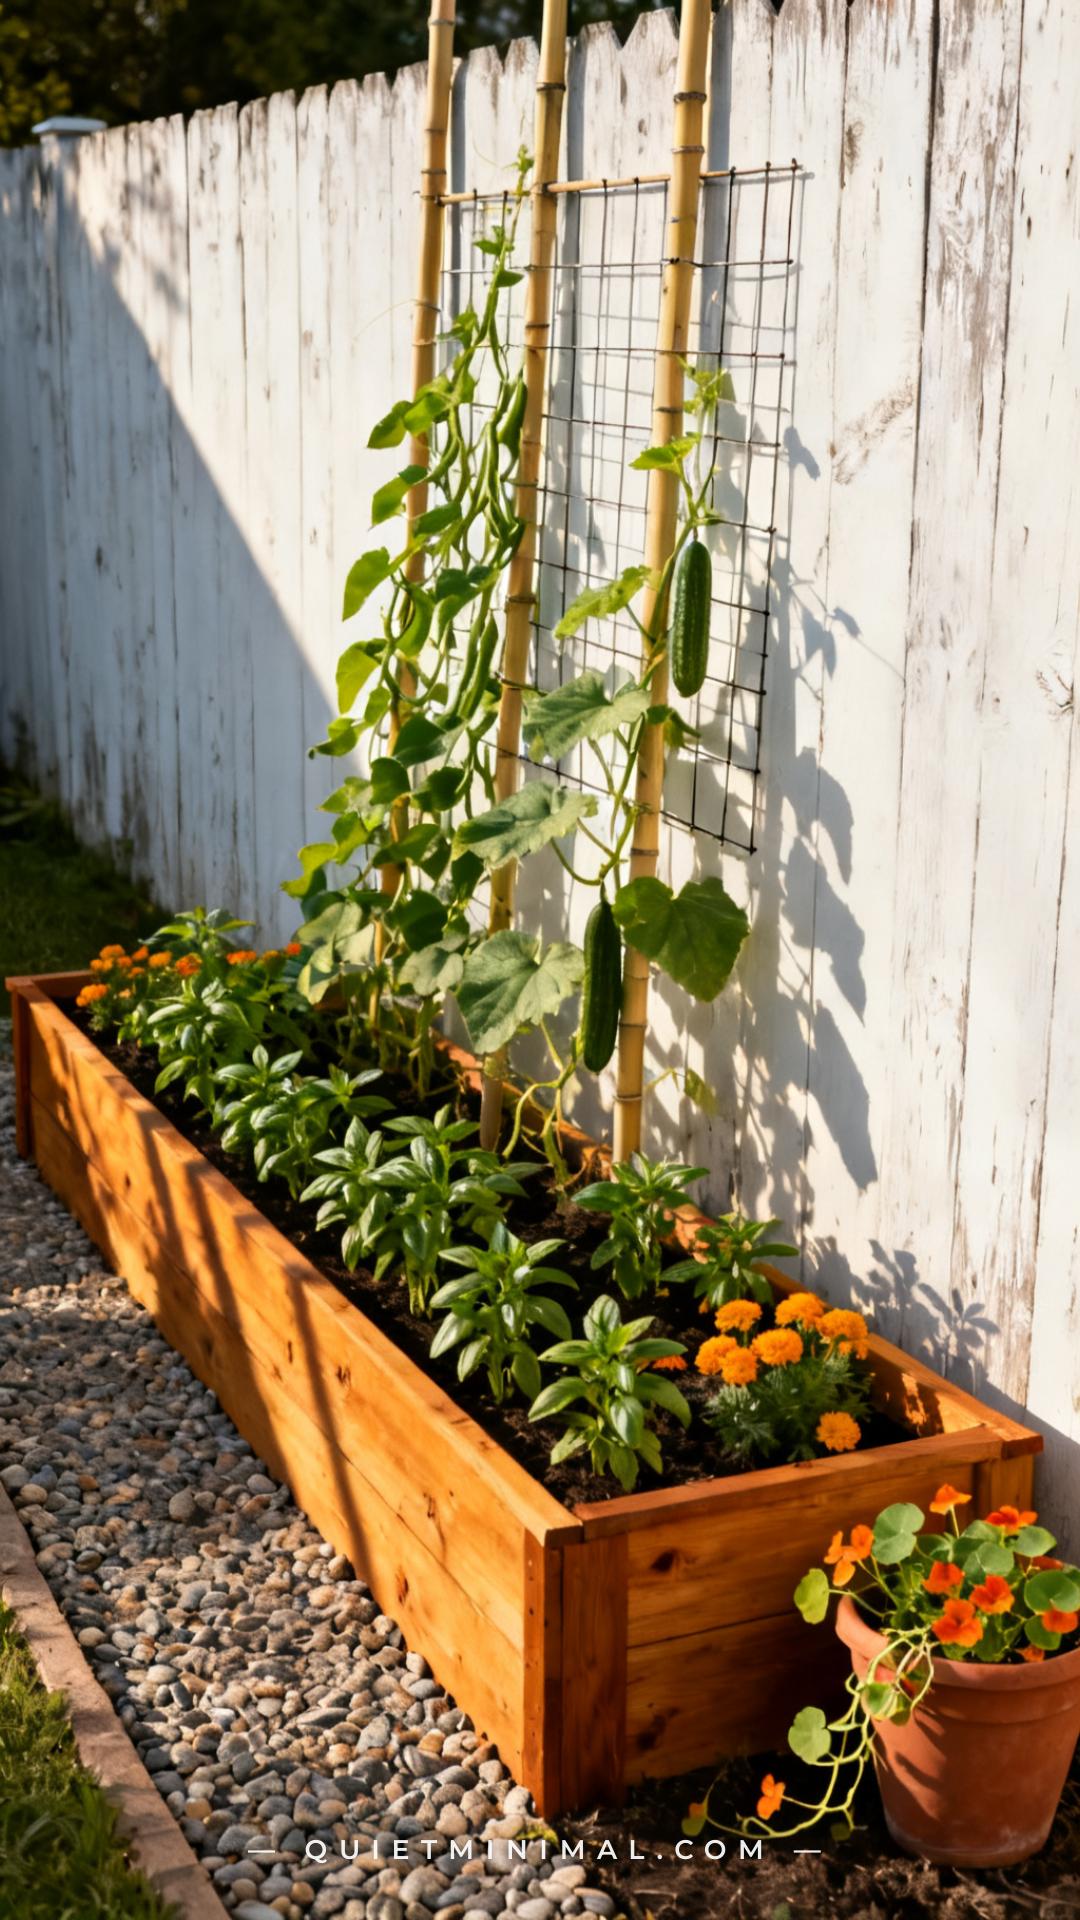
In a small raised bed, horizontal space is precious — vertical space is free. Building upward isn’t just space-efficient, it also improves airflow, reduces fungal disease pressure, and makes harvesting dramatically easier. A simple trellis panel, a set of bamboo stakes and garden twine, or a store-bought tomato cage system along the back edge of a raised bed can double your effective planting area.
The standard layout principle for raised beds is tallest plants at the north or back end (so they don’t shade everything else), medium plants in the center, and low or trailing plants along the south-facing front edge. Climbing beans, cucumbers, and indeterminate tomatoes all take naturally to vertical support. Squash and zucchini, which want to sprawl, can be trained upward too — just requires consistent tying and slightly more attention in the first few weeks.
Key Takeaway: Add a trellis or stake system to the back of every raised bed — going vertical is the most cost-effective way to expand a small garden’s output.
4. Choose the Right Container Size for Each Vegetable
 Save
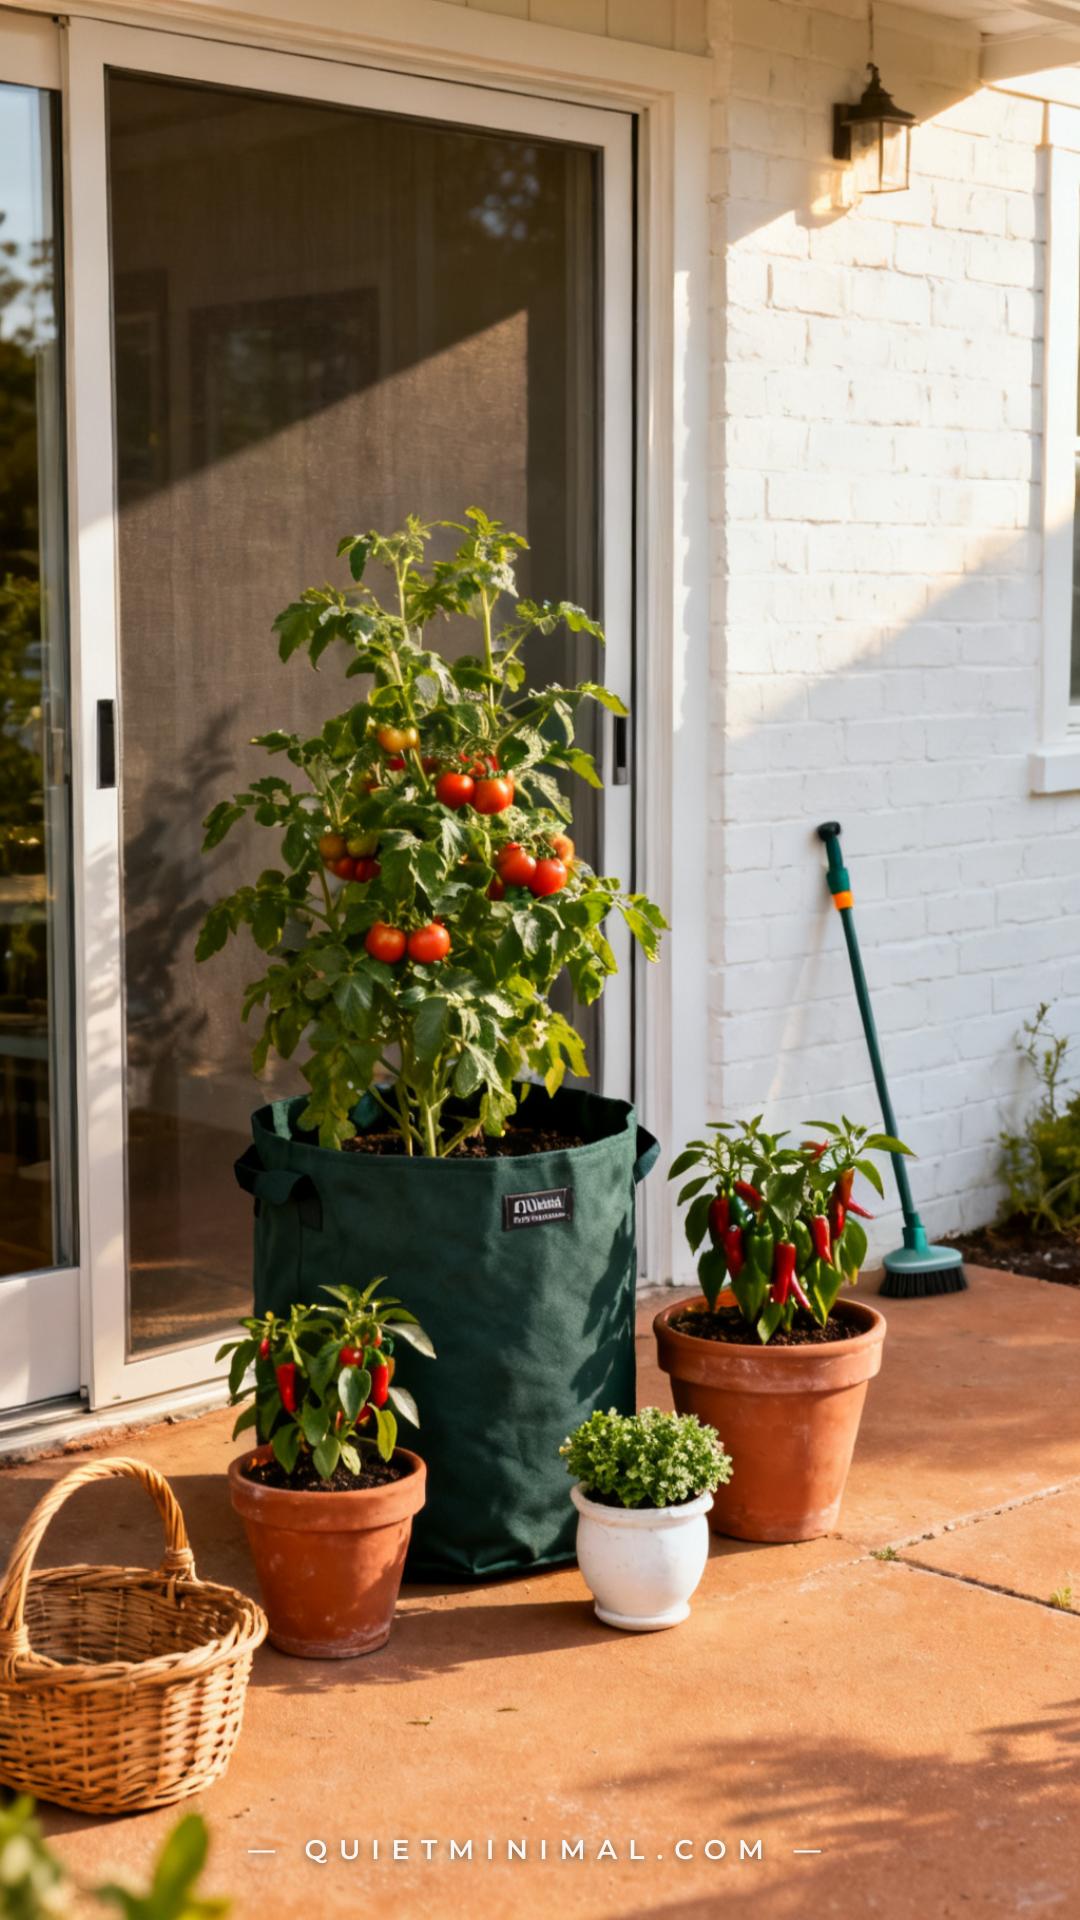
Container size is the single most overlooked variable in small-space vegetable gardening. A tomato plant stuffed into a five-gallon bucket will survive, technically — but it will produce a fraction of what the same plant would in a fifteen to twenty-gallon container with adequate root room. The rule is simple: the bigger the plant, the bigger the vessel, with very few exceptions.
For reference: herbs (basil, parsley, cilantro) do well in 6–8 inch pots. Lettuce, radishes, and shallow-rooted greens: 12-inch wide planters, at least 8 inches deep. Peppers and eggplant: 5-gallon minimum, 10-gallon preferred. Bush tomatoes: 10-gallon minimum. Indeterminate/vining tomatoes: 15–20 gallon. Cucumbers: 5-gallon for compact bush varieties, 10–15 gallon if you’re trellising a vining type. Getting this right from the start prevents the mid-July “why is my plant struggling?” mystery diagnosis.
Key Takeaway: Match container volume to root depth requirements before planting — undersized pots are the hidden cause of most underperforming container vegetables.
5. Use Companion Planting to Solve Two Problems at Once
 Save
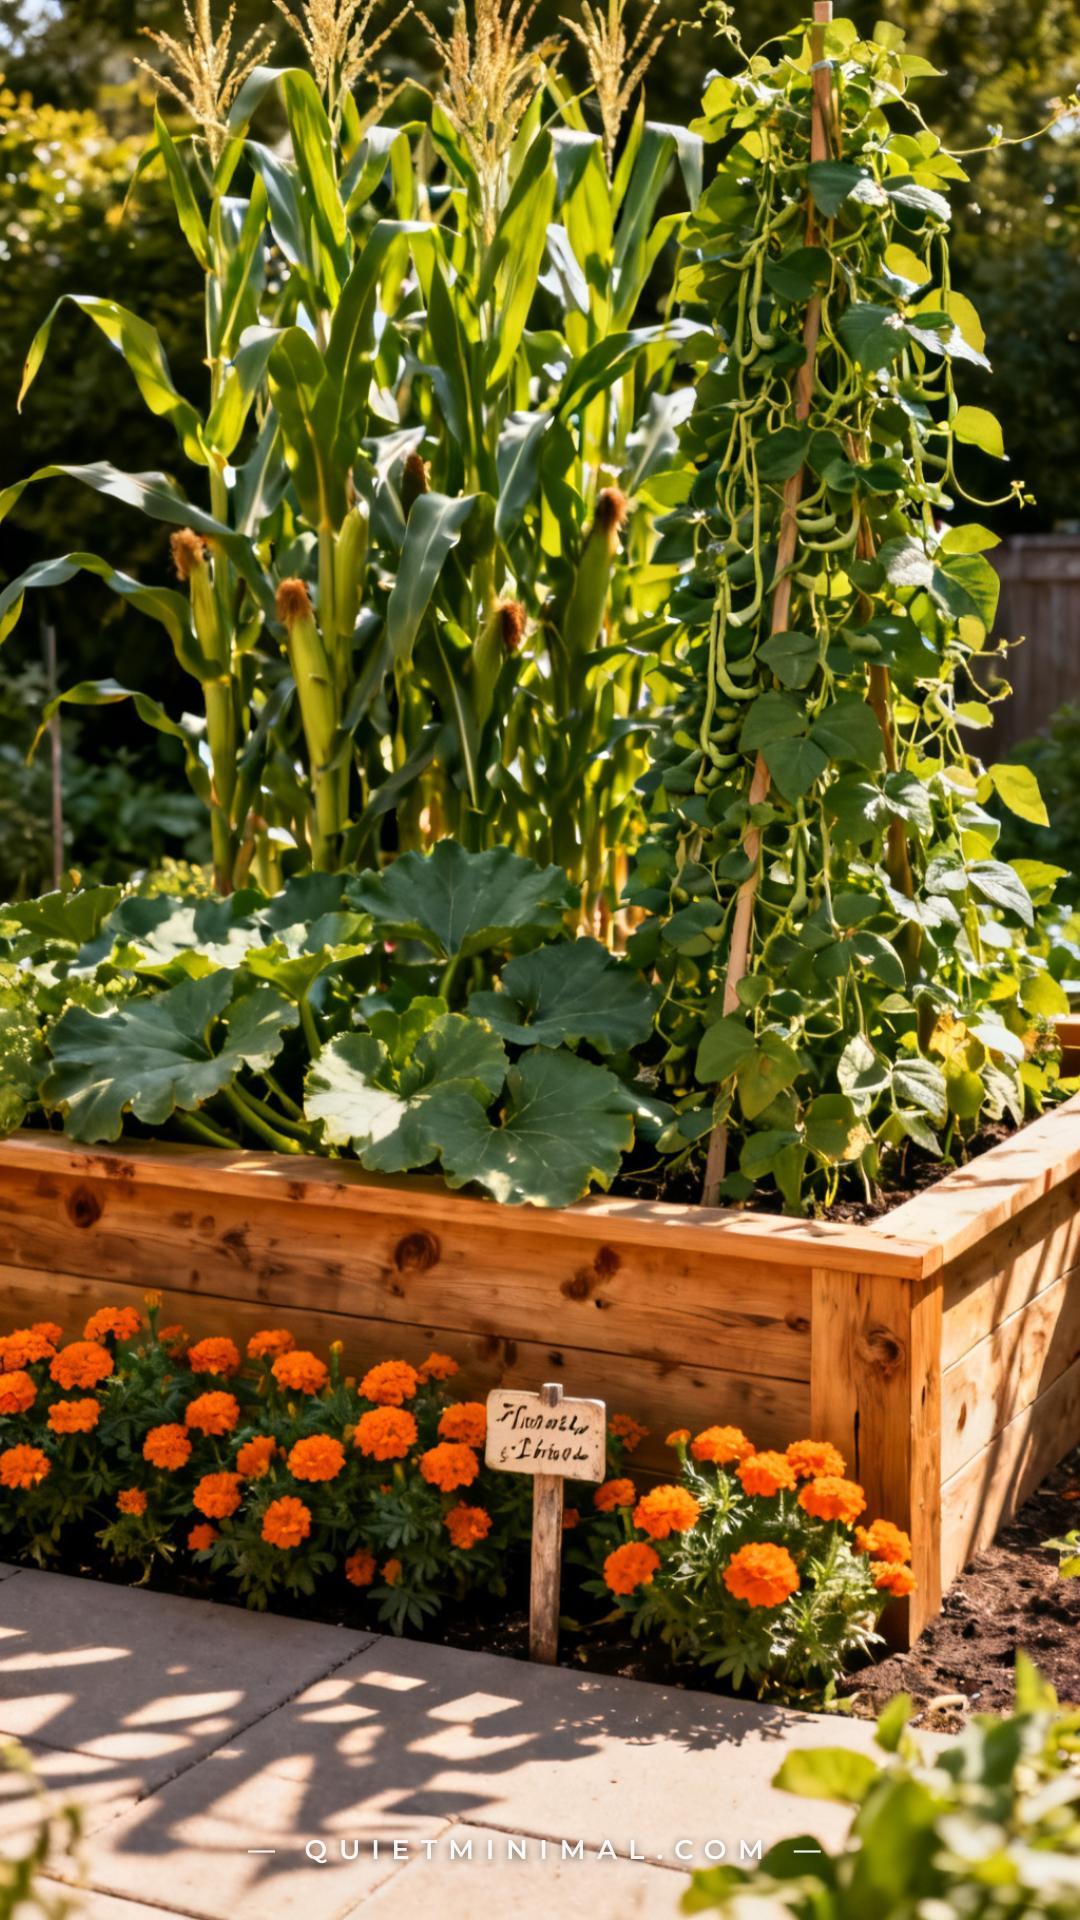
Companion planting serves a dual purpose in small-space gardens: it maximizes the use of every square inch, and it handles pest and pollination issues passively — without sprays or constant intervention. The most functional companions for a summer vegetable garden aren’t just lore — several have solid evidence behind them. Basil planted near tomatoes genuinely improves airflow and is a documented deterrent for aphids and thrips. Marigolds at the border of any raised bed release a root compound that suppresses nematodes and deters whiteflies. Nasturtiums act as a trap crop for aphids — drawing them away from more valuable plants.
For small backyard plots, the practical companion list to memorize is: tomatoes + basil + marigolds (the core trio), cucumbers + dill (dill attracts beneficial predatory wasps), beans + summer savory (savory deters bean beetles), and peppers + carrots (carrots loosen soil around pepper roots without competing for light). None of these combos require extra space — they occupy the gaps and borders that would otherwise go unused.
Key Takeaway: Plant at least one functional companion alongside every major vegetable — basil, marigolds, or nasturtiums solve multiple small-space garden problems without adding complexity.
6. Set Up Drip Irrigation Before You Need It
 Save
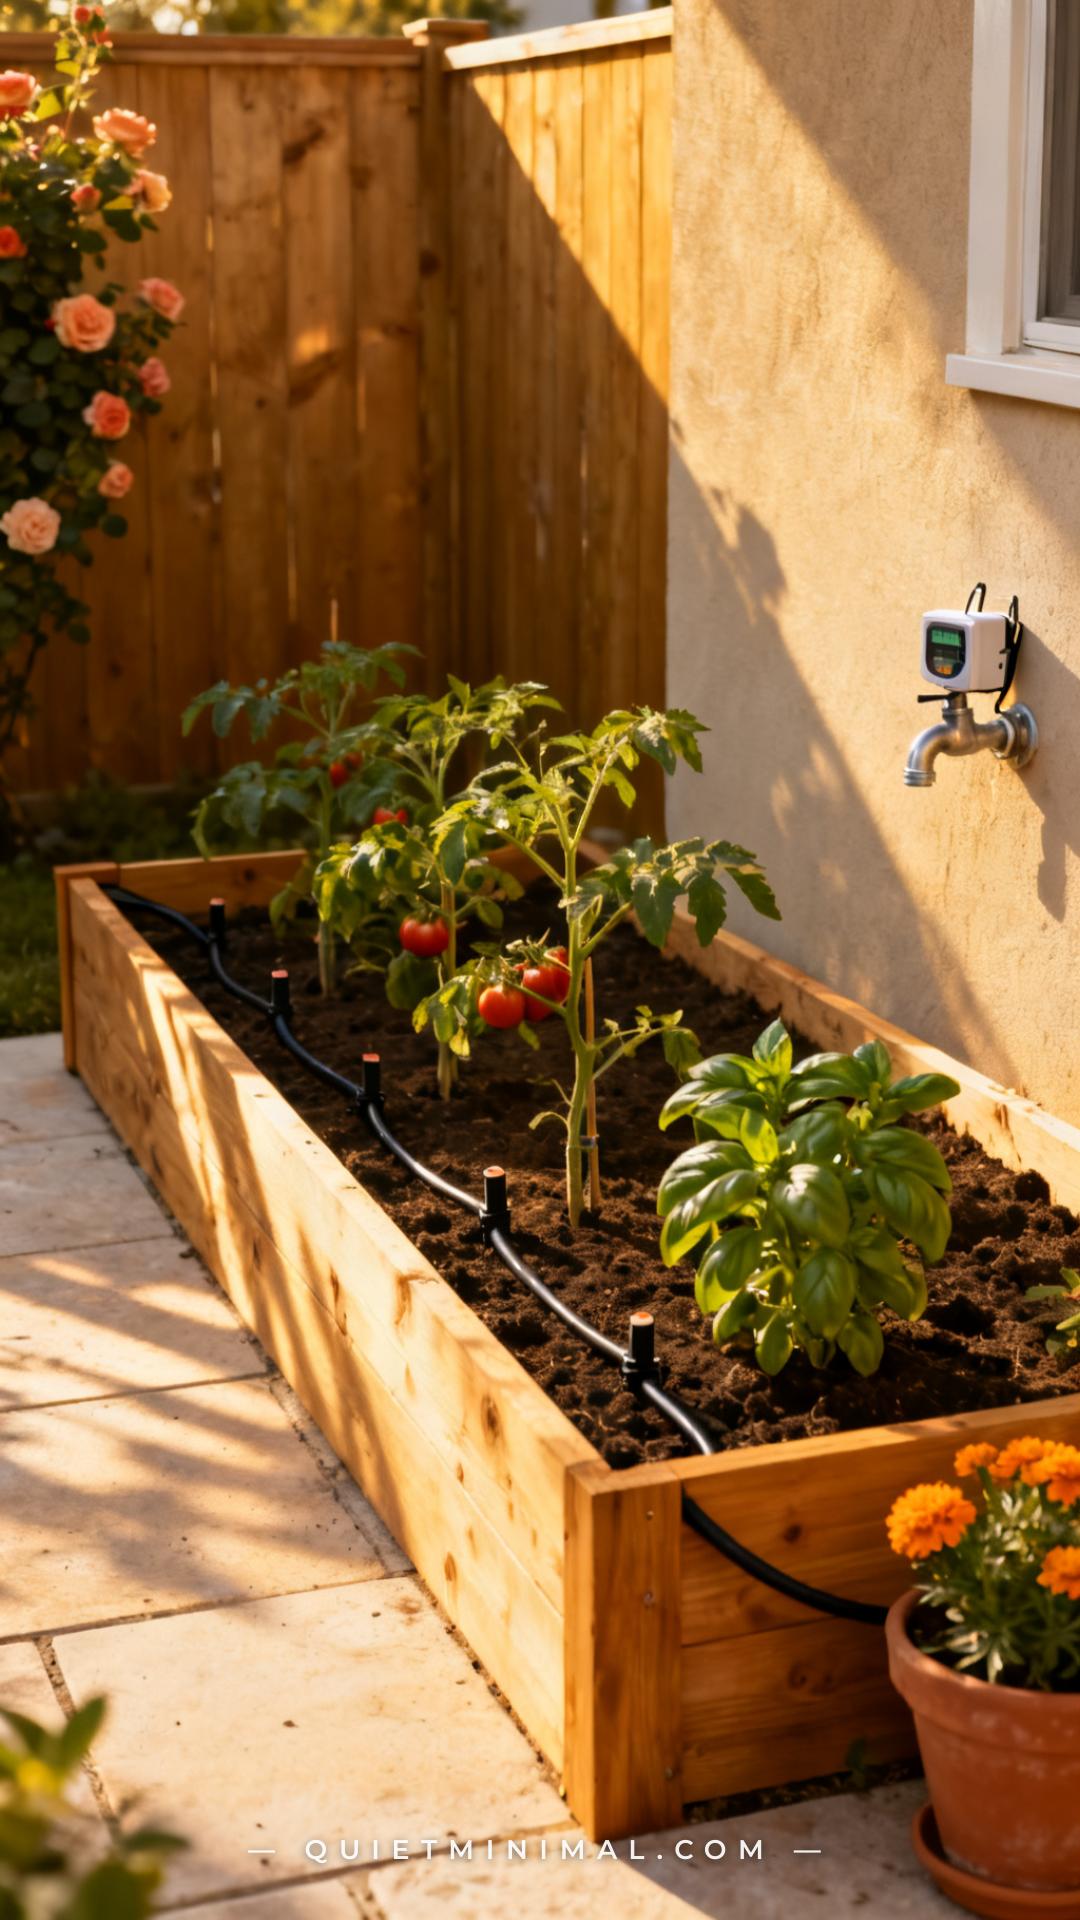
The number one cause of vegetable plant failure in summer isn’t the wrong plant or the wrong soil — it’s inconsistent watering. A seedling that dries out completely even once during a heat wave may recover visually but sets less fruit and grows more slowly for the rest of the season. Drip irrigation is the fix, and setting it up takes about 45 minutes and less than fifty dollars for a basic raised bed system.
A drip line with a battery-powered timer is the most practical small-space setup: one timer, one main line, and individual emitters staked near each plant. Set the timer for early morning (5–7 AM) to reduce evaporation and fungal risk. For containers, self-watering planters with a built-in reservoir are the closest equivalent — they water from below, maintain more consistent soil moisture, and cut watering frequency roughly in half compared to standard pots during summer heat.
Key Takeaway: Install drip irrigation or use self-watering containers before the hottest weeks arrive — consistent soil moisture is the single most impactful variable in summer vegetable production.
7. Prioritize High-Yield, Fast-Turnaround Crops for Small Spaces
 Save
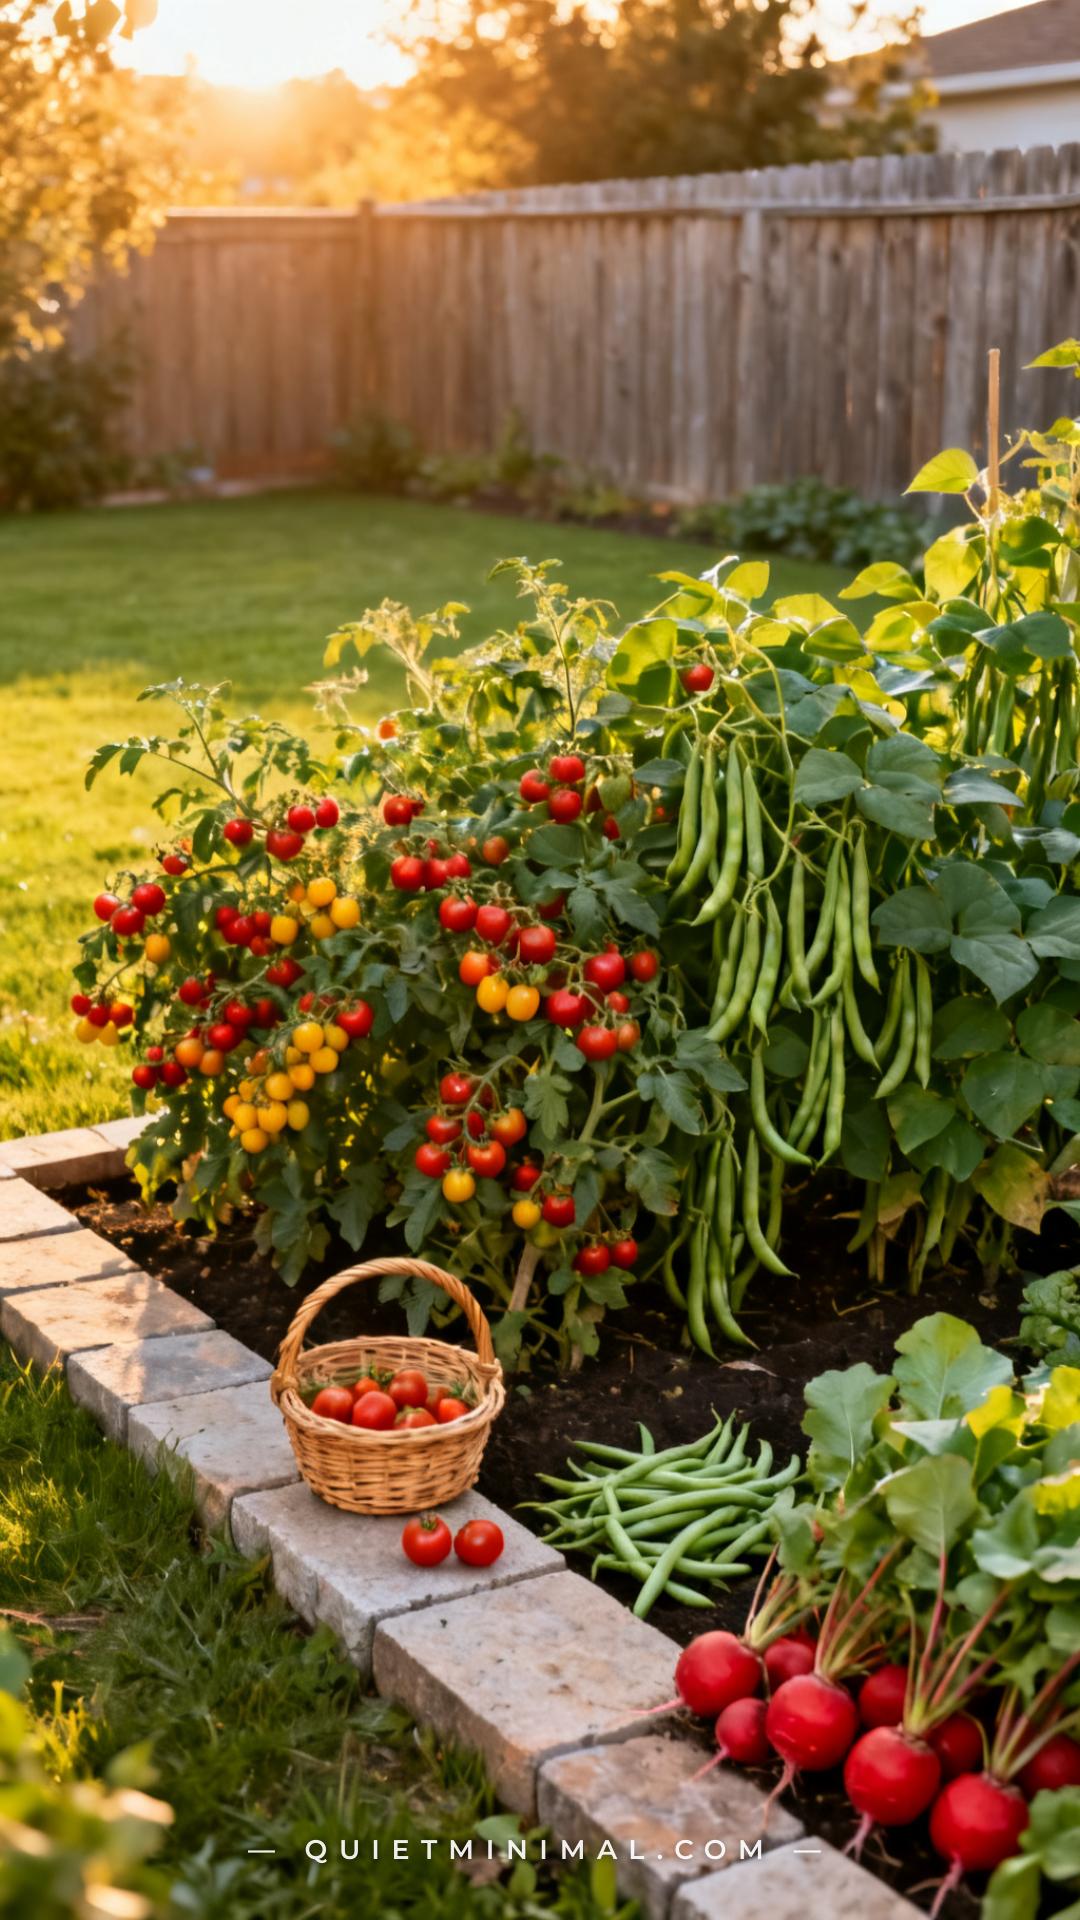
In a small raised bed or container setup, not all vegetables are worth the space. Corn, large-variety winter squash, and sprawling pumpkins are outdoor-space hogs that produce a modest return relative to the real estate they claim. For maximum productivity in a constrained space, choose crops by two criteria: yield per square foot, and speed to harvest.
The highest performers by both measures: cherry tomatoes (continuous harvest from first fruit set until frost), bush green beans (55–60 days, high volume per plant, no staking required), cucumbers (fast-growing, prolific for six to eight weeks on a trellis), summer squash and zucchini (almost comically productive — two plants per household is typically enough), radishes (22–28 days from seed, gap-fillers between slower crops), lettuce and salad mix (cut-and-come-again, re-harvest every 10–14 days), and fresh herbs (basil, parsley, chives — daily harvest, high culinary value per square foot).
Key Takeaway: Choose vegetables by yield-per-square-foot and speed-to-harvest — high-output, fast-turnaround crops like cherry tomatoes, bush beans, and cucumbers return the most from a small-space investment.
8. Use Soil Mix — Not Garden Soil — in Every Raised Bed and Container
 Save
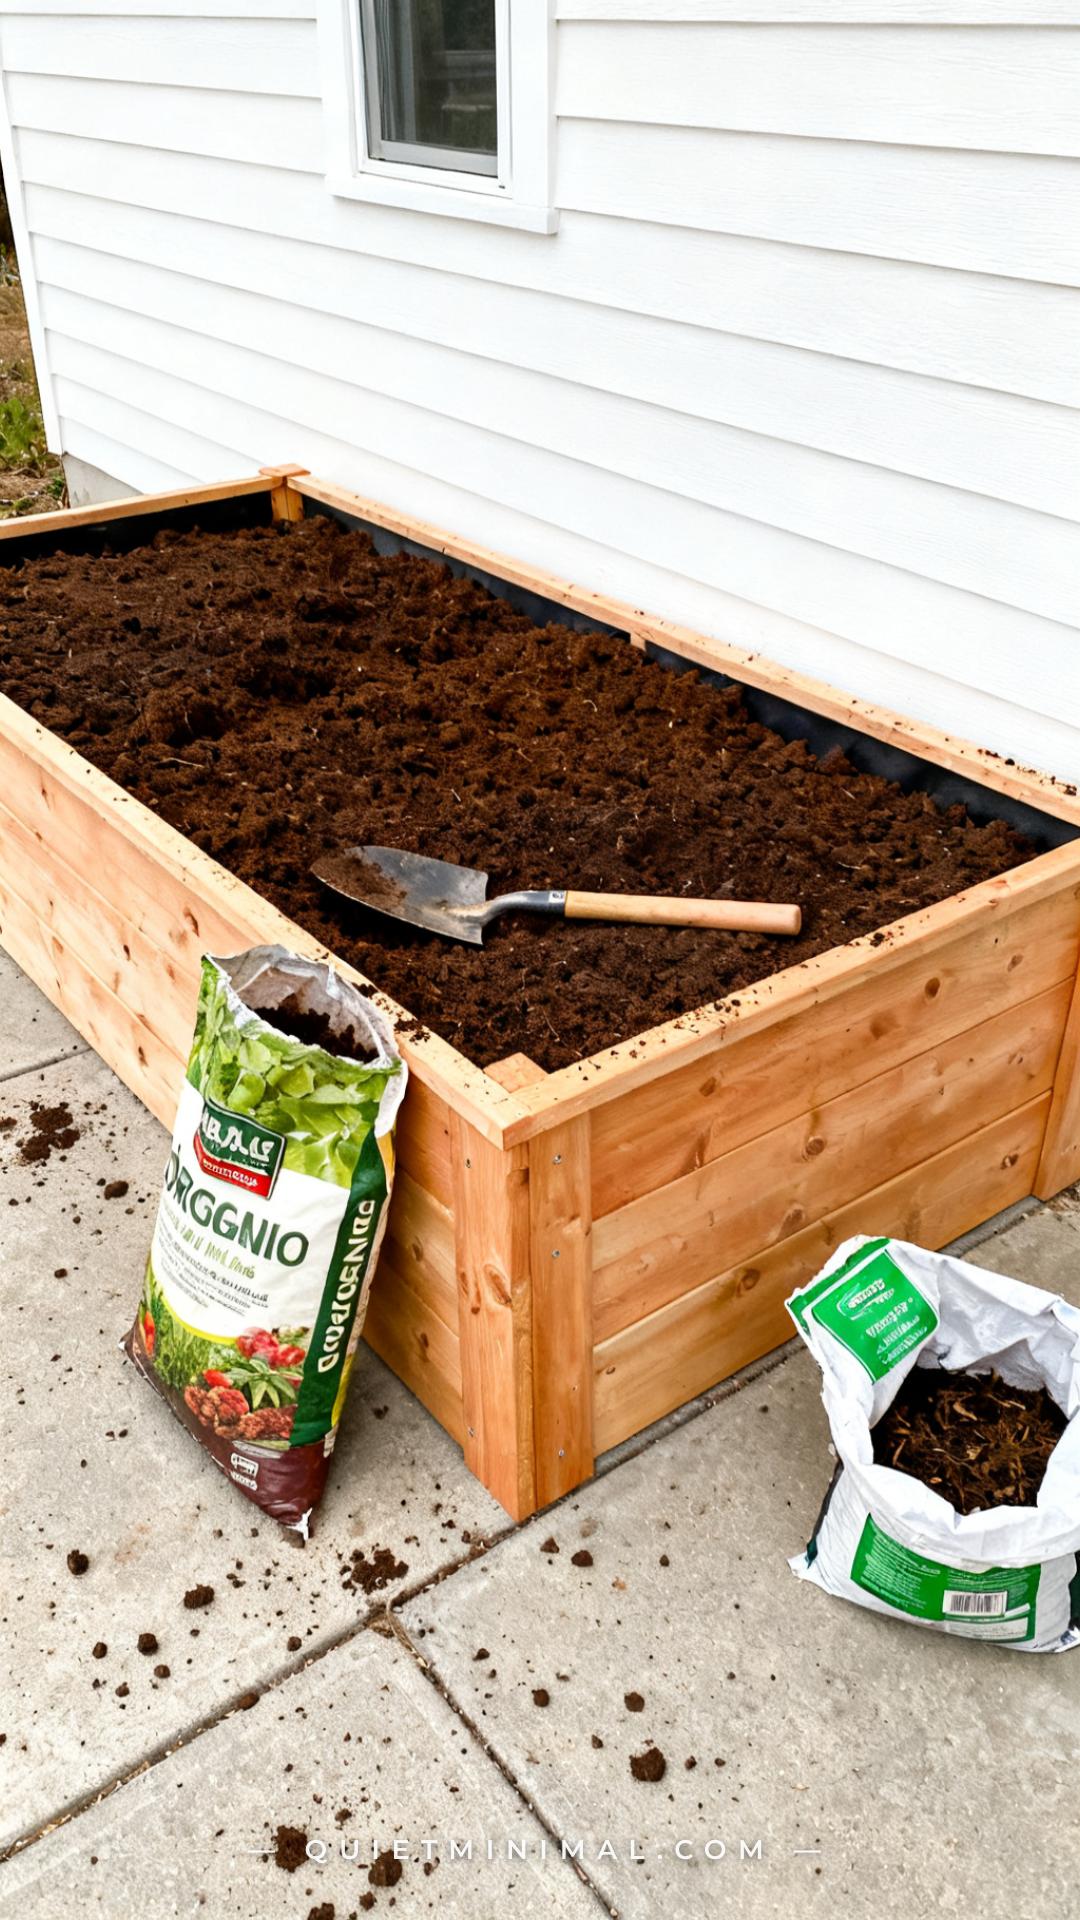
This is the foundational soil mistake: filling a raised bed or a container with native garden soil, bagged “topsoil,” or a random mix from the bulk section without understanding what vegetable roots actually need. Garden soil compacts in containers and raised beds, cutting off drainage and suffocating roots. Native topsoil alone lacks the organic matter content that hungry summer vegetables demand.
The correct fill for a raised bed is a “Mel’s Mix” style blend or a quality raised-bed mix: one-third compost, one-third coarse vermiculite, and one-third peat moss or coco coir. This drains freely, doesn’t compact, and holds enough moisture to buffer between waterings. For containers, use a high-quality potting mix specifically labeled for vegetables — not a general-purpose potting soil, which is often too dense — and blend in about 20% perlite to improve drainage. Refresh the compost layer at the top of your raised bed at the start of each season and top-dress with a balanced granular organic fertilizer before planting.
From the guides
You've saved it, wanted it. Here's the how: codes, measurements, order. Your choices make it yours.
The Japandi Honest PlaybookThe honest version of the style: what to keep, what to skip, and the order to do it in.See inside →The Room Refresh PlaybookA repeatable four-step method, room by room, in ten minutes, thirty minutes, or one weekend.See inside →Make Any Room Feel Cozy on PurposeWhy some rooms hold people and others empty out, and the moves that change it.See inside →Key Takeaway: Fill raised beds and containers with the correct mix for each environment — native soil and generic topsoil will undermine your plants before you even start.
9. Train Tomatoes for Small Spaces Using the Single-Stem Method
 Save
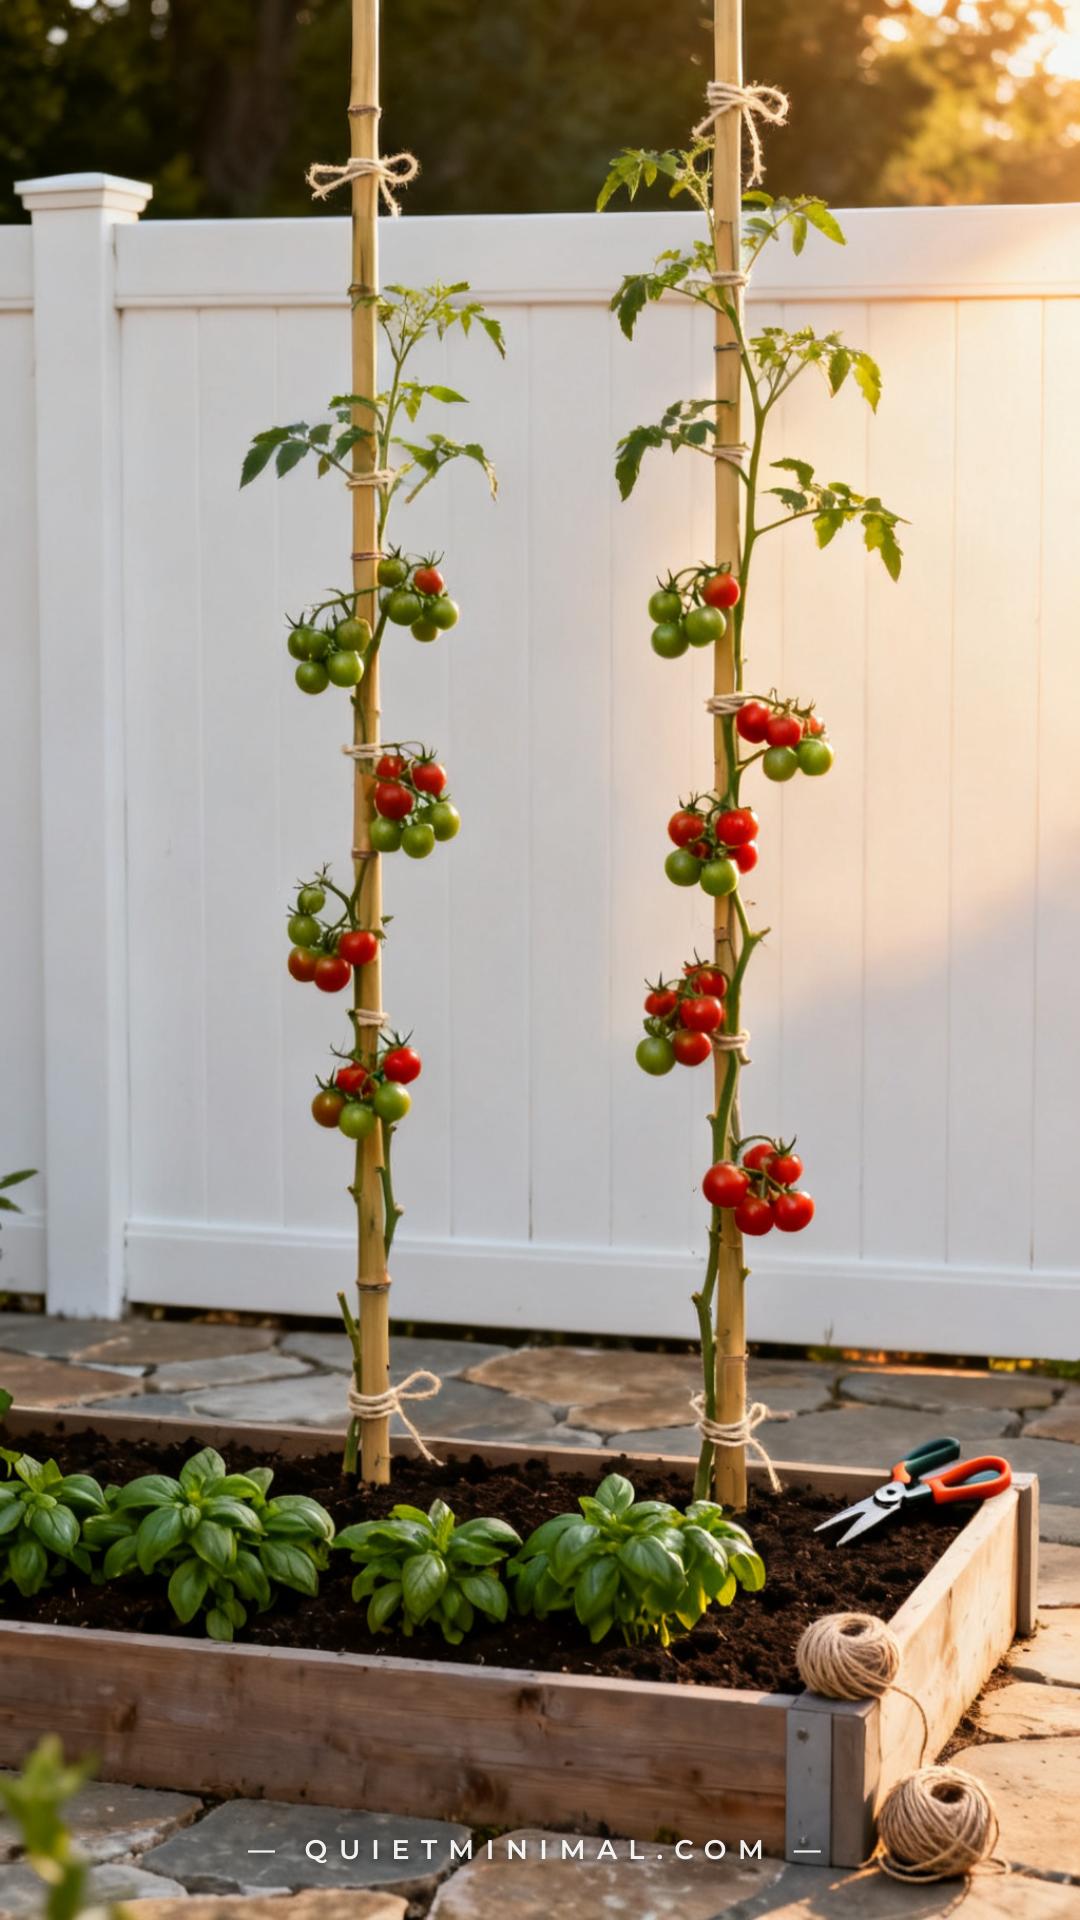
The way most home gardeners grow tomatoes in small spaces — letting them sprawl freely on a flimsy cage — produces chaotic plants that take over entire beds, resist airflow, and become impossible to harvest from. The single-stem (or “cordon”) method is what serious small-space growers use: you remove all suckers (the new shoots that emerge in the crotch between the main stem and a side branch) and train one tall, vertical stem up a sturdy stake or string.
The result is a plant that takes up roughly 18 inches of linear space instead of four feet of sprawl, produces fruit earlier (because the plant’s energy goes to fruit, not foliage), and is dramatically easier to manage. This method works best for indeterminate tomato varieties — the kind that keep growing and producing until frost. For determinate or “bush” varieties, less pruning is needed. In a four-by-eight raised bed, you can fit four to six single-stem tomato plants where a free-growing setup would fit two.
Key Takeaway: Train indeterminate tomatoes to a single stem — it fits more plants per linear foot, promotes earlier fruiting, and keeps the bed manageable through the whole season.
10. Create a Dedicated Herb Zone in Containers Near Your Kitchen Door
 Save
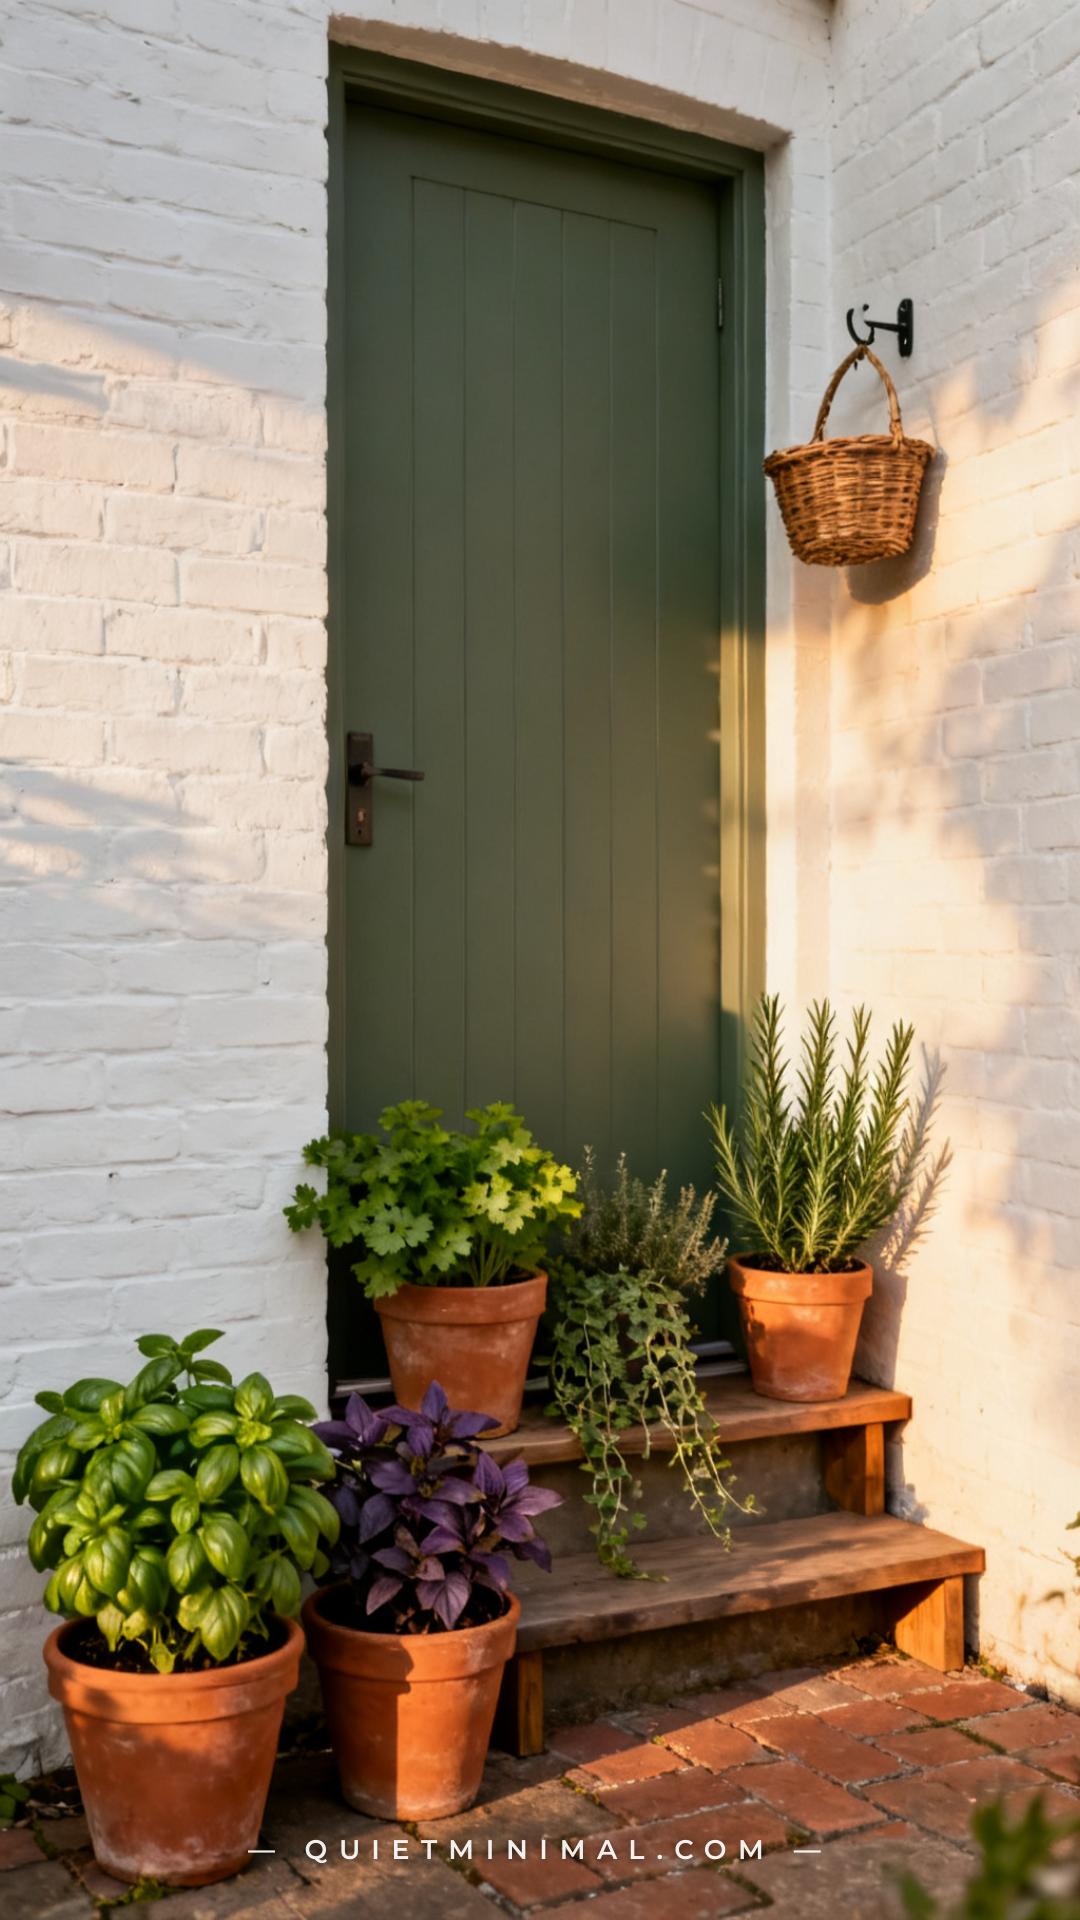
Herb gardening is the highest-return category in a small-space summer kitchen garden: high daily harvest value, compact footprint, and practically zero maintenance once established. The key to actually using your herbs (instead of watching them bolt and go woody while you forget to pick them) is proximity. A container herb garden placed within ten feet of your back door will be harvested five times more frequently than one tucked at the back of the yard — because the barrier to just grabbing a handful of basil on the way inside effectively disappears.
Keep the herb container zone in full sun (six-plus hours minimum for basil, parsley, and chives) and water more frequently than your raised beds — herbs in containers dry out fast in summer heat, and basil especially will bolt and go bitter if it experiences drought stress. Pinch flower buds off basil as soon as they appear; this extends the leafy harvest by four to six weeks. Perennial herbs like thyme, rosemary, and oregano can overwinter in containers in most climates — they’re long-term investments, not annuals.
Key Takeaway: Position your container herb garden directly beside your kitchen entrance — proximity is the variable that determines whether you actually harvest and use what you grow.
11. Add a Cold Crop Border Around the Edges of Warm-Season Beds
 Save
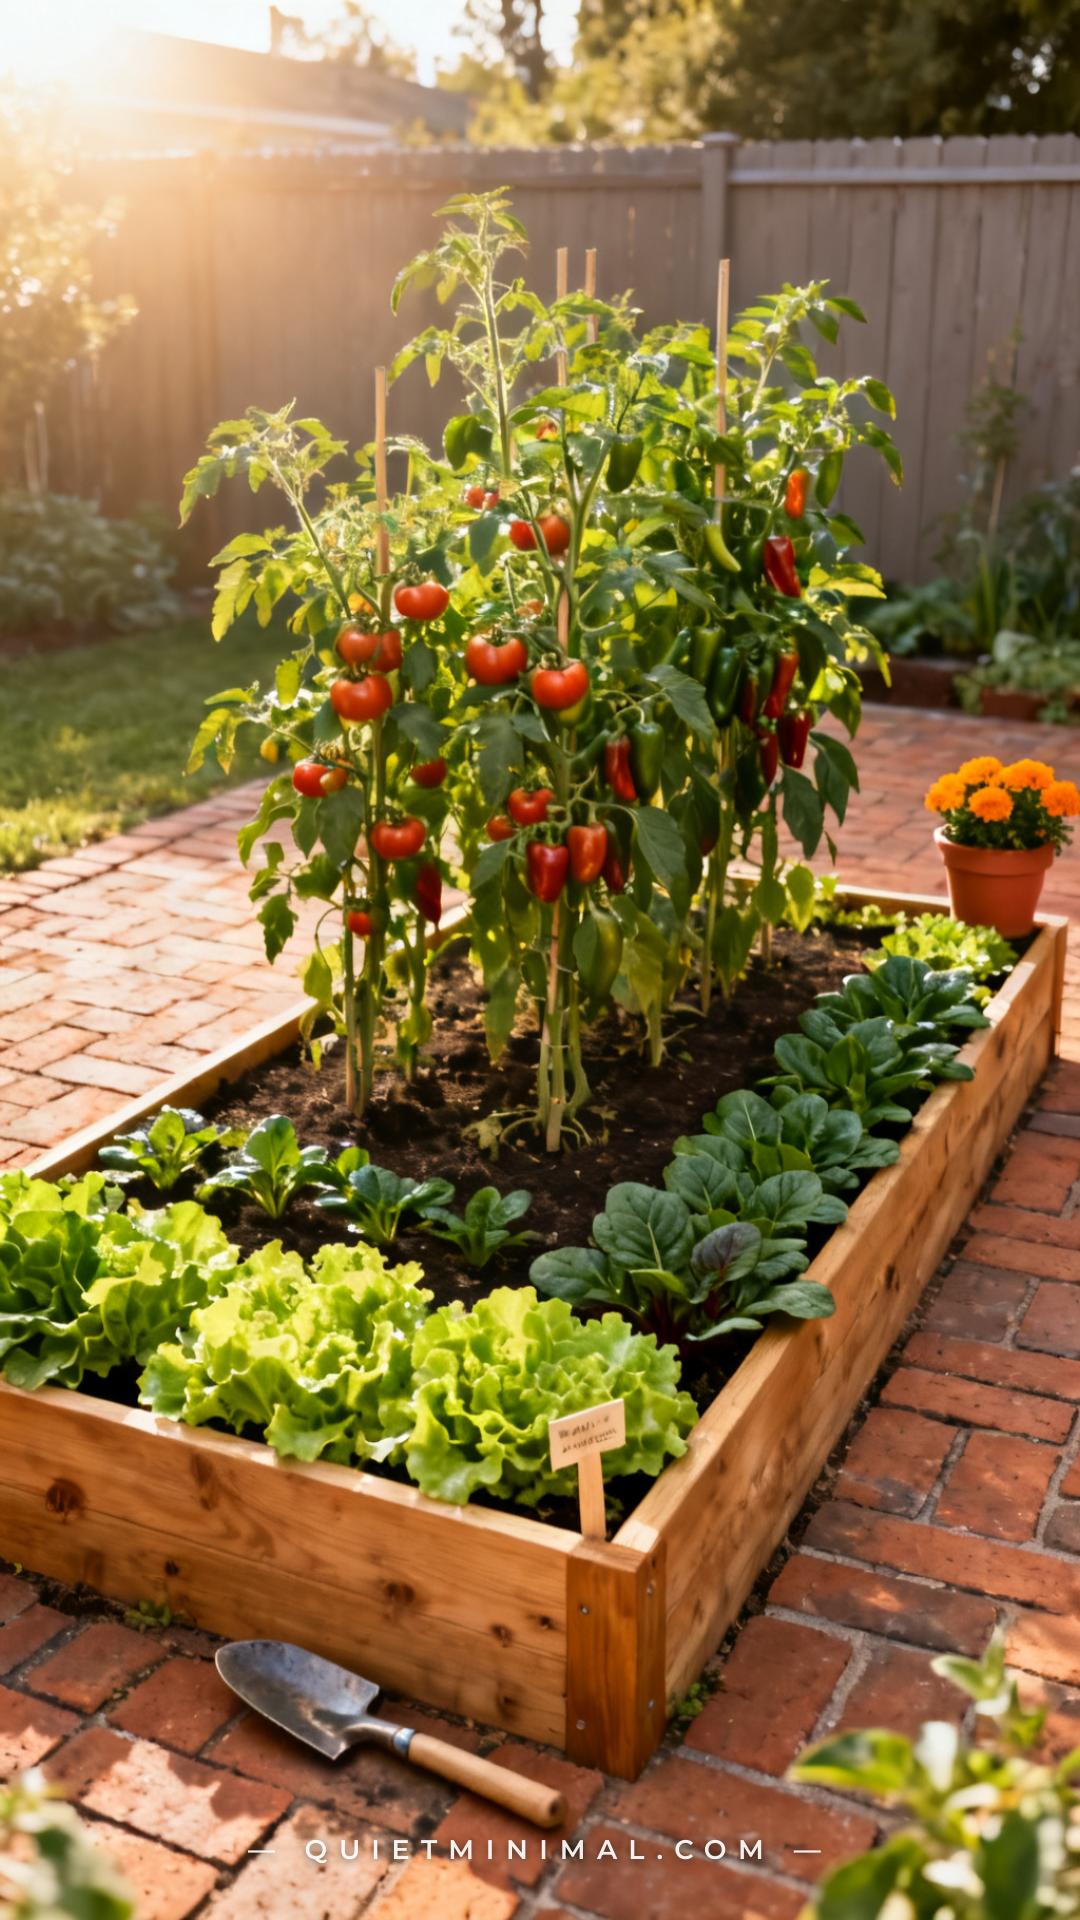
The edges and borders of raised beds — the strip between your tomato plants and the frame edge — are some of the most wasted real estate in small-space gardens. These areas get partially shaded by taller center plants as summer progresses, which makes them inhospitable to more heat-loving crops but ideal for cool-tolerant greens that bolt in full sun. Planting a cool-crop border in this zone extends your harvest calendar at both ends of the season.
In early summer, plant a fast row of lettuce, arugula, spinach, or radishes along the edges of beds before your warm-season transplants get tall enough to shade them. These crops will reach harvest while tomatoes and peppers are still growing. As the warm crops fill in and the shade increases, succession sow again with more shade-tolerant crops like chard, kale, or mustard greens — these will be ready in early fall when your warm-season plants are winding down. One raised bed, managed this way, produces across four to five months instead of two.
Key Takeaway: Use the shaded border edges of warm-season beds for cool-crop successions — this simple layering strategy extends your harvest window by weeks at both ends of summer.
12. Mulch Raised Beds and Container Tops to Cut Watering in Half
 Save
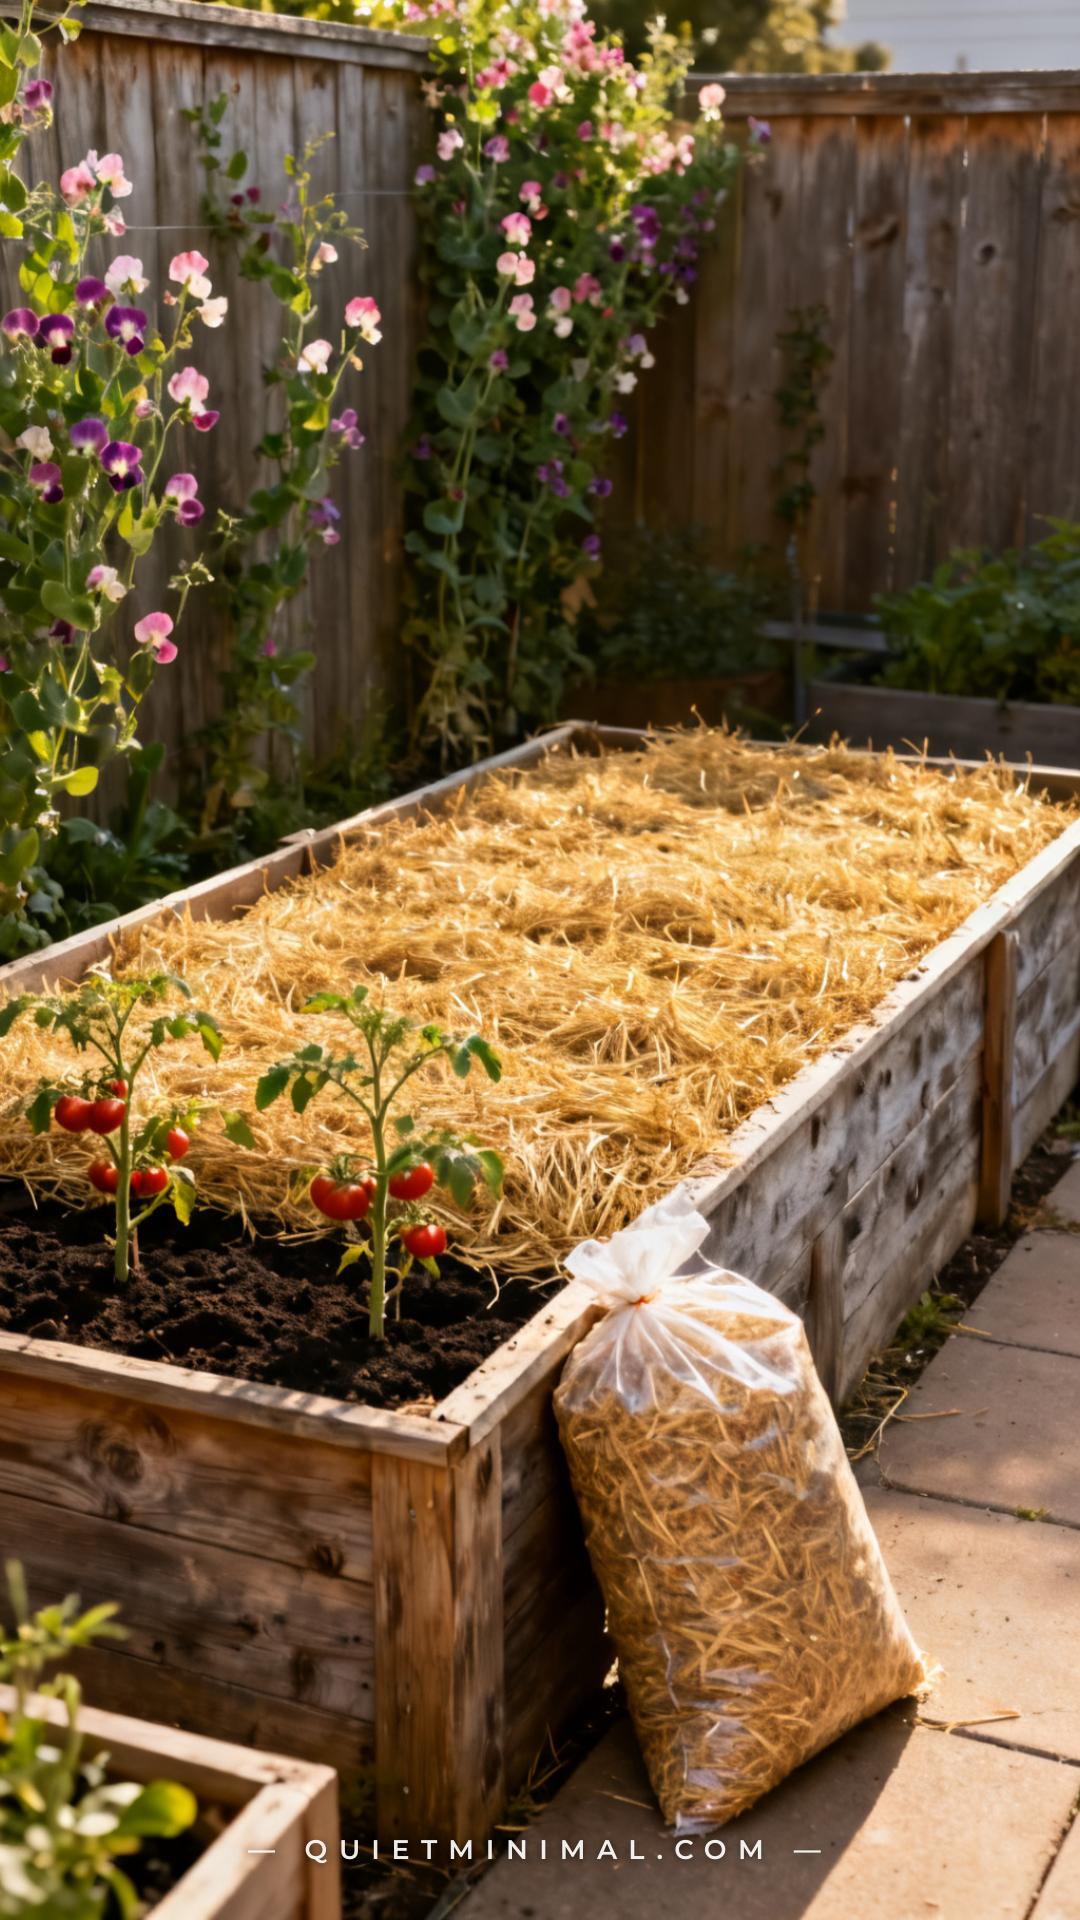
Mulching is the most underused technique in raised bed and container gardening, and it solves the summer’s most persistent problem: soil moisture evaporation during heat waves. A two-to-three inch layer of straw, wood chip, or shredded leaf mulch applied over the surface of a raised bed soil can reduce watering frequency by up to 50%, lower soil temperature by 8–10°F on hot days, and significantly reduce fungal disease pressure by preventing soil splash-back onto lower leaves during watering.
For raised beds, straw is the most practical option — inexpensive, easy to apply, and it breaks down into the soil over the season, adding organic matter. For containers, a thin layer of wood chip mulch over the potting mix surface does the same job. Keep mulch pulled slightly back from direct contact with plant stems to prevent collar rot, and refresh it mid-season if it compresses. This one step, done at planting time, reduces the daily watering burden dramatically during the hottest summer weeks.
Key Takeaway: Apply two to three inches of straw or wood chip mulch at planting time — it cuts watering frequency, regulates soil temperature, and is the single-step addition with the highest return for a small summer garden.
13. Plan Your End-of-Season Transition Before Summer Peaks
 Save
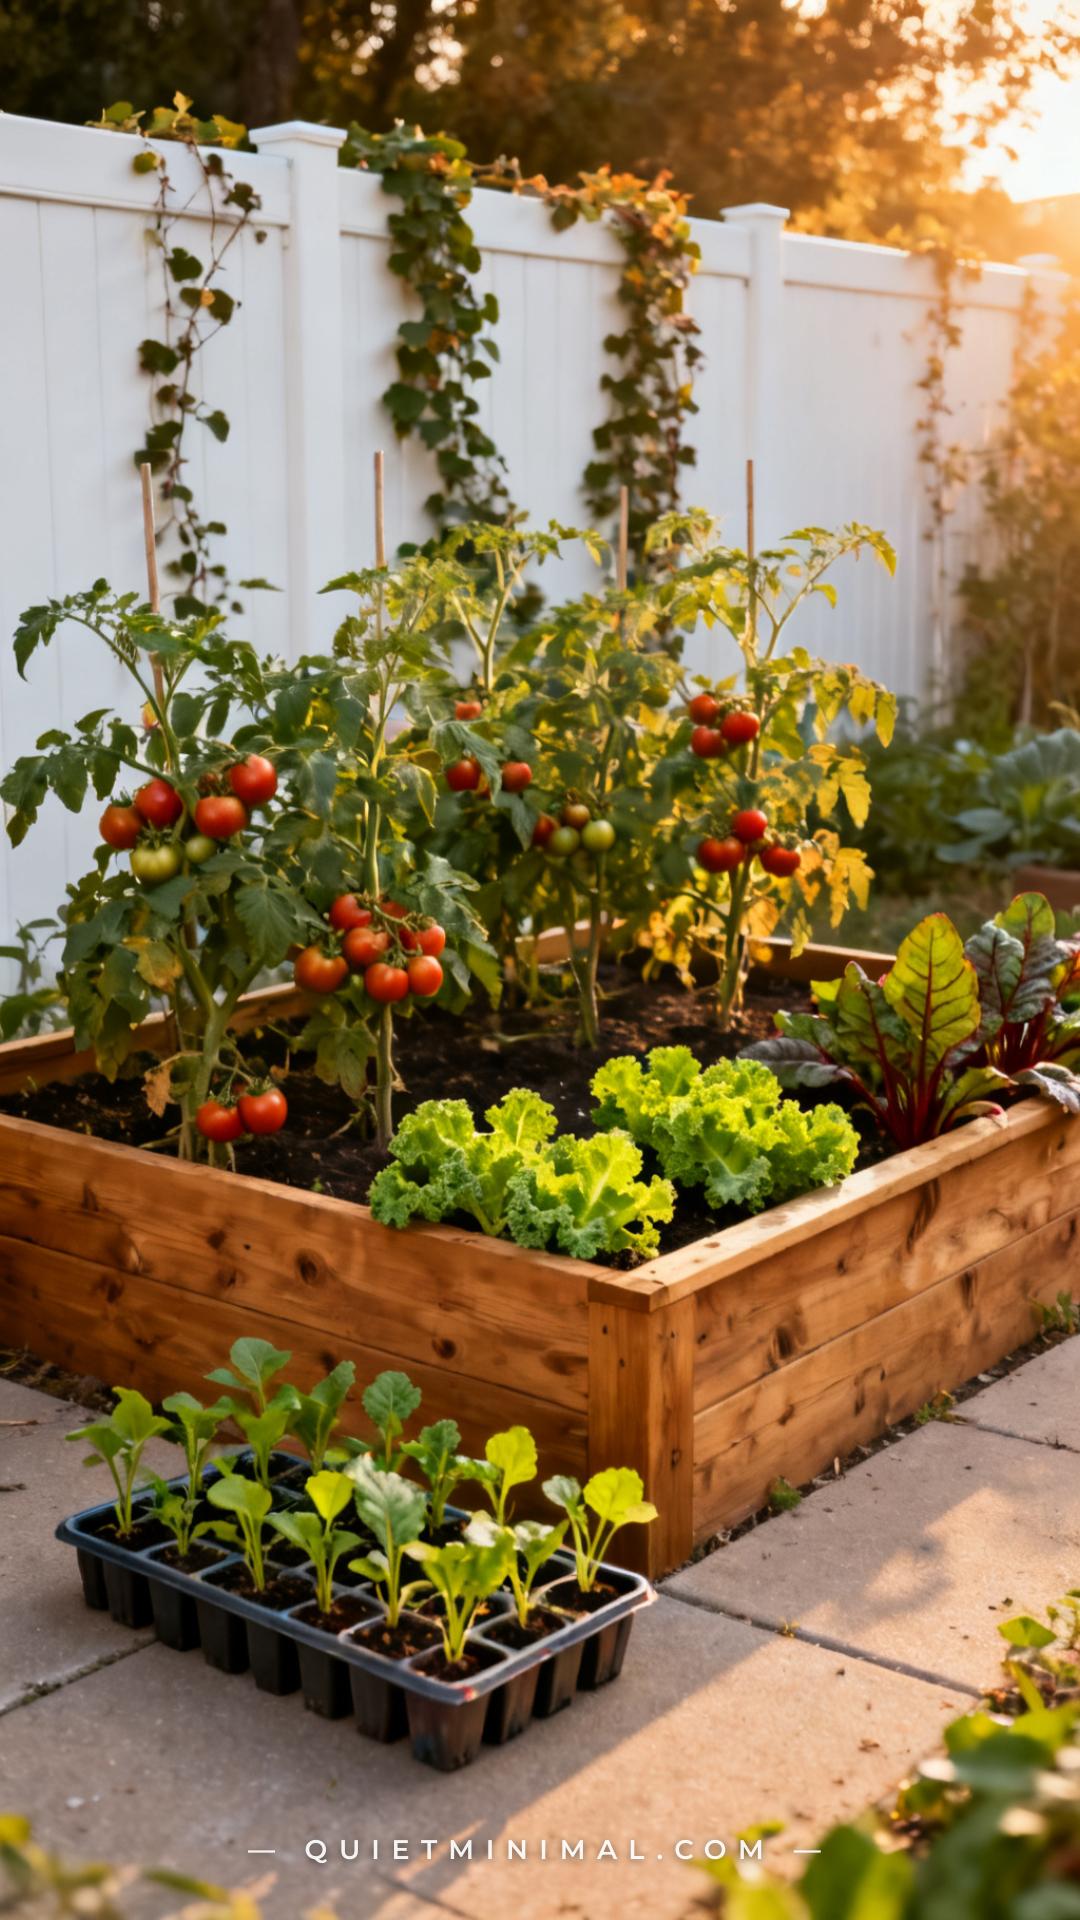
The instinct is to wait until everything is dead before thinking about what comes next. The better approach is to start your fall succession planting in the middle of August — while summer crops are still producing. This is the concept of “succession overlap”: you sow your fall crops (kale, chard, beets, spinach, arugula, and carrots) in late summer and tuck the seedlings into any gap that opens in the raised bed as summer plants wind down.
Count backward from your first expected frost date (available at your county extension service or on the Farmer’s Almanac website): most fall crops need 50–70 days from transplant to harvest. If your first frost is mid-October, your window for transplanting fall seedlings opens in late August. Mark it in your planner now, in the same calendar where you mapped out your succession sowing in the spring. The gardens that feel most productive aren’t the ones with the most plants — they’re the ones that are always transitioning intentionally from one crop to the next.
Key Takeaway: Mark your fall transplant window on your garden calendar before summer peaks — overlapping your warm and cool-season crops is how a small raised bed or container setup produces food for six months, not three.
Getting a small summer garden to actually deliver across the whole season comes down to decisions made before the first seed goes in: the right container sizes, a succession calendar, vertical structure, and a watering system that doesn’t depend on you remembering every single day. Start with the two or three ideas from this list that match your current setup — whether that’s a single raised bed, a cluster of patio containers, or a narrow backyard plot — and build from there. The gardens that succeed long-term aren’t the most ambitious ones. They’re the ones built on a few smart foundations, adjusted each year as you learn what your specific space and climate actually need.
From the guides
You've saved it, wanted it. Here's the how: codes, measurements, order. Your choices make it yours.
The Japandi Honest PlaybookThe honest version of the style: what to keep, what to skip, and the order to do it in.See inside →The Room Refresh PlaybookA repeatable four-step method, room by room, in ten minutes, thirty minutes, or one weekend.See inside →Make Any Room Feel Cozy on PurposeWhy some rooms hold people and others empty out, and the moves that change it.See inside → Save