Georgia
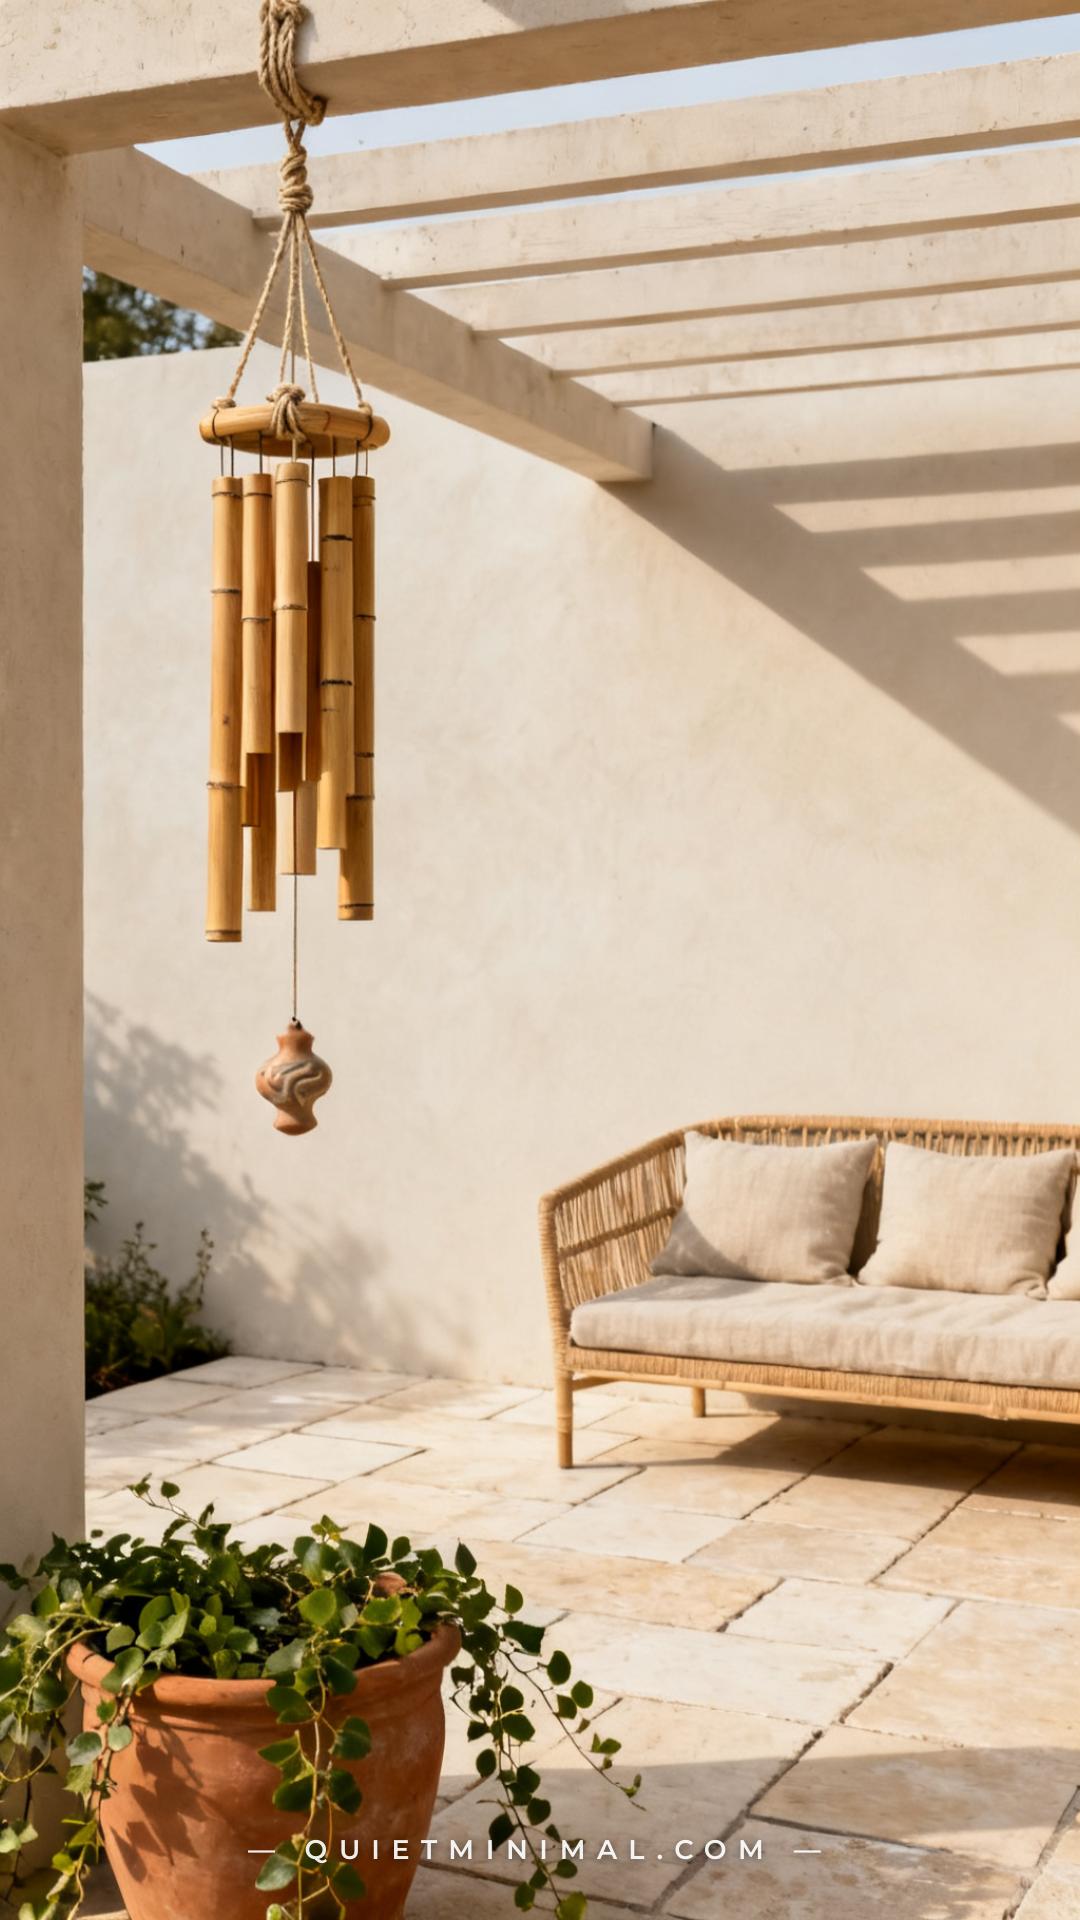
If your wind chime sounds more like a construction site than a garden sanctuary, the problem probably isn’t the chime — it’s where it’s hanging. Placement determines everything: how much wind it catches, how the sound carries across your space, and whether it reads as intentional decor or an afterthought. The good news is that getting it right doesn’t require a designer or a big budget. It requires knowing a few simple principles about wind, acoustics, and visual composition. This guide covers 15 specific placement ideas for a calm patio, along with the tone and material considerations that make each one actually work.
1. Hang It From a Pergola Beam at the Edge, Not the Center
 Save
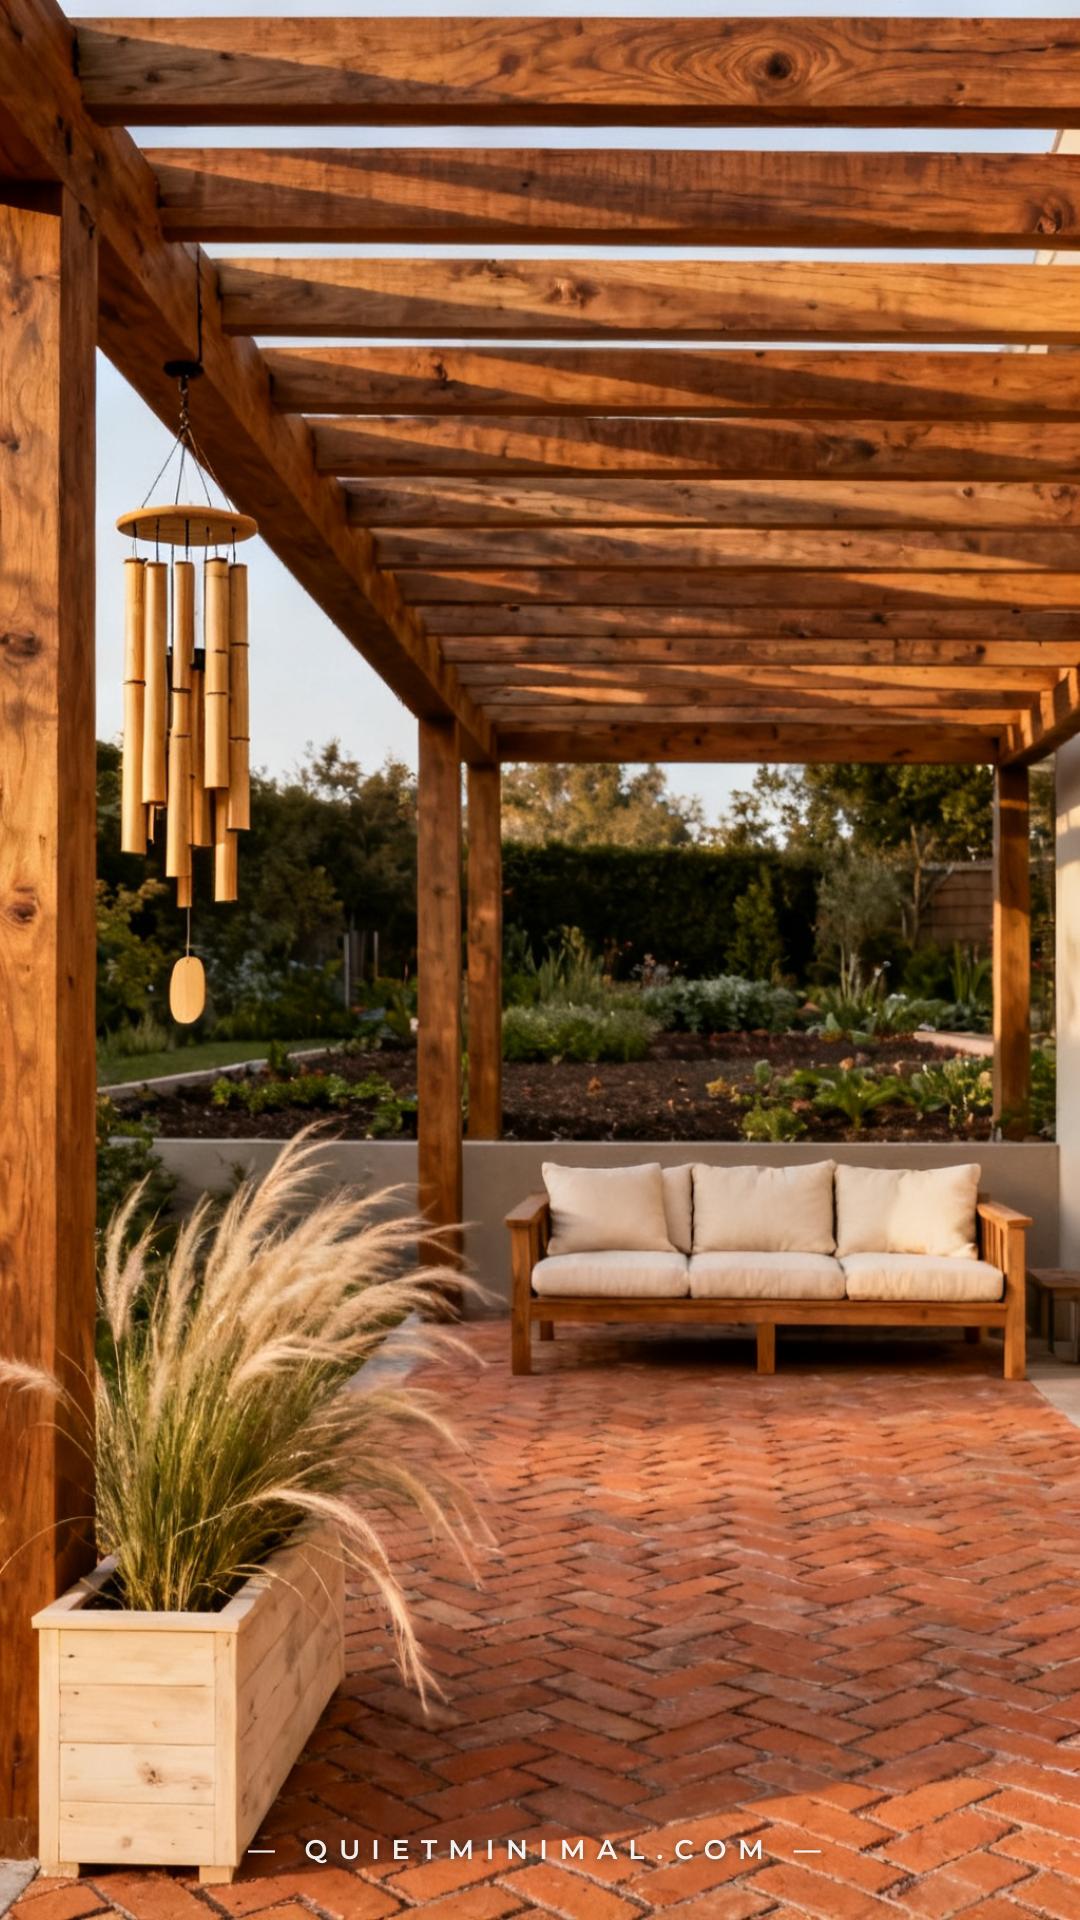
Hanging a chime dead-center above your seating area seems logical until you’re sitting underneath it while it clangs six inches above your head. The edge of a pergola beam — ideally the one closest to the prevailing breeze in your yard — puts sound at a comfortable distance from the sitting area while still funneling into the patio’s acoustic space. Aim to hang it roughly eight to ten feet from your primary seating cluster. That gap turns a direct sensory assault into ambient background sound. Use the outermost beam, and hang the chime at eye level rather than at ceiling height — lower placement actually catches more gentle breezes than high placement does, which matters when you want soft tones rather than full-volume gusts.
Key Takeaway: Pergola edge placement at eye level, eight-plus feet from seating, is the single most effective way to make a chime sound ambient rather than intrusive.
From the guides
You've saved it, wanted it. Here's the how: codes, measurements, order. Your choices make it yours.
 The Japandi Honest PlaybookThe honest version of the style: what to keep, what to skip, and the order to do it in.See inside →
 The Room Refresh PlaybookA repeatable four-step method, room by room, in ten minutes, thirty minutes, or one weekend.See inside →
 Make Any Room Feel Cozy on PurposeWhy some rooms hold people and others empty out, and the moves that change it.See inside →
2. Use a Shepherd’s Hook in a Garden Bed to Soften the Sound Path
 Save
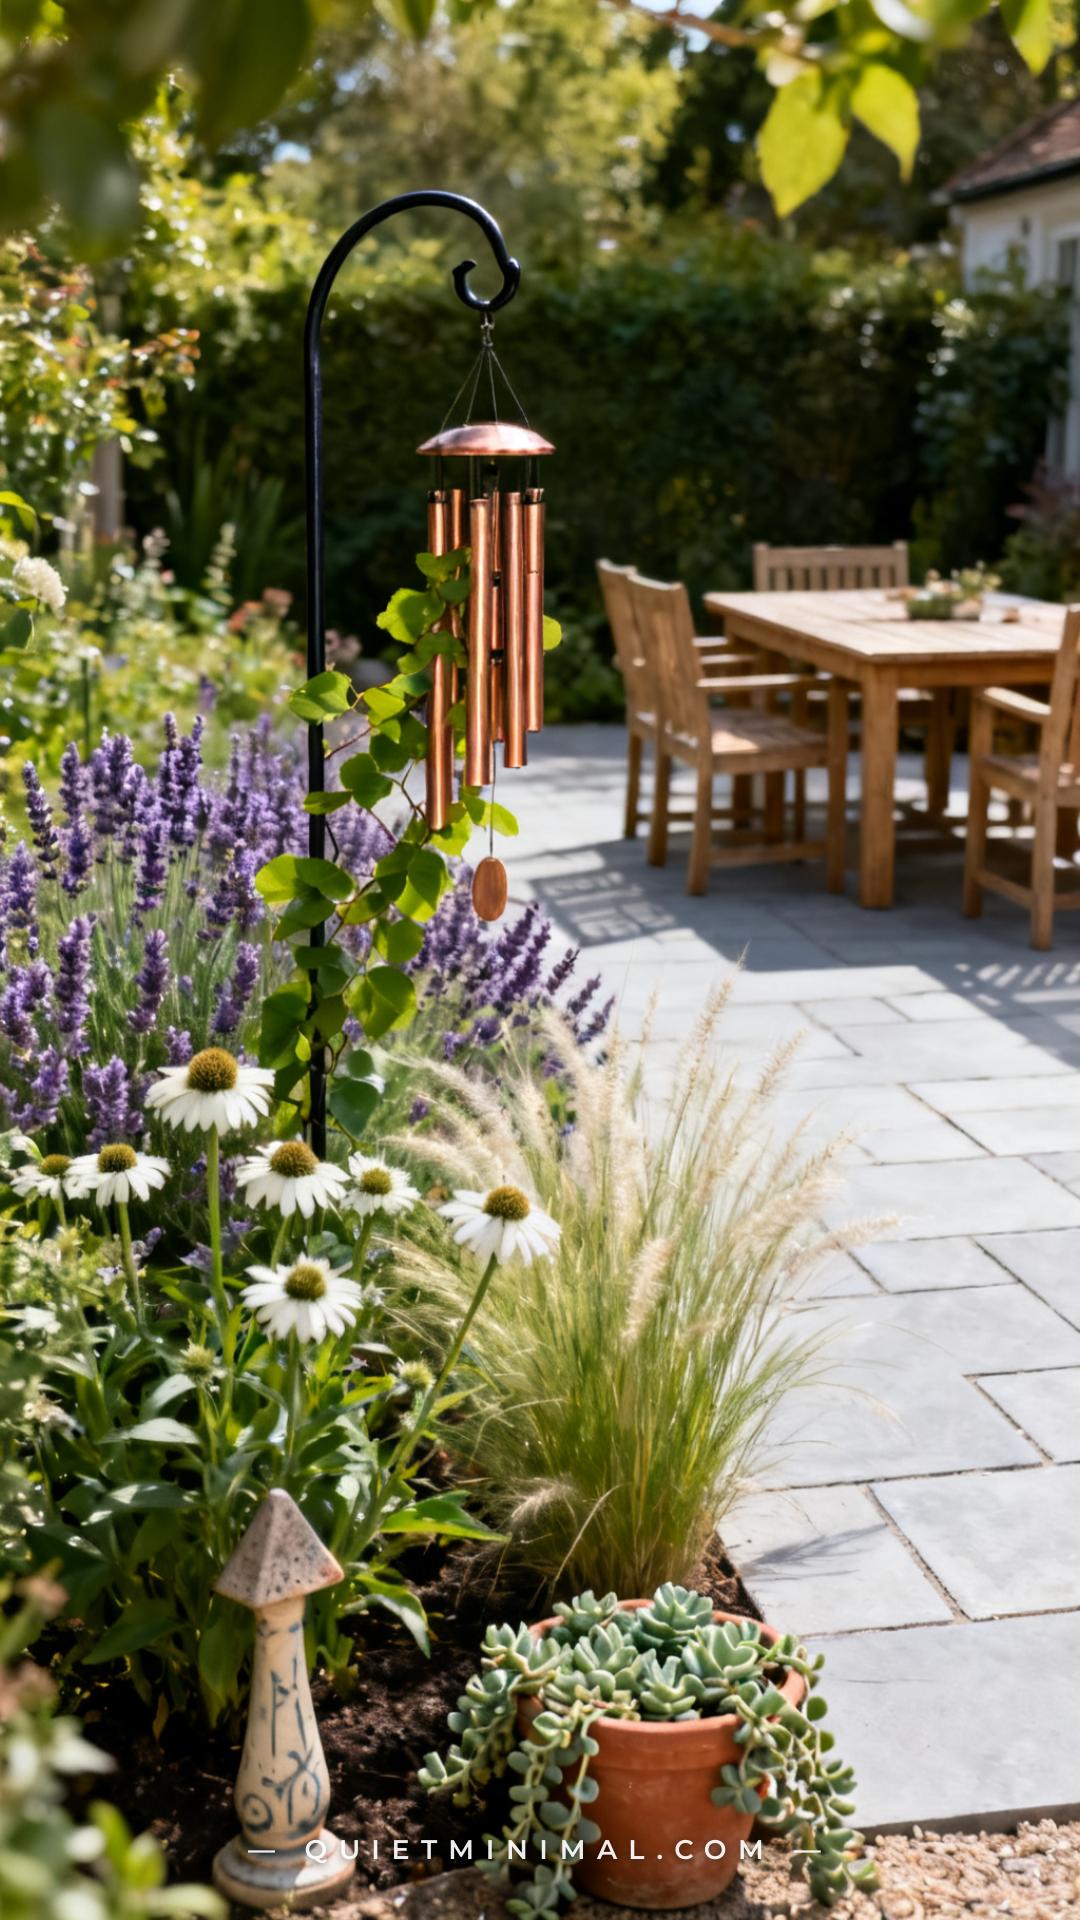
Placing a wind chime inside a garden bed rather than directly over a hard surface changes how sound behaves. Soft plantings — ornamental grasses, lavender, tall perennials — absorb and scatter sound waves, which means the chime’s tones arrive at the patio slightly diffused and mellowed rather than sharp and direct. A shepherd’s hook also gives you complete flexibility to reposition the chime seasonally without drilling or permanent hardware. Choose a hook rated for outdoor use with a rubberized coating at the hanging loop to prevent metal-on-metal rattling. Plant the hook so the chime hangs at approximately the height of your tallest garden plant — nestled in rather than towering above the bed.
Key Takeaway: Garden bed placement with foliage surroundings softens chime acoustics naturally — the plants do as much work as the placement itself.

3. Mount to a Fence Post in a Corner to Catch Cross-Breezes
 Save
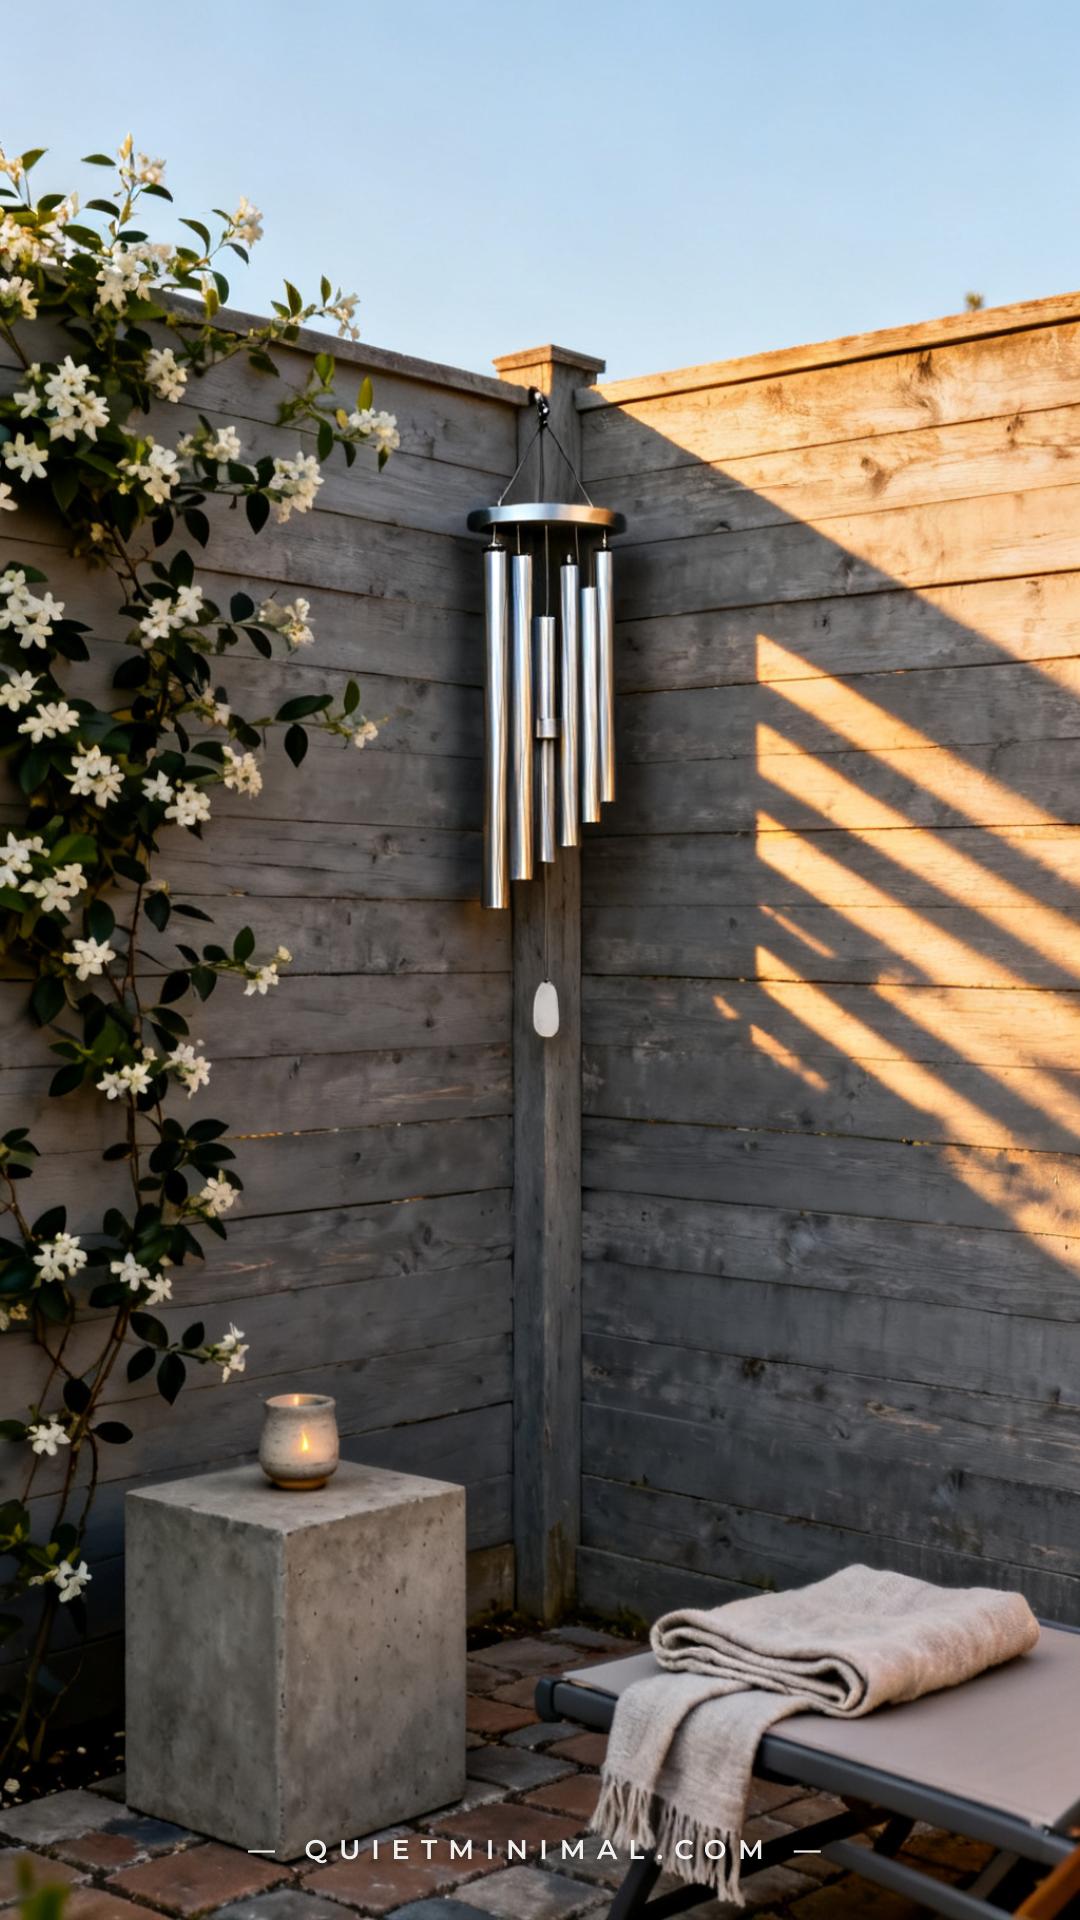
Patio corners are natural wind traps — two fence or wall surfaces create a natural convergence point that funnels air from multiple directions. Attaching a chime to a corner fence post means it’s almost always catching some breeze, even on low-wind days when hanging locations in the center of your yard go completely still. Use a fence-mount hook rather than a nail to preserve the fence and allow adjustment. This placement also visually anchors the corner of your patio, which tends to be the most visually “empty” zone in an outdoor space. Pair with a corner planter at the base of the post to complete the vignette.
Key Takeaway: Corner fence mounting activates the chime on low-wind days and fills the most visually neglected zone of your patio at the same time.

4. Try a Tree Branch Over the Patio Edge for Natural Integration
 Save
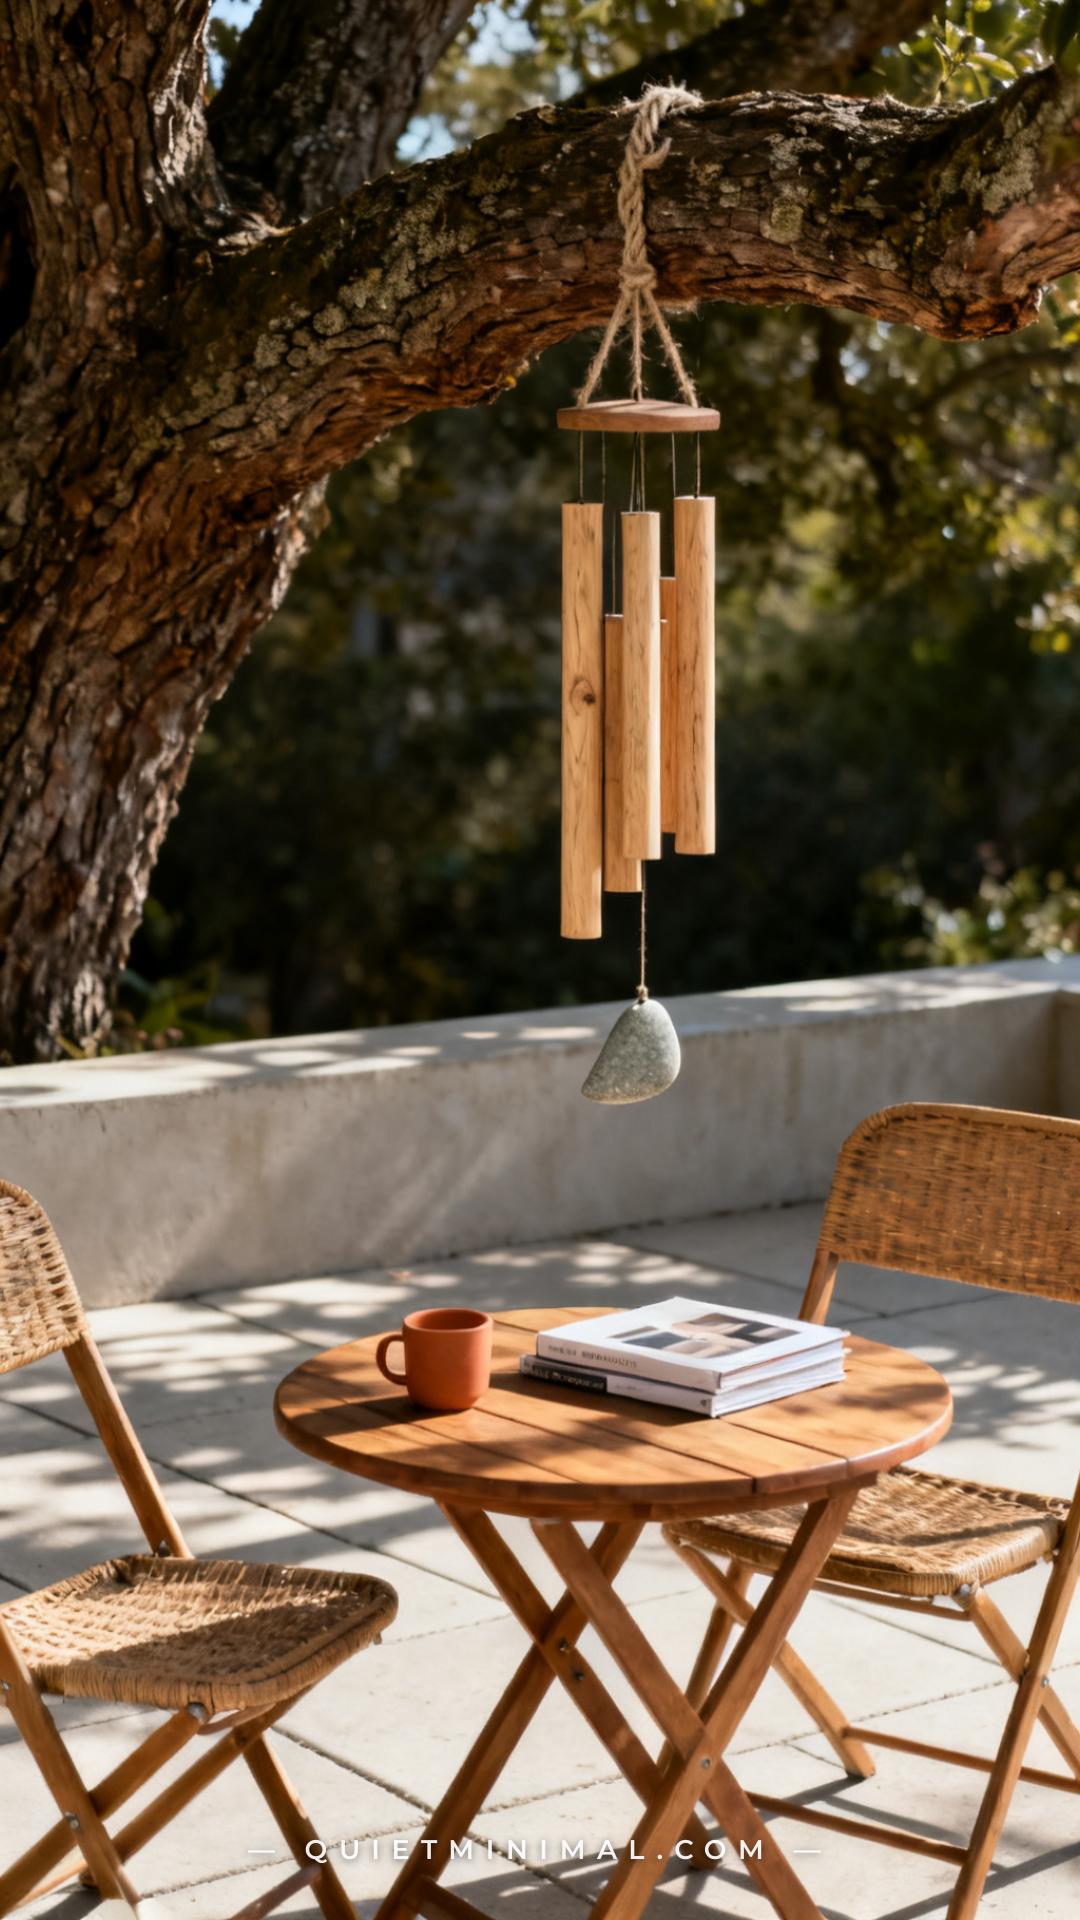
If a tree overhangs or borders your patio, its branches are some of the best wind chime anchors available. The branch itself sways slightly in the breeze, adding a secondary micro-movement to the chime’s motion that creates a more organic, less mechanical sound rhythm. Use a branch that’s at least three inches in diameter and in good health — never hang significant weight from a dead or thin branch. Wrap the hanging cord around the branch rather than hammering in a hook, and use a weatherproof nylon or jute cord rated for outdoor use. Wood and stone chimes (rather than metal) look the most natural in this context and produce a softer, more muted tone that suits the organic setting.
Key Takeaway: Tree-branch hanging produces the most “accidental and natural” visual composition, and the branch’s own sway adds organic rhythm to the chime’s sound.
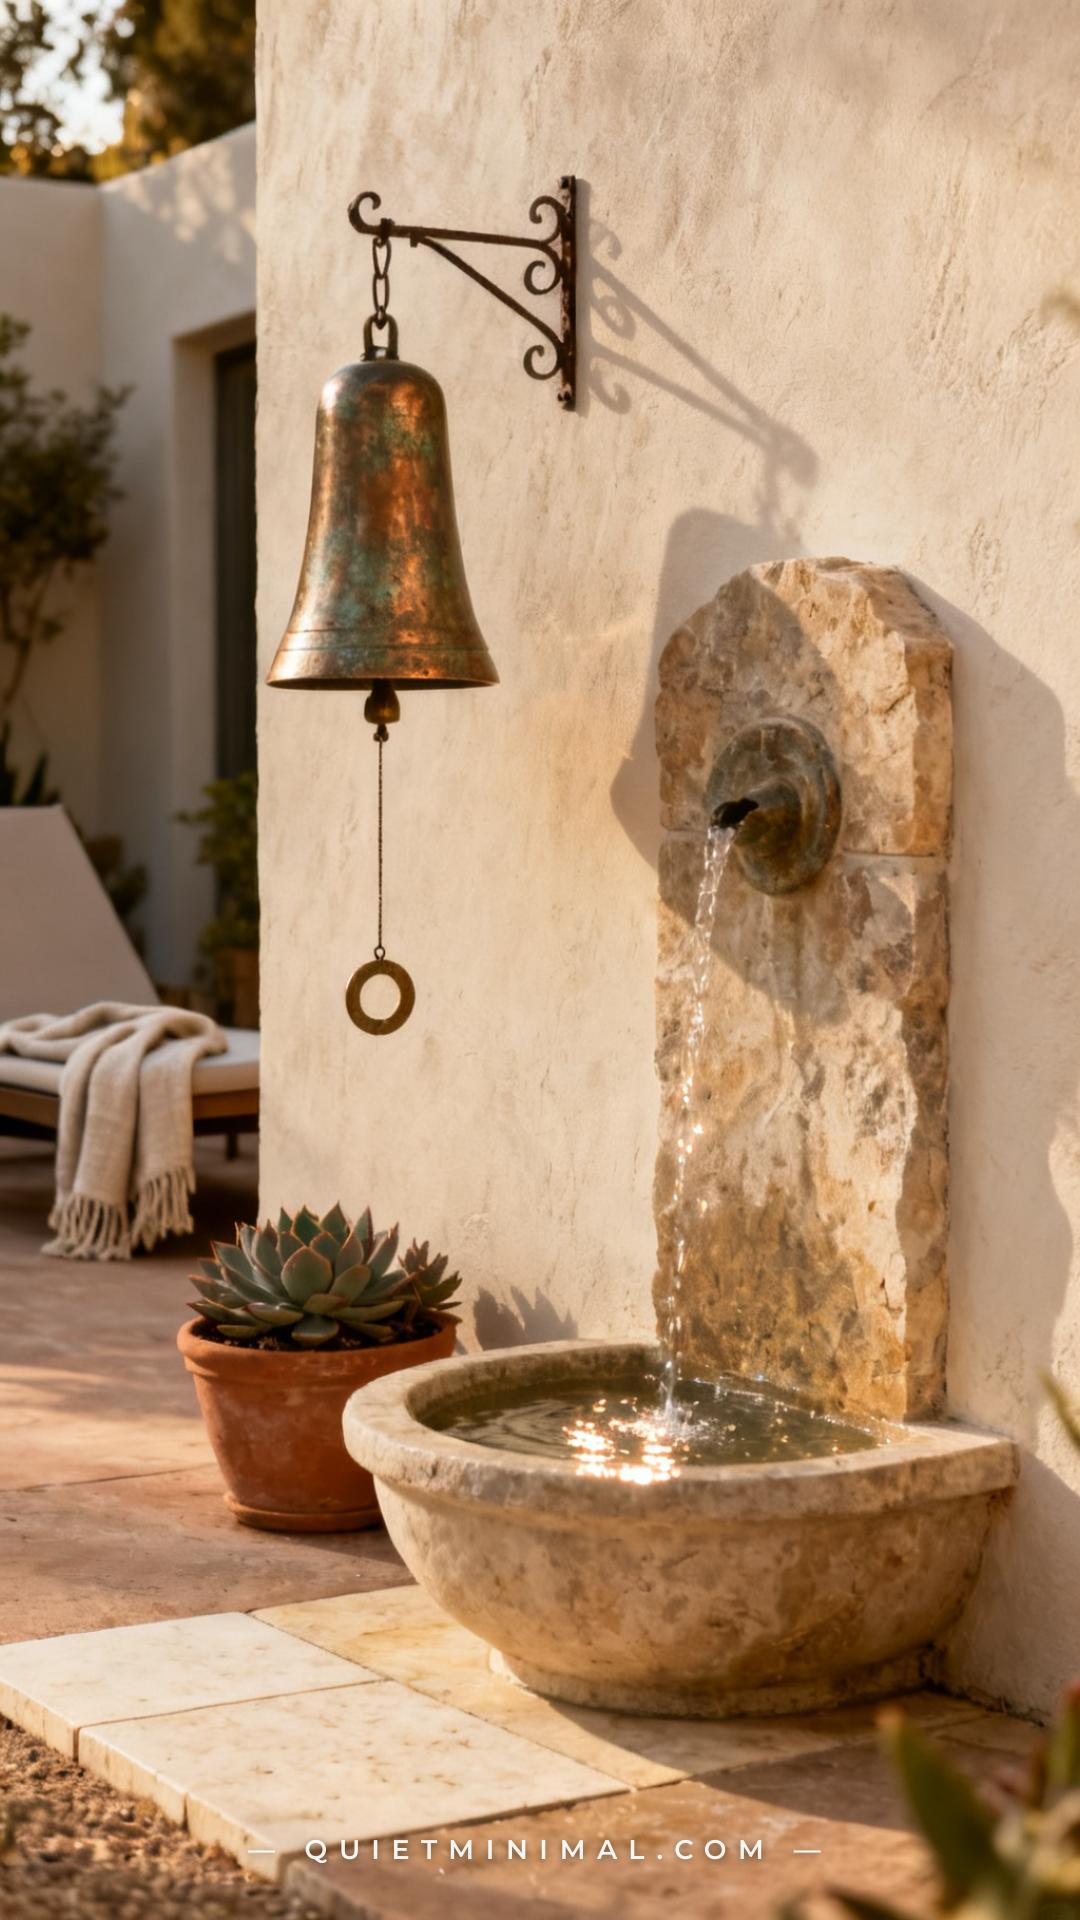
5. Hang Near a Water Feature to Layer Ambient Sound
 Save
Sound layering is one of the most underused design tools in outdoor spaces. Placing a wind chime two to four feet from a water feature — a fountain, a wall-mount bubbler, or even a birdbath with a solar dripper — creates a natural acoustic composition where both sounds complement each other. The trick is scale balance: your chime should be quieter than your water feature, not competing with it. Choose a chime with fewer and larger tubes (five to seven tubes rather than twelve to twenty) for a lower, less frequent tone. Bamboo and ceramic chimes work particularly well near water because their tones have a similar organic quality to flowing water rather than clashing against it.
Key Takeaway: When pairing a chime with a water feature, let the water lead acoustically — choose a lower-tone chime that fills the pauses rather than competing for volume.

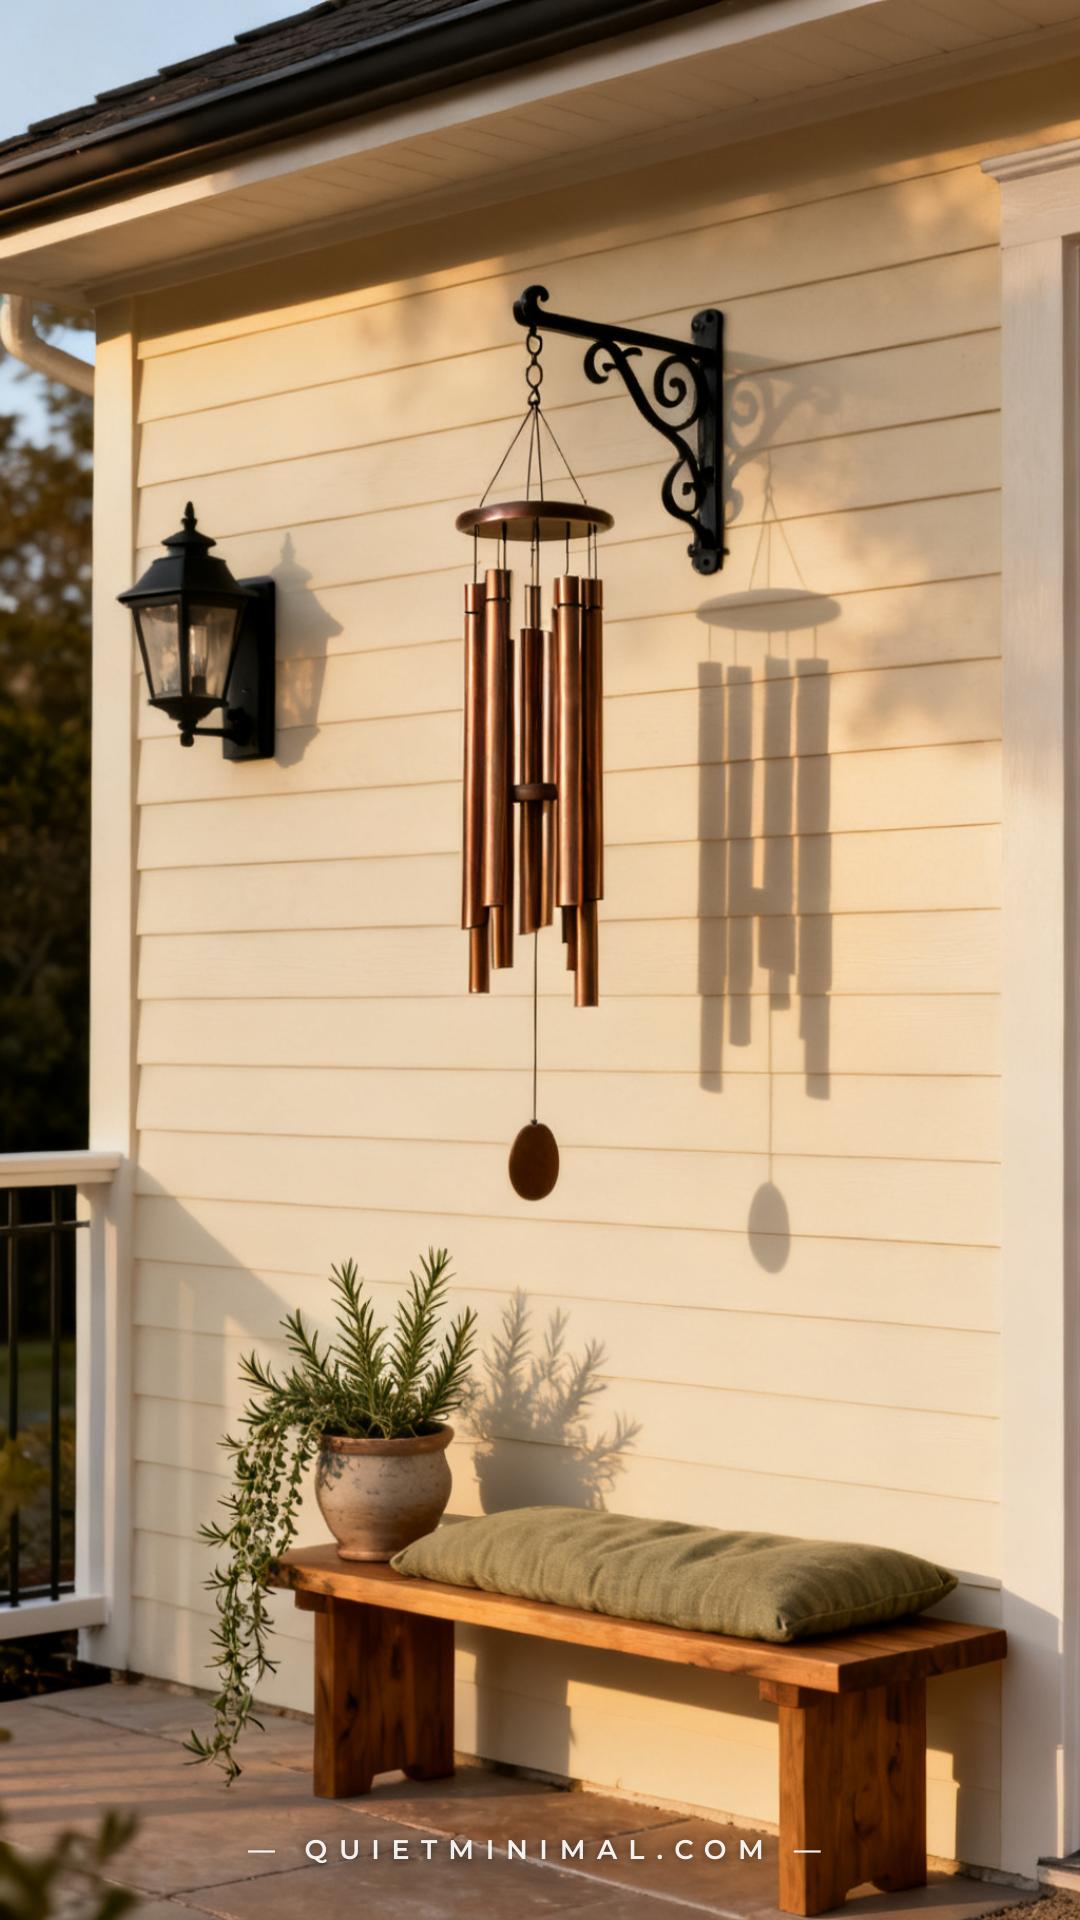
6. Mount a Bracket on an Exterior Wall at Sitting-Height Level
 Save
Most homeowners default to hanging wind chimes from an overhead point, but a wall-mount bracket brings the chime into the vertical visual plane of the patio rather than the overhead one — which is where your eyes actually spend most of their time while seated. A bracket installed at five to five-and-a-half feet places the chime at perfect seated eye level and keeps it well within sound range without requiring you to crane your neck upward. Choose a bracket with at least a six-inch extension so the chime swings freely without scraping the wall. For exterior masonry or stucco walls, use a weather-sealed anchor bolt rather than plastic toggle anchors, which fail in freeze-thaw cycles.
Key Takeaway: Wall brackets at seated eye level bring wind chimes into your natural sightline and create a cleaner, more intentional composition than overhead-only hanging.

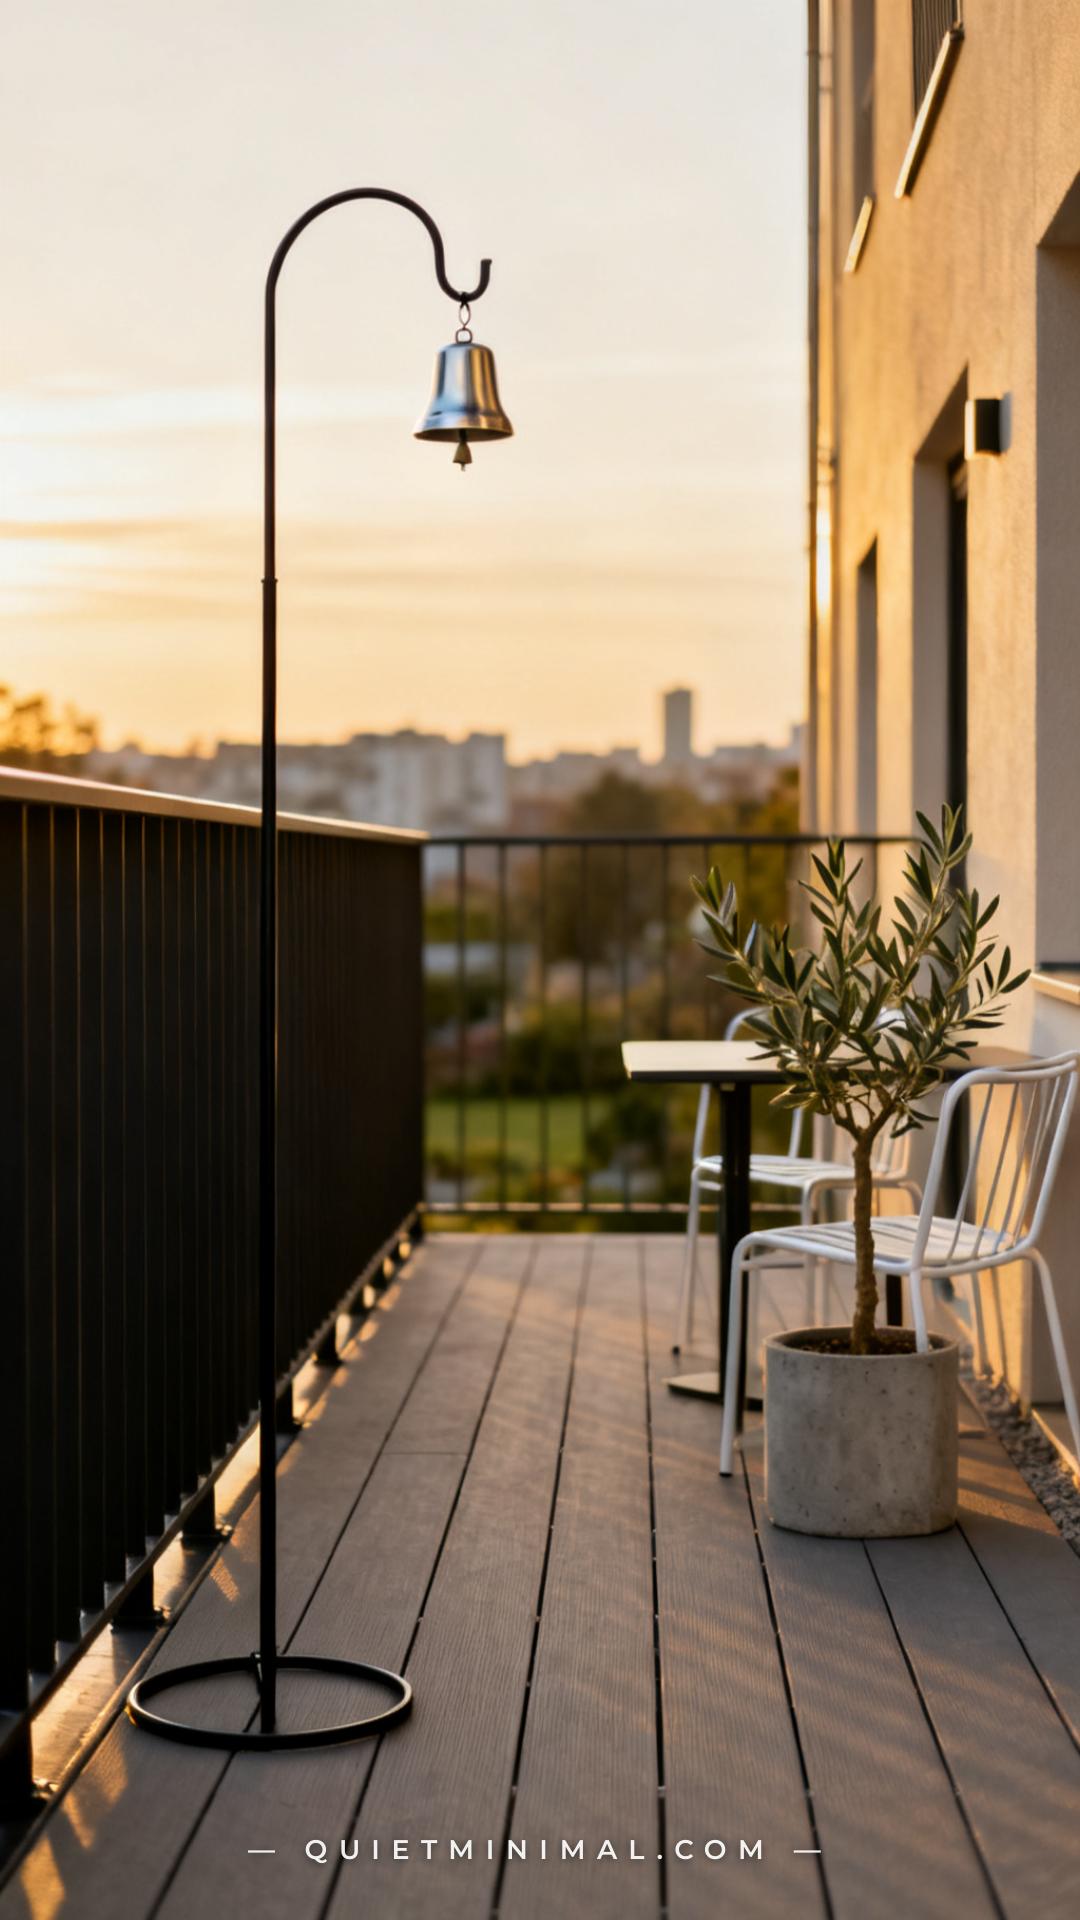
7. Use a Freestanding Shepherd’s Crook Stand on a Balcony or Deck
 Save
For balconies, decks, and patios where drilling into walls or posts isn’t an option — rental apartments, condo balconies, or HOA-restricted patios — a freestanding shepherd’s crook stake with a weighted base is the right solution. Look specifically for styles designed for hard surfaces (they have a flat disc base rather than a spike), rated for outdoor UV exposure, and heavy enough to resist tipping in a moderate gust. A lightweight chime is essential for freestanding setups — bamboo and ceramic chimes weigh significantly less than large aluminum sets, reducing the leverage risk on the stand. Position the stand in a corner of the balcony to brace it on two sides and reduce tipping risk further.
Key Takeaway: For renters and balcony dwellers, a weighted freestanding crook stand in a corner is the safest and most stable drill-free wind chime solution.

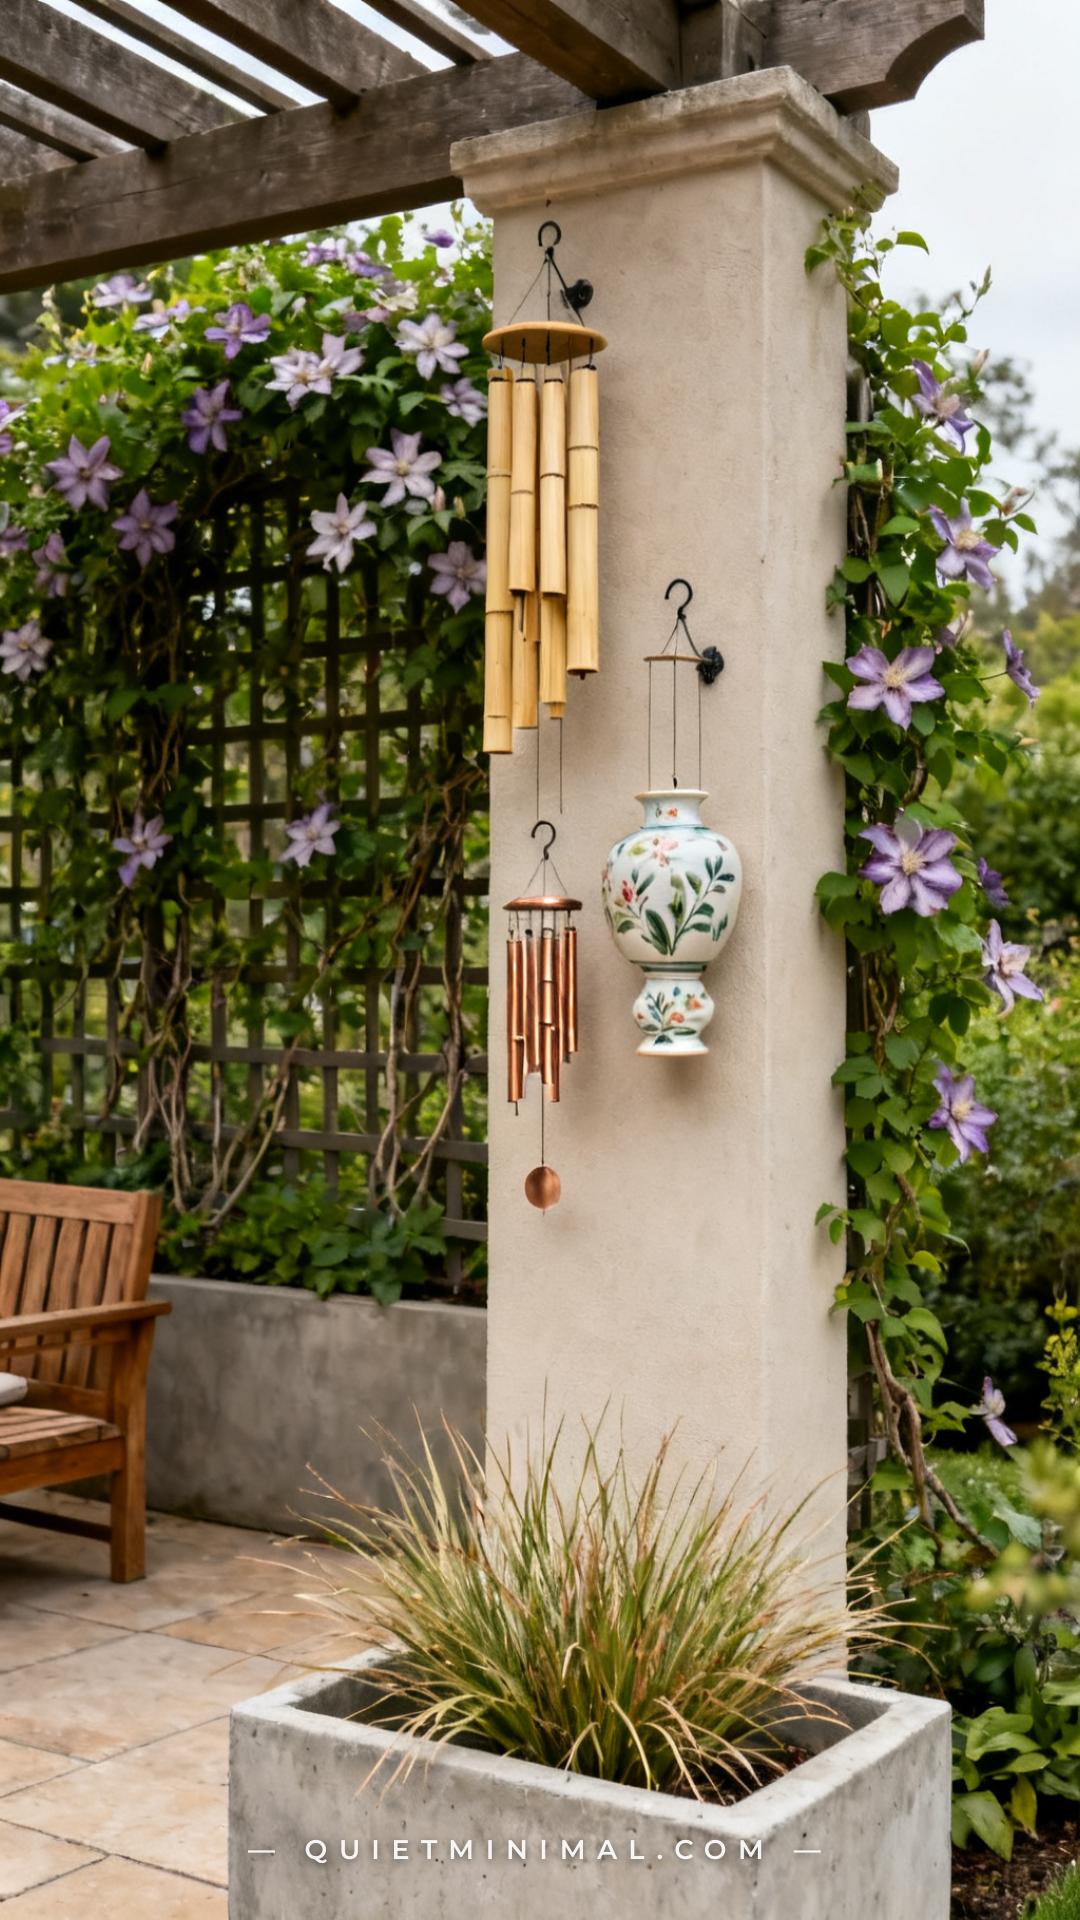
8. Create a Layered Chime Cluster With Varied Heights
 Save
A single chime creates one note. A cluster of three chimes at varied heights, different materials, and different tube counts creates a genuine ambient soundscape. The key to a cluster that feels intentional rather than cluttered is the rule of three: one large low-toned chime (aluminum or iron, five or more tubes), one medium mid-toned chime (bamboo or wood), and one small high-toned chime (ceramic or glass). Hang them at staggered heights — at least eight inches of vertical difference between each — and within eighteen inches of each other horizontally so they share the same wind zone. Vary the visual weight to create a composition that reads like a curated gallery, not a random collection.
Key Takeaway: A three-chime cluster with a large-medium-small hierarchy in both size and material creates a self-contained soundscape that’s richer than any single chime can produce.

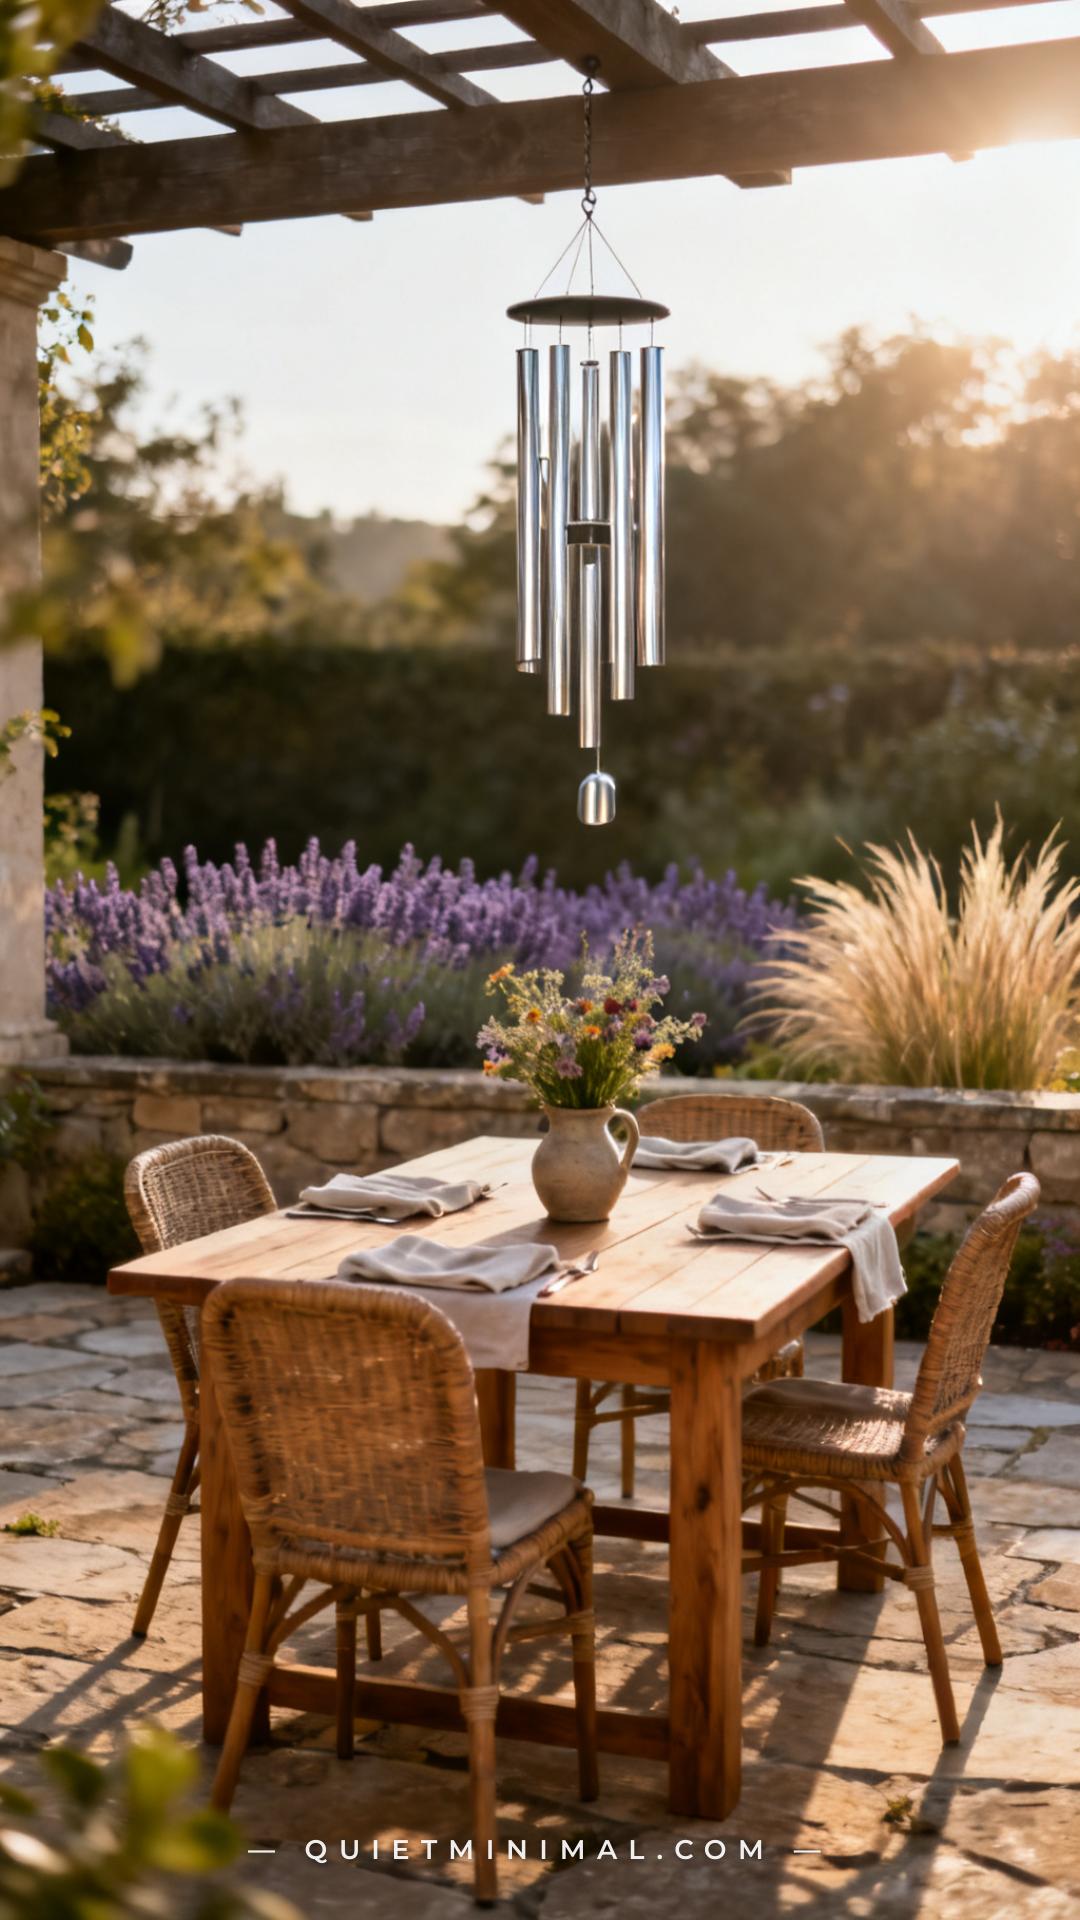
9. Position Near an Outdoor Dining Area as a Gentle Sound Buffer
 Save
An outdoor dining area benefits enormously from ambient sound because it masks street noise, neighboring yard sounds, and the awkward silence of al fresco meals without a soundtrack. Position the chime on the garden-facing side of the dining area rather than overhead, so sound arrives from the direction of the landscape rather than dropping from above onto the table. Keep the chime at least five to six feet from the table edge to prevent it from swinging into guests’ sightlines or — in strong winds — becoming a distraction rather than a backdrop. Aluminum chimes with longer tubes (thirty-six to forty-five inches) produce the low, resonant tones that sit comfortably below conversation level.
Key Takeaway: Side placement rather than overhead placement near dining areas keeps chime sound ambient and directional — it frames the meal without interrupting it.

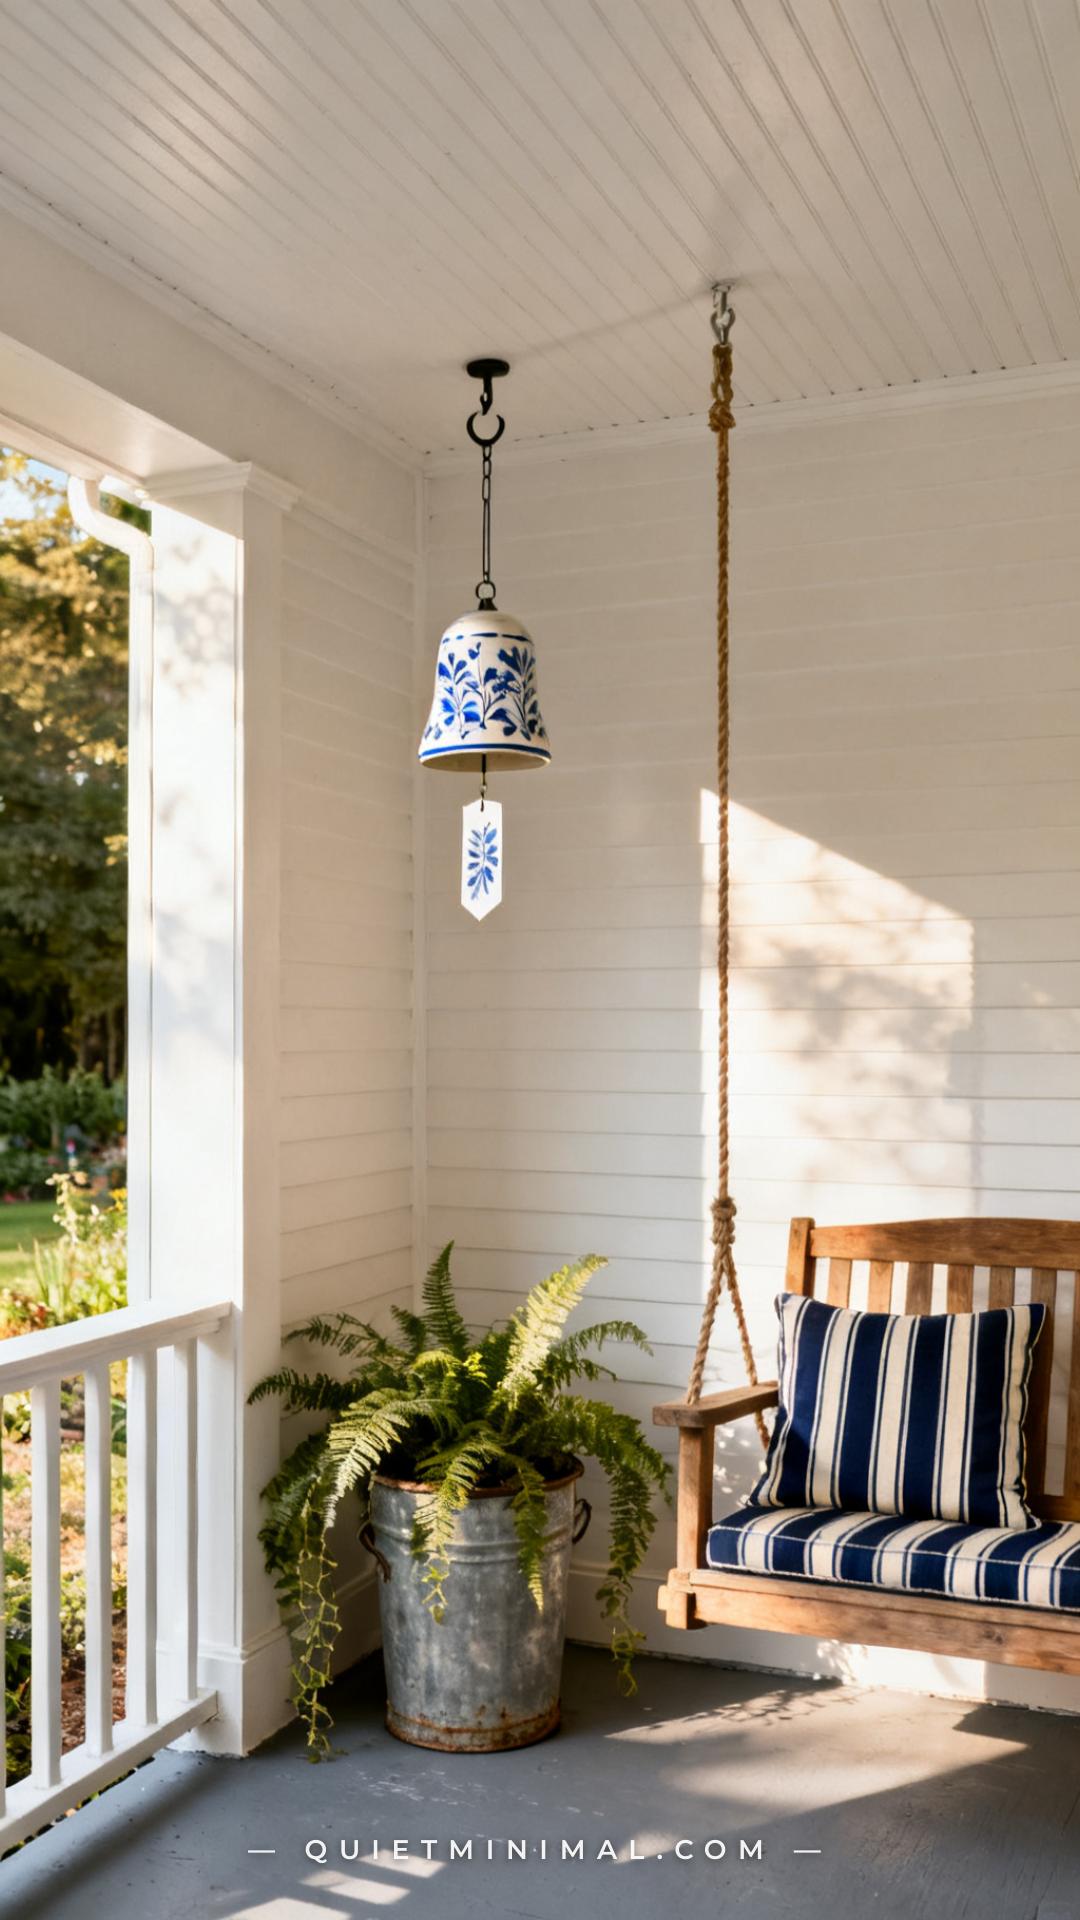
10. Tuck a Small Chime Into a Covered Porch Corner
 Save
From the guides
You've saved it, wanted it. Here's the how: codes, measurements, order. Your choices make it yours.
The Japandi Honest PlaybookThe honest version of the style: what to keep, what to skip, and the order to do it in.See inside →The Room Refresh PlaybookA repeatable four-step method, room by room, in ten minutes, thirty minutes, or one weekend.See inside →Make Any Room Feel Cozy on PurposeWhy some rooms hold people and others empty out, and the moves that change it.See inside →A covered porch corner is one of the most acoustically ideal locations for a wind chime because the ceiling above and the walls on two sides act as natural reflectors, amplifying and diffusing sound at the same time. This means you can choose a smaller, more delicate chime — ceramic, glass, or light aluminum — and still get surprisingly full sound projection. The corner ceiling hook placement also keeps the chime safe from direct rain and sun exposure, which dramatically extends the life of wood, ceramic, and painted finishes. A three-to-five tube chime is ideal for covered porch corners — larger sets can become overwhelming in an enclosed acoustic environment.
Key Takeaway: Covered porch corners are acoustic amplifiers — a small, delicate chime here will project more than you expect, so size down rather than up.

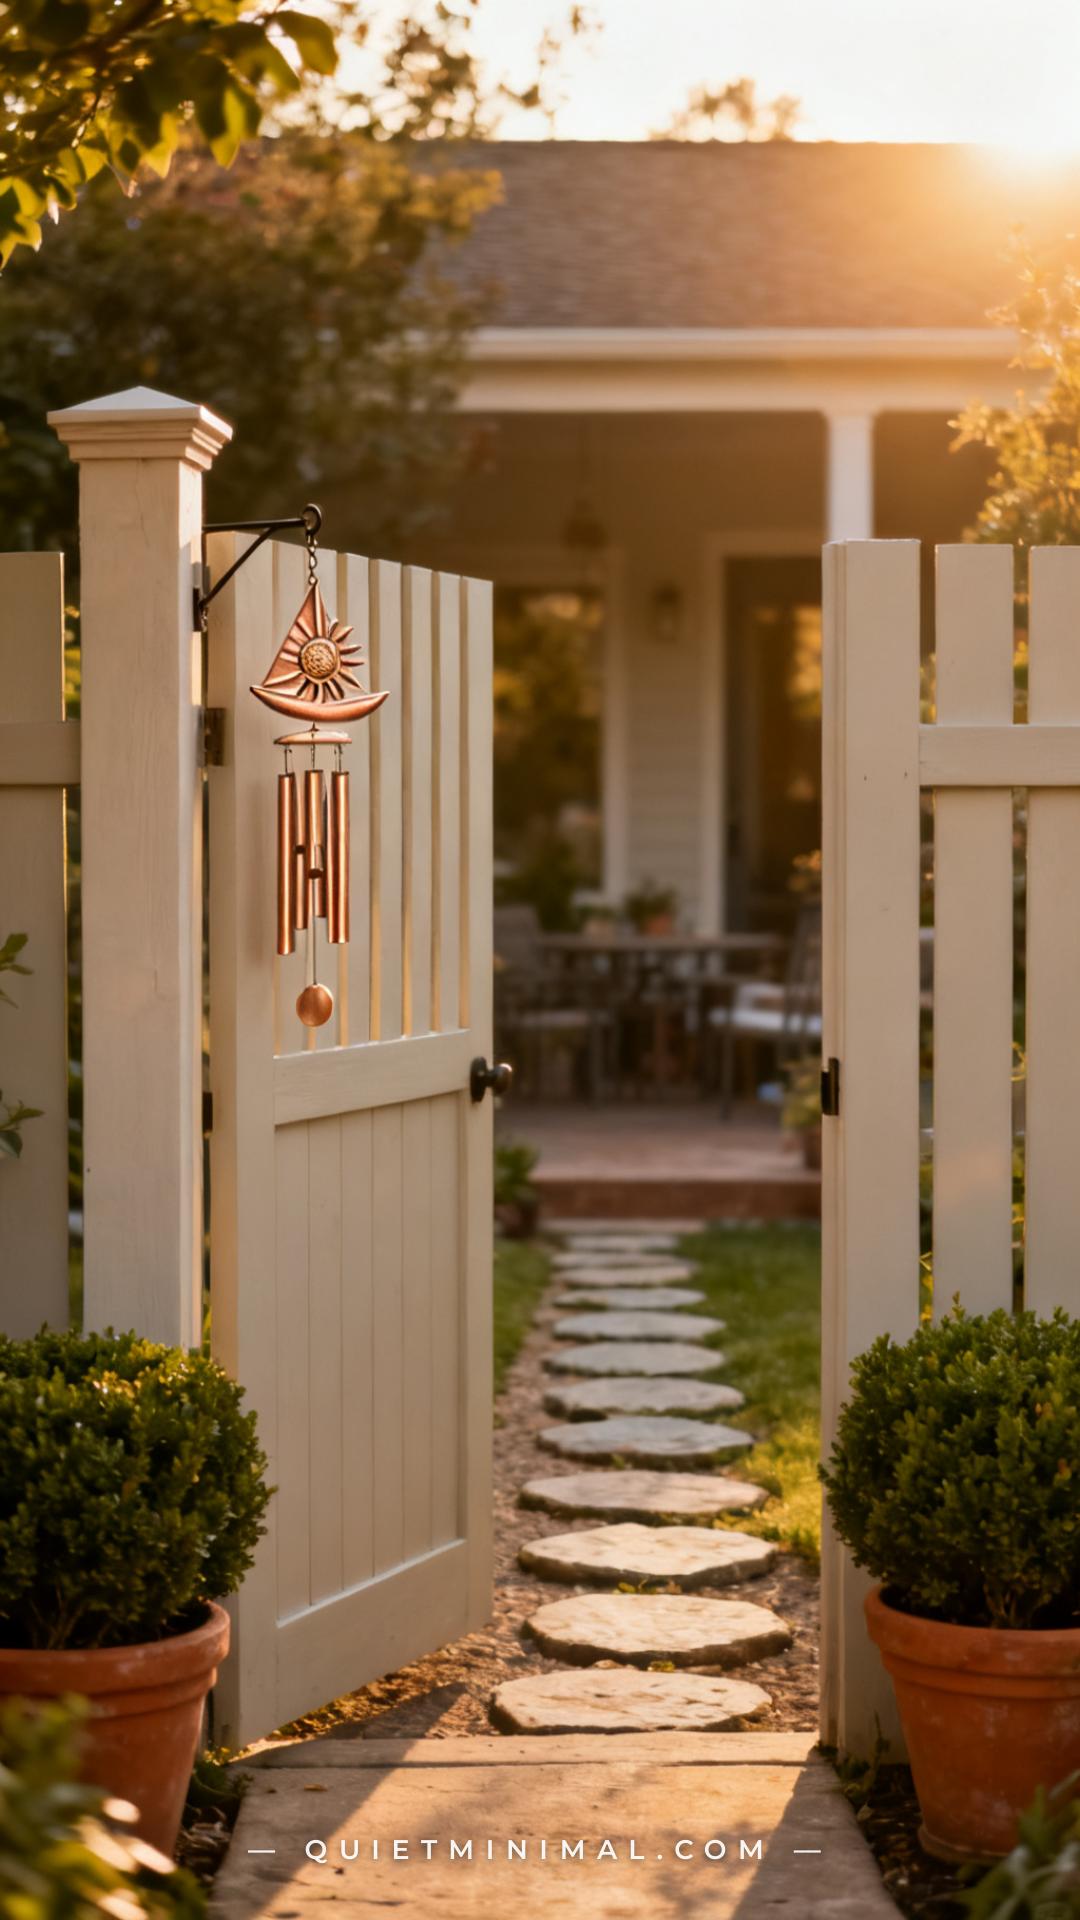
11. Hang at the Entry Gate for a Welcoming Arrival Sound
 Save
Placing a wind chime at or just inside a garden gate creates a small moment of acoustic punctuation every time someone enters the space — a gentle, welcoming sound that signals transition from the outside world to the patio’s calm. This placement works best with a chime that has a clear, resonant single-ring tone (ship’s bell style, single-cast iron bell, or a tight five-tube set) rather than a complex multi-tube arrangement that sounds busy in a narrow entry path. Mount it on the gate post at shoulder height, on the interior side so it’s activated as the gate opens and swings past. A bronze or copper finish ages beautifully in outdoor gate settings.
Key Takeaway: A gate-post chime creates an acoustic threshold moment that signals “you are now entering a calm space” — a small design detail with an outsized psychological effect.

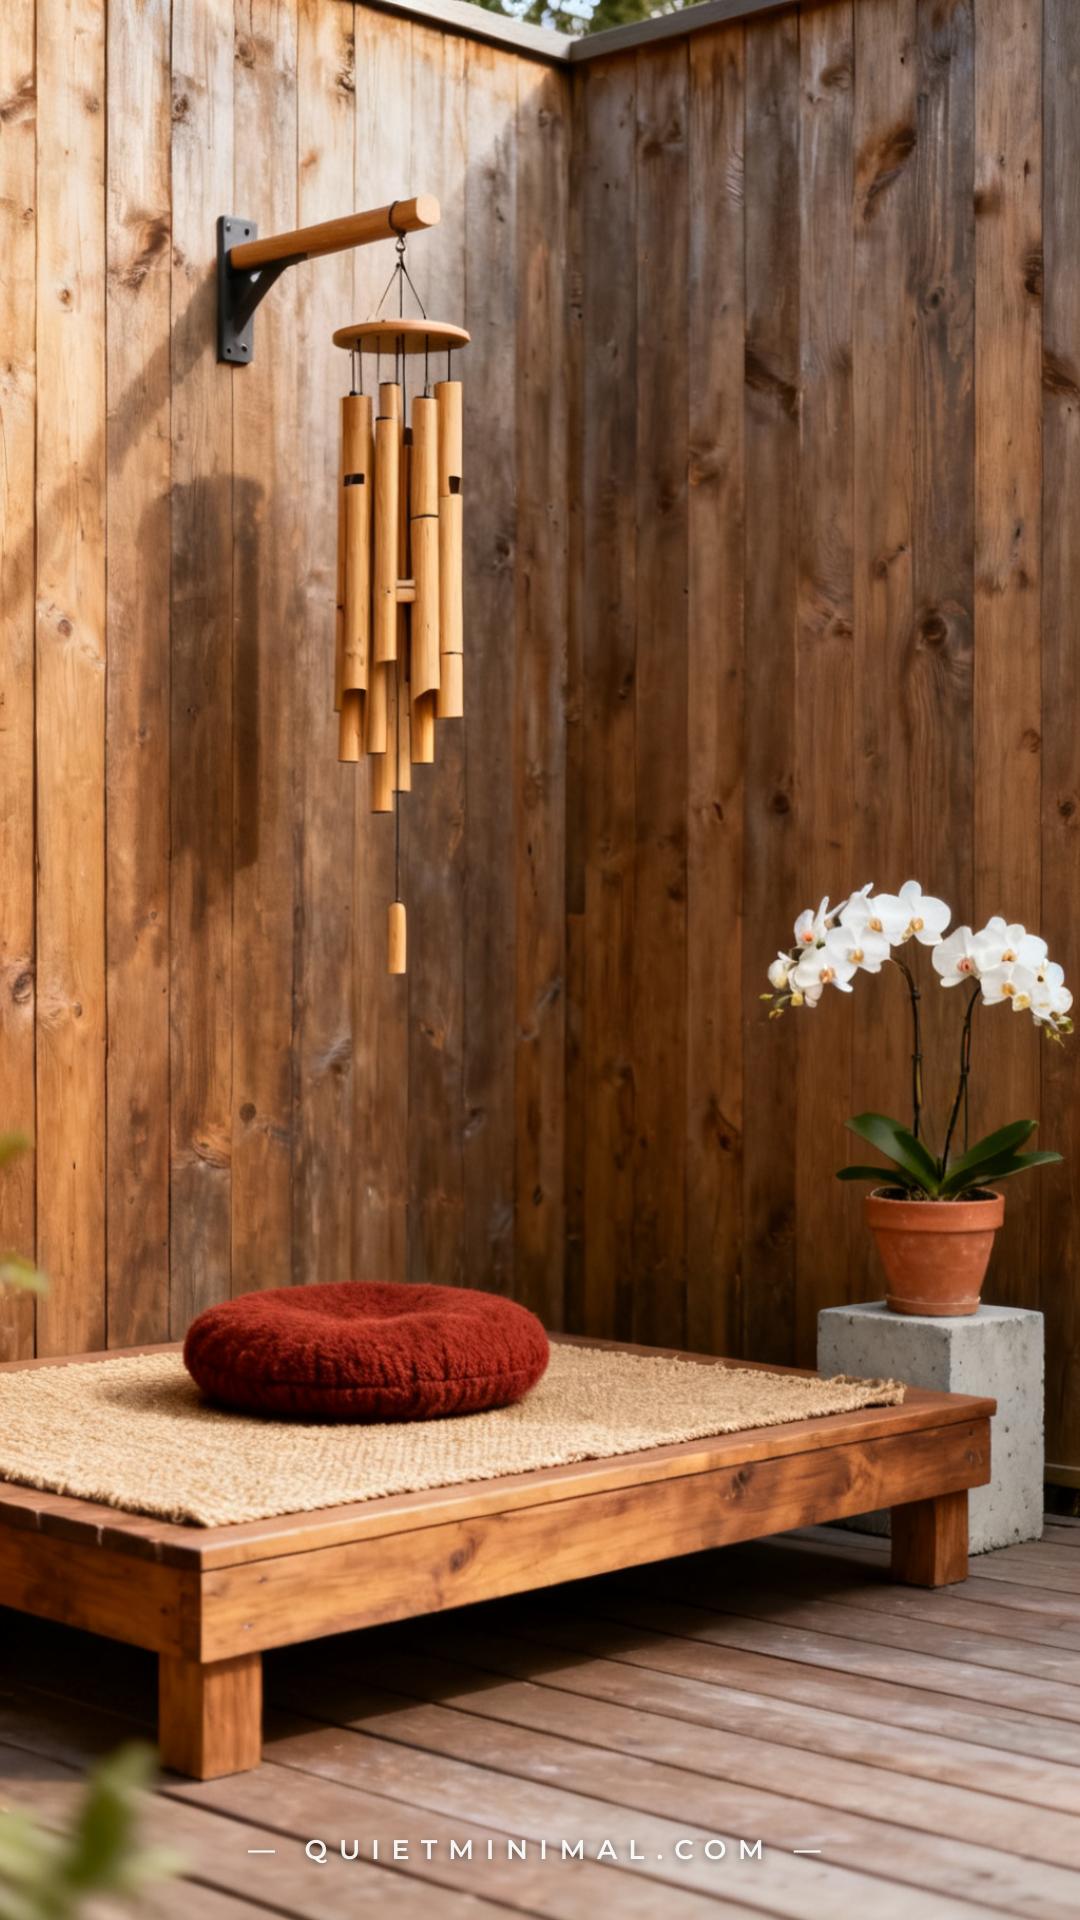
12. Pair a Chime With a Meditation or Yoga Corner
 Save
A meditation or yoga corner on a patio is the highest-intention use of a wind chime you can design for. The placement rule here is “above and beside, not directly above” — you don’t want the chime swinging directly over your head during practice. Position it two to three feet to the side of the platform and high enough that even in a strong gust it stays out of the active practice space. Bamboo chimes are the near-universal choice for meditation settings: their tones are warm, woody, and non-metallic, with a natural decay that doesn’t linger as sharply as metal. Choose a chime tuned to a pentatonic scale (labeled clearly on most quality chimes) — these avoid dissonant clashes no matter which tubes ring together.
Key Takeaway: For meditation corners, “above and beside” placement with a pentatonic-tuned bamboo chime creates a sound environment that supports rather than disrupts focus.

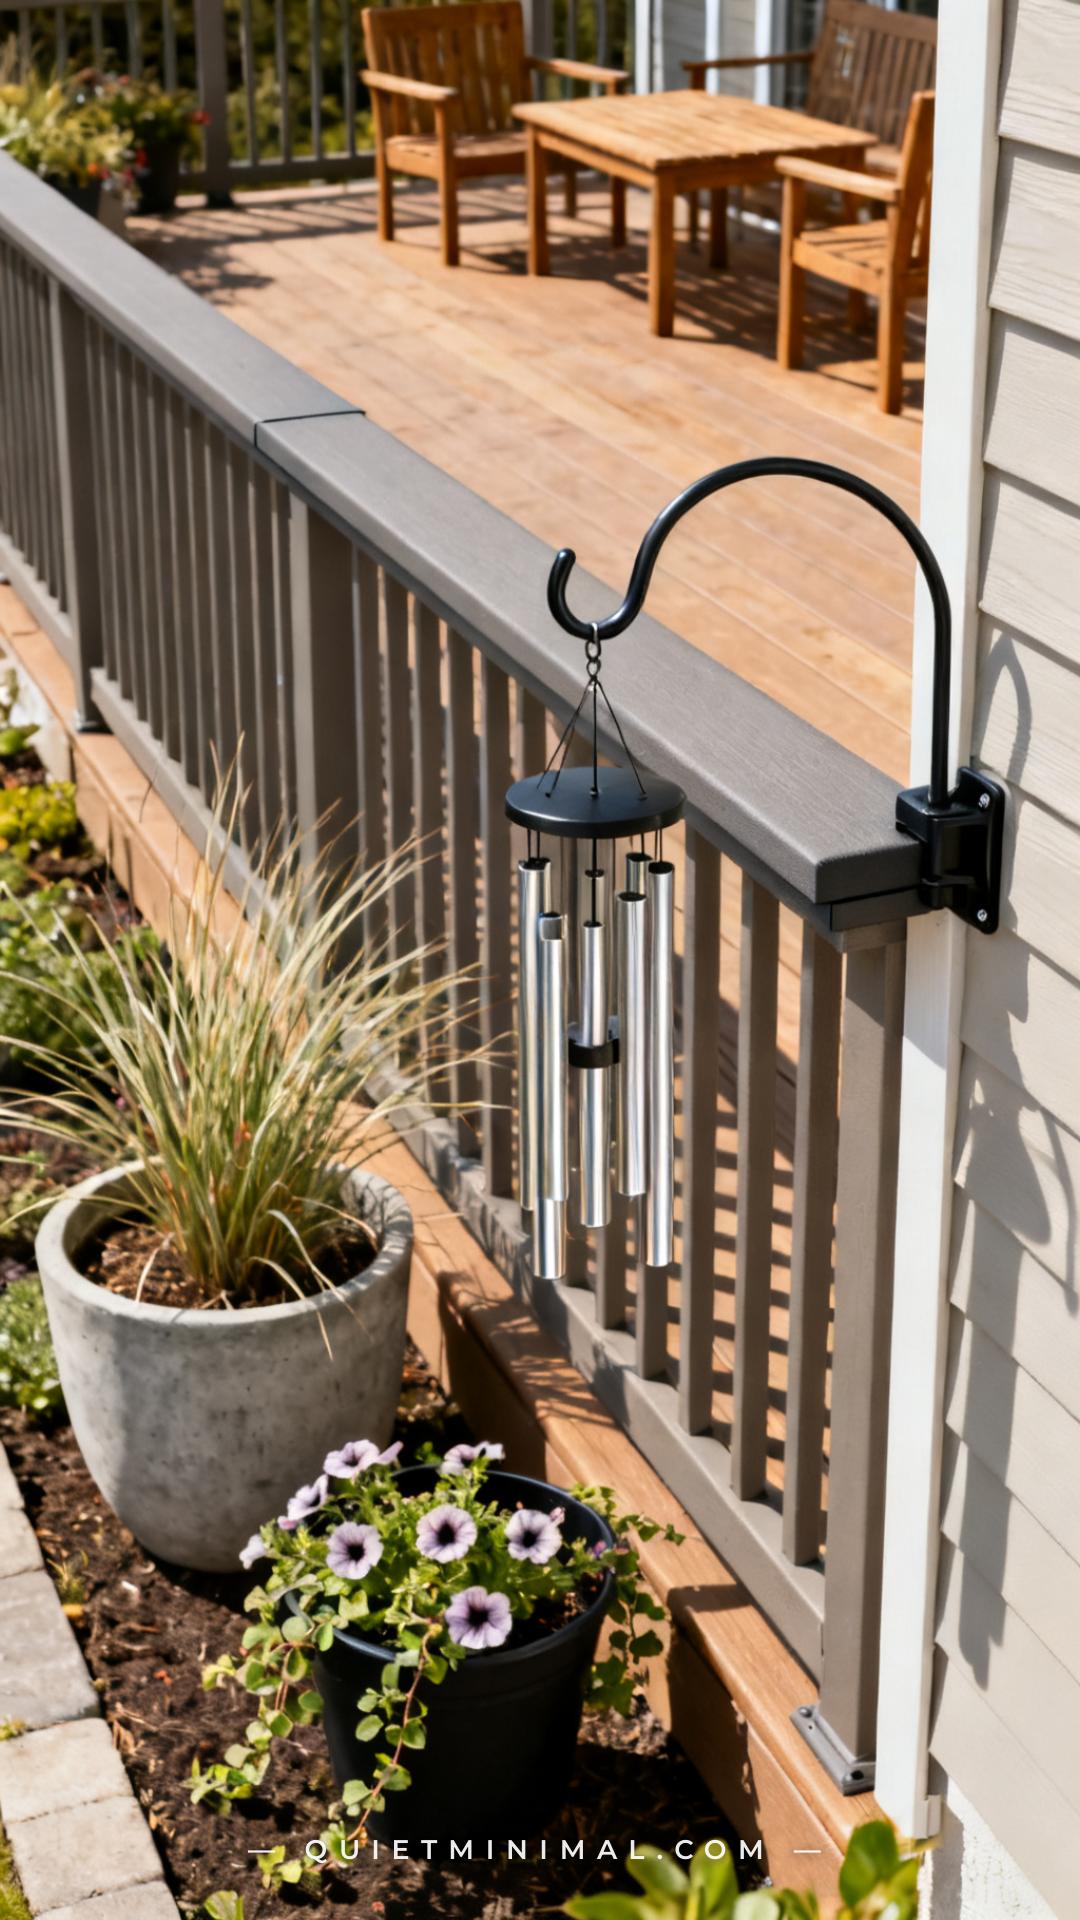
13. Install on a Deck Railing With a Rail-Clamp Hook
 Save
Deck railings are one of the most underutilized wind chime mounting points because most people don’t know rail-clamp hooks exist. These clamp-on hooks (designed for plant baskets but perfectly suited for chimes) attach without drilling, leave no permanent marks, and can be repositioned in seconds. The rail is an ideal height — typically thirty-six to forty-two inches — which is actually the sweet spot for catching gentle breezes that move along the deck surface rather than high-altitude gusts. Position the clamp on the side of the railing that faces your prevailing wind direction. For composite or aluminum railings, use a rubber-lined clamp to prevent scratching the surface.
Key Takeaway: A rubber-lined rail clamp hook is the fastest, most renter-friendly wind chime installation method available — no drilling, no wall anchors, completely adjustable.

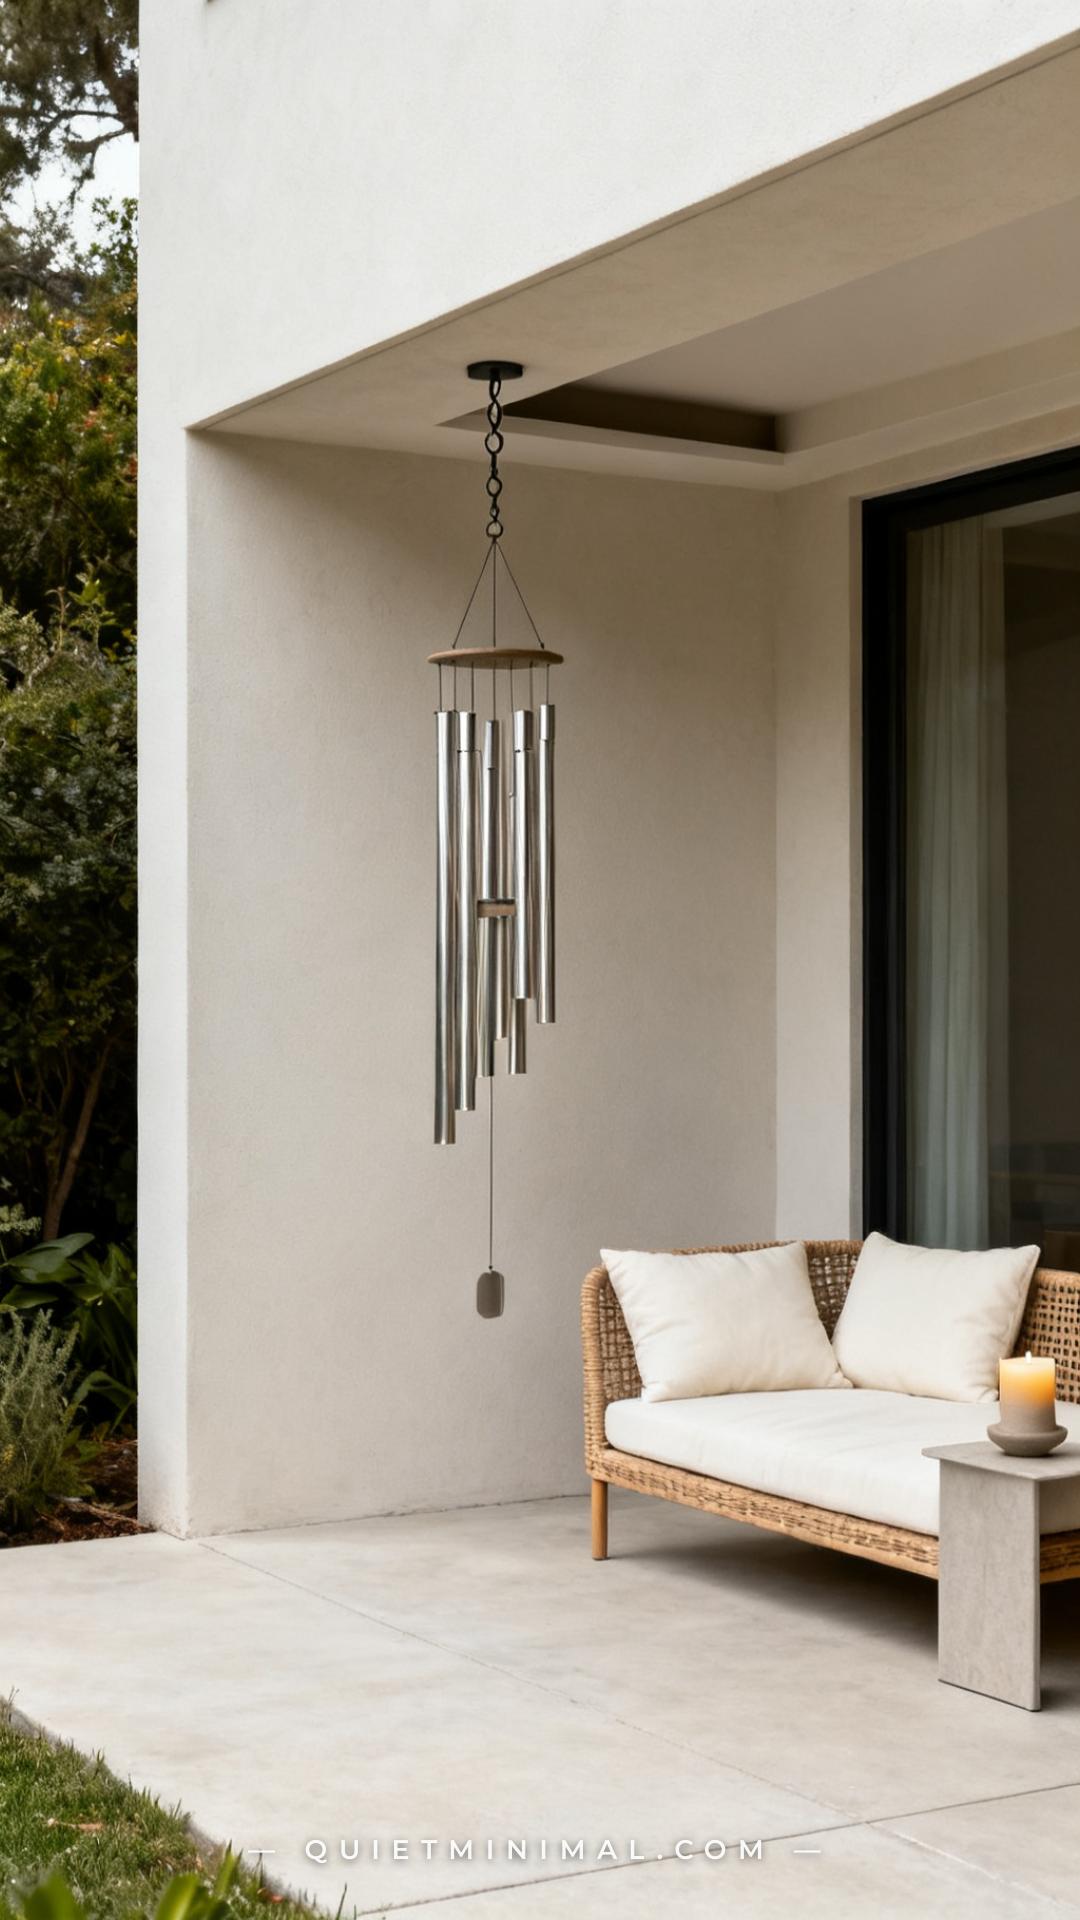
14. Use Height Strategically — Why Lower Is Often Calmer
 Save
The instinct is to hang wind chimes as high as possible — but height above about seven feet actually reduces gentle-breeze activation because ground-level breezes move through the lower three to five feet of outdoor air rather than at ceiling height. Hanging a chime at four to five feet from the patio surface keeps it in the most active wind zone for light breezes and produces softer, more intermittent sounds rather than the constant ringing that happens when a chime is exposed to full overhead airflow. A longer drop cord or chain from a ceiling hook is all that’s needed to bring an existing chime down to the optimal height zone — no rehardware required.
Key Takeaway: Four to five feet from ground level catches gentle breezes that pass over most patios, producing softer and more intermittent sound than high-hung placement does.

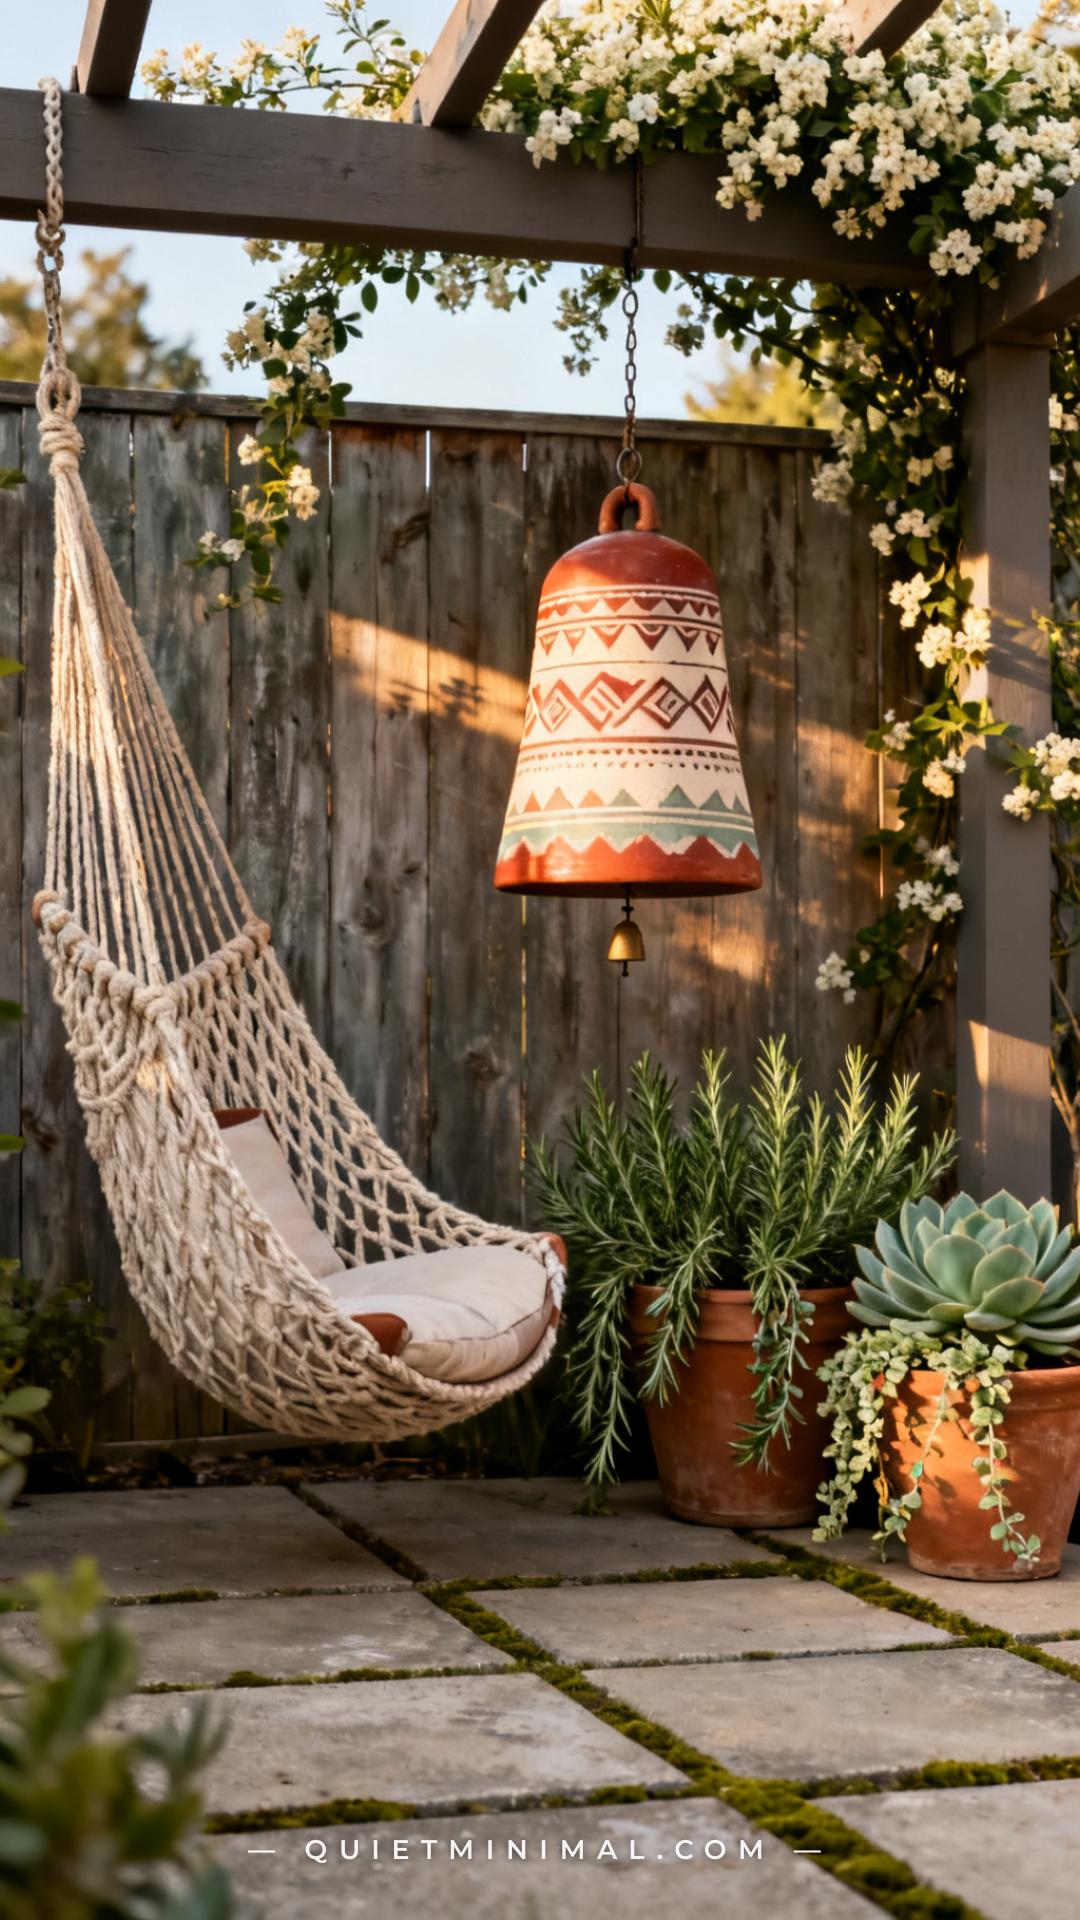
15. Match Chime Material to Patio Style for Visual Calm
 Save
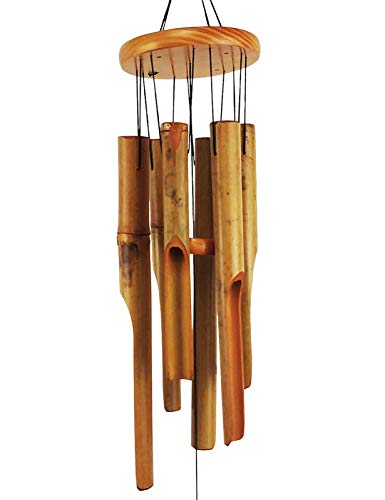
Visual calm is as important as acoustic calm. A chime that looks out of place against your patio palette creates low-level visual tension that undermines the whole point. The pairing principle is straightforward: natural materials (bamboo, wood, ceramic, stone) belong in organic, boho, cottage, or japandi-style patios; metal chimes (aluminum, copper, bronze, iron) suit modern, industrial, or transitional patios; glass or crystal chimes suit coastal or maximalist-glam styles. Beyond material, look at the color of the sail (the flat hanging piece at the bottom) — if it’s a bold printed fabric sail, it should coordinate with at least one other textile on the patio. A mismatched sail is the fastest way to make an otherwise good chime look like a random purchase.
Key Takeaway: Match your chime’s material and sail color to the dominant material story and textile palette of your patio — visual harmony is half of what makes a space feel calm.

The Right Placement Changes Everything
Wind chimes are one of the few patio elements that engage two senses at once — sight and sound — which means a poor placement doubles the damage and a great placement doubles the reward. The three ideas that matter most from this list: hang at four to five feet rather than ceiling height to activate gentle breezes, place on the edge of your seating area rather than directly above it, and match the material to your patio’s existing palette so it reads as designed rather than decorated. Start with one placement from this list, give it a week of real-weather testing, then adjust. The perfect position for your specific yard, fence, and prevailing wind is always a few small experiments away from where you first hung it.
From the guides
You've saved it, wanted it. Here's the how: codes, measurements, order. Your choices make it yours.
The Japandi Honest PlaybookThe honest version of the style: what to keep, what to skip, and the order to do it in.See inside →The Room Refresh PlaybookA repeatable four-step method, room by room, in ten minutes, thirty minutes, or one weekend.See inside →Make Any Room Feel Cozy on PurposeWhy some rooms hold people and others empty out, and the moves that change it.See inside → Save