 Georgia

Farmhouse kitchen gray cabinets are the most saved kitchen on this site and the hardest to specify. The eight sections further down this page still hold: the shade, the wood tones, the hardware, the countertops, the upkeep. What they never gave you is the number. Gray is the one cabinet color that changes identity with the window it faces and the counter it meets, so a soft warm gray on a 2 x 3 in (5 x 8 cm) chip turns near-white in a south-facing galley and faintly lavender in a north-facing one. This block sits above the old advice as the decision layer: the gray ladder by paint code and LRV, warm or cool by window direction, then the countertop, backsplash, hardware, wall color and light plan matched to that depth of gray, with current costs where they matter. Read the number first, and the rest of the page stops being taste and becomes a plan.
Read the Gray by Its LRV Before You Read It by Its Name
 Save
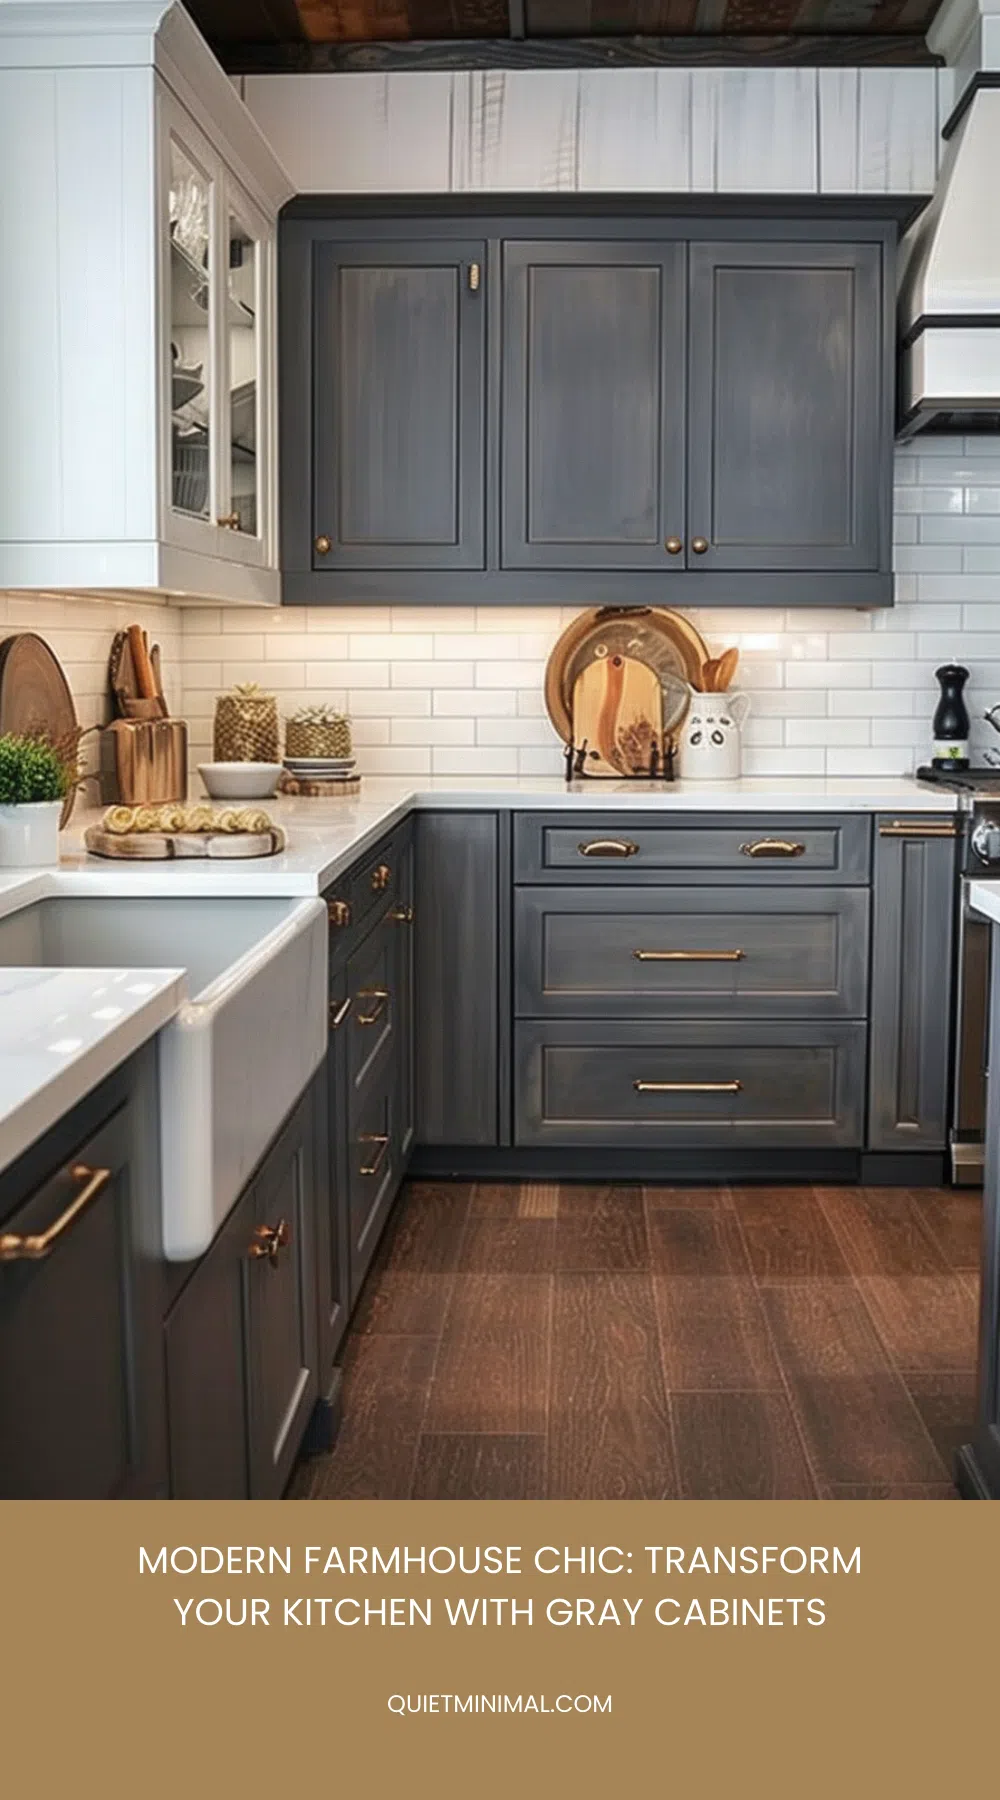
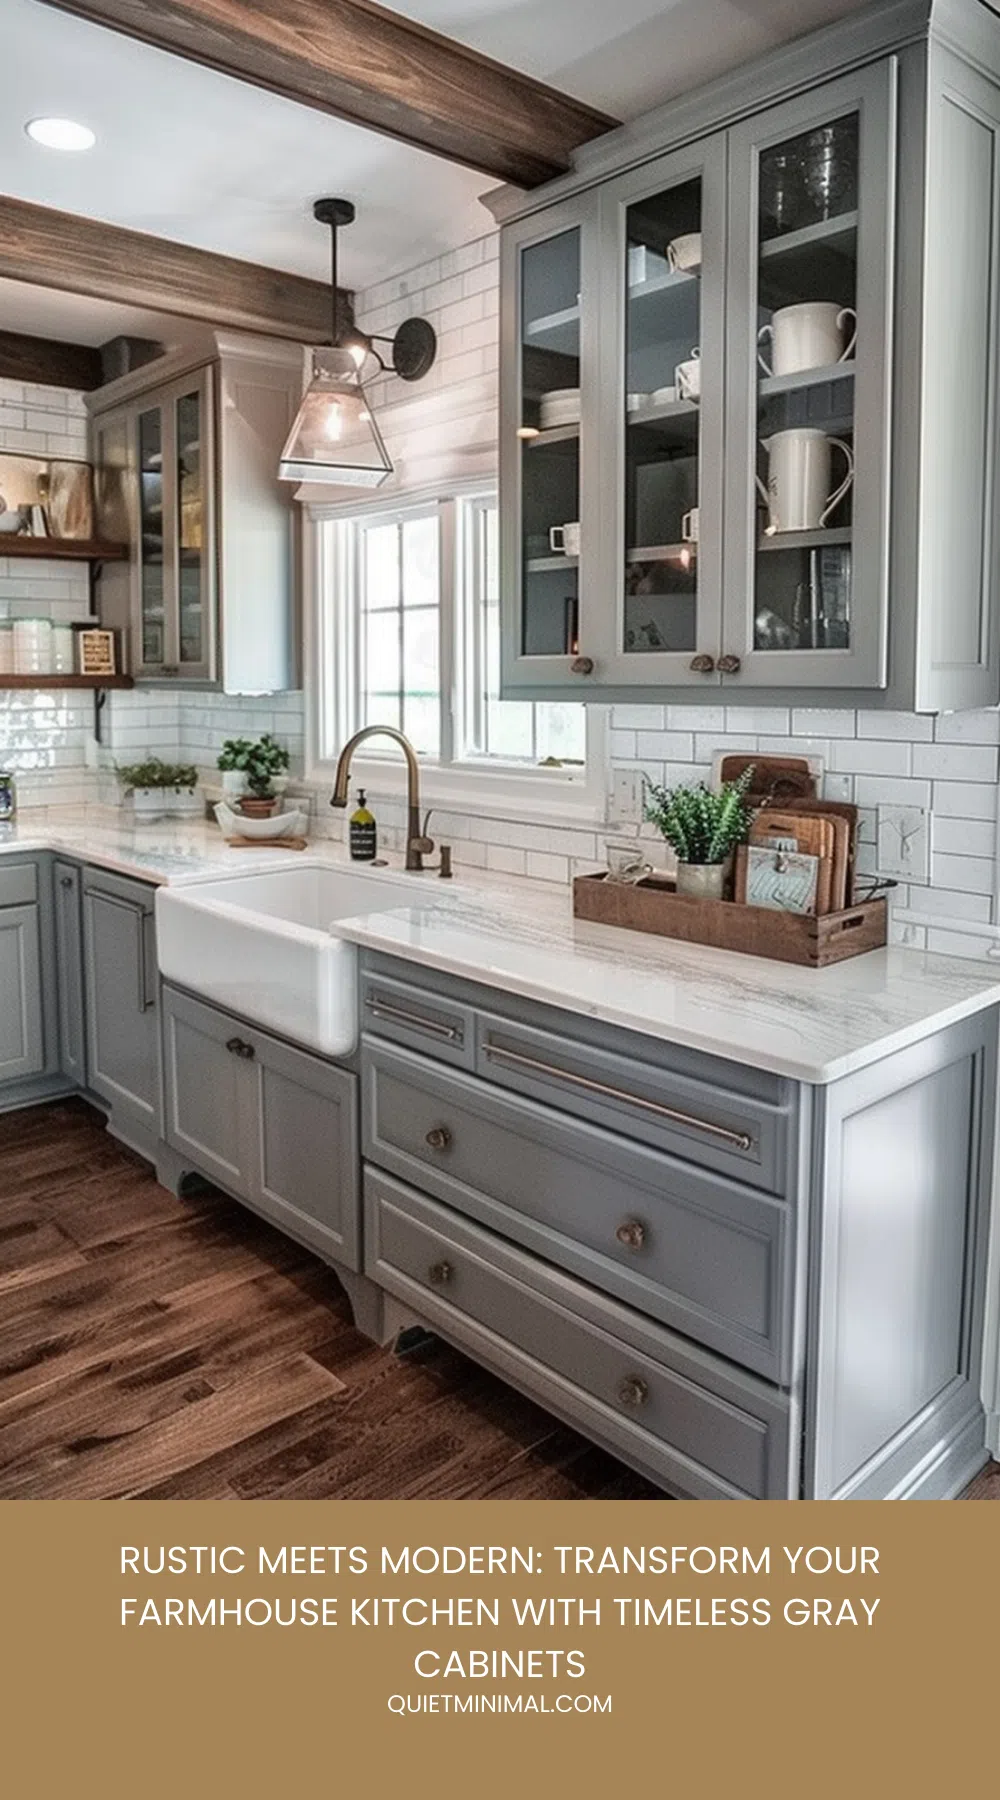
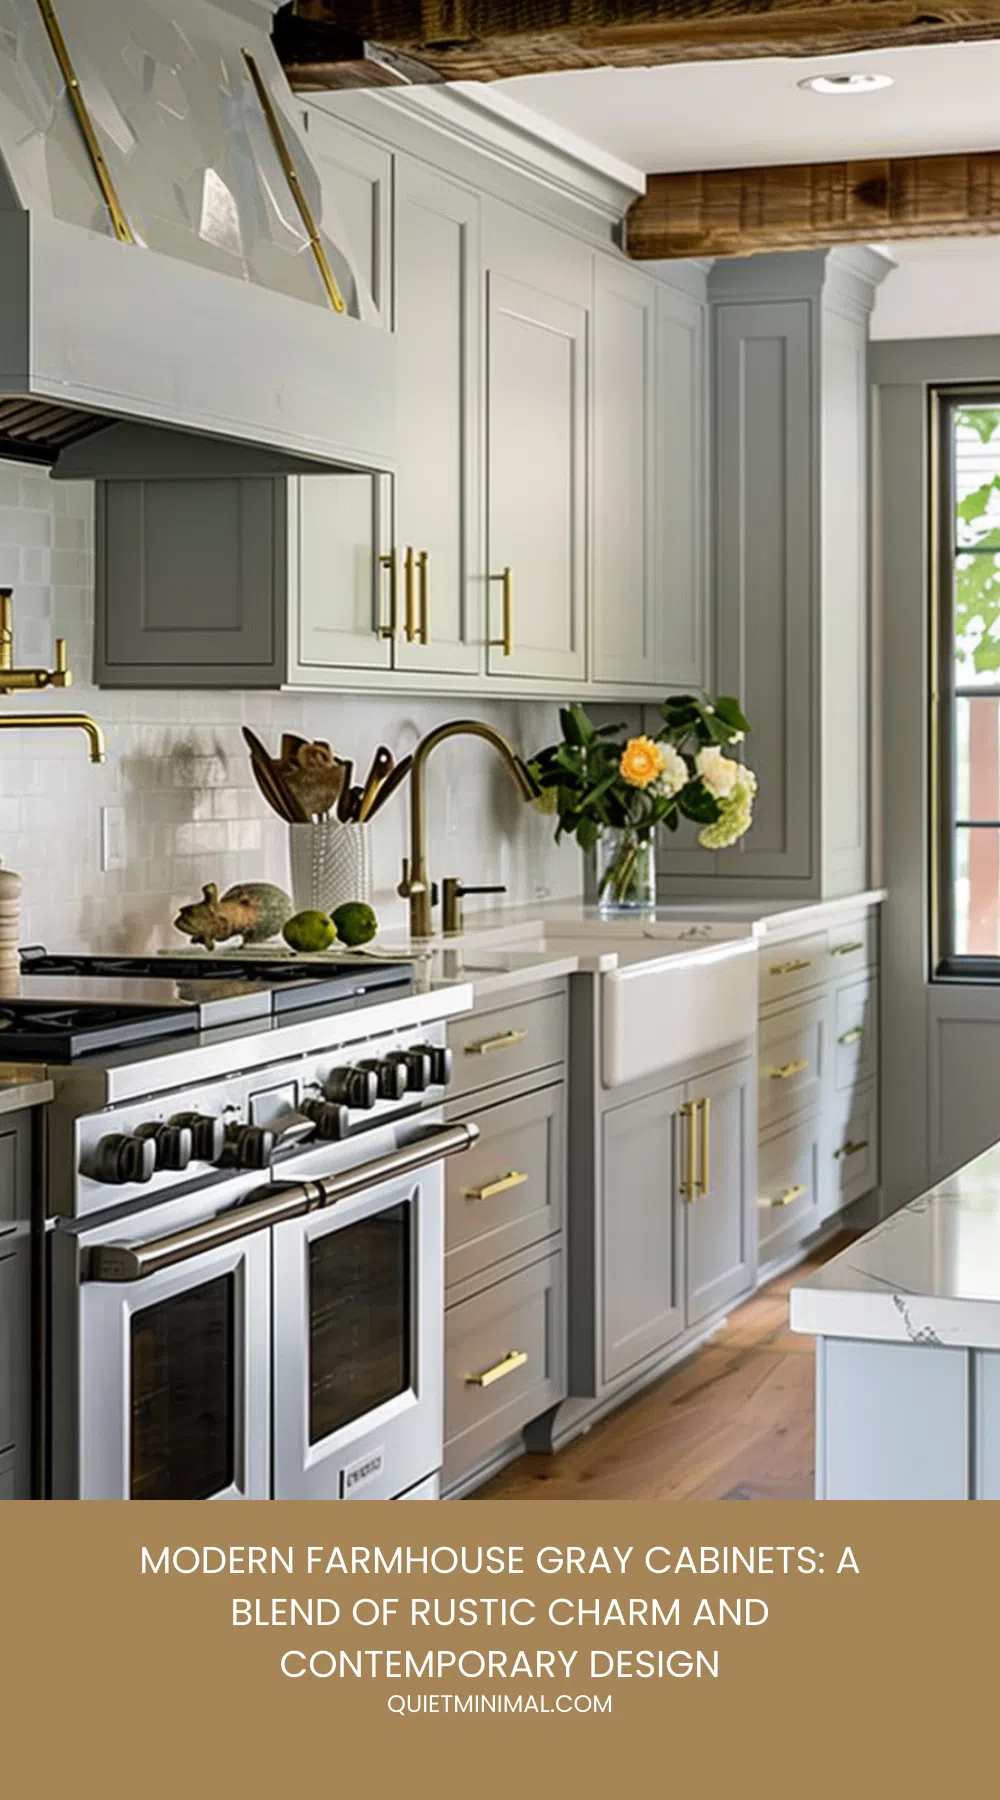
The failure starts at the paint store. A chip is 2 x 3 in (5 x 8 cm); the cabinets are 40 to 60 sq ft (3.7 to 5.6 sq m) of doors read under a window, and paint on that much surface always comes back lighter than the chip promised. That is why a gray that looked like gray on the card arrives as a near-white kitchen with a gray whisper, like this shaker run with its brass dome knobs and oak butcher block.
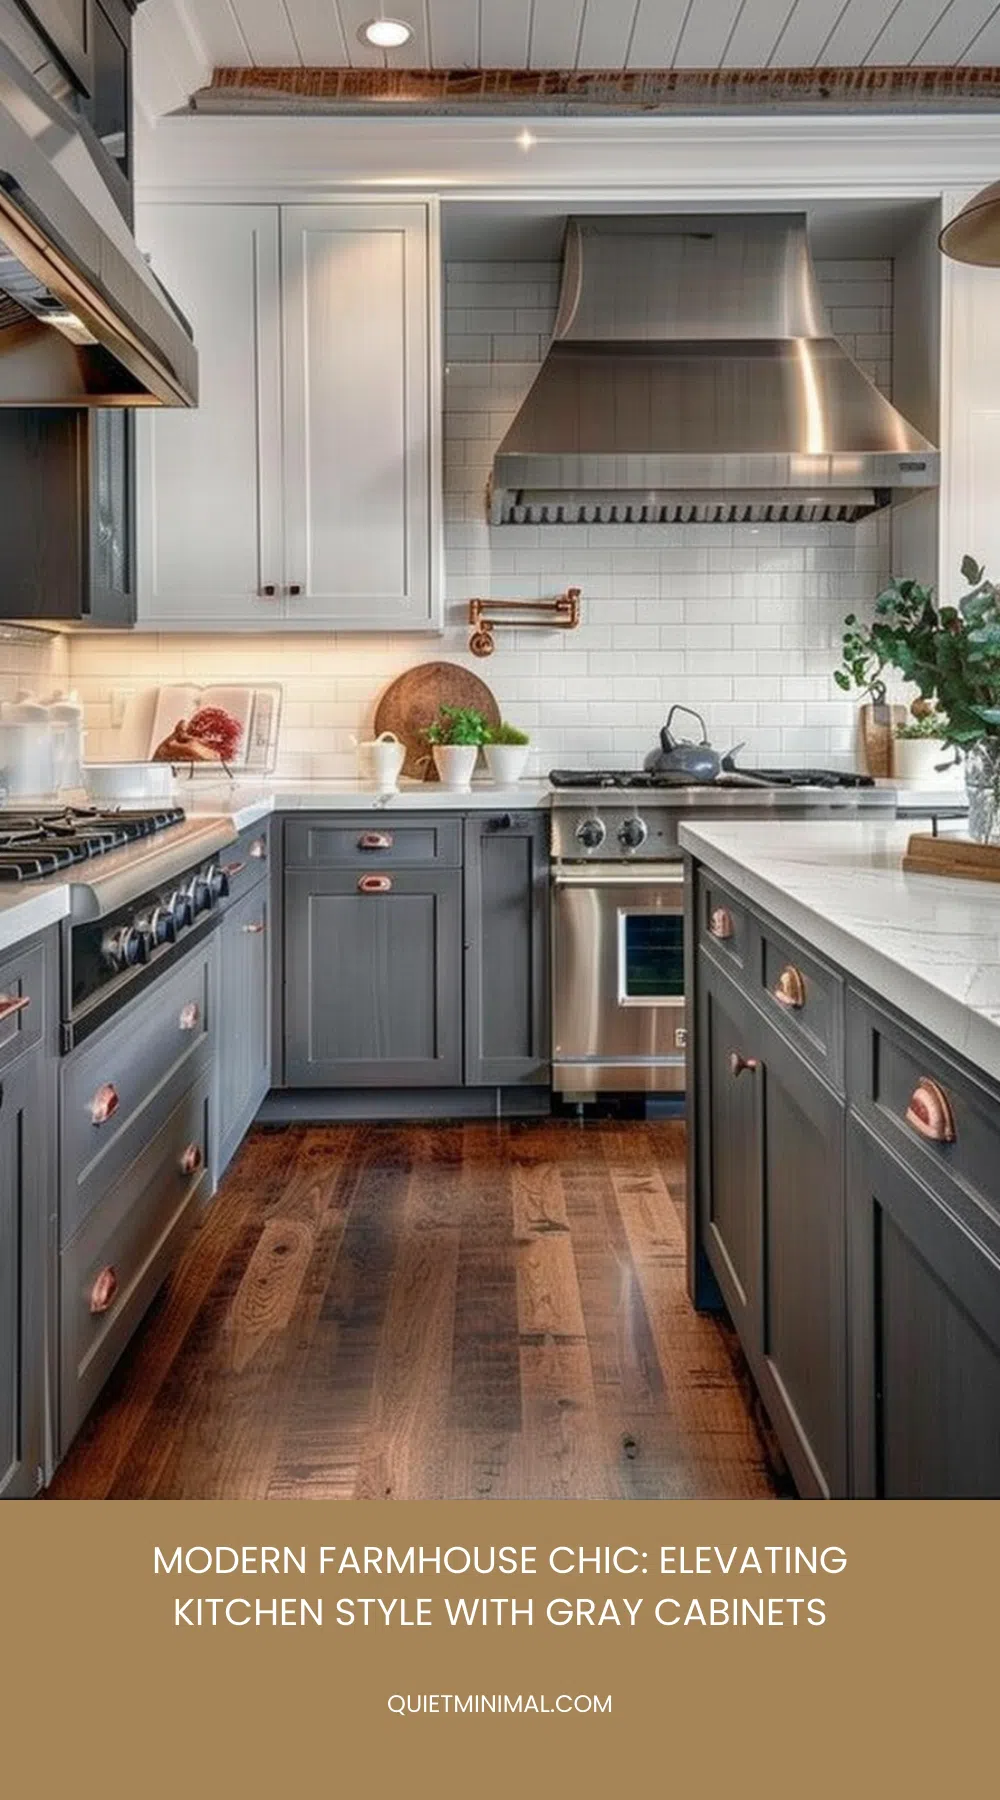
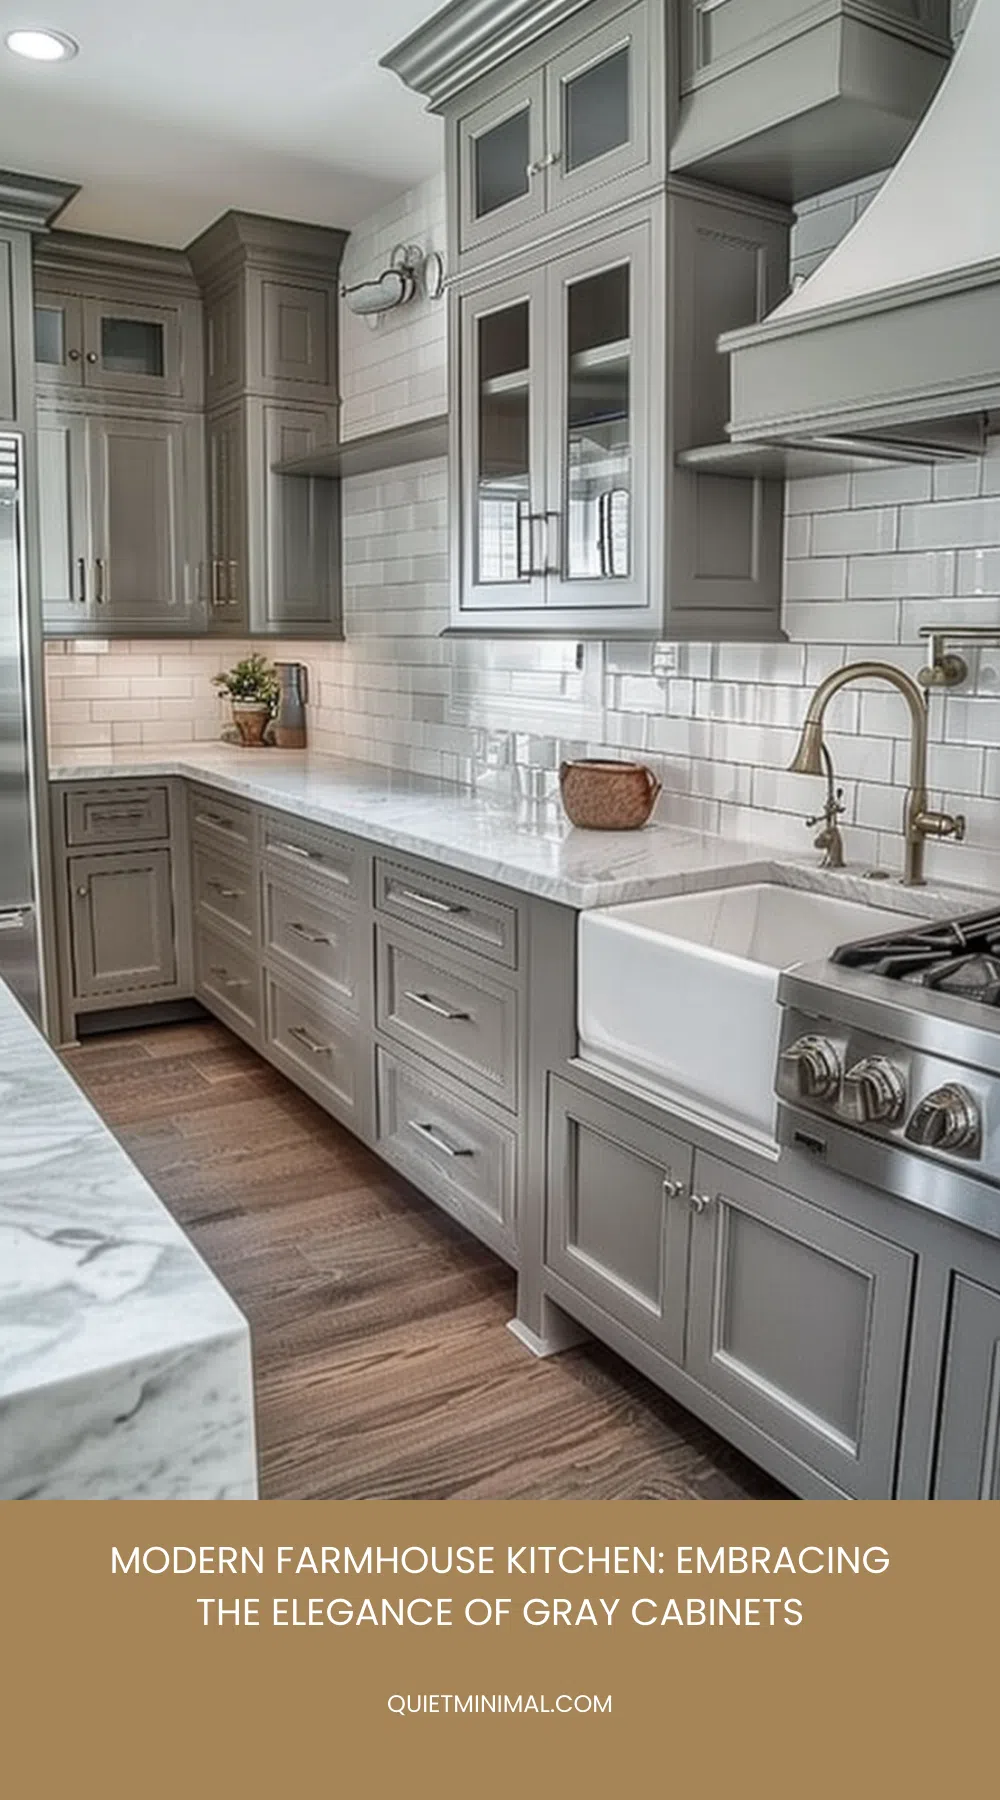
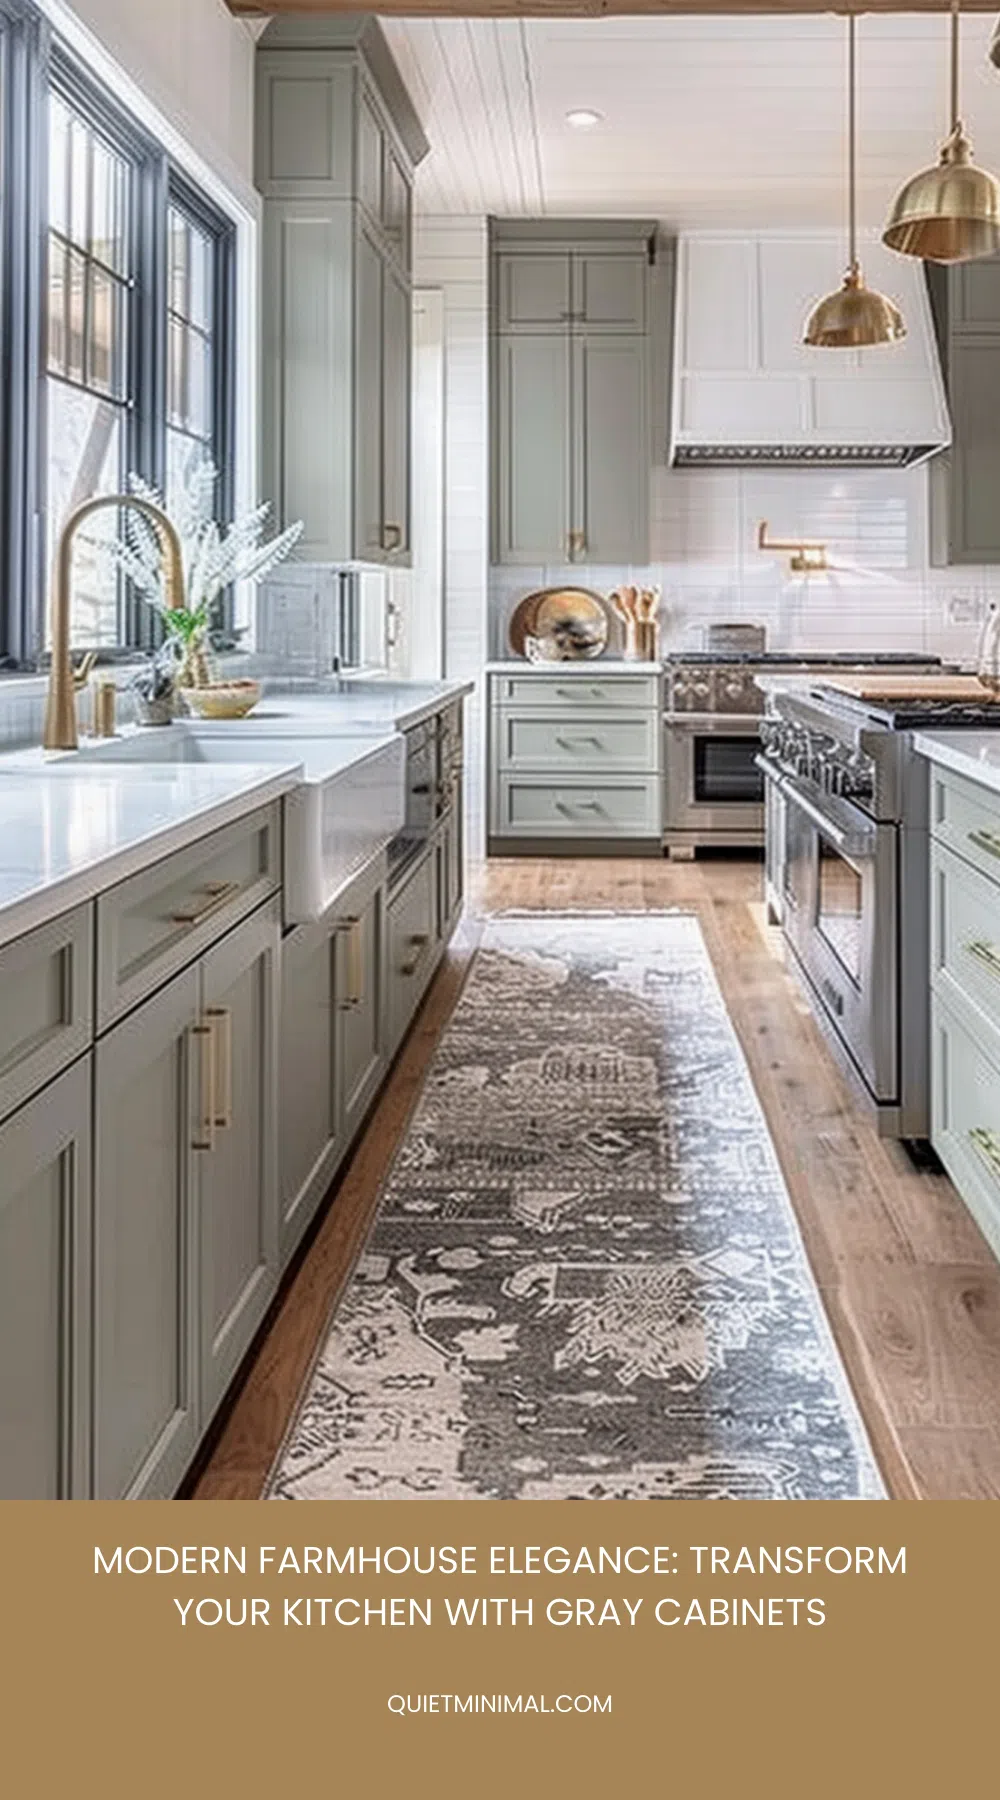
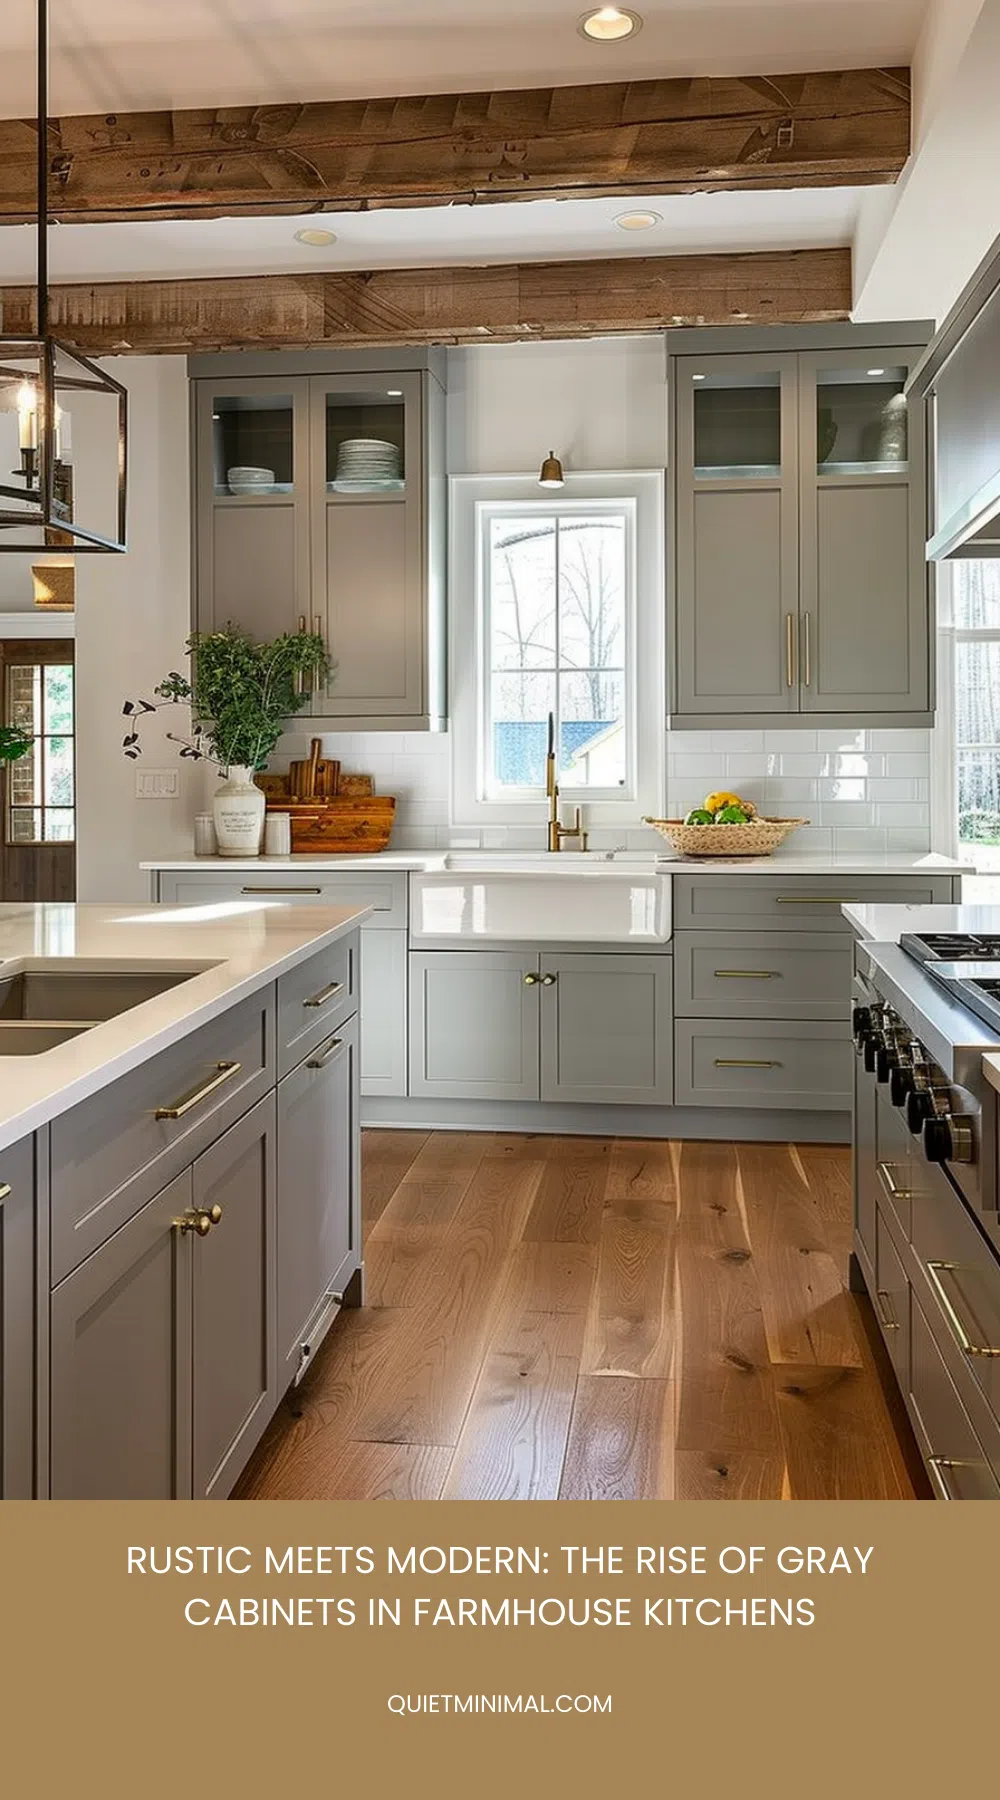
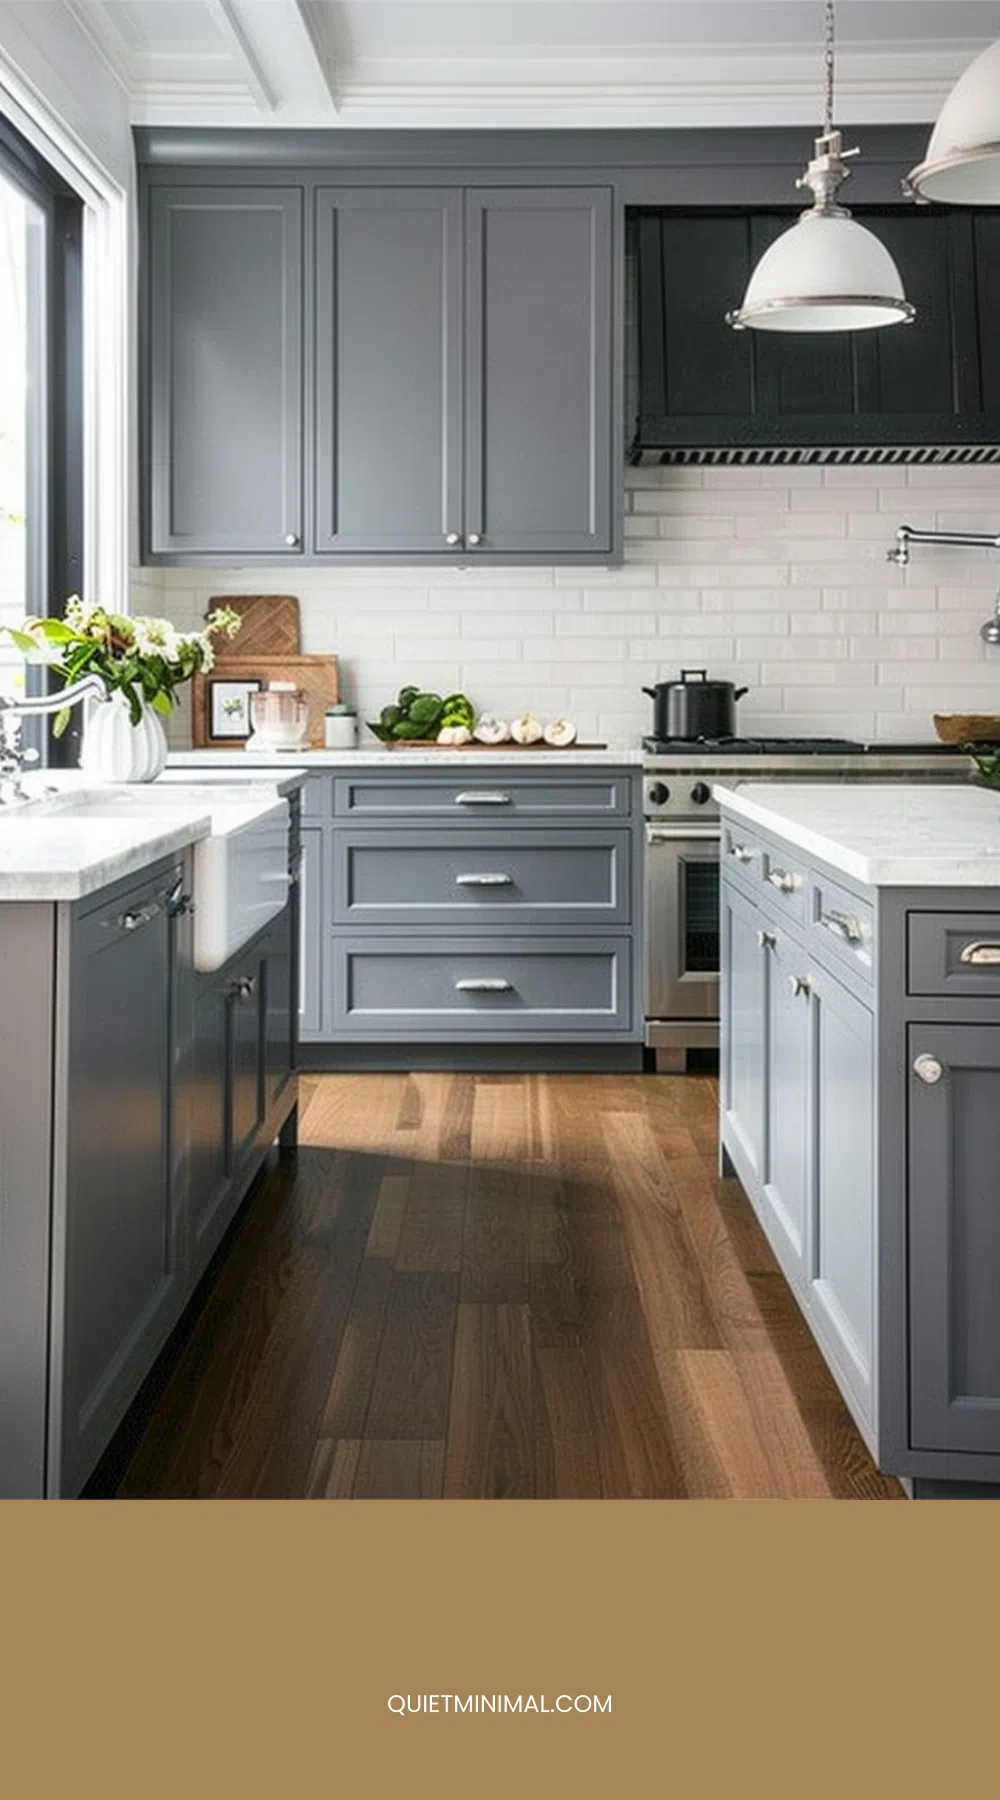
The fix is one number printed on every chip: LRV, light reflectance value, 0 for black and 100 for pure white. Above LRV 55 a gray behaves as an off-white in daylight, what you see in this bright galley with its white square subway tile. Between 35 and 55 it reads as gray from every angle. Between 15 and 35 it is a deep gray, and under 15 it is charcoal that photographs as black. Decide the band first, then the name inside it.
Key Takeaway: Choose the LRV band first, above 55 near-white, 35 to 55 true gray, 15 to 35 deep gray, under 15 charcoal, and only then the name.
The Gray Ladder by Paint Code, From LRV 64 to LRV 6
 Save
Every code and LRV here was checked on the brand’s own site. Light band, LRV 55 and up: Benjamin Moore Gray Owl OC-52 at 64.5 and Stonington Gray HC-170 at 59.4, both cool; Sherwin-Williams Agreeable Gray SW 7029 at 60.4 and Repose Gray SW 7015 at 58.2, both warm; Revere Pewter HC-172 at 55.1, closer to greige. True-gray band, 35 to 55: Coventry Gray HC-169 at 48.2, cool; Mindful Gray SW 7016 at 47.7 and Dorian Gray SW 7017 at 38.7, warm. Deep band, 15 to 35: Dovetail SW 7018 at 25.8, Chelsea Gray HC-168 at 23.3, Gauntlet Gray SW 7019 at 17.4. Charcoal band, under 15: Kendall Charcoal HC-166 at 14.6, Peppercorn SW 7674 at 9.7, Wrought Iron 2124-10 at 8.2 and Iron Ore SW 7069 at 5.6.
Repose, Mindful, Dorian, Dovetail and Gauntlet are one Sherwin-Williams strip, SW 7015 through 7019, so any two of them make a two-tone pair that cannot clash. And the drop from Dorian at 38.7 to Dovetail at 25.8 is the biggest step on the ladder, where a gray kitchen stops reading light in photographs.
Key Takeaway: Fourteen verified rungs from Gray Owl at 64.5 to Iron Ore at 5.6; the SW 7015 to 7019 strip is the safest two-tone family, and Dorian to Dovetail is the light-to-deep line.
Warm Gray or Cool Gray: Let the Window Direction Decide
 Save
The most common gray complaint is the one nobody can name at first: the cabinets went blue. It is not the paint. A north-facing kitchen takes indirect light that is already slightly blue, and that light amplifies whatever cool undertone the gray was hiding on the chip; Livingetc’s designers say the same: no blue-gray on a north wall. A south-facing kitchen does the opposite: its warm sun pushes a warm greige toward beige by mid-afternoon, and the cool gray that failed up north sits clearly gray there.
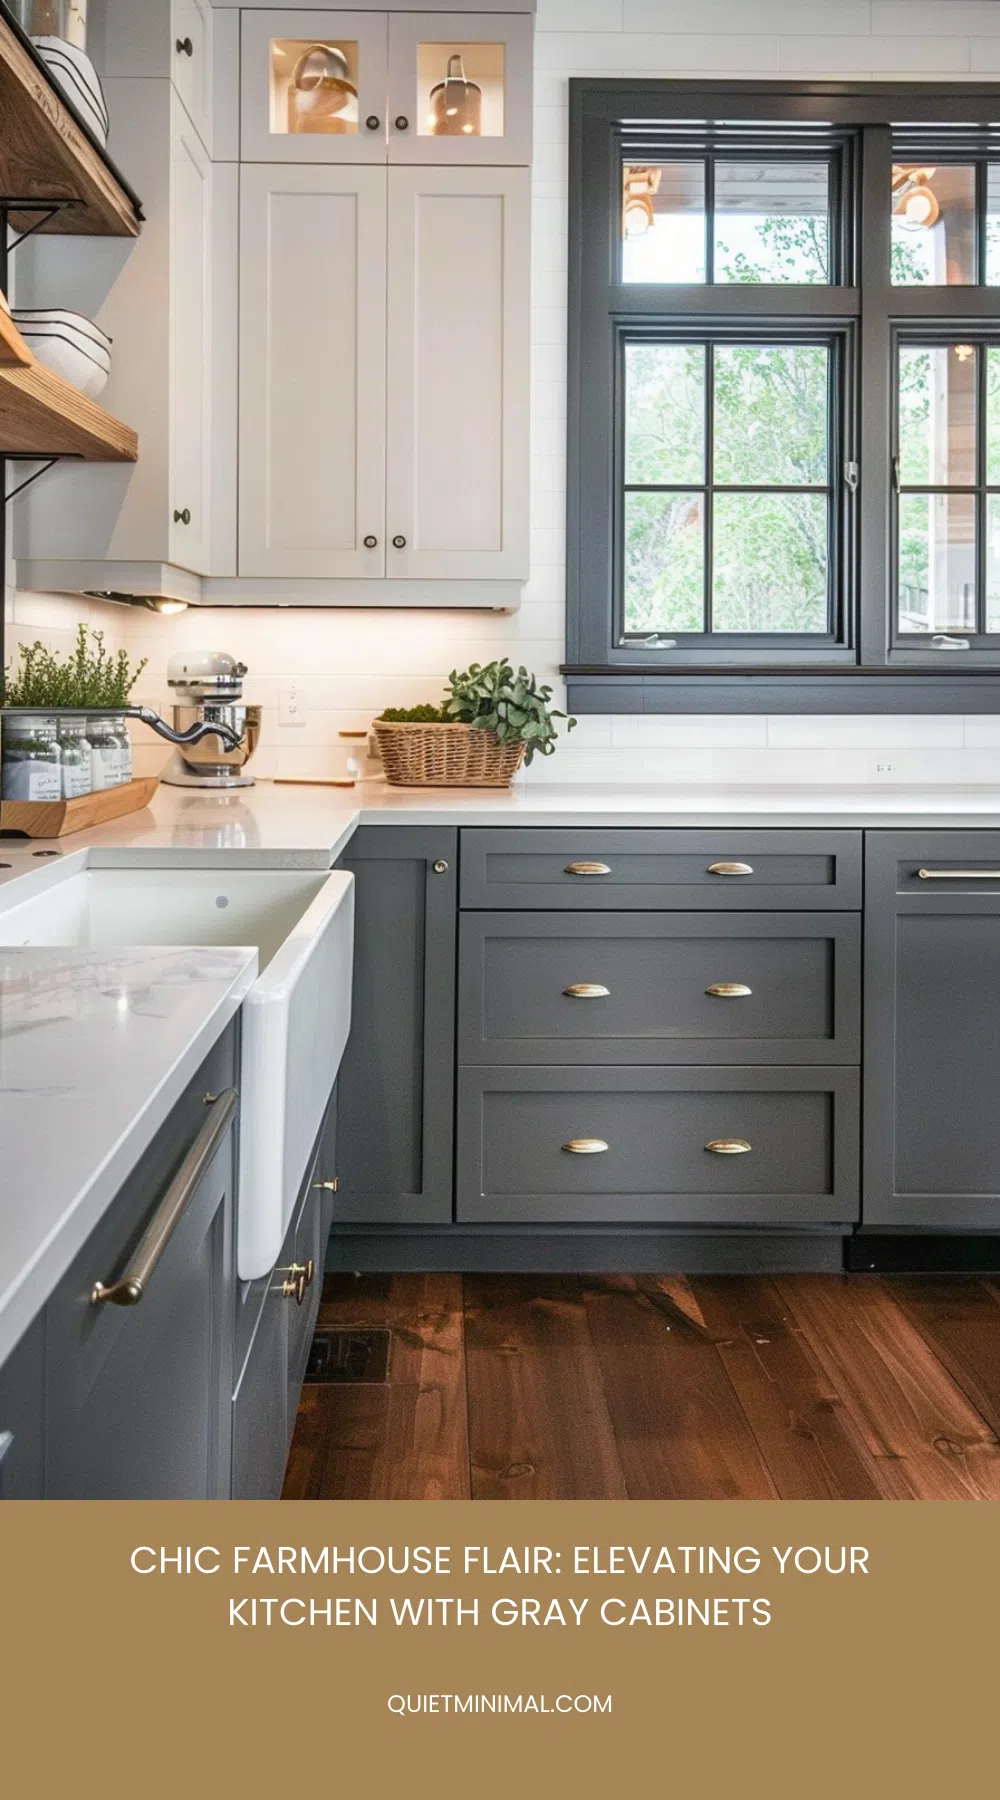
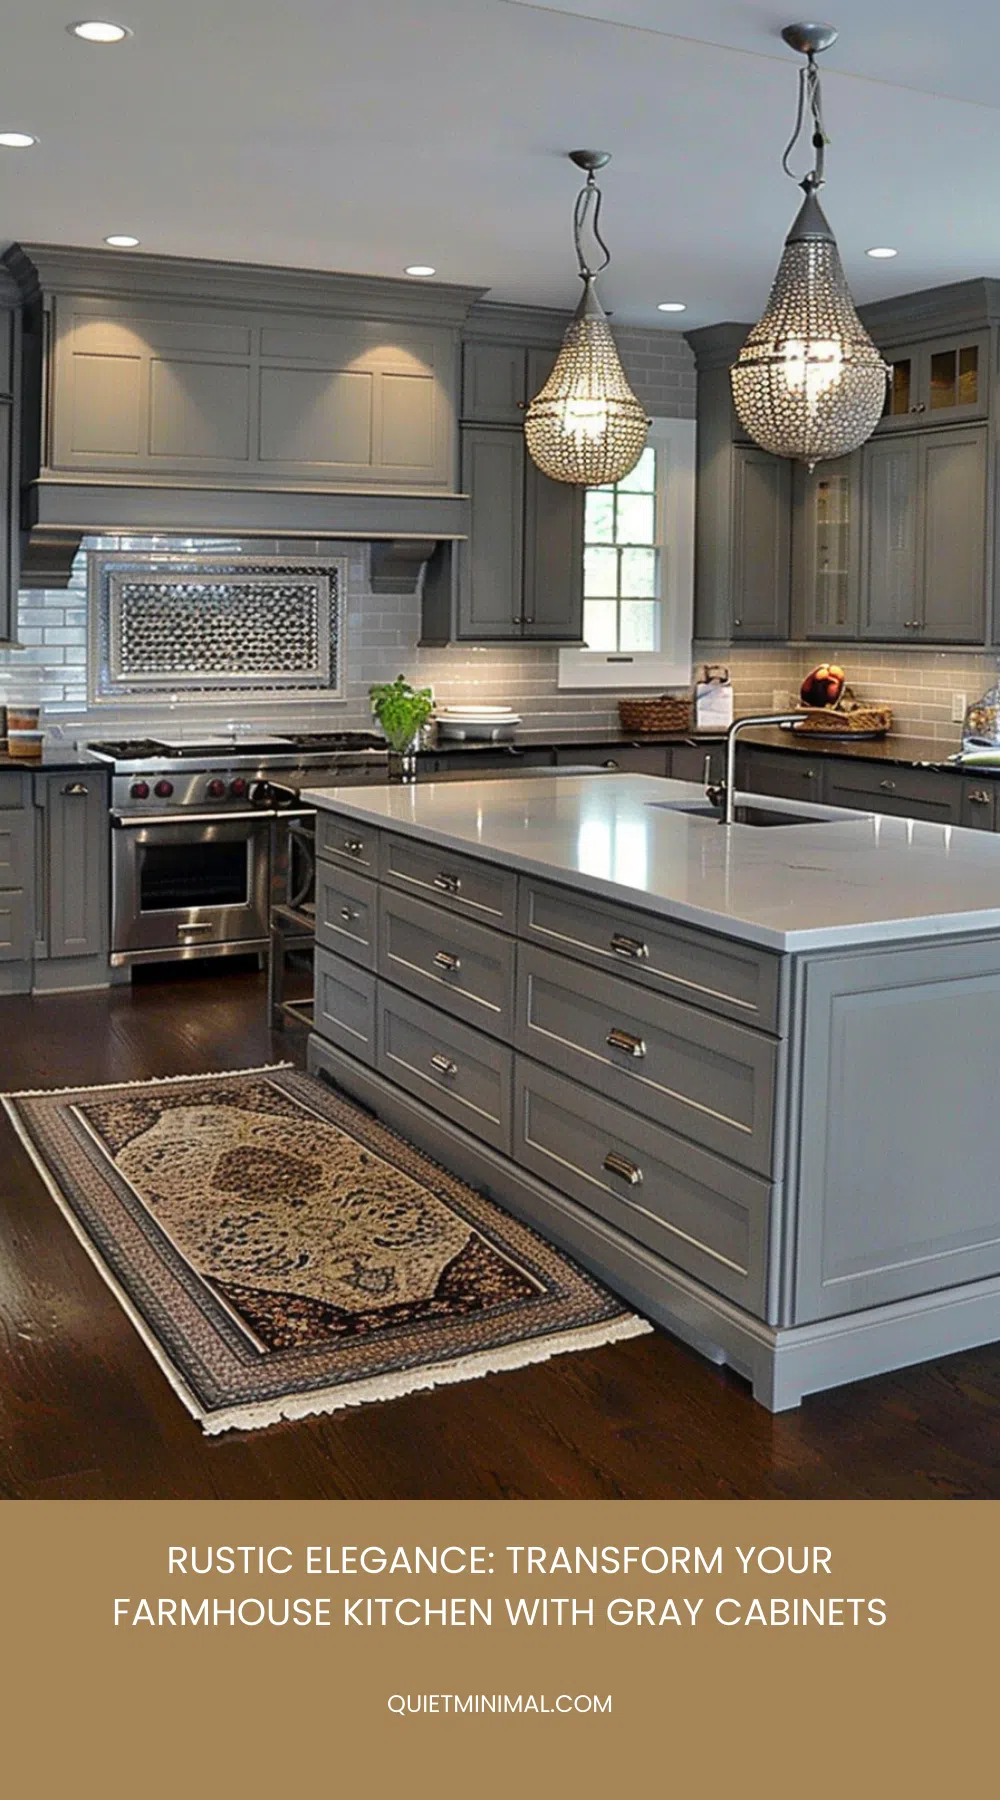
So let the compass choose. North, and east after noon: warm grays, Agreeable Gray SW 7029, Repose Gray SW 7015, Dorian Gray SW 7017, Chelsea Gray HC-168. South and west: cool grays, Stonington Gray HC-170, Gray Owl OC-52, Coventry Gray HC-169. A kitchen with one wide window on the sink wall, like this warm gray run with its 33 in (84 cm) matte-black double sink, behaves as the direction that window faces, and its white quartz counter is what keeps the warm gray from sliding to beige at dusk.
Key Takeaway: North light turns a cool gray blue and south light turns a warm gray beige: warm for north and east, cool for south and west, and a white counter to hold the gray at dusk.
The Countertop Matrix: Which Top Belongs on Which Depth of Gray
 Save
The counter is where a gray kitchen is won or lost. The rule is a gap: the top sits at least 30 LRV points from the doors, or shares their exact undertone.
Light gray, LRV 55 and up: butcher block is best, because a pale gray under a white top reads clinical and the wood supplies the warm third; white quartz works with a textured backsplash; soapstone is a skip. True gray, 35 to 55: white quartz is best, the highest-contrast pairing; marble-look porcelain and butcher block work; soapstone only with a white backsplash. Charcoal, under 15: white quartz or marble-look porcelain, both best; real marble works; butcher block only honey-toned at 1.5 in (4 cm) thick; soapstone is a skip, one dark mass.
SlabWise’s current installed prices per sq ft: quartz $50 to $150, butcher block $35 to $120 with a $65 average, soapstone $70 to $180 with a $120 average, porcelain and sintered stone $55 to $120, marble $65 to $250.
Key Takeaway: Keep 30 LRV points between top and doors: butcher block on light gray, white quartz on true gray and charcoal, soapstone only on a mid gray with a white backsplash, at $35 to $250 per square foot installed.
Butcher Block on Pale Gray: the Pairing That Keeps a Light Kitchen From Reading Cold
 Save
Pale gray with a white quartz top and white subway tile is the most saved gray kitchen on Pinterest and the one most often called cold afterward. Three pale surfaces near LRV 58, 84 and 90 leave nothing for the eye to rest on, and the room reads as a well-lit clinic. The fix is not a darker gray. It is one warm surface at counter height, and oak butcher block is the cheapest way to get it.
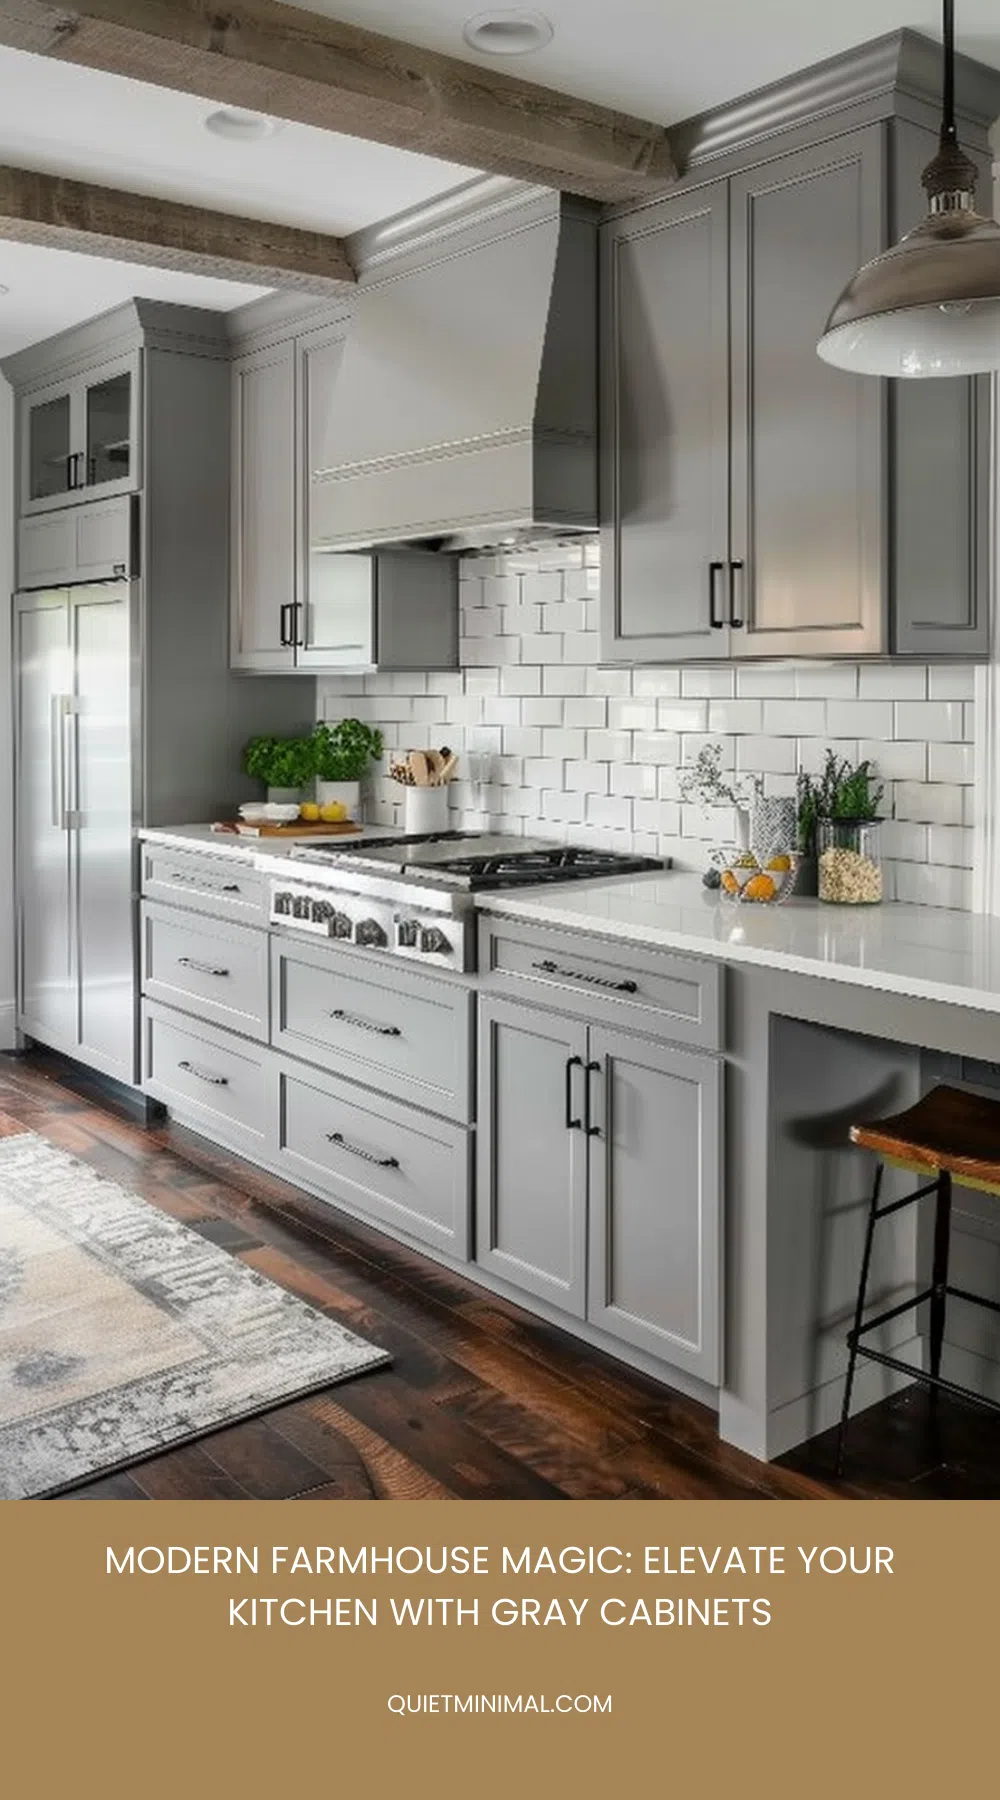
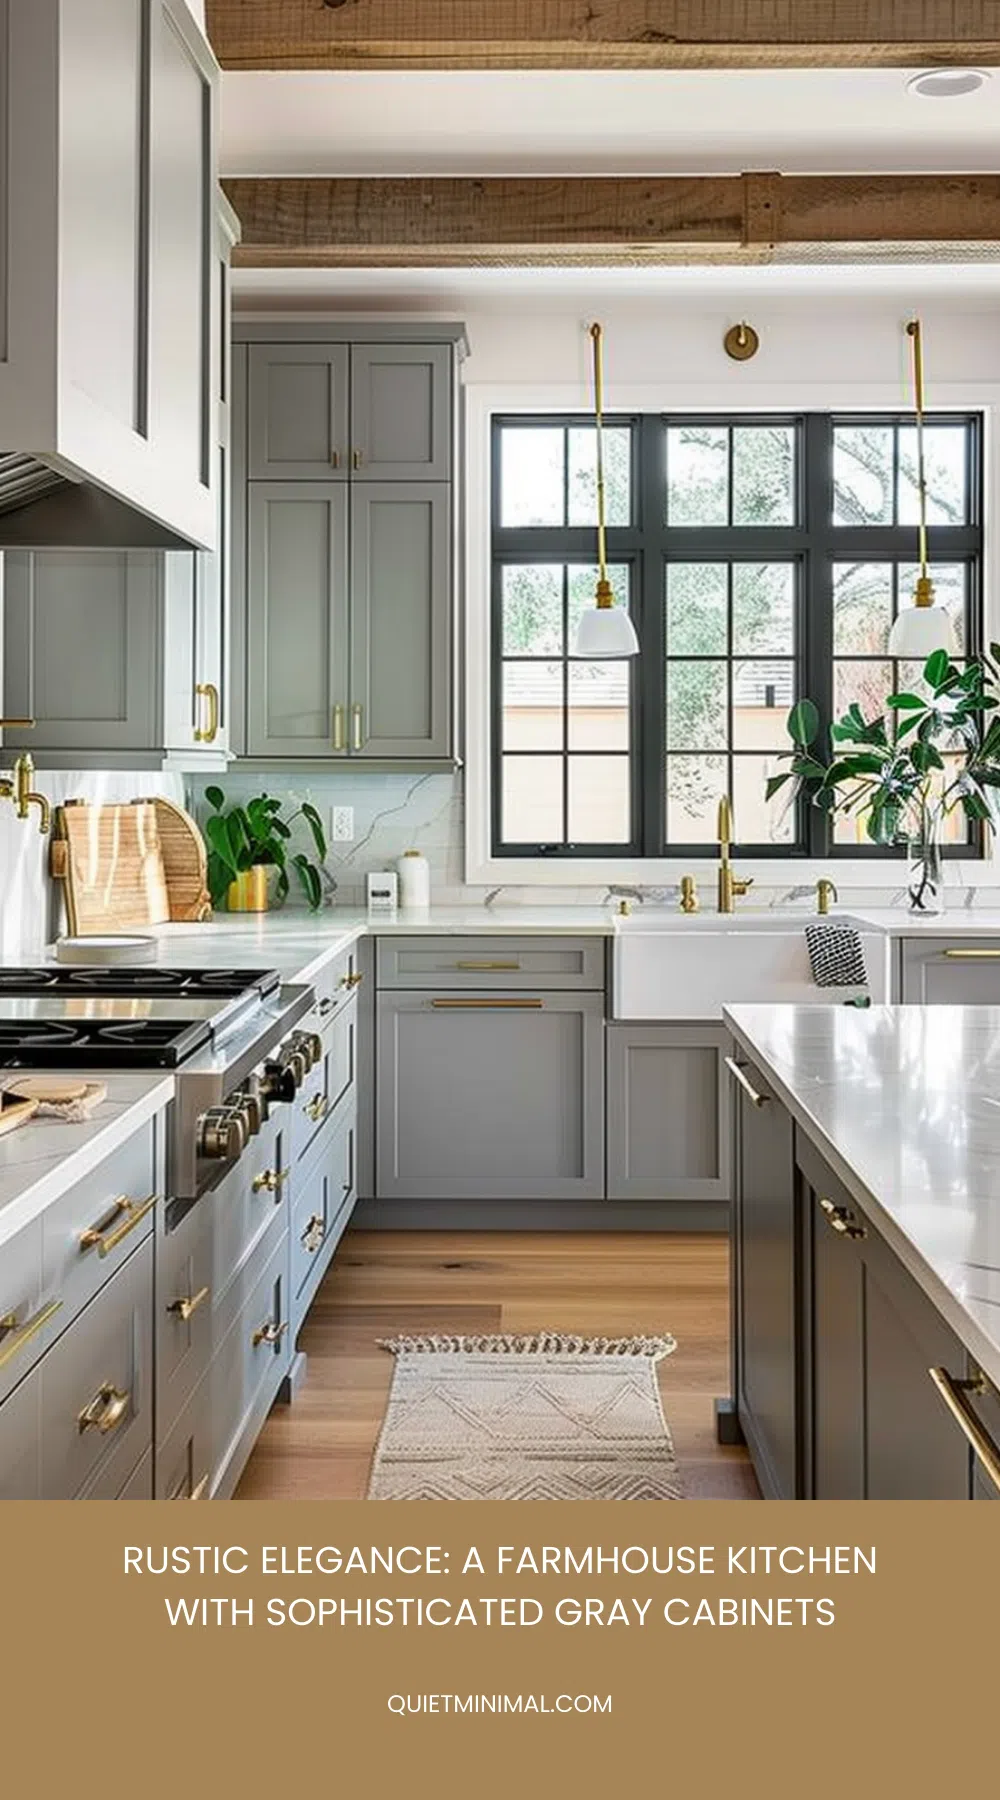
Make it 1.5 in (4 cm) thick, white oak or maple, honey-toned rather than red, run the full wall so the seam count is zero or one. The gas hob sits flush in it with a 6 in (15 cm) wood margin each side. Oil it monthly for the first three months and every season after, so it keeps its honey. Hardware on a pale gray needs to be a line, not a match: matte-black C-handles read clearly against LRV 58 where brushed nickel would vanish. Keep the wood to the counter; add an island and shelves in oak and the wood wins the room.
Key Takeaway: On a pale gray, one honey oak butcher-block top at 1.5 in (4 cm), oiled on a schedule, with black hardware for contrast, stops the kitchen reading cold.
Backsplash by Gray Depth, With the Cost per Square Foot
 Save
Four backsplashes cover nearly every gray farmhouse kitchen, and each belongs to a depth of gray. White subway tile, $7 to $35 per sq ft installed and $2 to $15 in material per HomeGuide’s current figures, works on every band with one rule: on a pale gray use a gray grout, or the wall disappears above a near-white door. Zellige, $18 to $28 material and $20 to $45 installed per Handtile’s latest guide, belongs on a true gray, LRV 35 to 55, where its hand-cut variation gives a flat gray texture. Thin brick, $4 to $13 material plus Angi’s $5 to $20 labor, roughly $9 to $33 installed, belongs on charcoal and deep gray. Painted beadboard, $0.75 to $6 material, is the true farmhouse answer for a pale gray, painted the wall white.
On a 30 sq ft (2.8 sq m) run that is $210 to $1,050 for subway, $600 to $1,350 for zellige, $270 to $990 for brick and $45 to $180 in beadboard before labor. One textured surface per kitchen: butcher block takes smooth tile, quartz can carry zellige or brick.
Key Takeaway: Subway on any gray with gray grout on pale doors, zellige on true gray, thin brick on charcoal, beadboard on pale farmhouse gray, $45 to $1,350 for a 30 sq ft run.
A Marble Slab Behind Light Gray Inframe Doors: When the Backsplash Carries the Drama
 Save
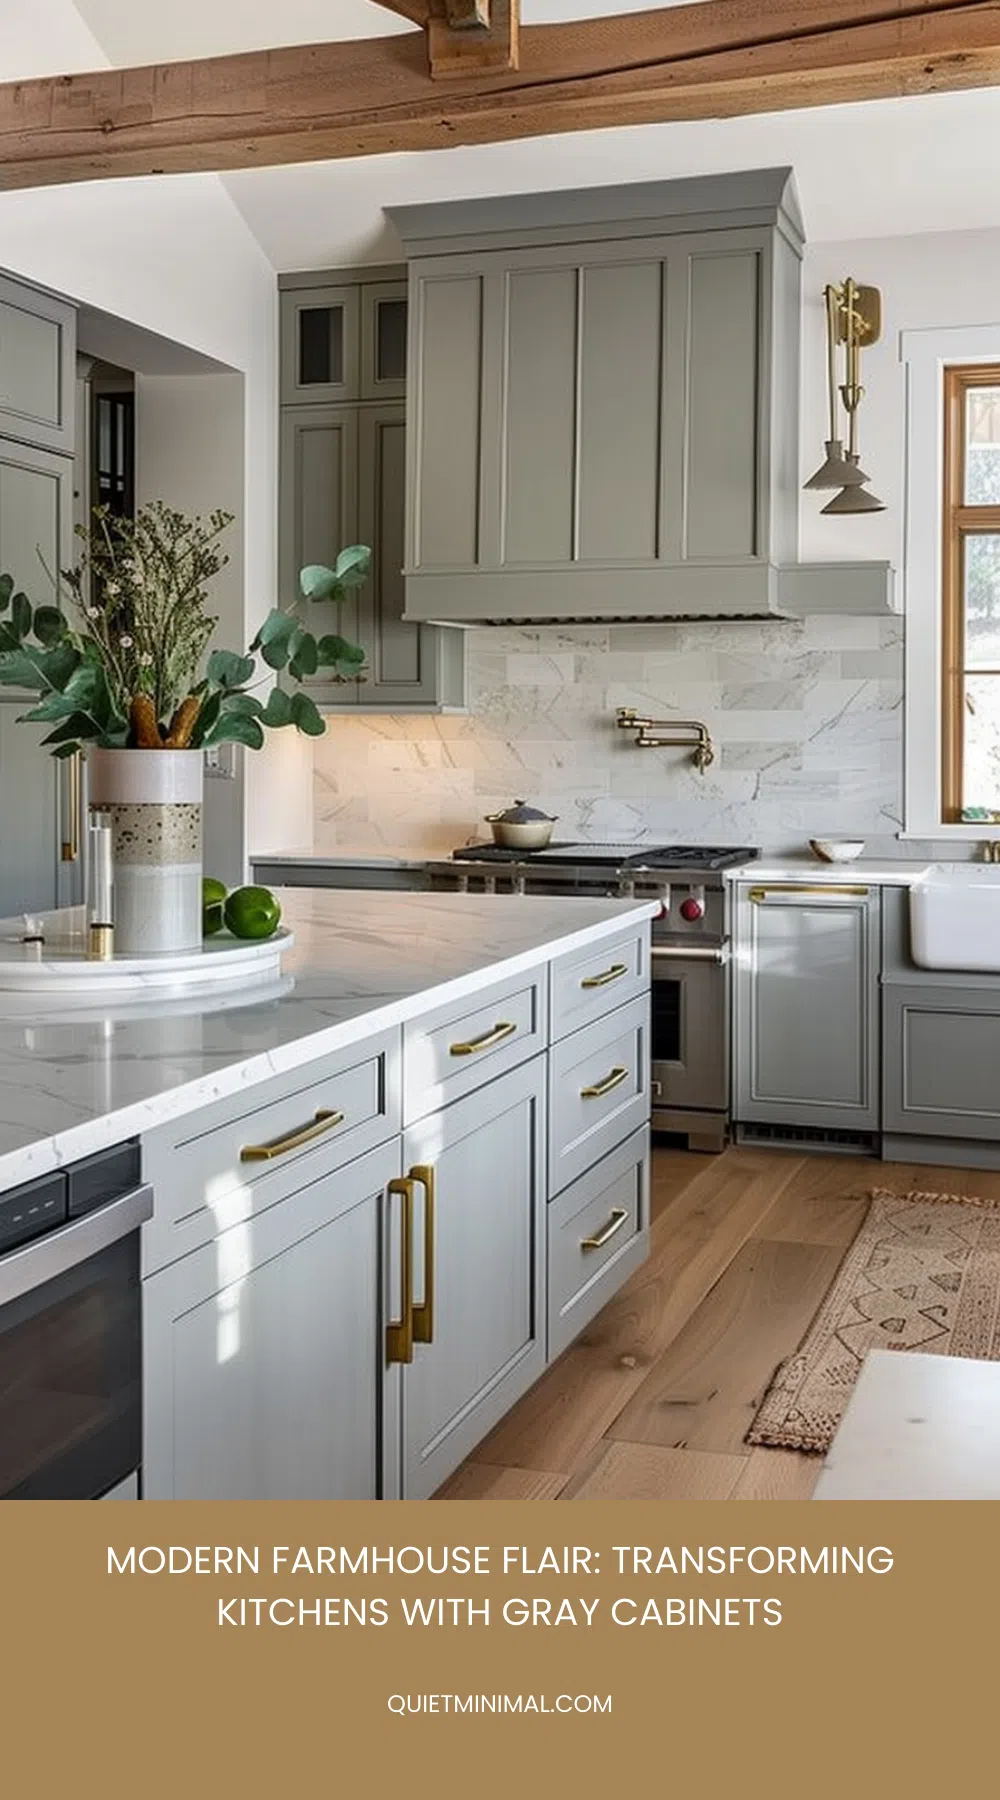
A warm light gray kitchen with subway tile and a plain top is safe to the point of forgettable. The fix is not more color. It is one surface with real range against the gray, and a dark-veined marble slab run as counter and full-height backsplash is the strongest version.
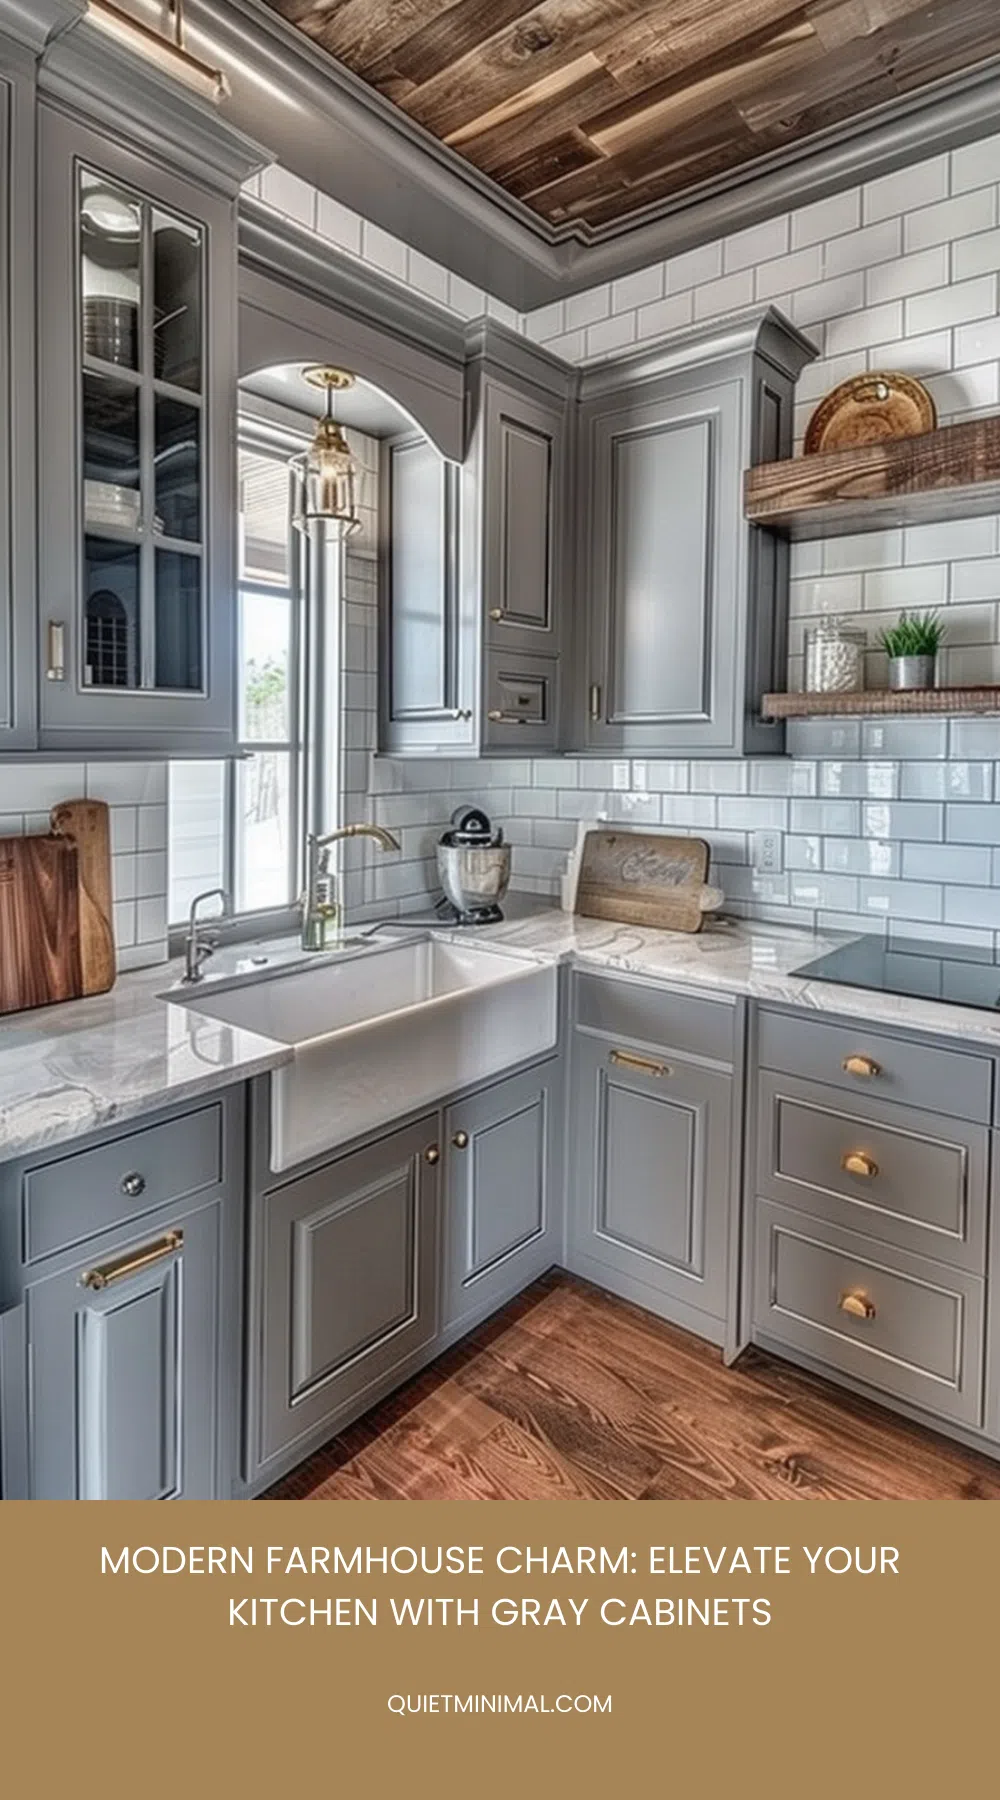
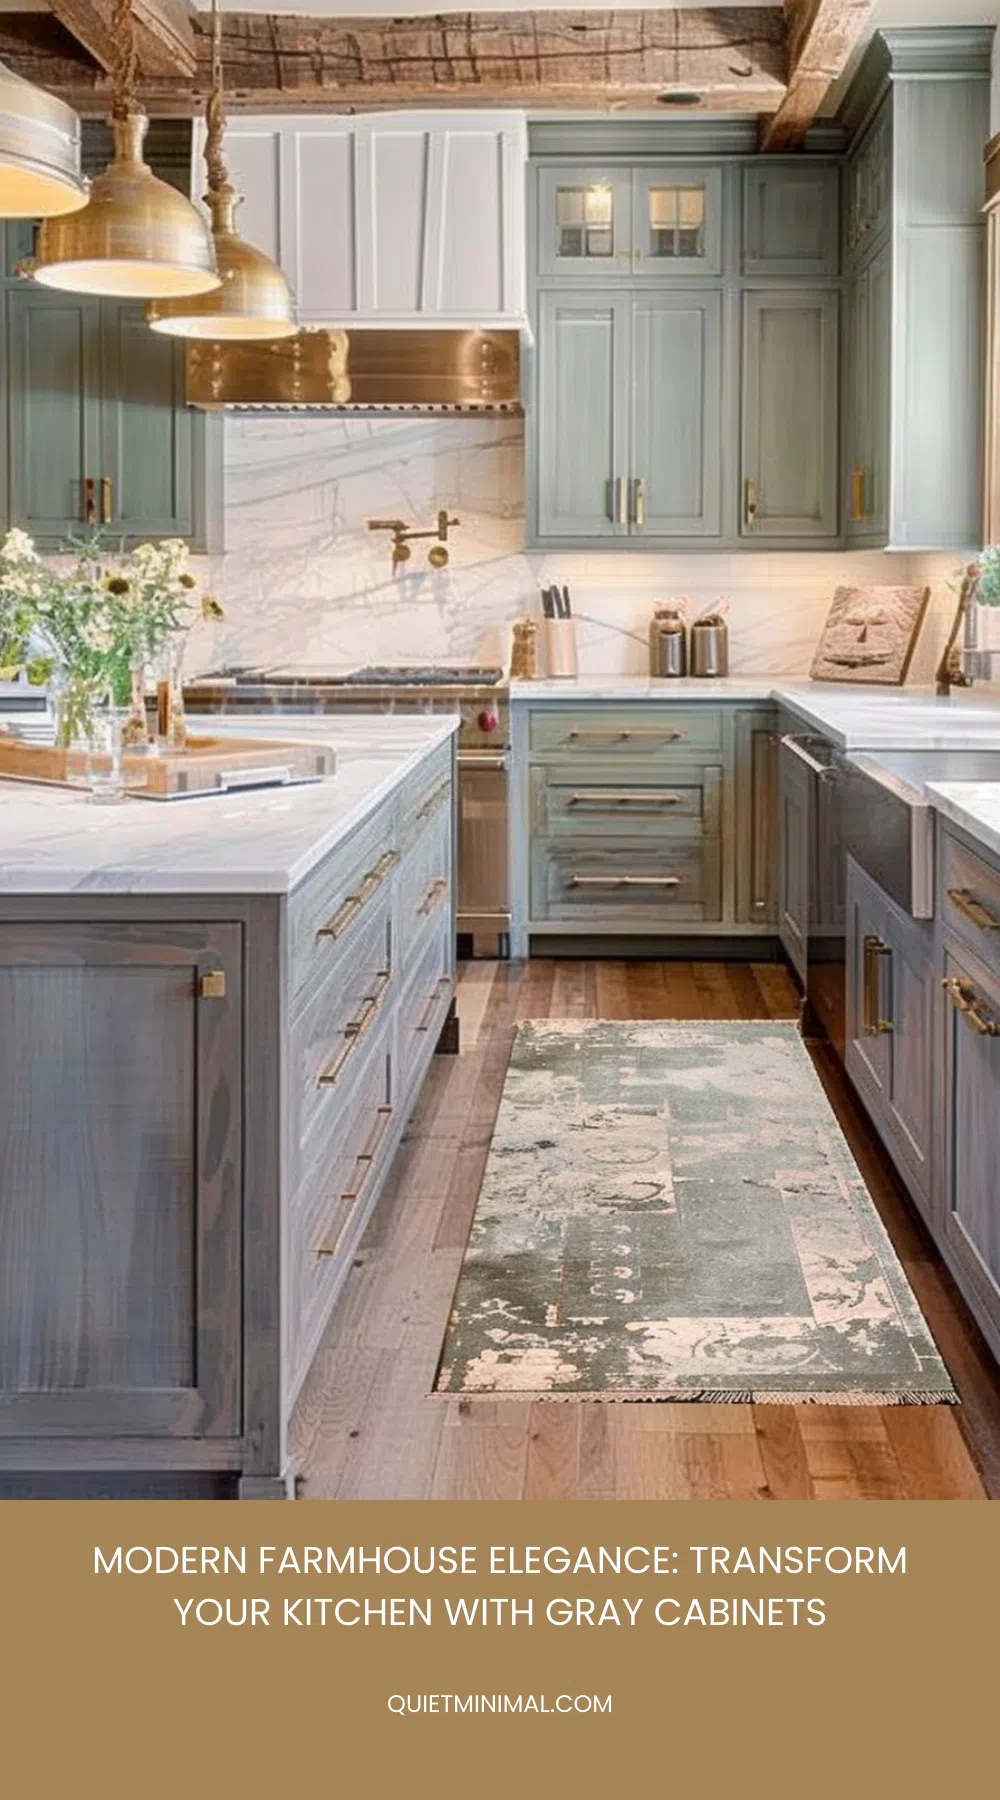
It only works on the light band. Against a warm gray near LRV 55 to 60 the near-black veining has sixty points of contrast to play with; against a mid gray, veins and doors sit too close in value and fight. The slab runs 18 in (46 cm) from counter to the underside of the uppers and up to 120 in (305 cm) per piece before a seam, seam at the range, not the sink. Choose honed; polished throws under-cabinet glare straight back. Real marble runs $65 to $250 per sq ft installed, marble-look porcelain $55 to $120 with no etching. Inframe doors matter: the 0.75 in (2 cm) frame reveal adds the shadow lines a slab kitchen needs; brass mushroom knobs at 1.25 in (3 cm) finish it.
Key Takeaway: Run one honed dark-veined slab as counter and full-height backsplash only behind a light warm gray, seam at the range, inframe doors for shadow, at $55 to $250 per square foot.
Hardware Finish by Gray Depth, and the Hand-Sample Rule
 Save
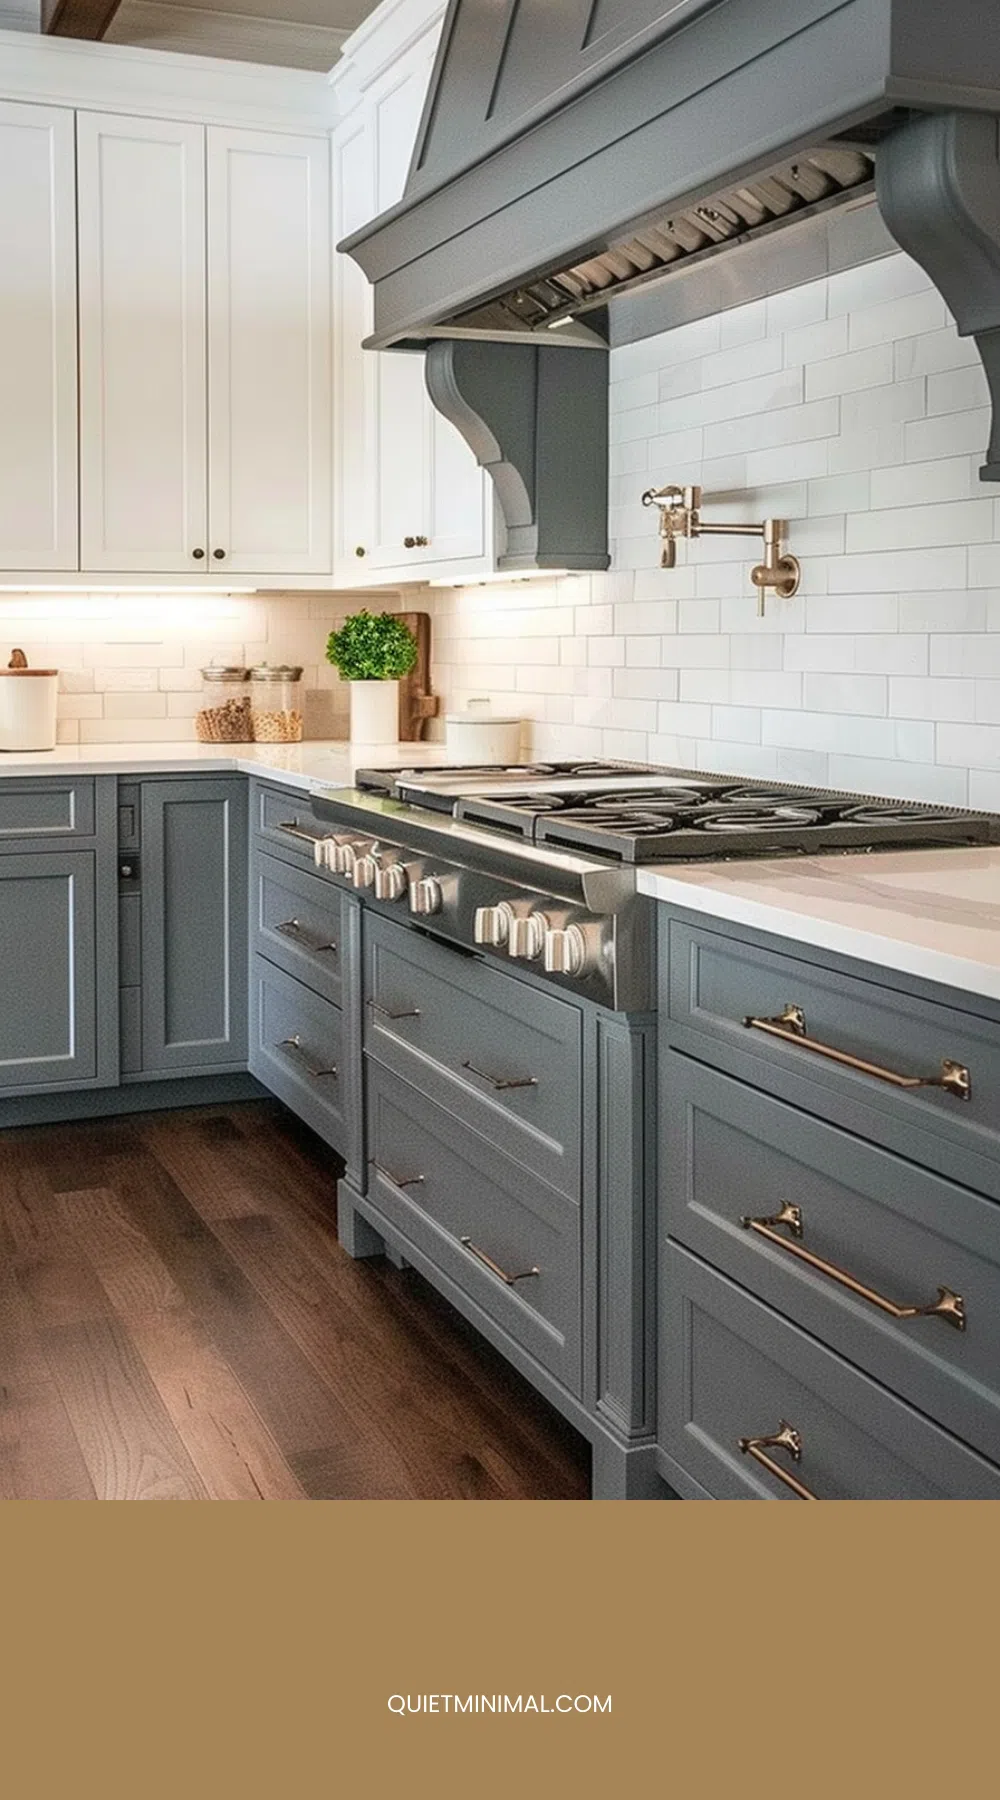
Hardware is where a good gray goes wrong last: a 10 x 12 ft (3 x 3.7 m) kitchen has around 20 doors and 10 drawers, so one wrong finish is thirty. By depth: brass on warm grays from LRV 35 to 60, Agreeable, Repose, Mindful, Dorian, Chelsea. Matte black on pale gray at 55 and up, and on charcoal under 15 only for tone-on-tone. Brushed nickel on cool grays, Stonington, Gray Owl, Coventry, where brass reads bluer.
Sizes: knobs 1.25 in (32 mm); pulls at 3 in (76 mm) centers on drawers under 12 in (30 cm), 5 in (128 mm) on 12 to 24 in (30 to 61 cm), 6.3 in (160 mm) or a third of the width above. Then the hand-sample rule: buy one pull and one knob, tape them to your painted sample board, hang it on a door at door height, and look morning and night under the kitchen’s own bulbs for two days. The finish that disappears is wrong; the one that reads as a line is right.
Key Takeaway: Brass on warm grays LRV 35 to 60, black on pale gray, nickel on cool grays, sized 3, 5 or 6.3 in (76, 128 or 160 mm), and never thirty ordered before one has hung on a door for two days.
Brass Cup Pulls on Charcoal: Warm Metal Keeps a Dark Gray From Reading Black
 Save
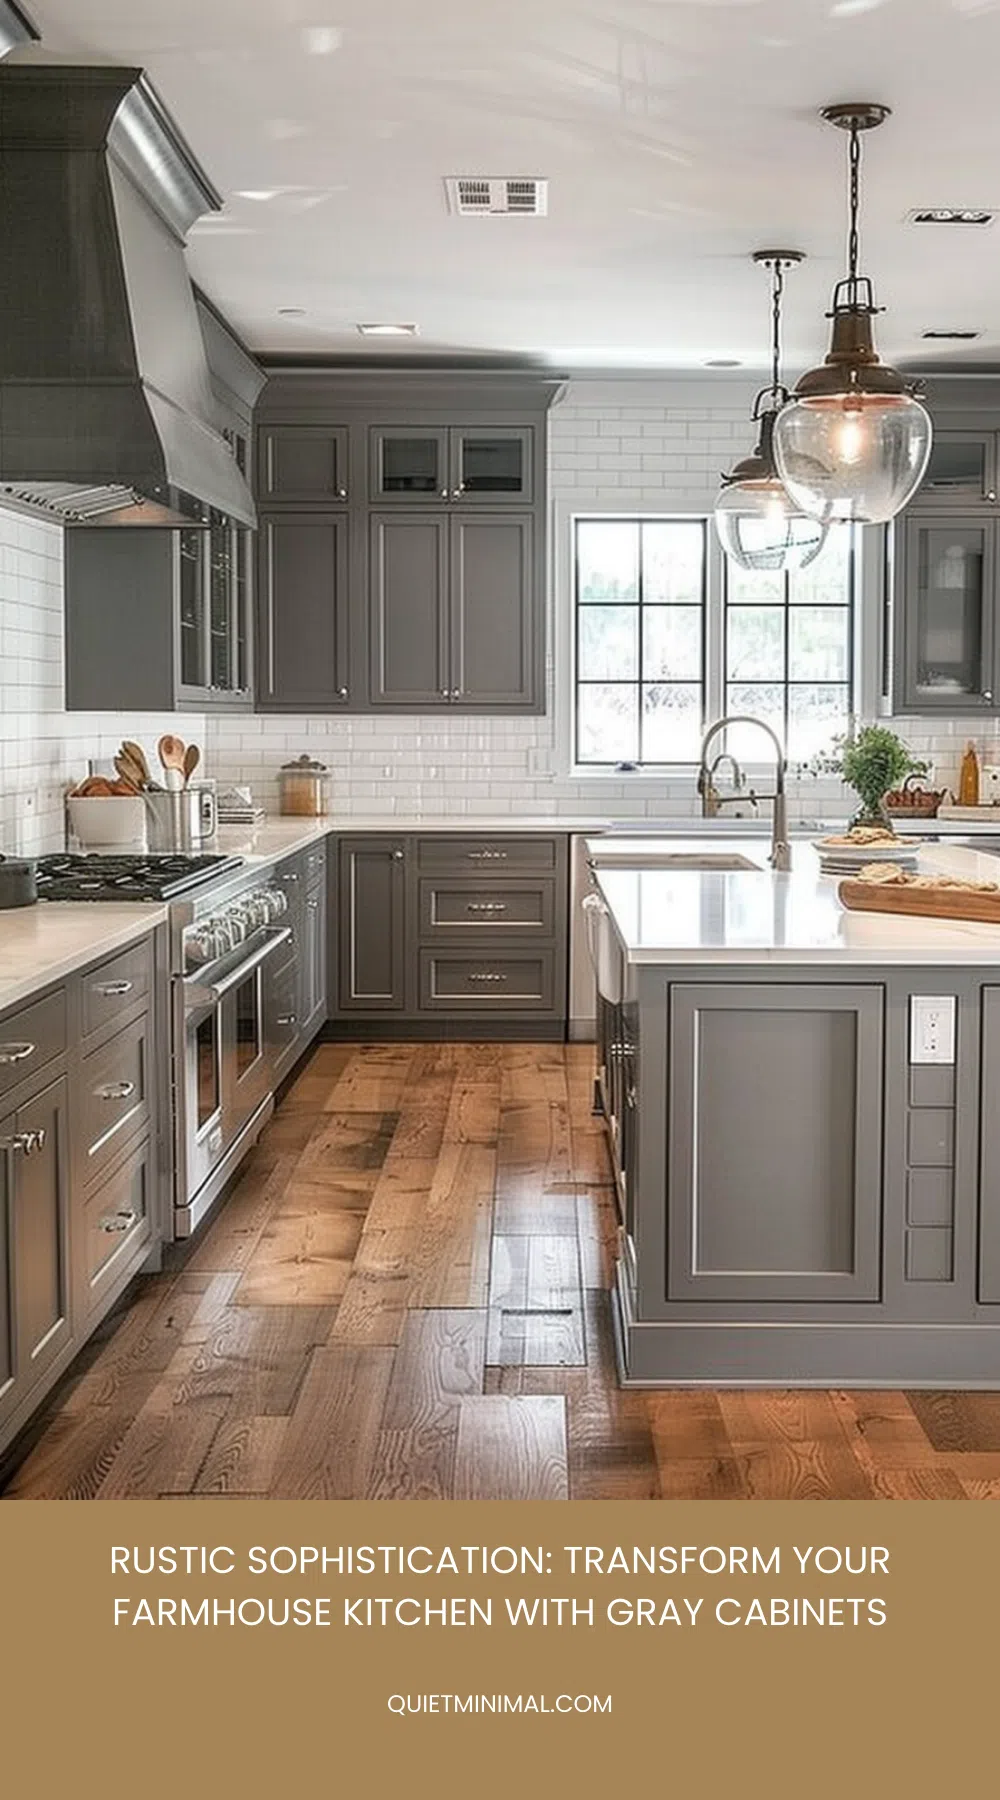
Charcoal is the gray most people regret: Iron Ore at LRV 5.6 or Peppercorn at 9.7 with black pulls, a black faucet and a black hood, and the kitchen photographs as black. The fix is to interrupt the dark run with warm and white, in three places.
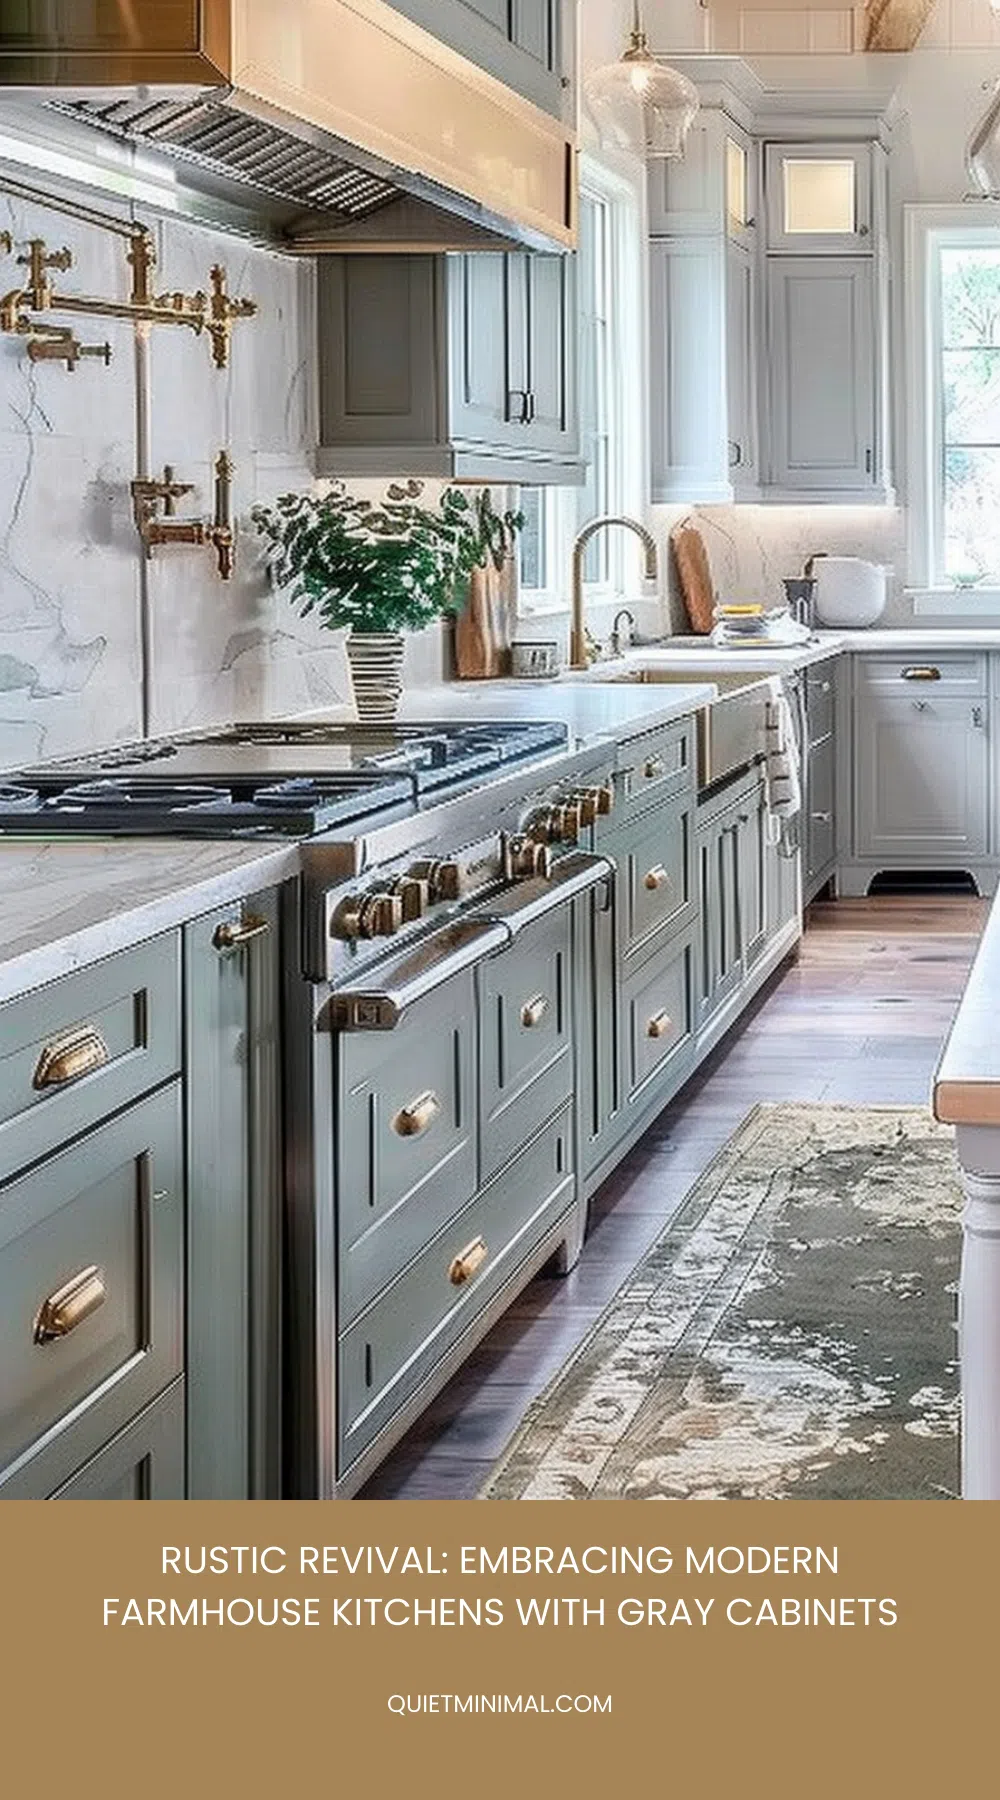
Brass cup pulls at 3.5 in (9 cm) are the first, the only hardware that reads warm on charcoal. The hood is the second: paint it white, give it a raw oak shelf, and the largest surface on the cooking wall is out of the charcoal. The white apron sink at 30 in (76 cm) is the third. The rule: at least a third of the cooking wall in white or warm, and the hood is the easiest third. A copper dome pendant at 14 in (36 cm) over the sink mixes with the brass on purpose, same warm family, so they read as a collection. One condition: charcoal needs a real window. In a windowless galley, go one rung up to Gauntlet Gray at 17.4 and keep the brass.
Key Takeaway: On charcoal, put a third of the cooking wall in white and warm, white hood, white apron sink, brass cup pulls and a copper pendant, and step up to Gauntlet Gray if the room has no window.
The Two-Tone Split: Gray Lowers, White Uppers, Wood Island, by Proportion
 Save
Two-tone proportions are never guessed; they come from standard cabinet heights. On a 96 in (244 cm) wall the base cabinets stand 34.5 in (88 cm) plus a 1.5 in (4 cm) counter, 36 in (91 cm) in all, 37.5 percent of the wall height. The backsplash takes the next 18 in (46 cm), 19 percent. The uppers run 30, 36 or 42 in (76, 91 or 107 cm), 31 to 44 percent. Gray lowers are therefore about 37 percent and white uppers 31 to 44, so the split balances; Home Decorators Cabinetry’s latest guide says the same, lighter up, darker down.
The lowers should sit two rungs deeper than an all-over gray: Dorian Gray SW 7017 at 38.7 or Dovetail SW 7018 at 25.8 under Chantilly Lace OC-65 at 90.0 or Pure White SW 7005 at 84.0. The island is the wood third, oak or walnut, 36 in (91 cm) high behind a 42 in (107 cm) aisle, 48 in (122 cm) for two cooks. That lands near 40 gray, 40 white, 20 wood, with one hardware finish.
Key Takeaway: Gray lowers at 36 in (91 cm) are 37.5 percent of a 96 in (244 cm) wall, white uppers 31 to 44, a wood island brings it to roughly 40, 40, 20, one hardware finish.
White Uppers Over Charcoal Lowers: the Split Line Sits at the Counter, Never Above It
 Save
The two-tone kitchen that looks wrong in person usually has the split in the wrong place: the color changes at the bottom of the uppers instead of at the counter, or a pantry is painted half and half. The result is a stripe. The rule is absolute: the color changes exactly where the counter is, and every tall unit takes one color from floor to top, the lower color at the end of a base run, the upper color among uppers.
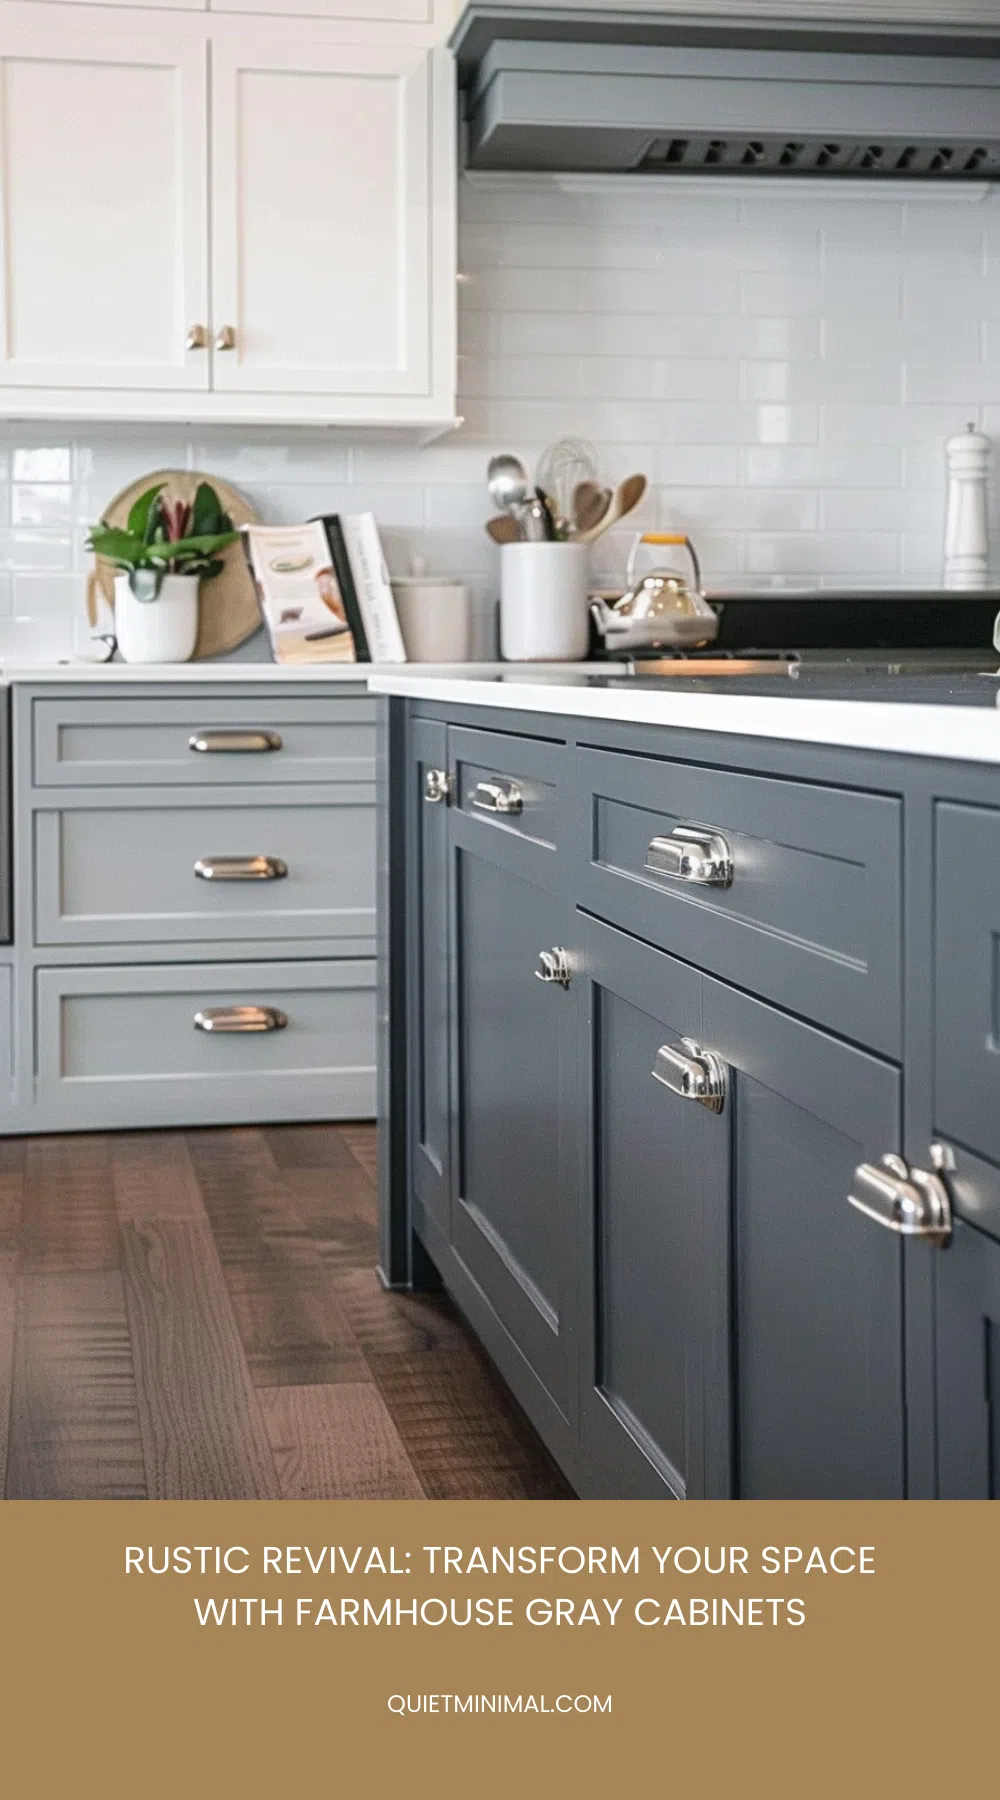
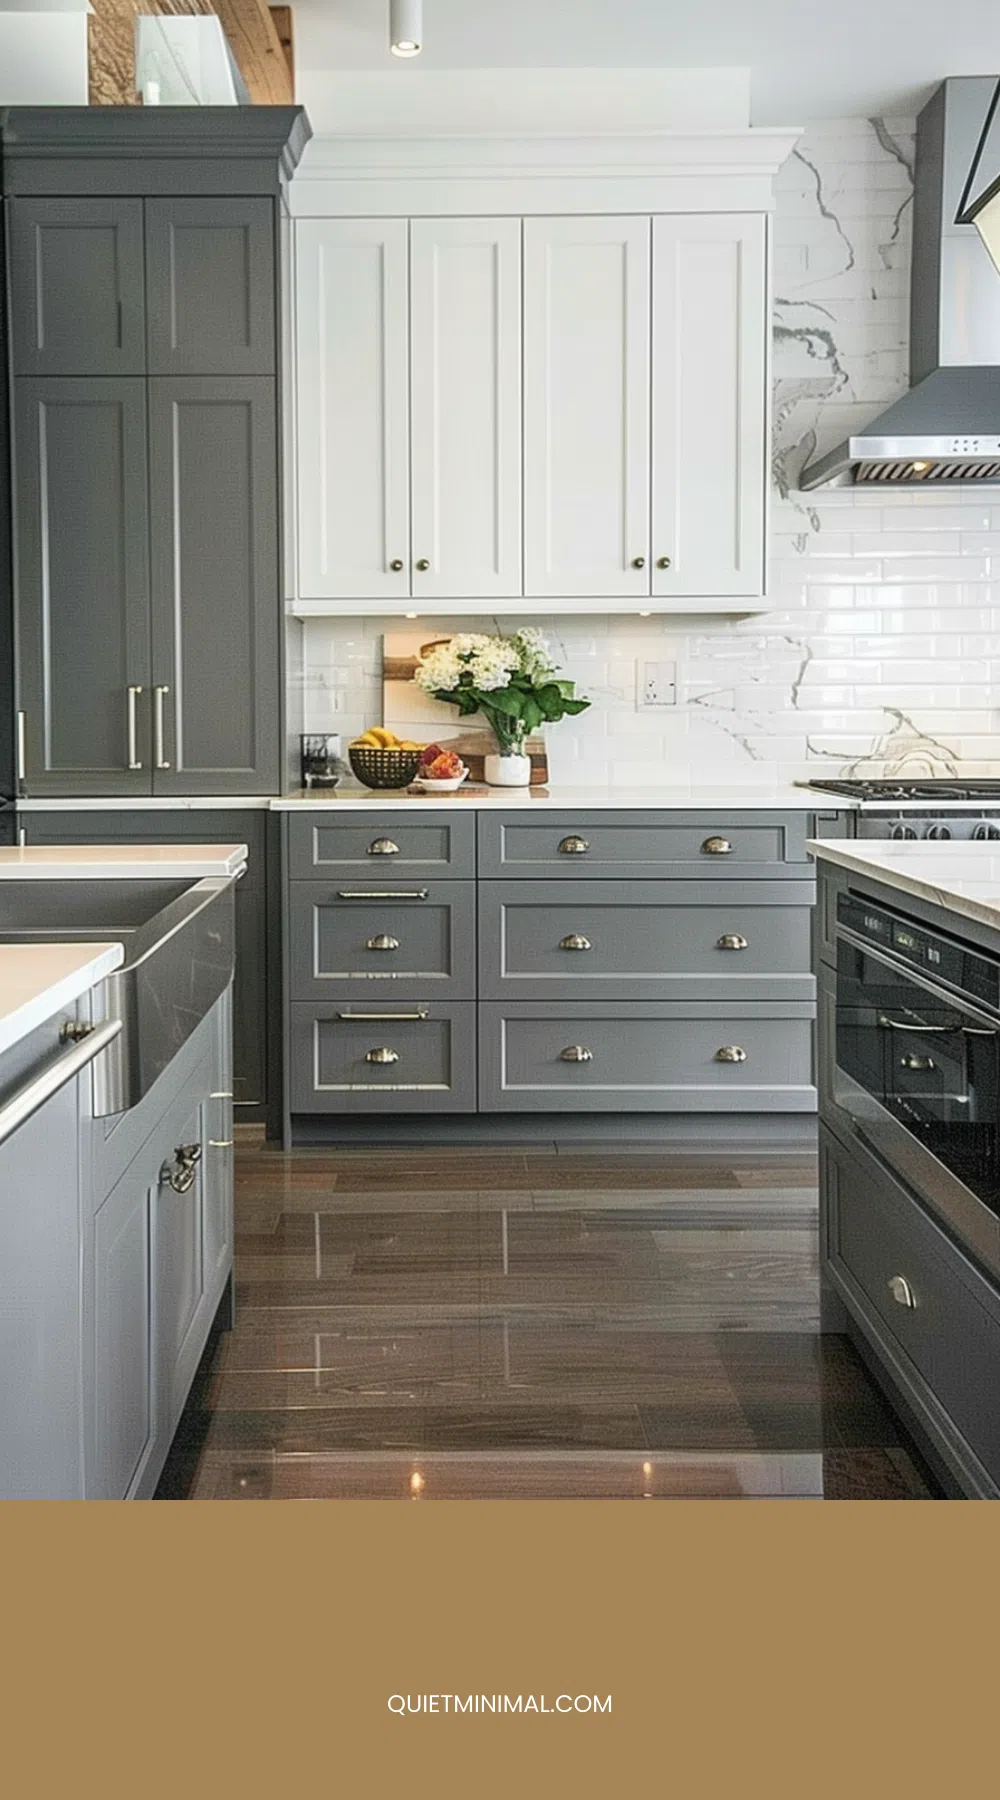
White shaker uppers over charcoal lowers is Chantilly Lace at 90.0 over Peppercorn at 9.7, eighty points apart, and it reads as one kitchen because the brass repeats top and bottom: 5 in (13 cm) bar pulls on the lowers and a brass bridge faucet at the sink. A gray subway band above the uppers to the ceiling finishes it, so the charcoal is not stranded at the floor. The white porcelain apron sink at 33 in (84 cm) sits centered under the uppers, and two 14 in (36 cm) wicker baskets in an open base end give the dark run texture.
Key Takeaway: Change color exactly at the counter, paint every tall unit one color, repeat the metal top and bottom, and an 80-point split like Chantilly Lace over Peppercorn still reads as one room.
Wall Color With Gray Cabinets: the 60-30-10 Split by LRV
 Save
Gray cabinets with gray walls is fog, because the wall was chosen to match, not to separate. Use the 60-30-10 split and assign it: cabinets 60, walls and ceiling 30, hardware, wood and textiles 10. Then give the wall a number: at least 20 LRV points above the cabinet, 30 or more once the cabinet drops below 35.
The pairings: Agreeable Gray SW 7029 at 60.4 with Pure White SW 7005 at 84.0, a 24-point gap. Repose Gray SW 7015 at 58.2 with Alabaster SW 7008 at 82.2, 24 points. Mindful Gray SW 7016 at 47.7 with White Dove OC-17 at 83.2, 35 points. Dorian Gray SW 7017 at 38.7 with Classic Gray OC-23 at 73.7, 35 points, or Edgecomb Gray HC-173 at 63.1 for a warmer envelope at 24. Gauntlet Gray SW 7019 at 17.4 with Chantilly Lace OC-65 at 90.0, 73 points. Iron Ore SW 7069 at 5.6 with Pure White at 84.0, 78 points, and never a mid gray wall over charcoal doors. Ceiling and trim in the wall color. The 10 is metal, oak and one runner in the gray’s own warm or cool family.
Key Takeaway: Cabinets 60, walls 30, accents 10, with the wall at least 20 LRV points above a light gray and 30 above a deep one.
Glass-Front Uppers Lit From Inside: the Fix for a Gray Kitchen That Goes Flat After Dark
 Save
Gray absorbs. Under one ceiling fixture at night a mid gray kitchen loses its edges and slides toward brown. The fix is not more overhead light. It is light from inside and under the cabinets, so the gray is lit from within instead of flattened from above.
Start with one glass-front upper at the corner or the end of a run, fitted with an interior LED strip at 2700 K behind a 1.5 in (4 cm) light rail at the front edge; glass shelves let one strip at the top light all three. Fill it with white ceramics and clear glassware so the light has something pale to bounce off. Then an under-cabinet strip at 3000 K along the whole run, on its own dimmer, thrown onto a white Calacatta quartz top that sends it back up onto the doors. Pale gray with visible wood grain takes this best, and matte-black knobs keep the doors from dissolving into the glow. The rule that keeps it from looking like a shop: one lit cabinet per run.
Key Takeaway: Light one glass-front upper from inside at 2700 K and the whole counter from below at 3000 K, one lit cabinet per run, and a gray kitchen keeps its edges after dark.
The Light Plan for Gray Cabinets: 2700 to 3000 K, Layer by Layer
 Save
The numbers first. Ambient light at Wayfair’s guide minimum of 10 to 20 lumens per sq ft means a 150 sq ft (14 sq m) kitchen needs 1,500 to 3,000 lumens from the ceiling. Task light at 70 to 80 lumens per sq ft means a 12 ft (3.7 m) run of 24 in (61 cm) deep counter, 24 sq ft (2.2 sq m), needs 1,700 to 1,900 lumens; under-cabinet strips at 250 to 450 lumens per foot deliver 3,000 to 5,400 over that run. Pendants hang 30 to 36 in (76 to 91 cm) above the island top.
Then color temperature, by depth of gray. Pale gray with butcher block: 2700 K everywhere. True gray with white quartz: 3000 K in the task strips, 2700 K in the pendants. Charcoal: 3000 K throughout, because at 2700 K a charcoal door goes brown. Never above 3500 K on any gray; it turns warm gray to putty and cool gray to blue. CRI 90 or higher, and a dimmer on every layer.
Key Takeaway: 1,500 to 3,000 ambient lumens for 150 sq ft (14 sq m), 250 to 450 lumens per foot under the cabinets, 2700 K on pale gray and wood, 3000 K on true gray and charcoal, nothing above 3500 K.
Painting the Cabinets You Already Own: the Sequence, With the Cost per Linear Foot
 Save
The most common gray farmhouse kitchen is not a new one. It is builder-grade oak or maple beside black granite you are not going to replace, so keep the granite and paint around it. The sequence, in order: empty the boxes and number every door on painter’s tape; remove all hardware and fill old holes if the new pulls have different centers; degrease every surface; scuff-sand at 220 grit; bonding primer; two coats of waterborne cabinet enamel in satin, sprayed for a factory-flat door; the cure time on the can, usually a week before daily use; then the new hardware.
Angi’s latest data puts a professional job at $30 to $60 per linear foot brushed and $40 to $100 sprayed, or $100 to $250 per door; HomeGuide puts a typical kitchen at $2,000 to $6,500. Against black granite choose a true gray, Mindful Gray SW 7016 at 47.7 or Dorian Gray SW 7017 at 38.7; white subway between them; matte-black hardware that repeats the granite; a brushed nickel gooseneck to keep the metal count at two.
You've saved it, wanted it. Here's the how: codes, measurements, order. Your choices make it yours.

Key Takeaway: Label, strip, degrease, sand, prime, two sprayed coats, cure, then hardware, at $30 to $100 per linear foot, with a true gray in the 38 to 48 range over black granite.
The Sample-Board Test in Order: Three Boards, Two Coats, Three Times of Day, Two Days
 Save
Forty-eight hours, in this order, prevent every gray regret on this page. One: narrow the ladder to three chips within 10 LRV points of each other, Agreeable Gray at 60.4, Repose Gray at 58.2 and Mindful Gray at 47.7 for a light kitchen, or Dovetail at 25.8, Chelsea Gray at 23.3 and Gauntlet Gray at 17.4 for a deep one. Two: paint each onto a 12 x 12 in (30 x 30 cm) primed board, two coats of the actual cabinet enamel in satin. Three: tape the boards to a cabinet door, vertical, at door height. Four: look at 8 am, 1 pm and 8 pm under the kitchen’s own bulbs. Five: read them beside the counter sample, the backsplash tile and the one pull from the hand-sample rule. Six: move the boards to the darkest corner, then the sink wall. Seven: hold for 48 hours. Eight: choose the board that kept its undertone at all three readings; when two tie, take the lighter in a north kitchen and the deeper in a south one.
Key Takeaway: Three boards, two coats, vertical on a door, three readings a day for two days beside the counter, the tile and one pull; the board that never changed its undertone is the gray.
The original ideas from this article continue below.
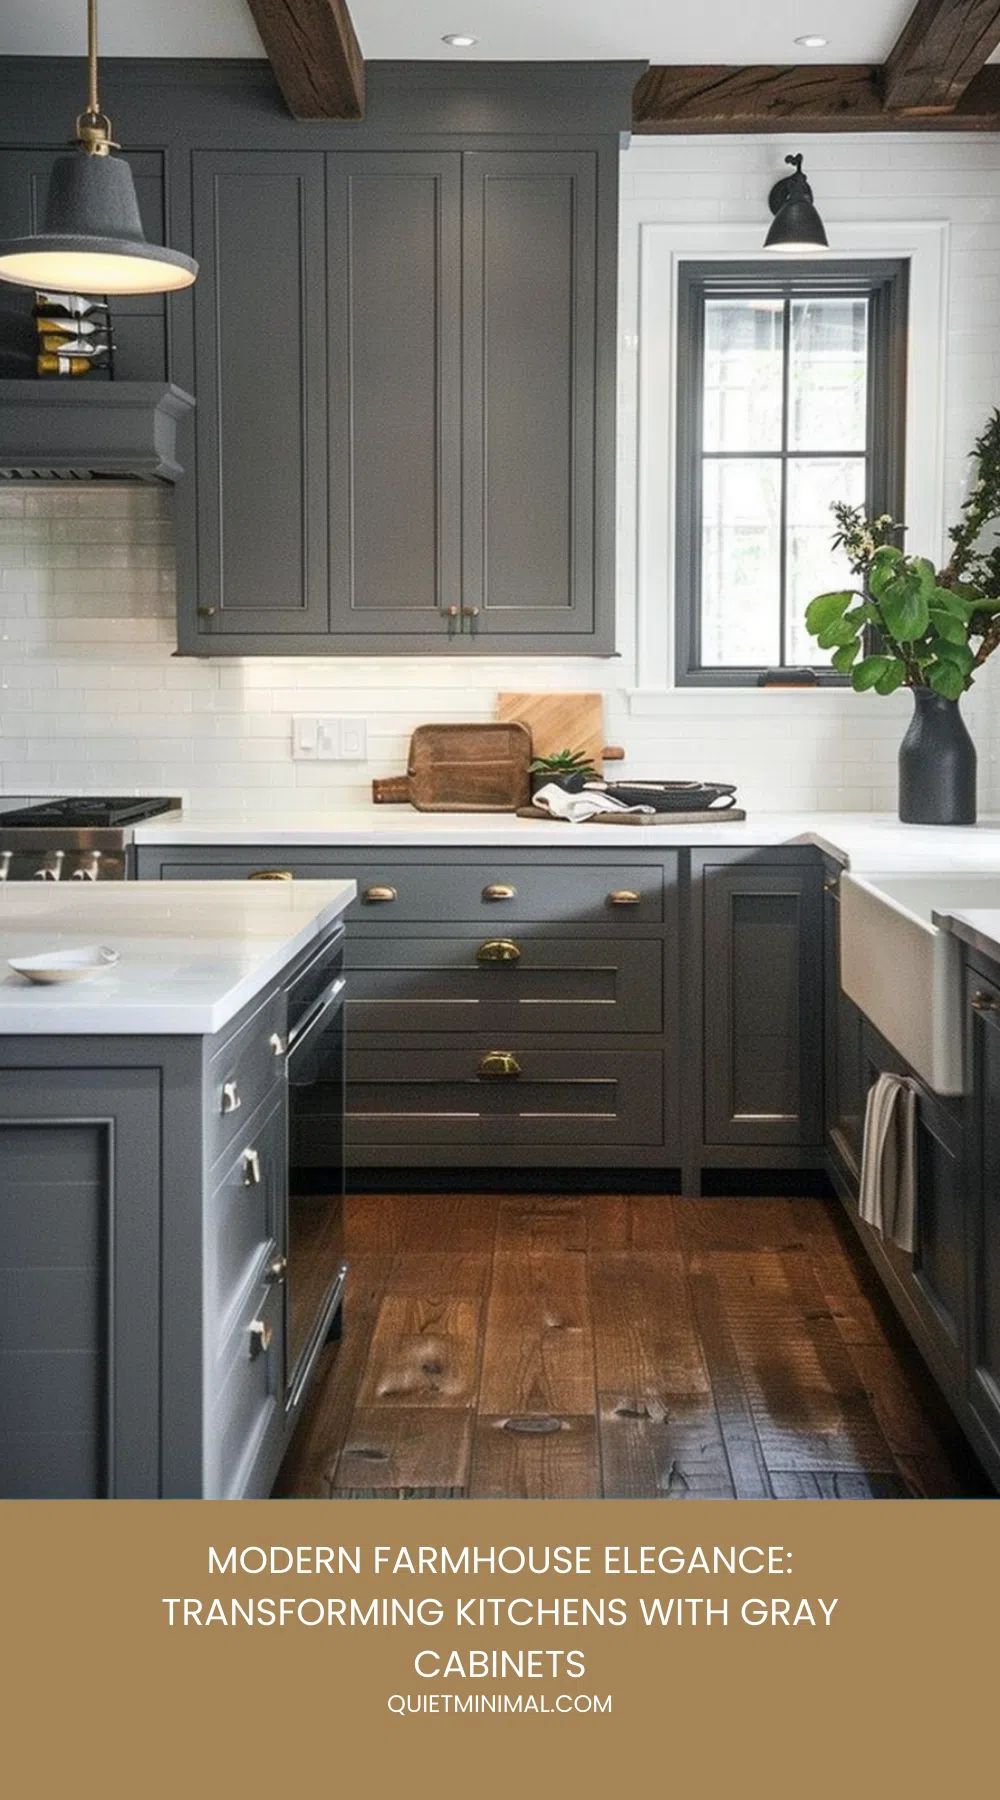
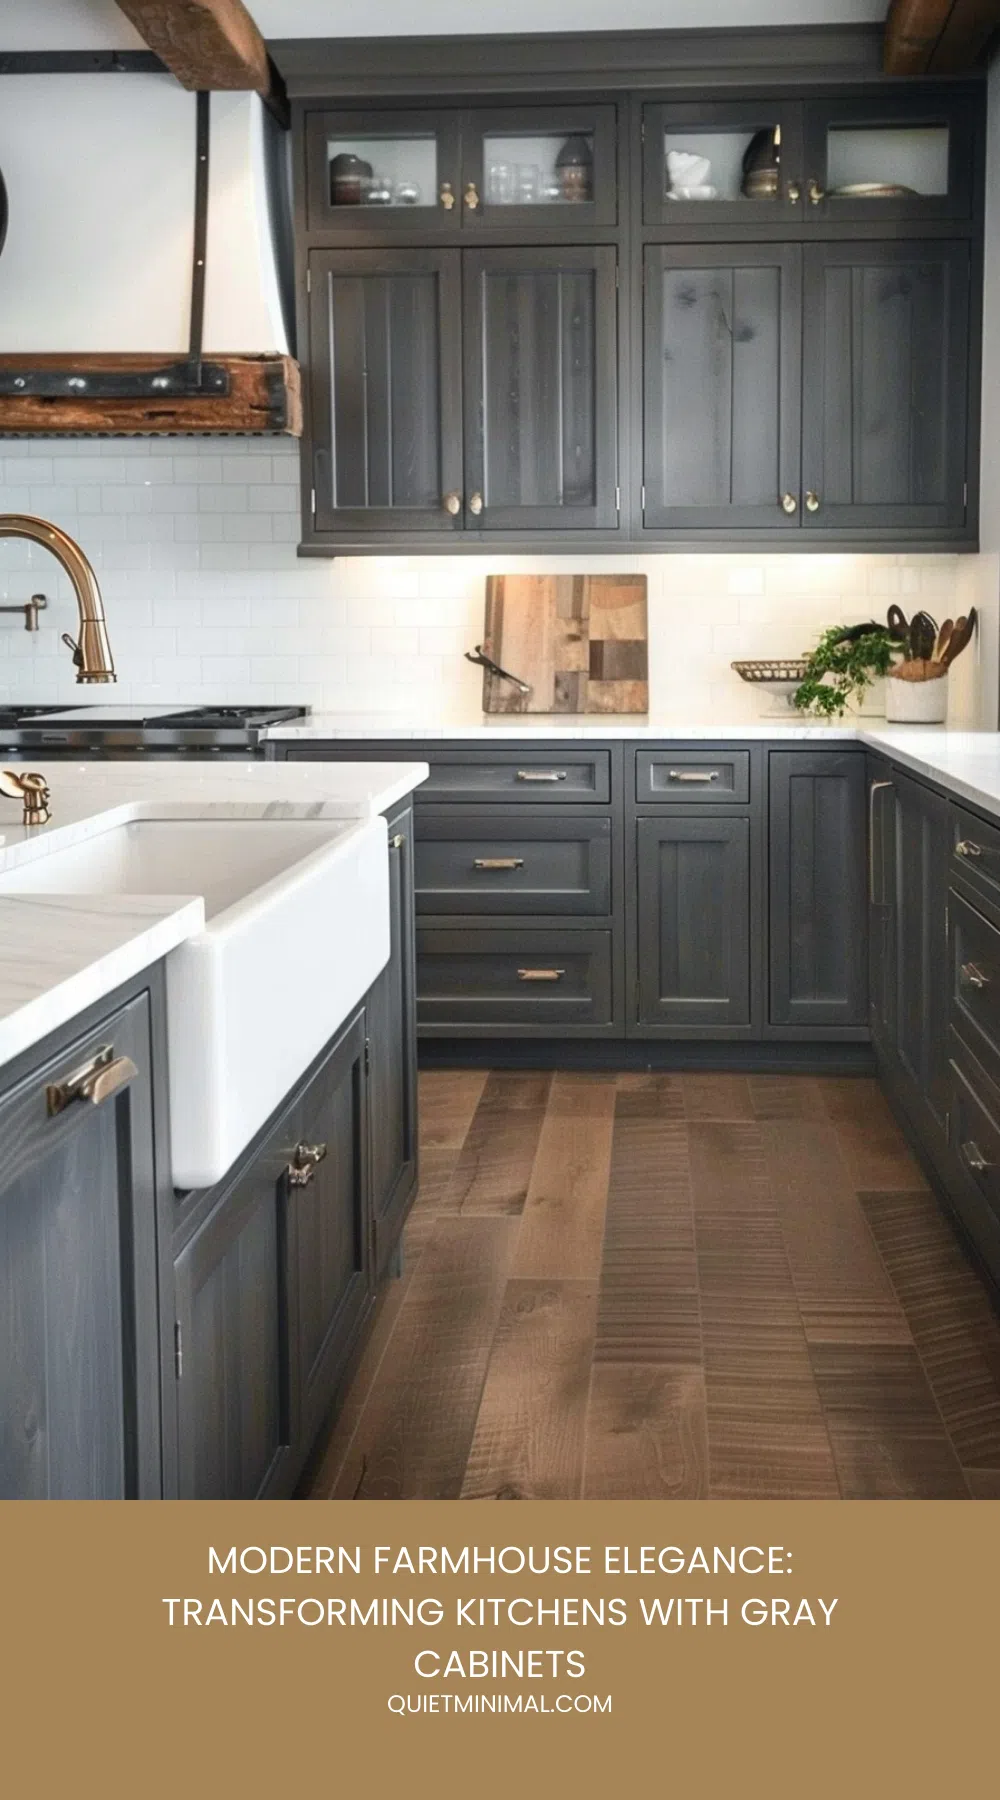
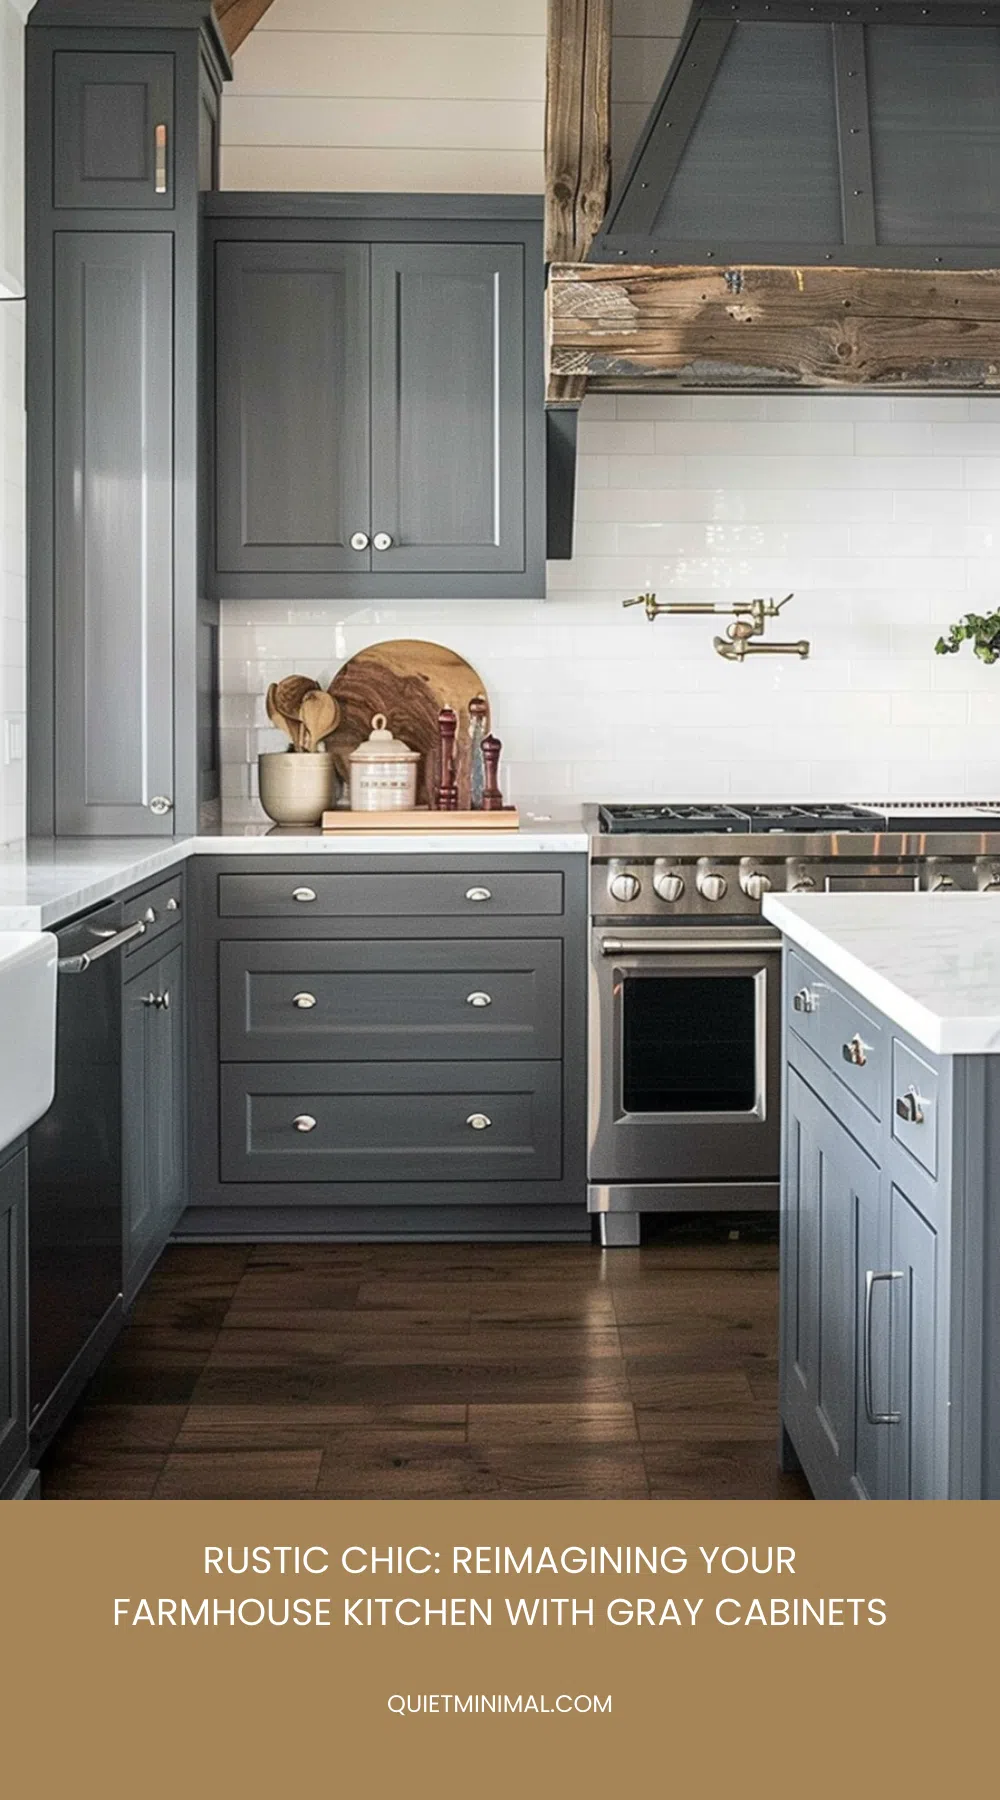
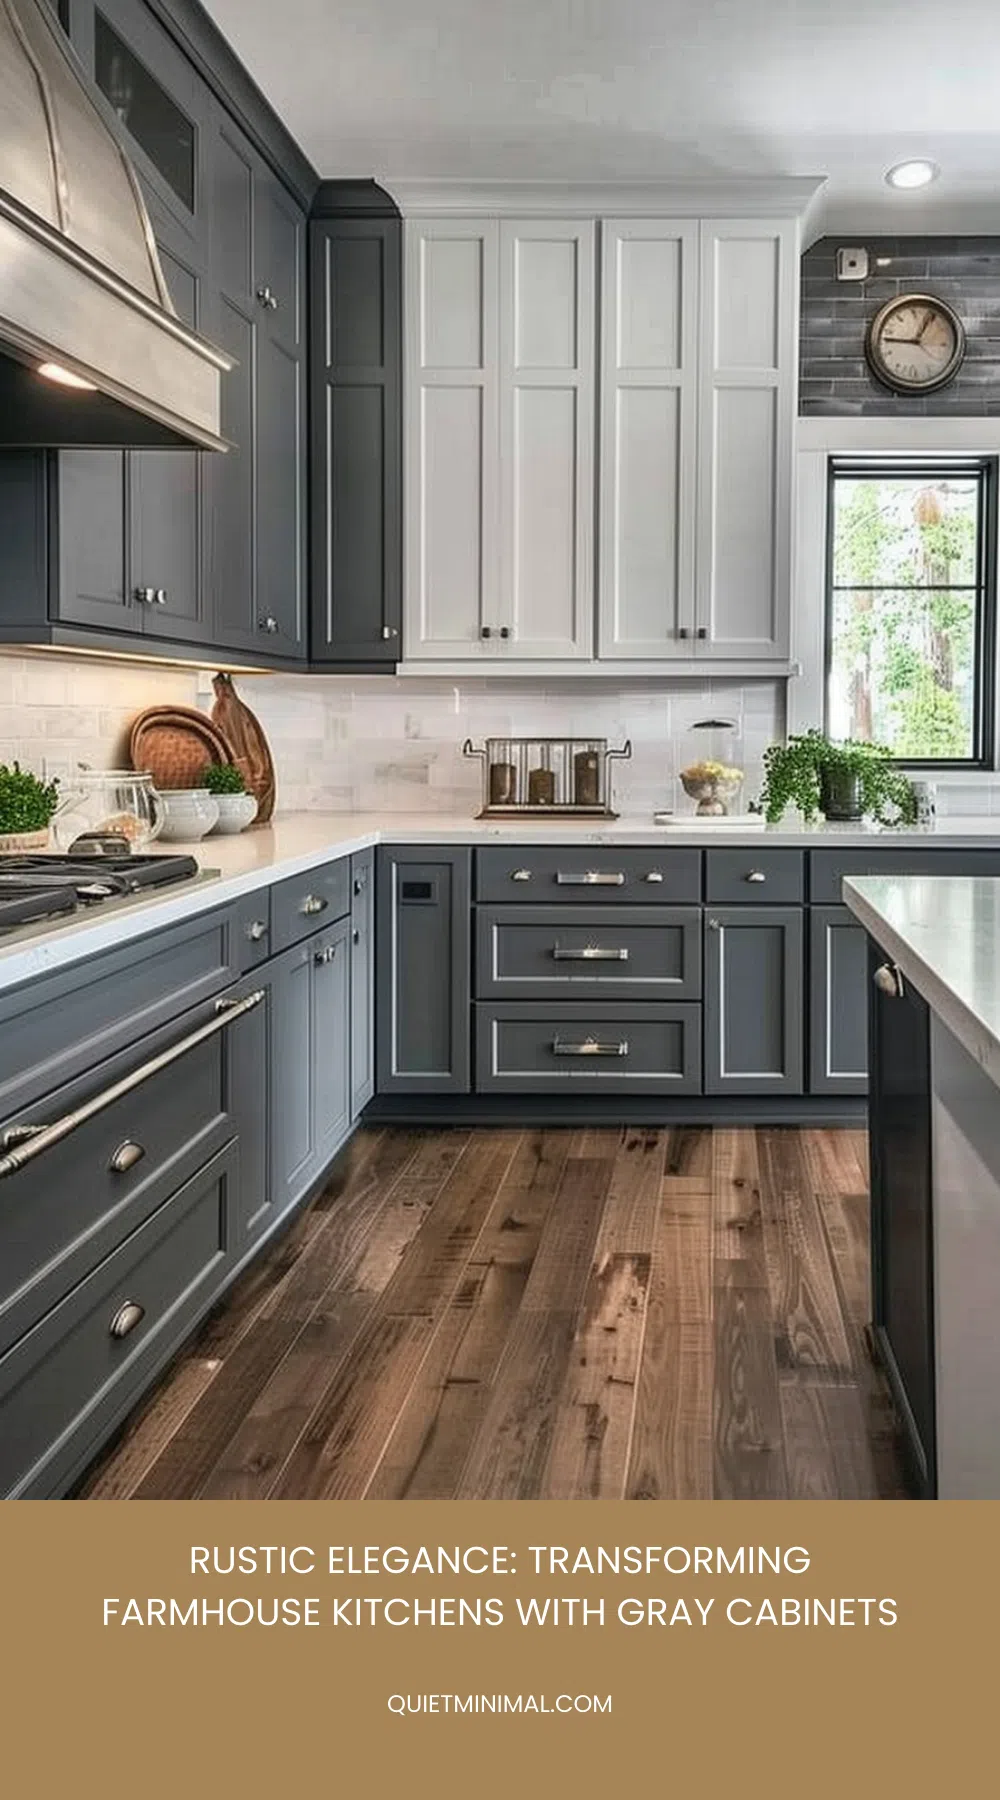
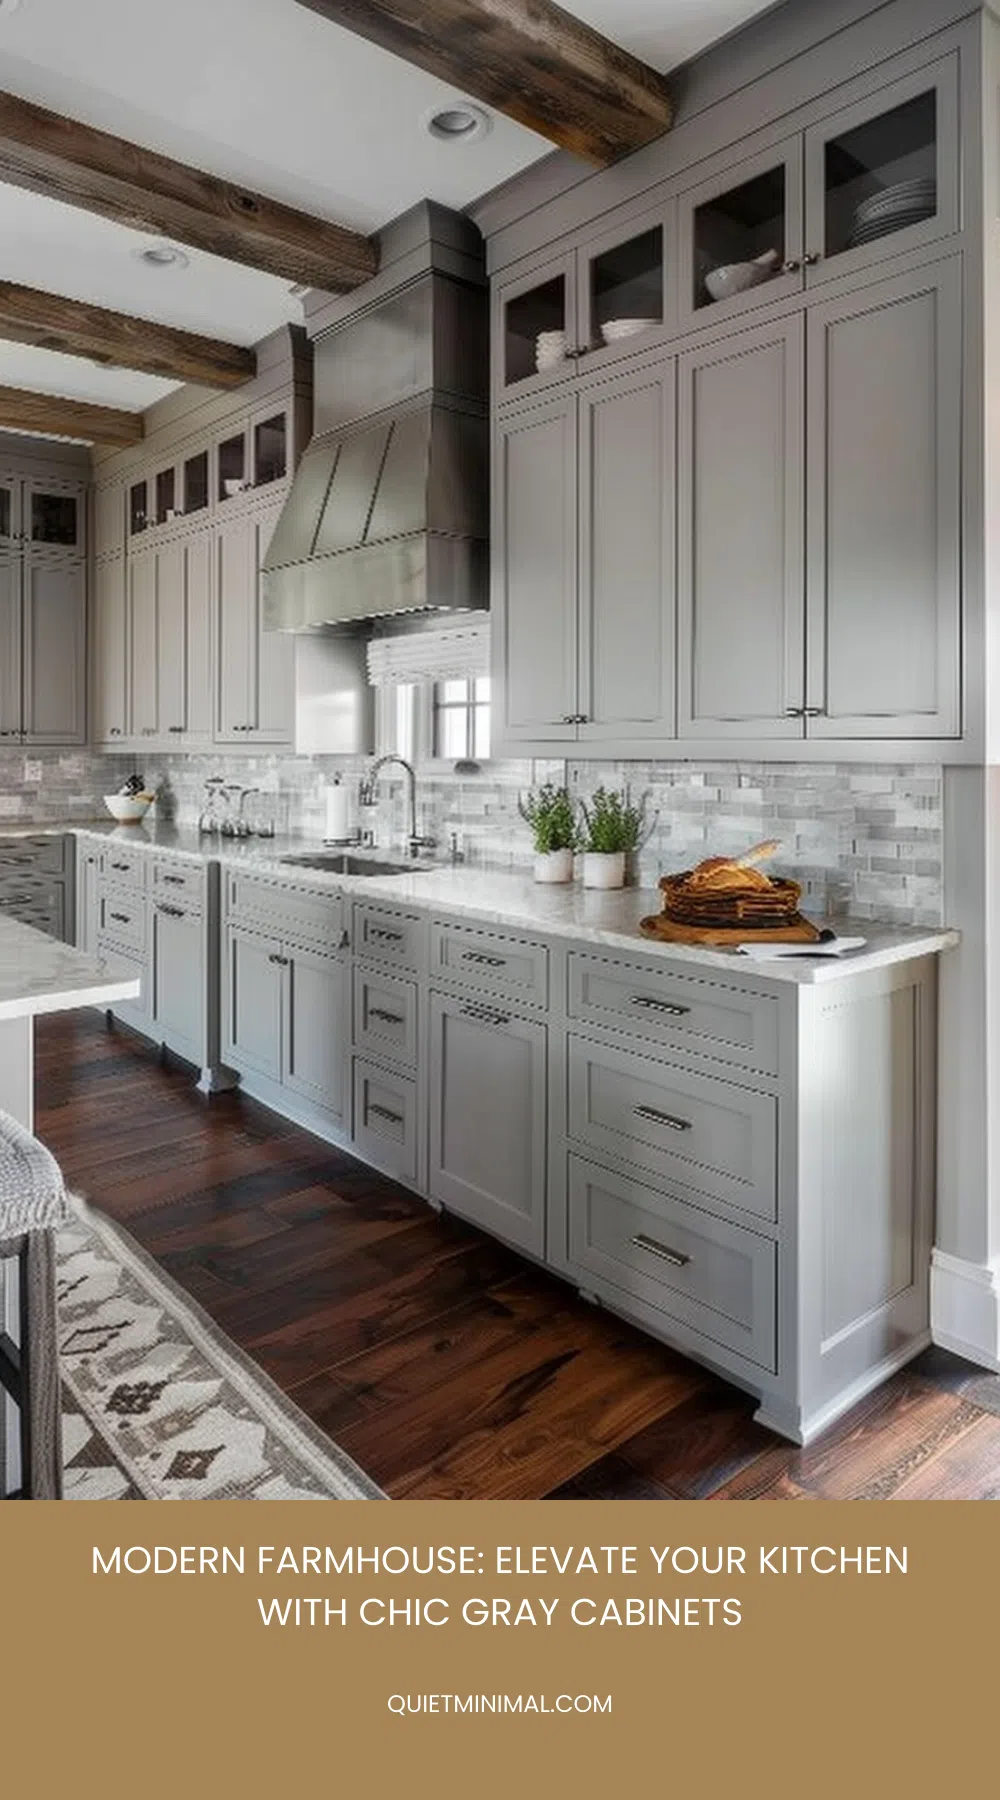
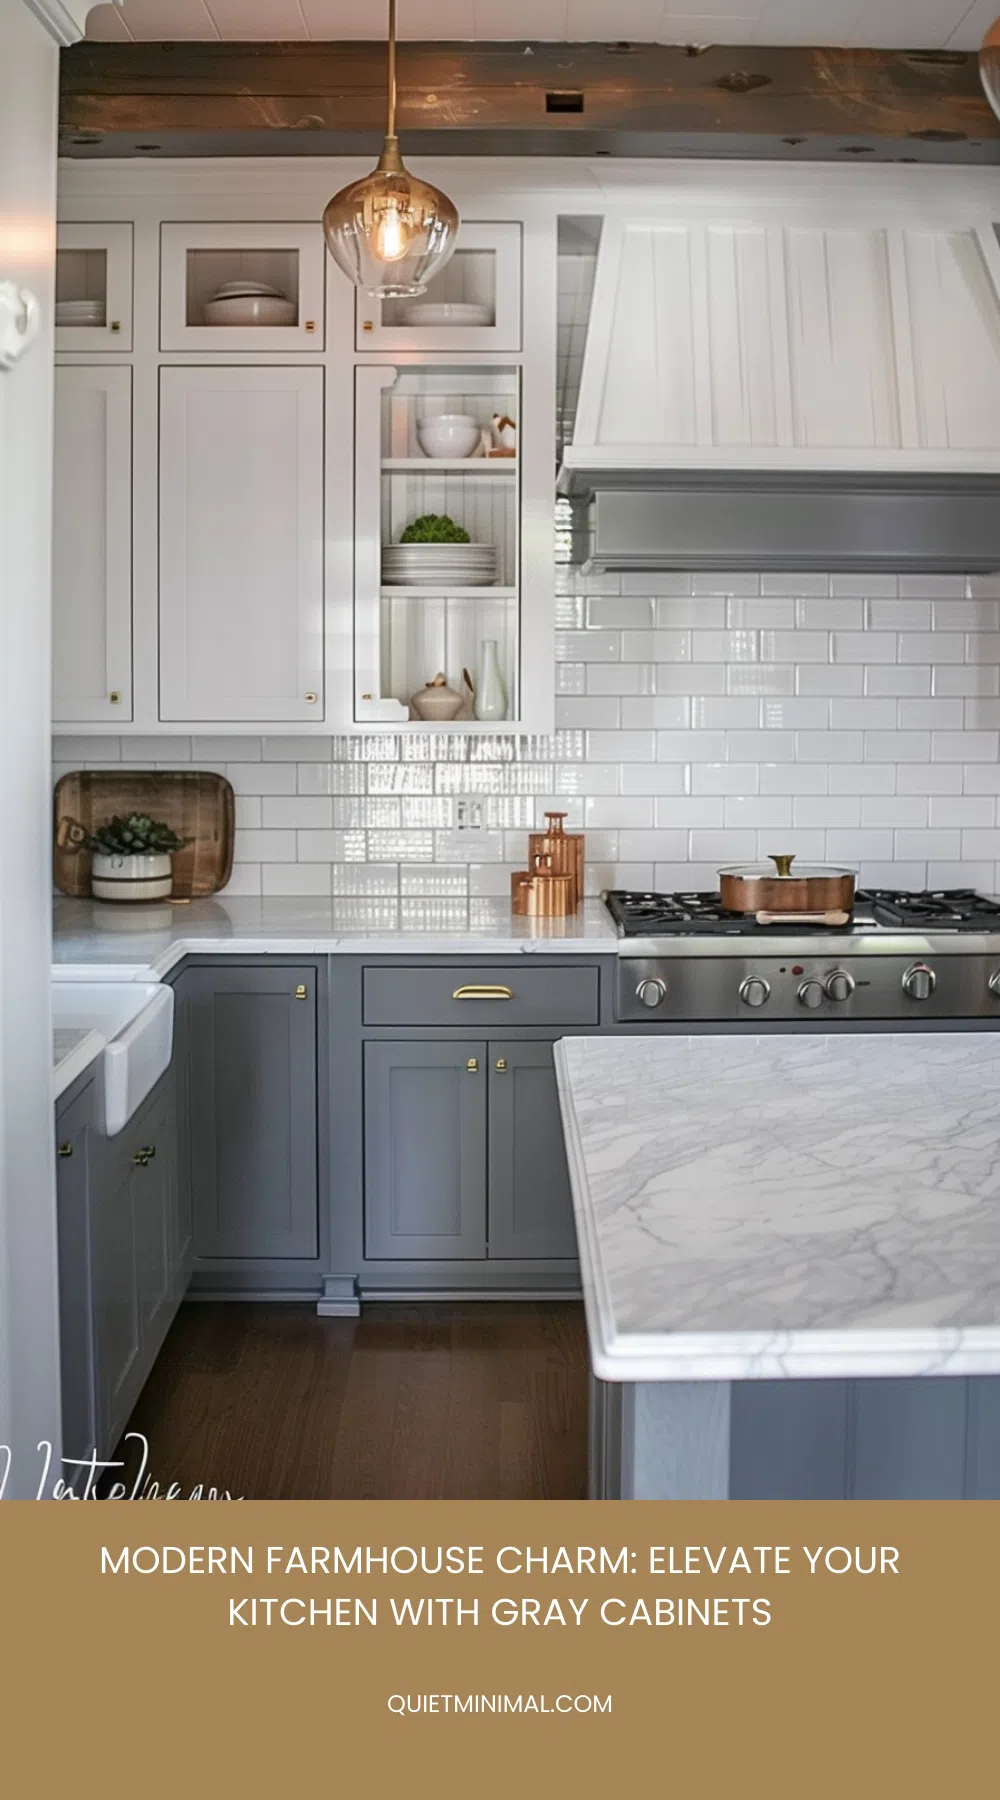
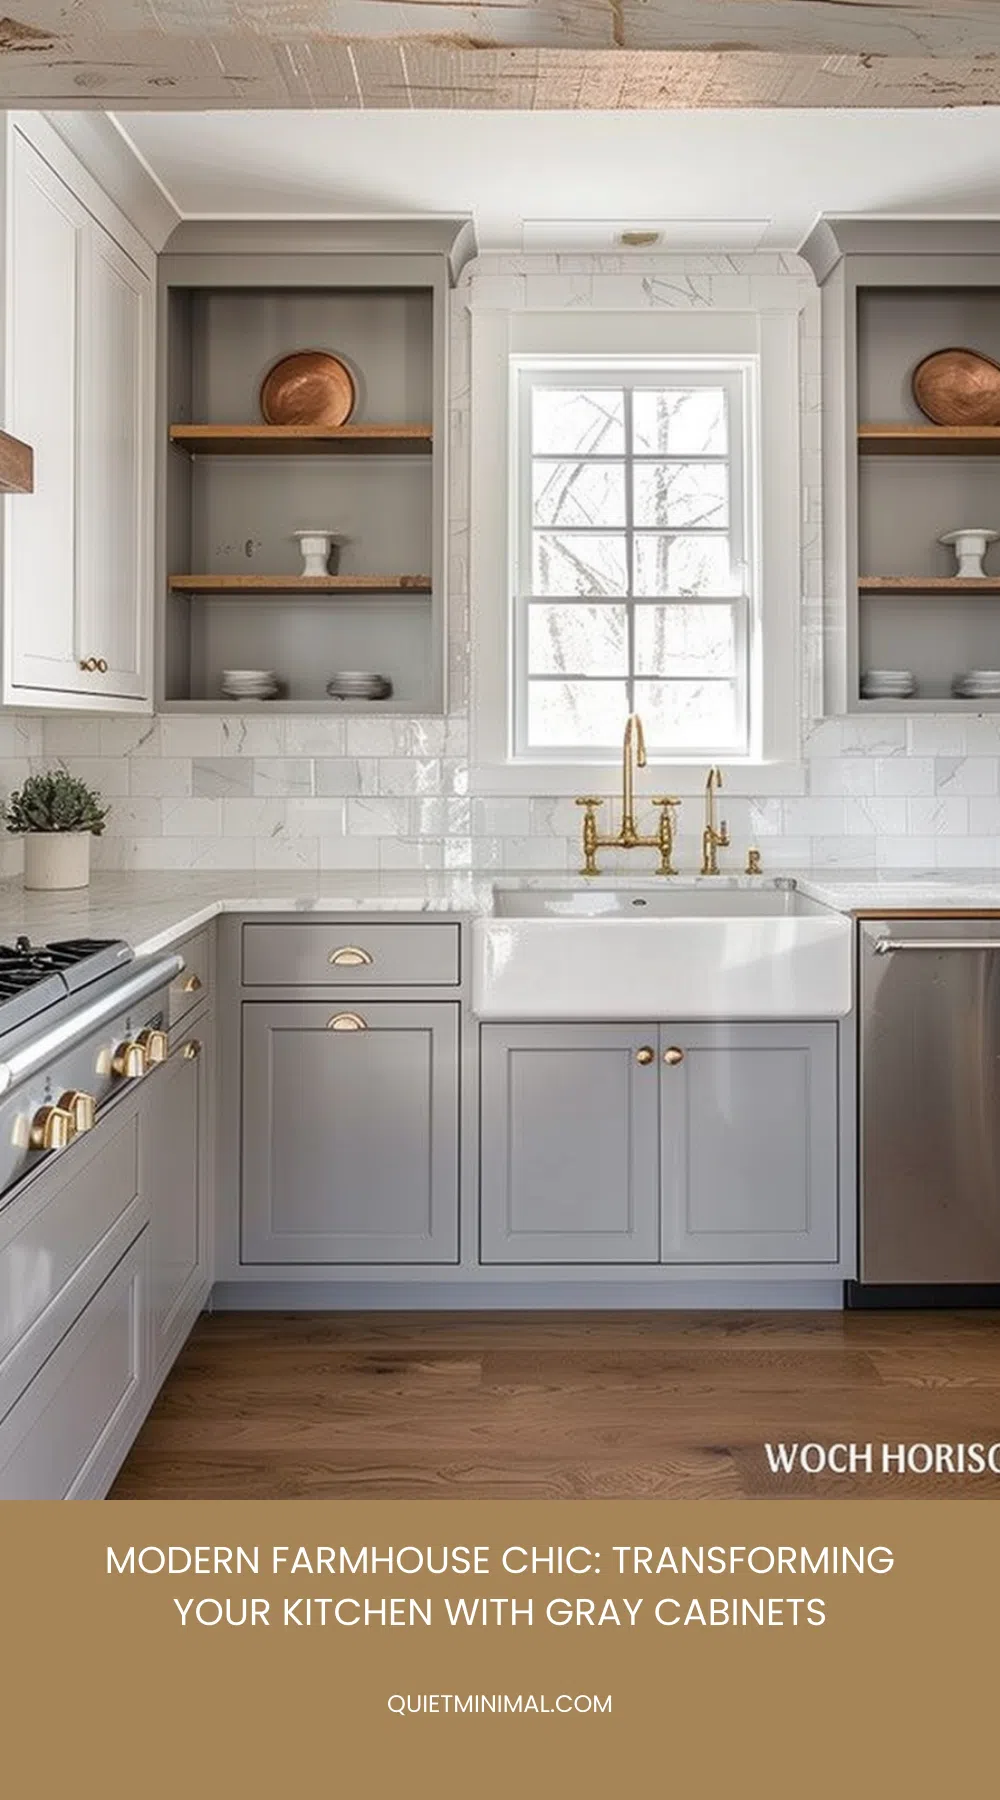
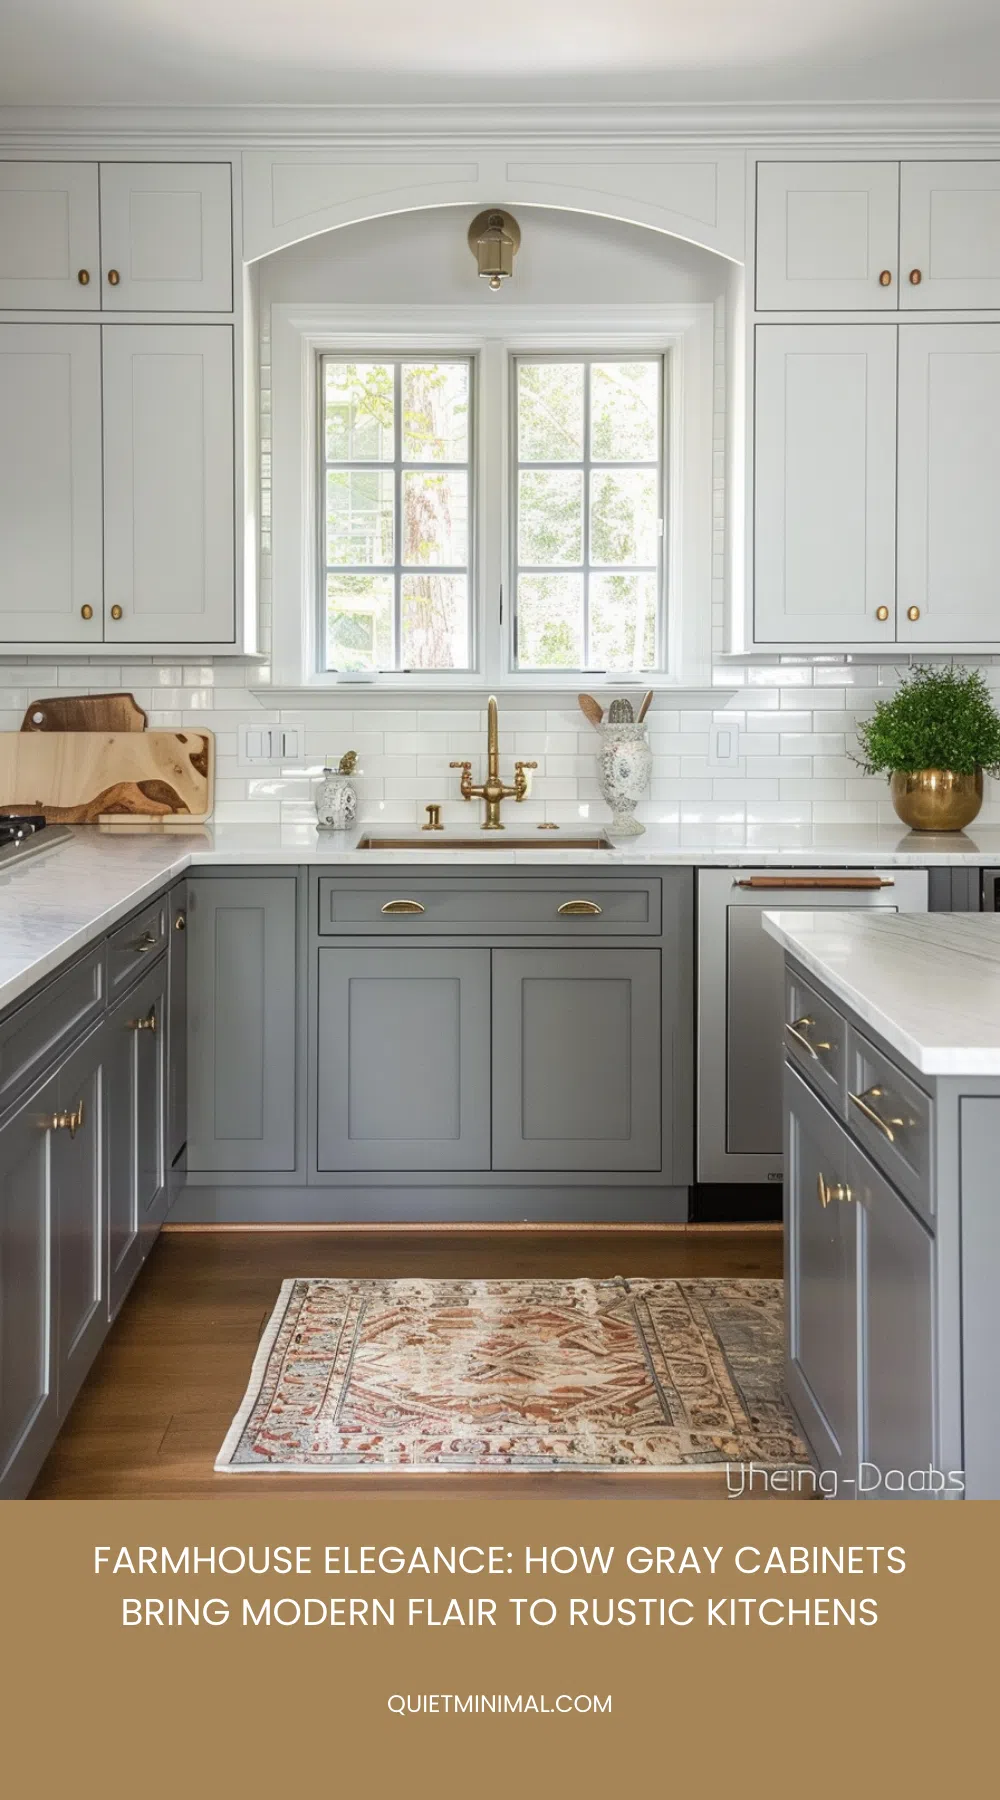
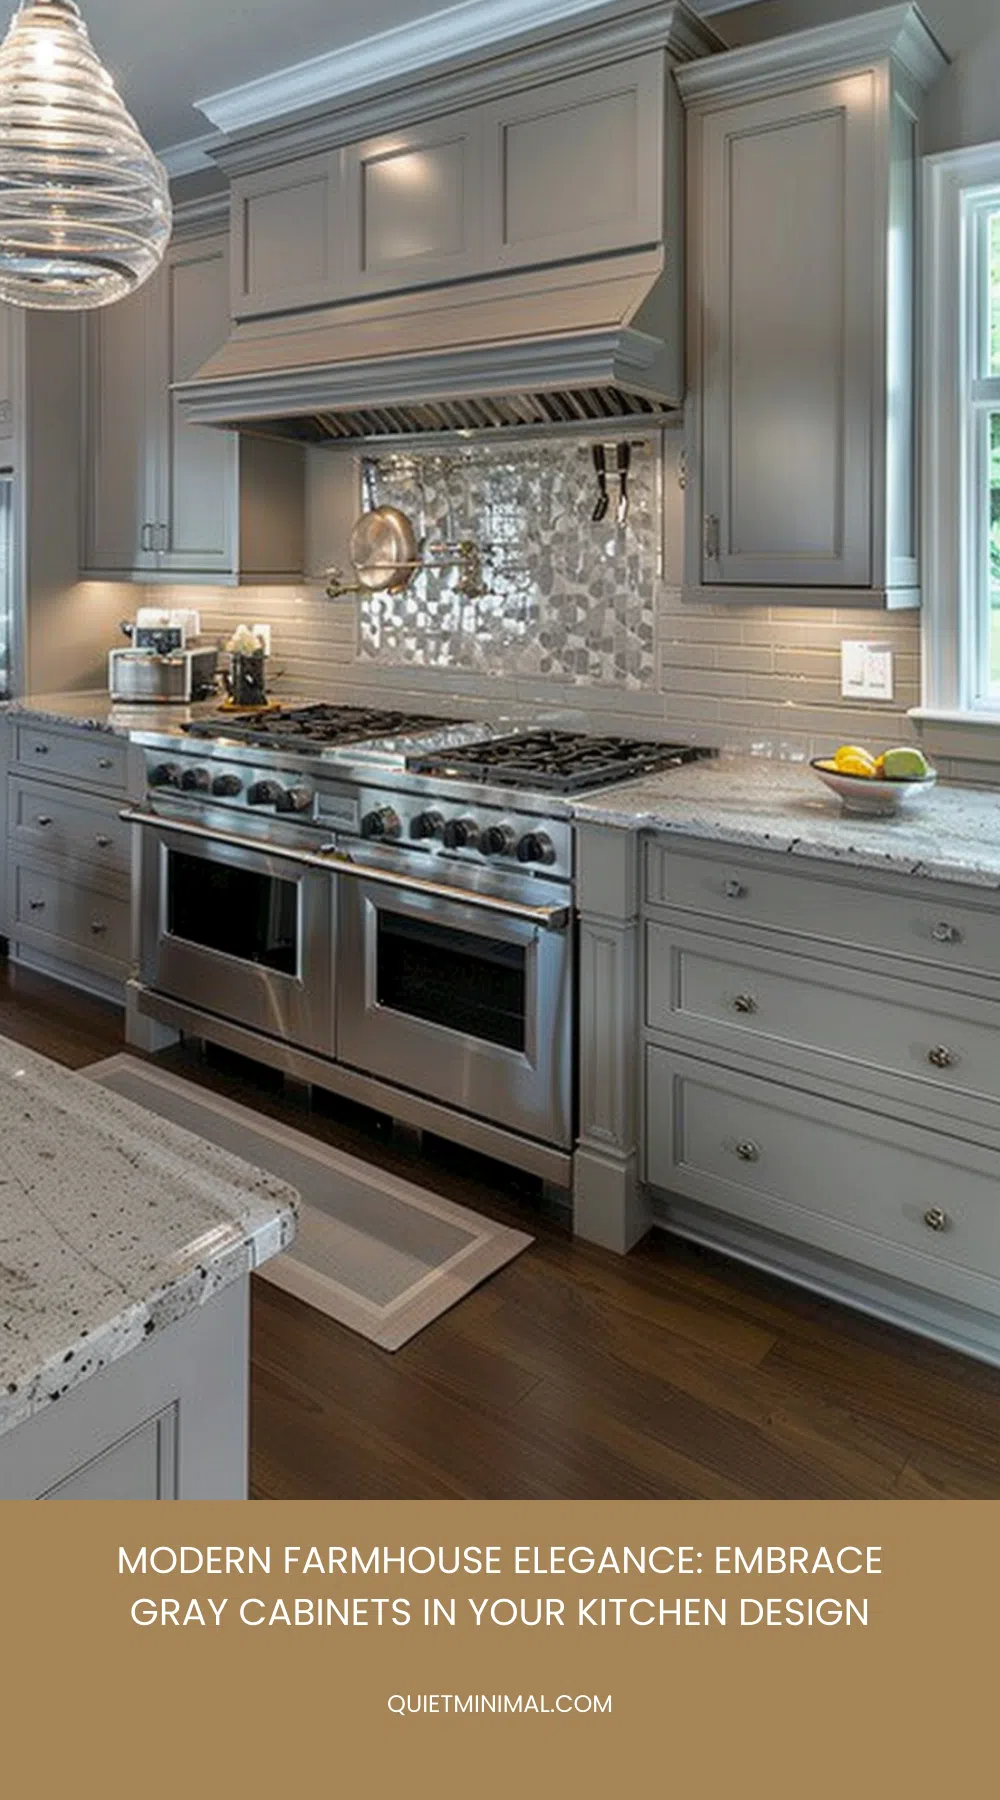
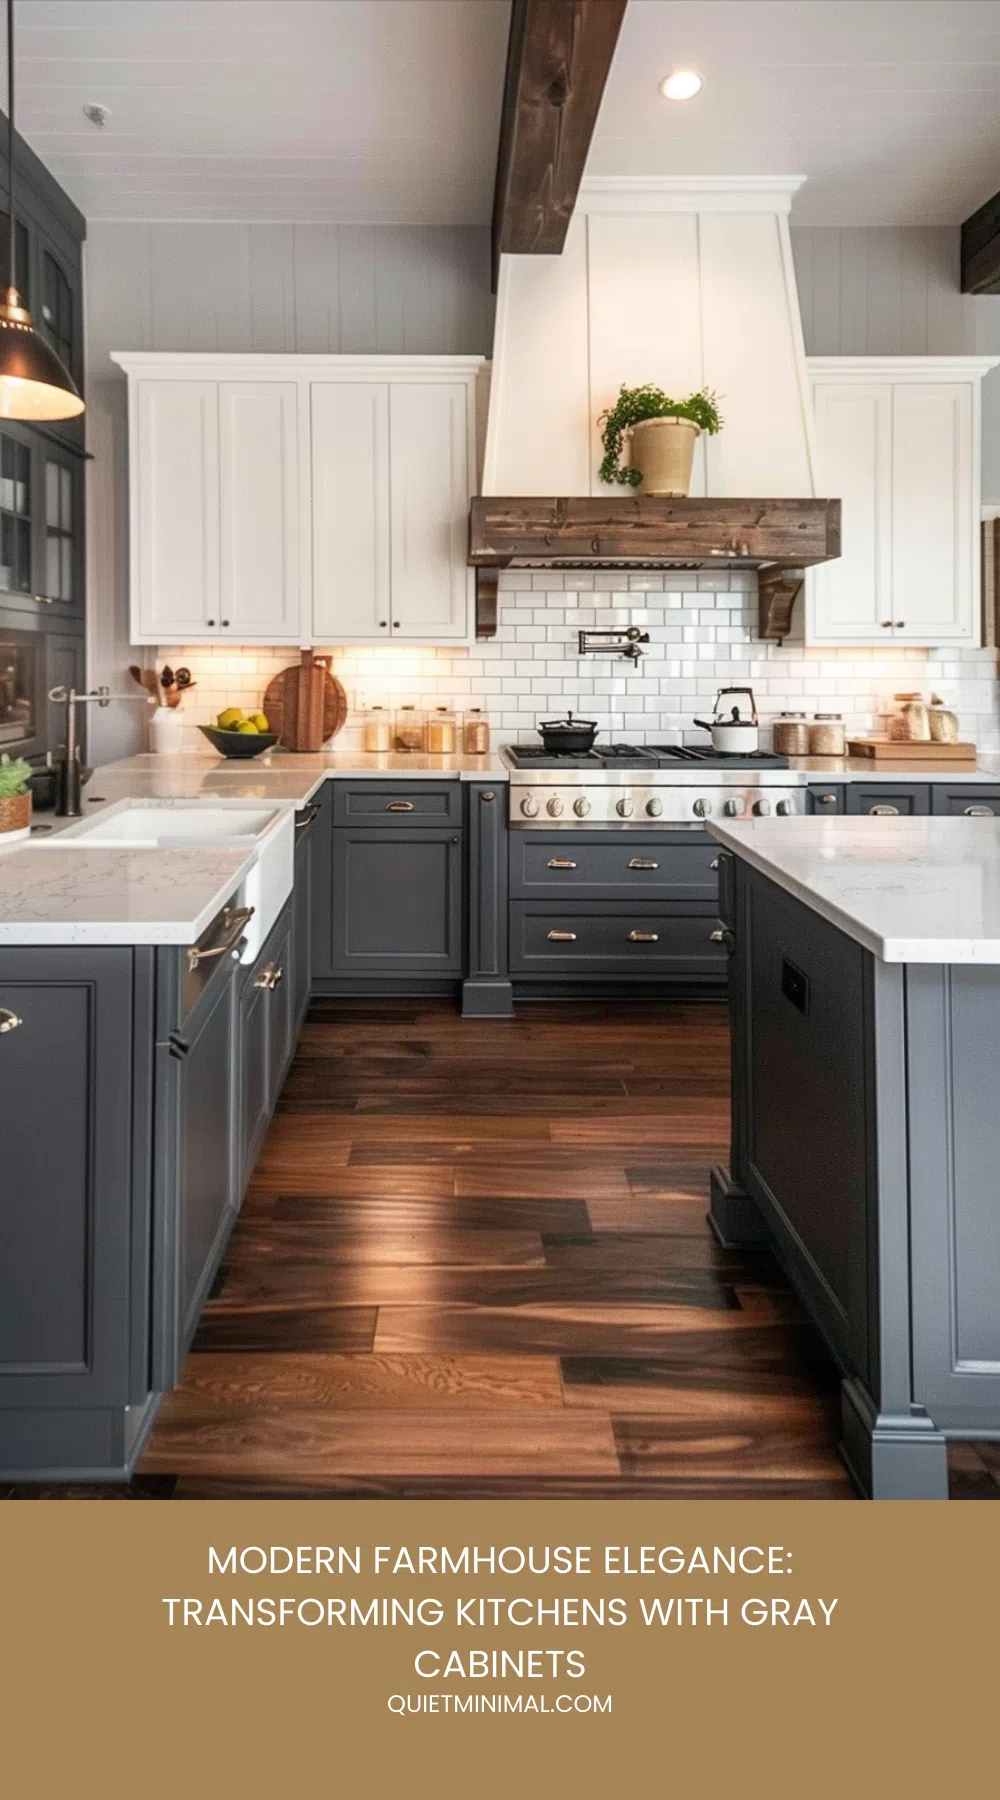
When you think about creating a kitchen that seamlessly blends modern and traditional elements, gray cabinets are an excellent choice for achieving timeless sophistication. They offer a neutral base that allows you to experiment with various textures and accents, from warm wood tones to rustic hardware. But how do you choose the right shade of gray to complement your farmhouse kitchen? And what about pairing it with countertops and lighting to enhance its charm? There’s more to consider, and you might find the answers as you explore different ways to elevate your kitchen’s aesthetic.
- Blend modern elements like stainless steel appliances with traditional touches like a farmhouse sink for a timeless look.
- Opt for complementary hardware such as black or brass handles to enhance the elegance of gray cabinets.
- Use wood tones like reclaimed wood or butcher block countertops to add warmth and rustic charm.
- Integrate open shelving and vintage-inspired light fixtures for a mix of modern and rustic sophistication.
- Proper lighting strategies, including under-cabinet and pendant lights, enhance the beauty and functionality of gray cabinets.
 Save
 Save
 Save
 Save
 Save
 Save
 Save
 Save
 Save
 Save
 Save
 Save
 Save
 Save
 Save
 Save
 Save
 Save
 Save
 Save
 Save
 Save
 Save
 Save
 Save
 Save
 Save
 Save
 Save
 Save
 Save
 Save
 Save
 Save
 Save
 Save
 Save
 Save
 Save
 Save
 Save
 Save
 Save
 Save
 Save
 Save
 Save
 Save
 Save
 Save
 Save
 Save
 Save
 Save
 Save
Choosing the Right Shade
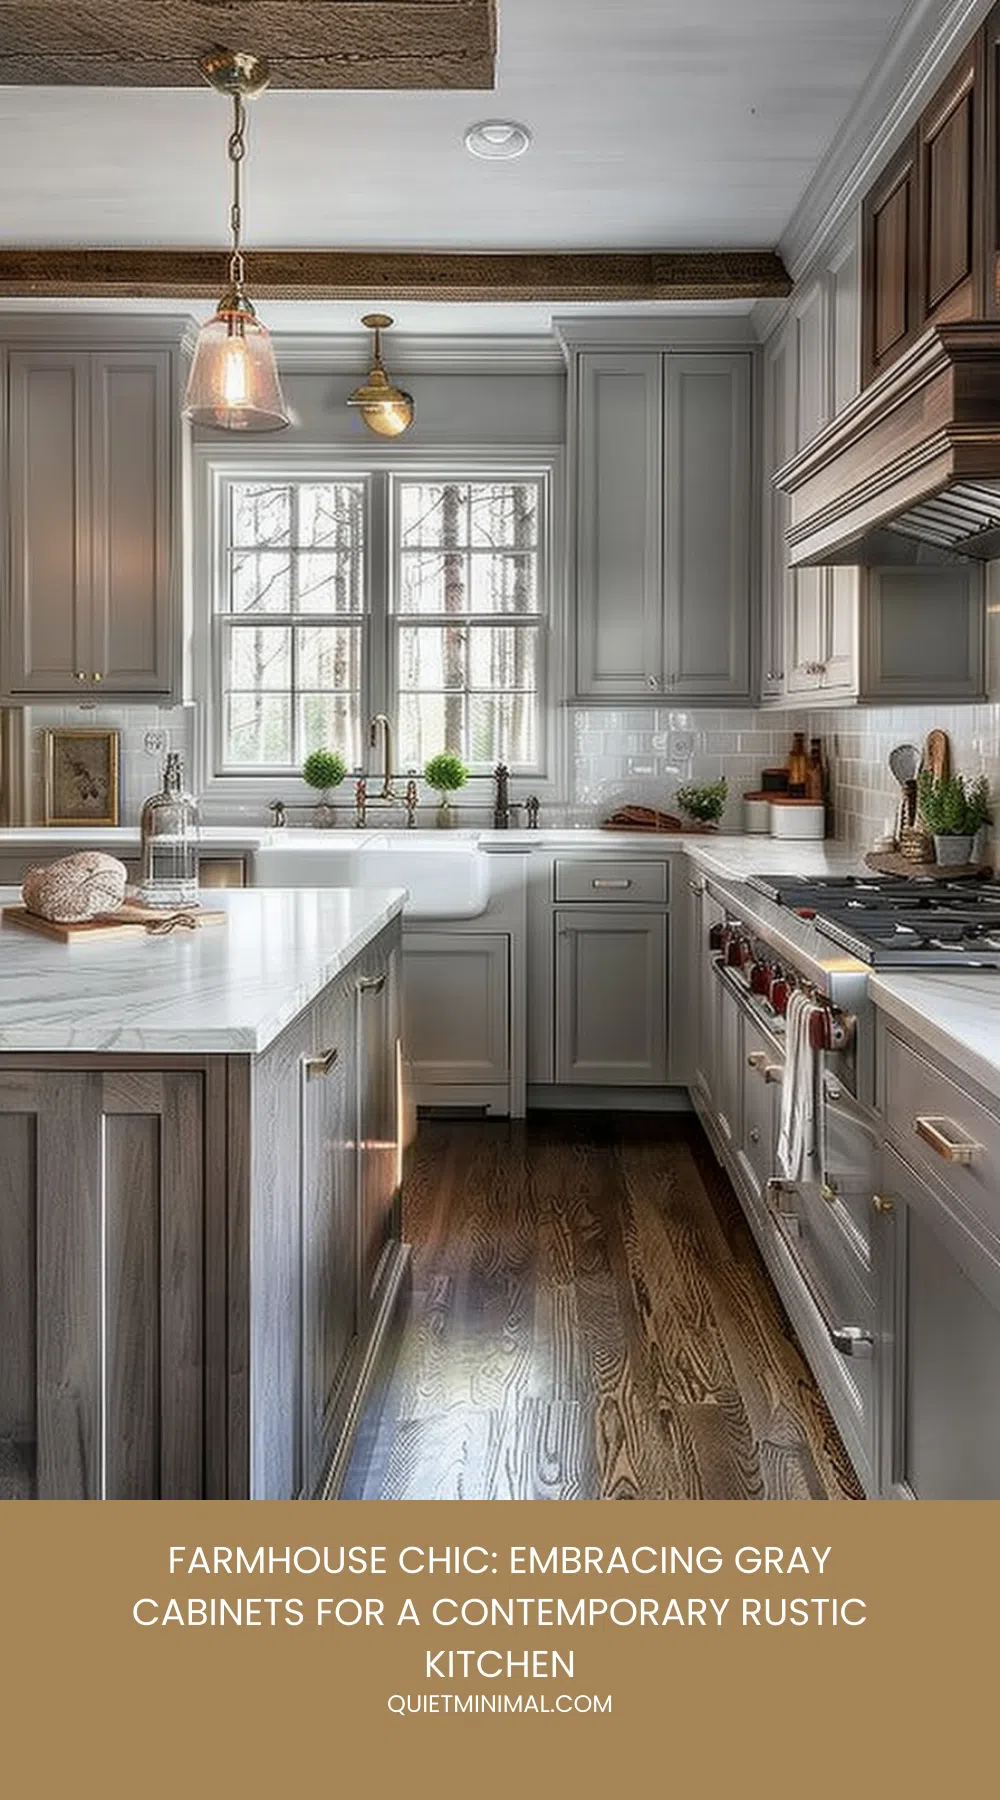
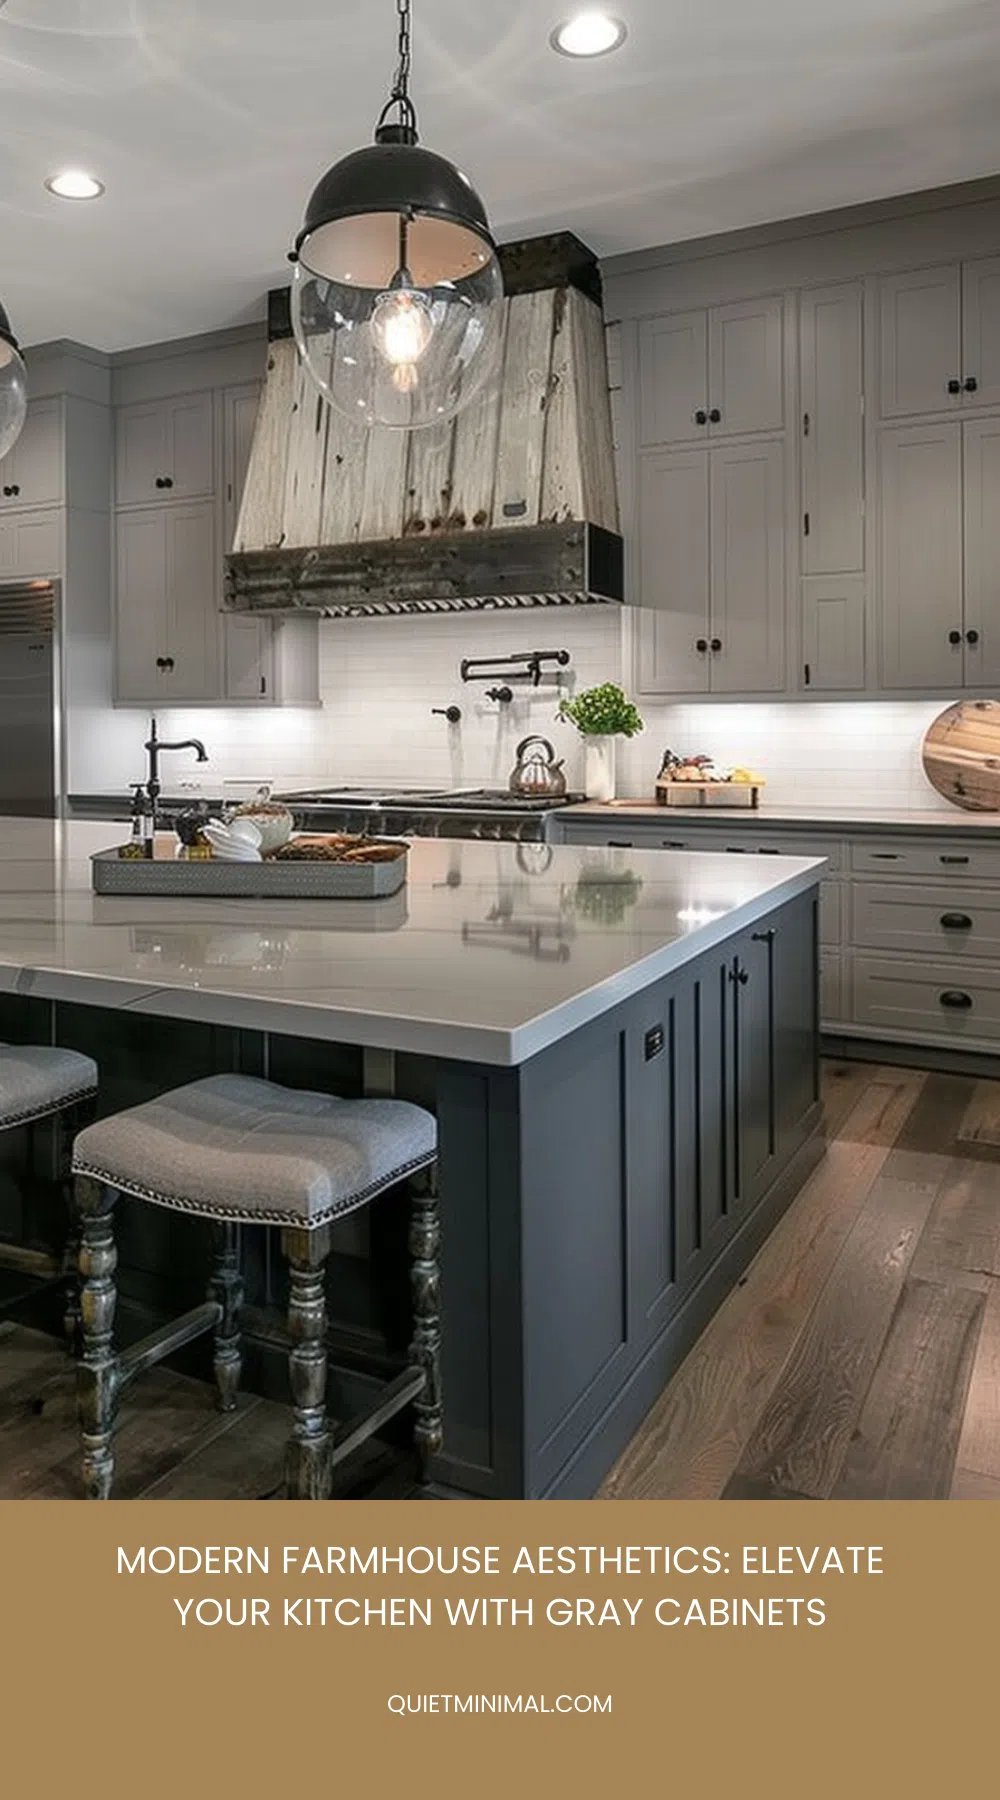
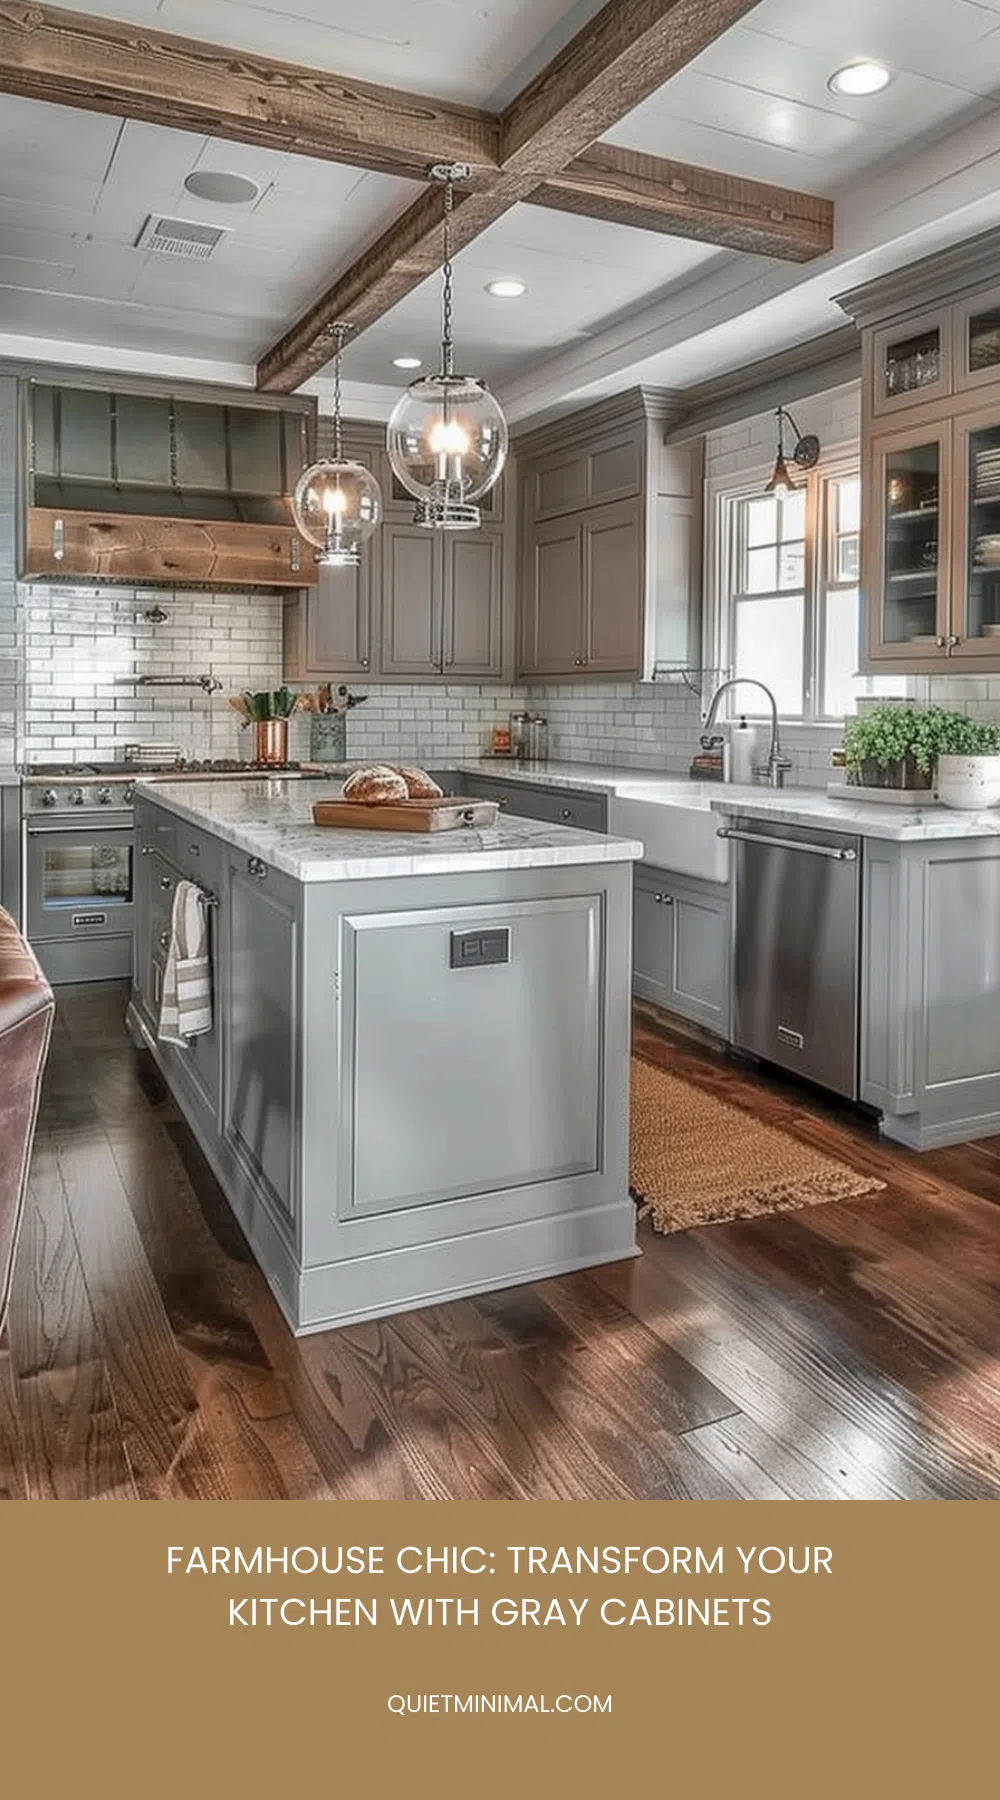
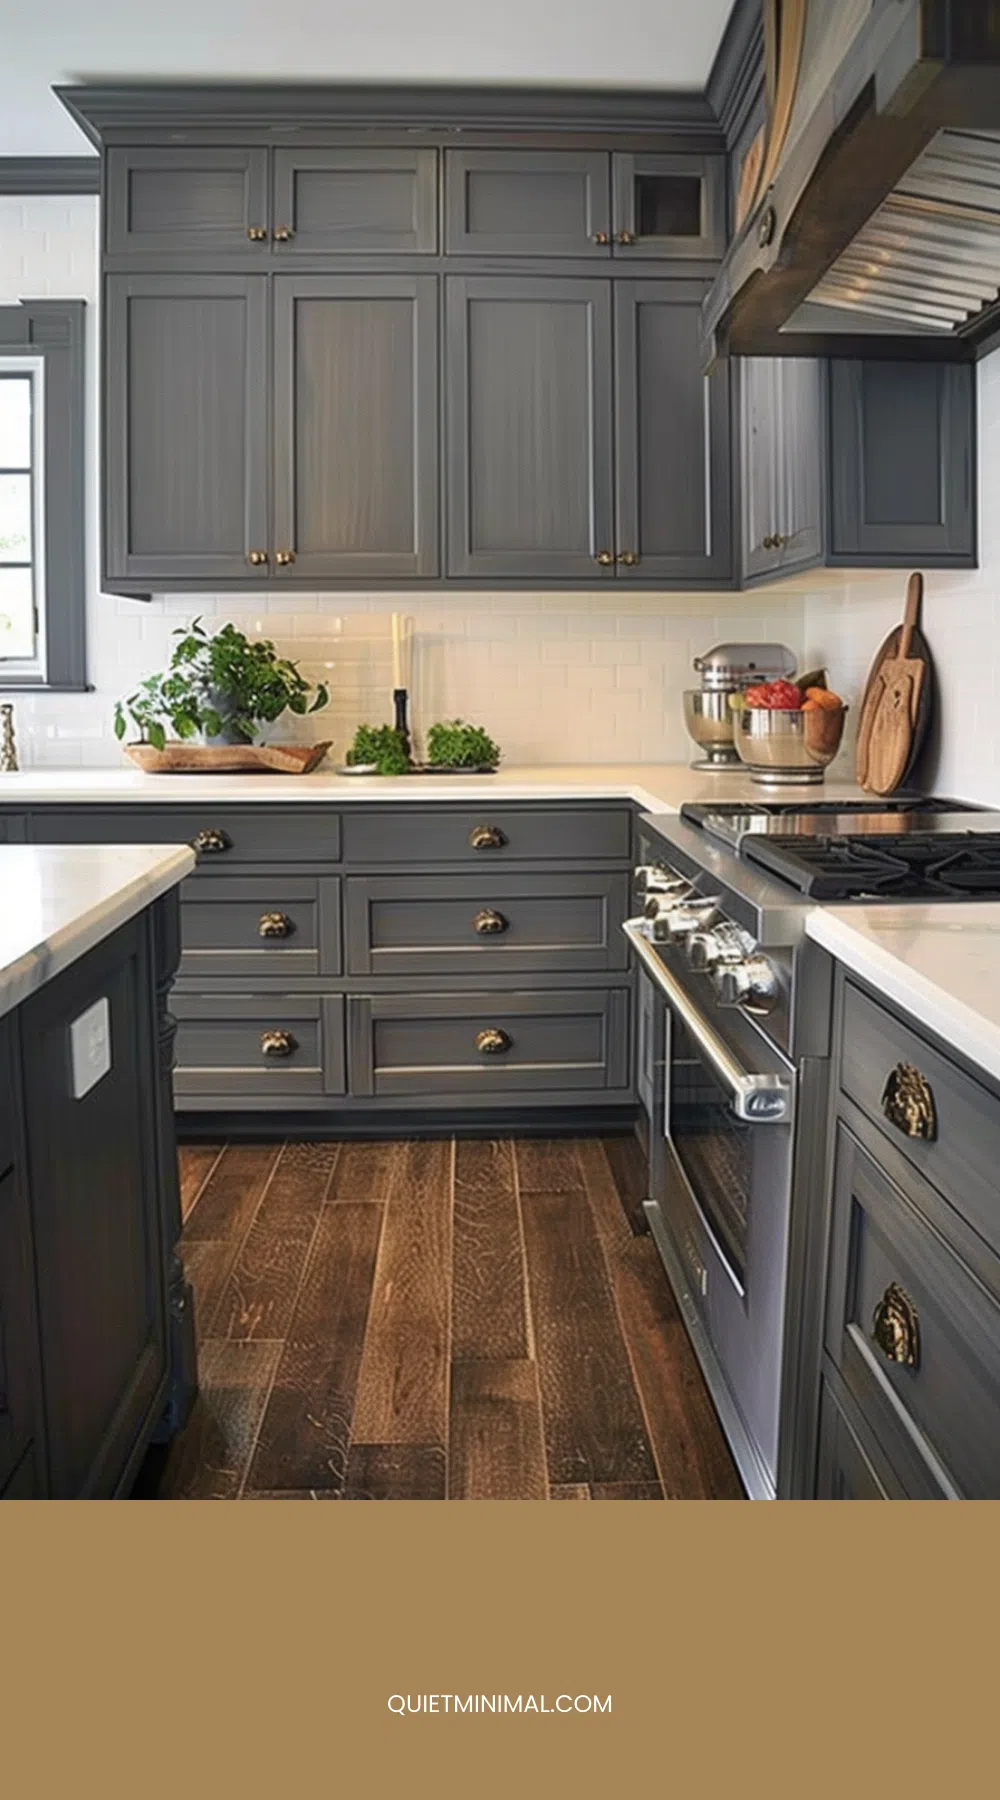
Selecting the perfect shade of gray for your farmhouse kitchen cabinets can significantly impact the overall ambiance of the space. Start by considering the natural light in your kitchen. If you have plenty of sunlight streaming in, you might opt for a softer, lighter gray that enhances the brightness and makes the area feel airy and open.
On the other hand, if your kitchen lacks natural light, a darker, richer gray can add depth and a cozy, inviting atmosphere.
Next, think about the mood you want to create. Lighter grays often evoke a sense of calm and cleanliness, ideal for a refreshing and serene kitchen environment. Darker grays, meanwhile, can lend a more sophisticated and dramatic flair, perfect if you’re aiming for a bold, elegant look.
Don’t forget to test samples before making a final decision. Paint swatches directly on your cabinets or use large sample boards to see how different shades look at various times of the day. This helps ensure you’ll love the color in all lighting conditions.
Pairing With Wood Tones
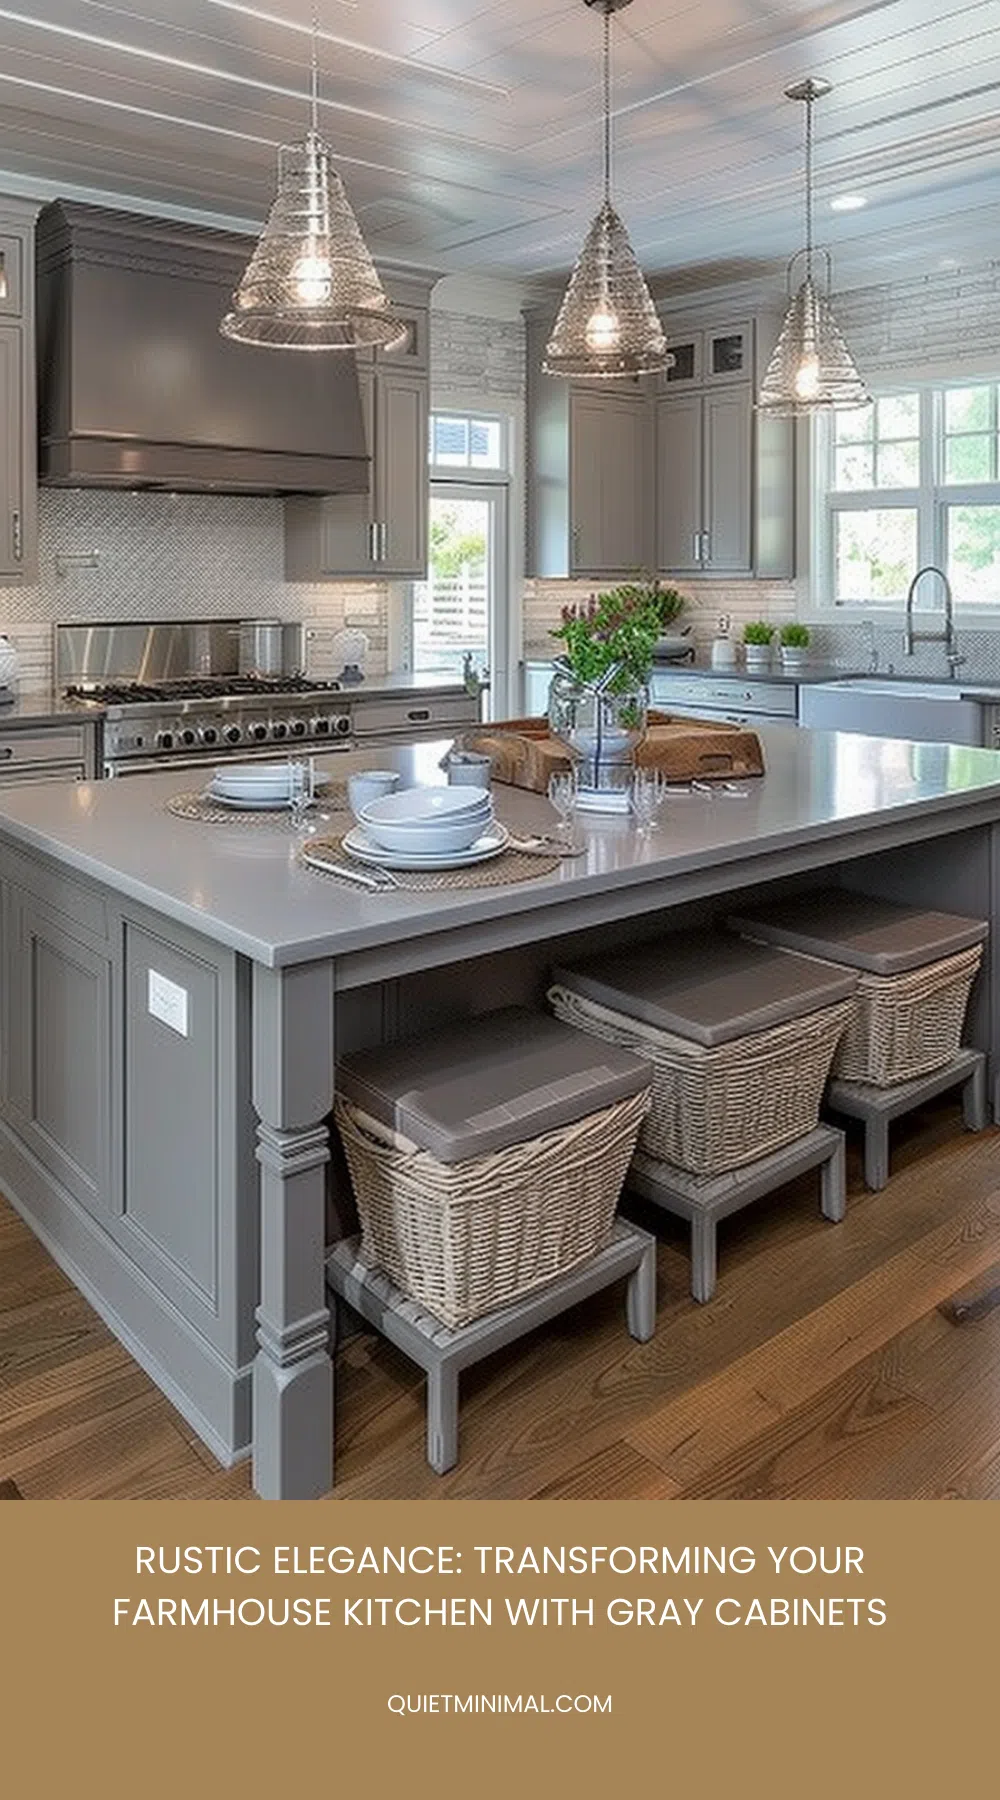
Pairing gray cabinets with wood tones can create a balanced and harmonious farmhouse kitchen. The cool, neutral shade of gray can perfectly complement the warmth and texture of wooden elements, enhancing both materials’ natural beauty.
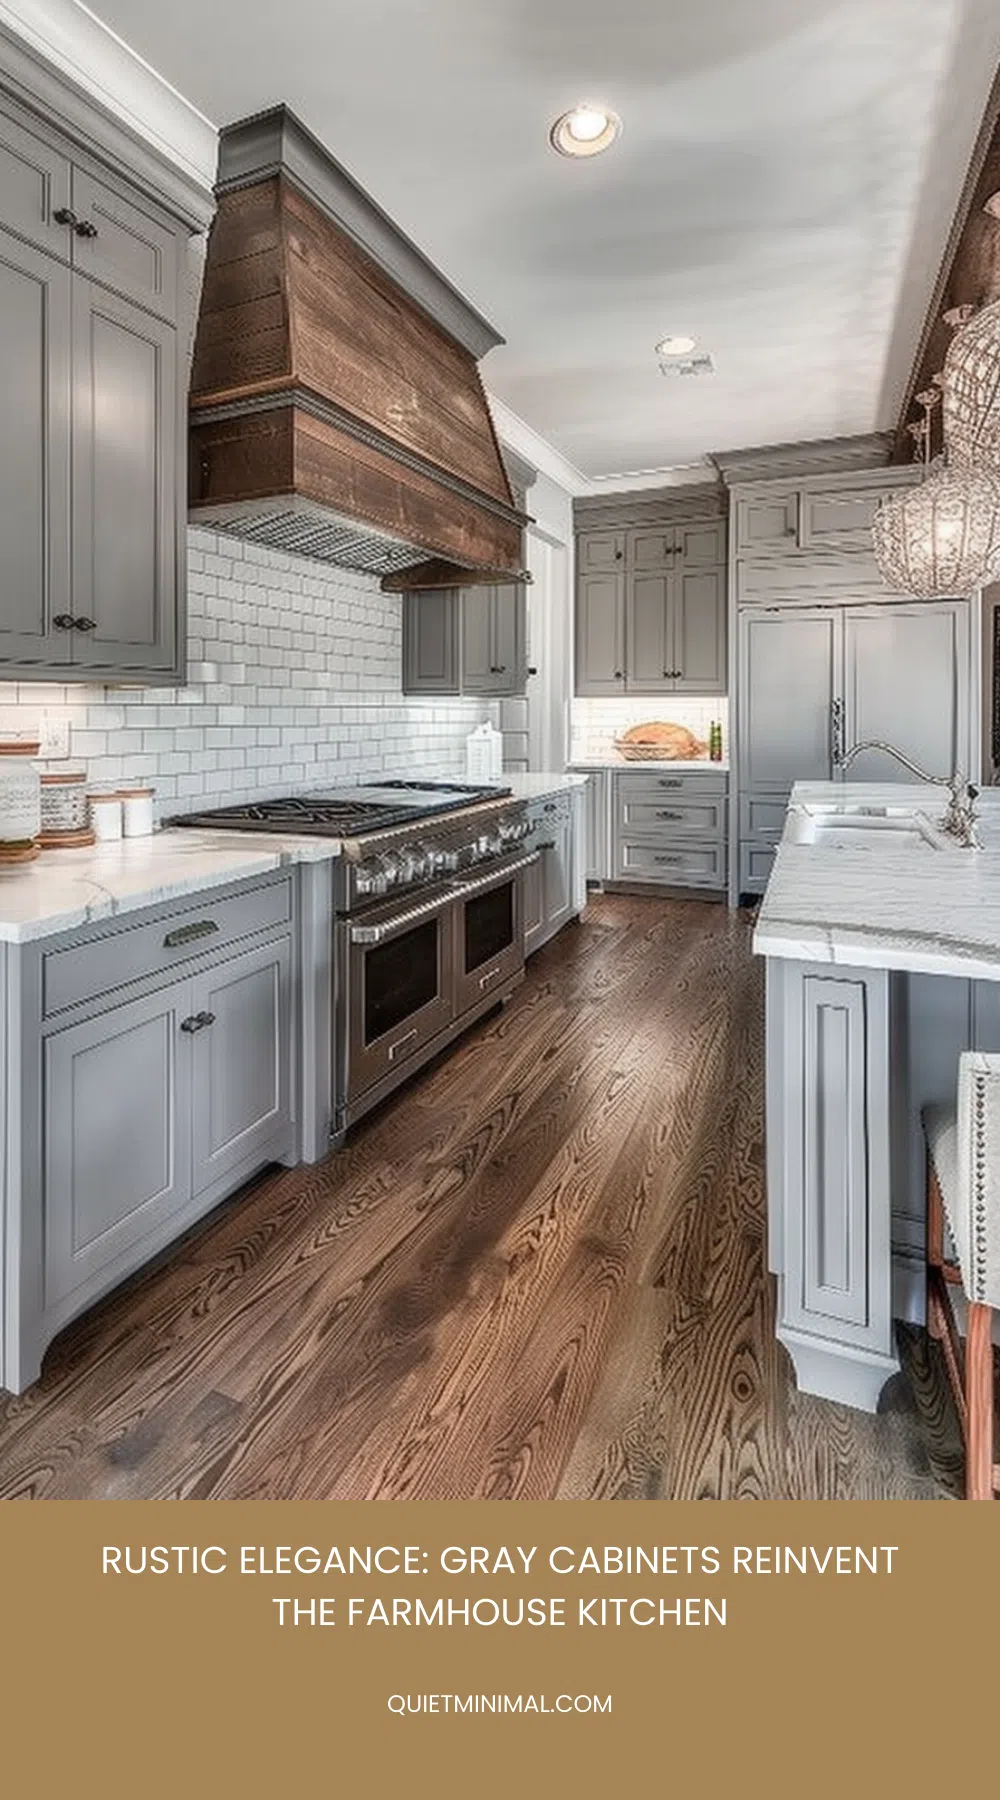
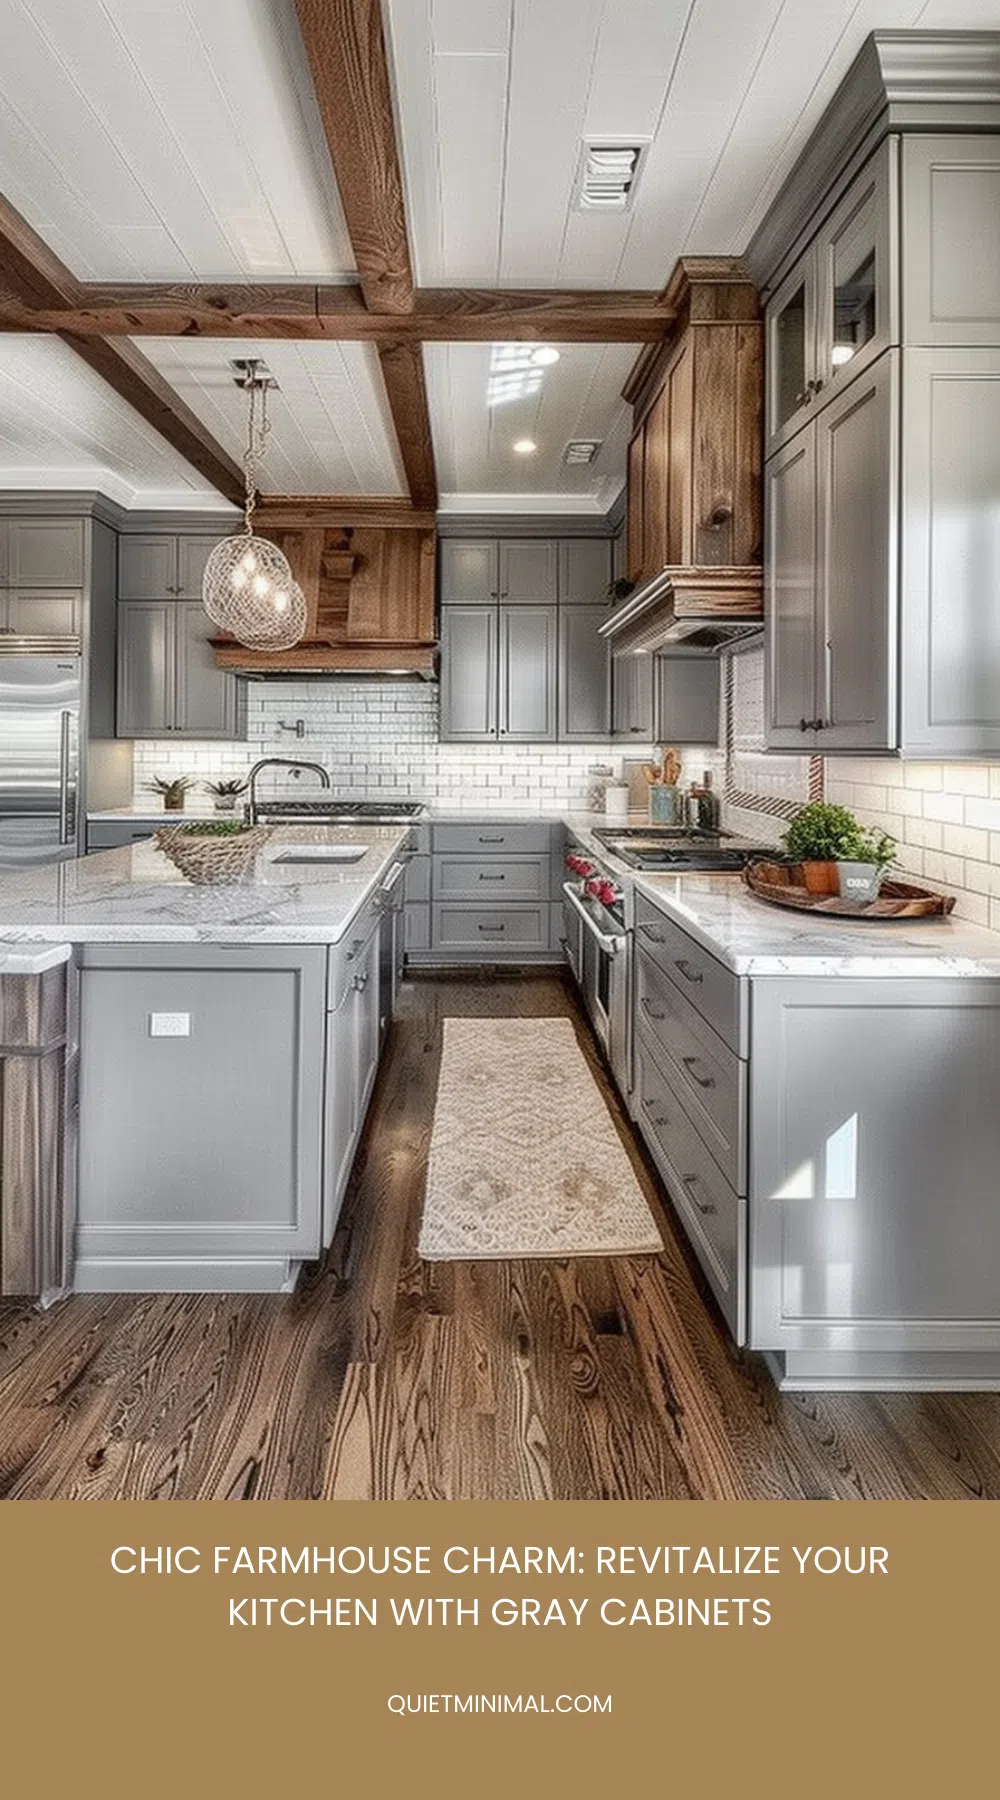
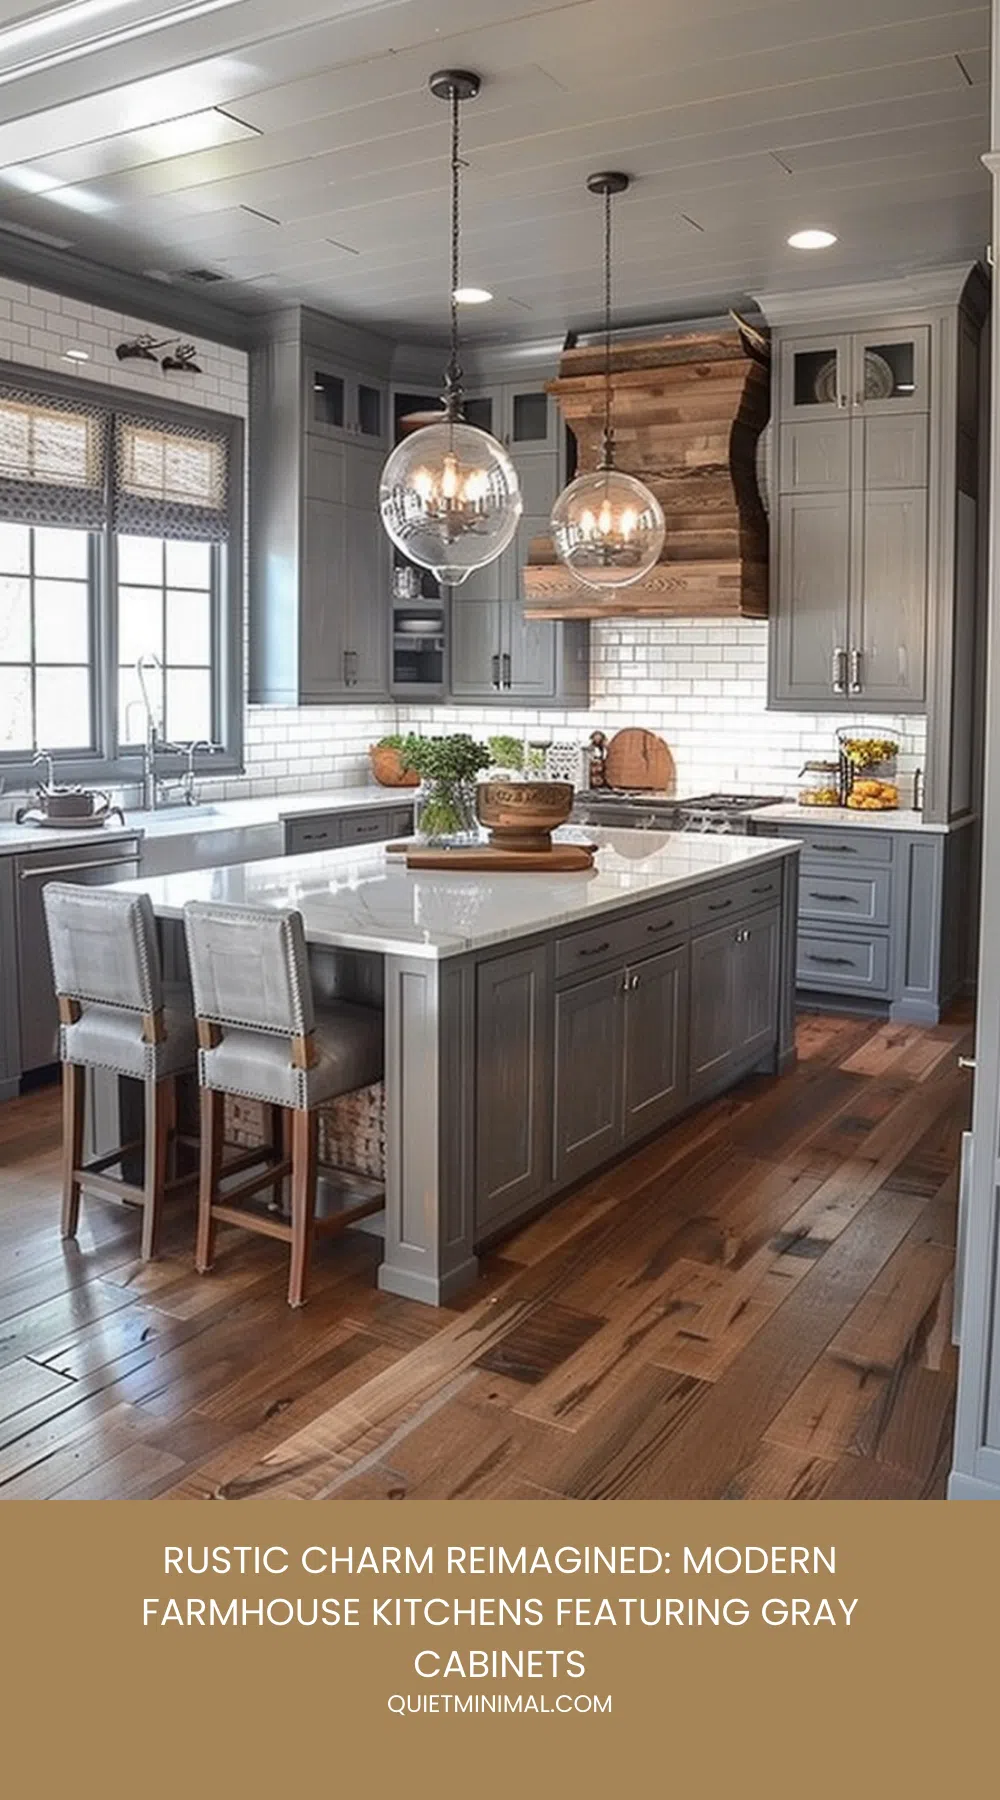
First, consider using reclaimed wood. Its aged appearance adds character and history to your kitchen, contrasting beautifully with sleek gray cabinets. This combination can evoke a cozy, lived-in feeling while maintaining a sophisticated look.
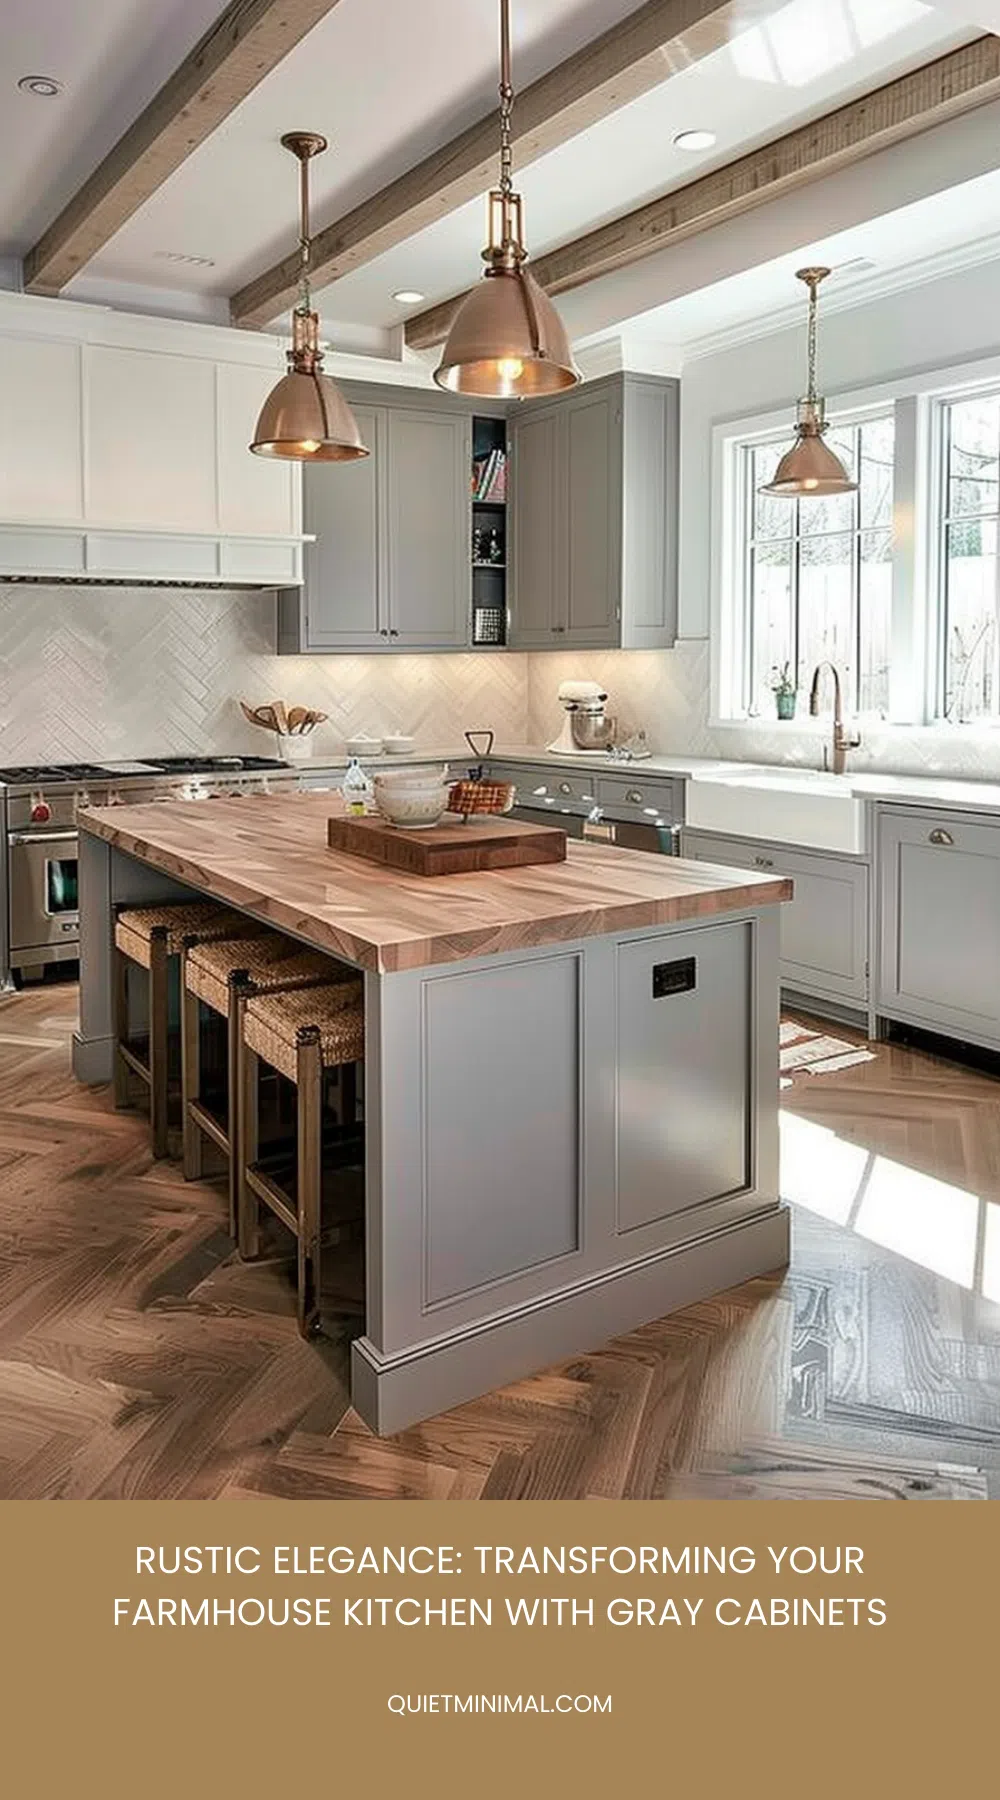
Second, think about incorporating butcher block countertops. These provide a practical and visually appealing surface that pairs well with gray cabinetry. Butcher block adds warmth to the room and can be a focal point of your kitchen, creating a welcoming atmosphere for cooking and gathering.
Finally, don’t overlook the importance of wood accents. Items like wooden shelves, cutting boards, or even bar stools can subtly introduce wood tones without overwhelming the space. These accents can tie the room together, making it feel cohesive and thoughtfully designed.
Here’s a quick recap:
- Use reclaimed wood for rustic charm.
- Incorporate butcher block countertops for warmth and functionality.
- Add wood accents for a subtle, cohesive design.
Modern and Traditional Mix
Integrating both modern and traditional elements into a farmhouse kitchen with gray cabinets can create a timeless yet contemporary space. You can achieve this balance by mixing sleek, minimalist lines with rustic, vintage touches.
Consider starting with the gray cabinets as your neutral base. They offer a versatile backdrop that allows you to blend different styles effortlessly.
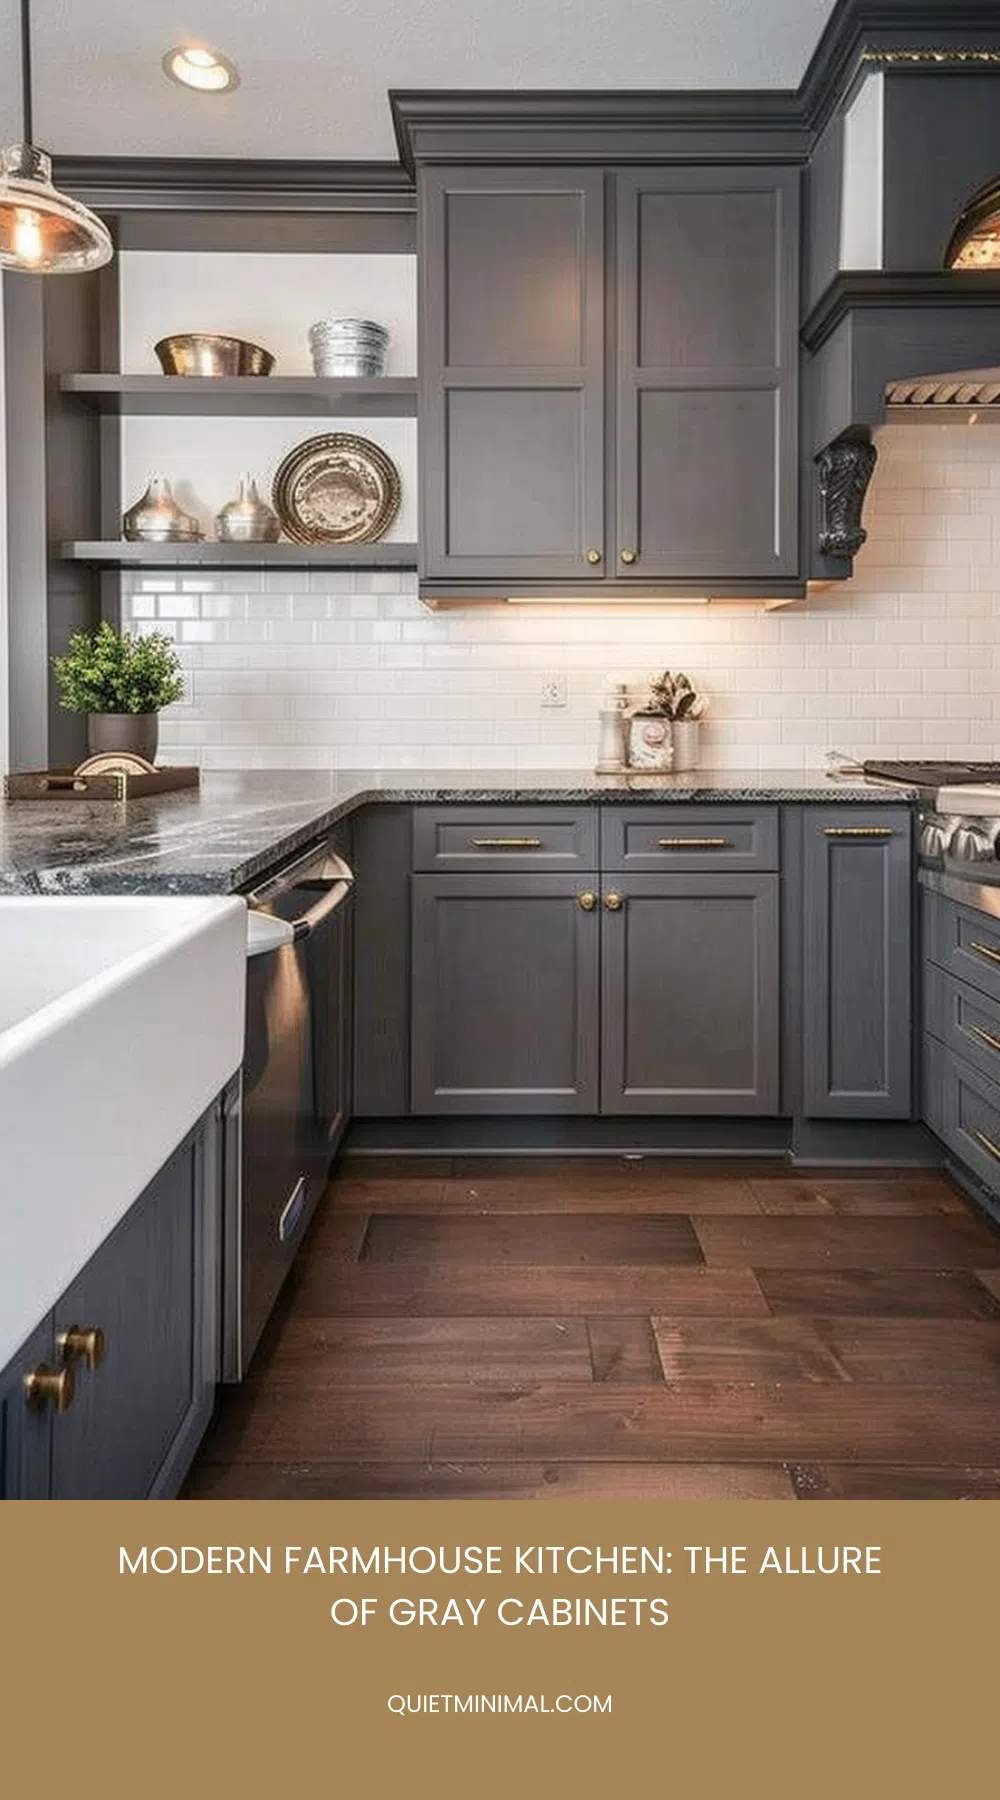
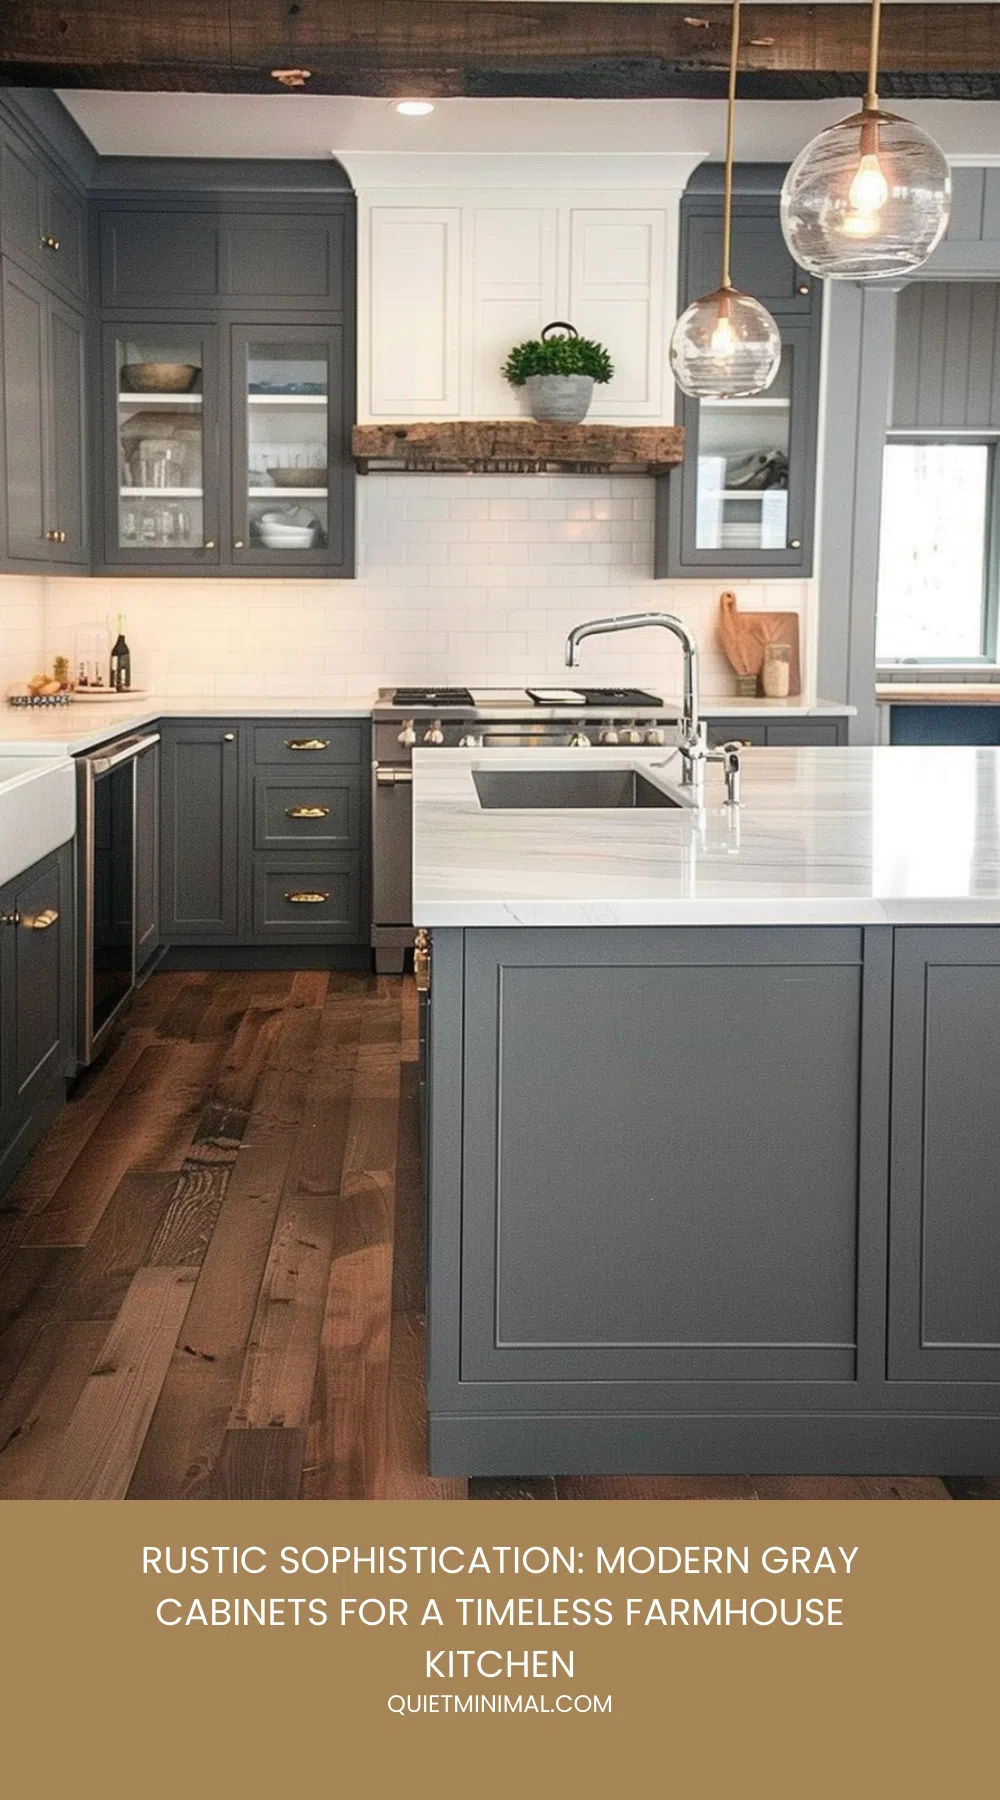
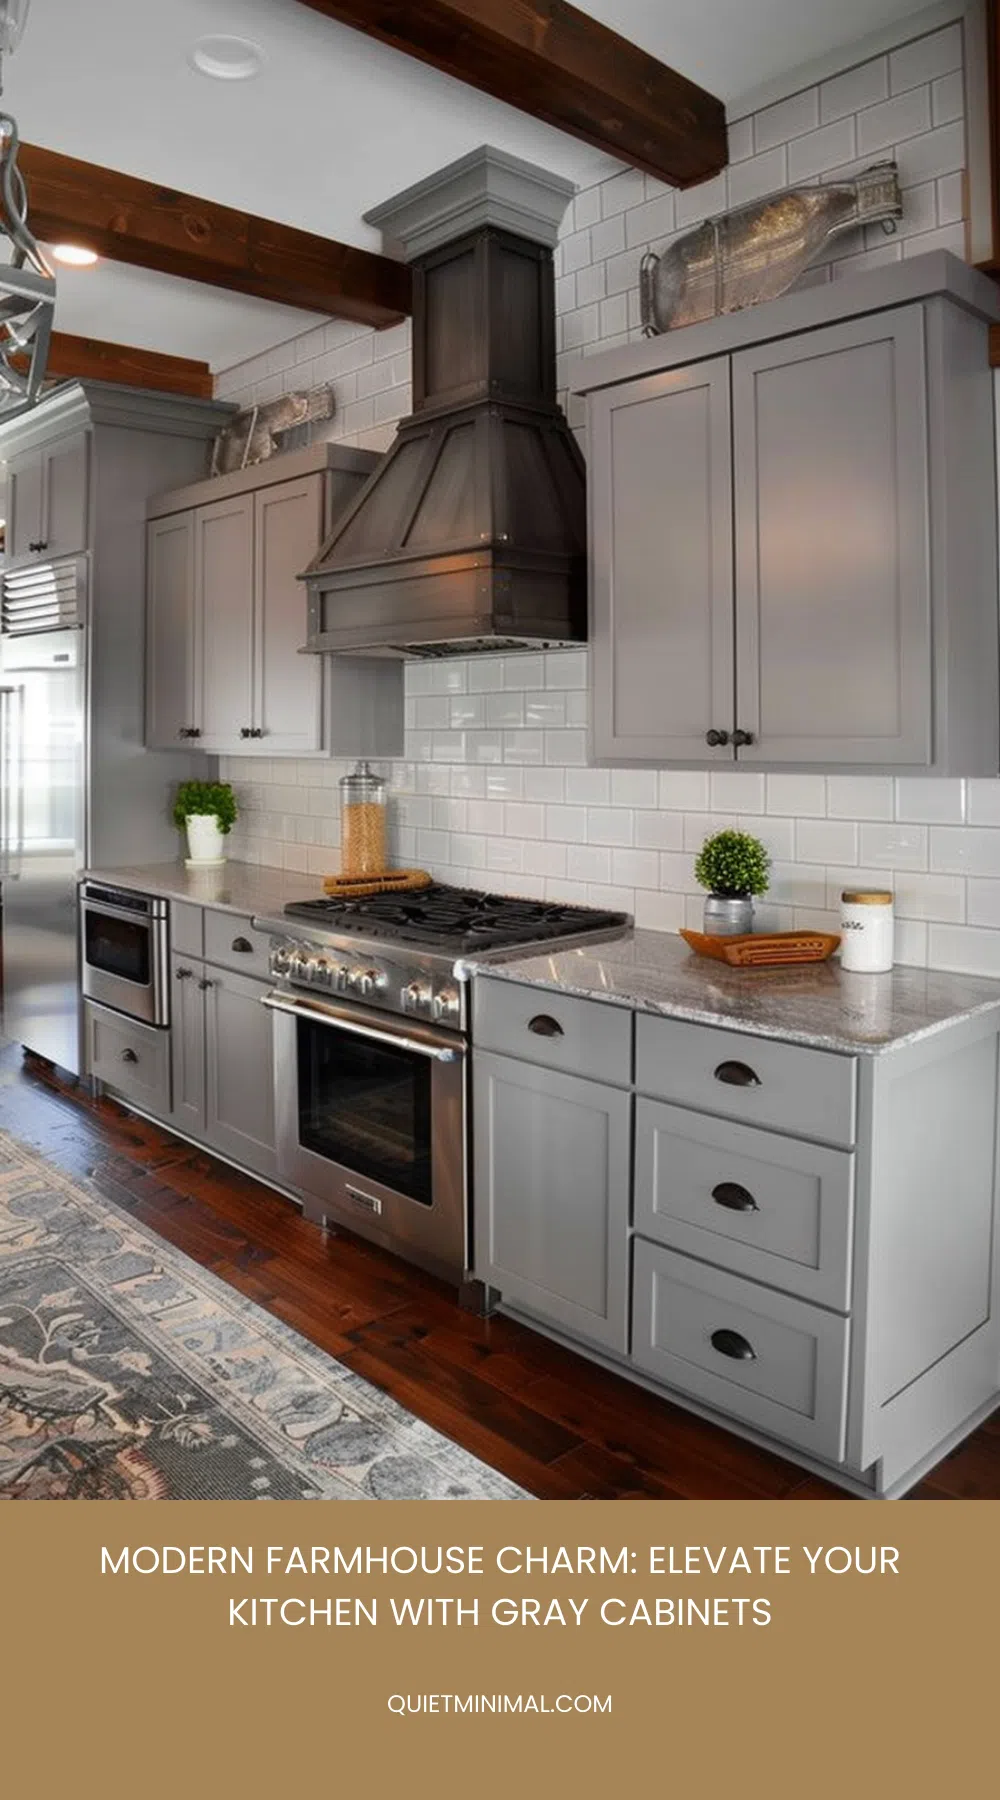
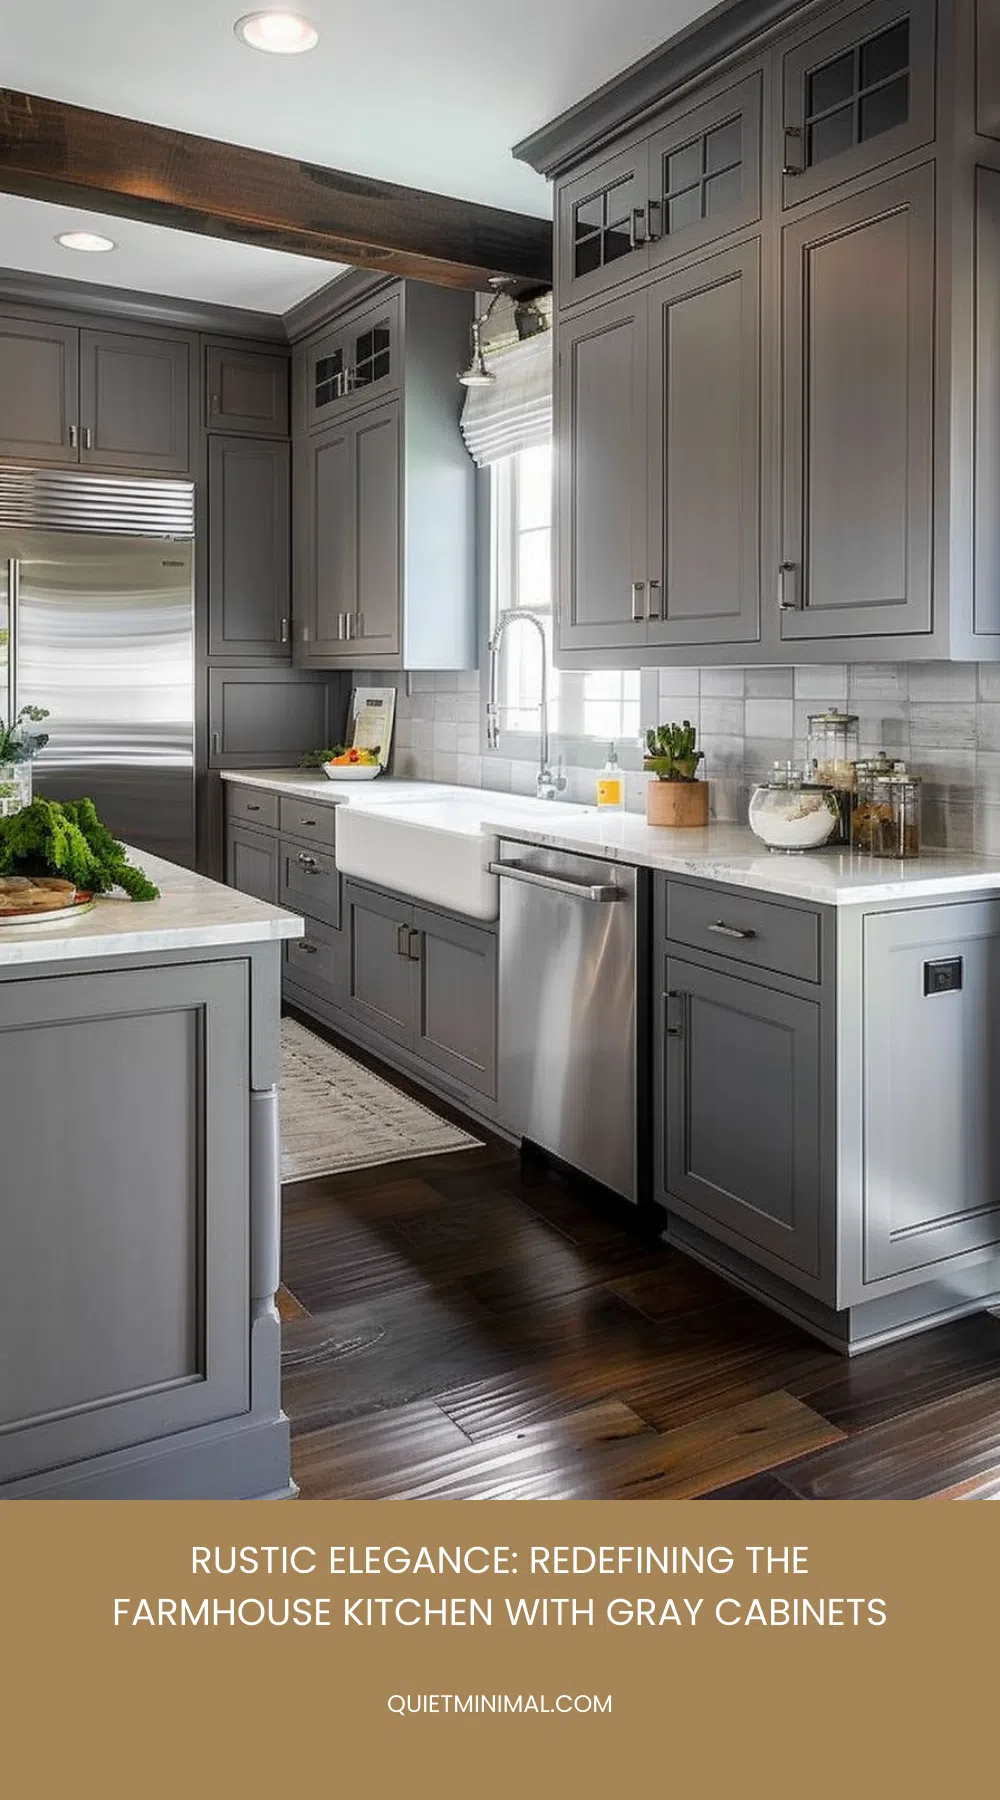
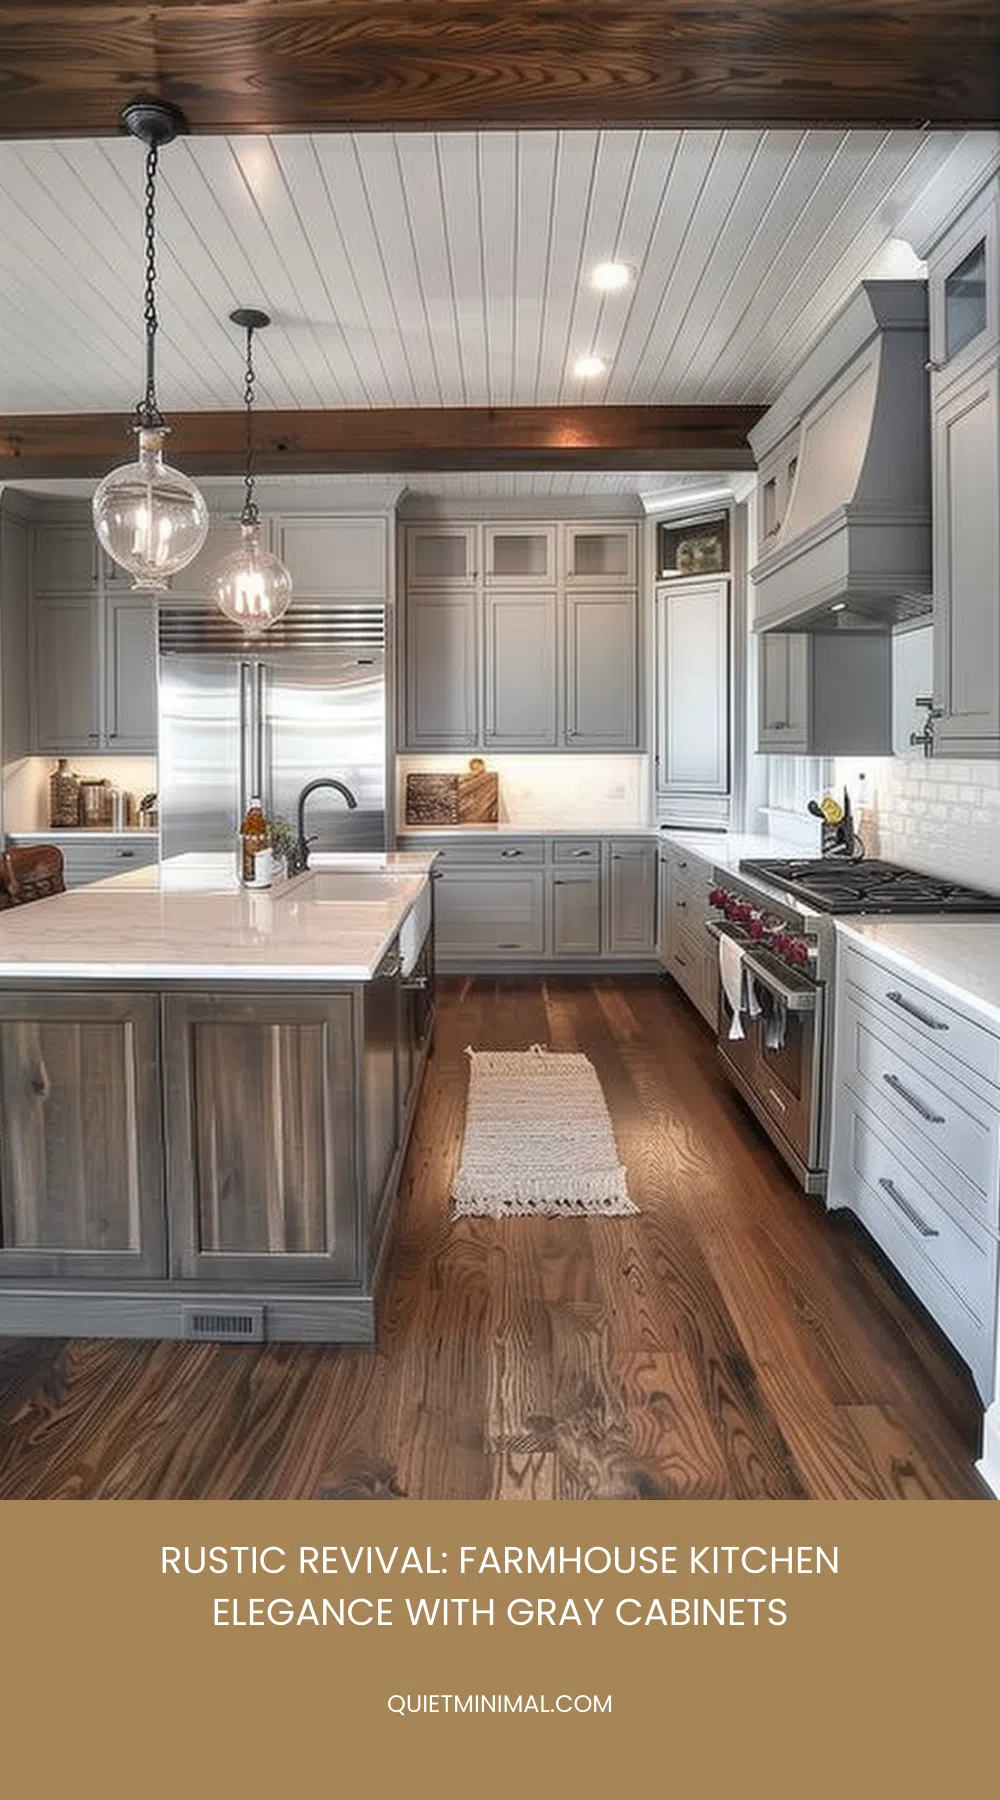
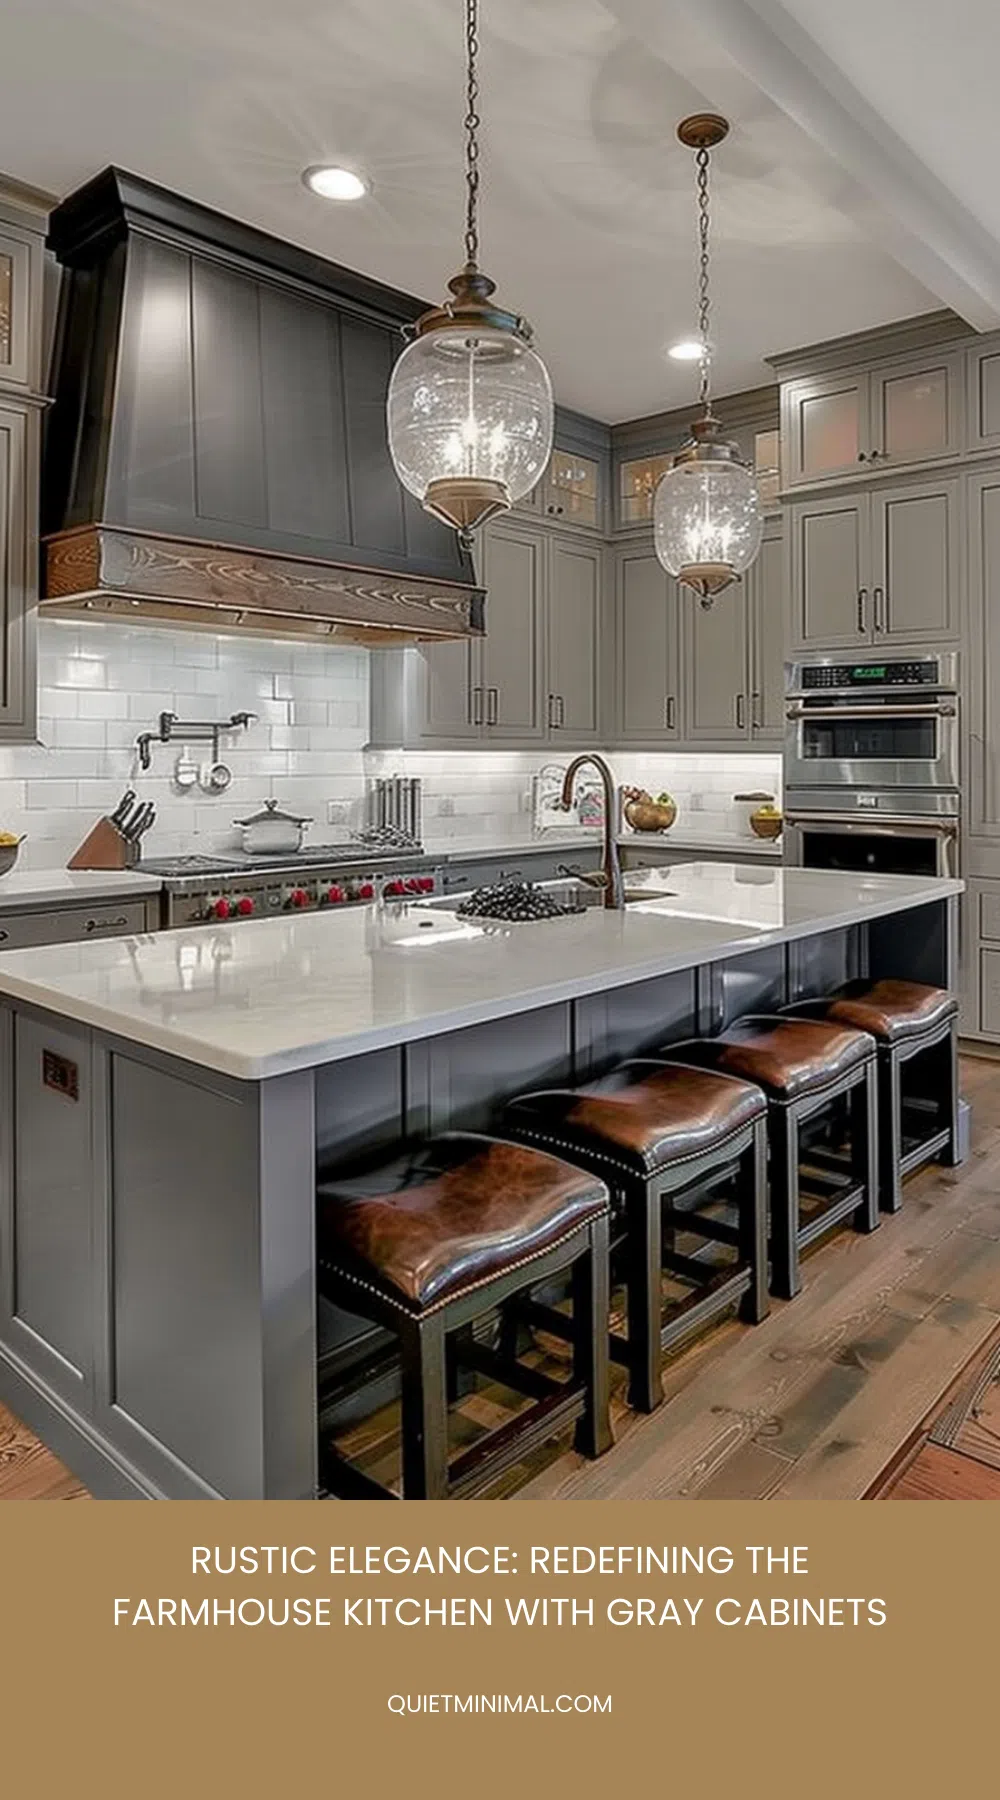
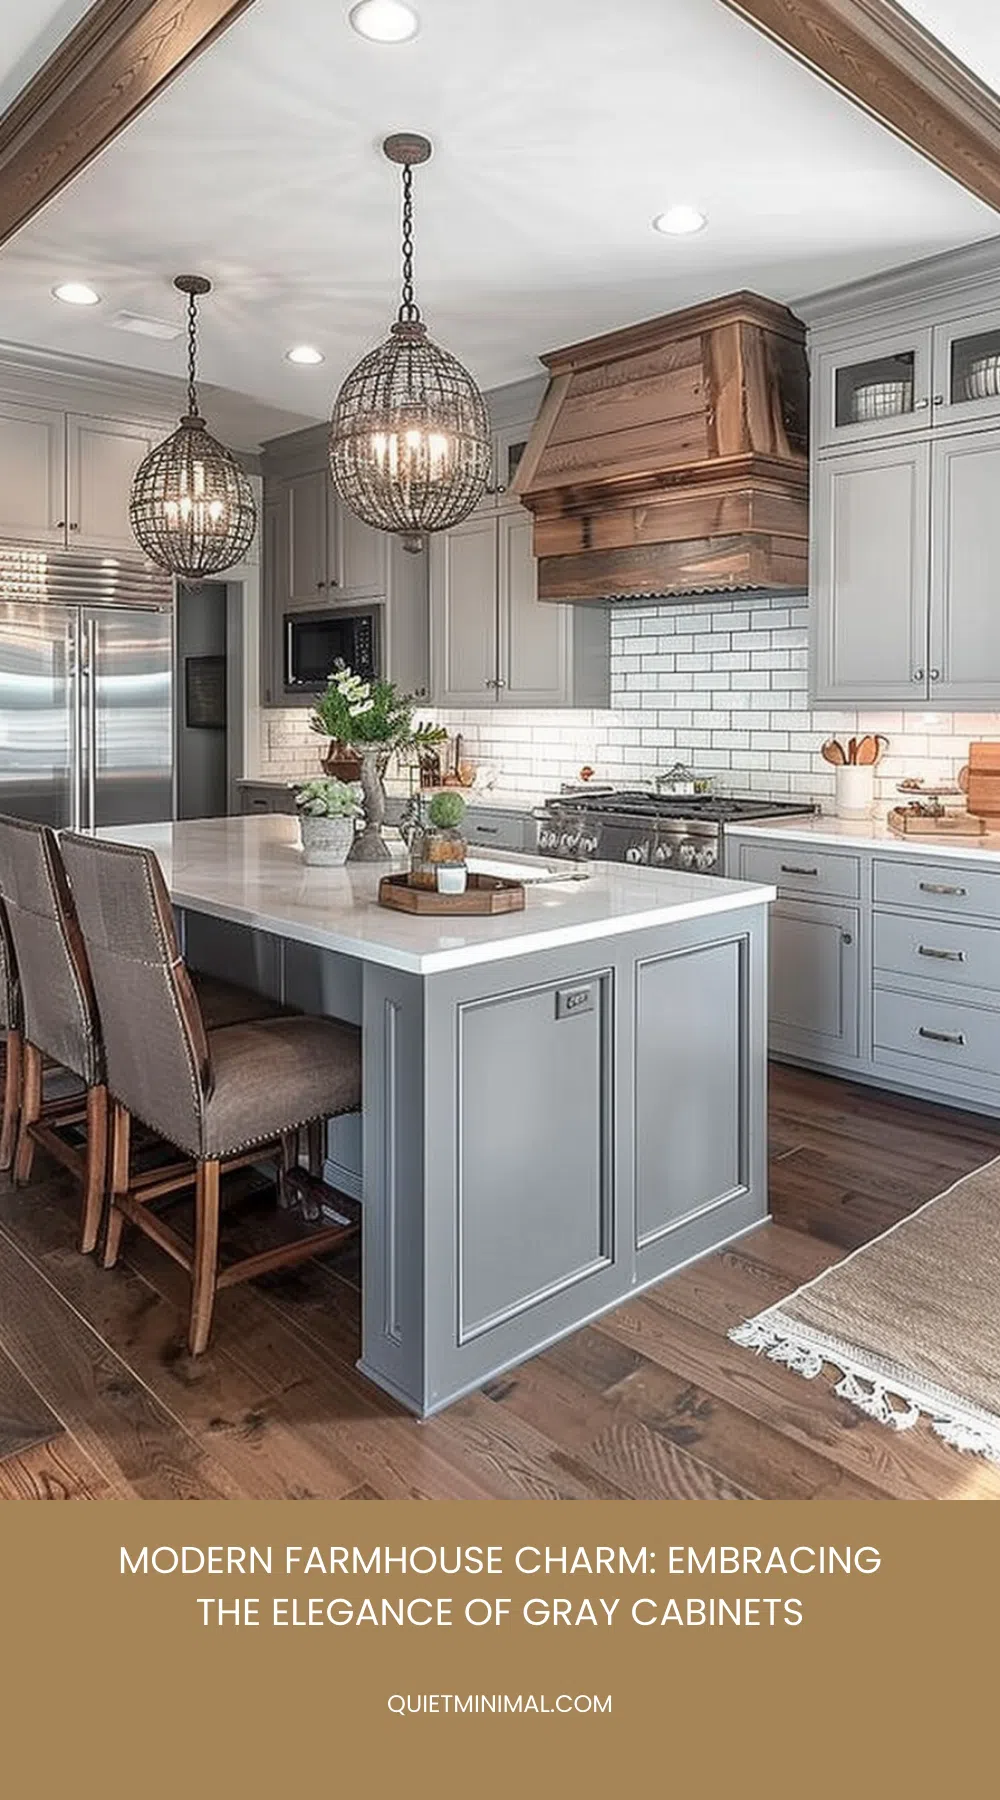
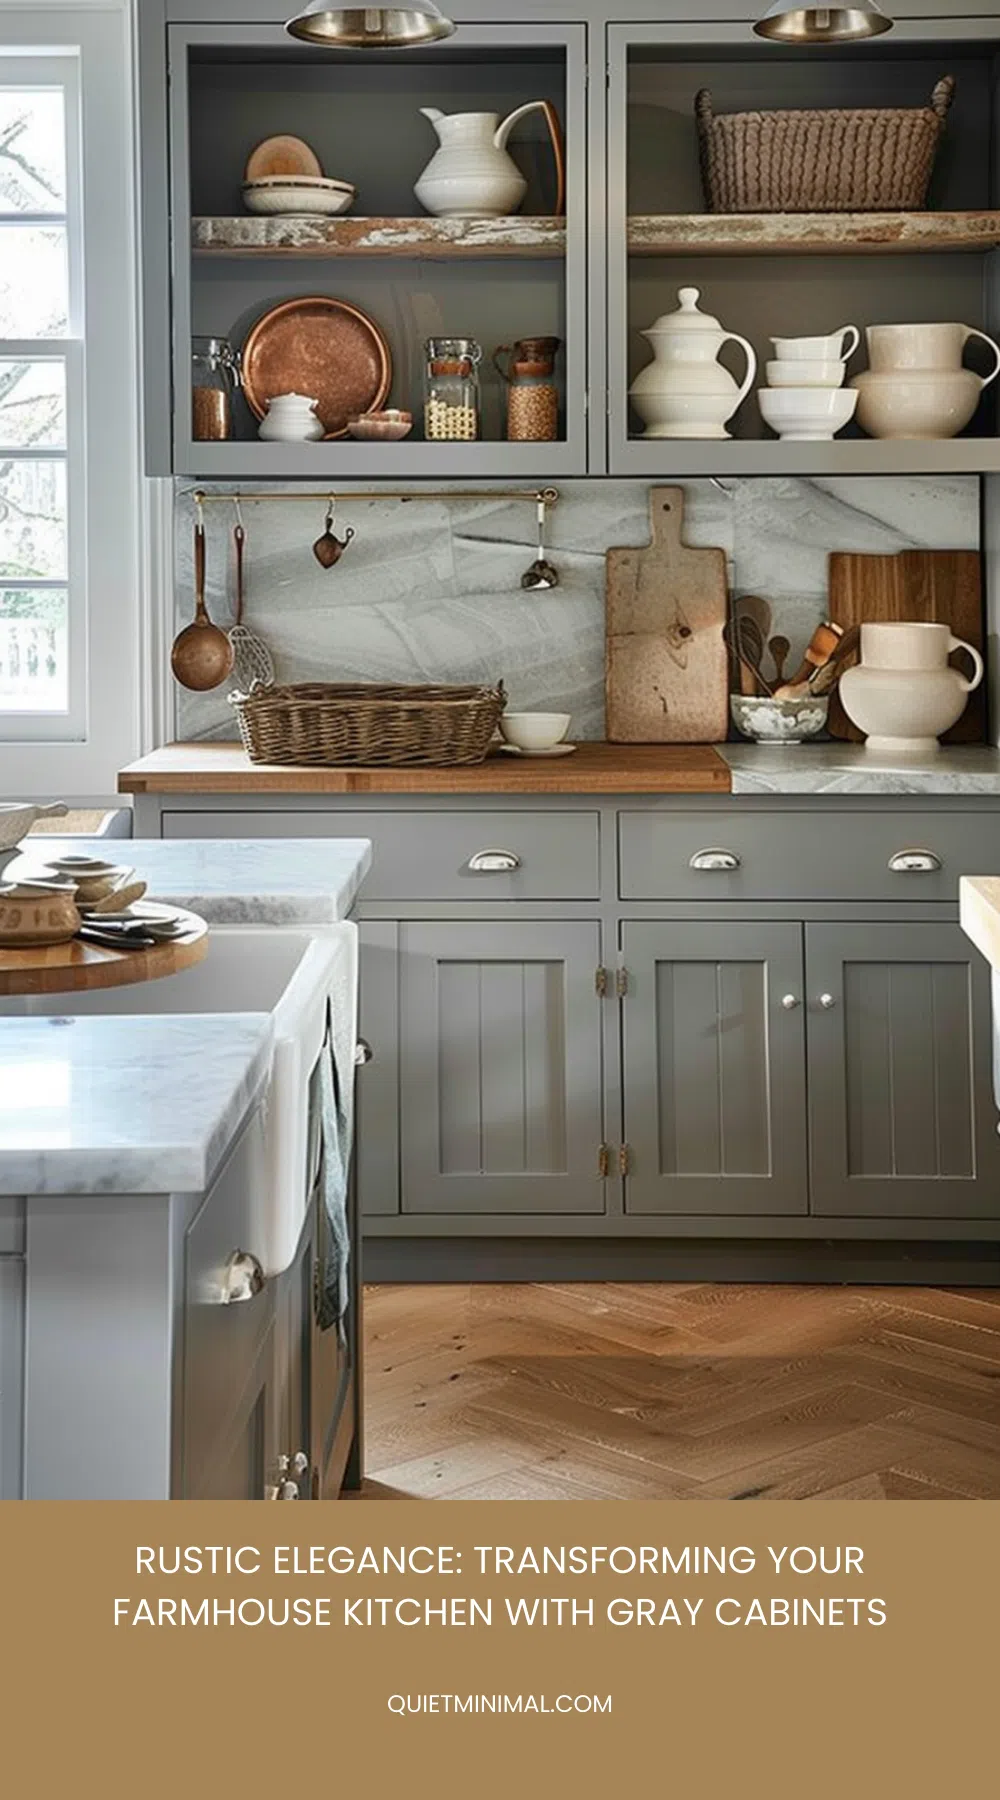
Add modern flair with stainless steel appliances, complementing the gray and introducing a polished, contemporary look. Pair these with traditional features like a farmhouse sink and a reclaimed wood island. These classic elements bring warmth and character, making the kitchen feel inviting and lived-in.
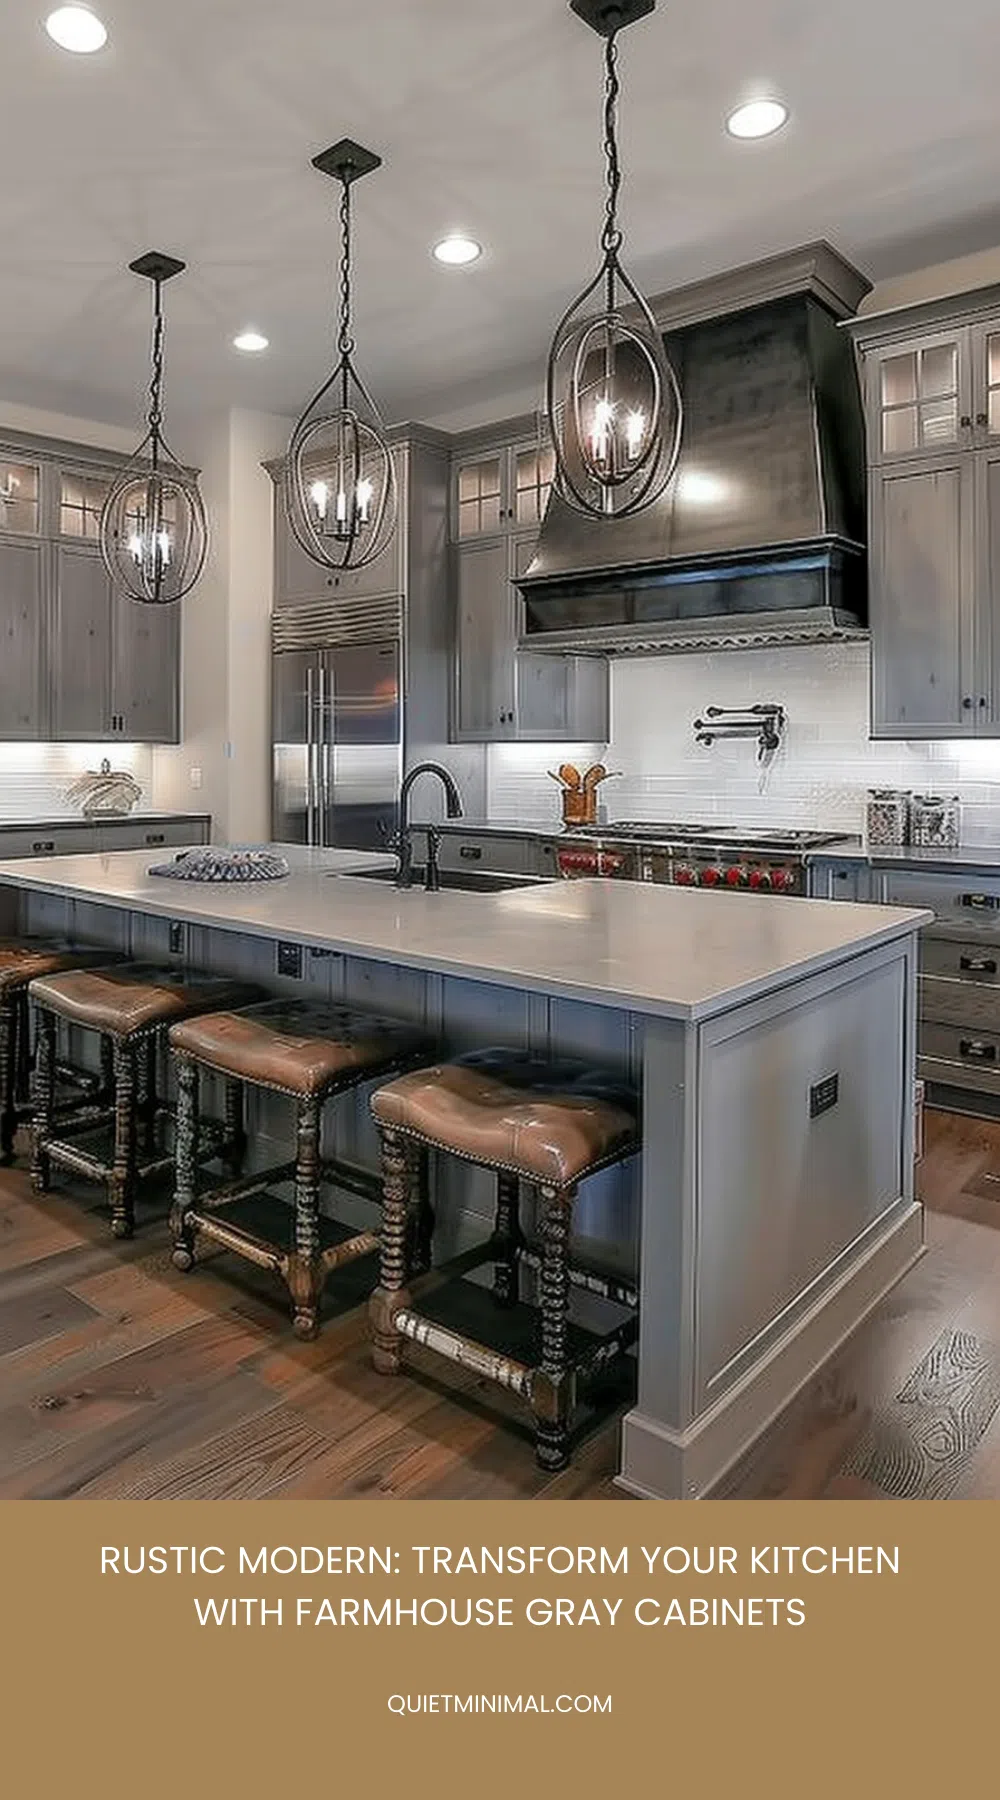
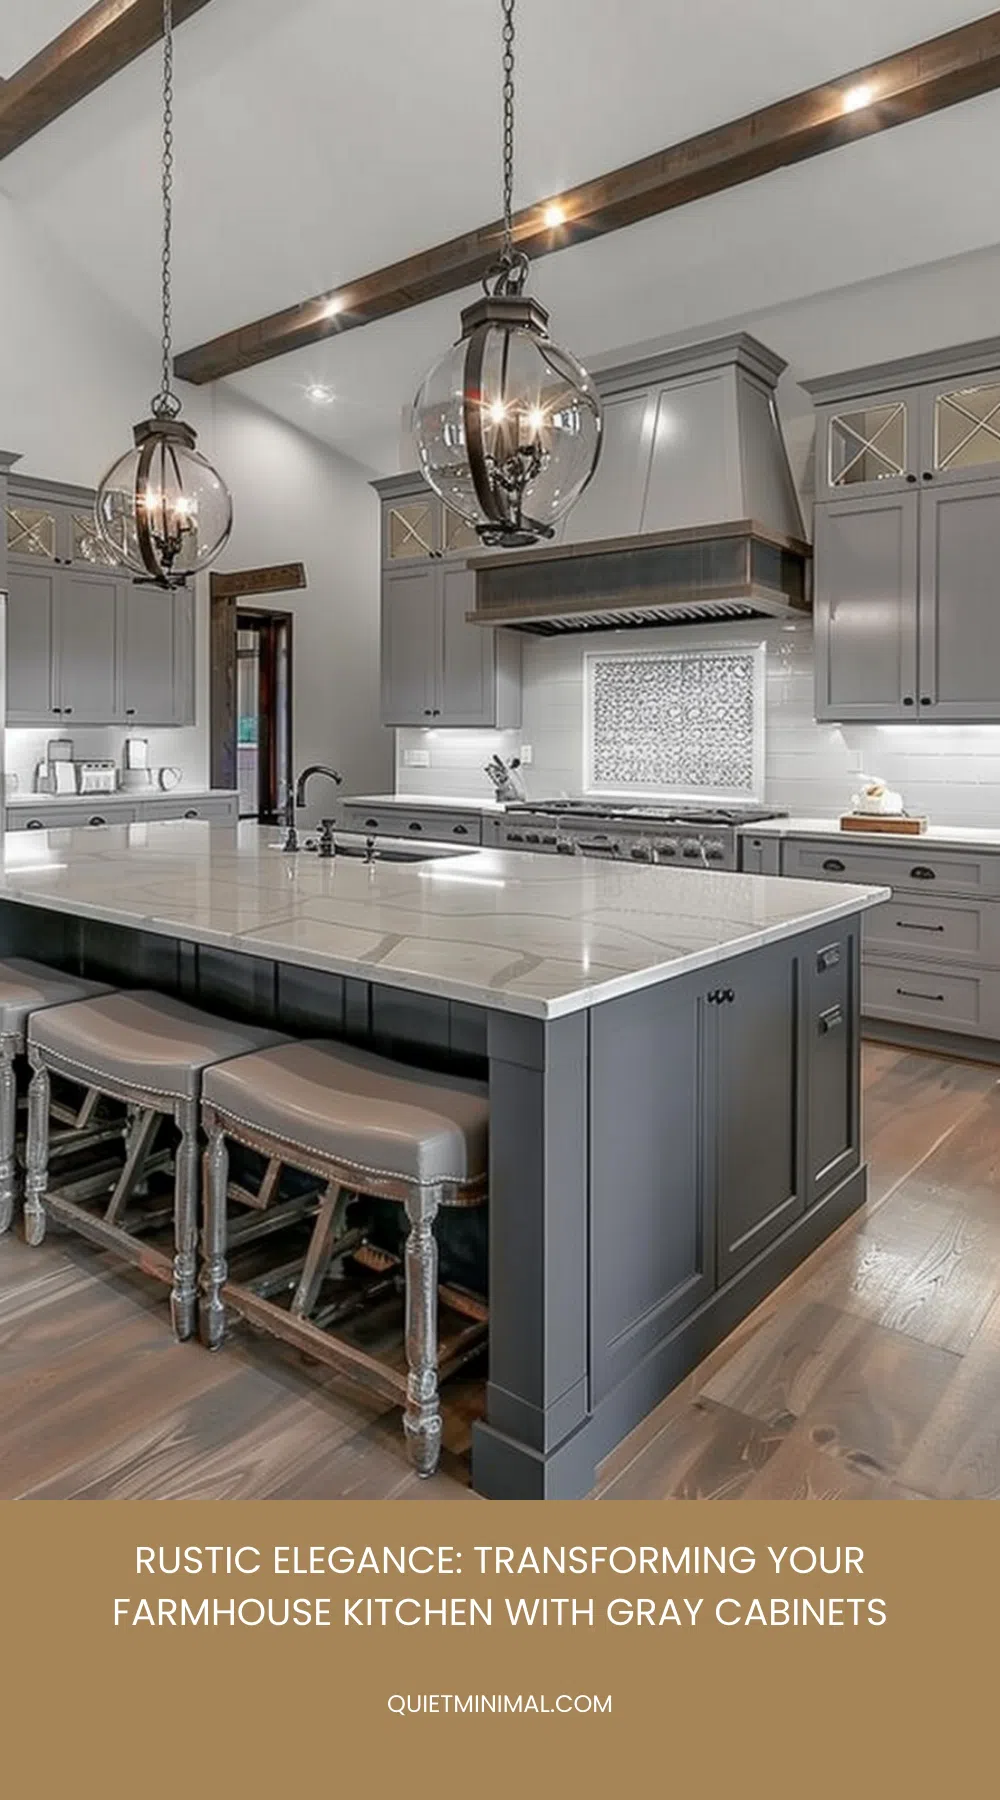
Light fixtures can also play a crucial role. Think about installing industrial-style pendant lights over the island, combining modern design with a nod to the past. Open shelving can further enhance this mix, showcasing both modern glassware and antique kitchen tools.
Don’t forget the importance of textures and materials. A marble countertop with subtle veining can provide a modern touch, while a subway tile backsplash maintains a traditional feel.
Accentuating With Hardware
Hardware choices can significantly elevate the aesthetic of your farmhouse kitchen with gray cabinets, enhancing the harmony between modern and traditional elements. The right knobs pull, and handles not only add functionality but also serve as a stylish finishing touch.
Here’s how you can make the most of your hardware selection:
- Material Matters: Opt for materials that complement your gray cabinets and the overall farmhouse vibe. Brushed nickel, oil-rubbed bronze, or even antique brass can provide that rustic charm while ensuring durability.
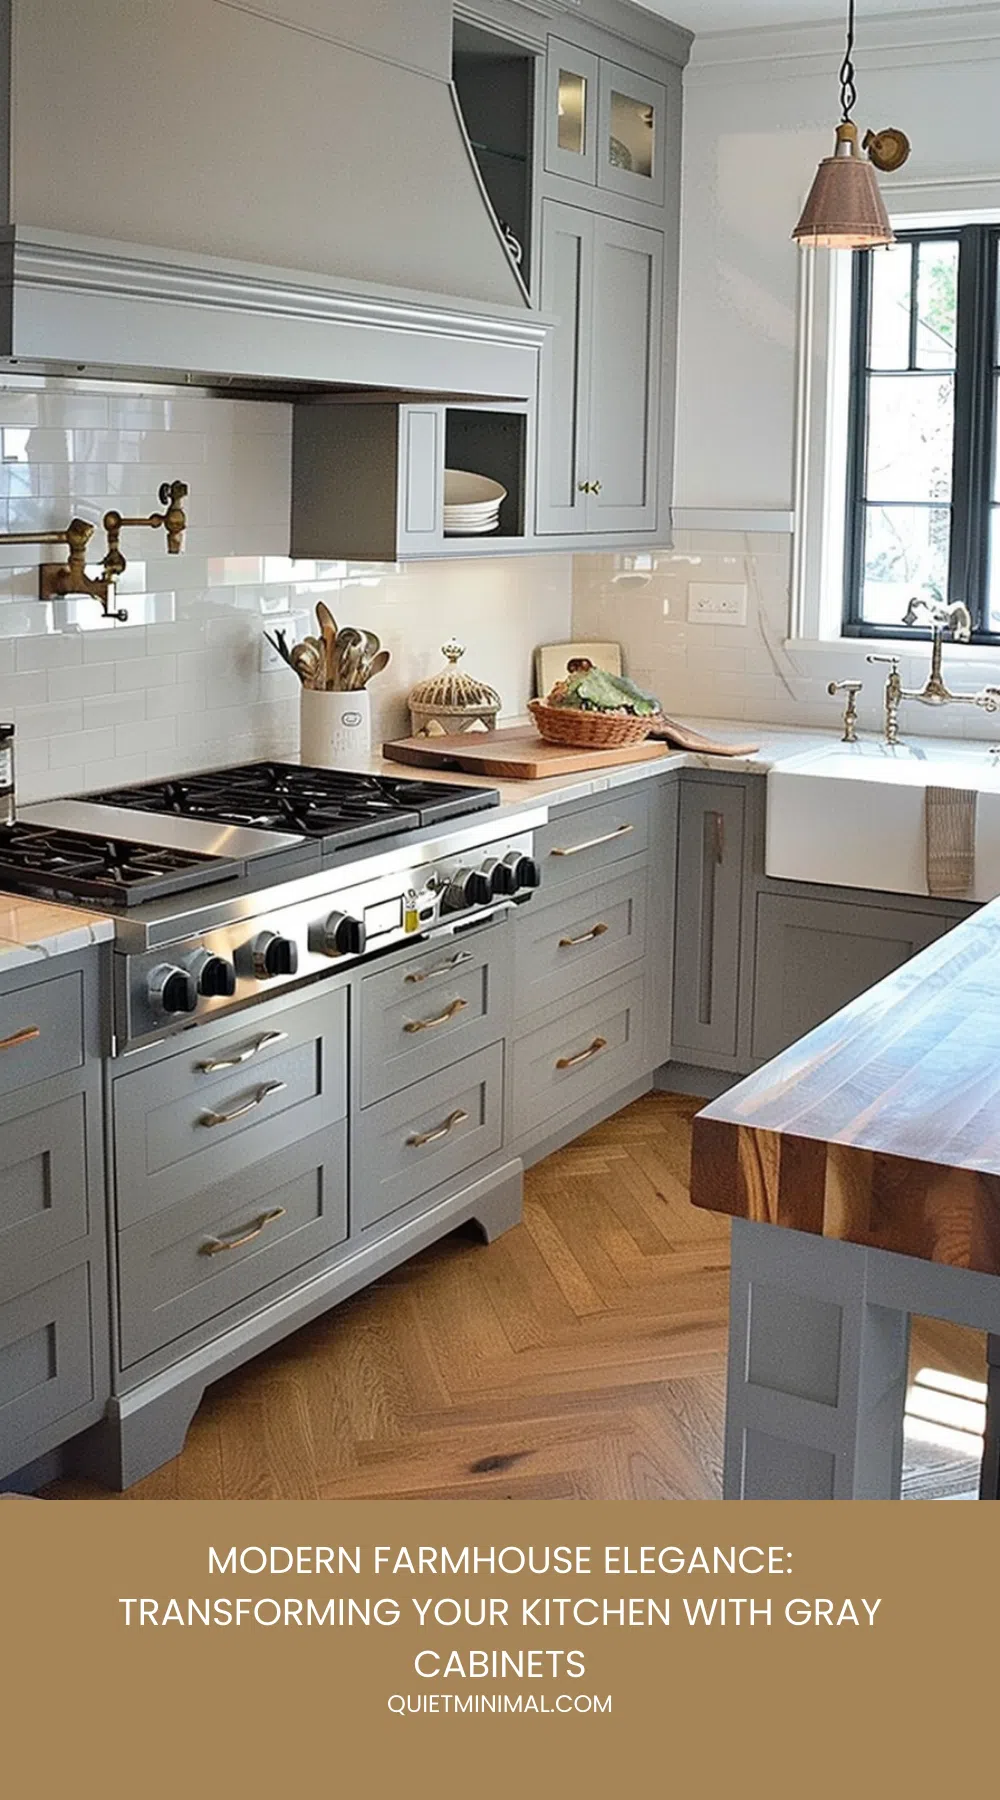
- Design Details: The hardware design can make a subtle yet impactful statement. For a more classic look, consider cup pulls or vintage-style knobs. If you’re leaning towards a modern touch, sleek bar pulls or minimalist handles can do the trick.
- Consistency is Key: While mixing and matching styles can work, maintaining a cohesive look across all cabinets ensures a polished appearance. Select hardware that matches or complements other metal elements in your kitchen, like faucets or light fixtures.
Complementary Countertops
Choosing the perfect countertops can transform your farmhouse kitchen with gray cabinets into a cohesive and inviting space. When selecting countertops, consider materials that complement the understated elegance of gray.
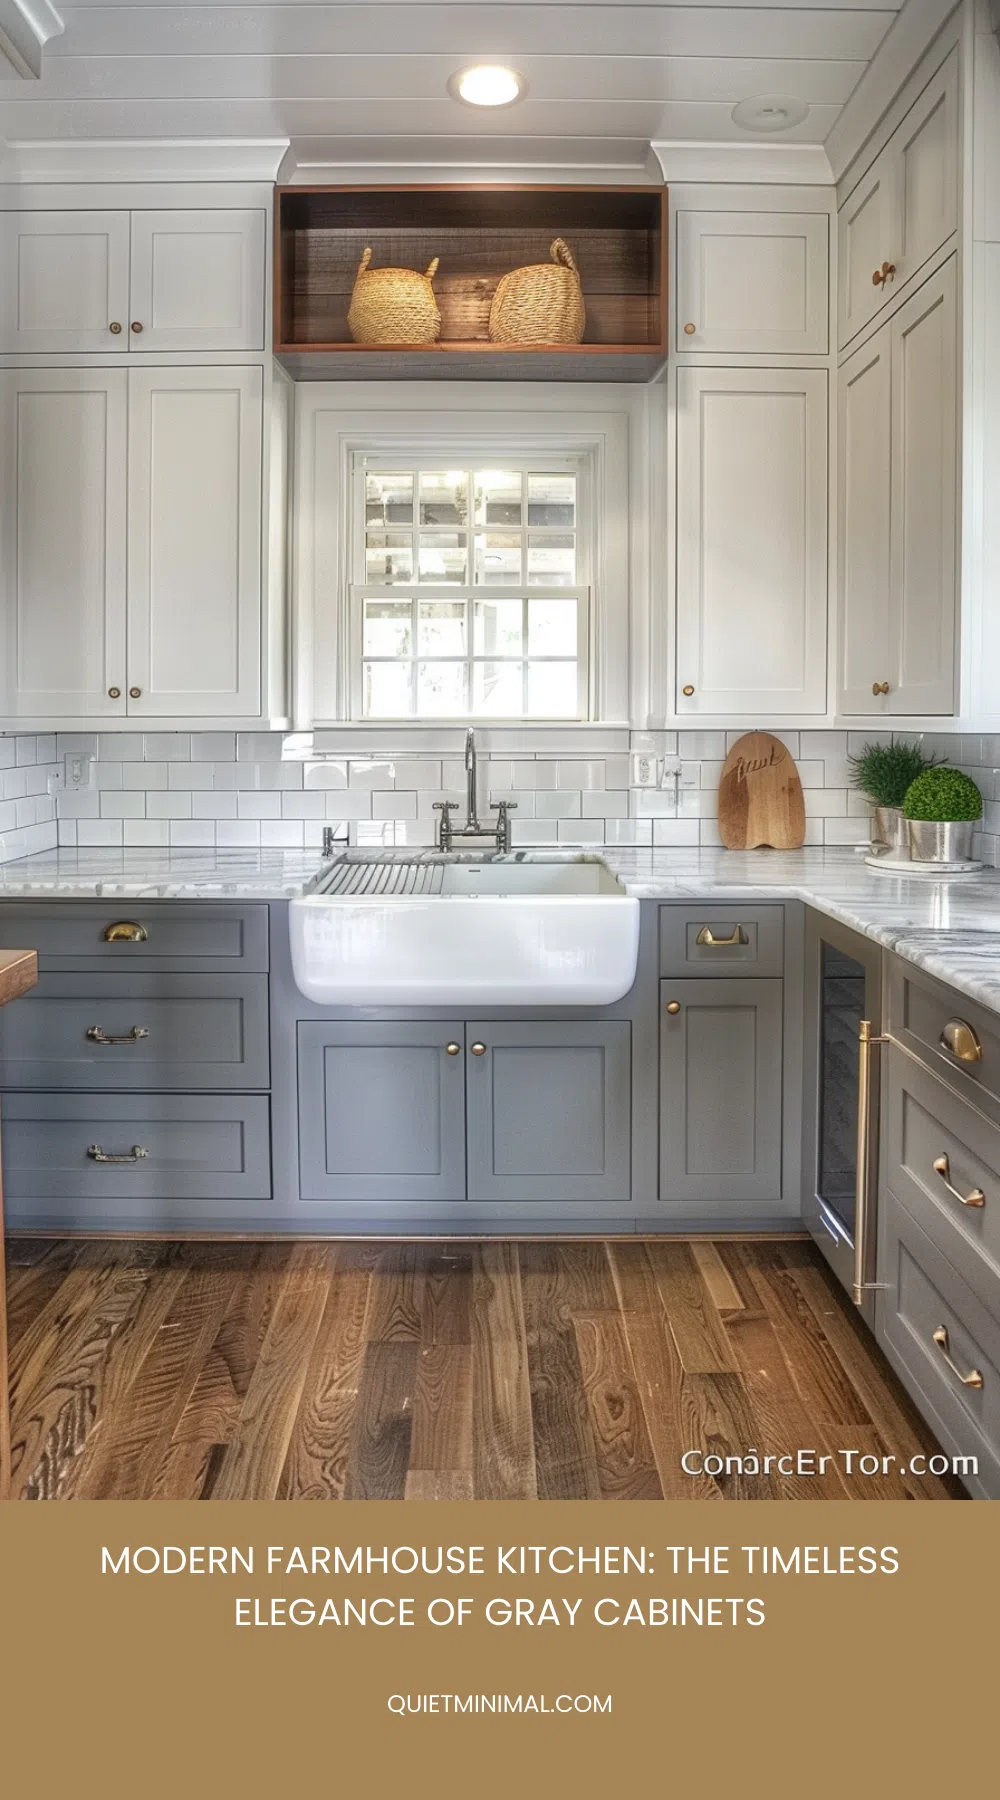
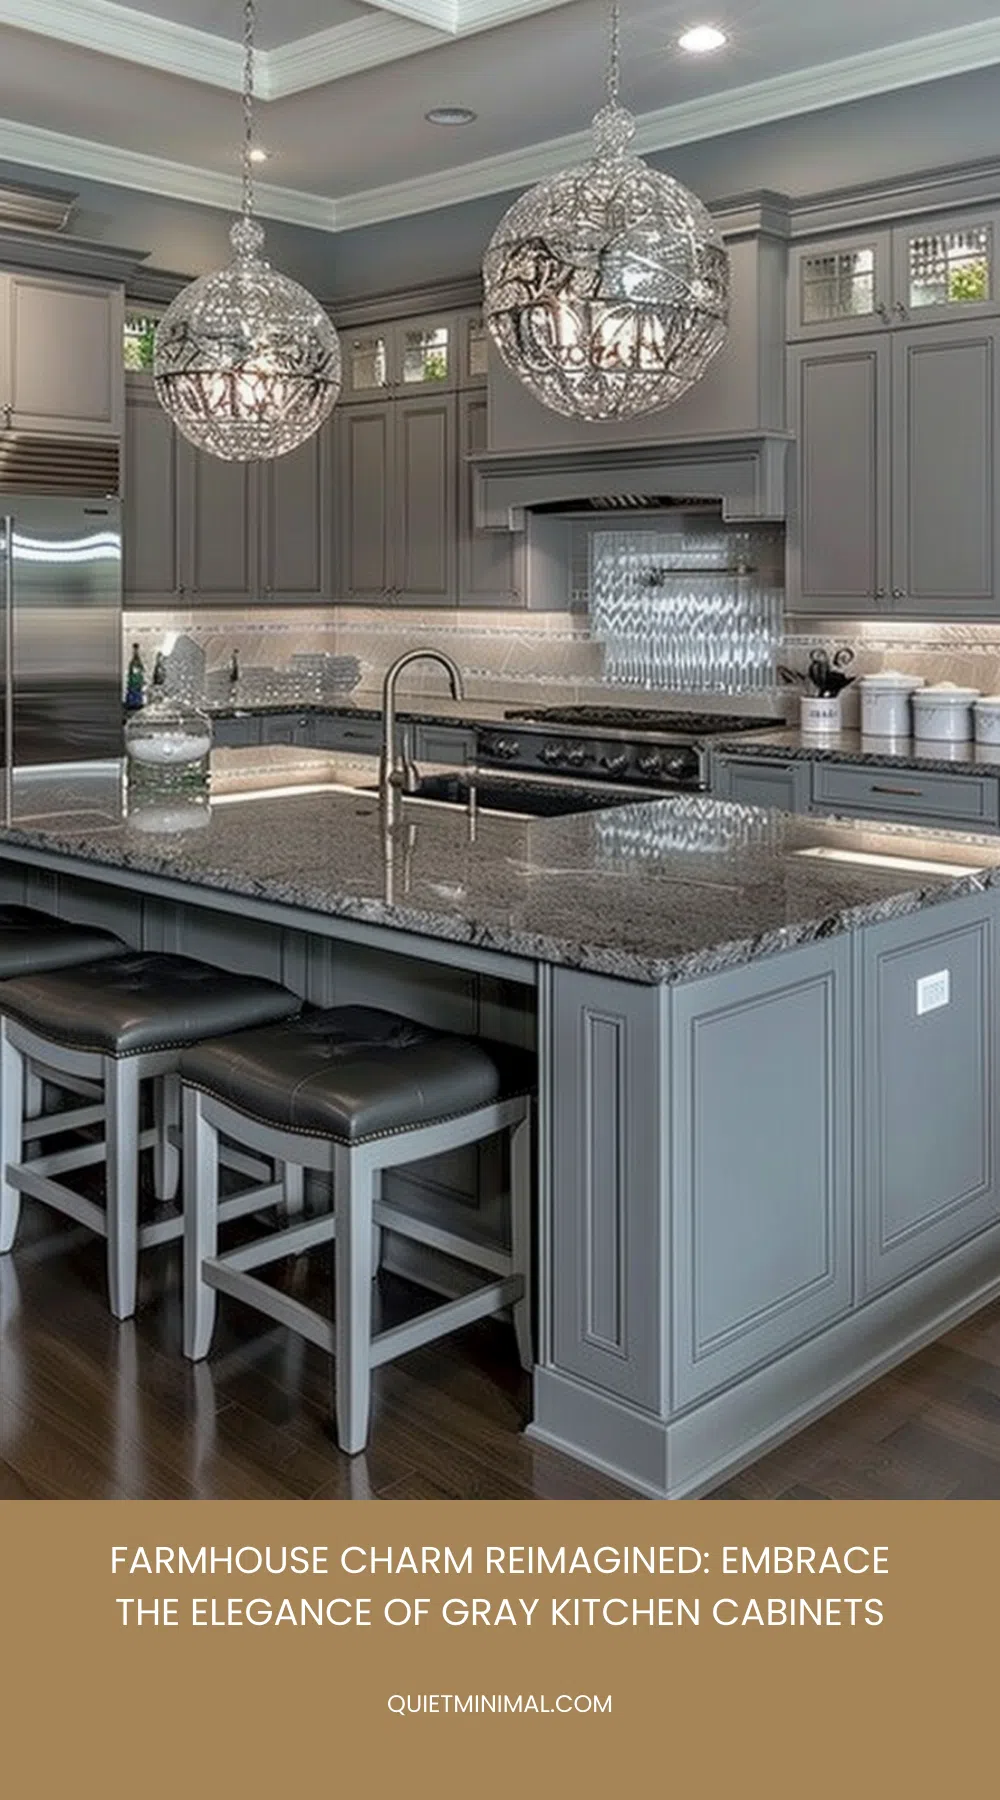
White marble or quartz countertops bring a classic touch, offering a bright contrast that highlights the sophistication of gray cabinets. The subtle veining in these materials adds texture without overwhelming the space.
Wood countertops are another excellent choice, providing warmth and a rustic feel that pairs beautifully with the farmhouse aesthetic. Opt for lighter wood tones like maple or oak to maintain a balanced look, or go for darker woods like walnut for a richer, more dramatic effect.
Concrete countertops offer a modern twist while still keeping the farmhouse charm. Their versatility lets you customize the color and finish, ensuring a perfect match with your gray cabinets. Additionally, their durability makes them a practical choice for busy kitchens.
Lastly, consider the edge profiles of your countertops. Rounded edges give a softer, more traditional look, while straight edges provide a sleek, contemporary feel.
Lighting for Gray Cabinets
Proper lighting plays a crucial role in bringing out the beauty and sophistication of your gray cabinets. The right lighting can enhance your cabinets’ subtle tones and textures, making your kitchen appear more inviting and stylish.
Here are three key lighting strategies to consider:
- Under-Cabinet Lighting: Installing under-cabinet lights can illuminate your countertops and highlight the sleek lines of your gray cabinets. LED strip lights or puck lights are excellent choices that provide both functional and aesthetic benefits. They ensure your workspace is well-lit and make your gray cabinets stand out.
- Pendant Lights: Adding pendant lights above your kitchen island or dining area can create a focal point and add a touch of elegance. Opt for fixtures with a warm glow to complement the cool tones of gray cabinets. The contrast between the light and the gray can enhance the visual appeal of your kitchen.
- Recessed Lighting: Recessed or can lights can provide general illumination without overwhelming your space. Position them strategically to avoid harsh shadows and ensure even lighting throughout the kitchen. This type of lighting can help emphasize your gray cabinets’ uniform color and texture, giving your kitchen a cohesive look.
Adding Vintage Touches
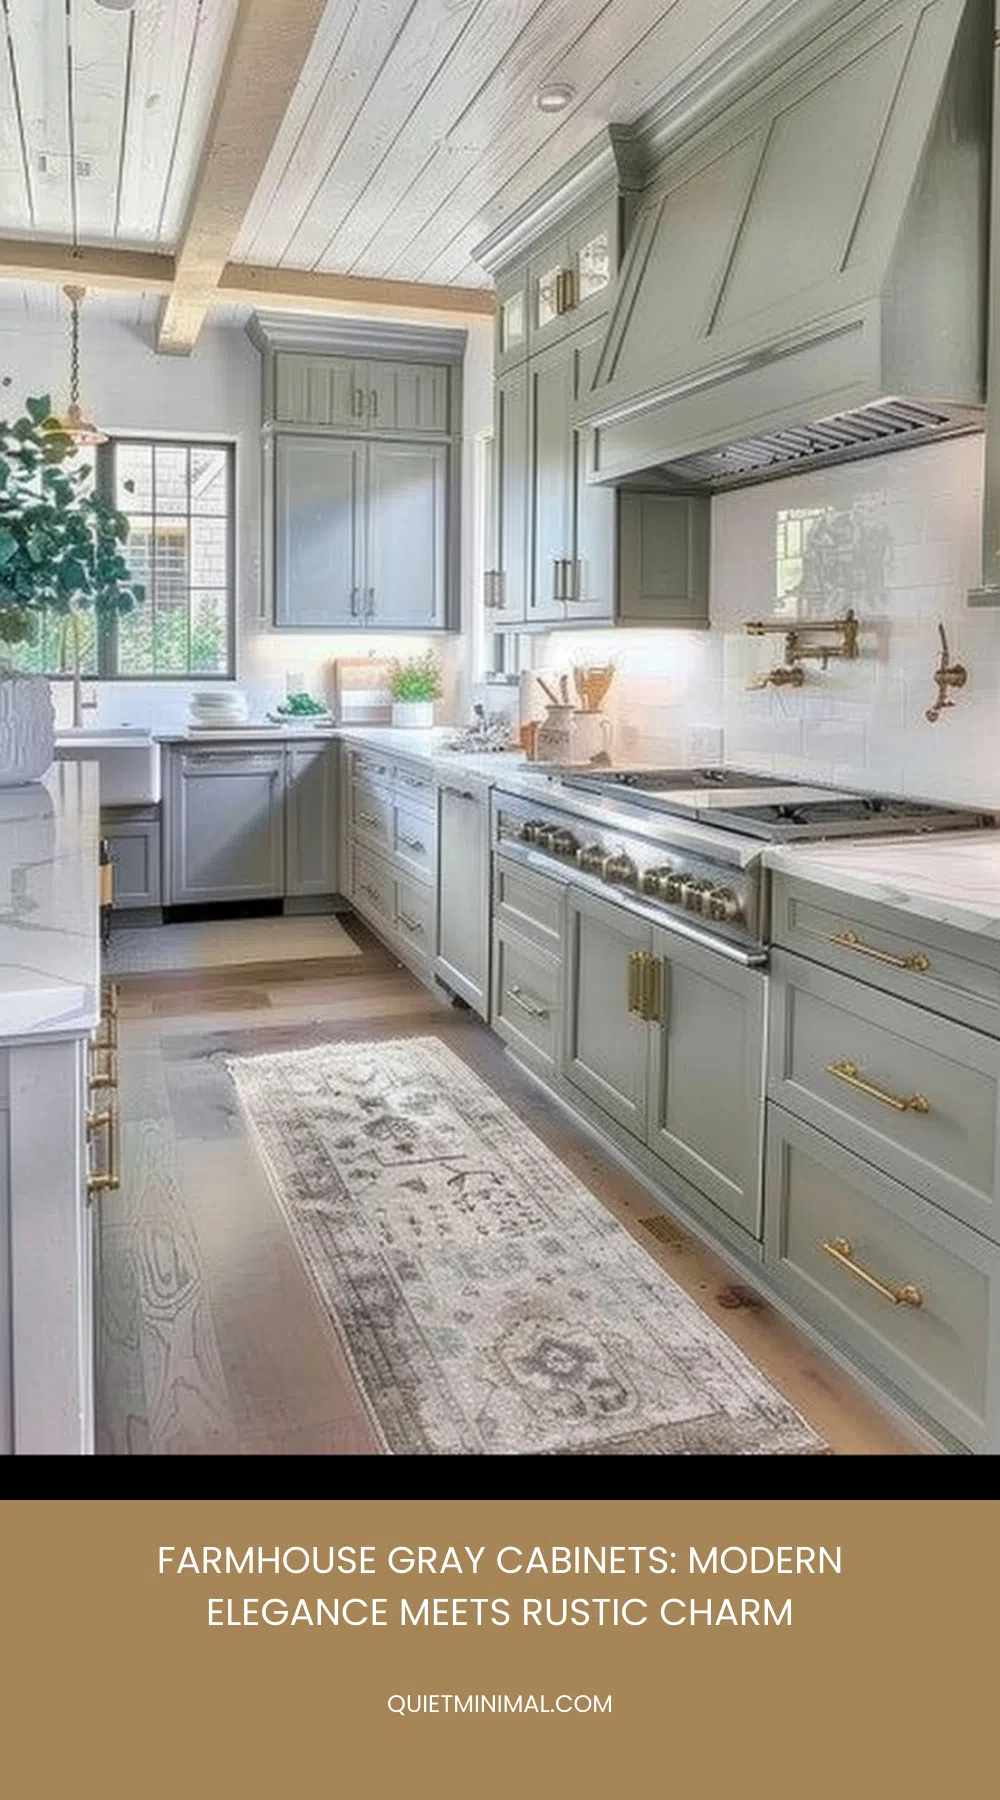
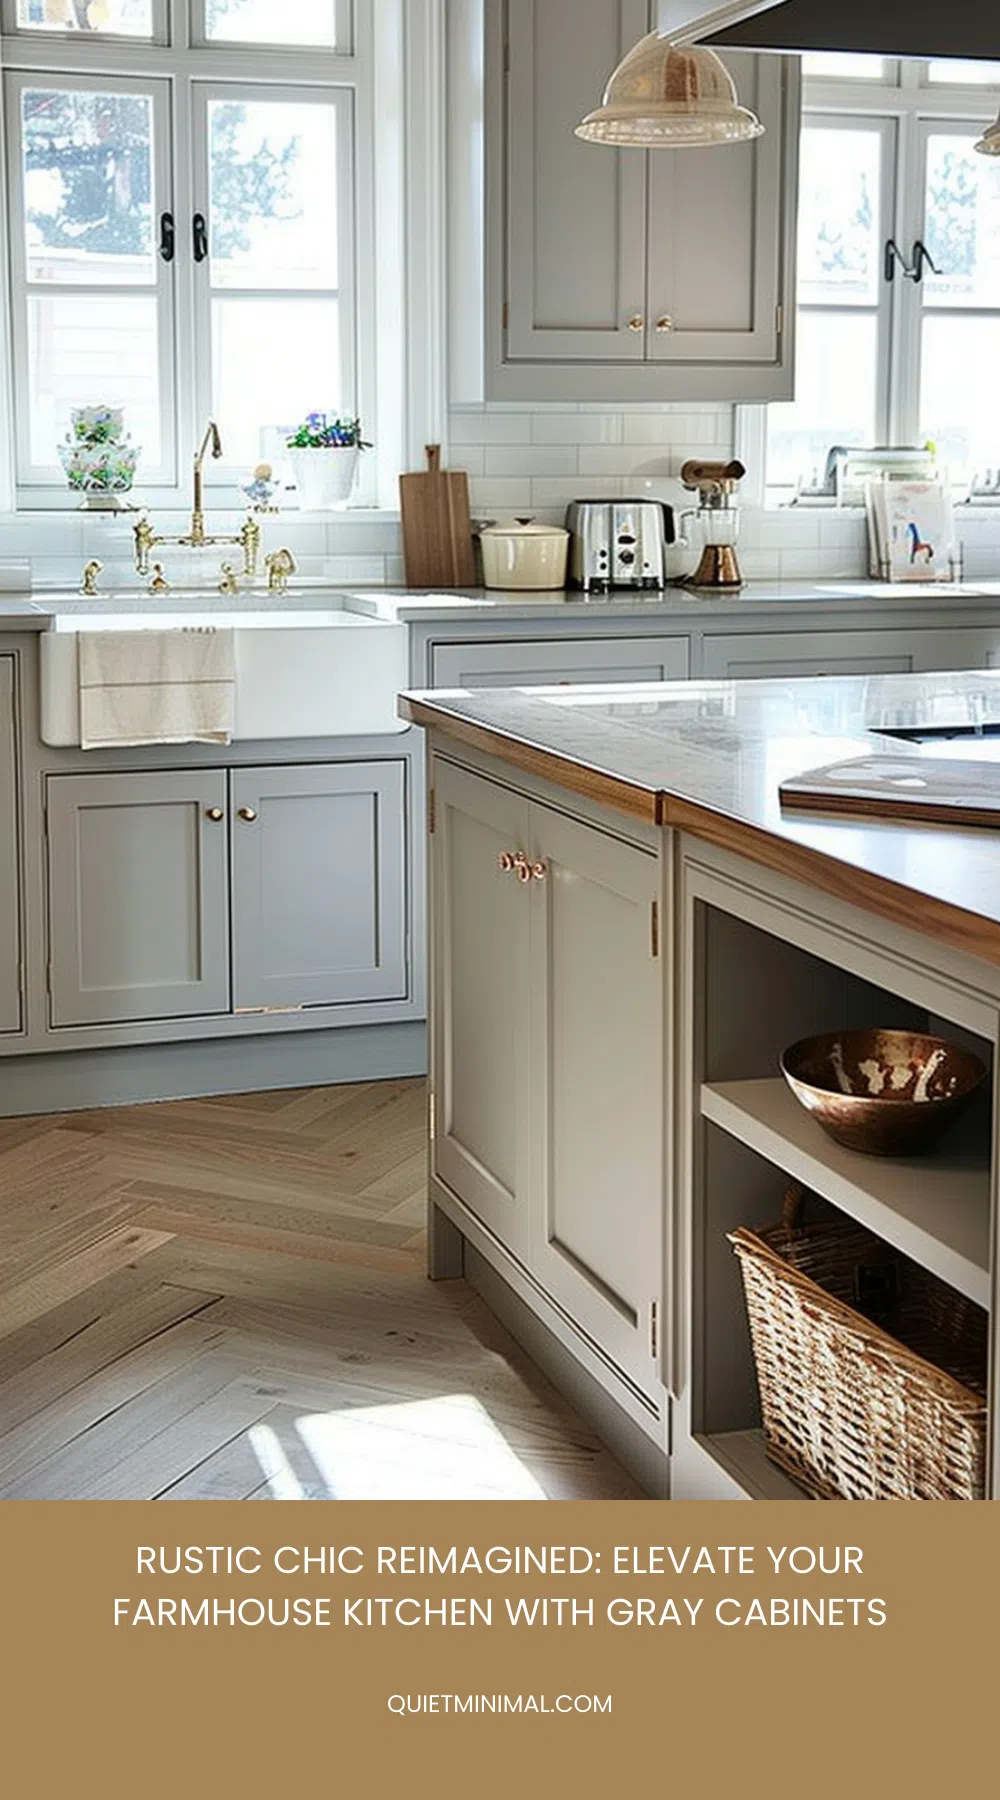
Consider incorporating vintage touches that pair beautifully with gray cabinets to give your farmhouse kitchen a timeless charm. Start by adding antique hardware, like brass or copper drawer pulls and knobs. These small details can instantly elevate the look of your cabinets and add a touch of history.
Next, think about open shelving with reclaimed wood. This not only provides practical storage but also showcases your collection of vintage dishware and glassware. You can also display old-fashioned jars and canisters to enhance the nostalgic feel.
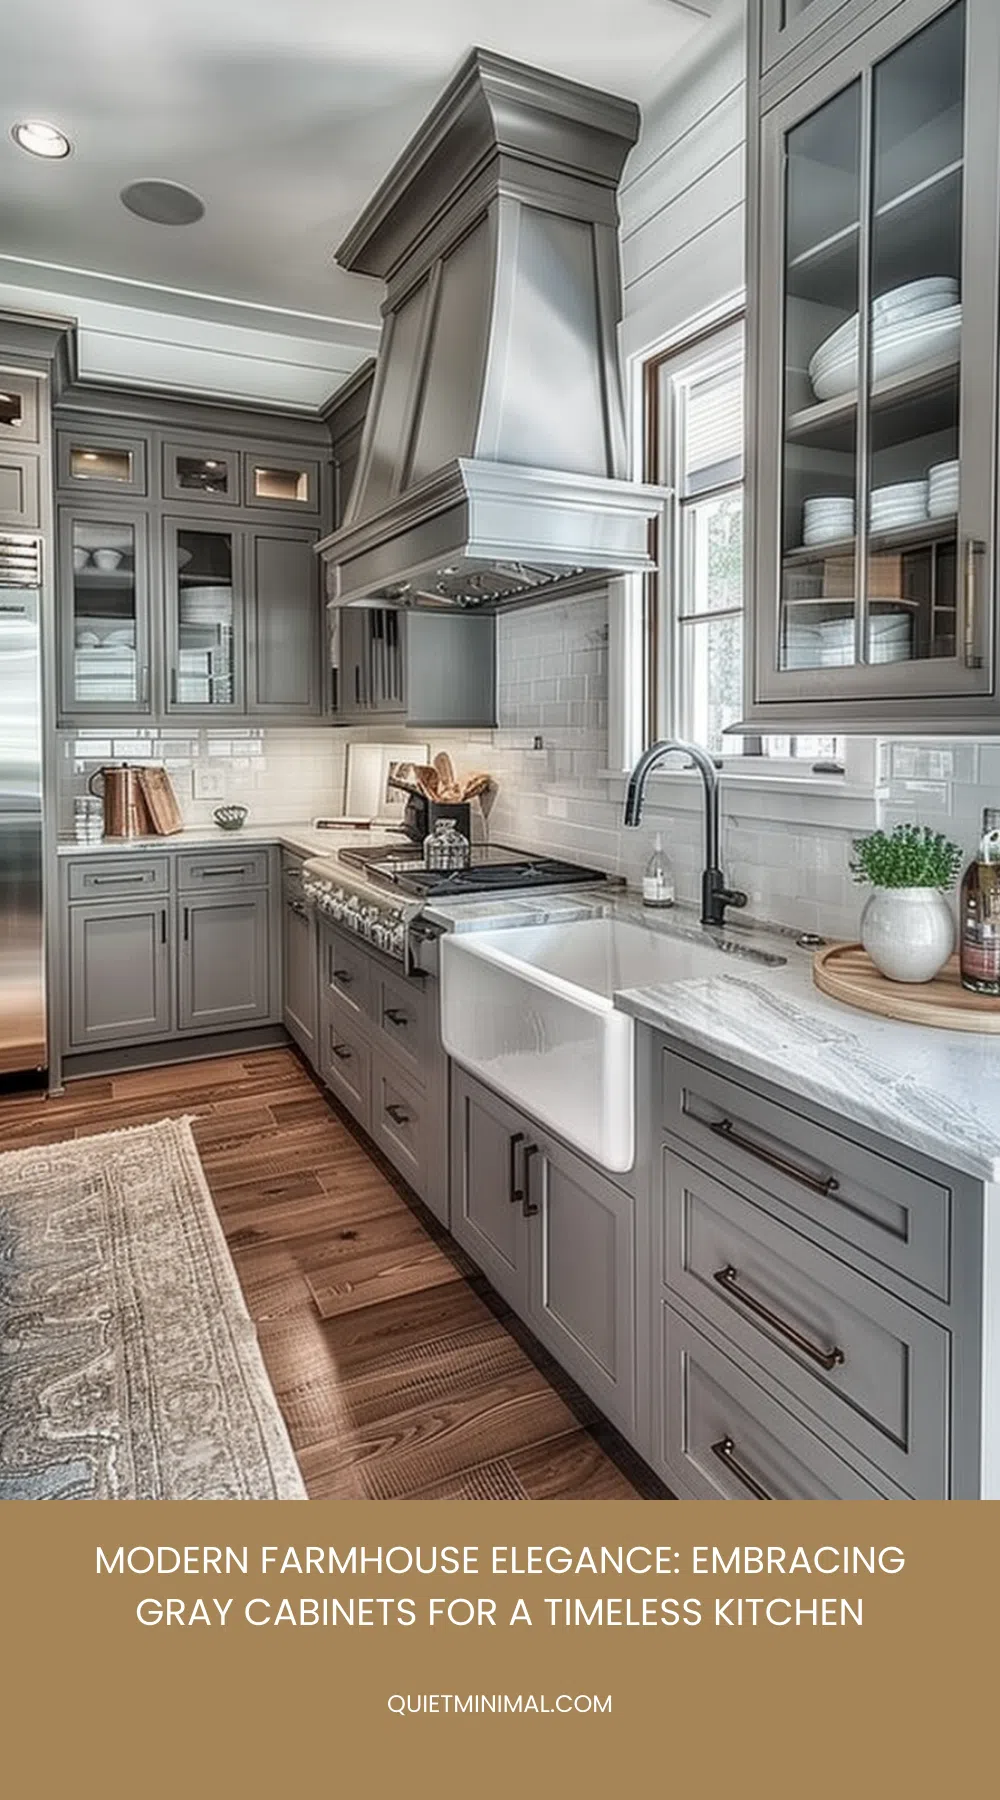
Incorporate a vintage farmhouse sink, preferably in porcelain or fireclay. These sinks are both functional and aesthetically pleasing, adding a classic element that complements the gray tones of your cabinets.
Additionally, consider vintage-inspired light fixtures, such as pendant lights with a worn finish or Edison bulbs, to bring a warm, inviting glow to your kitchen.
Don’t forget about textiles. Add some vintage linens or a patterned rug to introduce texture and color.
Maintenance and Care Tips
Keeping your farmhouse kitchen’s gray cabinets looking pristine requires a few simple maintenance and care tips. Regular upkeep ensures they remain as stunning as the day they were installed. Here’s how you can maintain that timeless sophistication:
- Clean Regularly: Use a soft cloth and a mild detergent to wipe down your cabinets weekly. Avoid harsh chemicals, as they can damage the finish. A mixture of warm water and dish soap works wonders. After cleaning, dry with a lint-free cloth to prevent water spots.
- Handle Spills Immediately: Spills can cause discoloration if left unattended. If something spills, especially acidic, like vinegar or tomato sauce, clean it up immediately. Use a damp cloth followed by a dry one to ensure no residue is left behind.
- Polish and Protect: Use a furniture polish specifically designed for painted wood every few months. This helps maintain the luster and protects against minor scratches and wear. Always follow the product instructions and test on a small area first.
Follow Quiet Minimal on Pinterest for more home design tips and inspiration.
You've saved it, wanted it. Here's the how: codes, measurements, order. Your choices make it yours.
 Save


