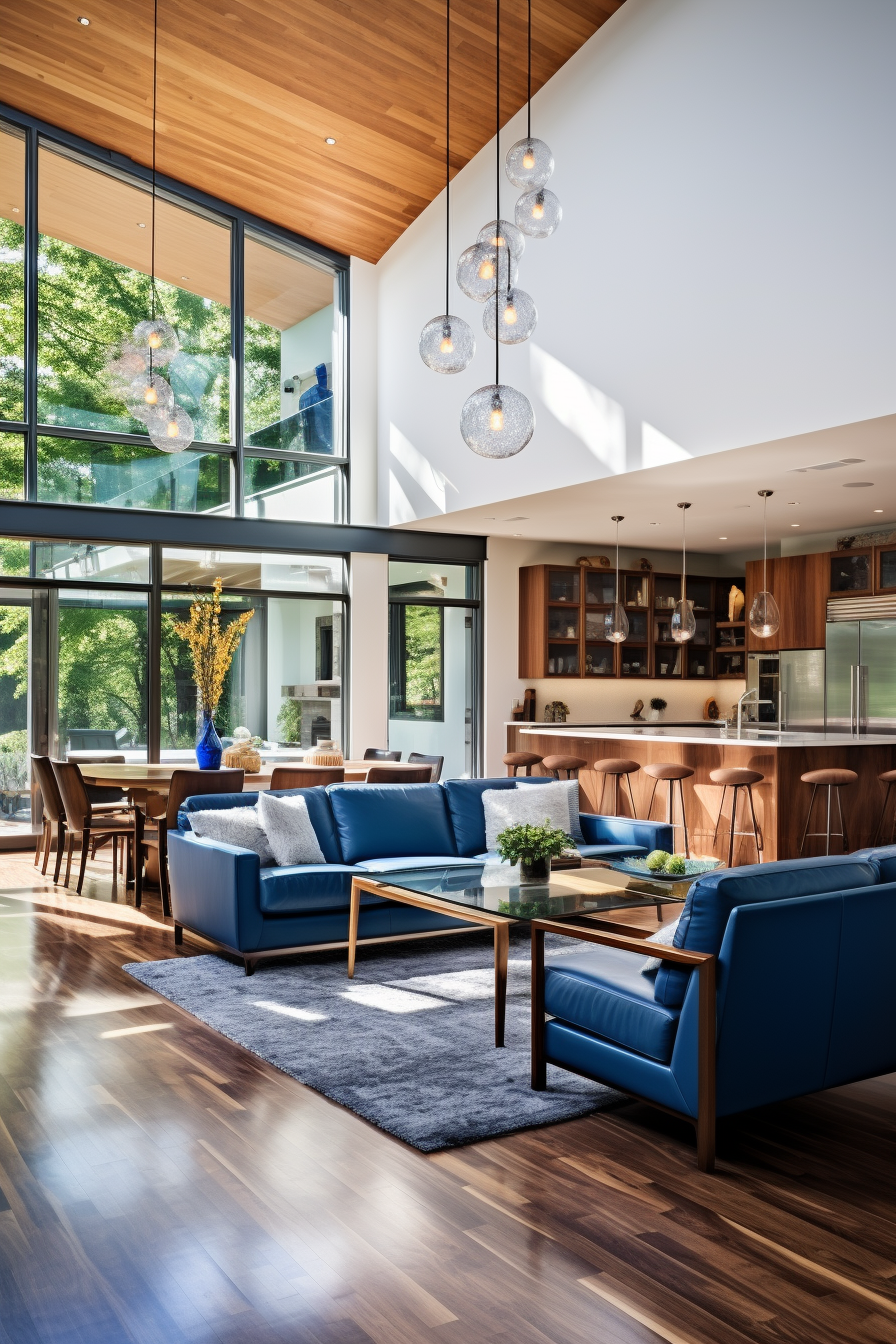
- Soften bright rooms with neutral backdrops and bold accents
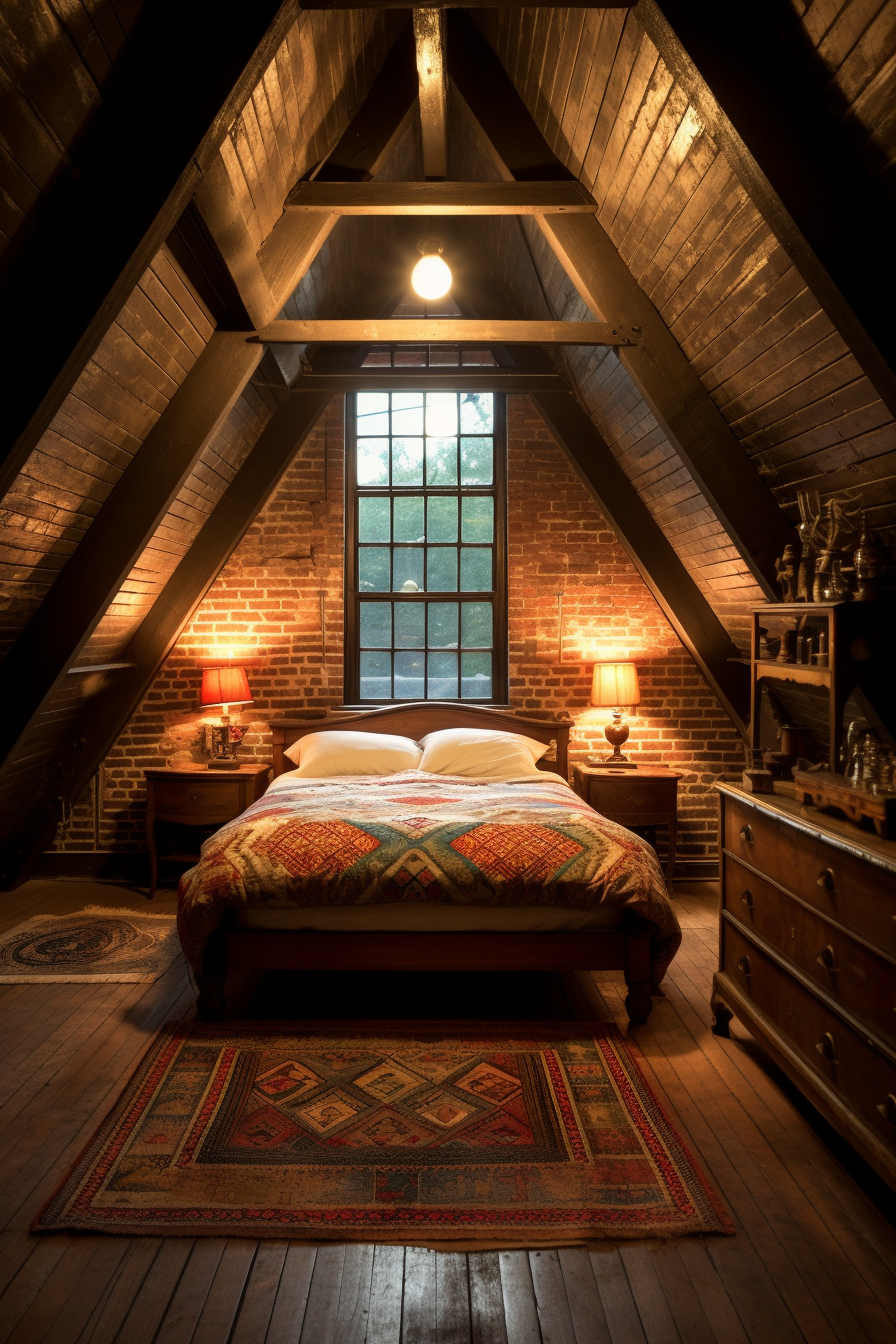
- Direct eyes upwards with strategic uplighting
- Repeat schemes throughout disjointed layouts
- Incorporate mirrored and mounted storage
- Layer rugs and lighting to define activity zones
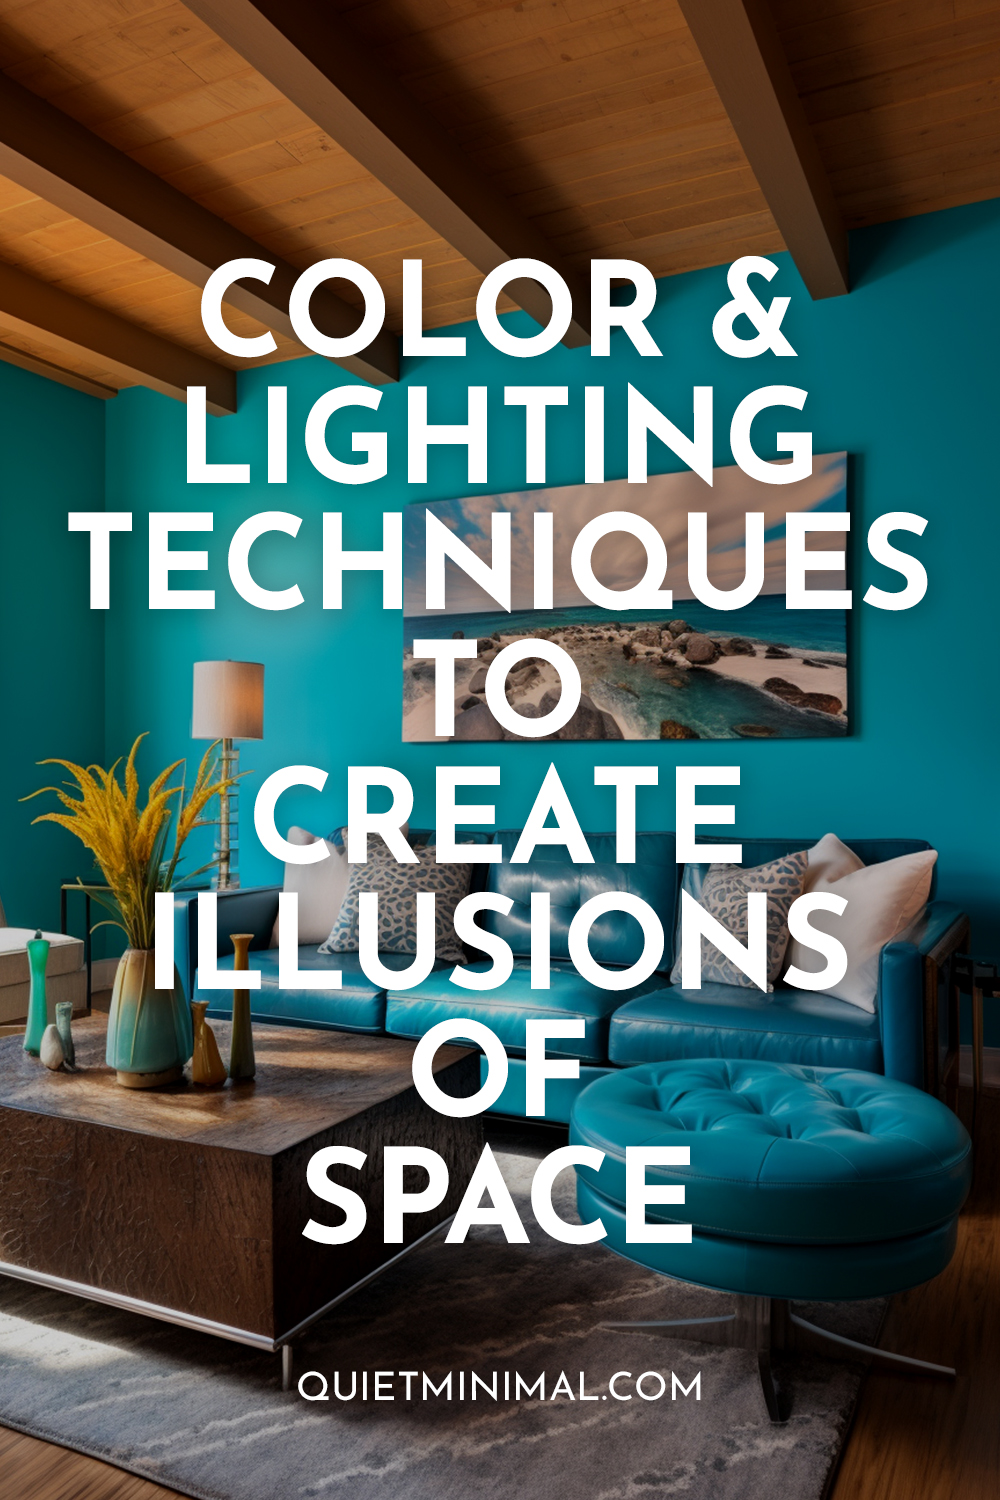
Welcome to this guide on using color and lighting techniques to make a small space appear larger and more spacious! Whether you’re working with an awkward room layout, sloped ceilings, or trying to optimize storage in irregular nooks, implementing some designer tricks can help maximize both aesthetics and function.
Read on for ten common small space problems, along with targeted solutions using strategic color choices, lighting layers, and storage builds. By the end, you’ll have five key takeaways to illuminate, brighten, and expand any limited area. Let’s dive in!
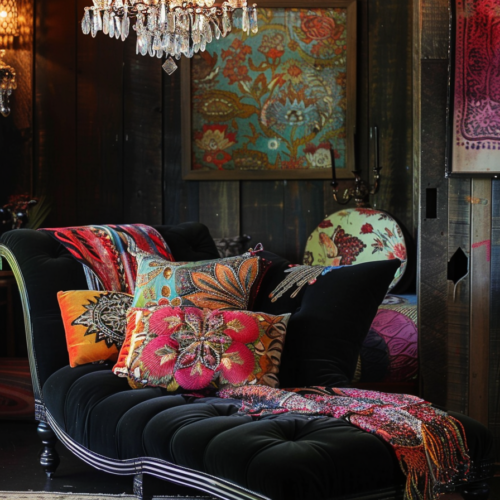
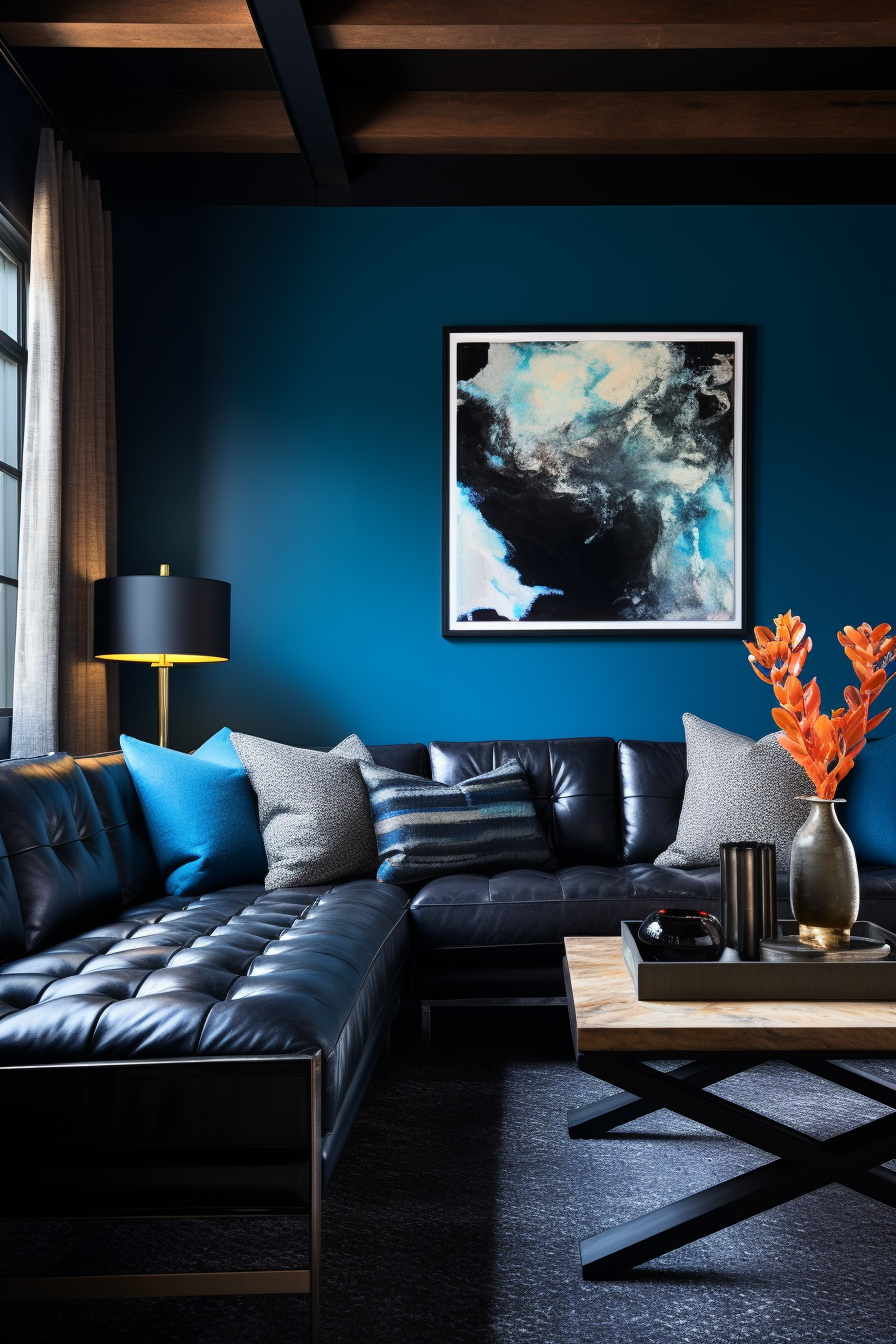
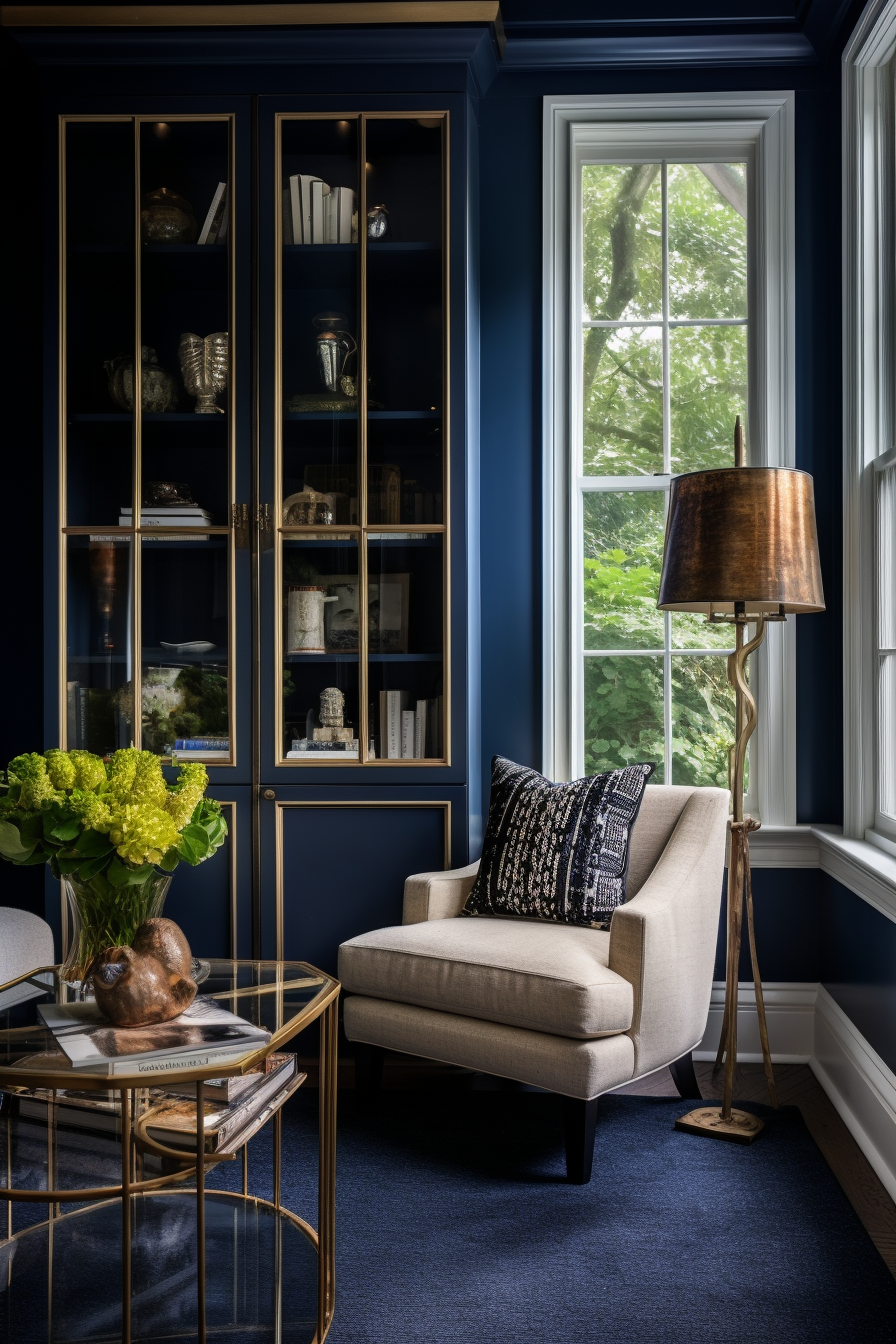
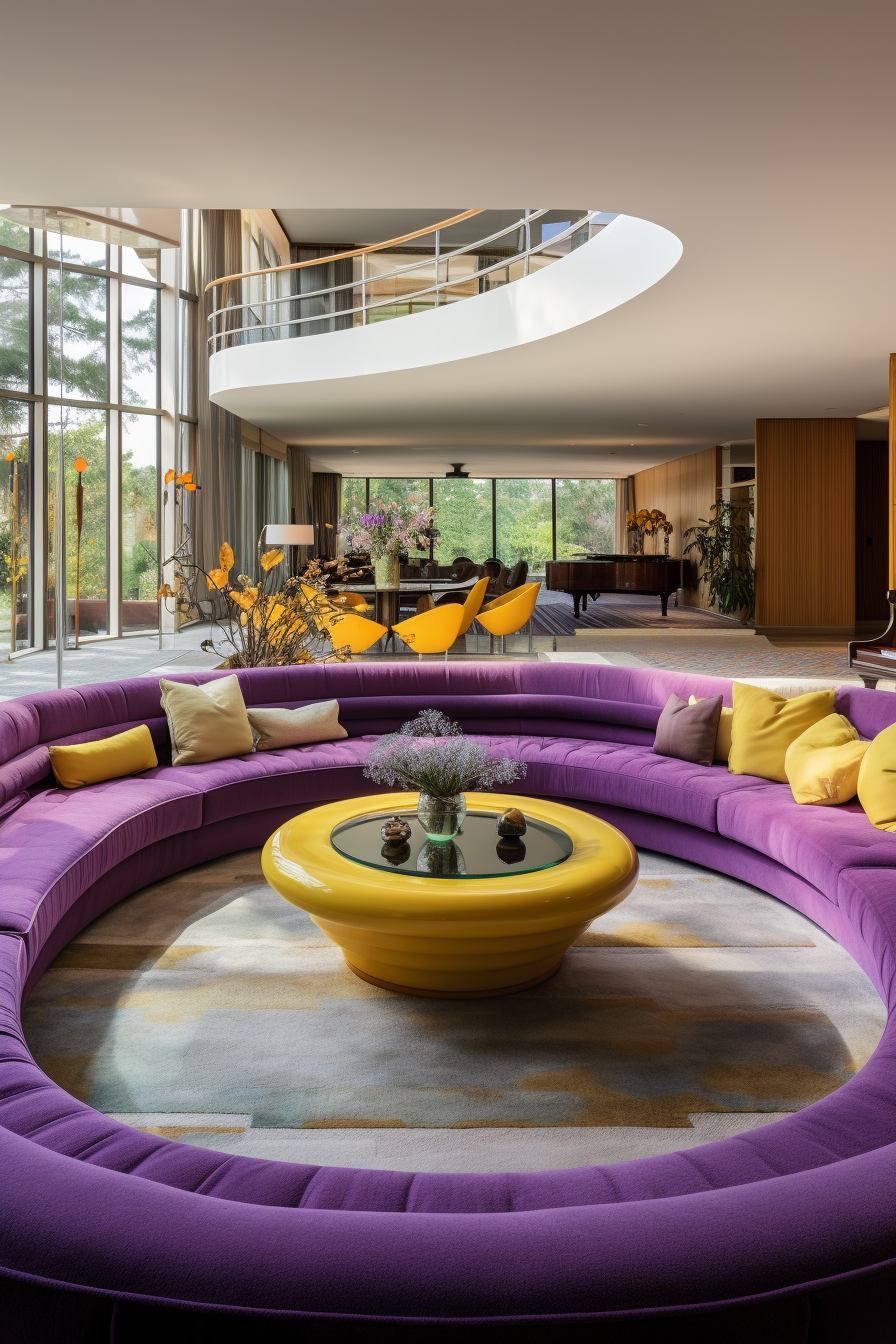
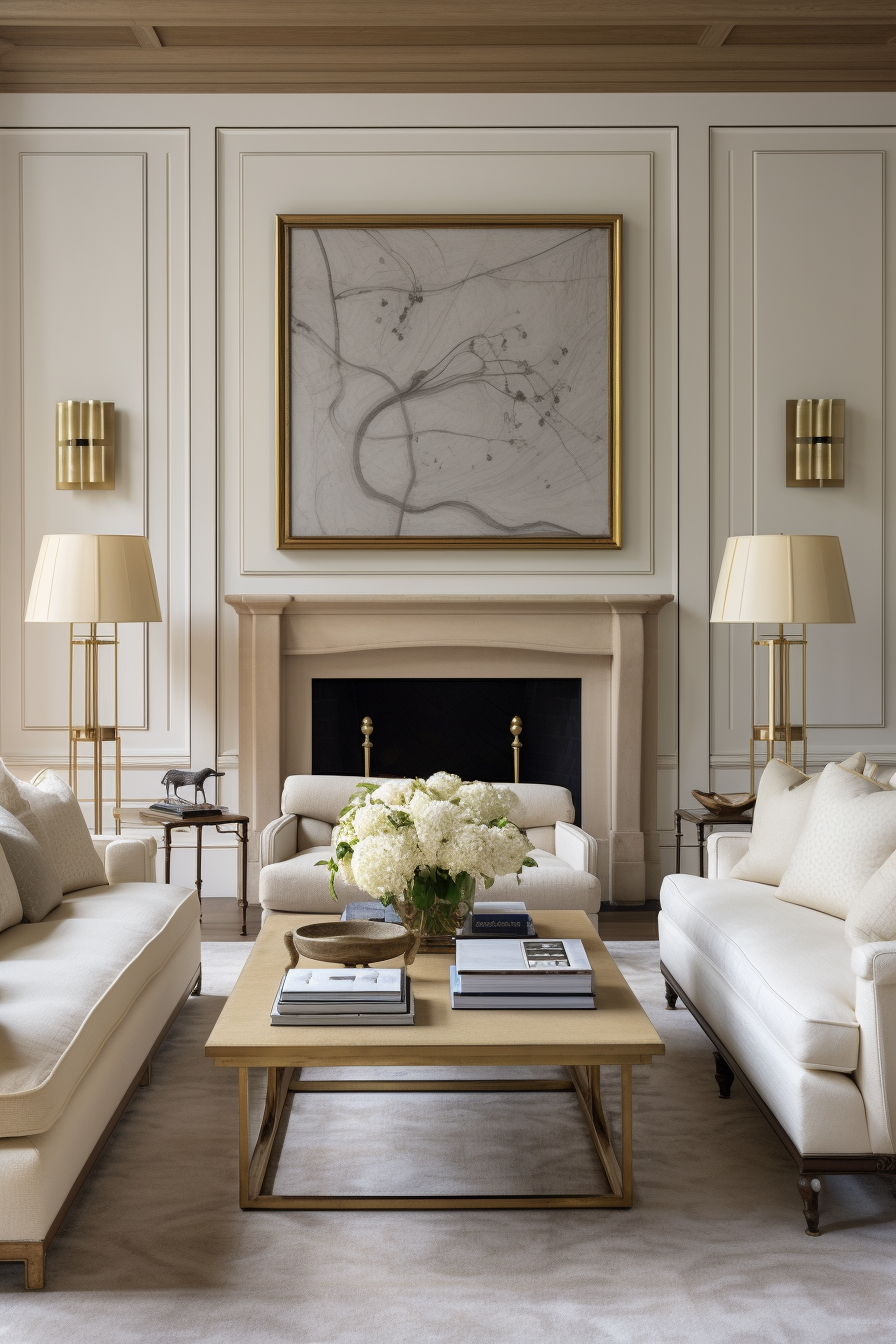
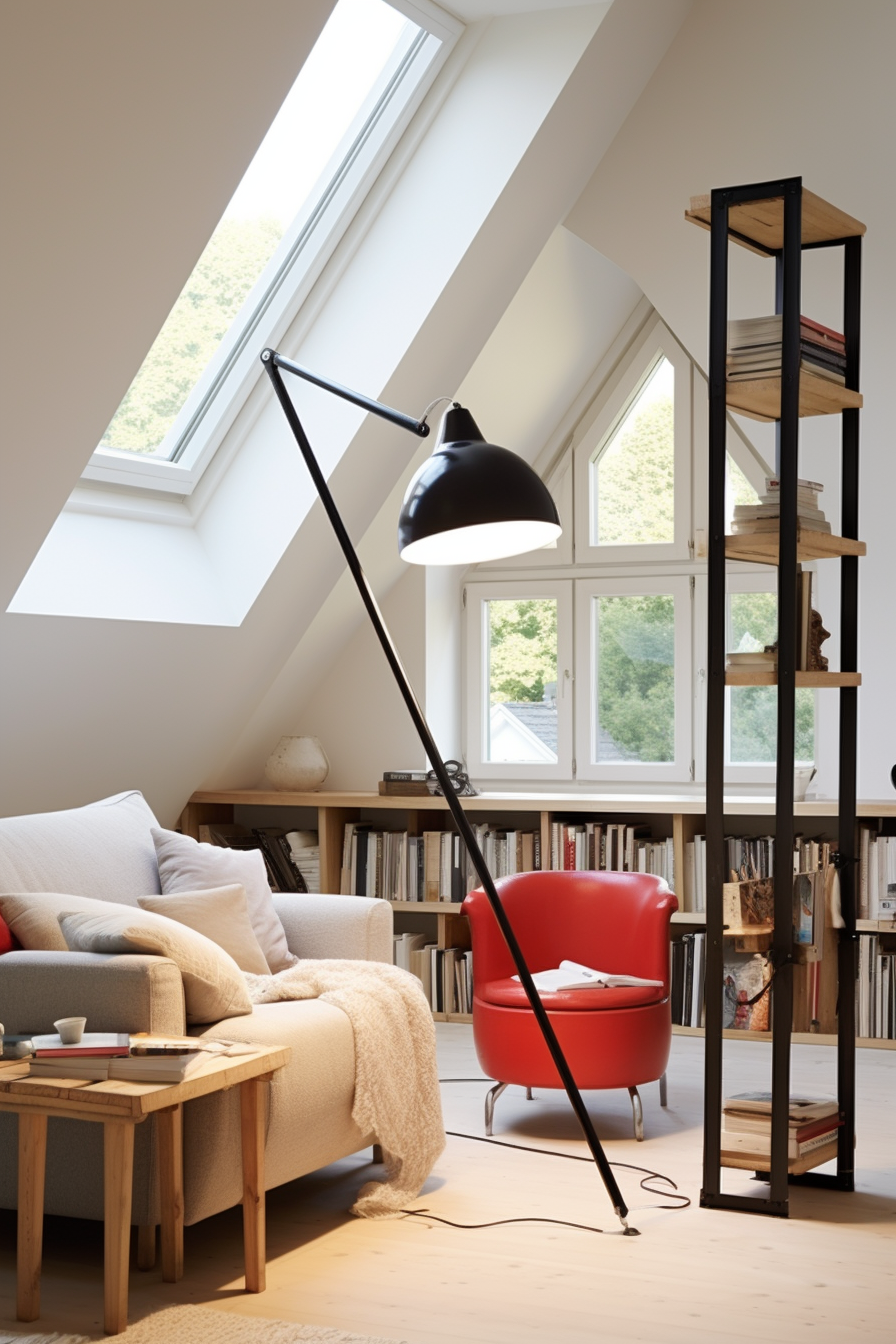
1. Dark and Gloomy Ambiance
✅ Solution: Infuse Bright Accent Colors
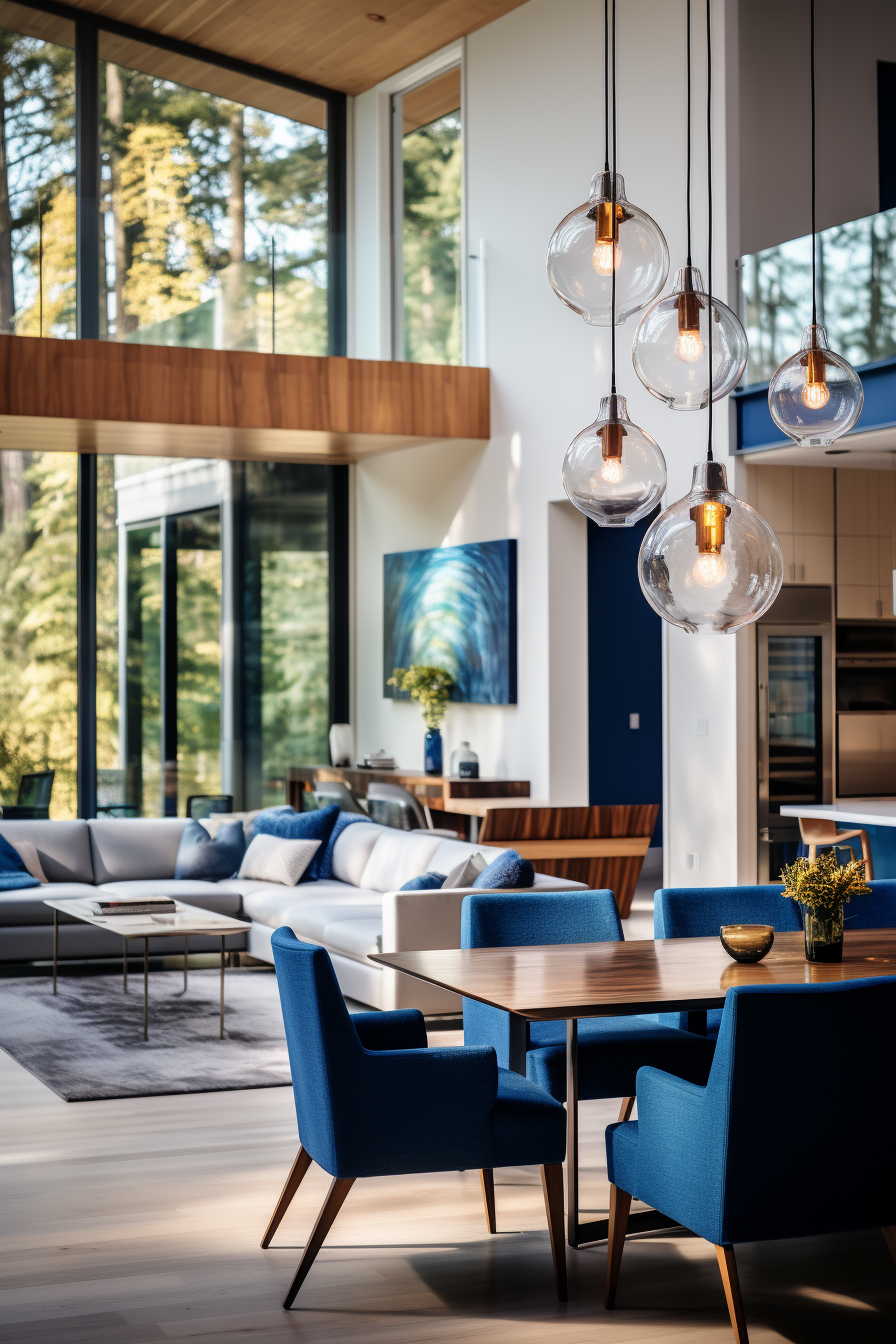
Incorporating lighter wall colors is an easy way to instantly brighten a dark space. Go for soft whites, airy beiges, or pale blues on the main surfaces. Then, pump up the volume with bold accent walls, vibrant textiles, or colorful artwork. This creates a lighter backdrop to make the room appear more open.

Key Takeaways:
- Use soft neutrals on 3+ walls to prevent overwhelming
- Add an accent wall in jewel-tone green, citrus orange, etc.
- Layer in hues with decorative items like pillows and rugs
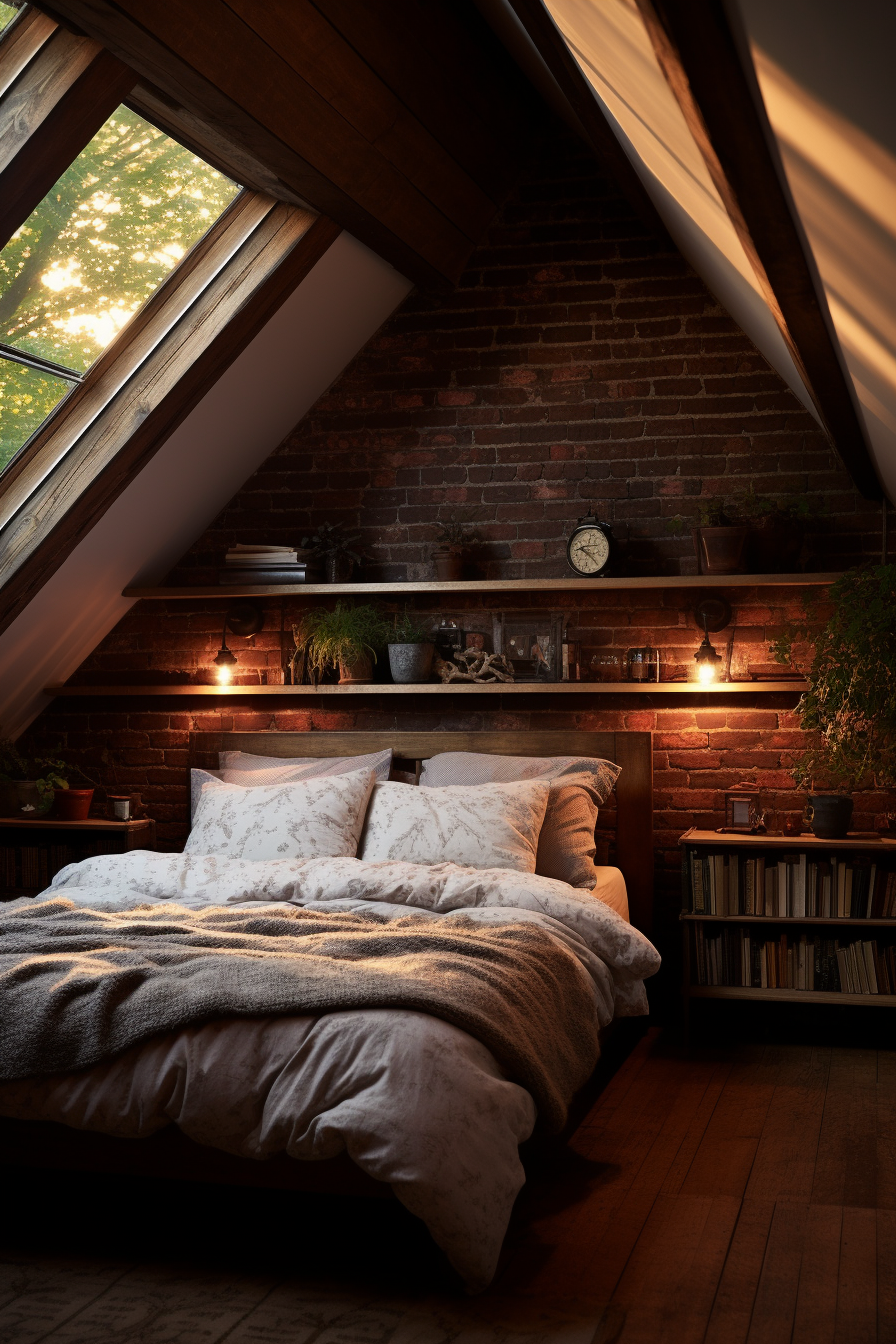
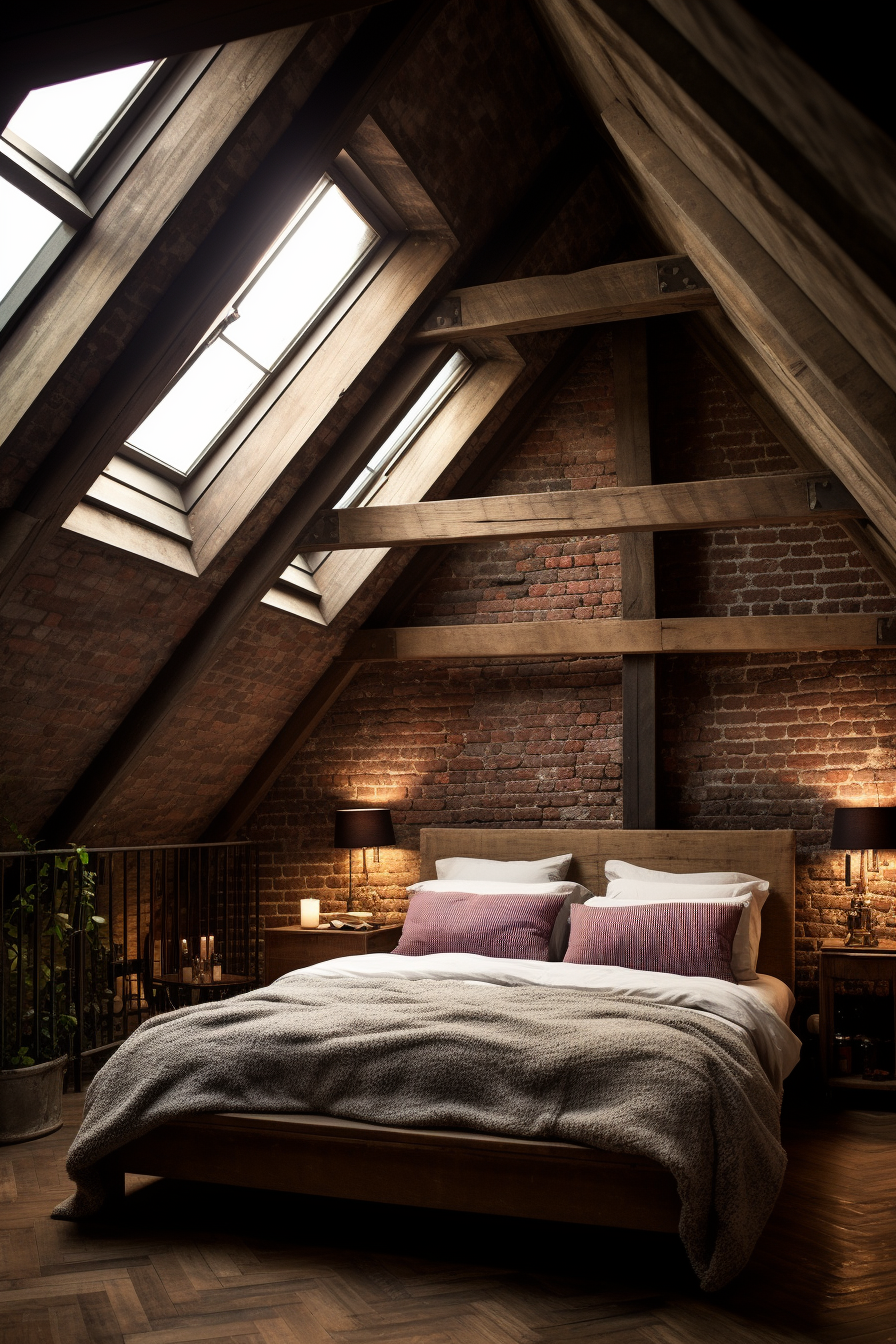
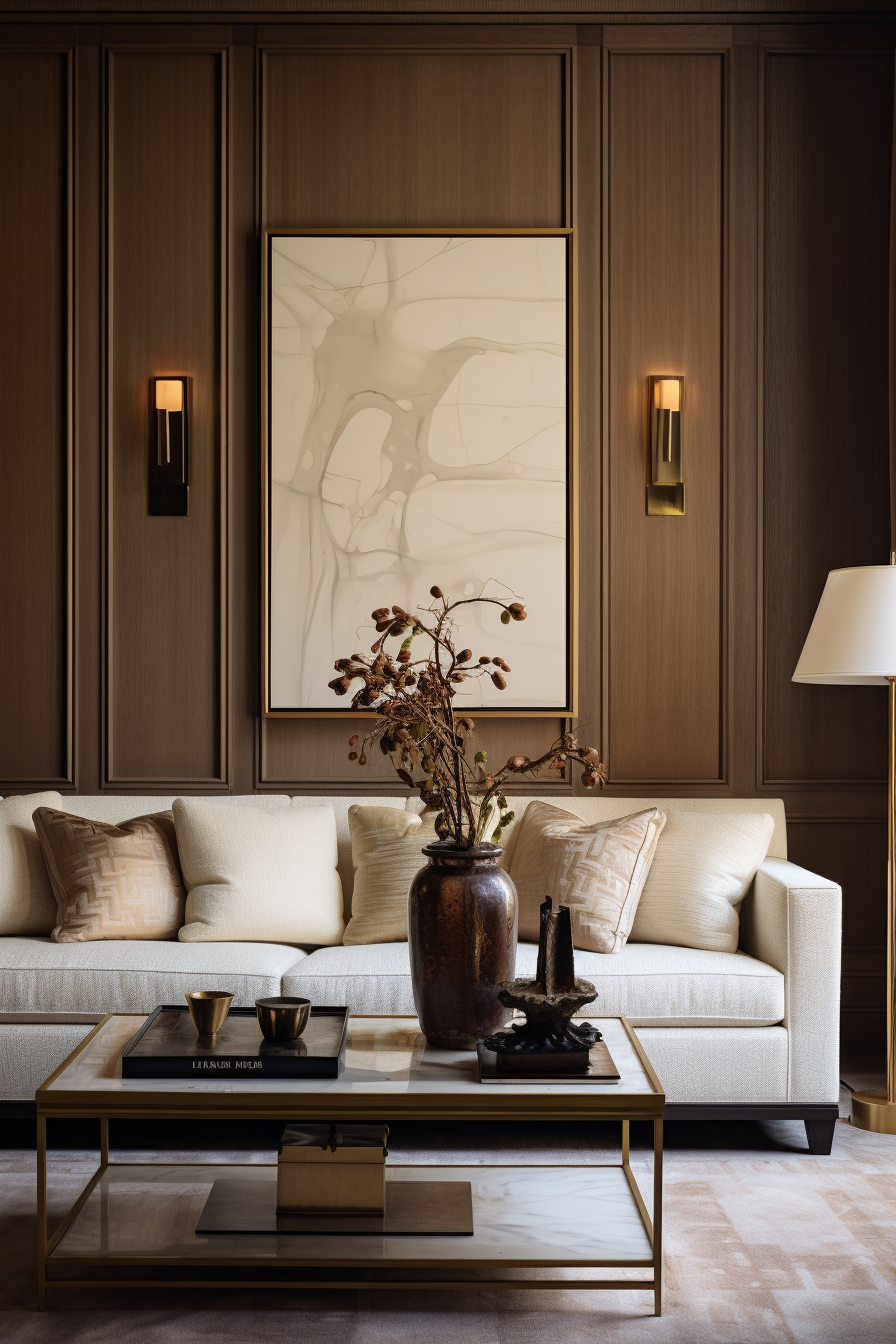
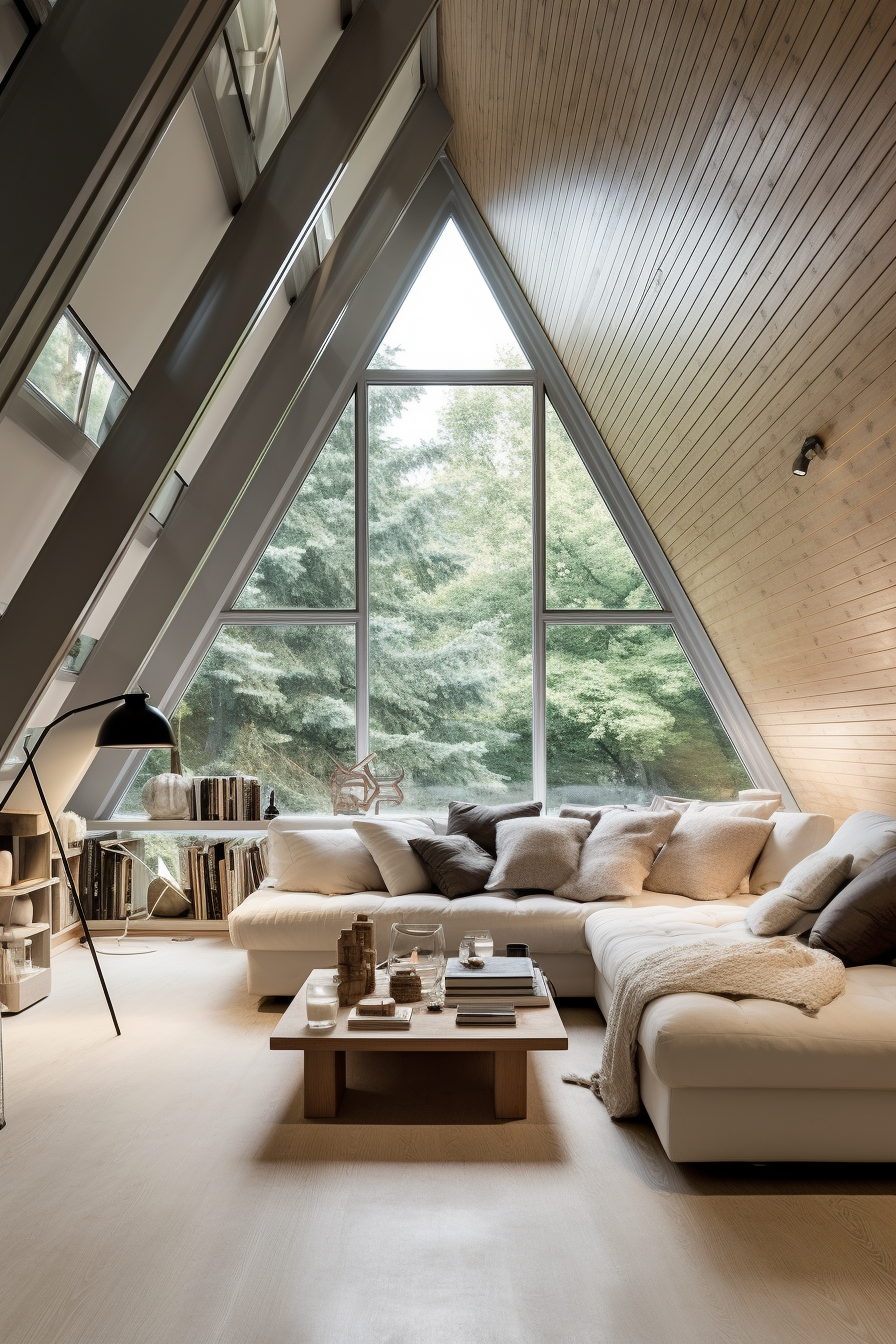
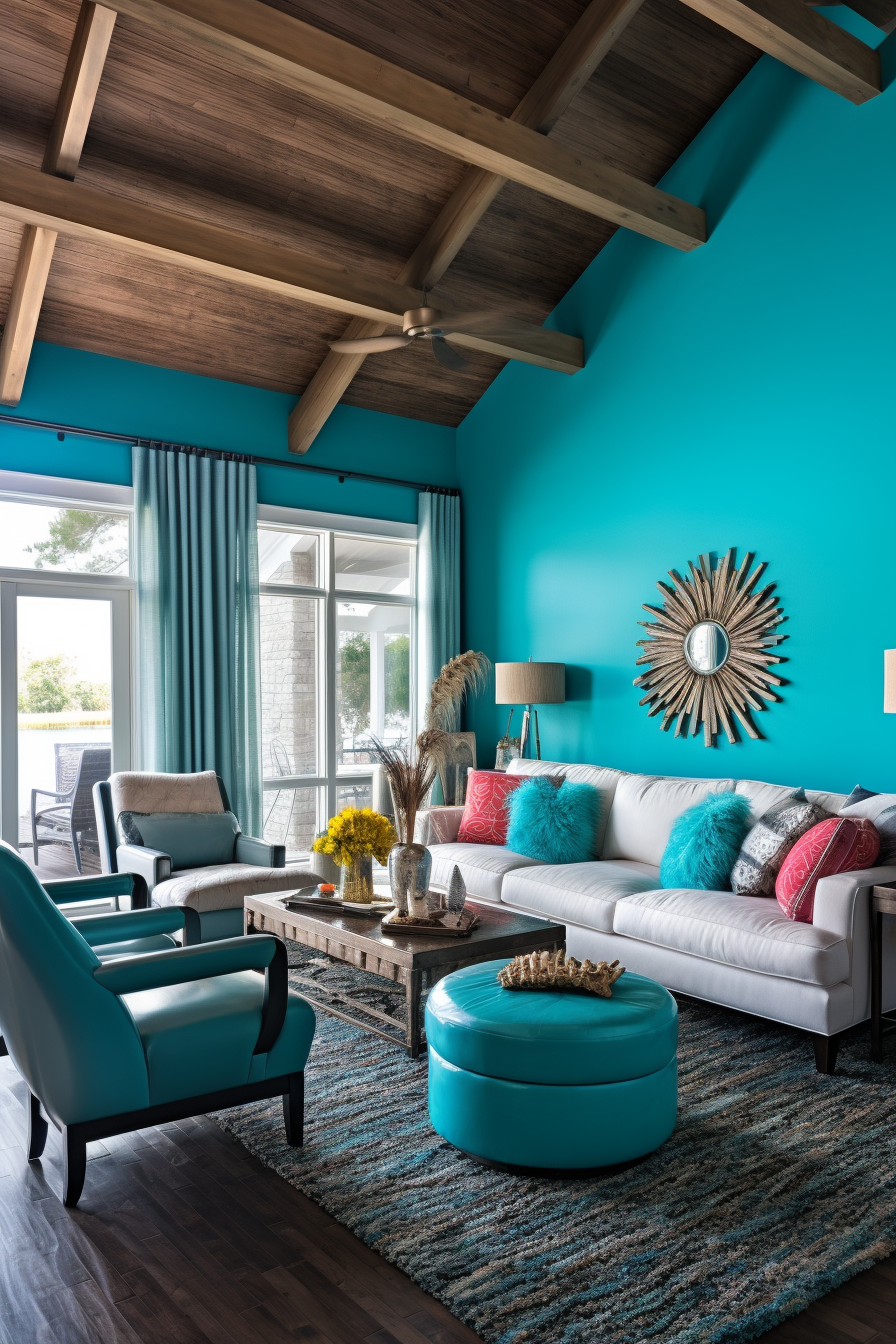
2. Bulky Architecture Elements
✅ Solution: Distract With Up-Lighting
Drawing the eyes upwards is an old designer trick for minimizing bulky architecture like low ceilings and exposed beams. Install recessed lighting around the perimeter to graze the edges, highlighting their height. Or, set strip lighting behind crown molding. The goal is to create shadows that extend vertically, directing focus on dimensions above versus horizontal bulk.
Key Takeaways:
- Install perimeter lighting to graze edges of ceilings
- Use strip lighting behind crown moldings for uplighting
- Create shadows that extend vertically to emphasize the height
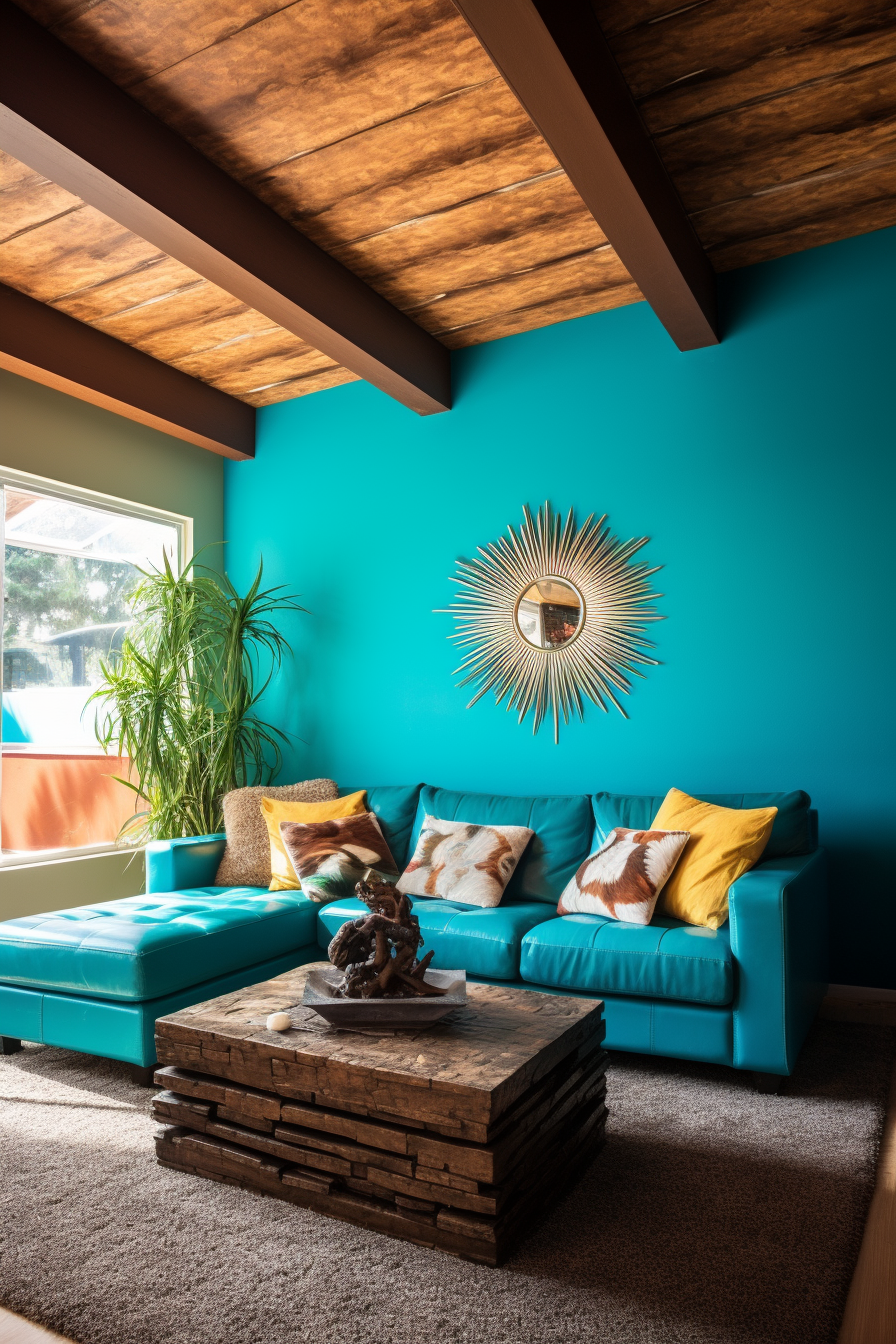
3. Chopped-Up Floor Plans
✅ Solution: Repeat Finishes Room to Room
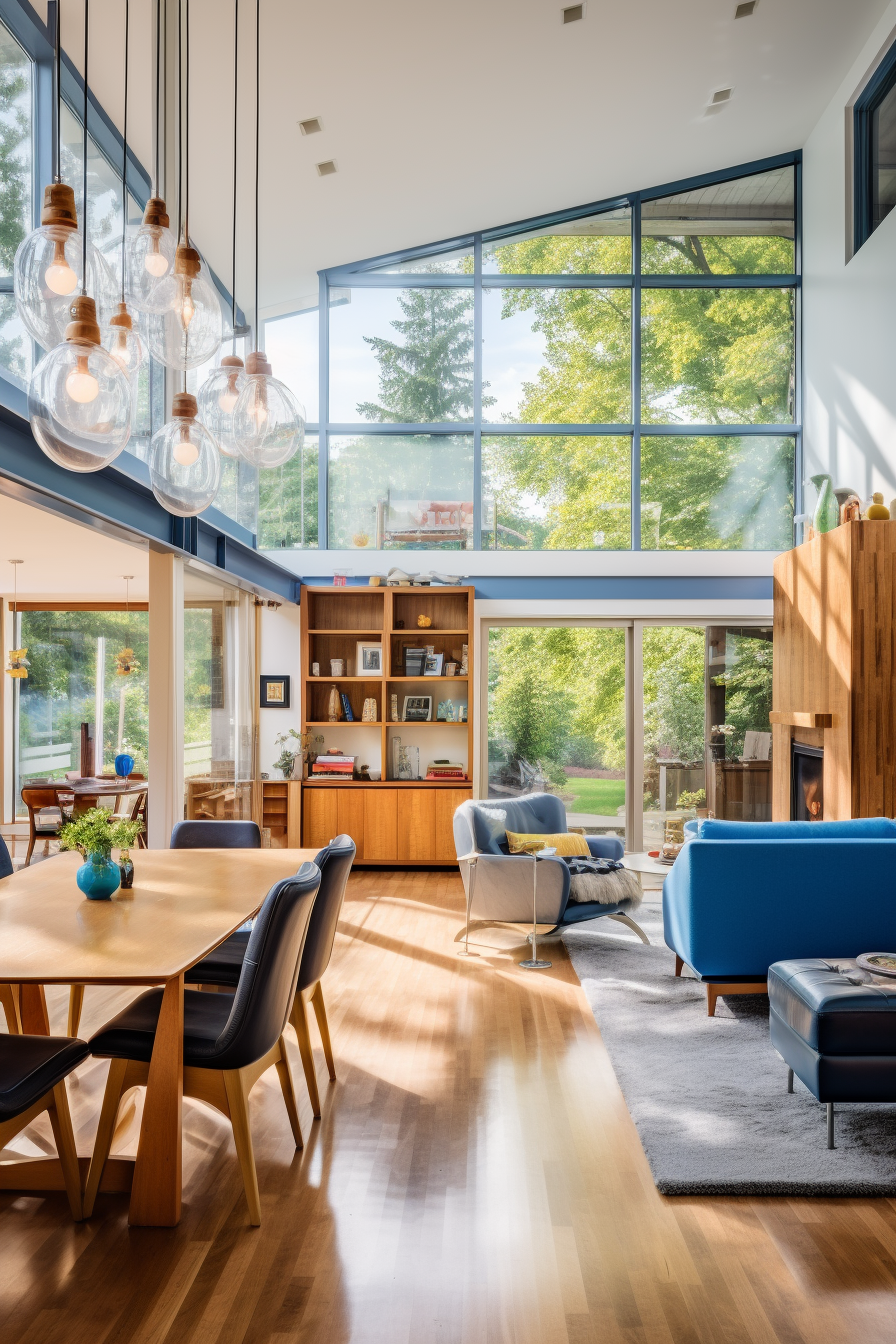
For homes with choppy layouts or open-concept plans lacking division, carrying a color palette throughout multiple spaces helps them feel cohesively larger. Say you’re working with a living/dining combo – painting the entire area in a continuous neutral scheme makes it feel like one big room. Repeat accent colors in decorative items as well so everything flows together seamlessly.

Key Takeaways:
- Use cohesive wall colors in open-concept rooms
- Echo accent colors in decorative pieces between rooms
- Consistent schemes make divided areas feel like one space
4. Irregular Room Shapes
✅ Solution: Incorporate Mirrored Furniture
Odd angles, dormers, and bay windows can make fitting furniture quite puzzling. This is where mirrored pieces come in handy! Mirrored furniture doubles visual space by reflecting light and images. Position them across from any irregularities, bouncing the shape to make a virtual complete wall. The reflection creates the illusion of a perfectly angled room.
Key Takeaways:
- Use mirrored furnishings opposite irregular angles
- Reflect shapes to mimic a complete wall
- Create optical illusion of an angular room
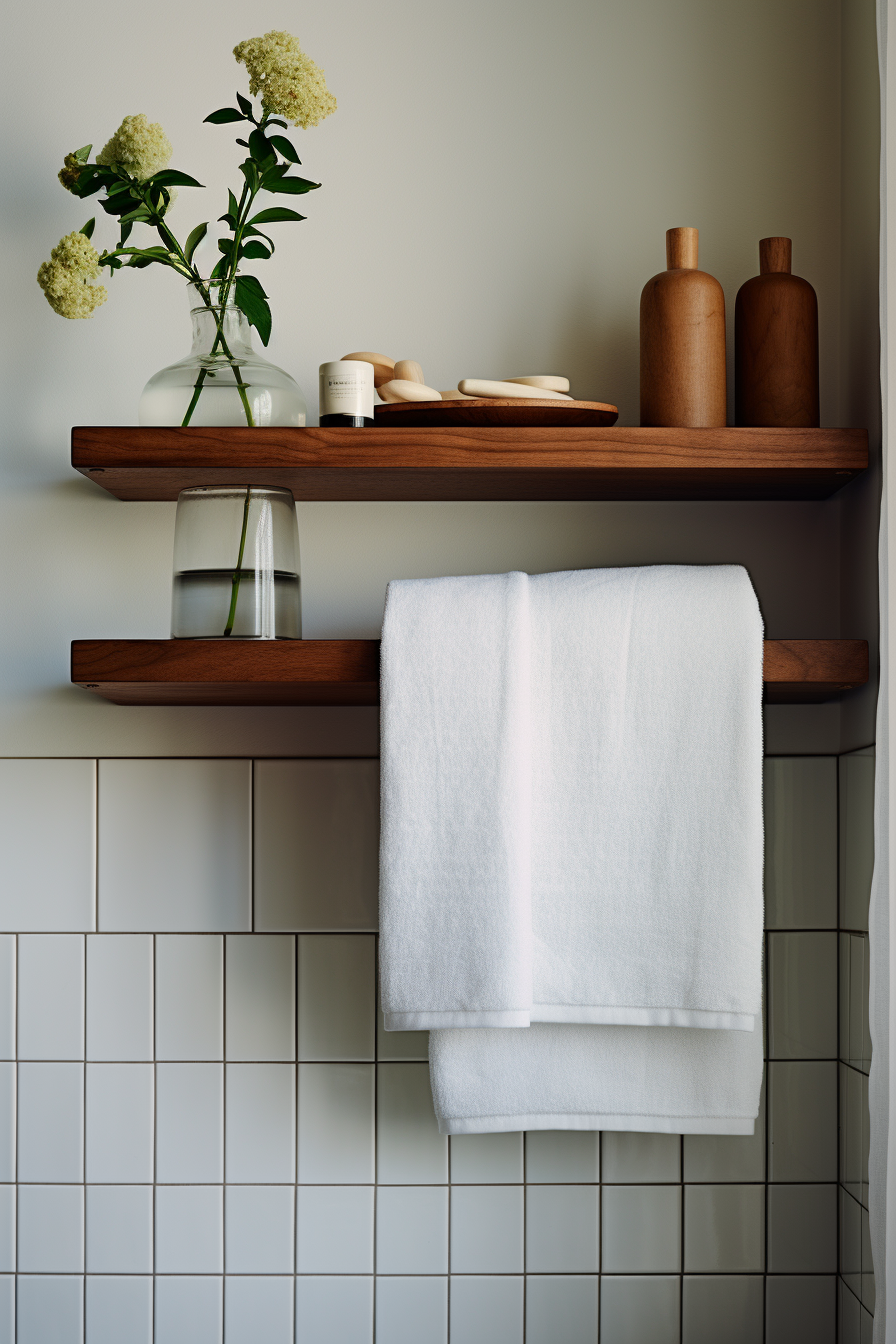
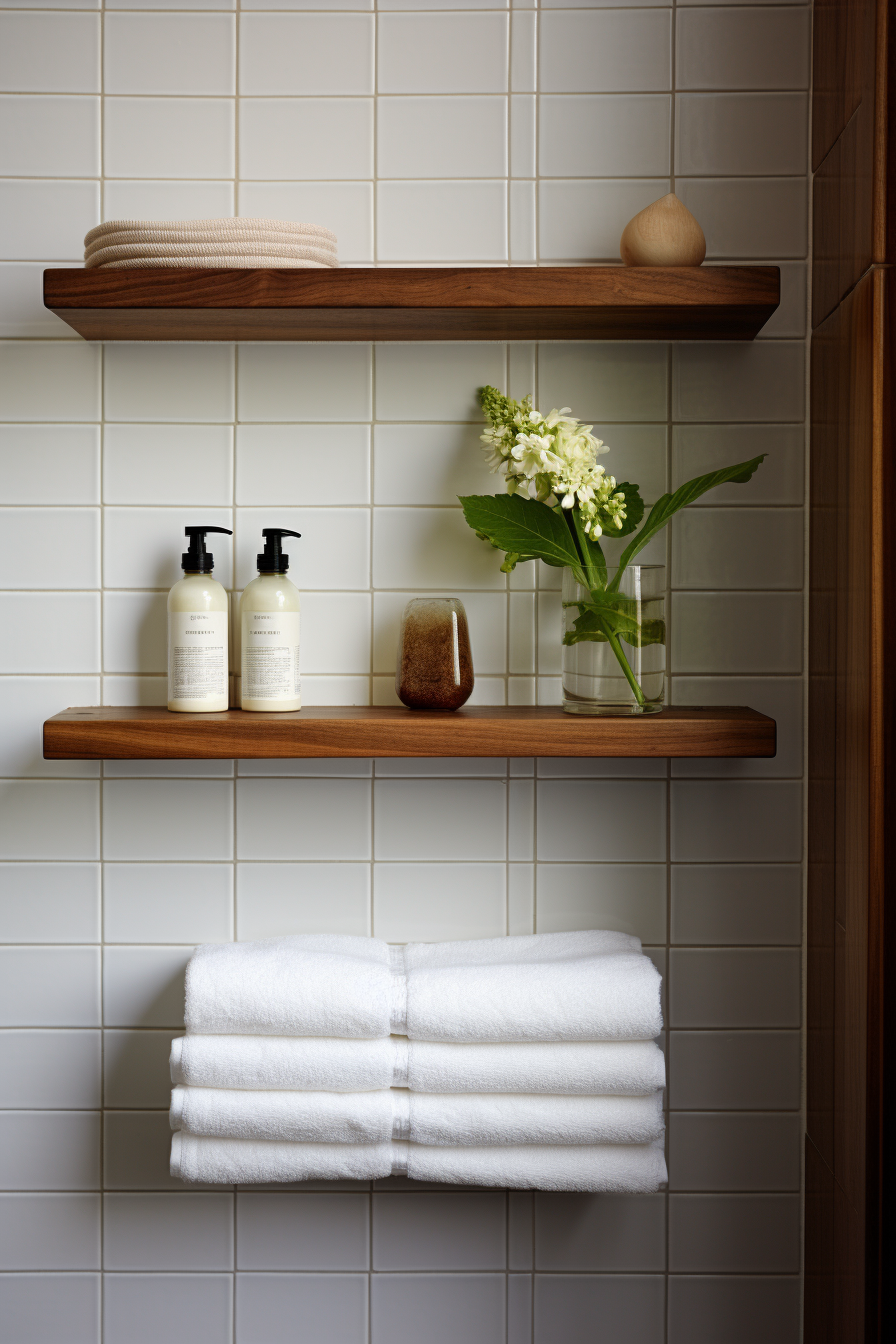
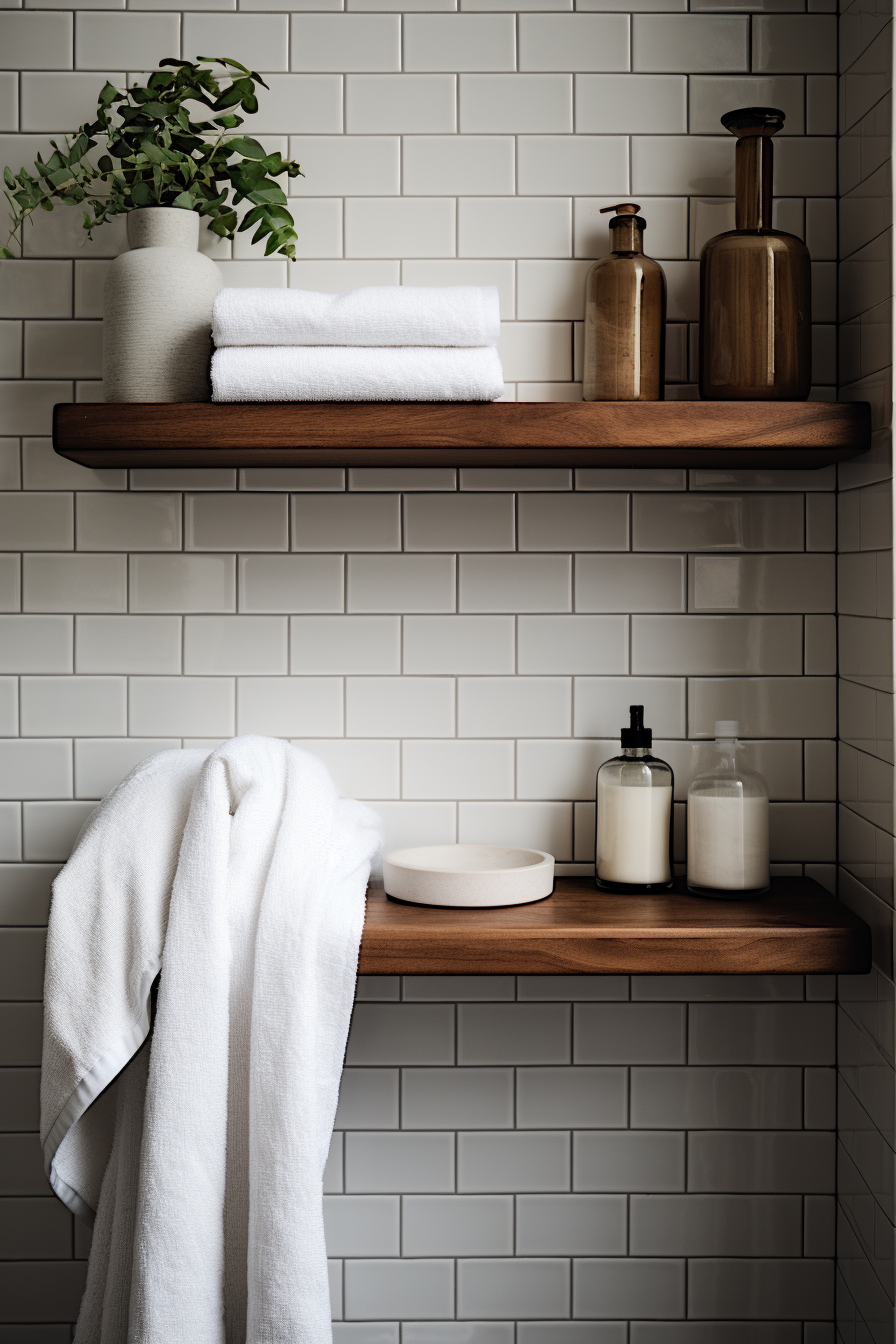
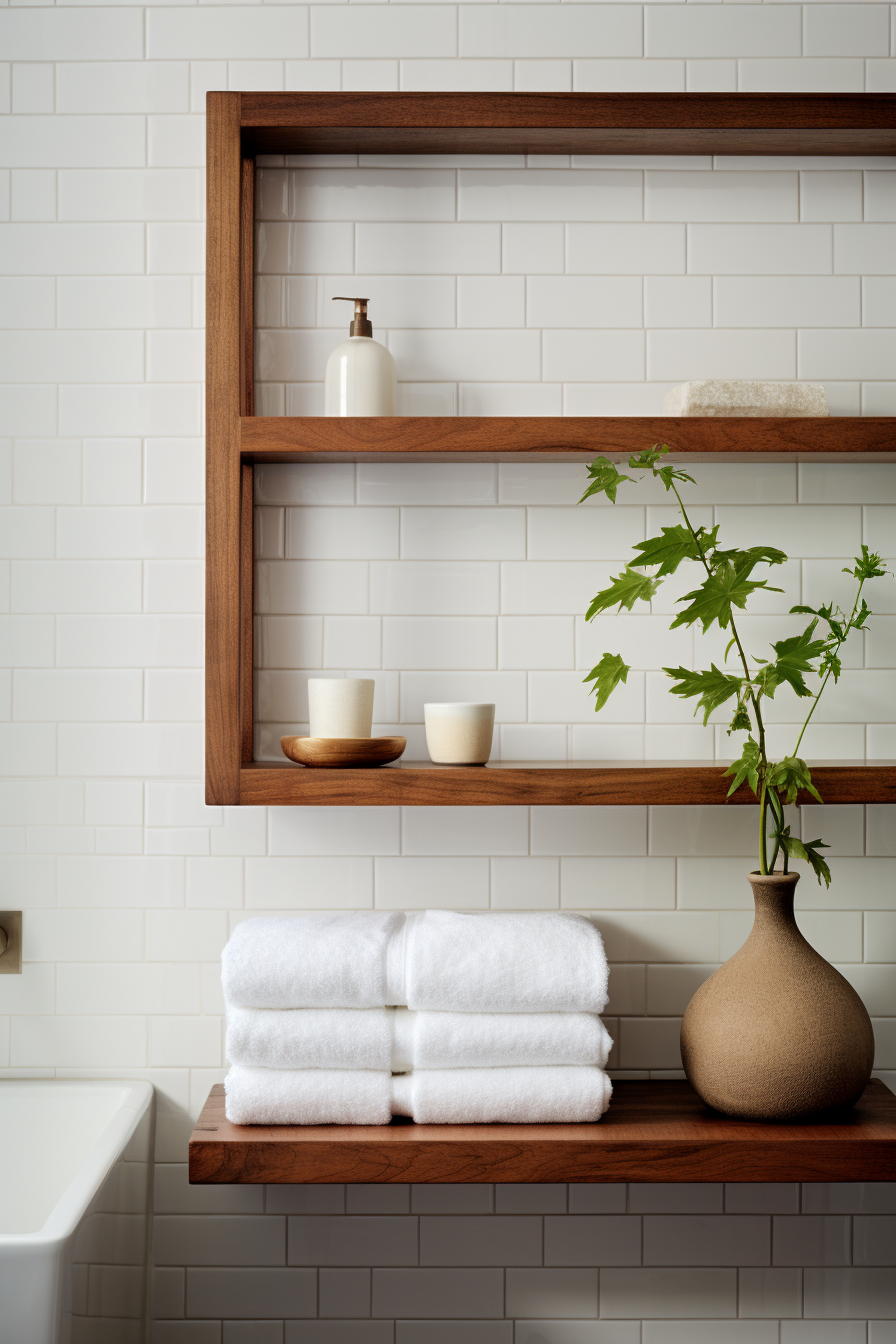
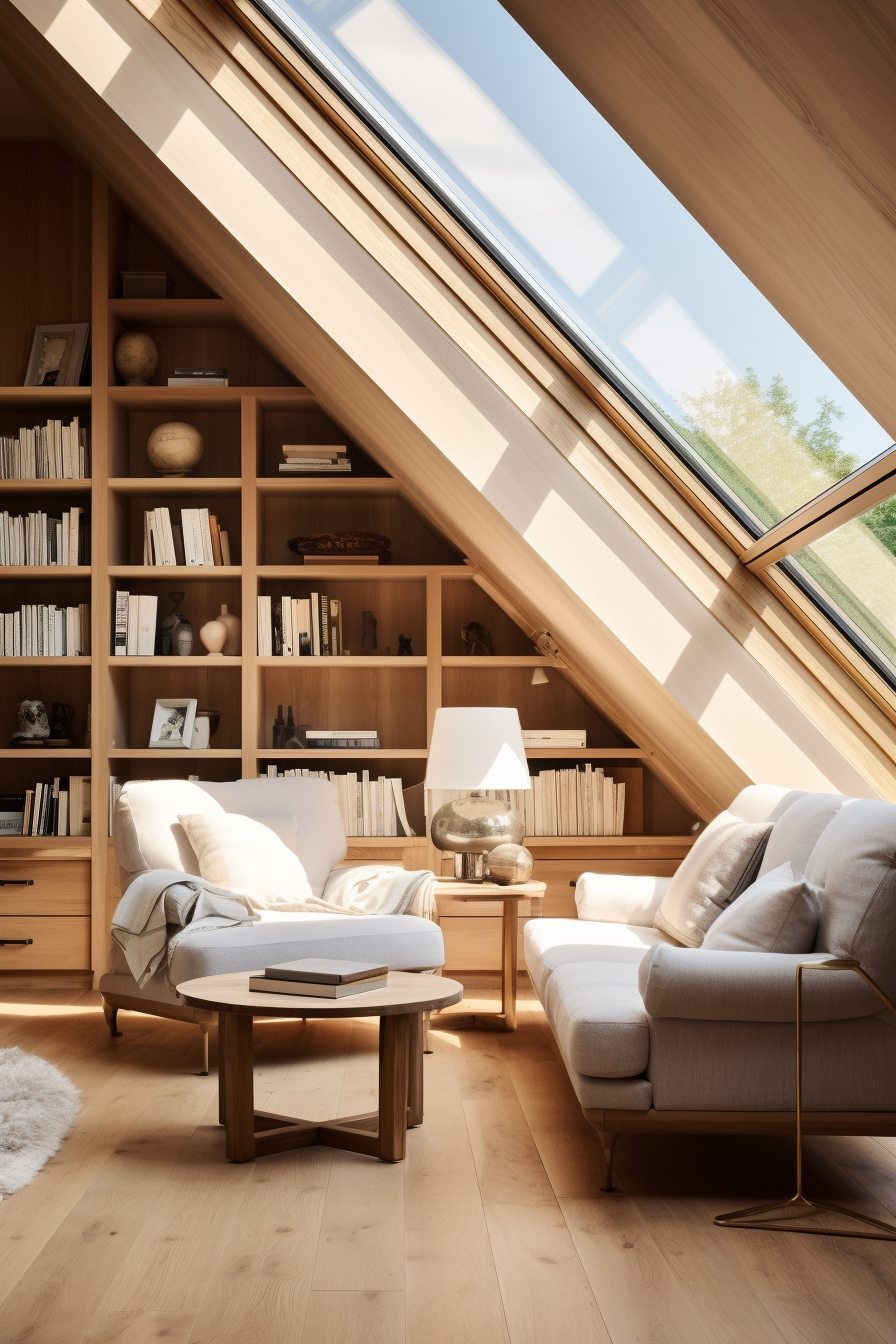
5. Alcoves and Built-In Spaces
✅ Solution: Install Wall-Mounted Shelving
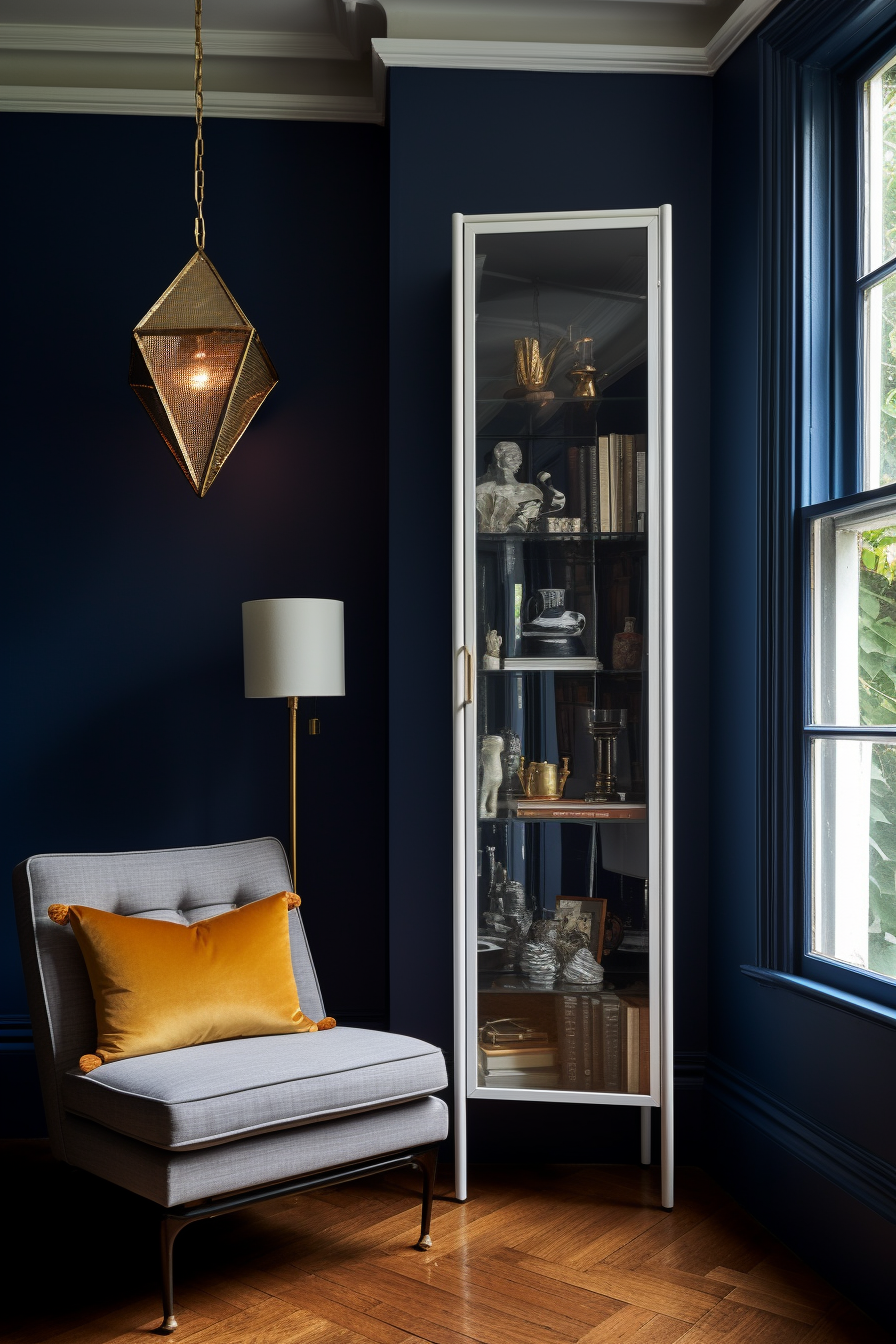
Take advantage of wasted recesses and alcoves by turning them into storage! Wall-mounted shelving with adjustable brackets allows you to customize floating units to fit the exact dimensions of the space. Meanwhile, openbacks keep things light and airy. Then, organize baskets, bins, and boxes to hold items neatly. This streamlines clutter while still displaying favorite accent pieces.
Key Takeaways:
- Fill alcoves with wall-mounted shelving
- Customize with adjustable brackets
- Use baskets and bins to organize items
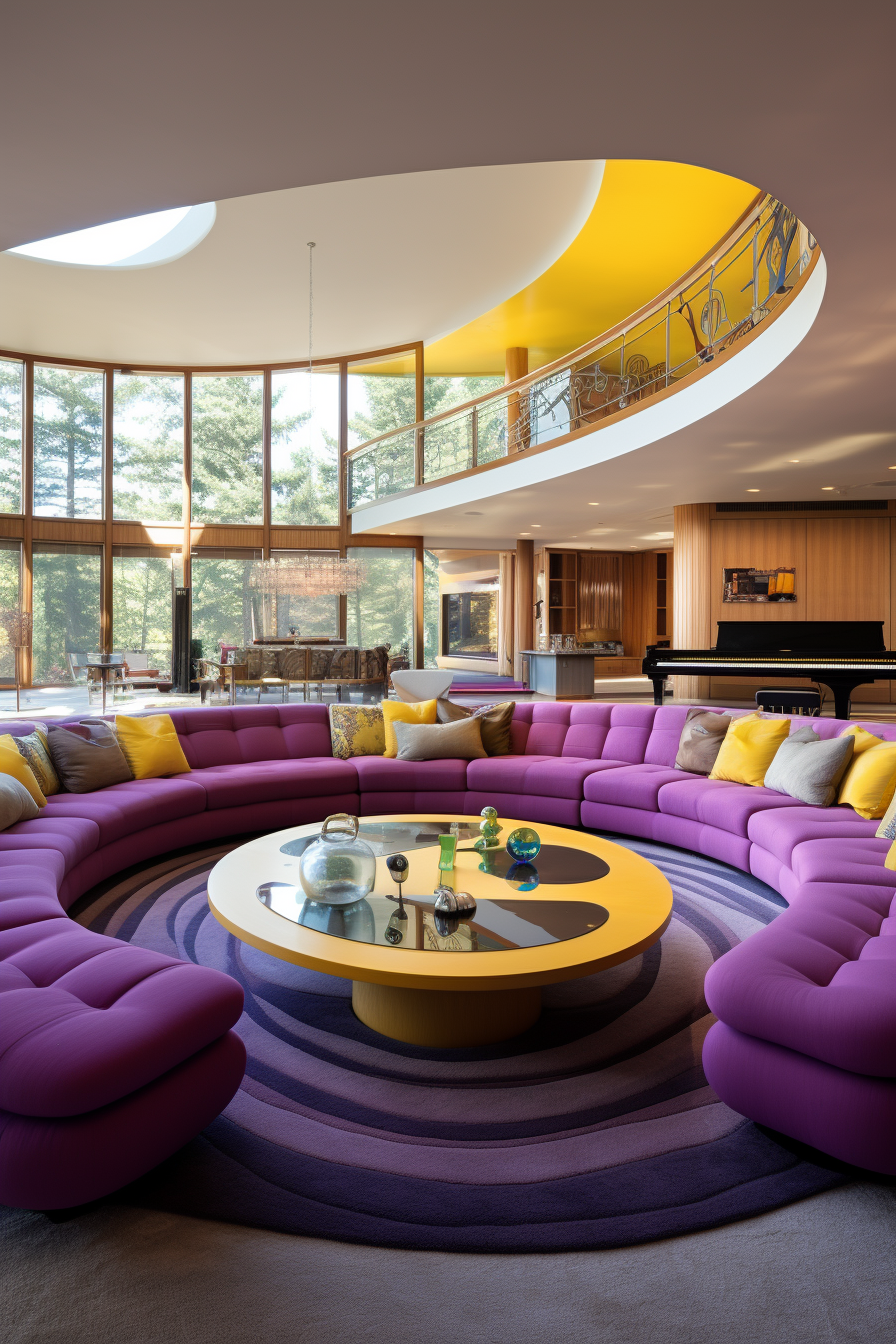
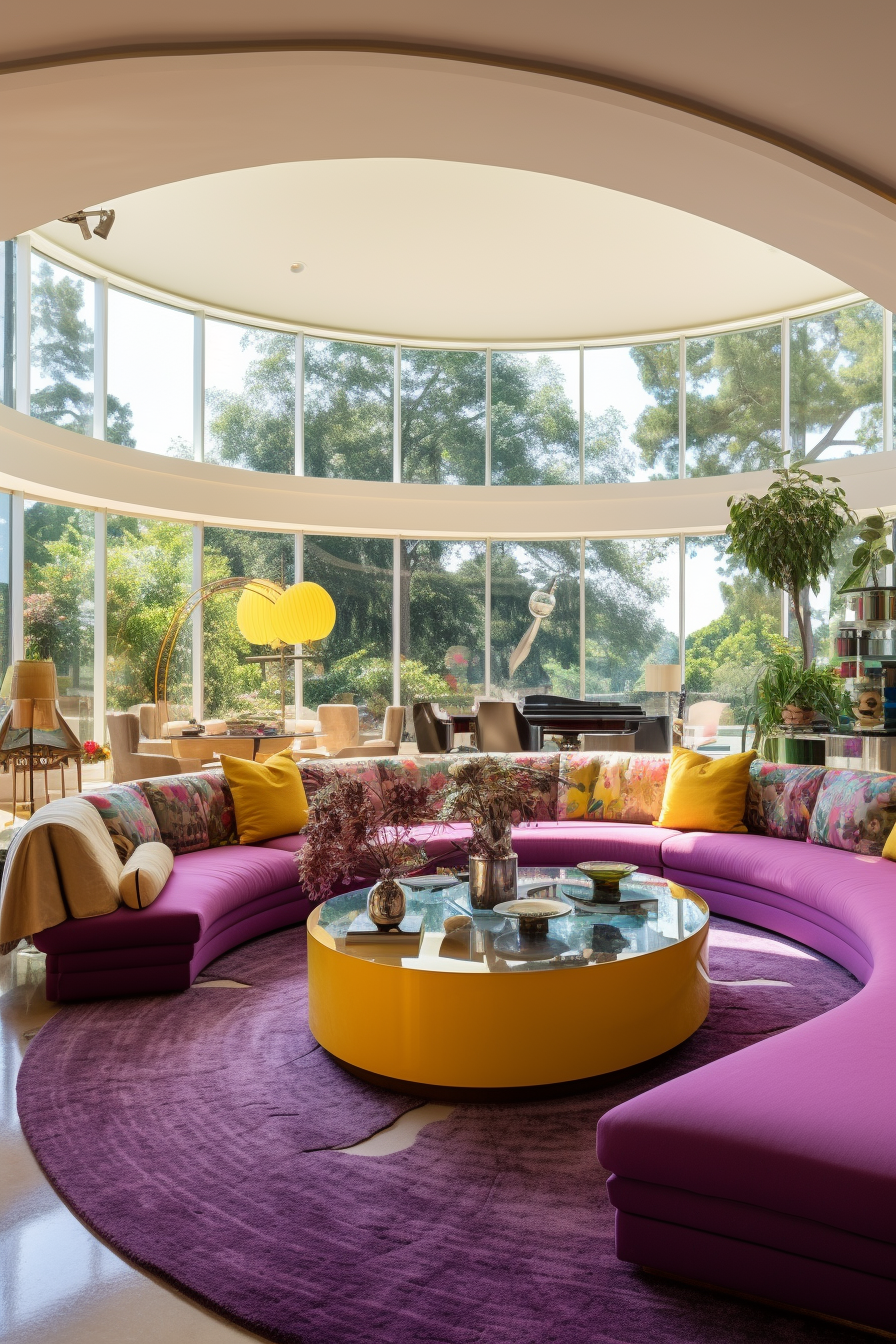
6. Oddly Shaped Rooms
✅ Solution: Zone With Area Rugs
Rugs are useful for defining spaces within an irregular open layout. Use a large area rug to anchor a prime seating zone, delineating it from surrounding floors. Then layer smaller rugs in remaining zones like dining spots, home office corners, etc. Transitioning between carpeted zones leads the eye around unique room shapes rather than jumping out to bare floors.

Key Takeaways:
- Define prime seating with a large area rug
- Add smaller rugs in secondary zones
- Lead the eye around odd space shapes
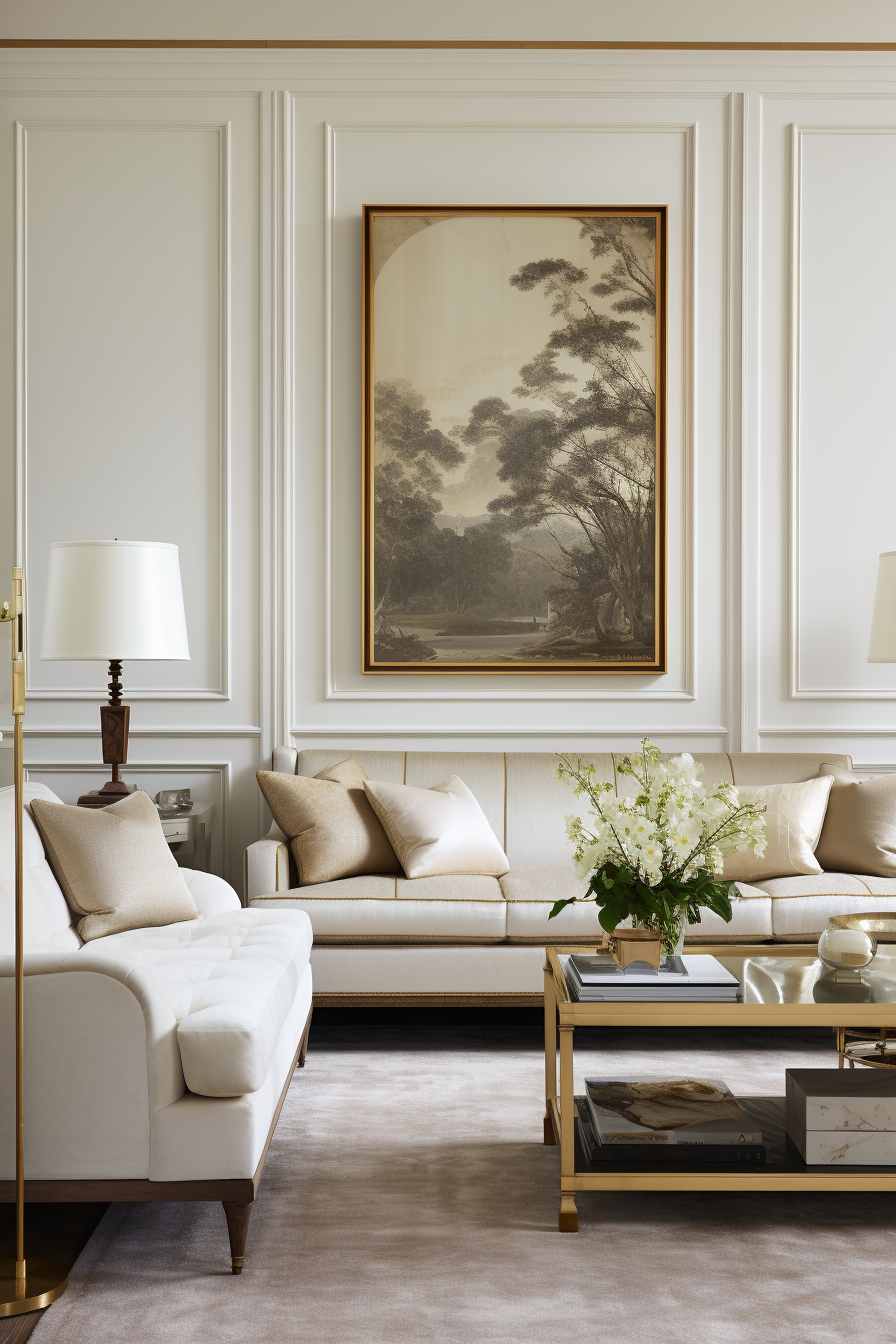
7. Compact Square Footage
✅ Solution: Install Wall Sconces
While overhead ceiling fixtures are typical, wall sconces better utilize vertical real estate in a compact room. Place ambient lighting at various heights to draw the eyes up and around all four walls. Adding multiple light layers also eliminates shadows in awkward corners that can make cramped spaces feel even more closed-in.
Key Takeaways:
- Install wall sconces at different heights
- Ambient lighting draws eyes up and around
- Eliminate shadows in tight corners
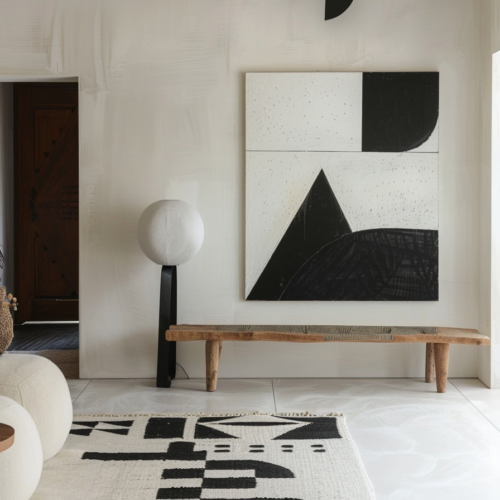
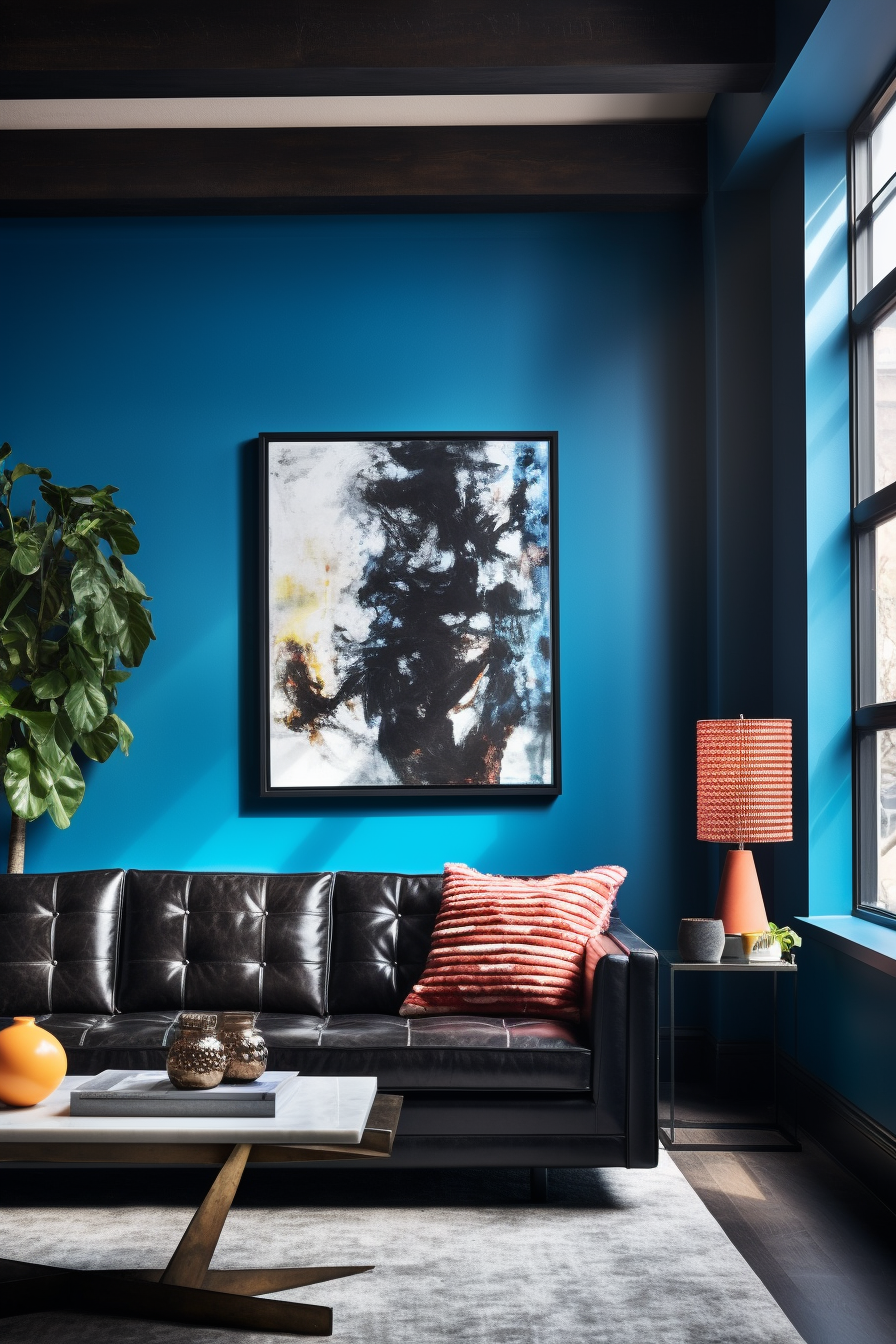
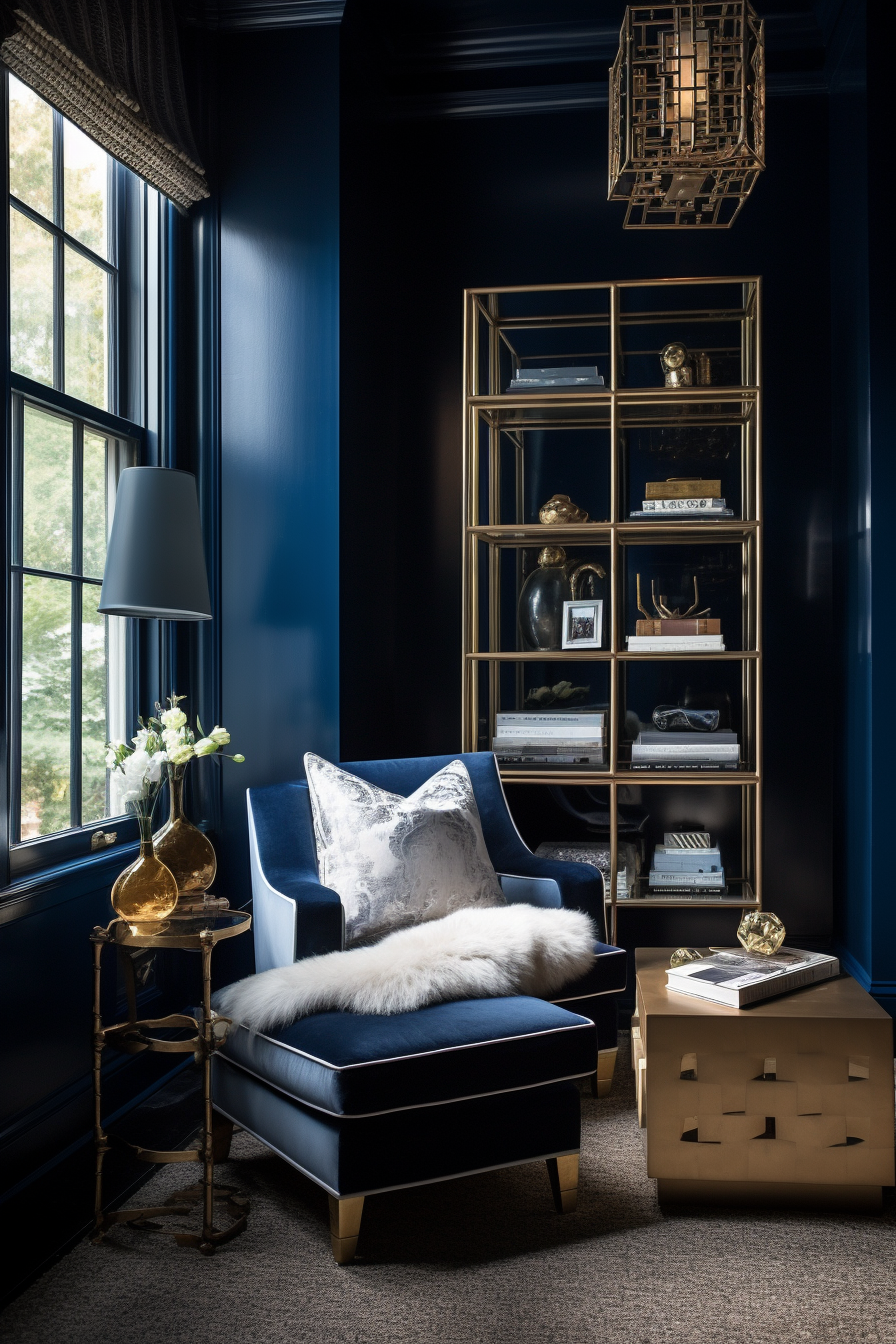
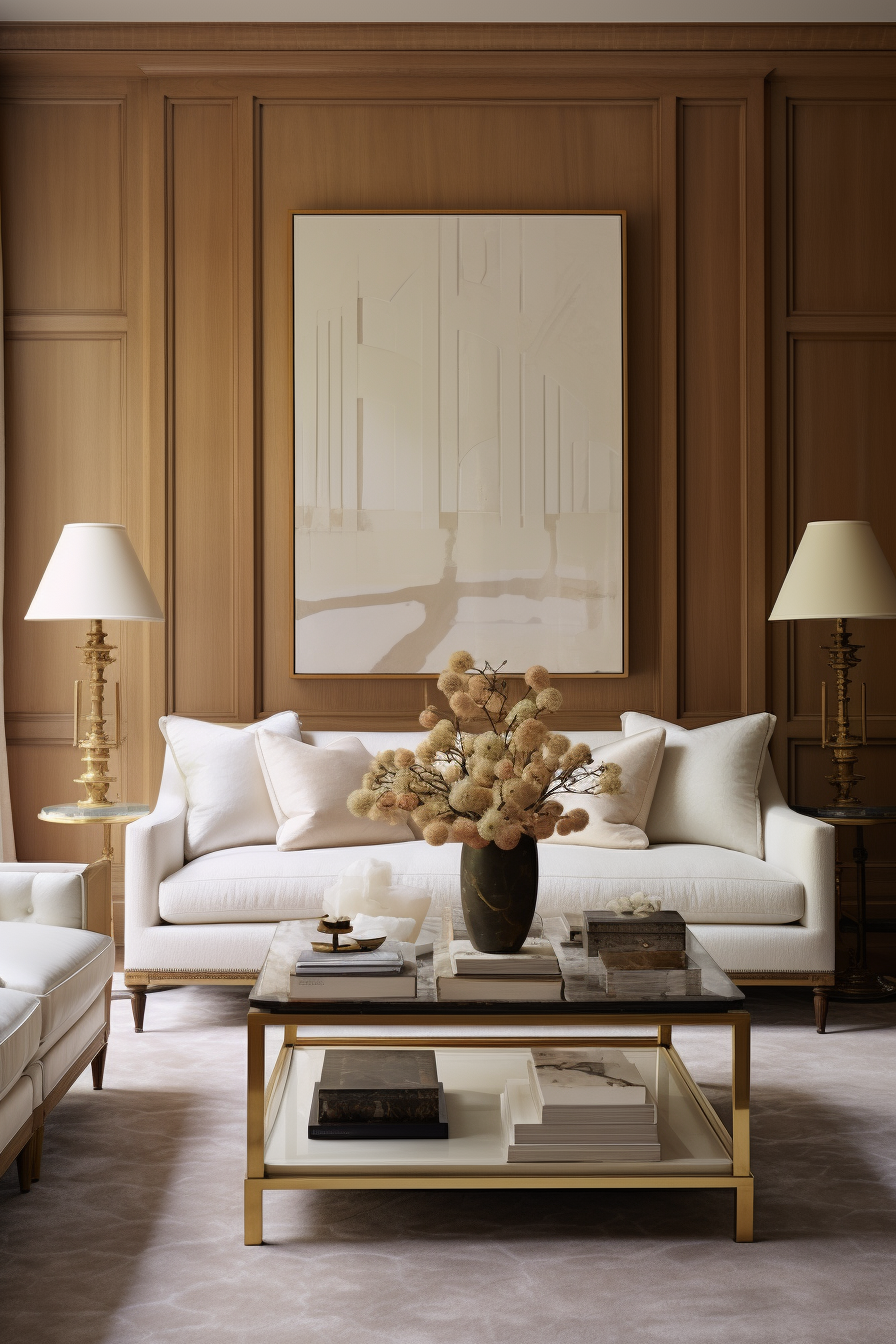
8. Jumbled Addition Layouts
✅ Solution: Create a Focal Point
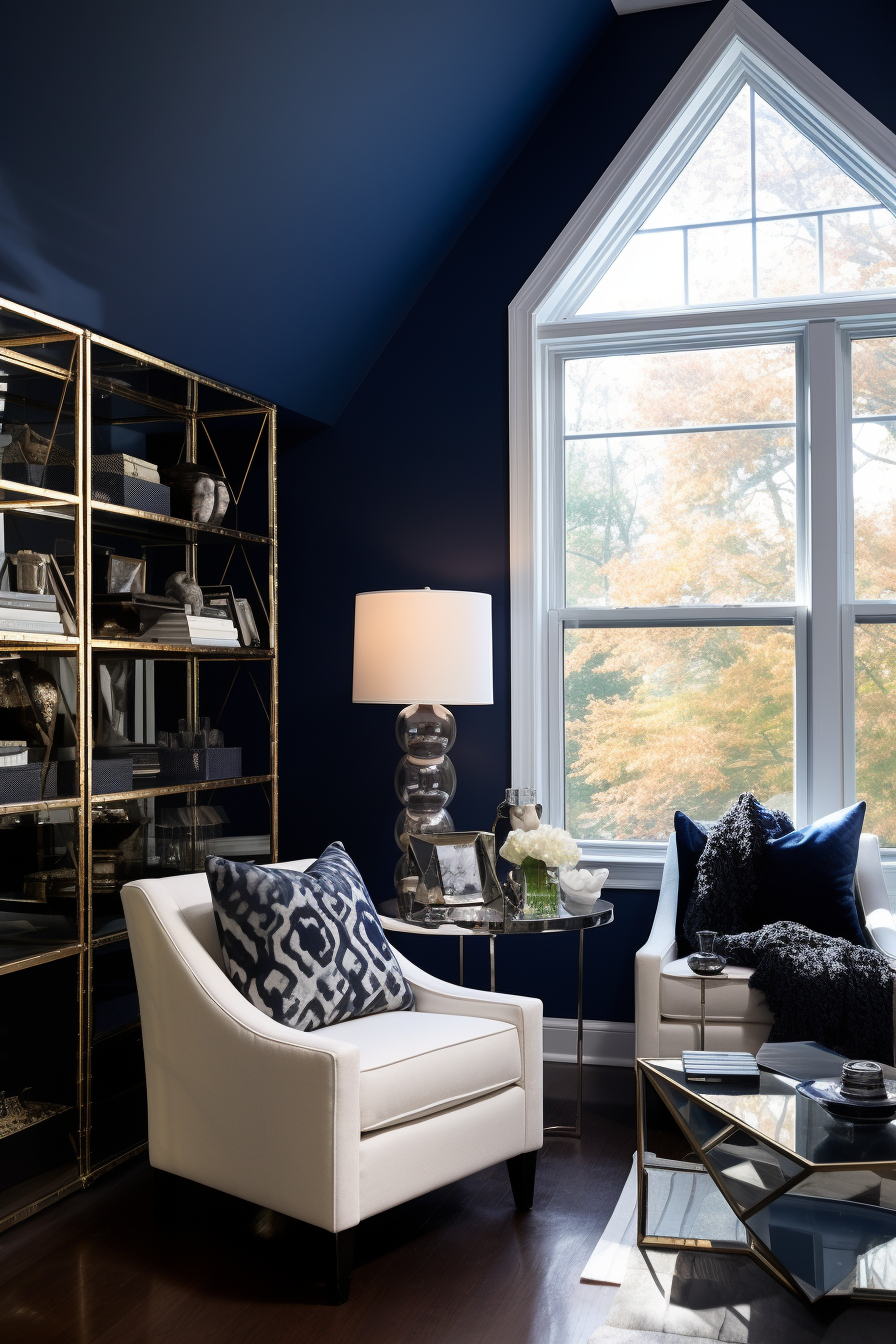
Unify disjointed layouts from tacked-on additions using a commanding focal point. This gives the eye a definitive place to land versus bouncing around from one mismatch to the next. Strategically place a statement piece like oversized art, a floor lamp, or bold furniture. Or create architectural interest with a metro shelf, picture ledge, or vibrant built-ins.
Key Takeaways:
- Add a statement piece as a focal point
- Create architectural interest with shelving
- Unify eyes on one spot vs scattered
9. Poorly Defined Areas
✅ Solution: Incorporate Task Lighting
When visual barriers between rooms or zones are lacking, strategic task lighting separates spaces. Install pendant lights over a dining table or under cabinet fixtures in a kitchen. Position adjustable desk lamps or reading sconces in a home office. The bright pools of light distinguish unique activity areas better than walls or partitions can.
Key Takeaways:
- Use pendants to define the dining spot
- Add under-cabinet lighting in the kitchen
- Position adjustable lamps in work zones
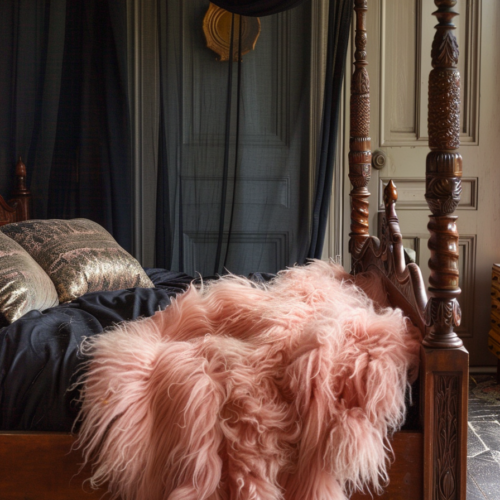
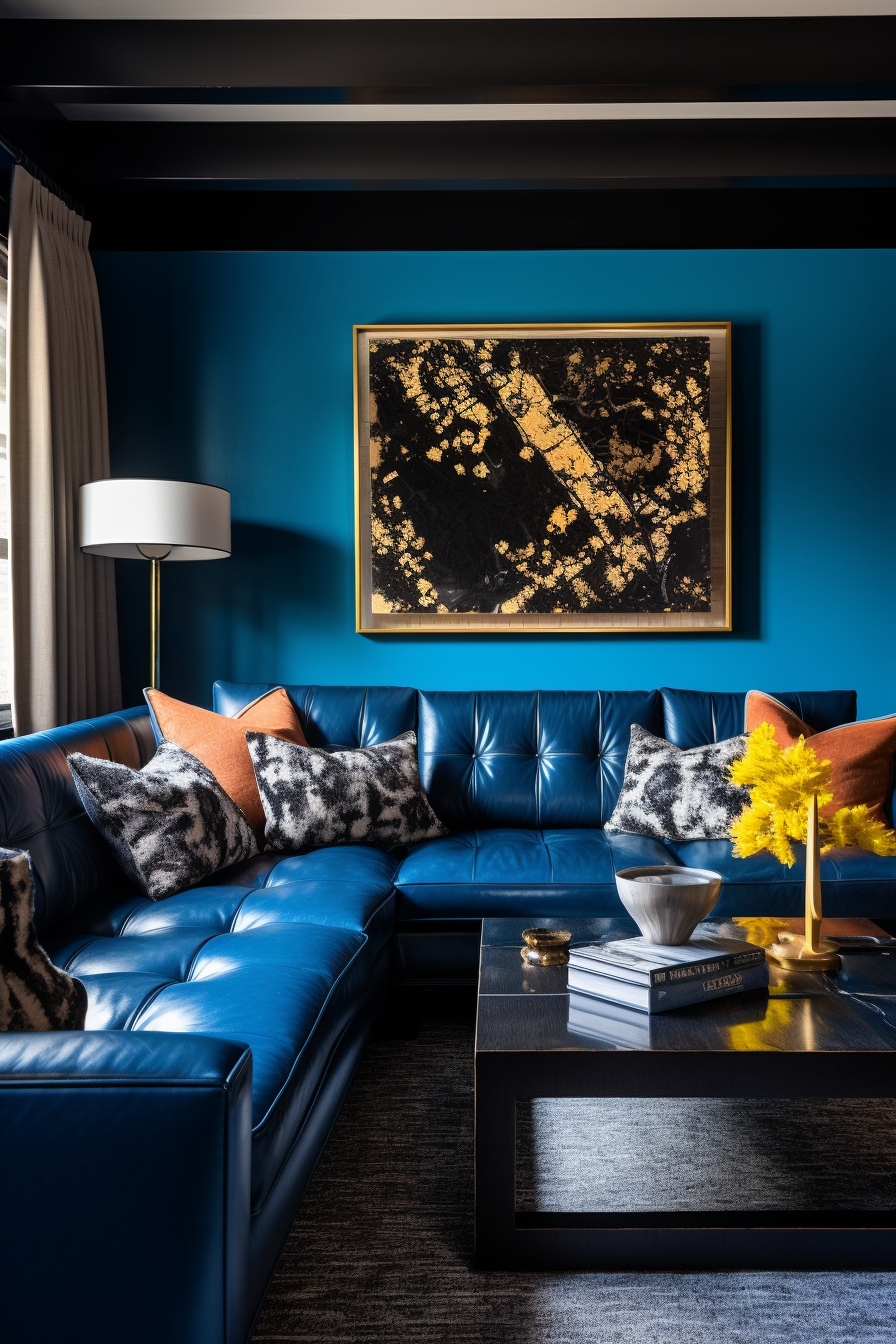
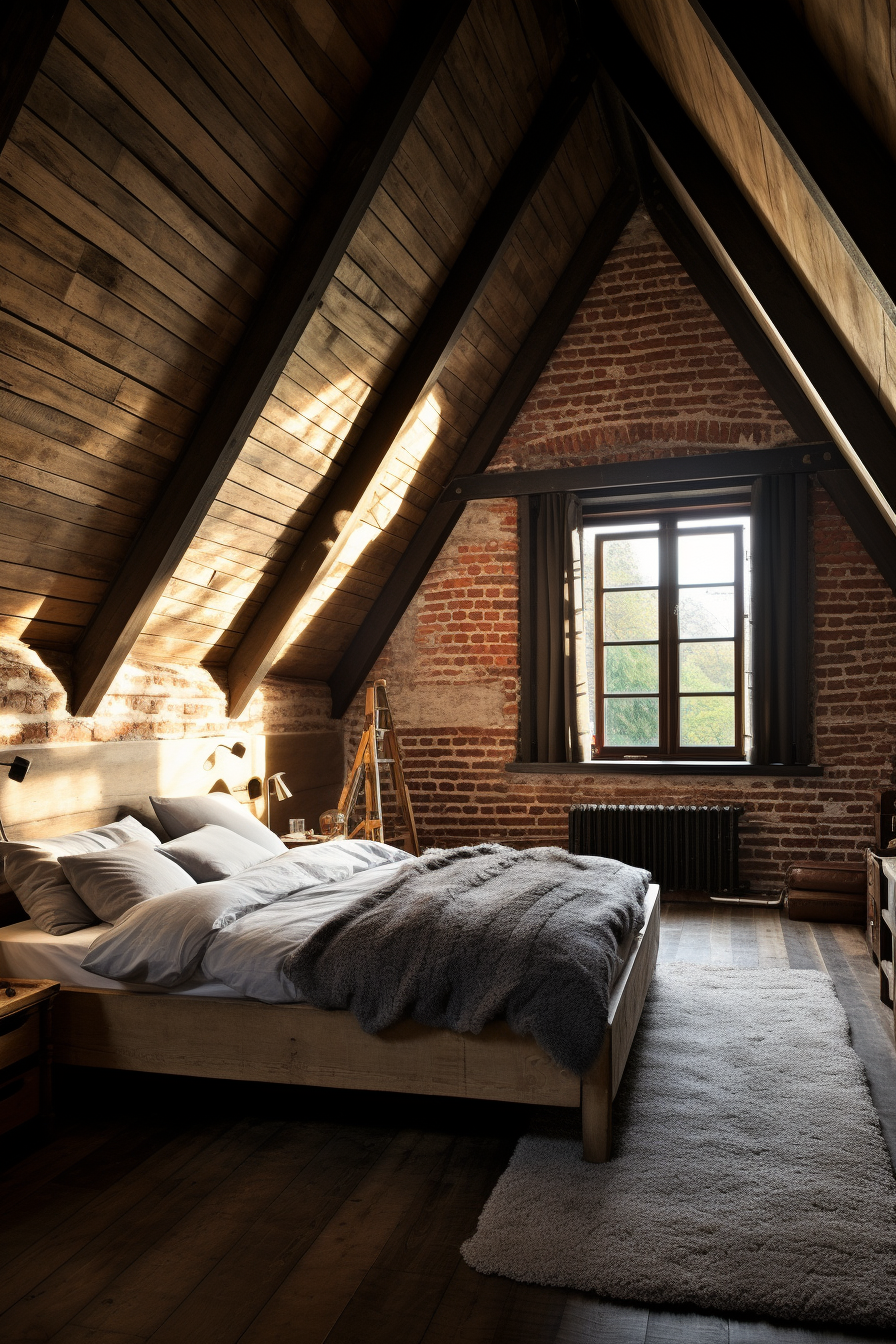
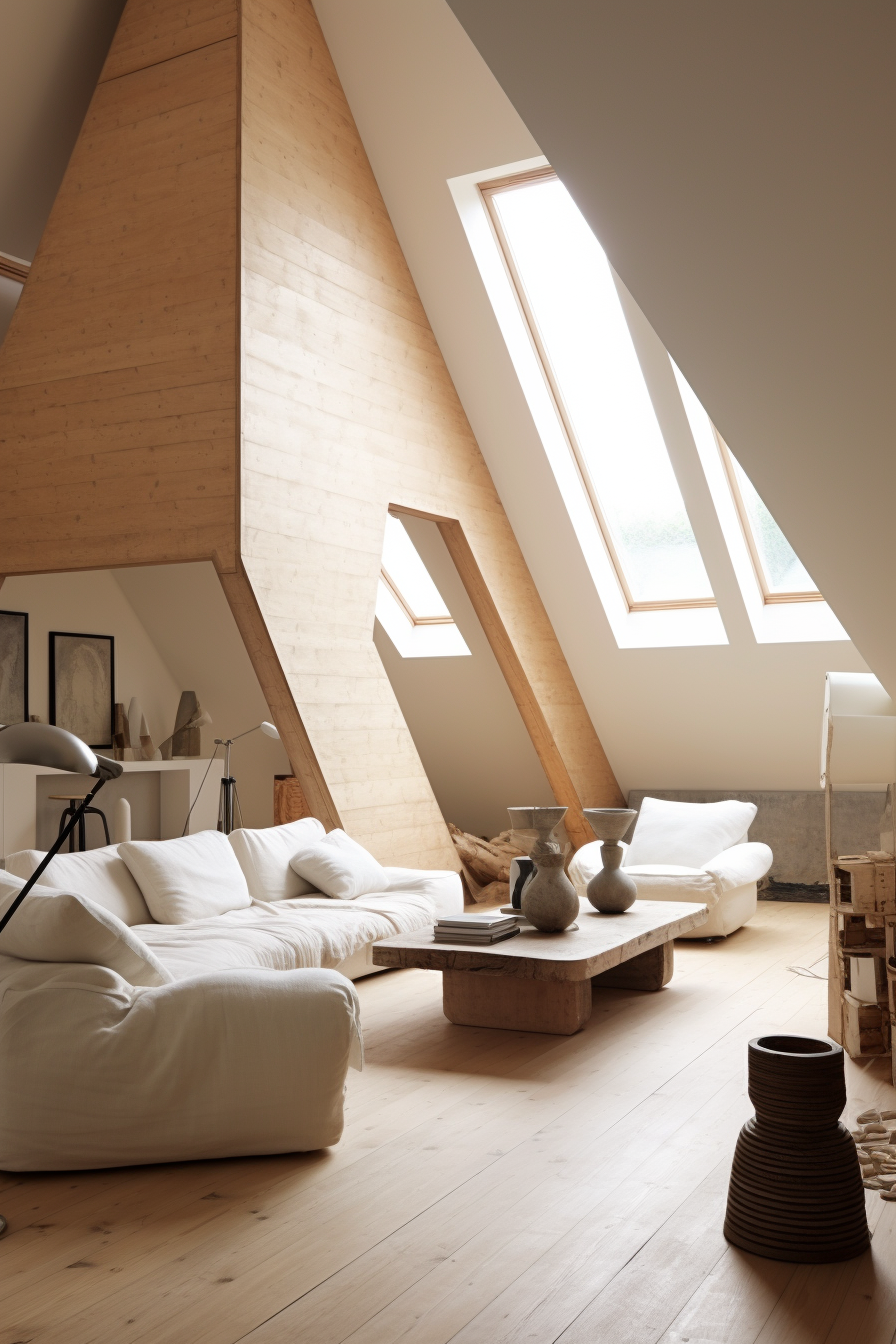
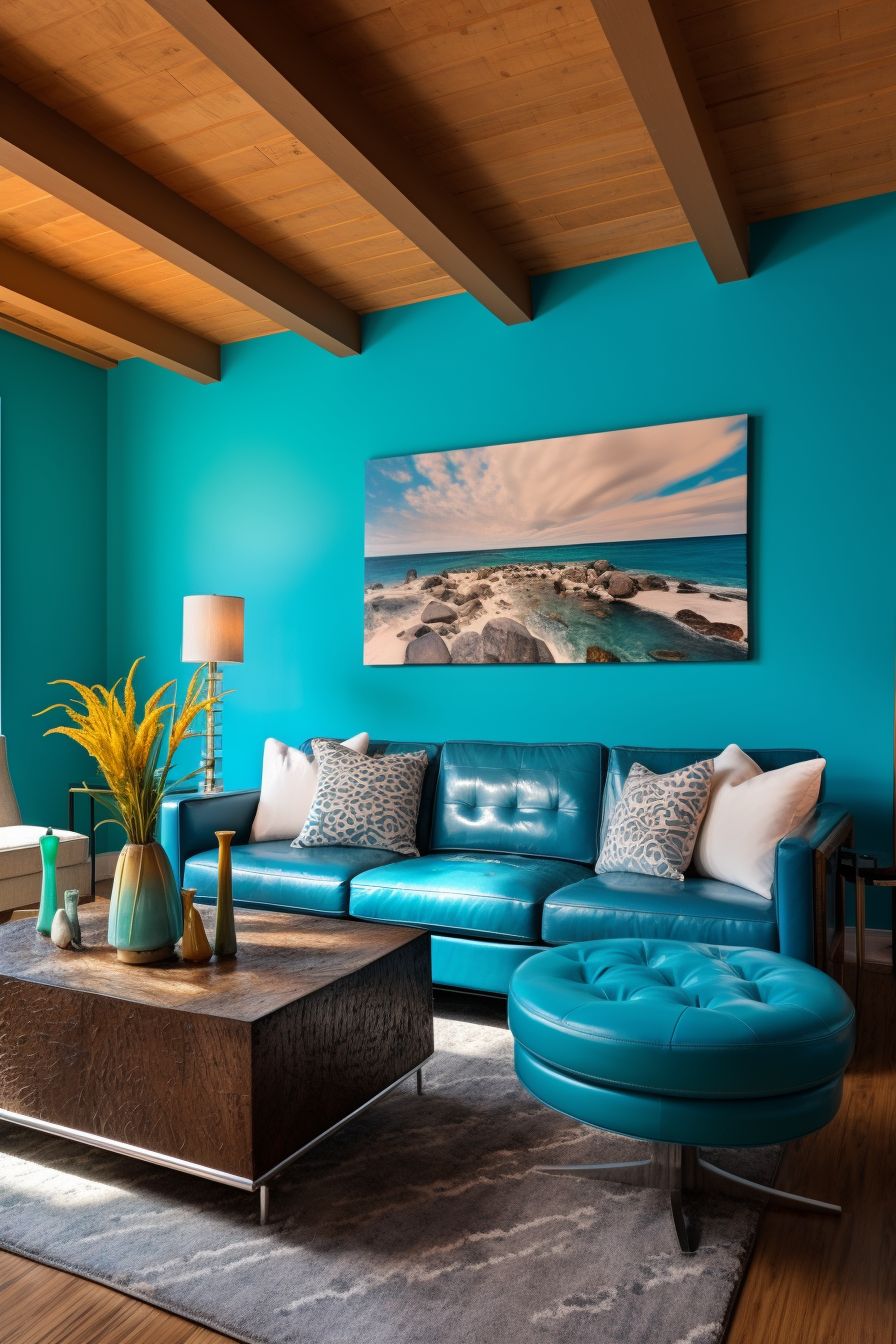
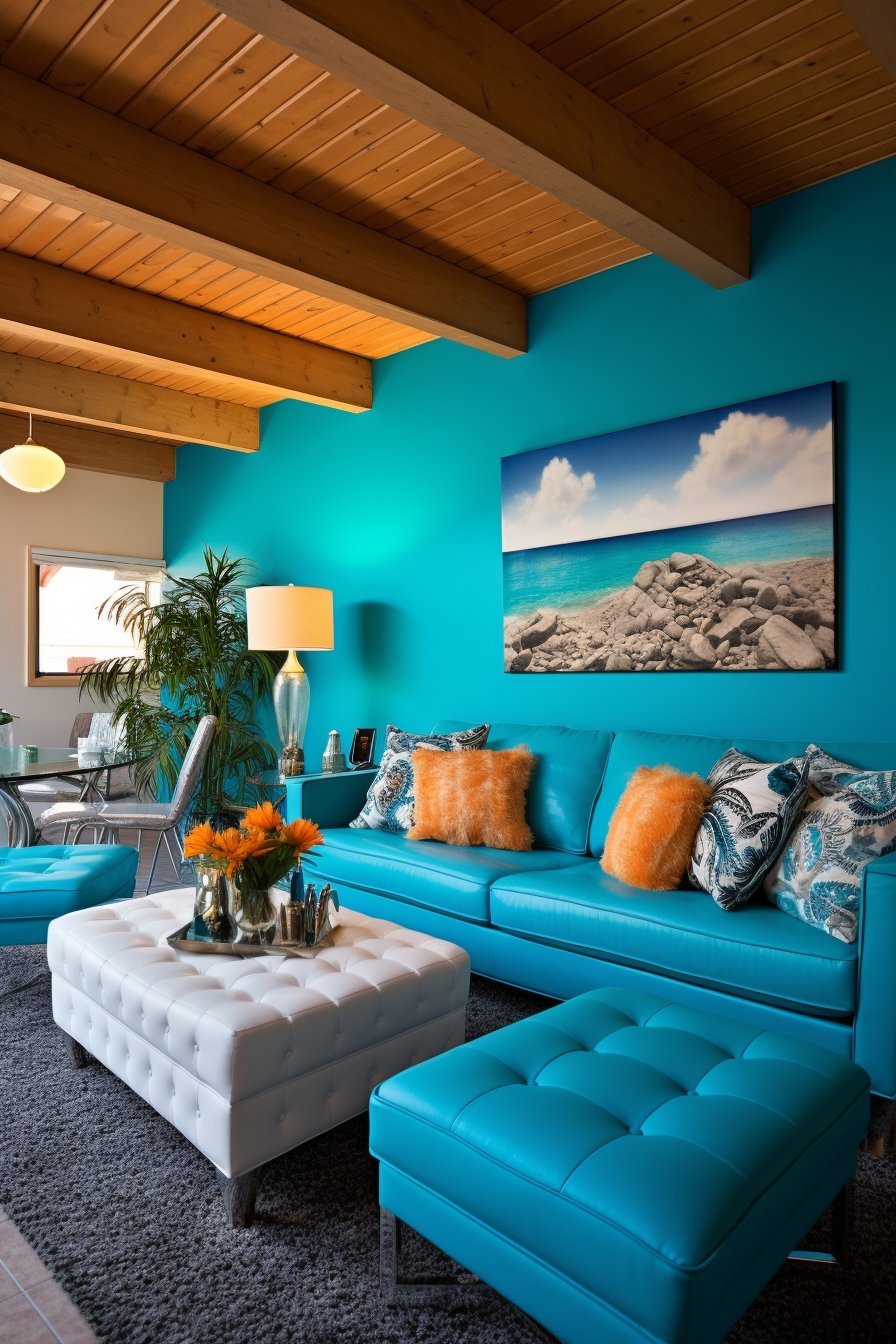
10. Contrasting Architecture
✅ Solution: Paint Ceilings the Wall Color
For rooms with architectural contrasts—like old exposed beams meeting new drywall—painting the ceilings the same color as the walls unified the aesthetic. Typically, ceilings are white, whereas accent walls often go bold. By extending accent colors overhead makes lower features feel intentional versus haphazard. Then, add matching trim and molding to tie everything together.
Key Takeaways:
- Extend accent walls overhead to the ceiling
- Paint beams trim the same tone as the wall color
- Unify clashing architectural aesthetics
Conclusion
With some designer tricks and strategic additions, even the most cramped, awkward space can feel cohesive and spacious. Use these color and lighting illusions to brighten dark rooms, streamline bulky architecture, optimize storage nooks, and identify multi-use zones. The right fixes can make small square footage live so much larger. Apply these solutions to refresh your home with an opened-up, stylish appeal.
Follow Quiet Minimal on Pinterest for more home design tips and inspiration.