Decorating a large, empty wall can be an intimidating task. However, with creativity and personal flair, you can transform that blank space into a gorgeous focal point filled with memories, art, and visual interest.
Incorporating personalized or DIY elements allows you to add special touches that reflect your style, interests, and story.
This guide will provide tips and inspiration for installing customized art installations using items you already own or can easily make yourself. From framed photos and posters to handmade tapestries and craft collages, the possibilities are endless.
Follow our step-by-step instructions to create a stunning accent wall or gallery display that wows your guests.
Assessing Your Wall Space
Before beginning any wall installation project, carefully evaluate the area you intend to decorate. Consider the wall’s dimensions, architecture, light exposure, and purpose within the room.
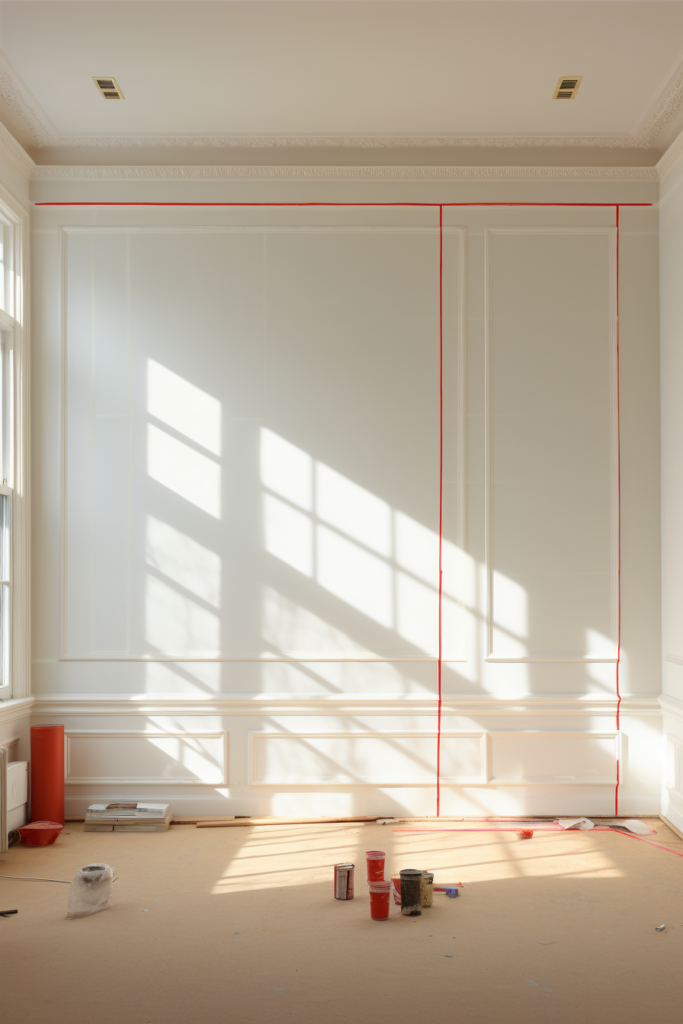
A large, unobstructed area with plenty of natural light provides the perfect canvas for an eye-catching focal point. Measure to determine the precise height and width you have to work with. This will allow you to plan what types of pieces to include and how to arrange them.
Takeaways:
- Measure the area’s height, width, and architectural features
- Evaluate light exposure and room purpose
- Precise measurements allow better planning
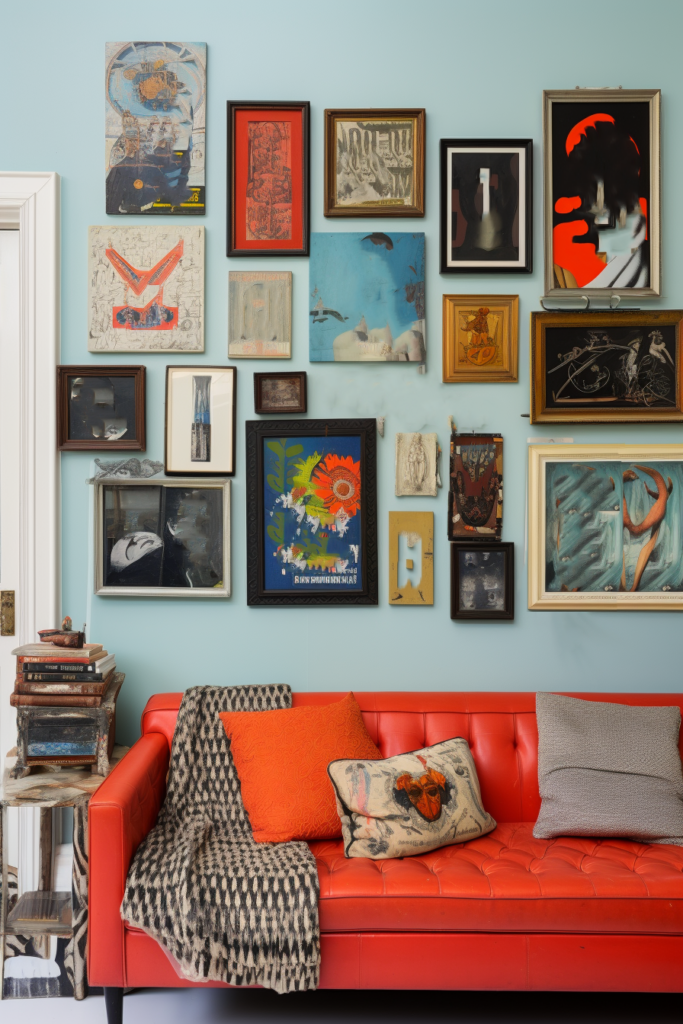
Collecting Meaningful Pieces
The beauty of personalized art installations lies in telling a visual story with cherished items. Comb through your home and collections for pieces with nostalgic or sentimental value. Photographs capturing special memories work beautifully.
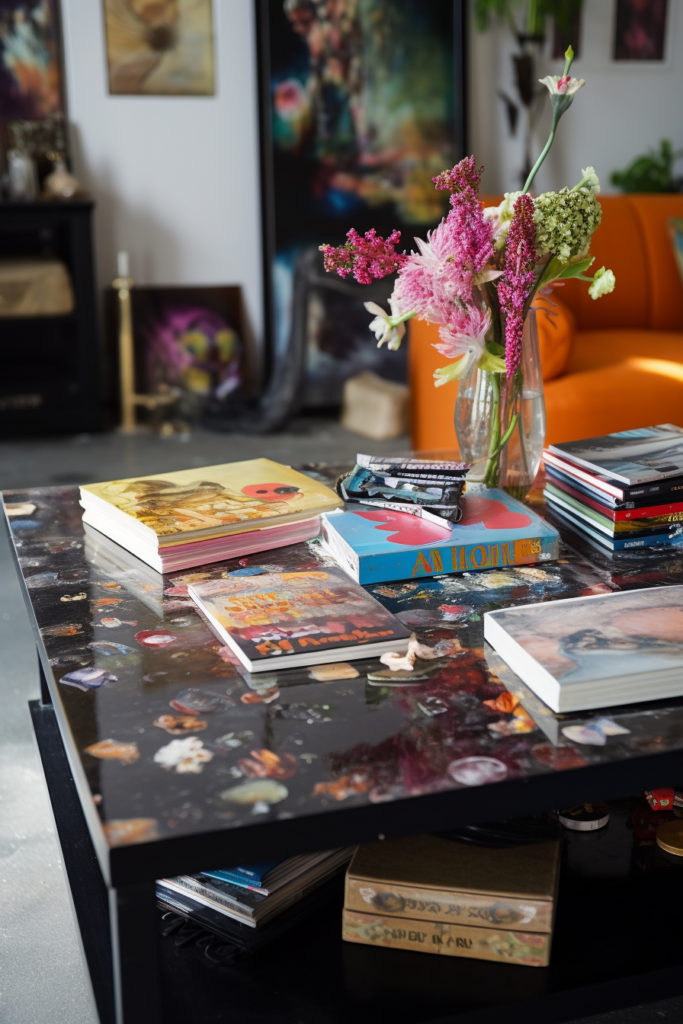
If you played an instrument growing up, display the sheet music from your favorite song. Showcase concert ticket stubs, postcards from past travels, or artwork created by loved ones. Collections of natural objects like seashells or leaves can add organic texture. Once curated, arrange items by color, theme, or chronology to create cohesiveness.
Takeaways:
- Gather nostalgic photos, memorabilia, natural objects
- Arrange by color, theme, or chronology
- Tell a visual story with cherished items
Sourcing Unique Wall Décor Elements
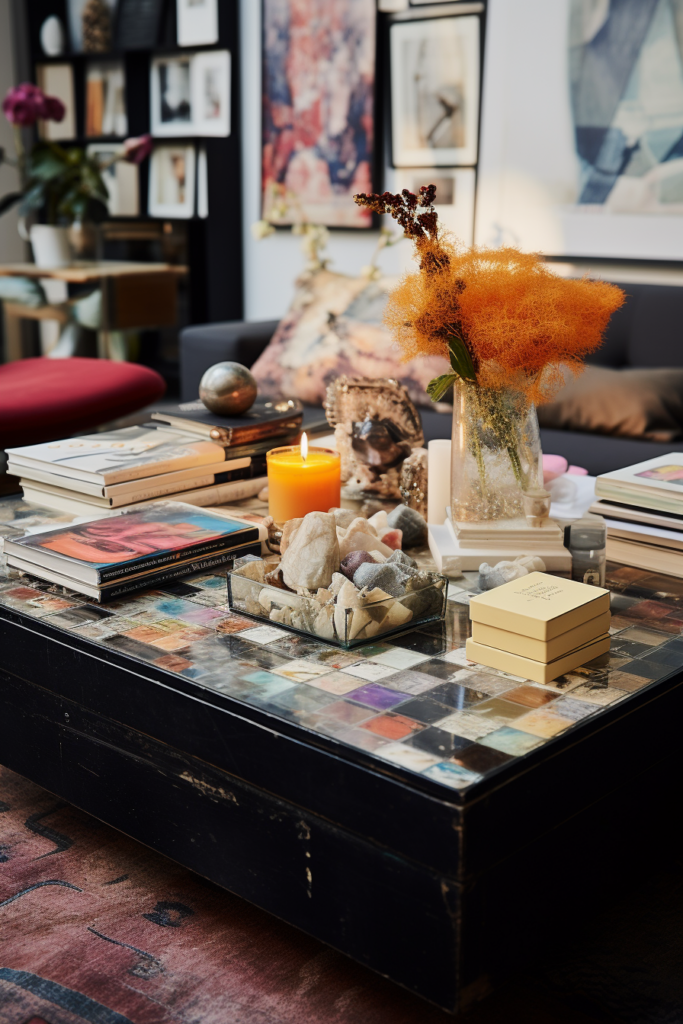
Beyond personal mementos, customize your art display with store-bought pieces that capture your tastes and personality. Visit local antique shops and flea markets to uncover unique vinyl records, vintage advertisements, retro metal signs, and other decorative flair.
Frame eye-catching fabric like bold floral prints or global textiles. Arrange found items like old door knobs, pipes, or architectural salvage in artistic patterns. The goal is to mix classic accessories with unconventional flair for lots of visual interest.
Takeaways:
- Source unique decorative items from antique shops
- Frame eye-catching fabric prints or textiles
- Repurpose salvaged architectural elements
Preparing Your Frames and Boards
An essential step in installing a wall collage or gallery is properly preparing each frame or board. First, gather blank canvases, boards, frames with glass covers, floating frames without glass, shadow boxes, and multi-opening mats suitable for the pieces you’ve collected.
Carefully measure each item and the area it will fill. Record measurements to aid precise positioning during installation. Clean all frames and boards thoroughly before use. Paint, stain, or decoupage frames as desired to coordinate colors.
Attach D-rings or sawtooth hangers to lighter pieces. Anchor braces, reinforced hangers, or French cleats for heavier objects using a stud finder and heavy-duty hardware.
Takeaways:
- Gather a variety of blank frames, canvases, boards
- Clean and paint/stain frames as needed
- Measure precisely and attach appropriate hangers
- Install reinforced hangers for heavy items
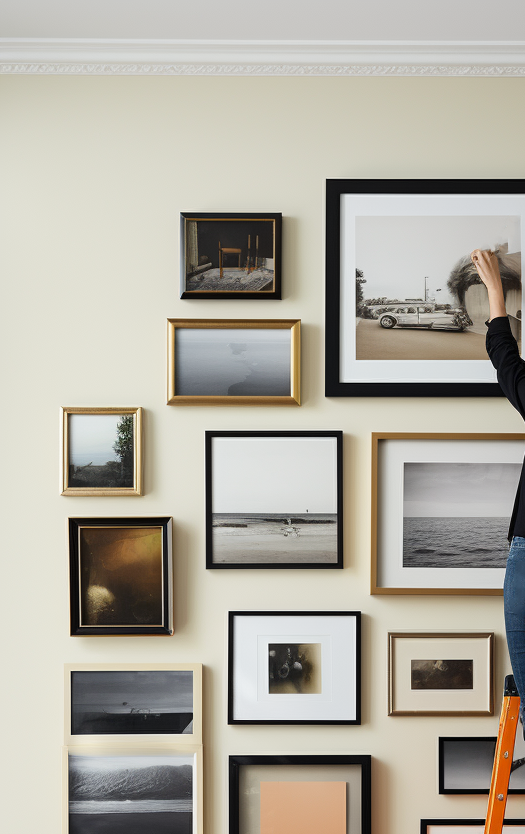
Designing Your Layout
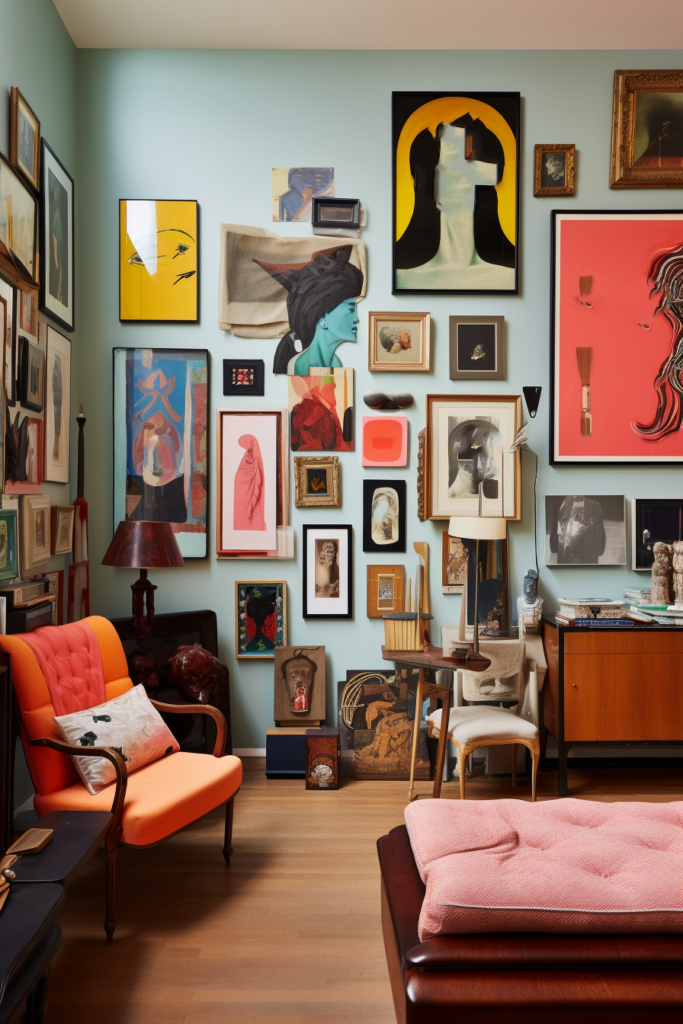
Before drilling holes or nailing frames, map out your desired arrangement. Play with positioning items at various heights, orientations, sizes, and densities across the wall surface. Generally, hanging items in triangular formations or diagonal lines creates the most aesthetically pleasing outcome.
Additionally, intentionally varying shapes, textures, sizes, and colors help the eye move dynamically across the entire installation. Ensure sight lines between pieces relate logically. Once your layout is complete, trace frame edges lightly in pencil directly on the wall. Number corresponding anchor hole locations with removable labels or tape.
Takeaways:
- Experiment with arrangements before installing
- Vary textures, sizes, and colors to create movement
- Trace outlines lightly before drilling holes
- Label anchor holes to match frames
Hanging Your Installation
With your roadmap ready, begin physically installing pieces using your pre-marked guide. We recommend starting centrally and working methodically outwards. Carefully measure and laser-level each row before drilling anchor holes and screwing in hooks.
When hanging, especially weighty items like shadow boxes, use reinforced attachments secured firmly in wall studs. For lighter pieces with standard integrated hangers, hollow drywall anchors provide reliable support. Take your time accurately anchoring every frame according to your layout.
Once all infrastructure is solidly installed, mount corresponding boards and canvases centered onto hooks. Voila! Step back and admire your customized art display!
Takeaways:
- Work methodically from the center outwards
- Use studs for heavy items drywall anchors for lighter pieces
- Carefully measure/level every row
- Mount all infrastructure before hanging frames
- Appreciate your finished personalized installation!
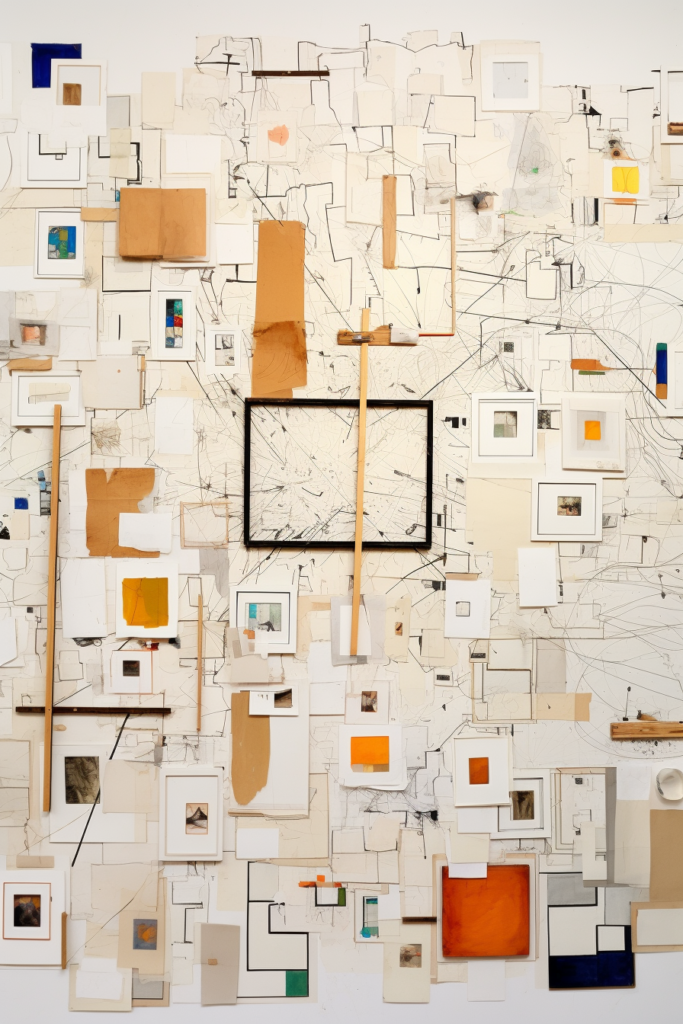
Embracing Empty Space
When organizing an array of different pieces across a large wall, embrace strategic empty space between items. Allowing breathing room prevents a cluttered feeling and highlights each individual element. Additionally, negative space creates tempting opportunities for future expansion with meaningfully acquired treasures.
Floating slim ledges discretely mounted on bare wall segments provide perfect platforms for displaying petite sculptures, vases, or framed photos without nails or hooks. Remember, restraint and cleanBacklines enable your most special artifacts to dazzle.
Takeaways:
- Allow breathing room around separate elements
- Negative space prevents a cluttered feeling
- Strategic emptiness highlights key pieces
- Discretely mount floating ledges in blank areas
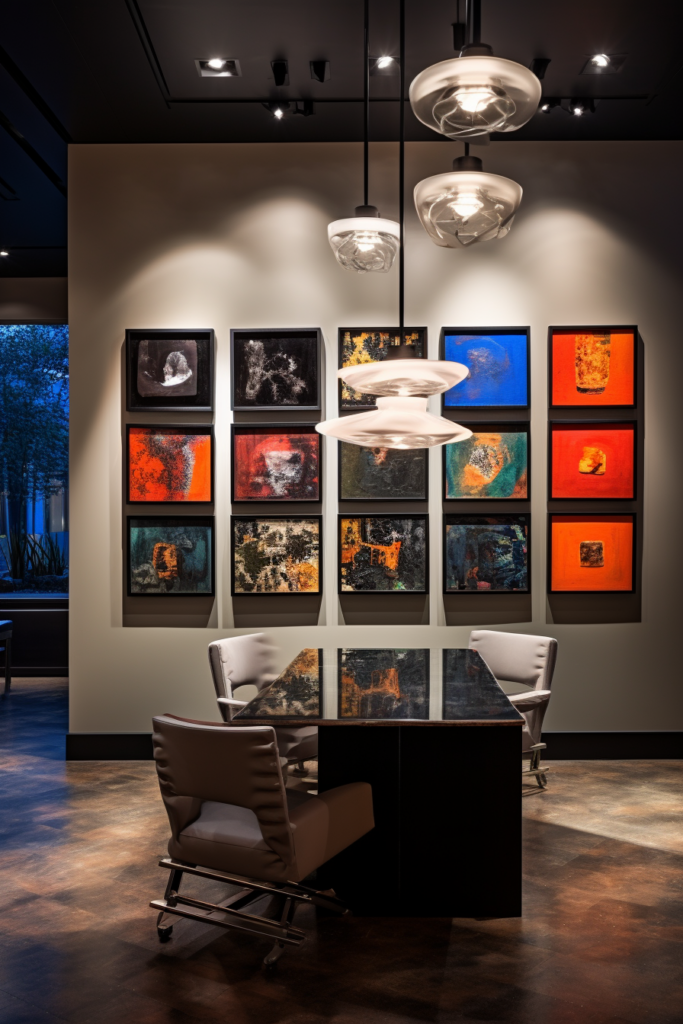
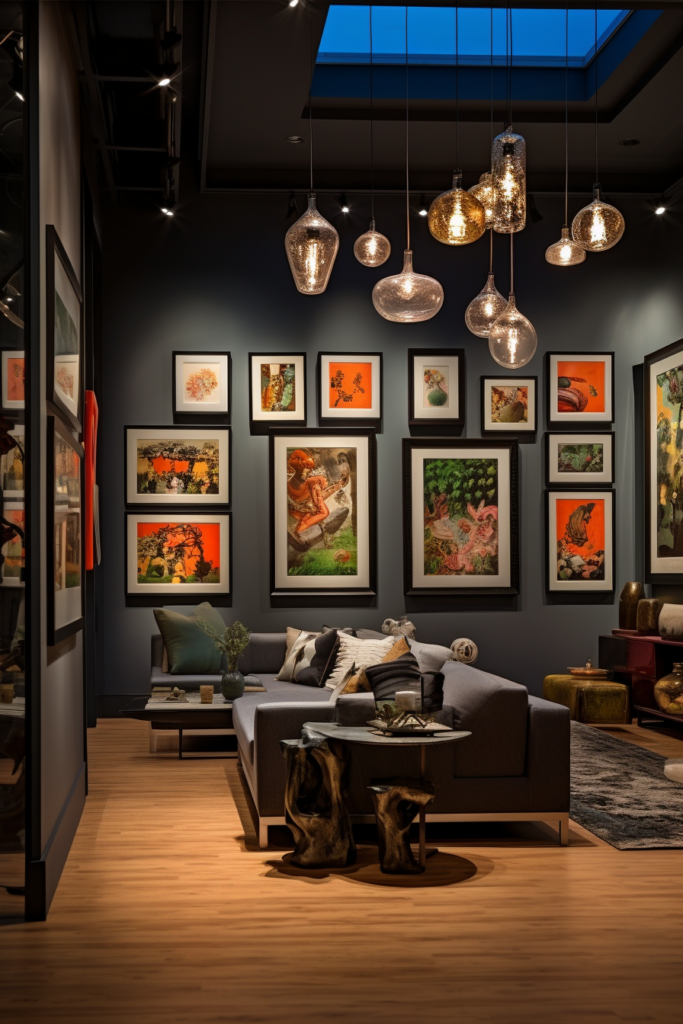
Illuminating Your Display
Properly illuminating your personalized art installation ensures it shines as the focal point it deserves to be. First, consider the existing light sources already flooding the wall, then supplement accordingly. Showcase shadow-boxed memorabilia, textural artwork, or brightly colored prints under attractive beam lighting.
Position adjustable gooseneck lamps to spotlight three-dimensional objects and intricate details. Discretely fix warm track lighting overhead to generate an inviting gallery feel after dark. Most importantly, avoid brightly washing out your entire collage with harsh overhead illumination. Combining several strategically placed light sources both highlights and creates visual depth.
Takeaways:
- Evaluate and supplement existing light sources
- Gooseneck lamps spotlight dimensional artwork
- Track lighting overhead creates a gallery ambiance
- Avoid brightly washing out details with harsh overheads
- Use multiple lights to highlight and add depth
Refreshing and Curating Over Time
One beauty of personalized wall installations is the freedom to gradually modify your arrangement over months or years. As your interests and keepsake collection evolve, rotate beloved artifacts in and out of blank multi-opening mats and floating frames.
Introducing new colorful paintings, photos, or clever trouvailles prevents your display from becoming tired or static. Additionally, rearranging groupings around structured architectural elements like windows or doors revitalizes the layout with minimal effort. Welcoming new treasures while respectfully archiving past chapters will organically enhance your customized focal point.
Takeaways:
- Rotate keepsakes in/out of multi-opening frames
- Refresh with new colorful paintings/photos over time
- Rearrange groupings around architectural elements
- Continually enhance layout with new meaningful treasures
Final Takeaways
Installing an artistic accent wall covered in cherished photos, keepsakes, and handmade elements allows you to stare at more than just blank drywall. While the process requires collecting or creating special pieces, adequate preparation, and careful installation, the personalized outcome injects personality into any room.

Evaluating your existing architecture, lighting, and furnishings ensures a cohesive style. Precision mapping encourages playful experimenting with arrangements before permanent anchoring.
Embrace negative space as an opportunity to spotlight favorite finds rather than crowding every inch. Lastly, allow your growing interests and future travels to inform curation changes over time. Thoughtfully customize an environment reflecting your story of you!
Overall Takeaways:
- Transform a blank wall into an artistic focal point
- Preparation and precision mapping enable creativity
- Negative space spotlights favorites rather than crowding
- Allow future interests/keepsakes to inform changes over time
- Customize an environment reflecting your unique story!
Conclusion
Filling a blank wall with favorite photos, keepsakes, memories, and living plants breathes fresh life into any space. Strategically mapping the ideal arrangement based on architecture and light enables playful experiments with personalized possibilities.
Remember, thoughtfully curate while embracing occasional negative space and changes over time. Step back proudly once your artistic DIY focal point reflects the colorful story uniquely you! We hope this guide provided helpful tips and inspiration for your next customized wall installation.
Follow Quiet Minimal on Pinterest for more home design tips and inspiration.