Arranging a showstopping gallery wall requires both artistry and strategy. Follow these techniques to curate a visually captivating display that wows.
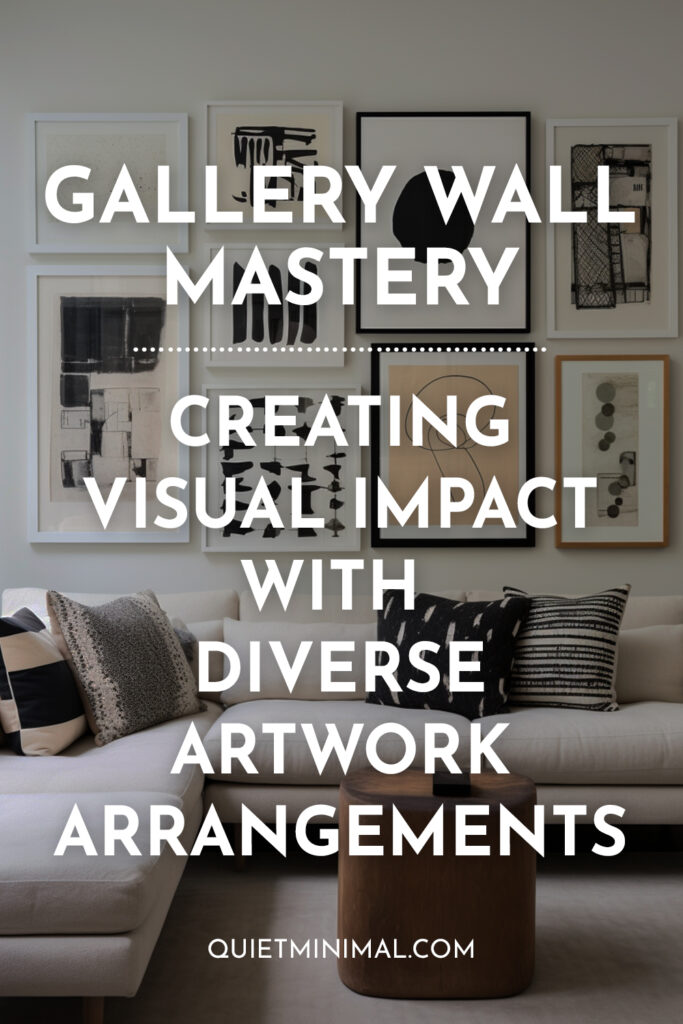
Lacking Unity Between Artwork
When grouping diverse artwork, create unity among pieces while letting each stand out.
✅ Solution: Vary Sizes and Frames While Maintaining Consistency
- Step 1) Collect artwork you want to display and organize into color stories or themes.
- Step 2) Select frames that are complementary in color and style. Keep frame widths the same thickness for cohesion.
- Step 3) Arrange framed pieces from large to small in a balanced asymmetrical pattern before hanging.
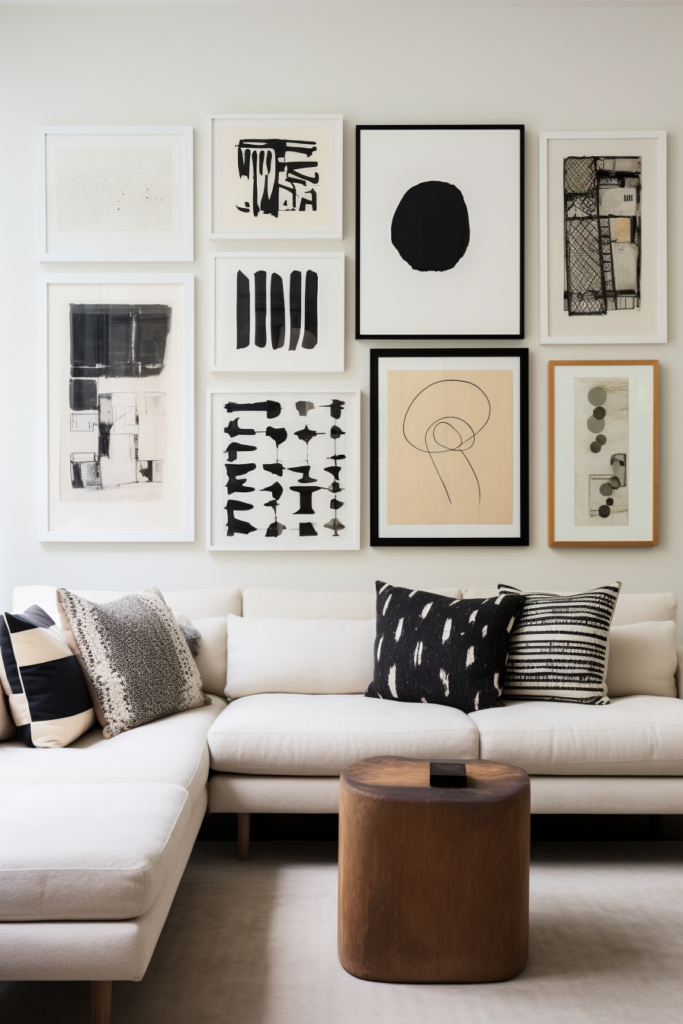
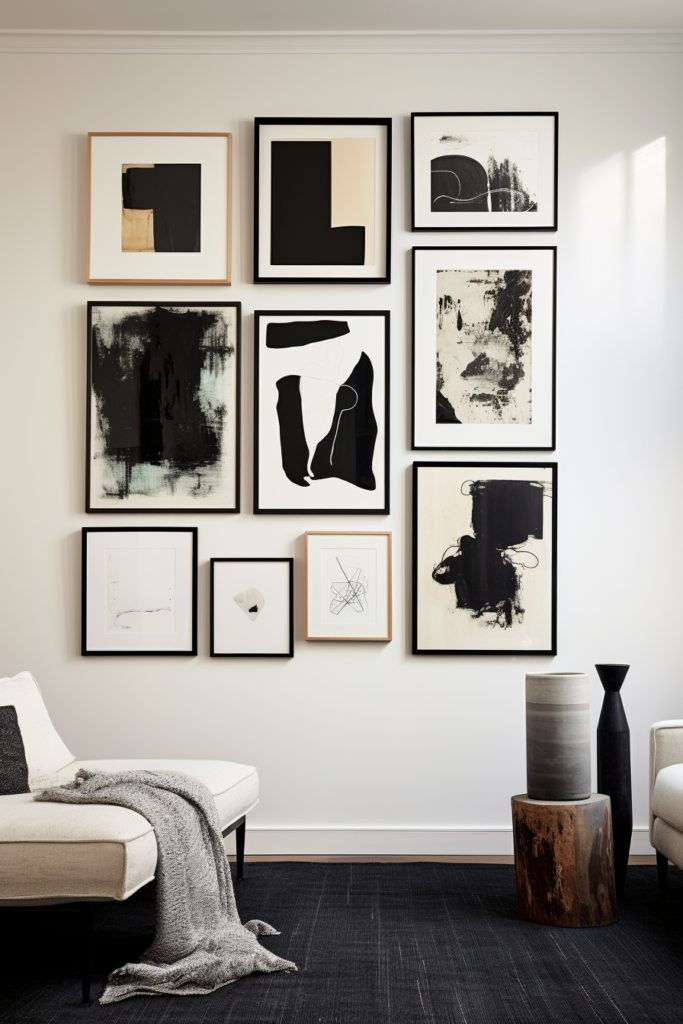
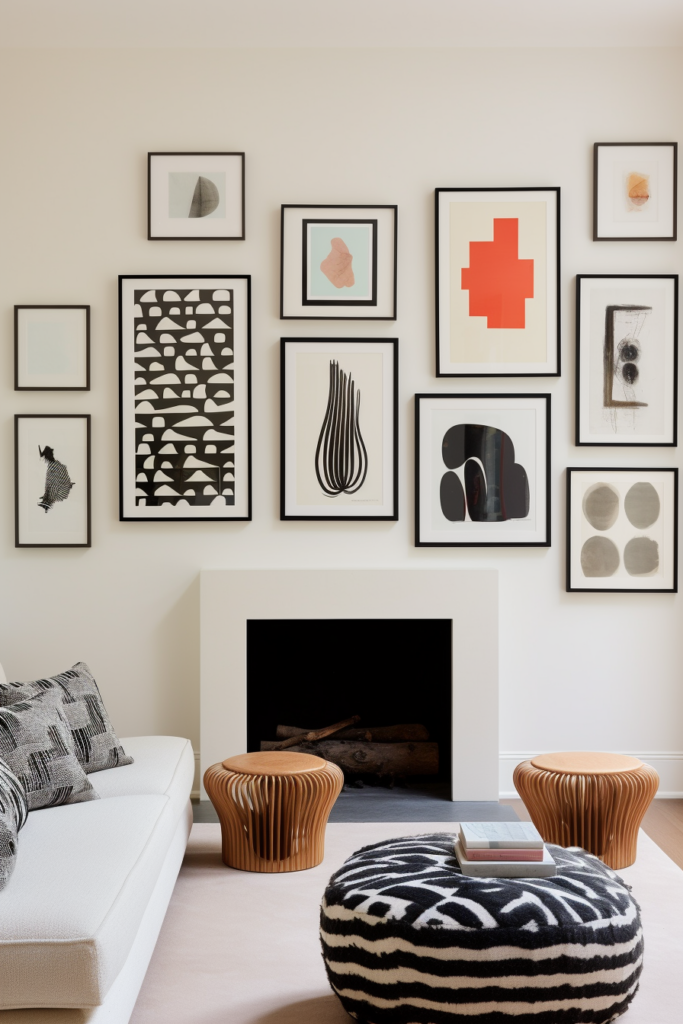
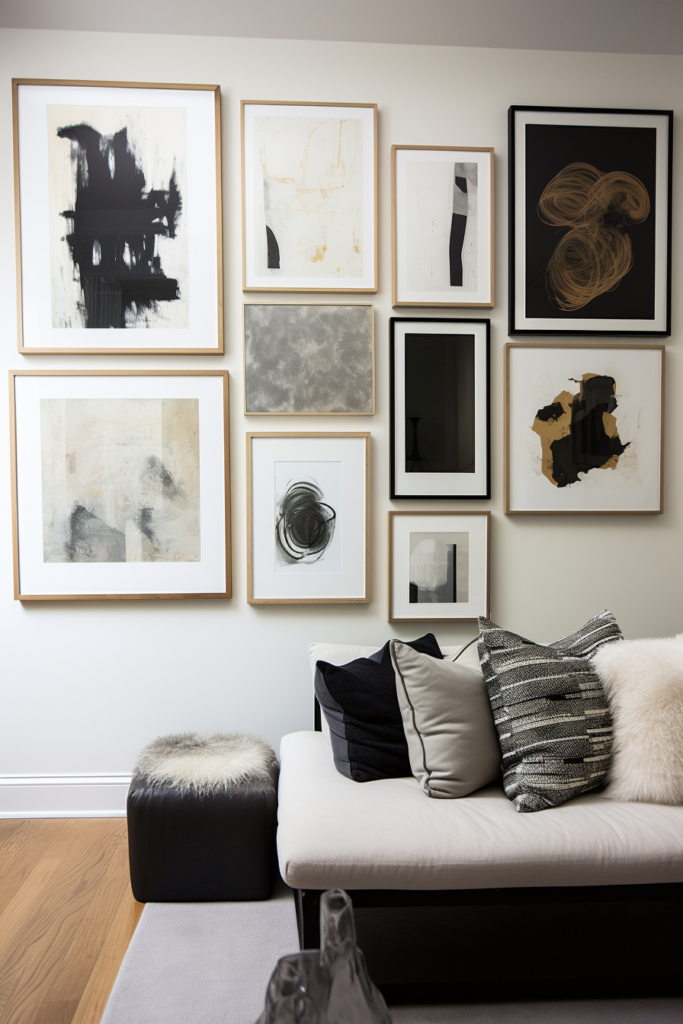
Takeaways:
- Frame widths should be identical
- Group color palettes together
- Use transitional pieces between color stories
Choosing Artwork That Overwhelms the Wall
Carefully scale artwork to complement your wall size rather than dominate.
✅ Solution: Layer Artwork in a Curve
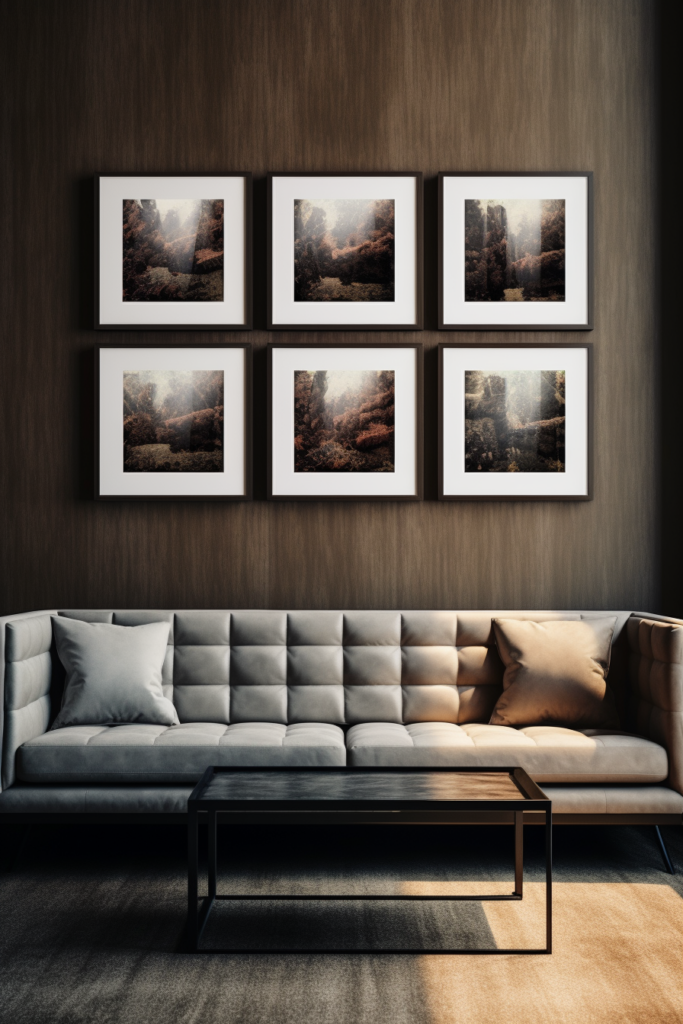
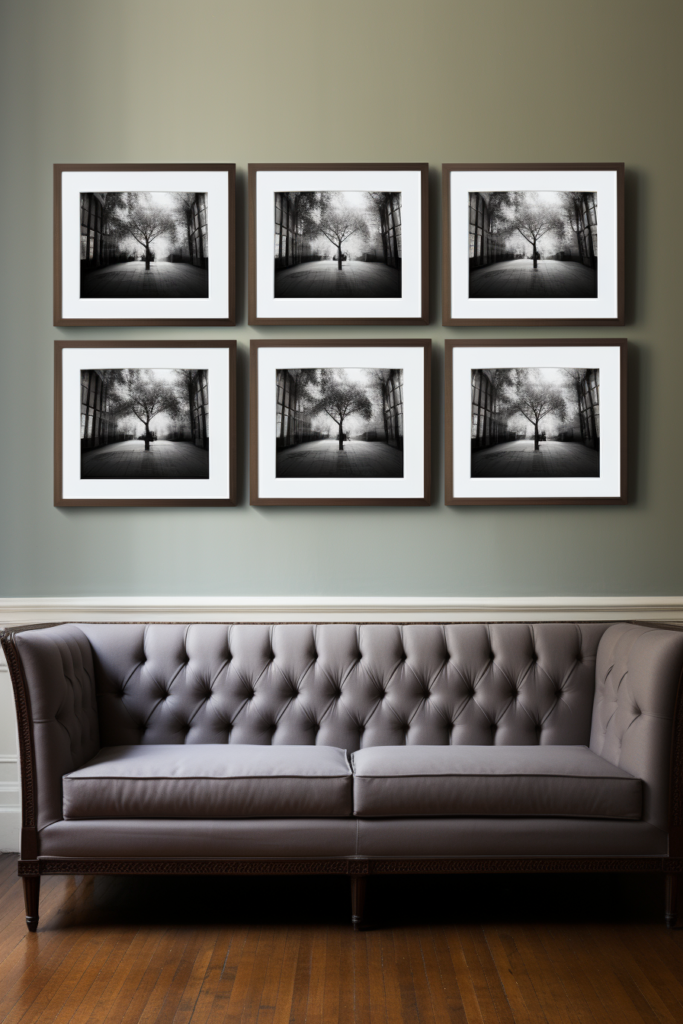
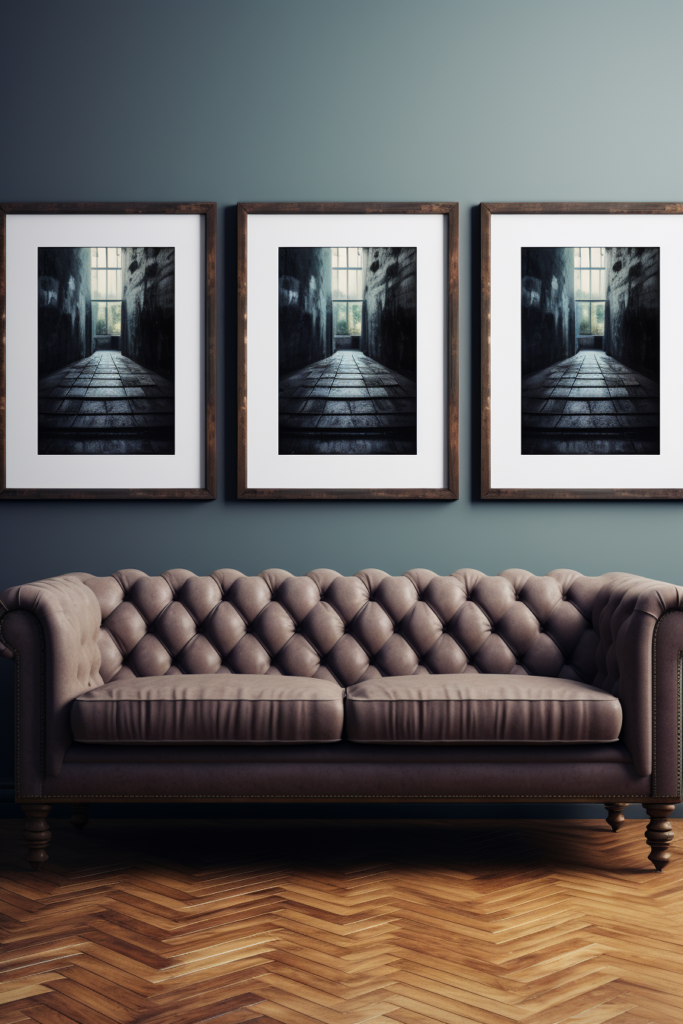
Step 1) Lightly sketch a curved line across your wall spacing to map artwork placement.
Step 2) Select a large anchor piece for the center then flank with smaller increasing and decreasing sized pieces.
Step 3) Adjust artwork along the curved guideline, standing back frequently to check sightlines.
Takeaways:
- Map curved placement lines
- Anchor center then scale up and down sizes
- Frequently stand back to perspective check
Struggling with Gallery Wall Spacing
Getting spacing just right creates flow, while too close or too far separates pieces.
✅ Solution: Overlap Edges Strategically
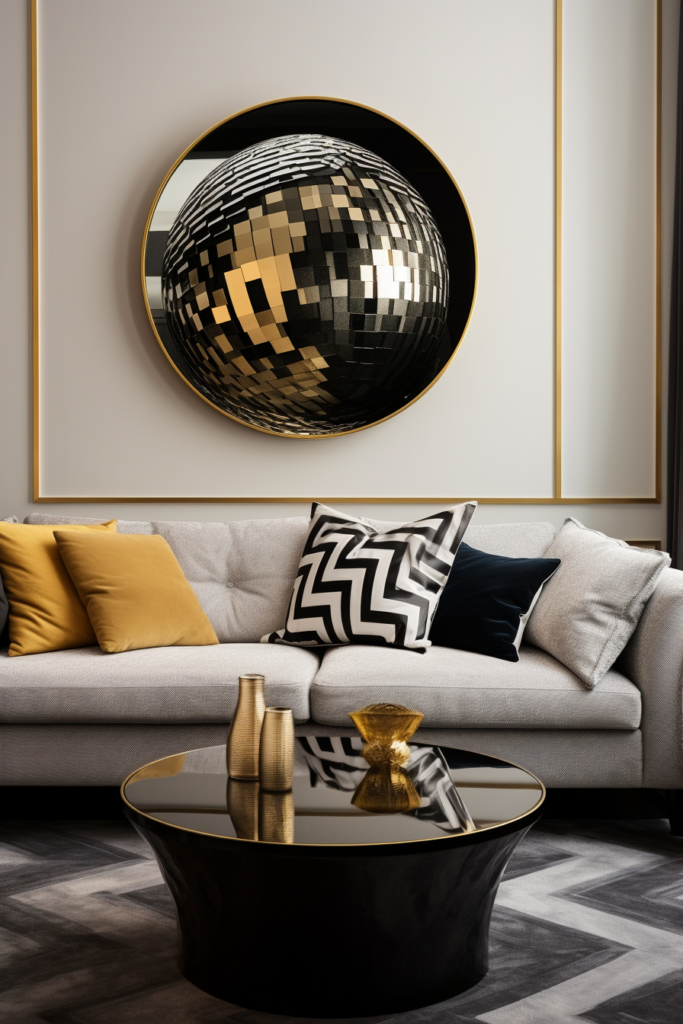
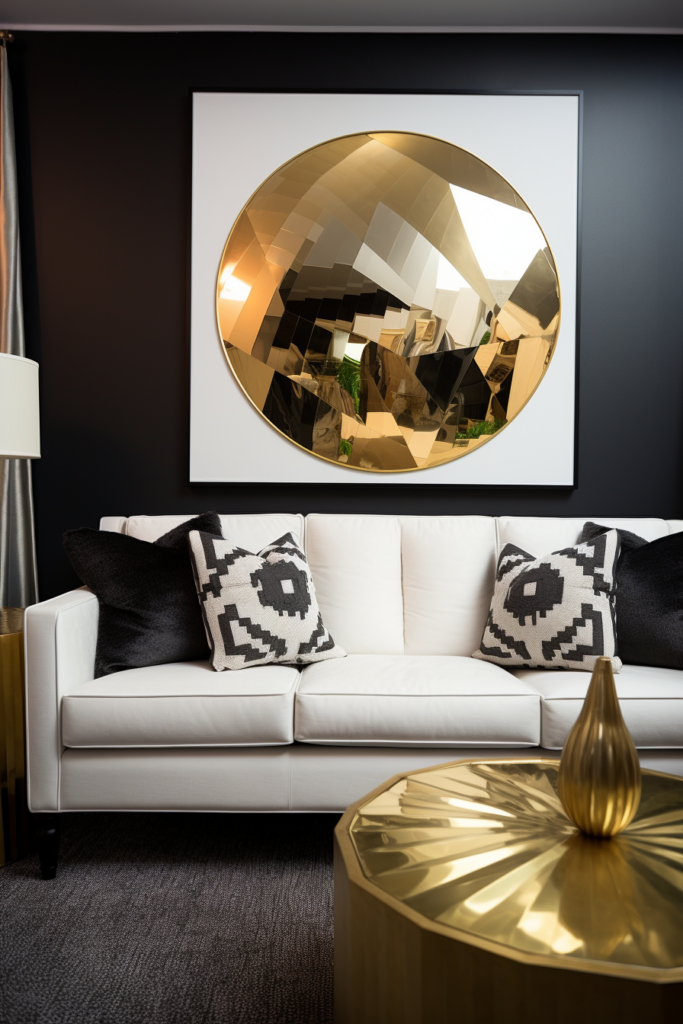
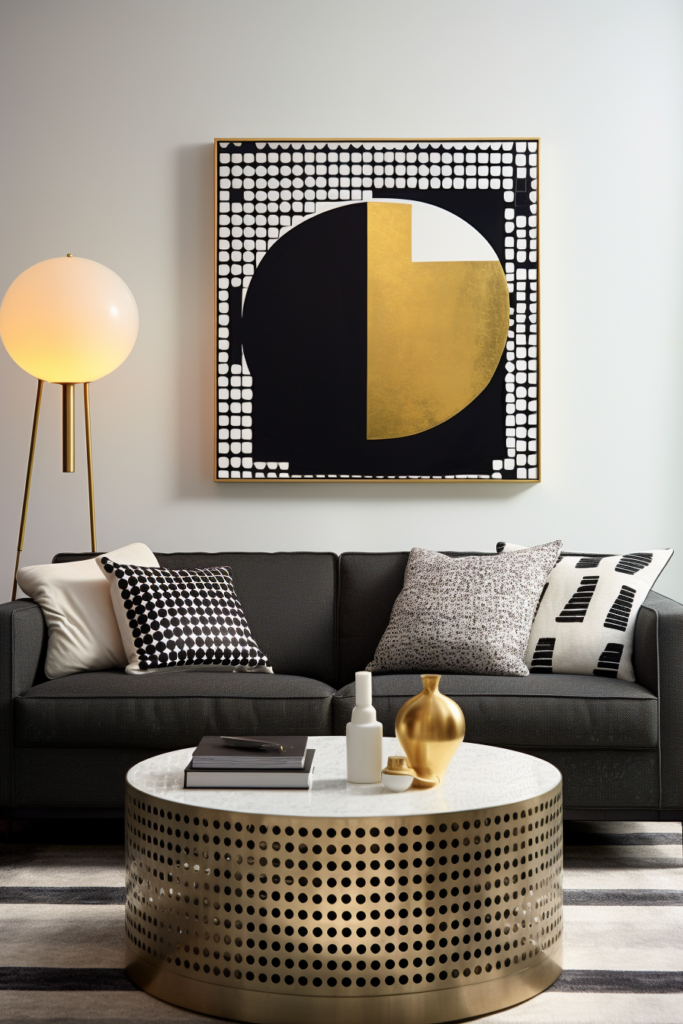
- Step 1) Mark frame corners with removable adhesive tabs to map spacing.
- Step 2) Hang cornerpieces, then position edge pieces overlapping 1-3 inches.
- Step 3) Check for visual balance and make minor adjustments as needed.
Takeaways:
- Use removable tabs to map artwork placement
- Overlap edges in 1-3 inch increments
- Fine tune adjustments for ideal flow
Unsure How to Arrange Unexpectedly Shaped Pieces
Unconventionally shaped pieces require thoughtful positioning but make bold statements.
✅ Solution: Contrast Organic and Geometric Shapes
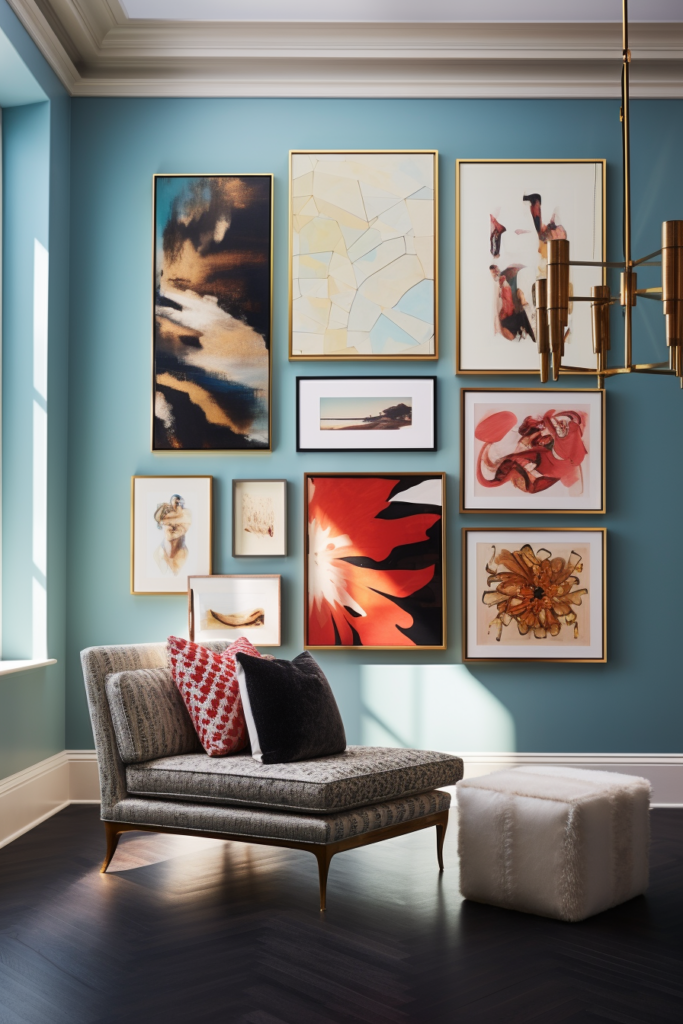
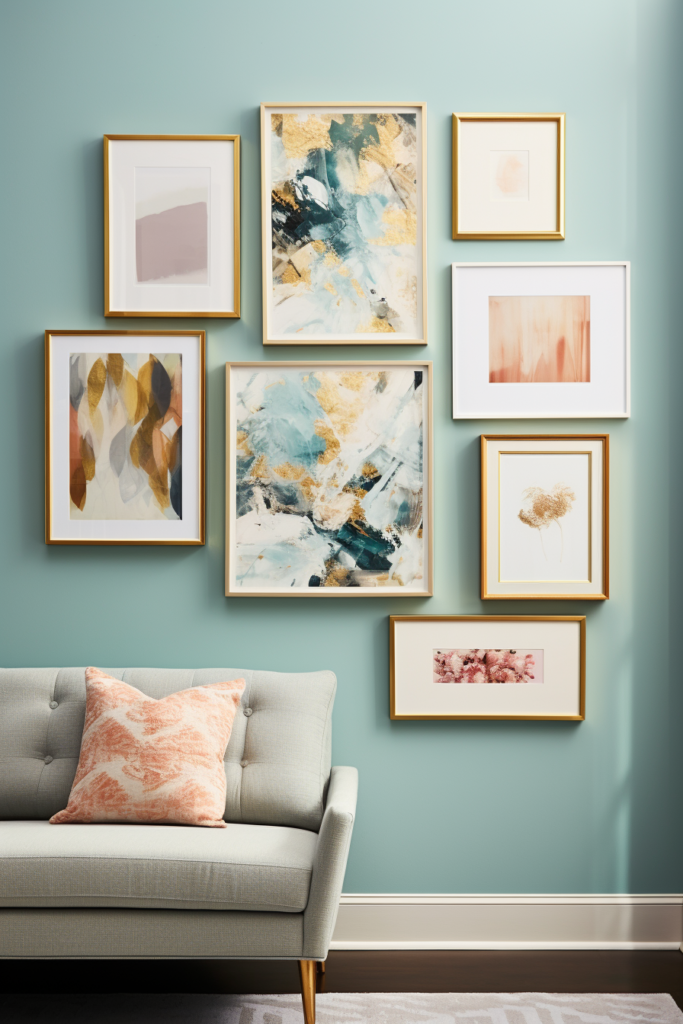
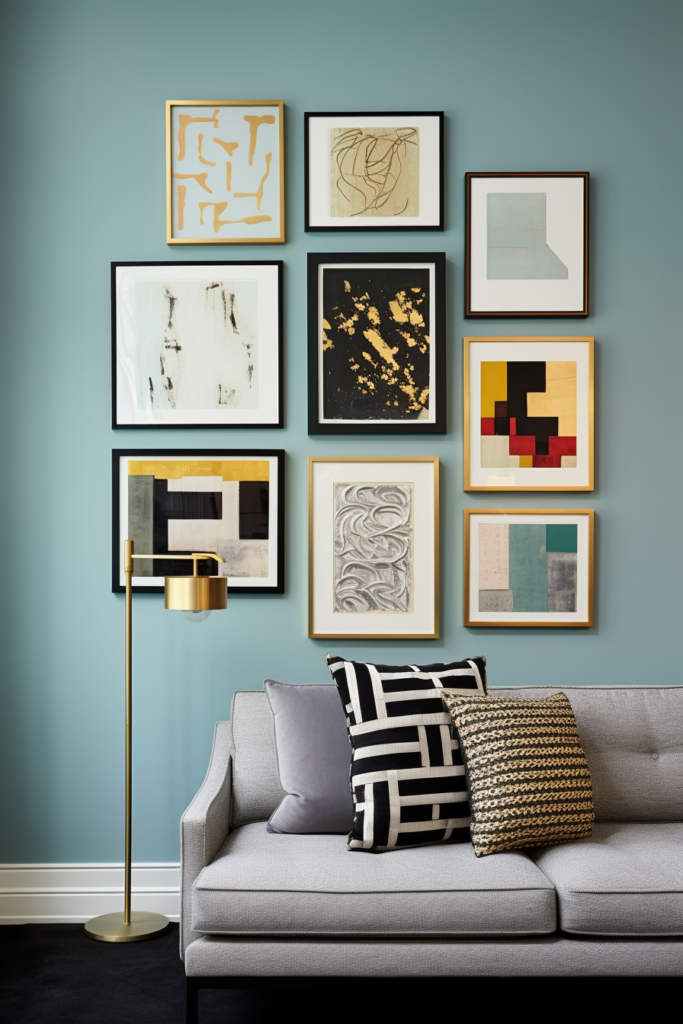
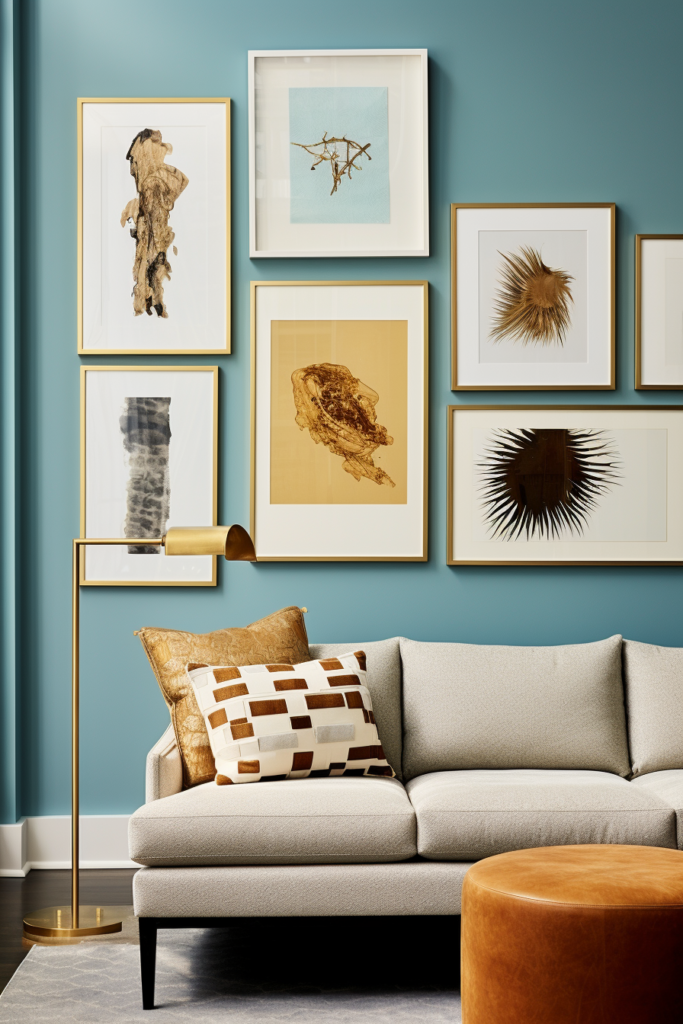
- Step 1) Select artwork with shapes of varying geometric and organic nature.
- Step 2) Experiment with arrangements contrasting shapes next to one another.
- Step 3) Hang geometric pieces in orderly rows while scattering organic pieces between more freely.
Takeaways:
- Contrast geometric and organic shapes
- Test out high-impact arrangements
- Intersperse organic pieces freely among orderly ones
Unsure How High or Low to Hang Artwork
With multi-level gallery walls, establish a uniform baseline height for cohesion.
✅ Solution: Create Height Variation
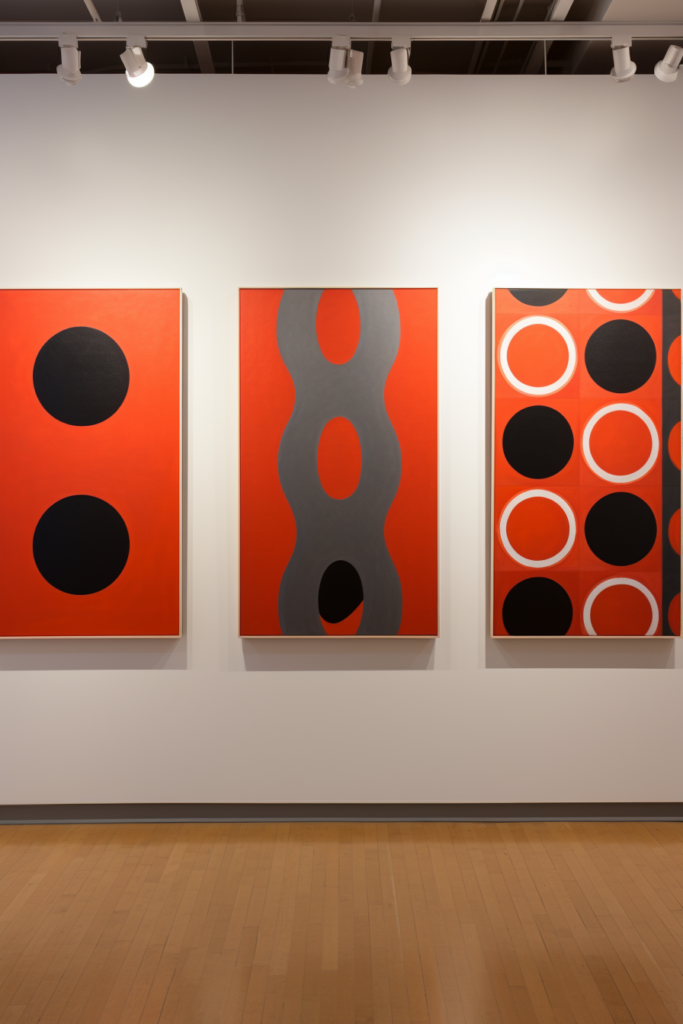
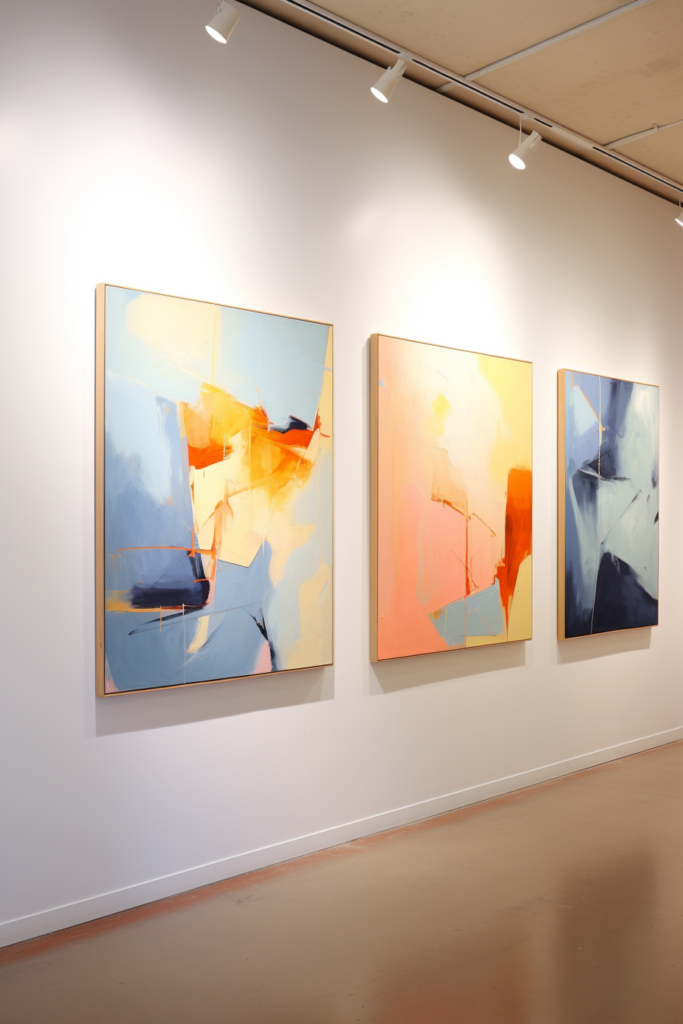
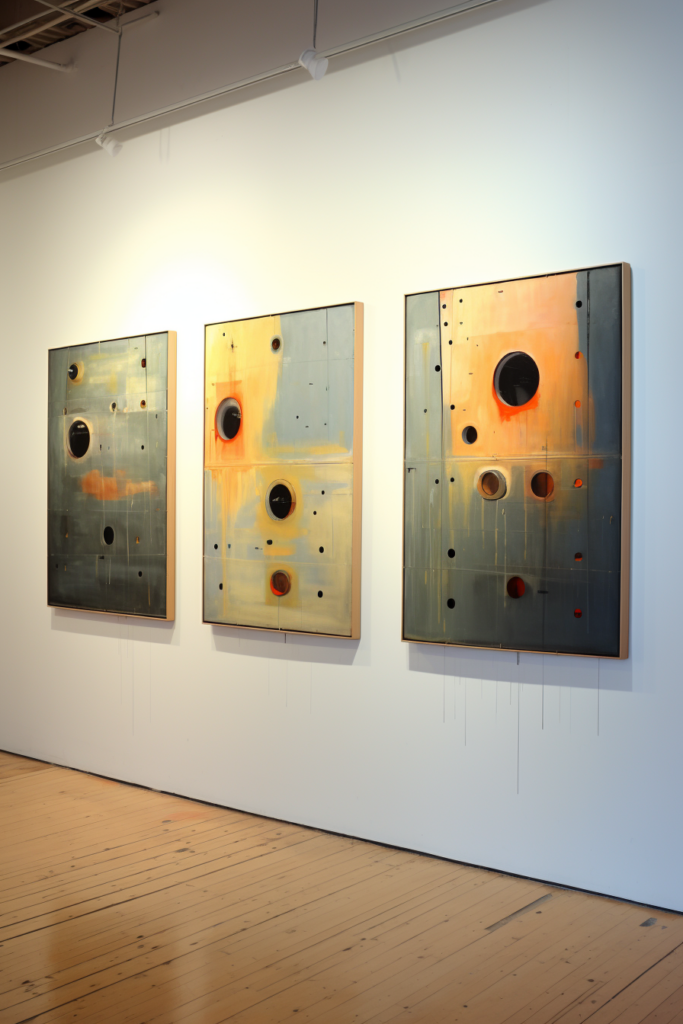
- Step 1) Find the wall midpoint, then measure up 60 inches from the floor and mark the baseline height.
- Step 2) Position larger statement pieces 6 inches above the baseline.
- Step 3) Hang clusters of smaller filler items 6 inches below baseline height.
Takeaways:
- Mark 60-inch baseline guide from midpoint
- Larger pieces above the line
- Smaller pieces below the line
Struggling with Too Much Negative Space
Fill awkward gaps with bold anchor pieces first, then supportive fillers.
✅ Solution: Add In Filler Items
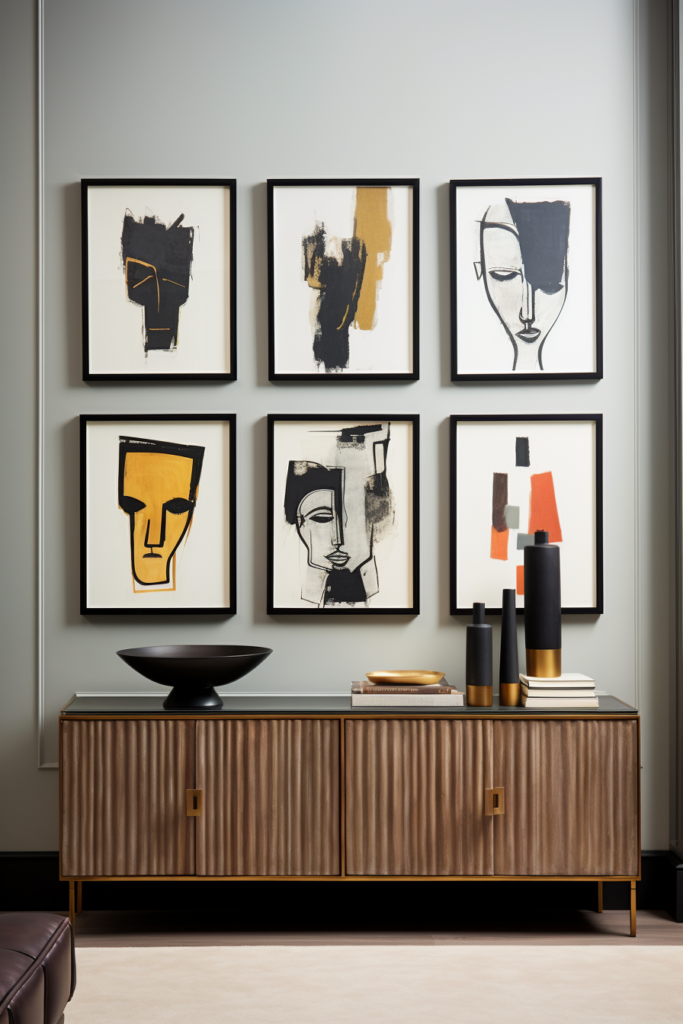
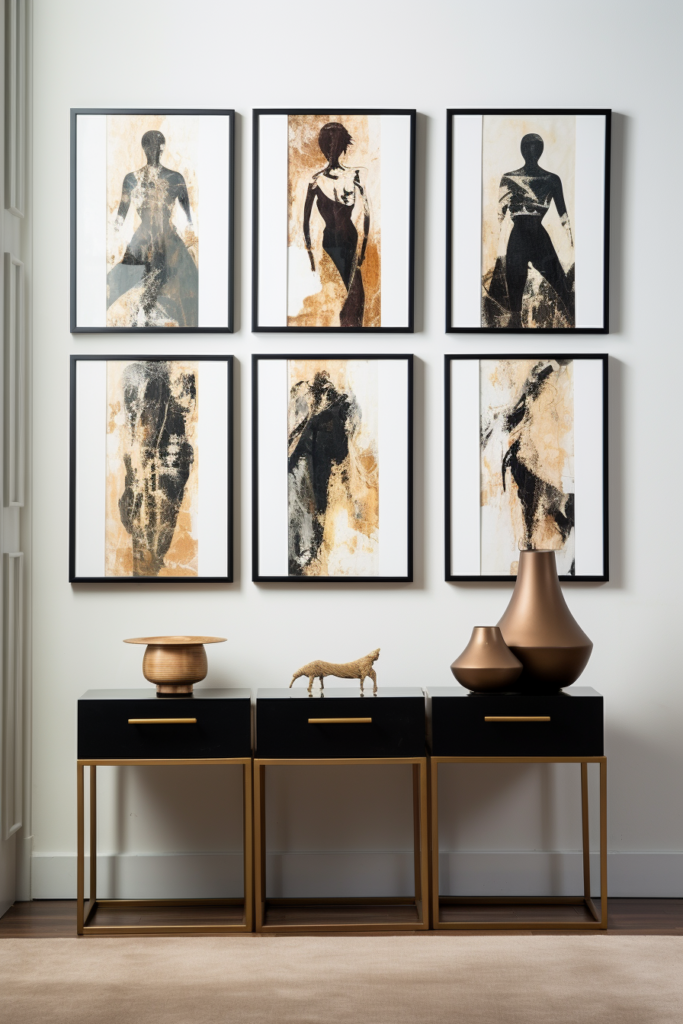
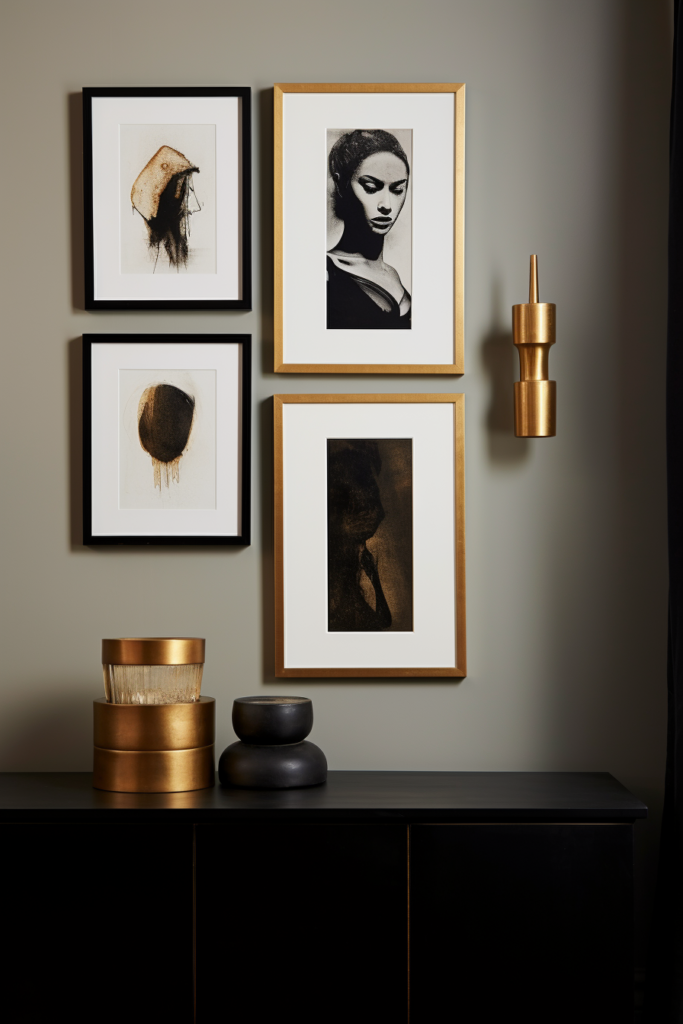
- Step 1) Prioritize placing major artwork first, then evaluate remaining gaps.
- Step 2) Select smaller yet meaningful pieces as fillers for those spaces.
- Step 3) Populate negative spaces with tiny prints or inspiring text pieces.
Takeaways:
- Hang statement pieces, then assess gaps
- Choose purposeful small fillers for spaces
- Use tiny prints and text as final fillers
Choosing Frames That Clash Stylistically
Vary frame colors while keeping finishes unified for a polished gallery wall.
✅ Solution: Repeat Lines and Geometric Patterns
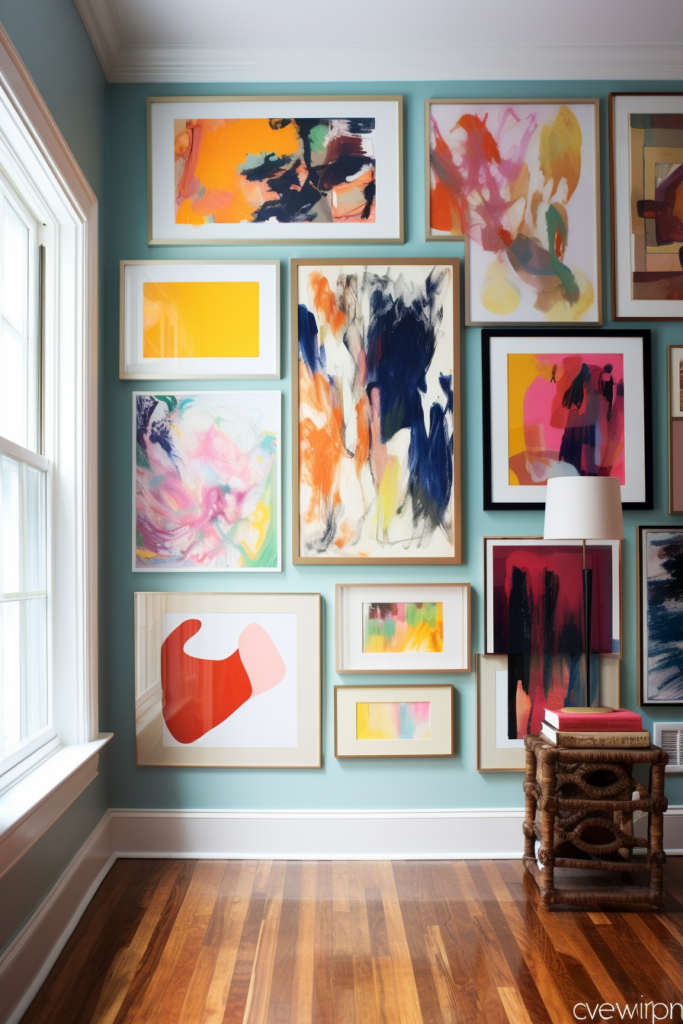
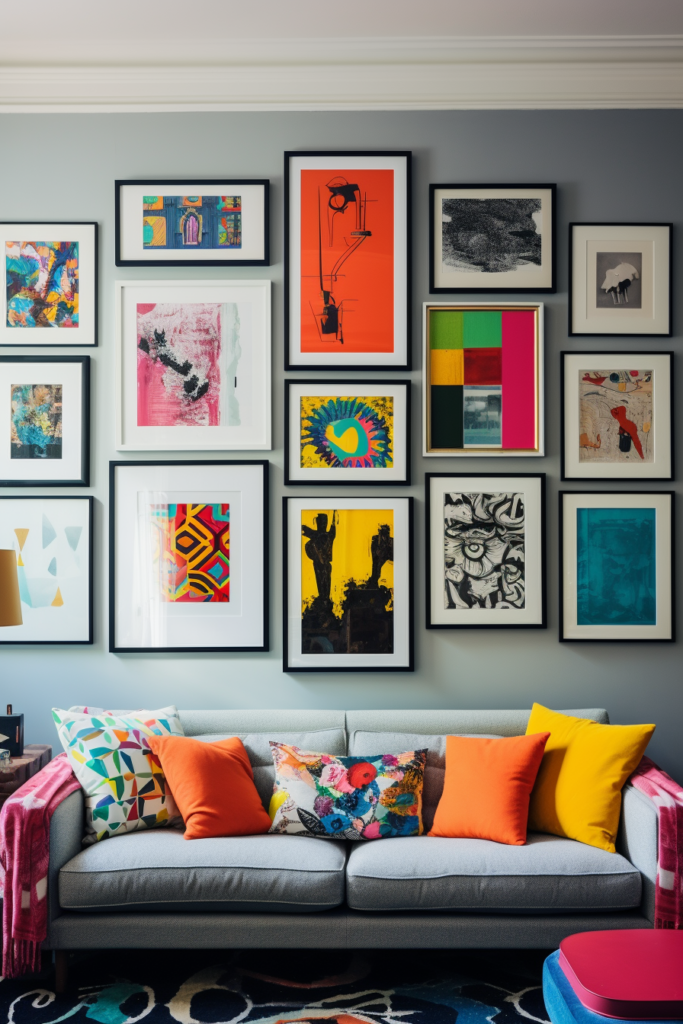
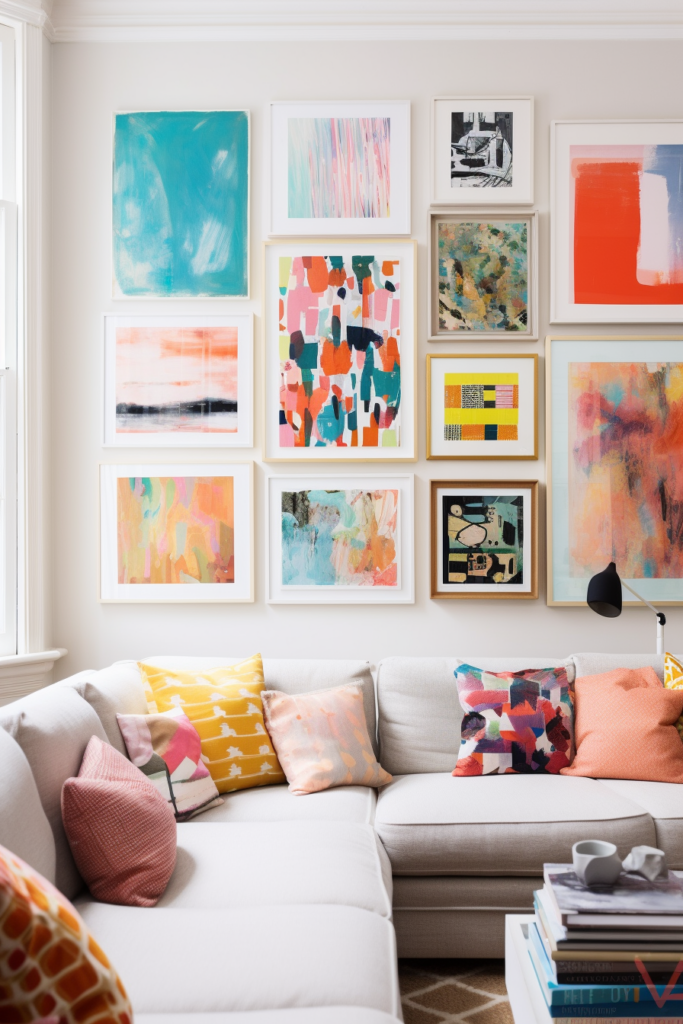
- Step 1) Select frames with cohesive finishes like all matte or high-gloss.
- Step 2) Seek out frames featuring similar line details, even if varies in color.
- Step 3) Arrange frames in alternating patterns of contrasting and matching geometric details.
Takeaways:
- Keep frame finish consistent
- Alternate matching and contrasting line design frames
- Create geometric interest through patterns
Struggling with Artwork Color Flow
Curate and arrange artwork into cohesive color stories flowing smoothly across your wall.
✅ Solution: Transition Between Color Stories Strategically


- Step 1) Edit artwork into color palettes, then cluster into color stories.
- Step 2) Place transitional pieces between groupings that bridge both palettes.
- Step 3) Check sightlines walking left to right, ensuring fluid color transitions.
Takeaways:
- Arrange identical palettes together
- Bridge color stories smoothly with crossover pieces
- Perspective check color flow walking sideways
Overwhelmed by Framing Diverse Pieces Cohesively
Frame variety can be integrated seamlessly with neutral backgrounds and organic texture.
✅ Solution: Incorporate Natural Elements
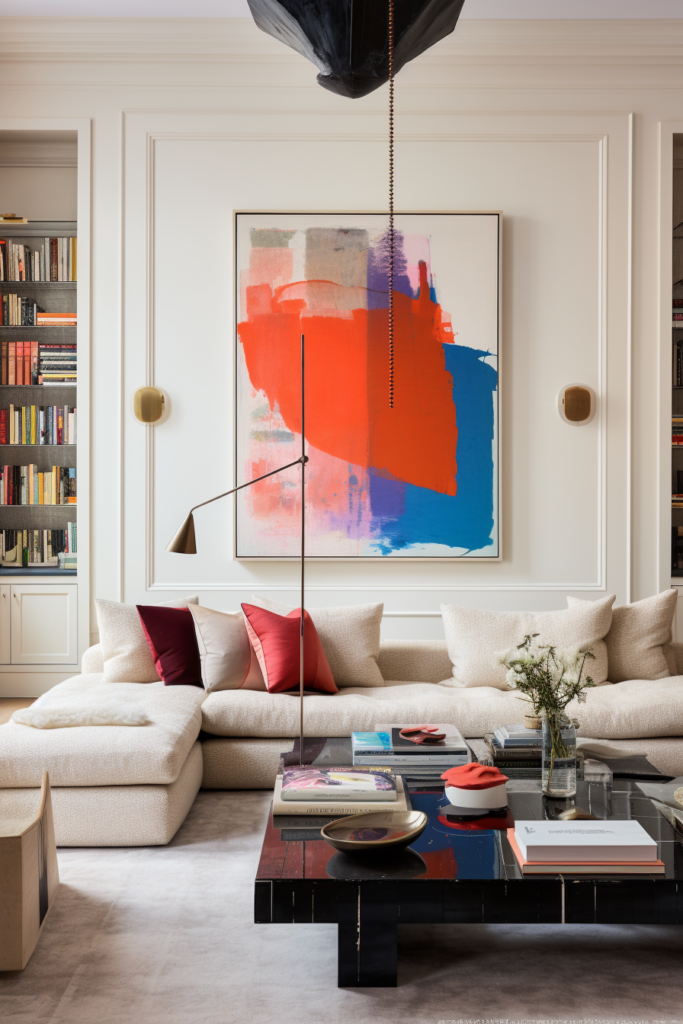
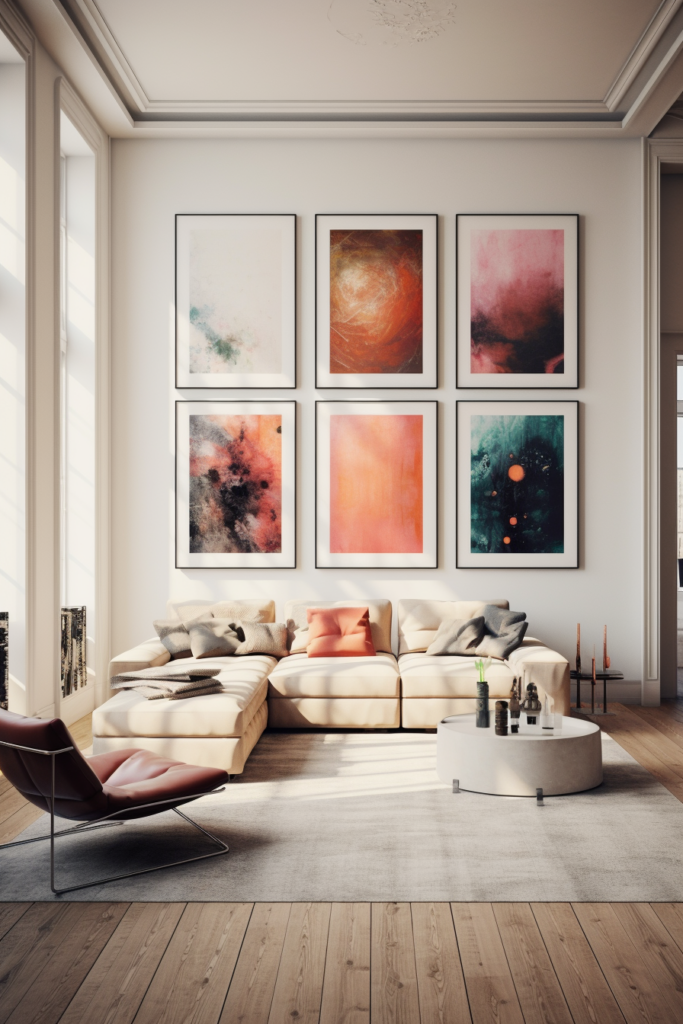
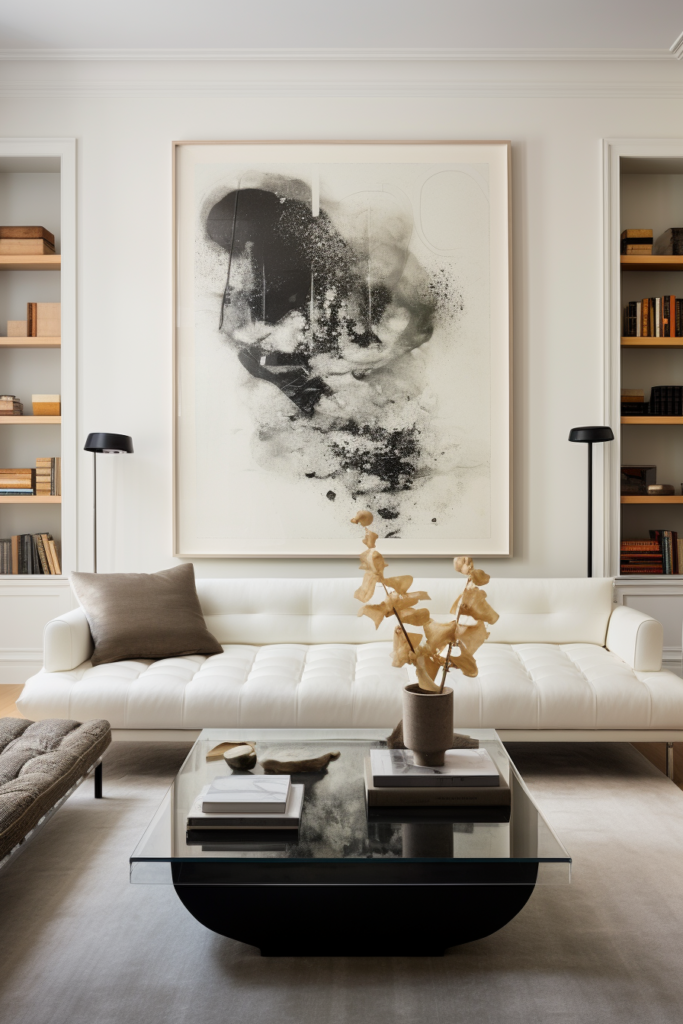
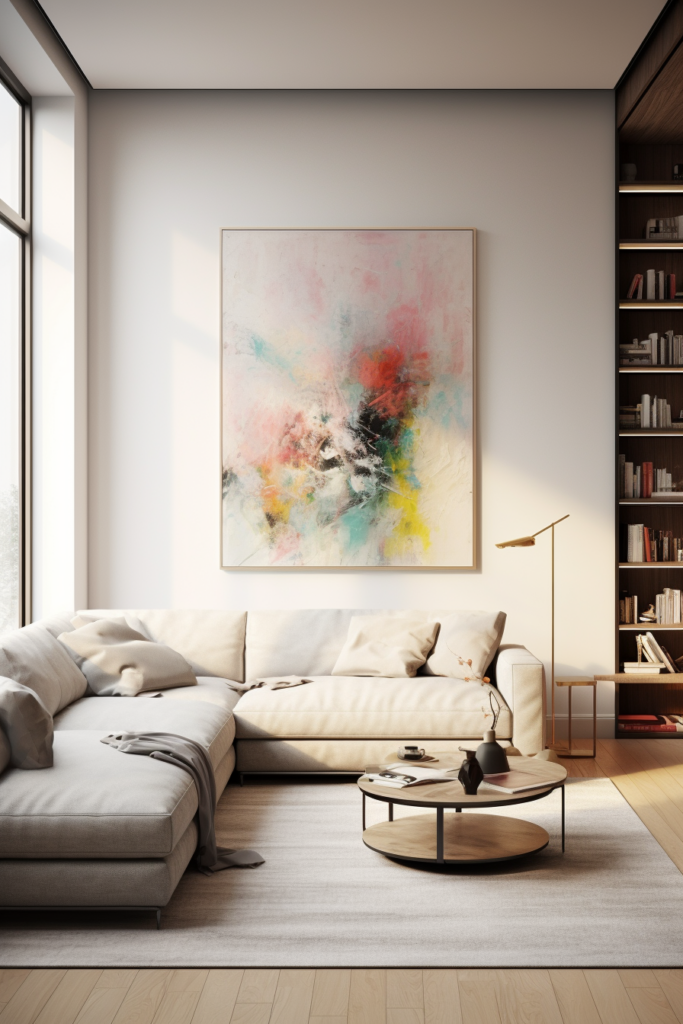
- Step 1) Select neutral foundation frames in black, white, silver, or wood allowing artwork colors to pop.
- Step 2) Intersperse frames with rattan, bamboo, driftwood, or salvaged barnwood.
- Step 3) Scatter organic frames innovatively throughout the lineup for texture and interest while maintaining color flow.
Takeaways:
- Neutral foundation frames let colors shine
- Work in organic frames sporadically
- Check arrangement maintains color cohesion
Unsure How to Illuminate a Gallery Wall
Strategic adjustable lighting angles spotlight artwork while preventing harsh glares.
✅ Solution: Allow Breathing Room Around Light Fixtures
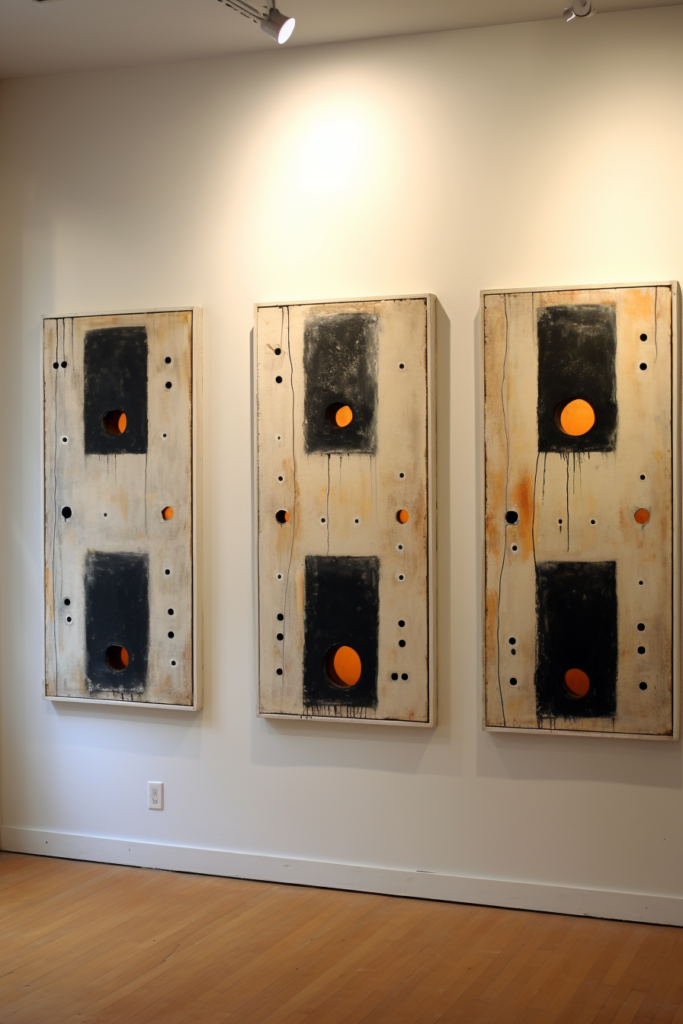
- Step 1) Only install lights where artwork, frames, or wiring won’t block beams.
- Step 2) Position track heads to graze artwork edges, avoiding shining directly at flat surfaces.
- Step 3) Tweak light angle intensity and direction until illumination flatteringly showcases pieces.
Takeaways:
- Confirm fixture placement has breathing room
- Angle lights to graze edges subtly
- Refine lighting angles aiming for ideal luminosity
With mindful effort, diverse gallery wall arrangements can feel remarkably harmonious. Follow these tips when selecting, arranging, and illuminating treasured artwork to create your personalized masterpiece.
Follow Quiet Minimal on Pinterest for more home design tips and inspiration.
