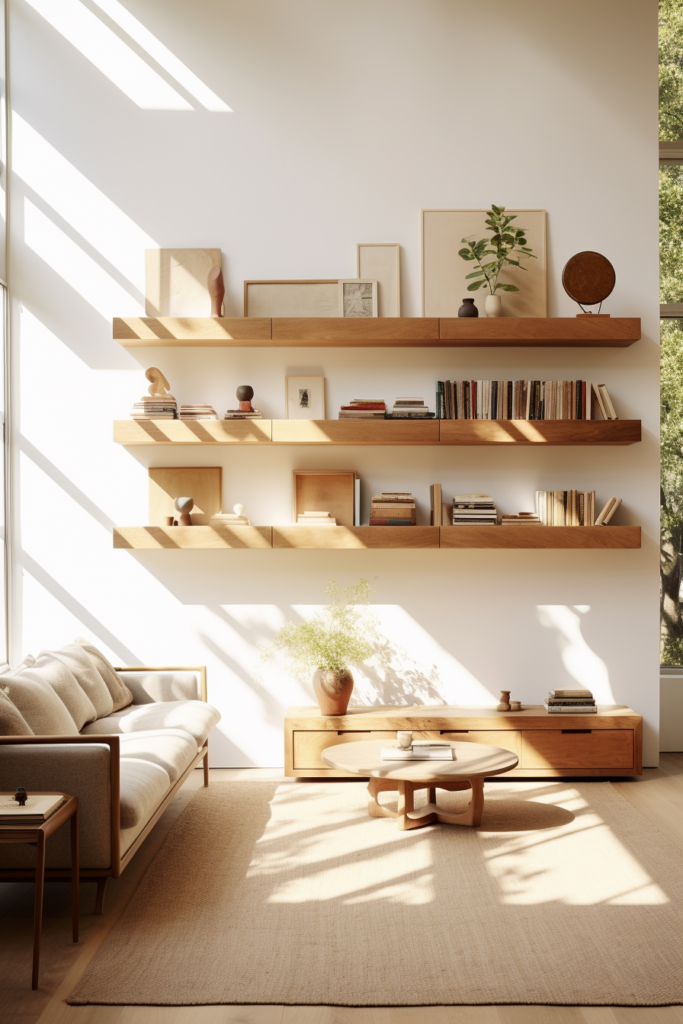
Large, blank walls can feel imposing and make a room feel empty or unfinished. Installing shelving units, bookcases, or floating shelves is an excellent way to utilize the space while adding visual interest and functionality.
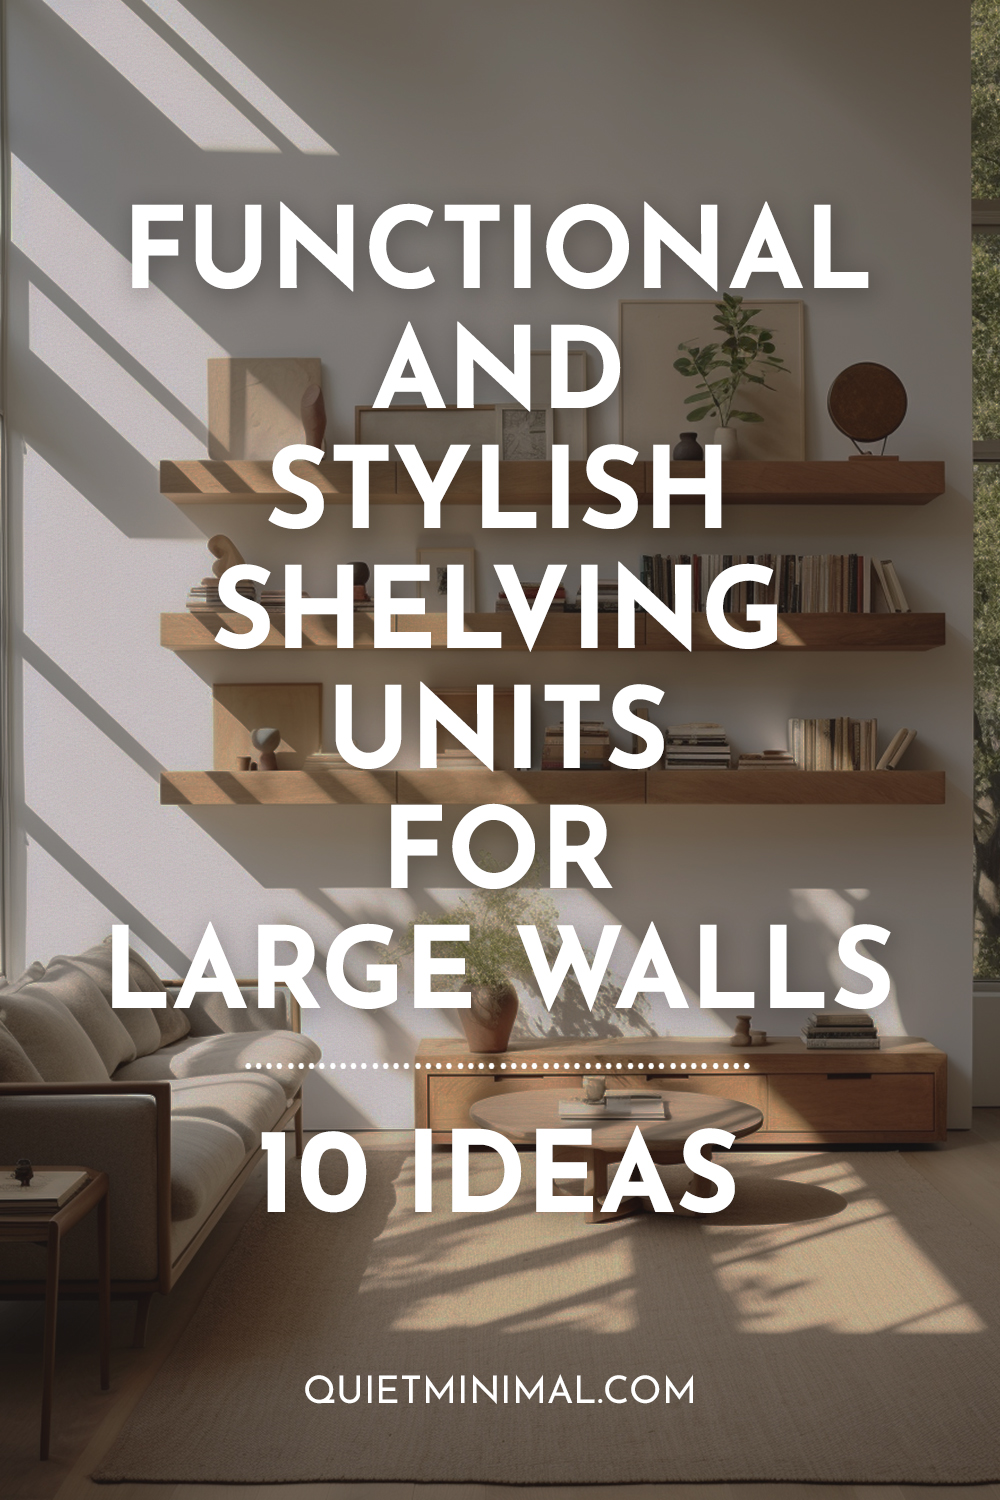
Shelves are highly customizable, available in various materials like wood, metal, or glass, and styles ranging from rustic to modern. When planning your shelving project, consider the wall size, your storage needs, your décor theme, and your budget. Thoughtfully designed and well-executed shelving brings purpose and polish to any large wall.
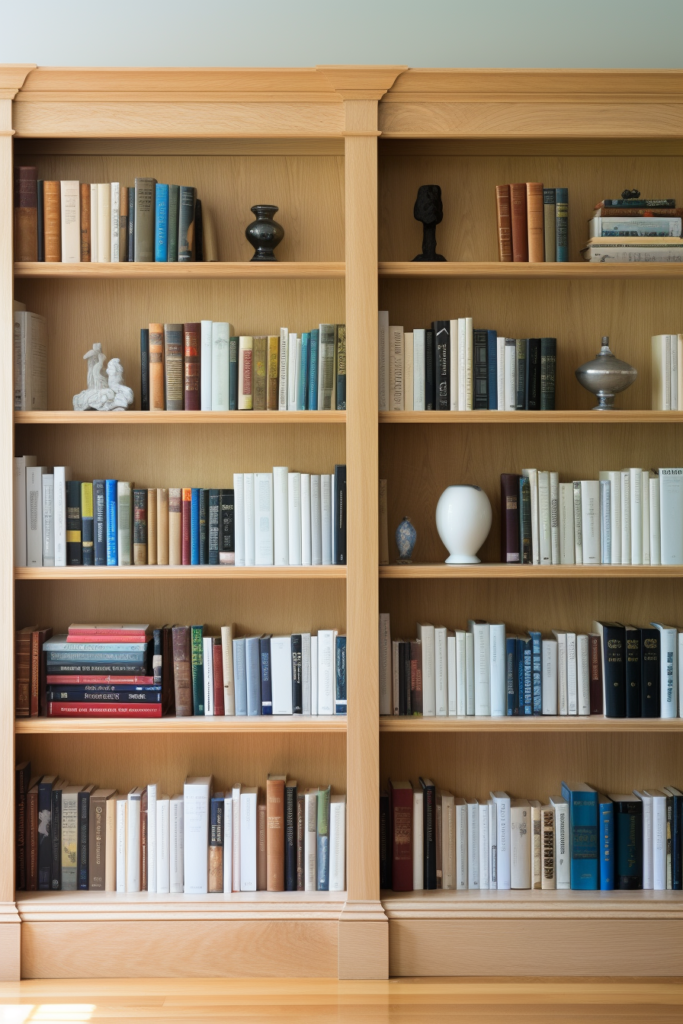
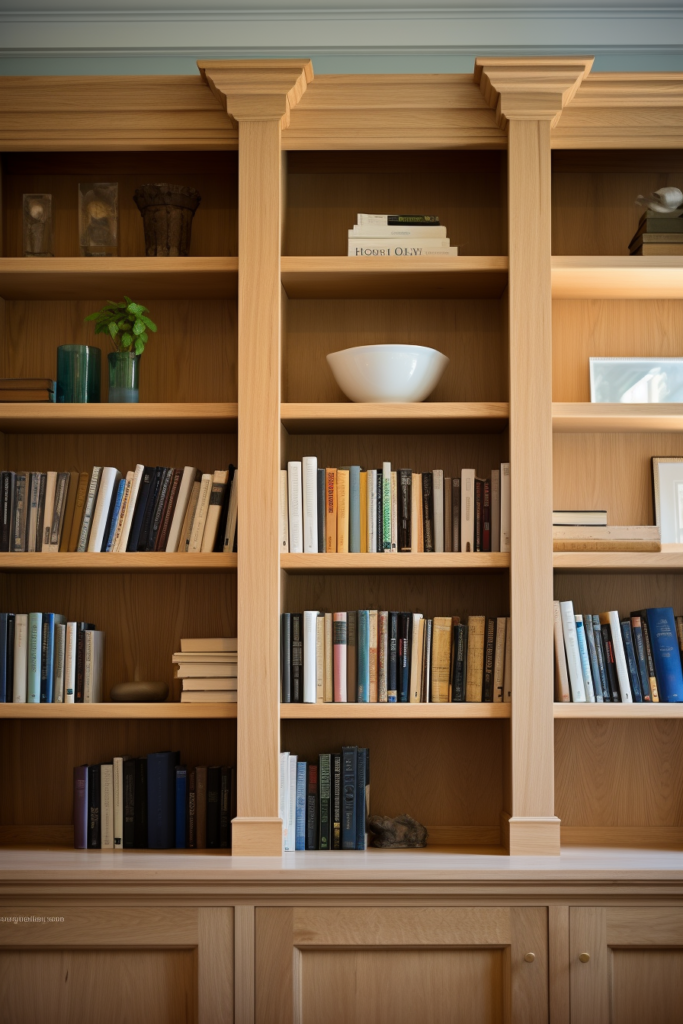
Choose Shelving Style Based on Aesthetics and Function
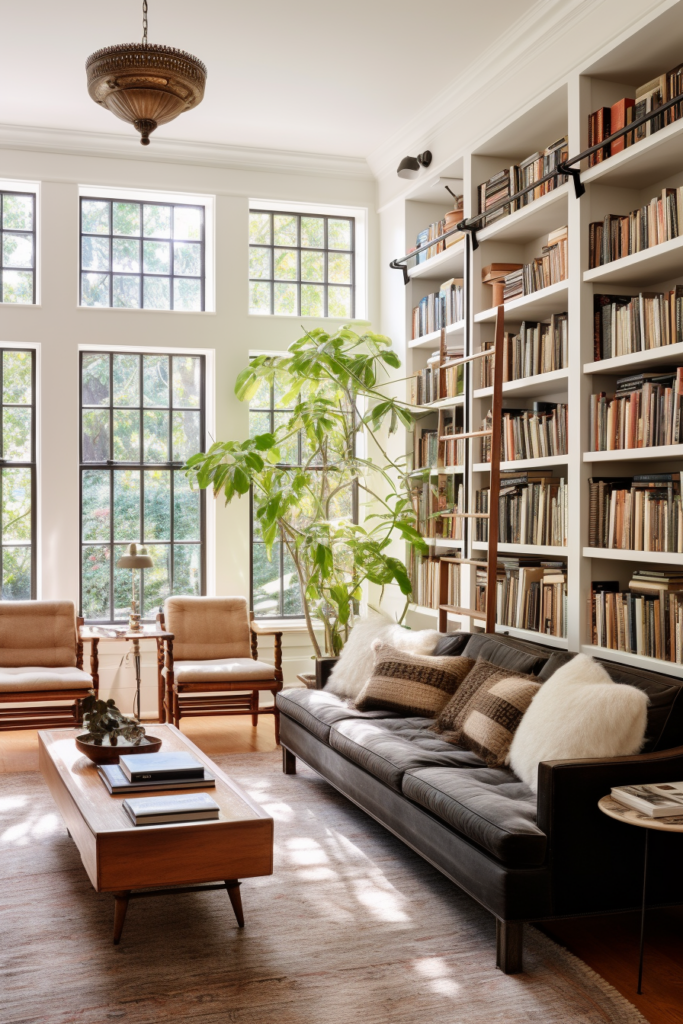

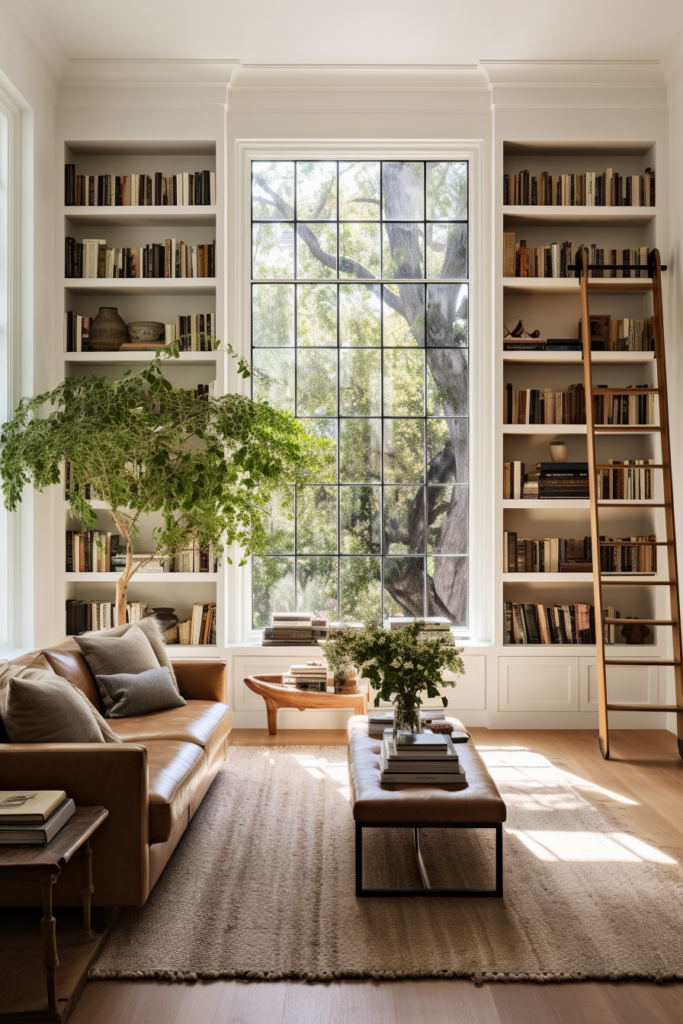
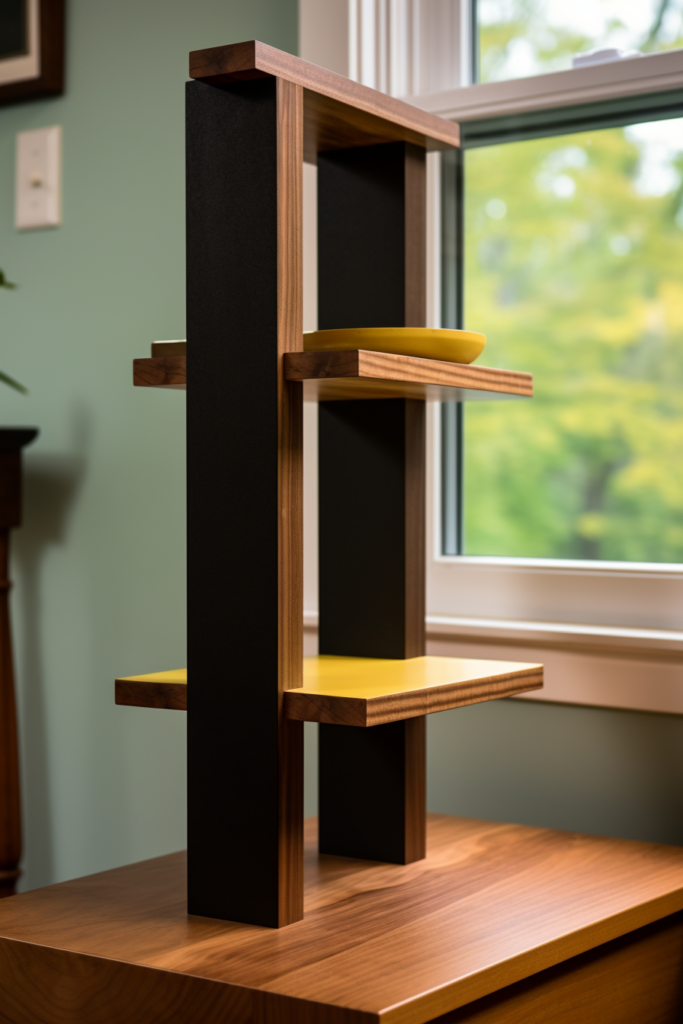
The first decision is the general style shelving you want. Floor-to-ceiling built-in bookcases make a dramatic statement and maximize storage but require advanced carpentry skills. Floating shelves have a light, airy aesthetic and are easier to install but offer less storage.
- Built-in bookcases are dramatic and functional but require advanced skills
- Floating shelves have an airy look but less storage capacity
- Select style based on room décor, storage needs, and skill level
Measure Carefully for Precise Fitting

Carefully measure the wall area where you’ll install shelves. Note width, height, corners, moldings, and outlets. For floating shelves, note stud locations. Use a laser measure tool for precision within 2 mm. Transfer measurements to your phone or plans.
- Measure width, height, and moldings to calculate fitting
- Find studs for floating shelves
- Use a laser measurement tool for precision
Account for Uneven Walls with Scribing
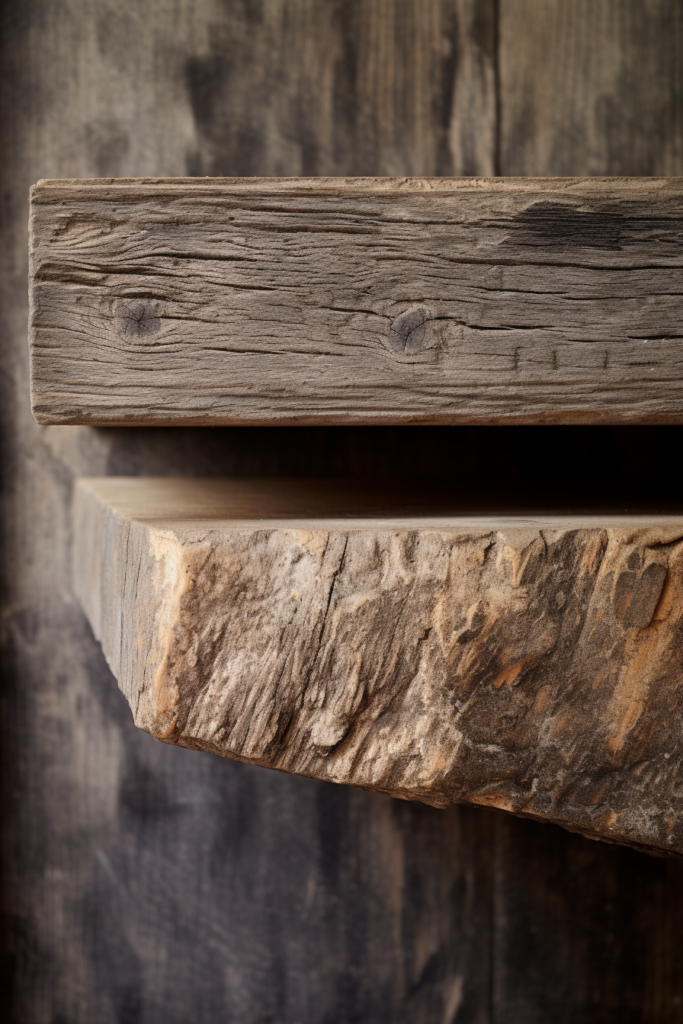

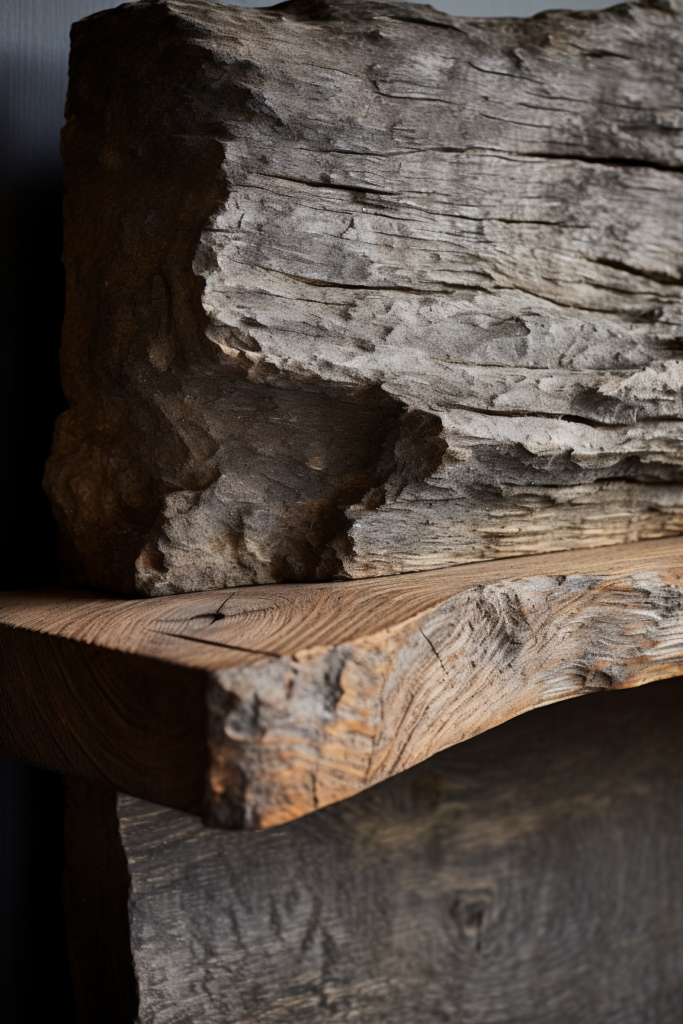
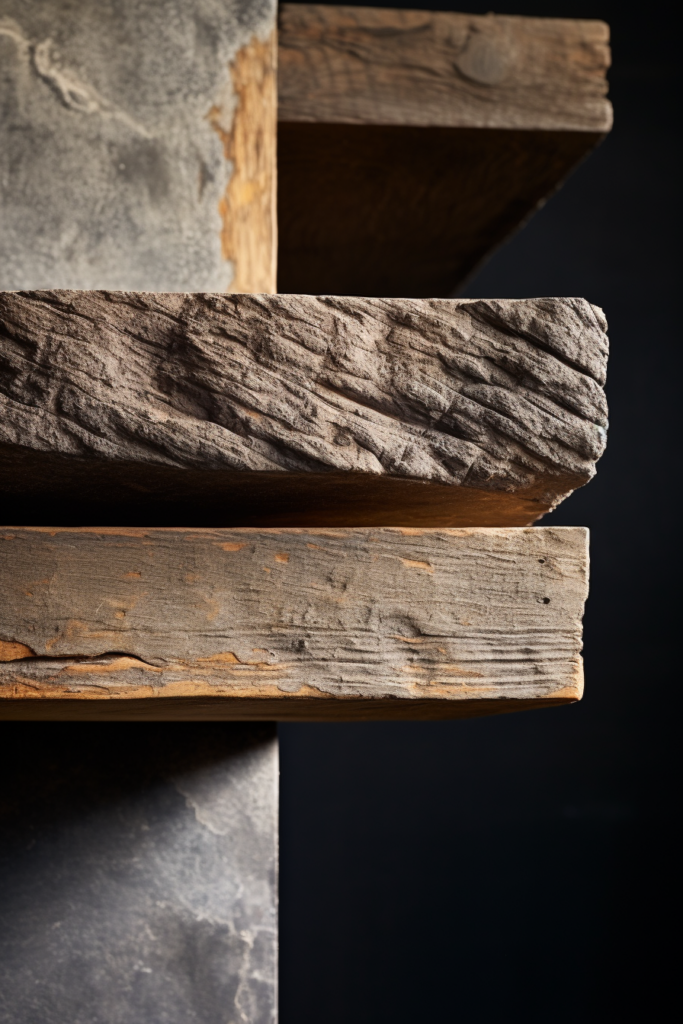
Walls in old homes often have uneven surfaces. Use scribing to custom-fit shelving, molding it to match the wall’s contours. Hold a straight piece of wood against the wall and outline the wall’s shape on the wood. Trim along the line for an exact match.
Takeaways:
- Scribing molds shelves to uneven walls
- Trace wall outline on shelving, then trim wood
- Ensures tight fit on irregular surfaces
Construct Shelves in Sections for Maneuverability
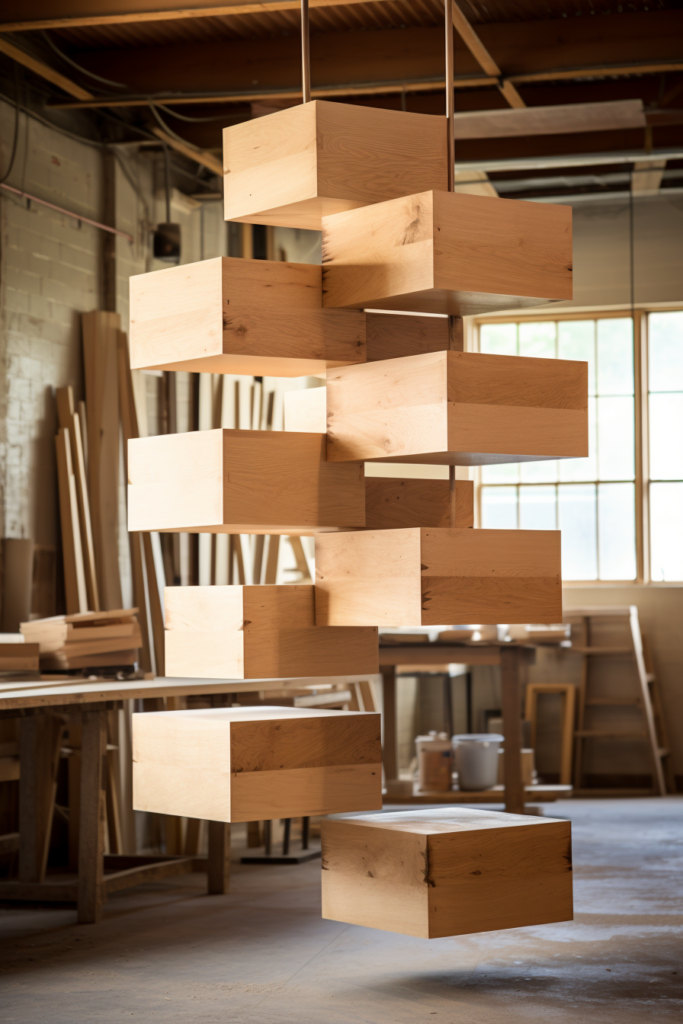
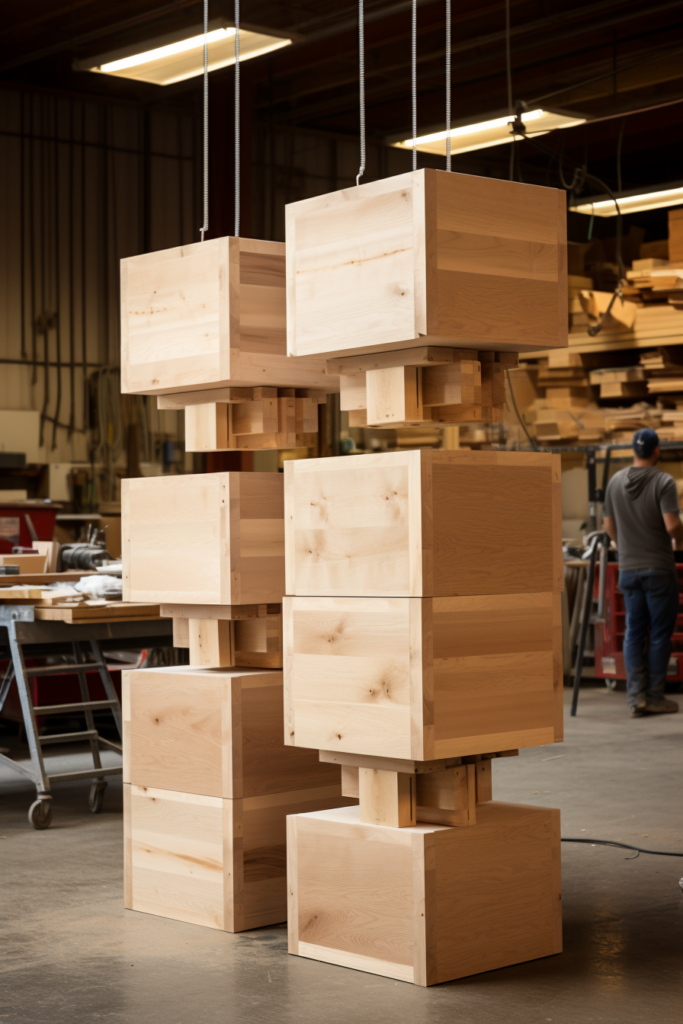
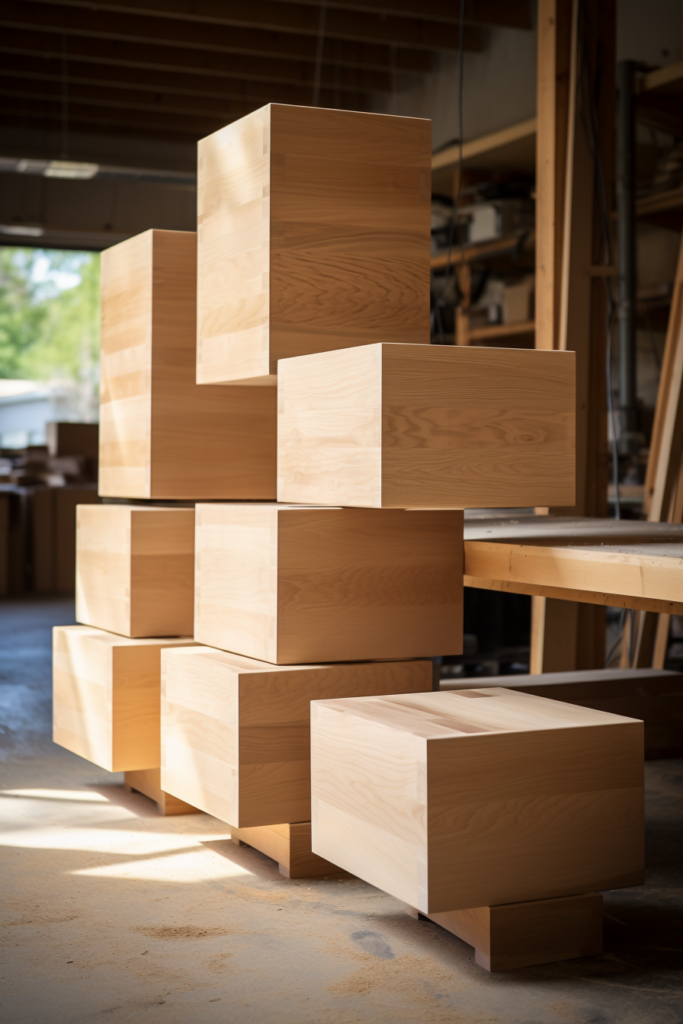
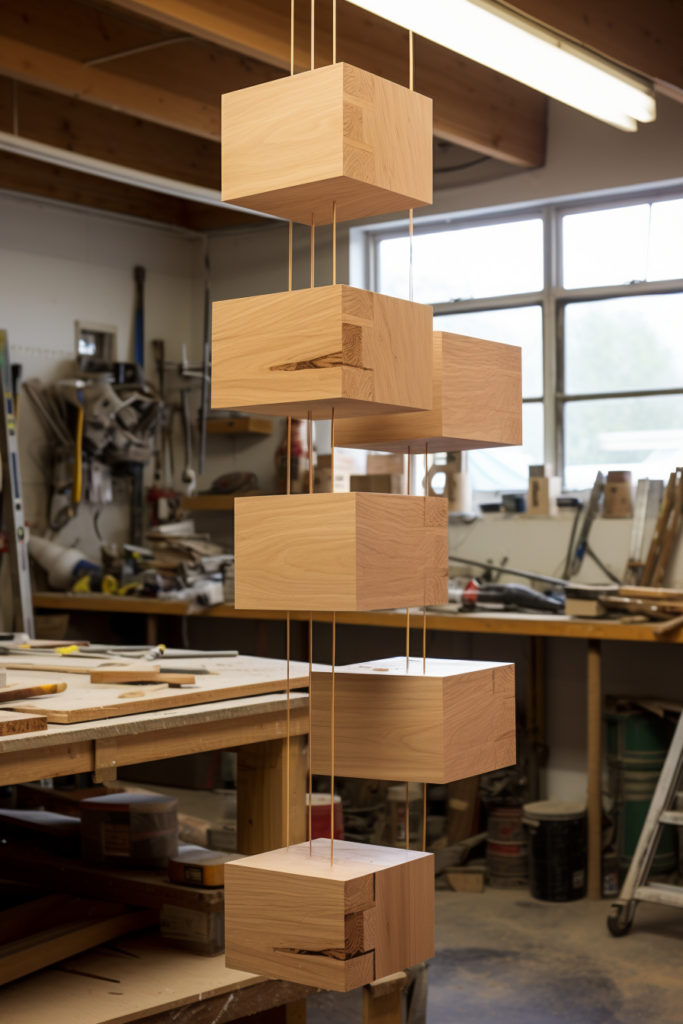
Building large shelving units in smaller sections makes them easier to transport and install in rooms. Number each section, keep them in order, and design interlocking joints between sections for seamless connections. This also accommodates uneven walls when installed.
- Construct shelves in numbered, interlocking sections
- Makes large units easier to transport and install
- Allows for adjustments on uneven walls
Use Backer Boards to Minimize Visible Clutter
Enclosing shelving backs with a full board or stylish metal panel keep stored items tidy and organized when viewed from room angles. Anchor backer boards into studs for floating shelves, allowing you to store heavier items securely.
- Full backboards or metal panels minimize visible clutter
- Anchor into studs for heavier floating shelves
- Keeps shelves looking neat from different angles
Level Bottom Track for Straight Shelving

Start shelving units with a perfectly level bottom track piece. Use shims if the floor is very uneven. A level track prevents tilting, which gets progressively worse as you build upwards. Check each piece is plumb before securing it permanently.
- Start the bottom track perfectly level using shims if needed
- Ensures shelves build straight up rather than tilting
- Check each piece is plumb before permanent fixing
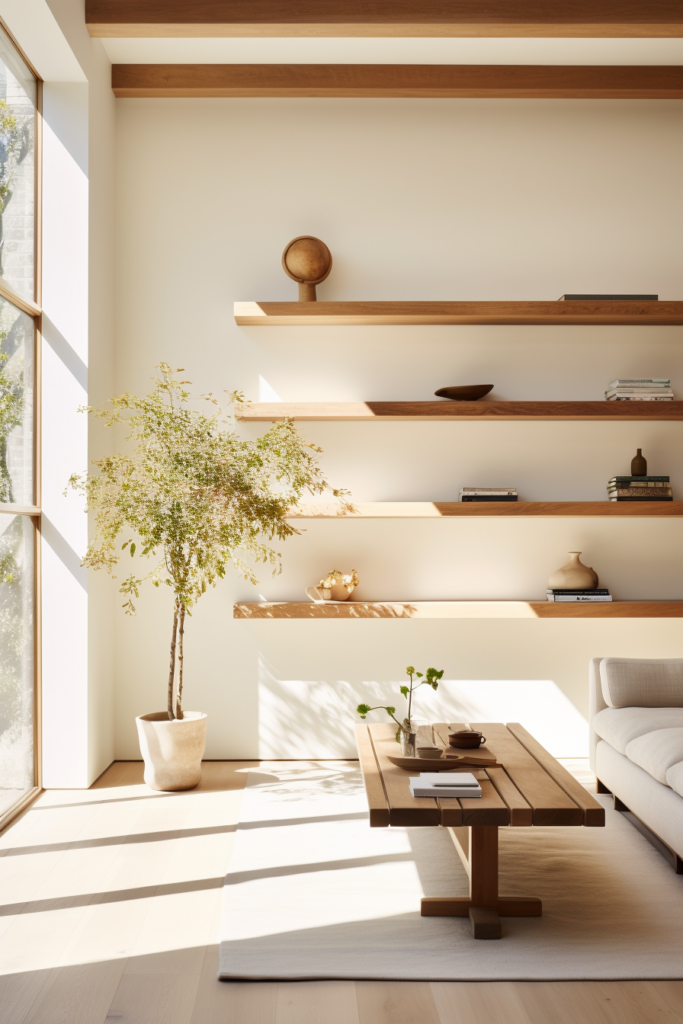
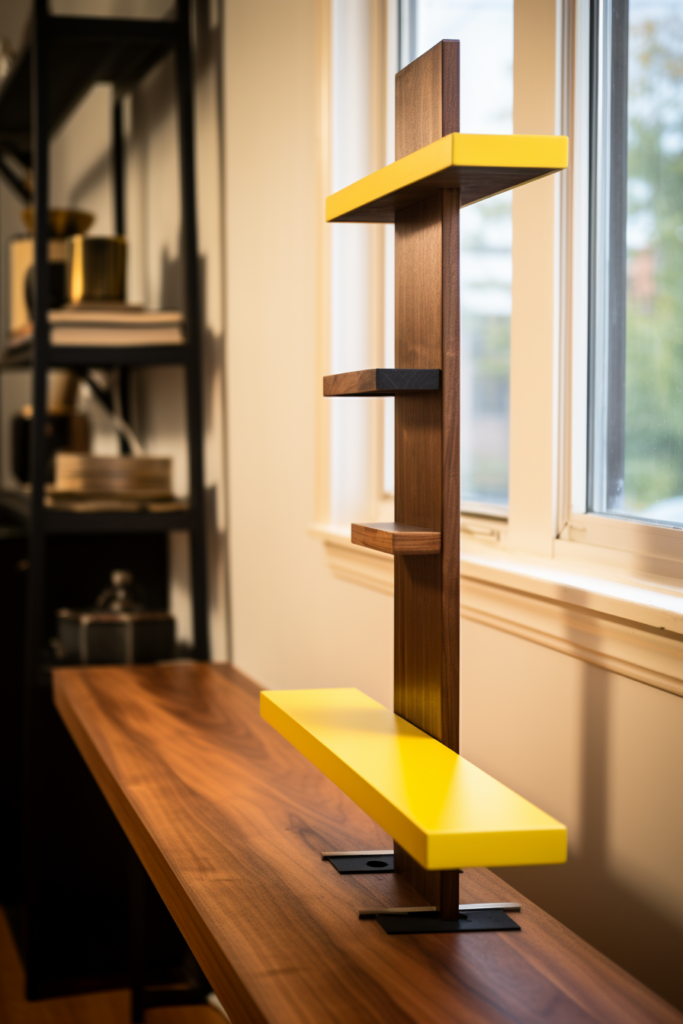
Allow Light In with Opaque Shelves
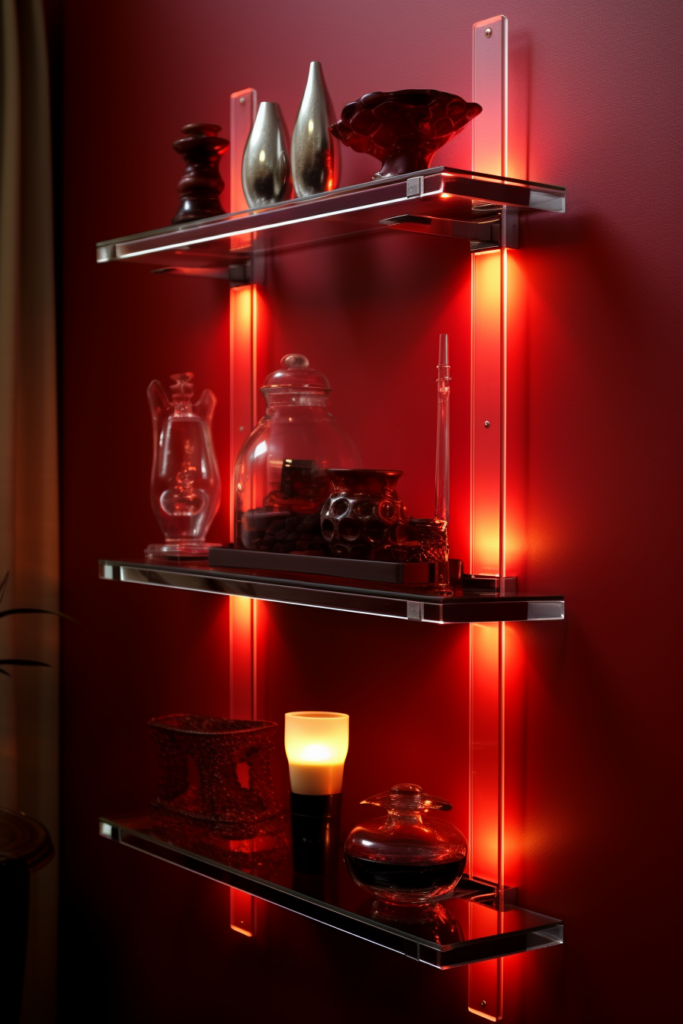
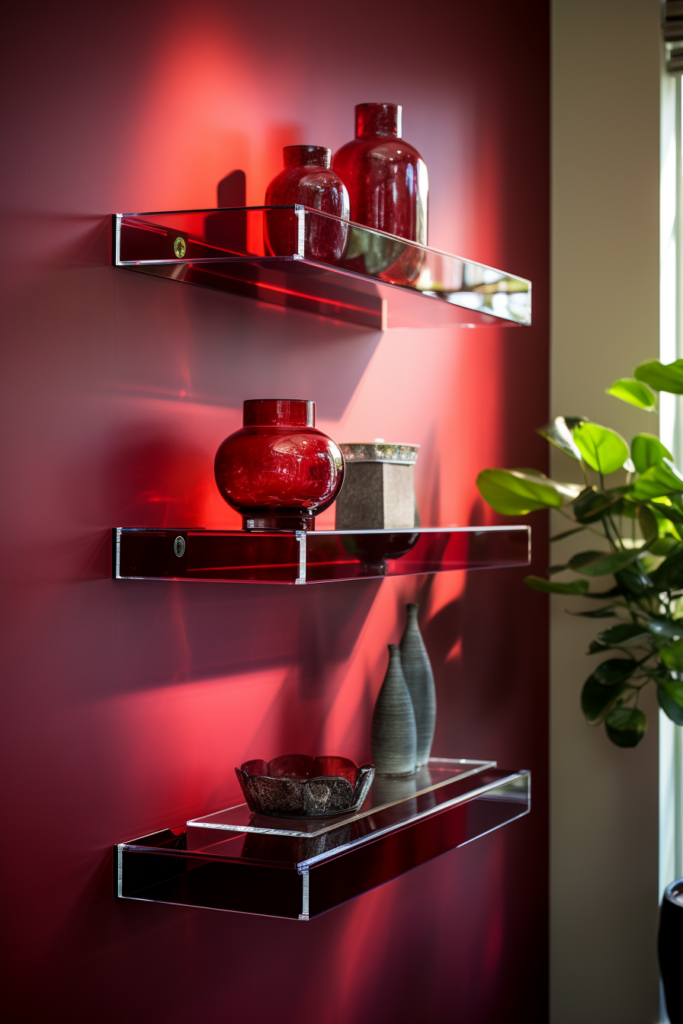
Closed shelving can make a wall appear heavy. Maintain airiness and light with translucent tempered glass or acrylic shelves. For a shimmering effect, space acrylic shelves away from the wall with standoffs. Use LED strip lighting.
- Glass or acrylic shelves allow light penetration
- Standoffs create an airy, floating effect
- LED strip lighting adds shimmer
Upgrade Design with Crown Moldings
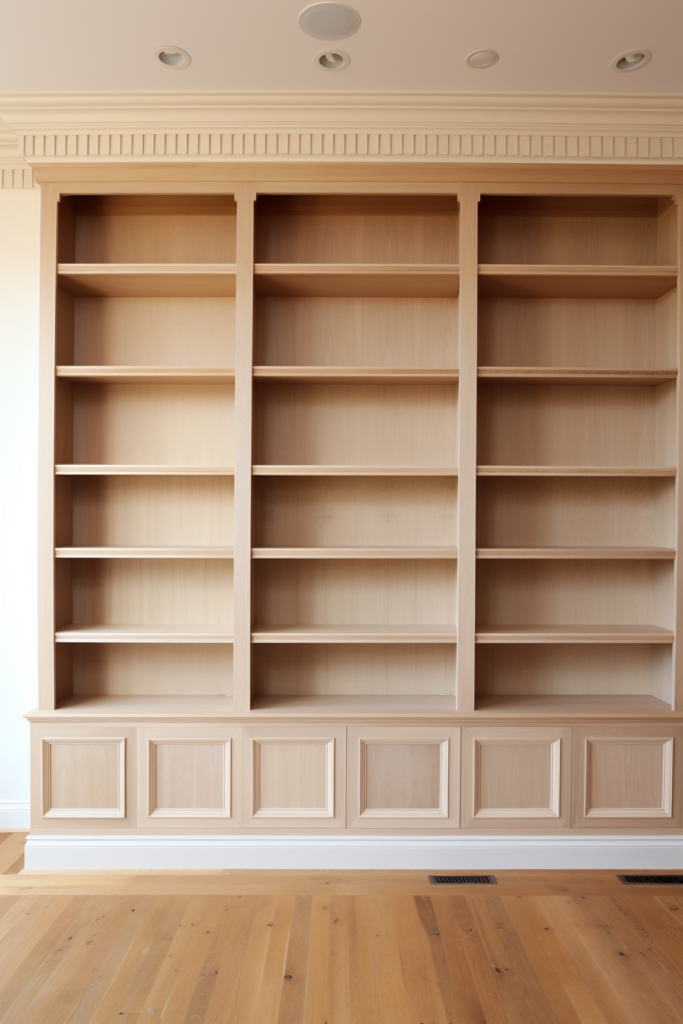
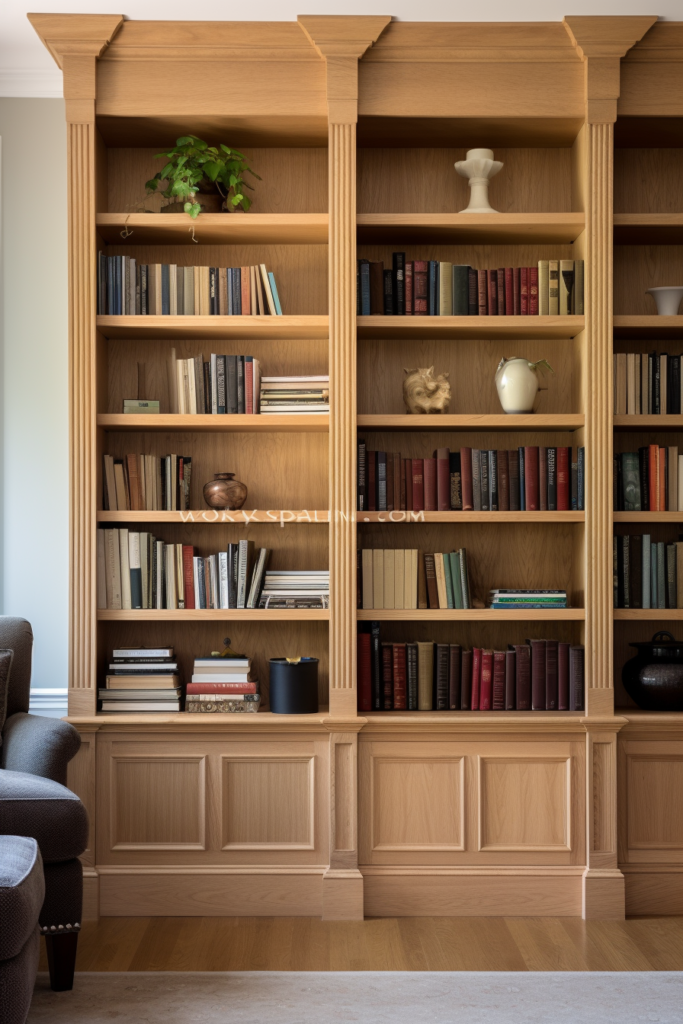
For a built-in look, finish shelving with decorative trim pieces. Install crown moldings along the top edges and vertically between shelf sections. Add baseboard moldings along the bottom edge. Use attractive wood species like oak or maple.
- Crown and base moldings finish edges
- Make shelving appear professionally built-in
- Use oak, maple, or other decorative woods
Apply Protective Clear Finishes
Seal shelves with water-resistant urethane or polyurethane clear coat finishes. This protects natural wood tones. Or apply colorful stains before sealing for vibrant hues. Use spray applicators for convenience and consistent coats.
- Use water-resistant sealants like polyurethane
- Enhances natural wood or stained colors
- Spray bottles allow even application
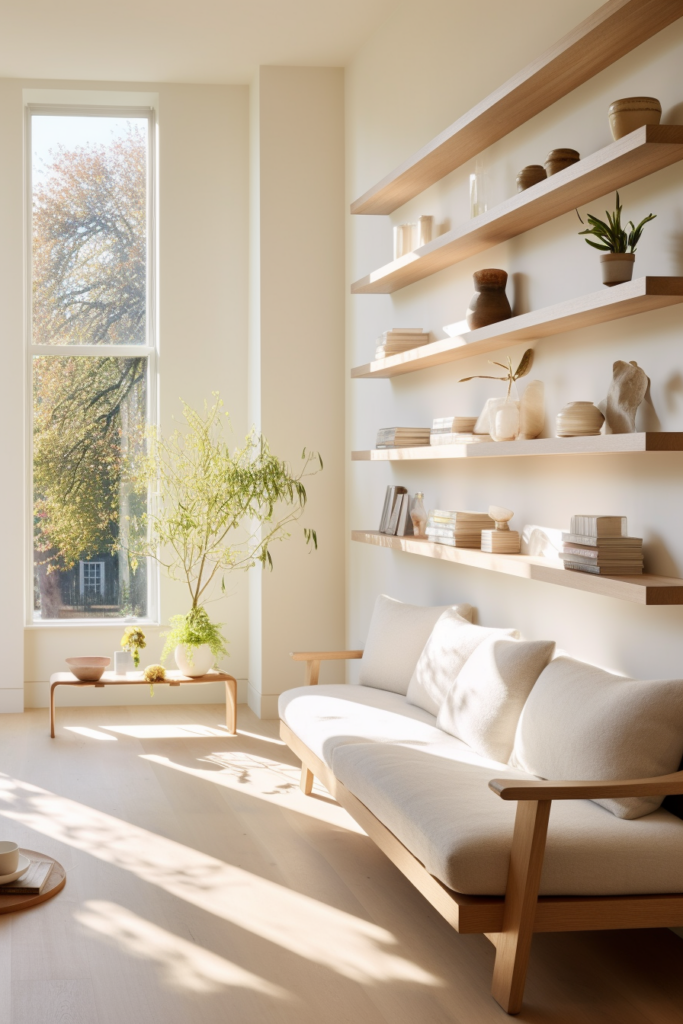
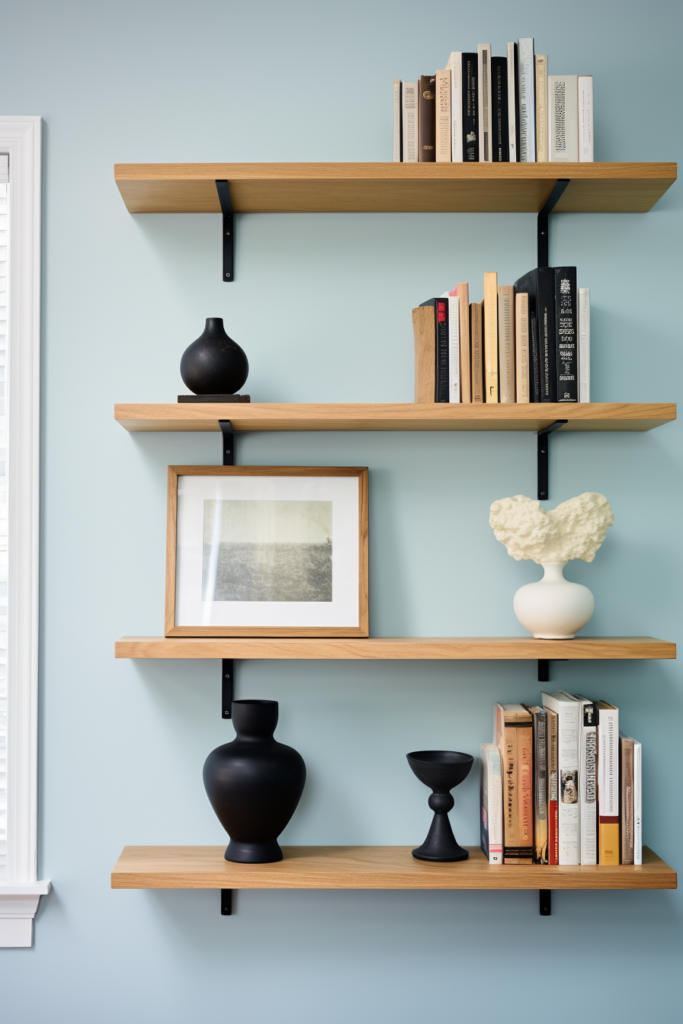
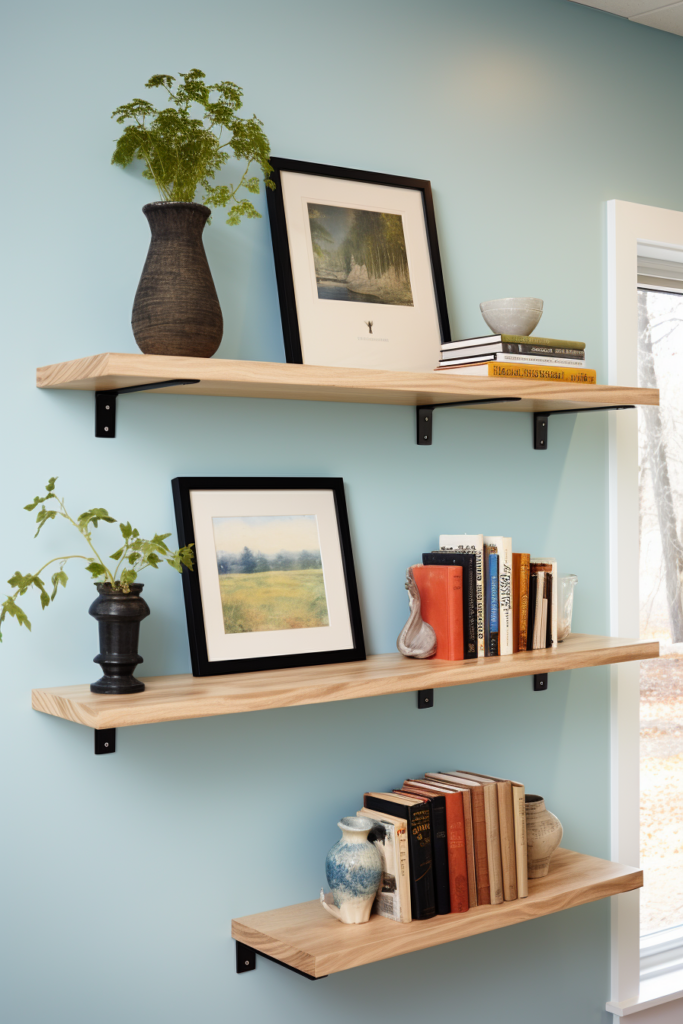
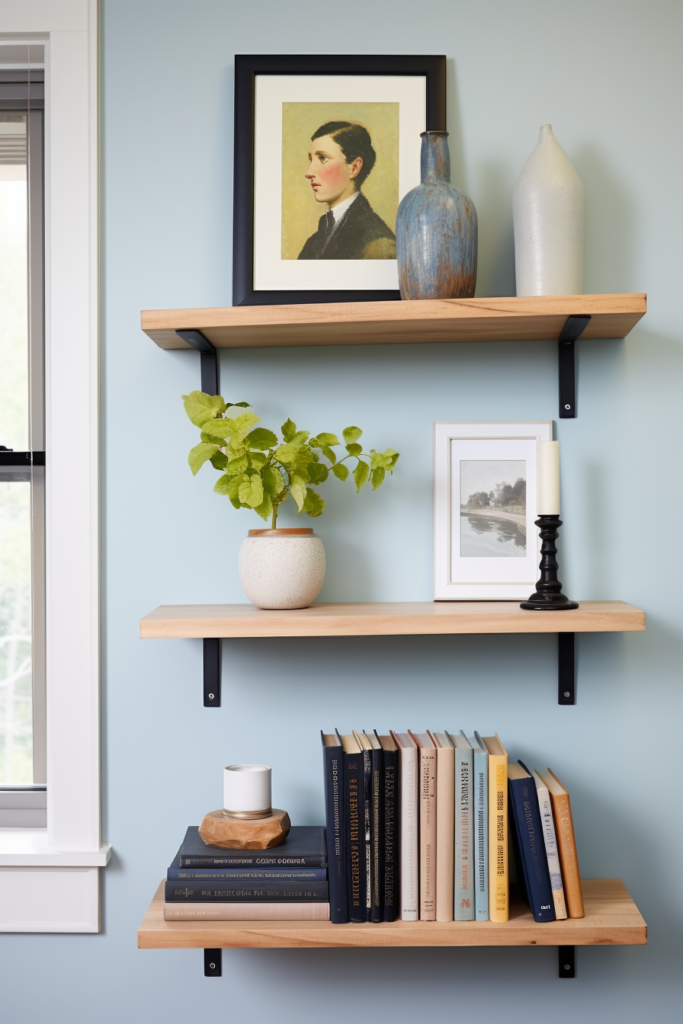
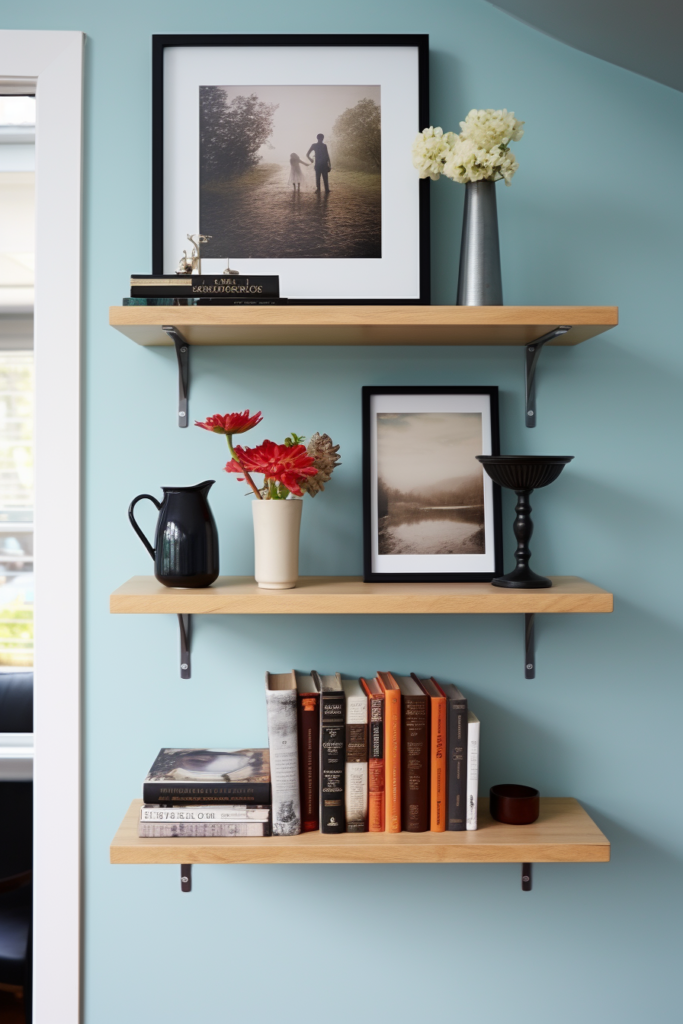
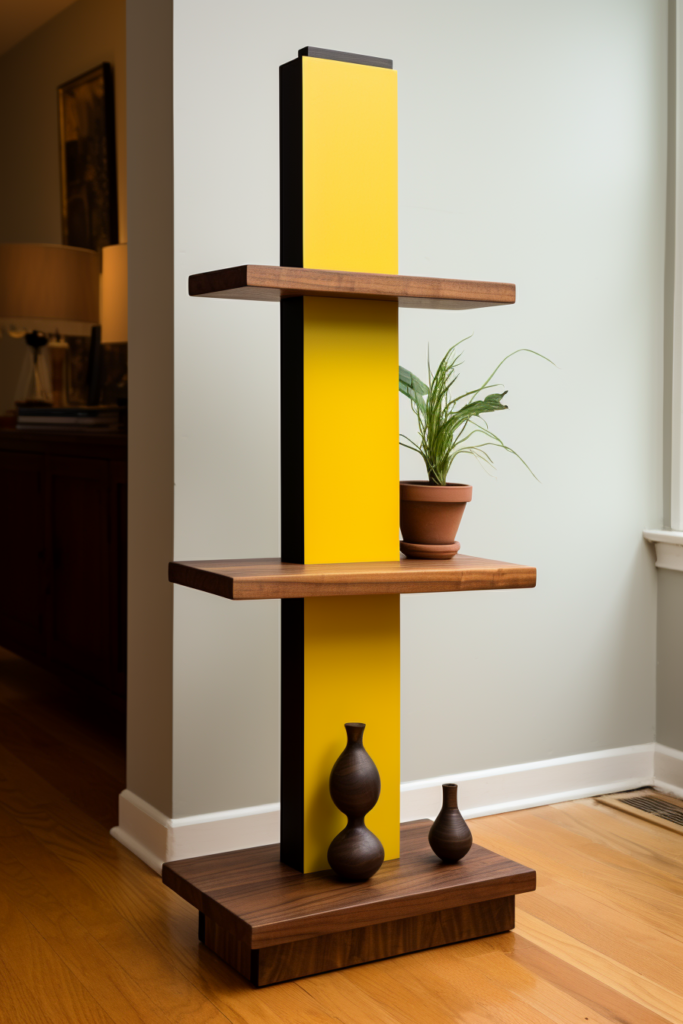
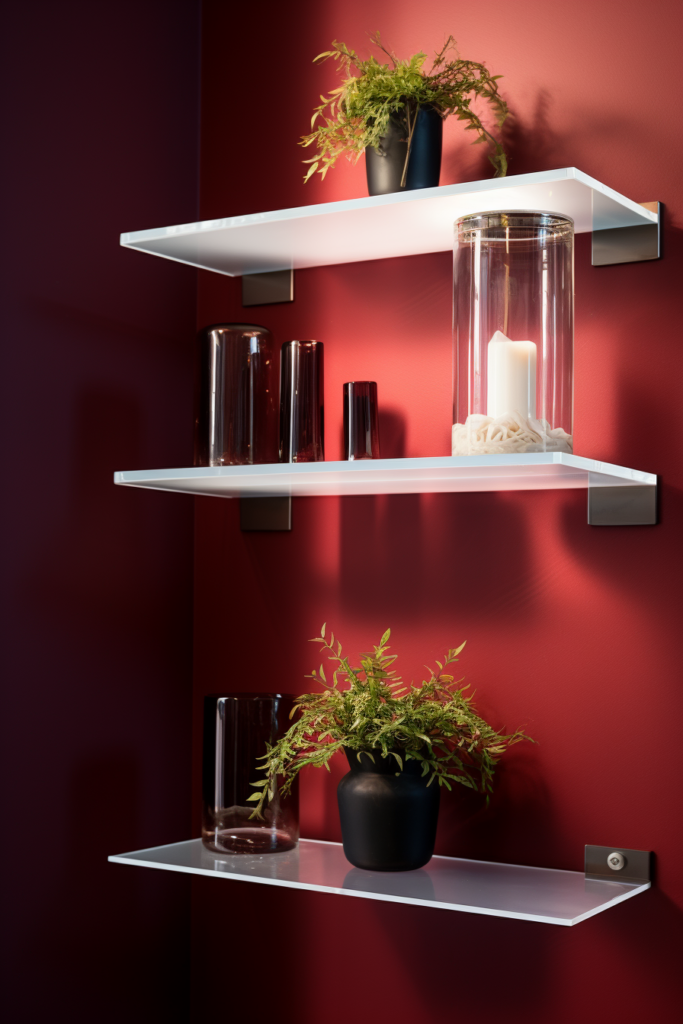
Fill Shelves Meaningfully, Not Randomly
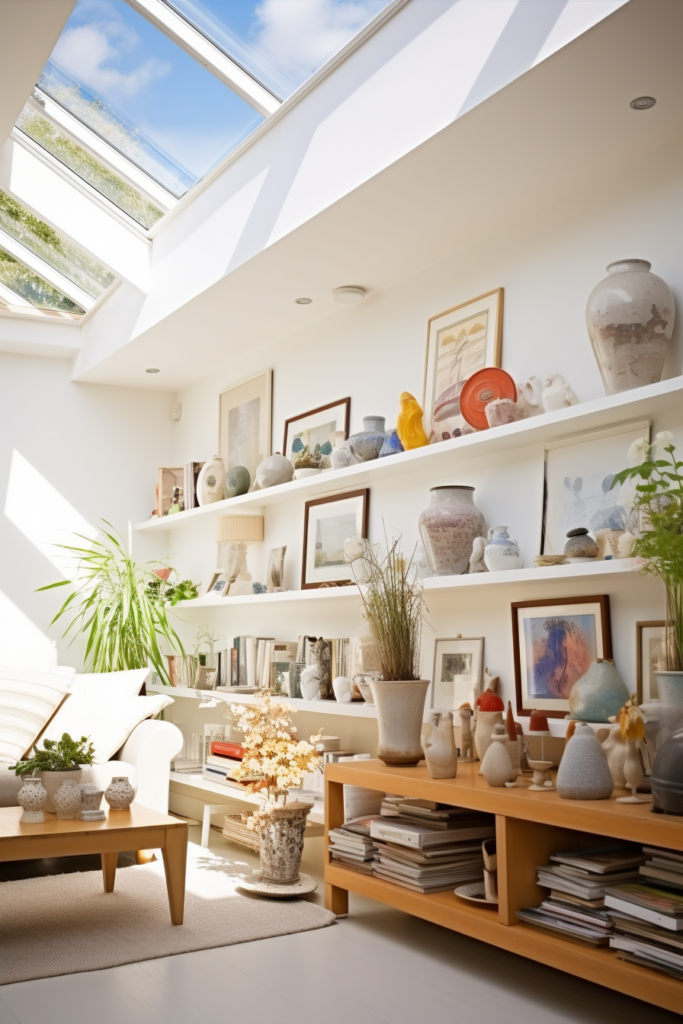
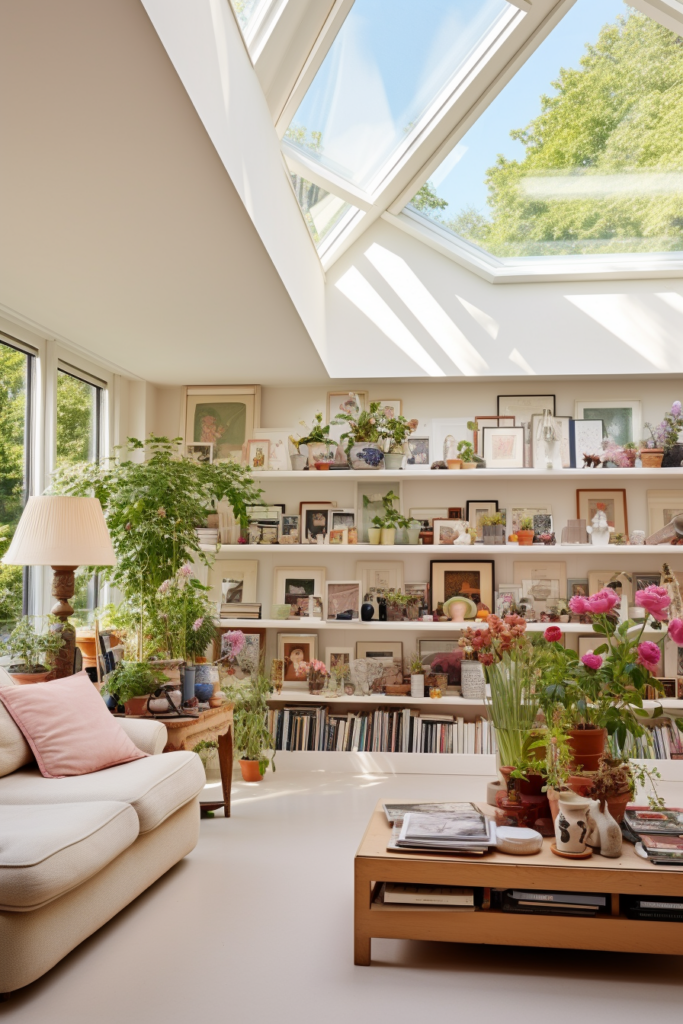
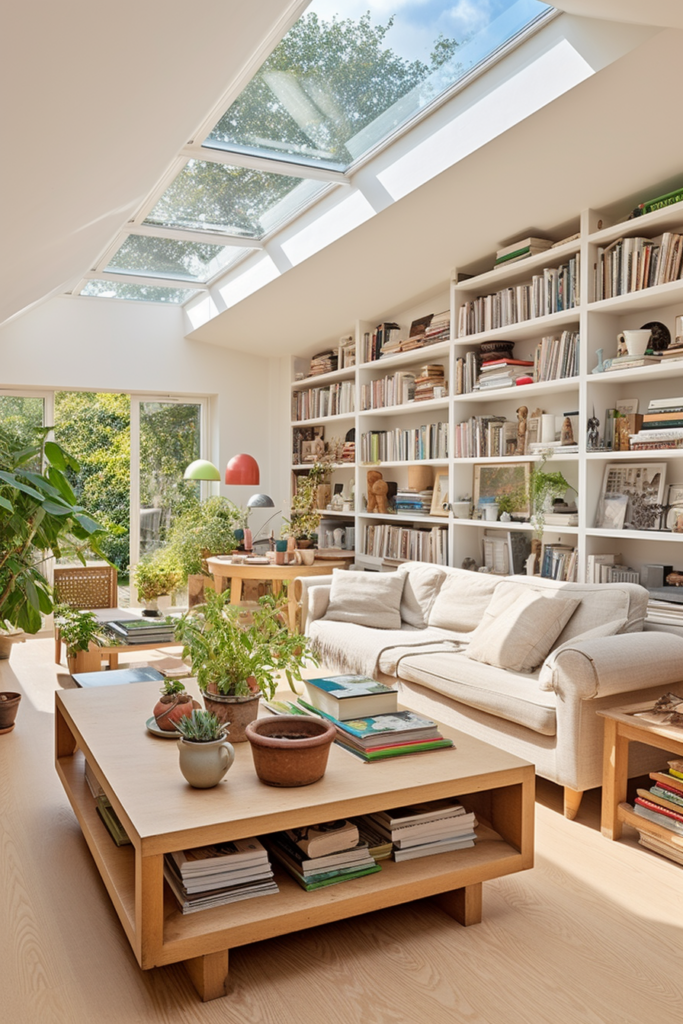
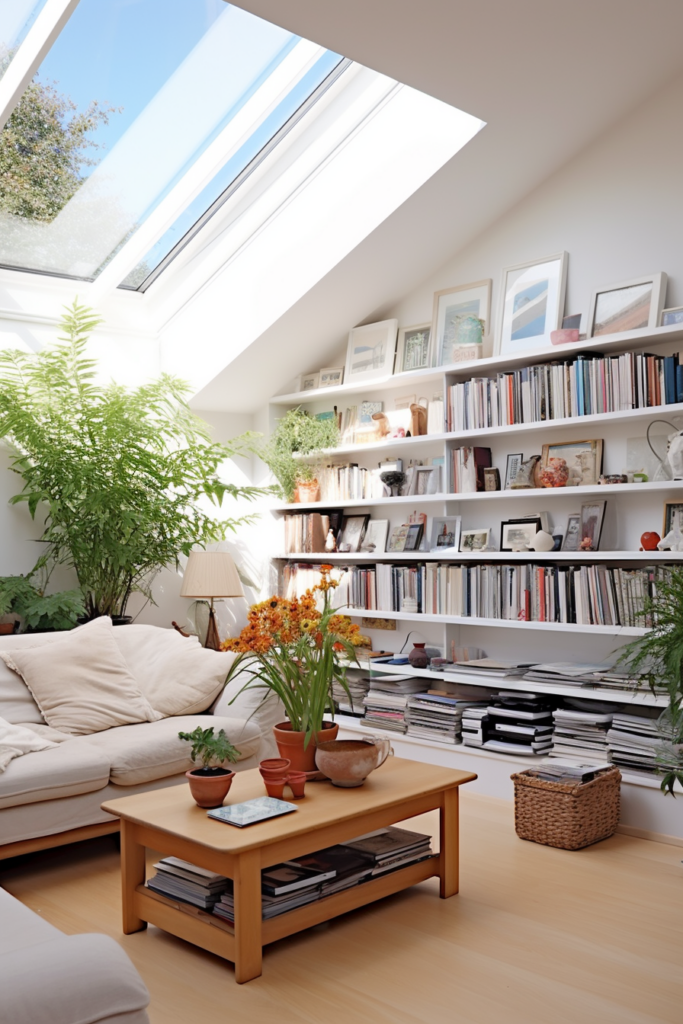
Carefully curate shelves rather than randomly overfilling them. Style them based on usage zones, themes, color schemes, or materials. Keep proportions balanced and items spaced. Rotate pieces seasonally for fresh updates.
- Creatively curate shelves in usage zones or themes
- Balance proportions and space items evenly
- Rotate seasonal accessories for fresh updates
Conclusion
Installing shelves, bookcases, or floating shelves provides beautiful and functional focal points on large walls. Carefully plan your shelving needs and style to select the best option, then precisely measure and construct for quality, long-lasting storage and display.
With creative vision and proper techniques, you can build the custom shelving of your dreams while adding value and visual interest to any room.
Follow Quiet Minimal on Pinterest for more home design tips and inspiration.