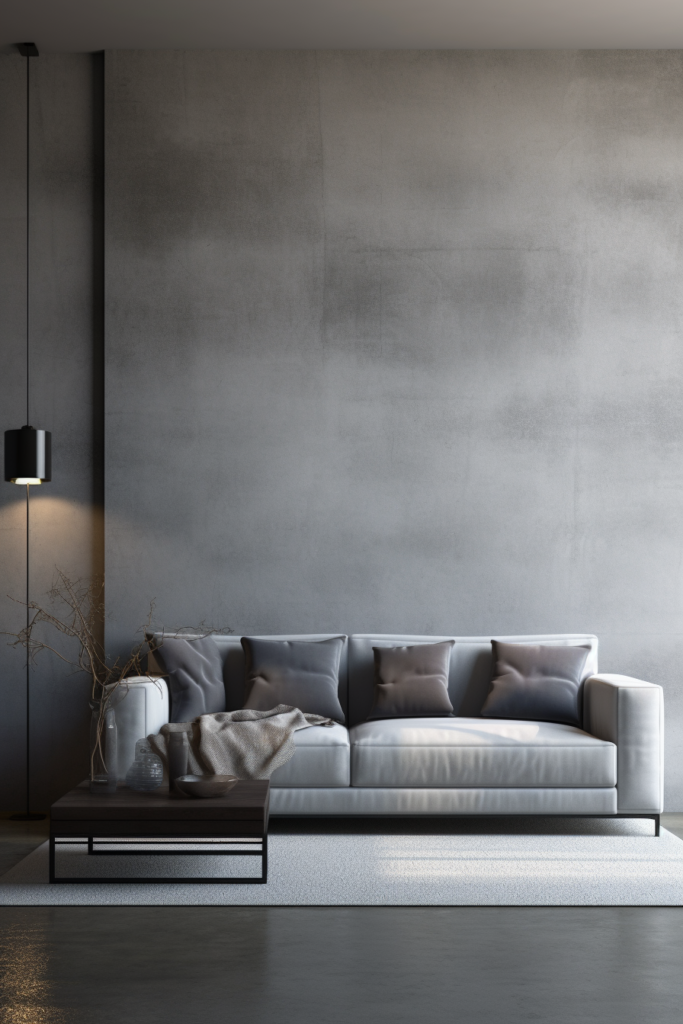
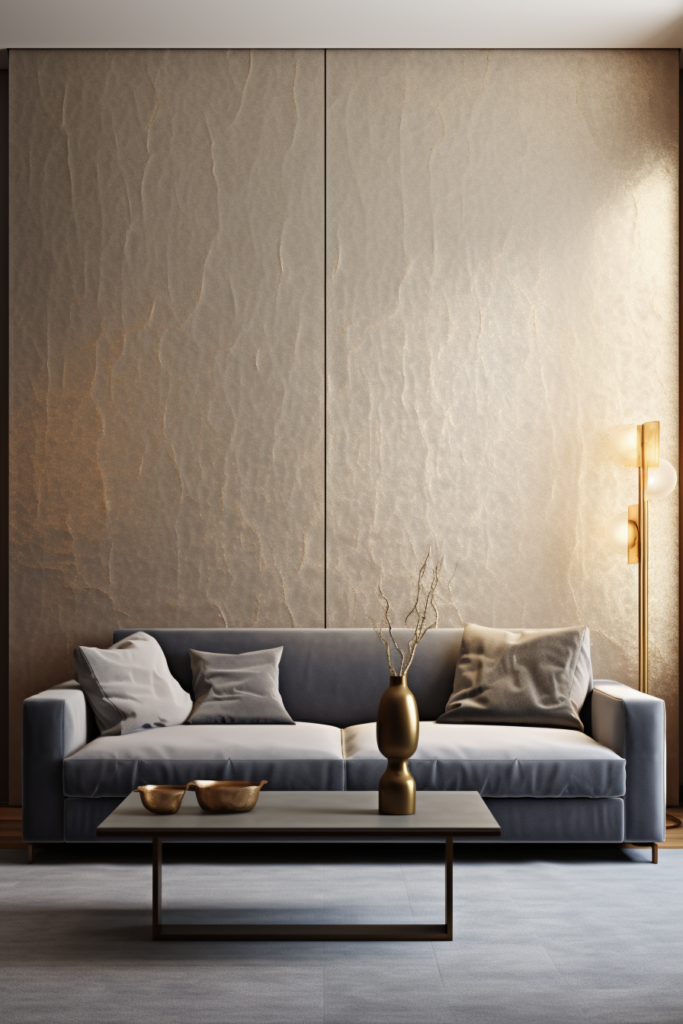
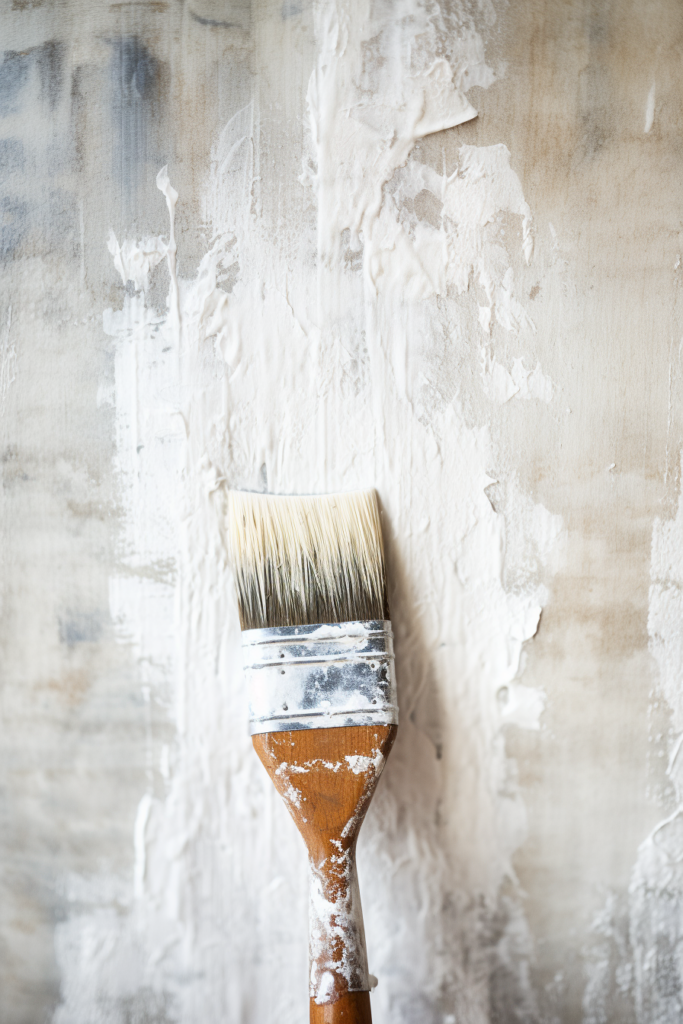
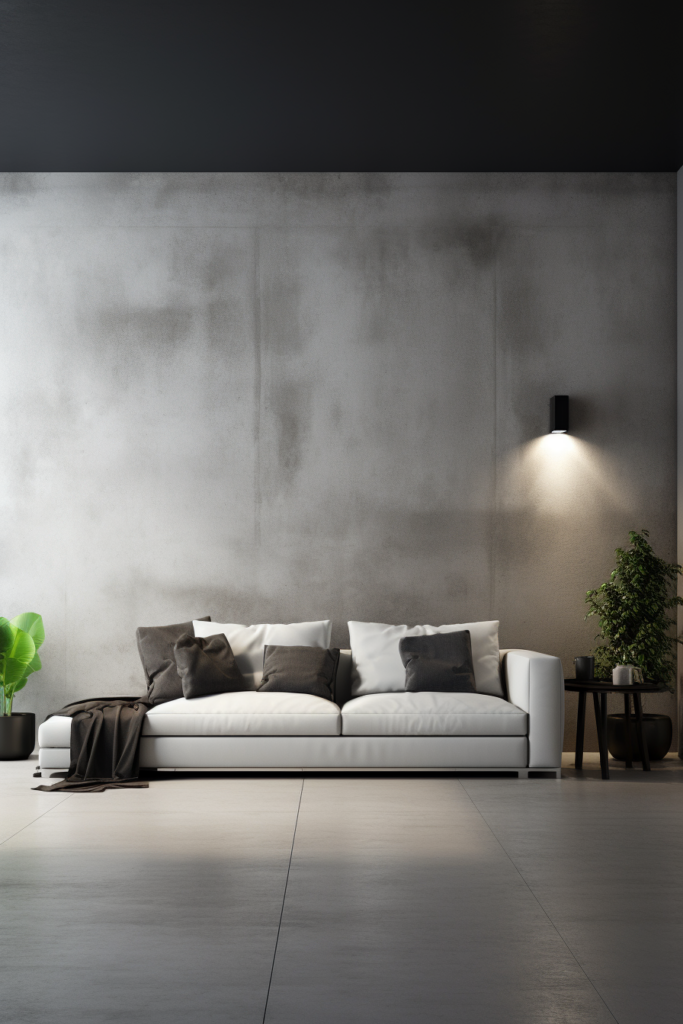
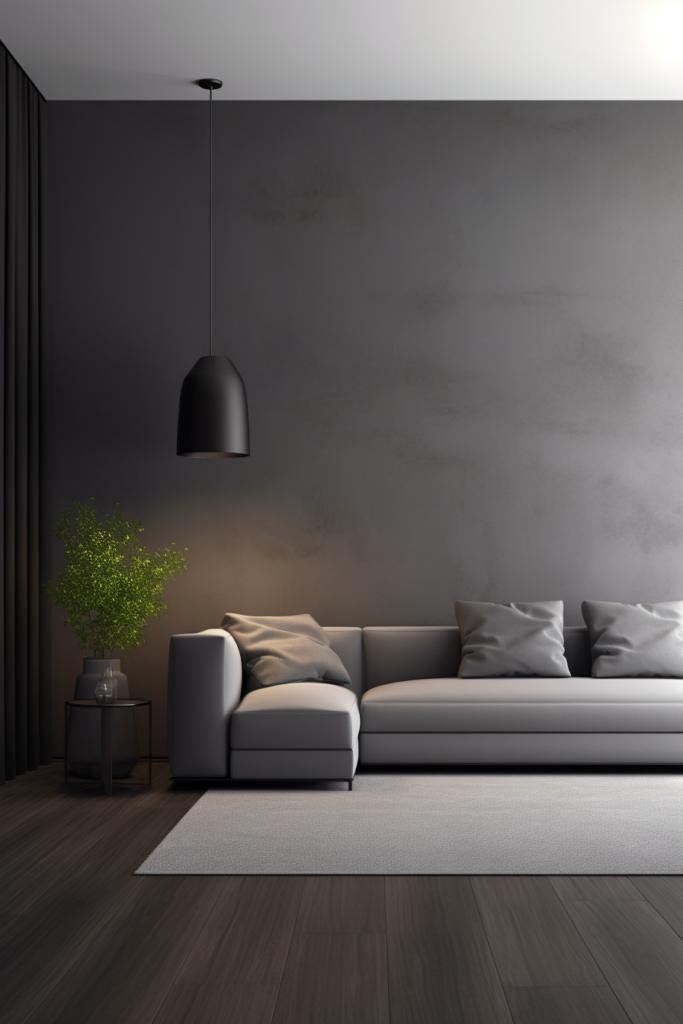
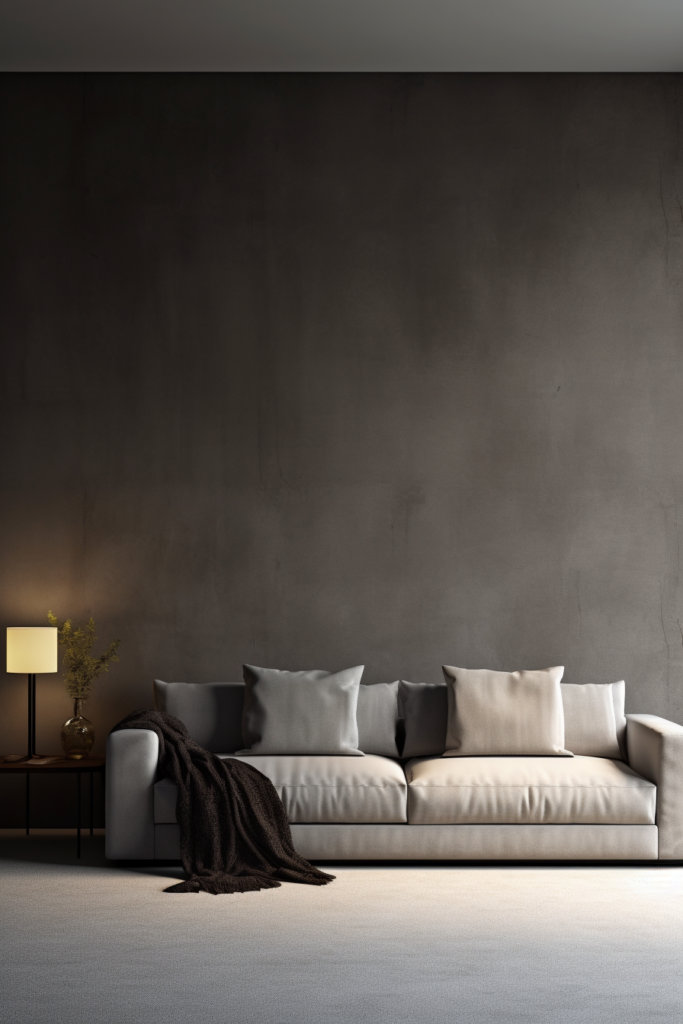
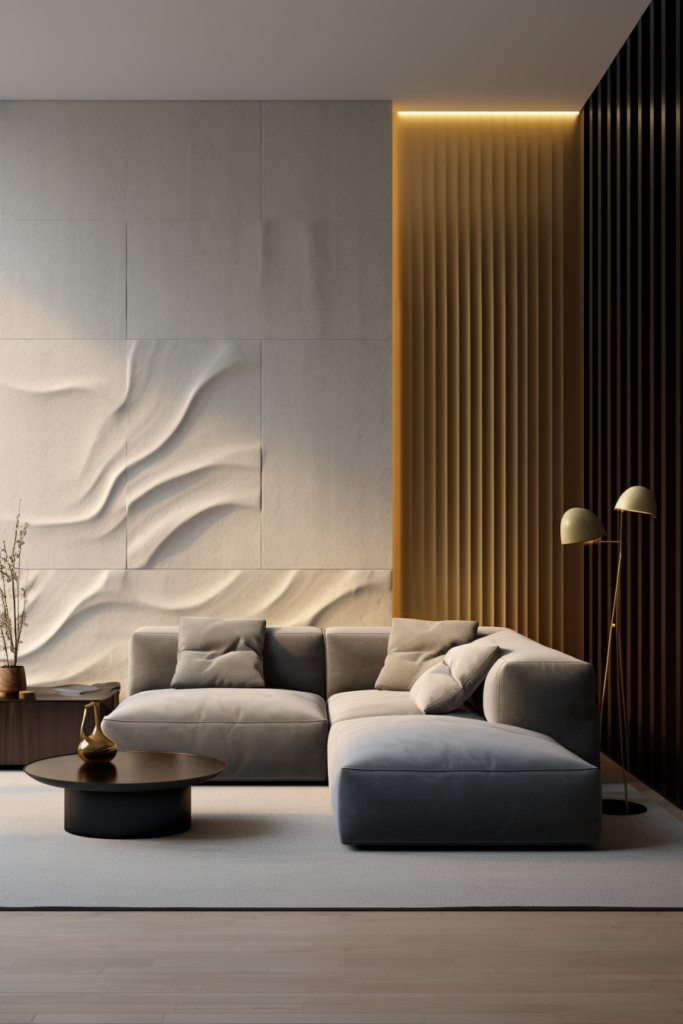
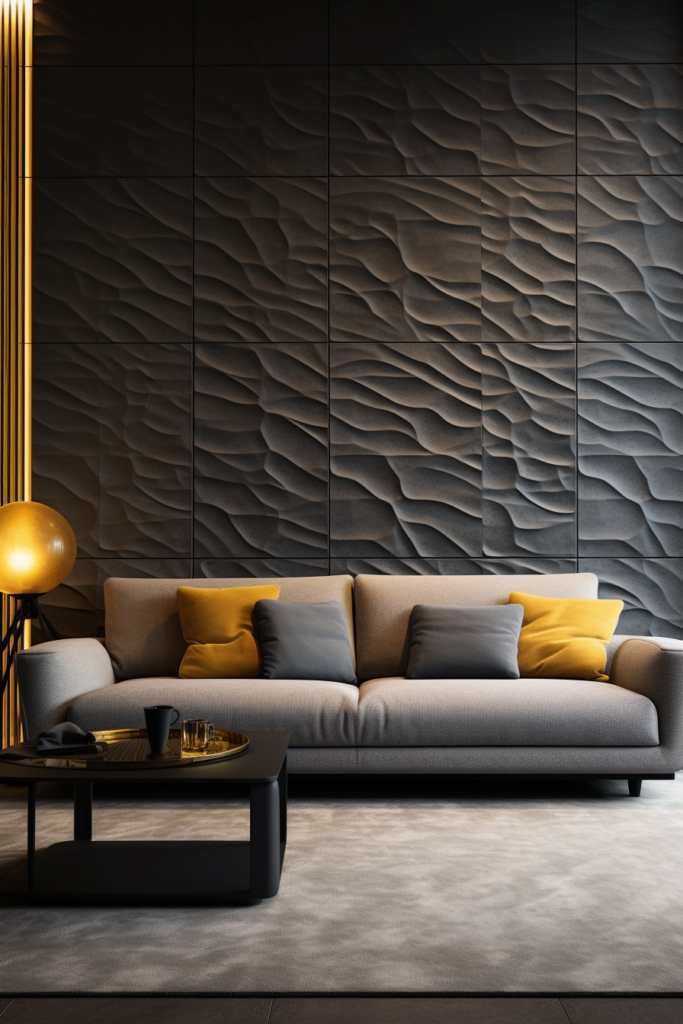
Adding texture to a large, blank wall can immediately create visual interest and depth in a living room. Rather than leaving the wall a flat, blank canvas, consider textured wall treatments to make it a focal point. Options like textured wallpaper, wood paneling, 3D wall tiles, plaster, concrete, or other materials can transform the look.

Select the Best Area for a Textured Accent Wall
When deciding where to add texture to your living room, consider the largest and/or most visible wall space. This could be behind the sofa, beside the fireplace, behind the TV, or another highly noticeable area.
- Evaluate your living room layout and identify the largest blank wall space.
- Consider which wall is most visible upon entering the room.
- Decide if you want the textured wall to be a subtle or prominent focal point.
Key Takeaways
- Choose the biggest and/or most visible wall to make the most impact.
- Identify if you want a subtle or striking textured statement.
- Evaluate furniture layout when selecting a location.
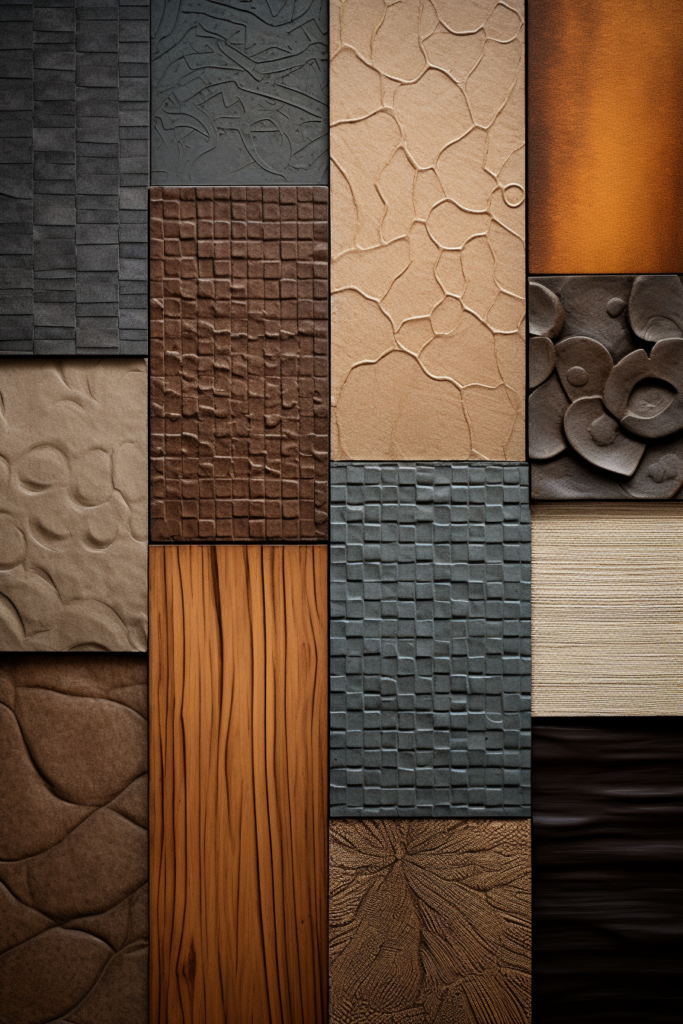
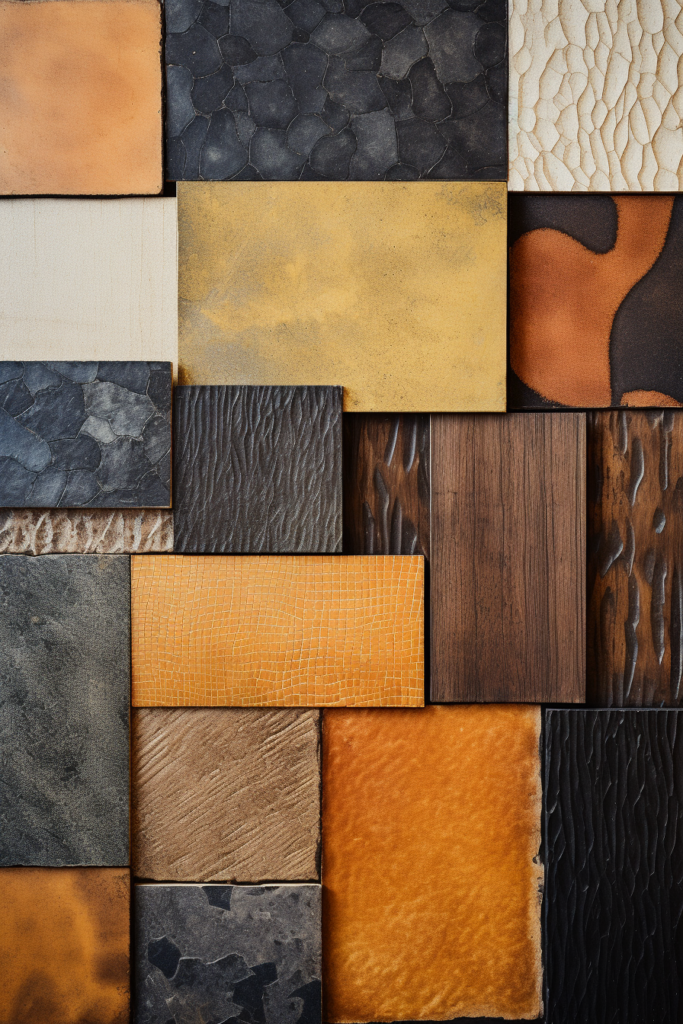
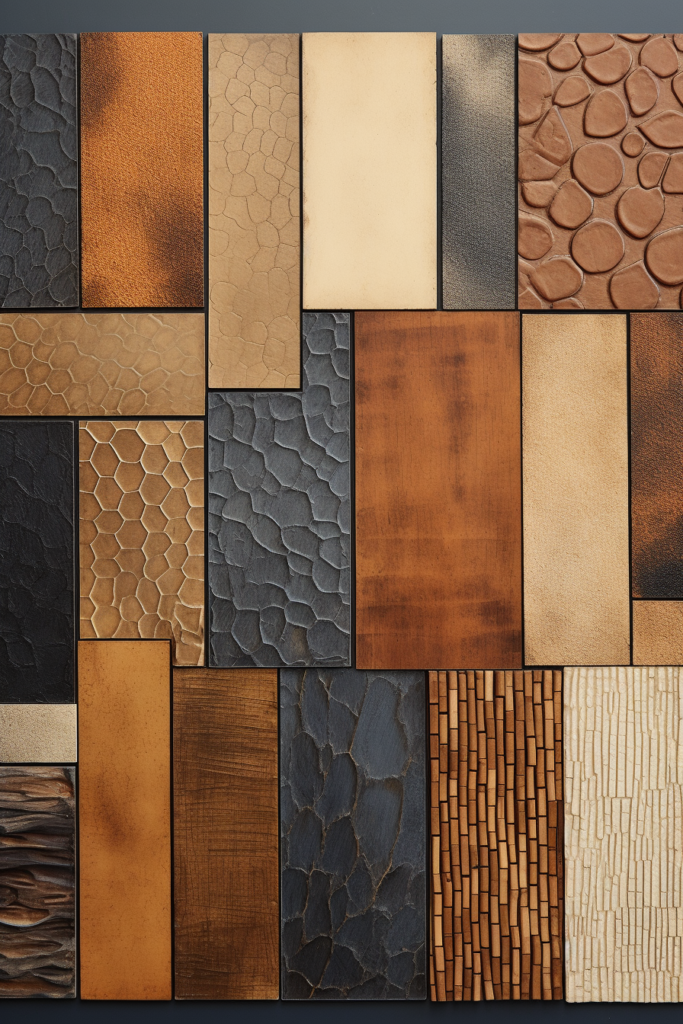
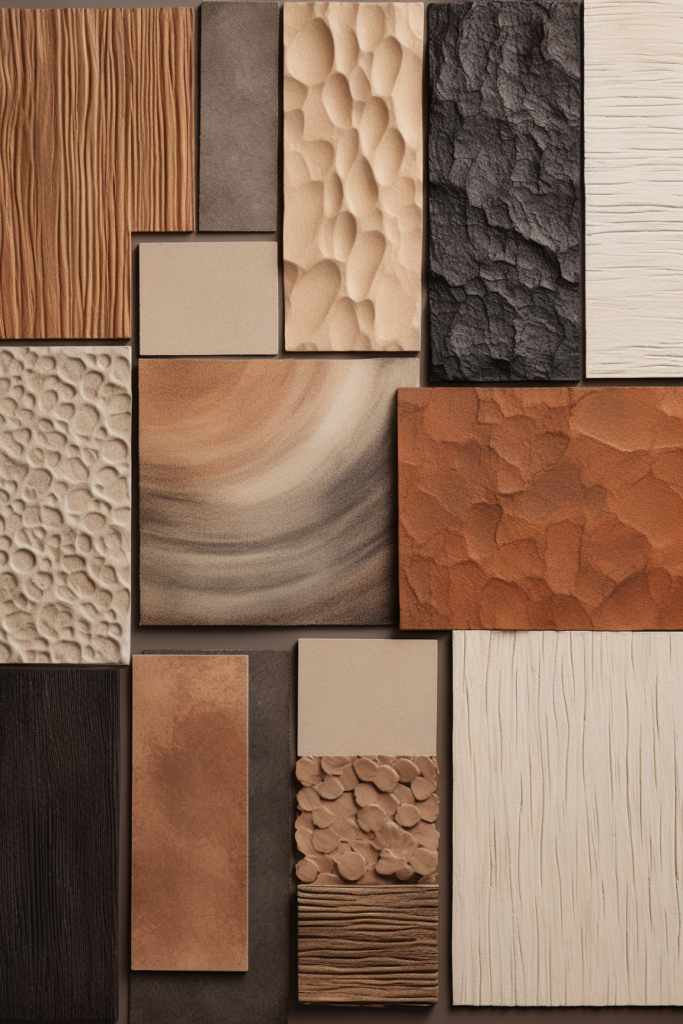
Research Various Textured Wallcovering Options
From textured wallpaper and faux finishes to wood planks and 3D tiles, there are endless options for adding visual texture. Consider the overall room style to narrow choices.
- Browse design magazines and websites for textured wall inspiration.
- Note textures that align with your interior design taste.
- Research how realistic each finish appears and the installation difficulty.
Key Takeaways
- Textured wallpaper provides abundant styles to match any decor.
- Faux finishes like Venetian plaster require special techniques but offer elegance.
- Materials like wood, tiles, or bricks lend organic, earthy textures.
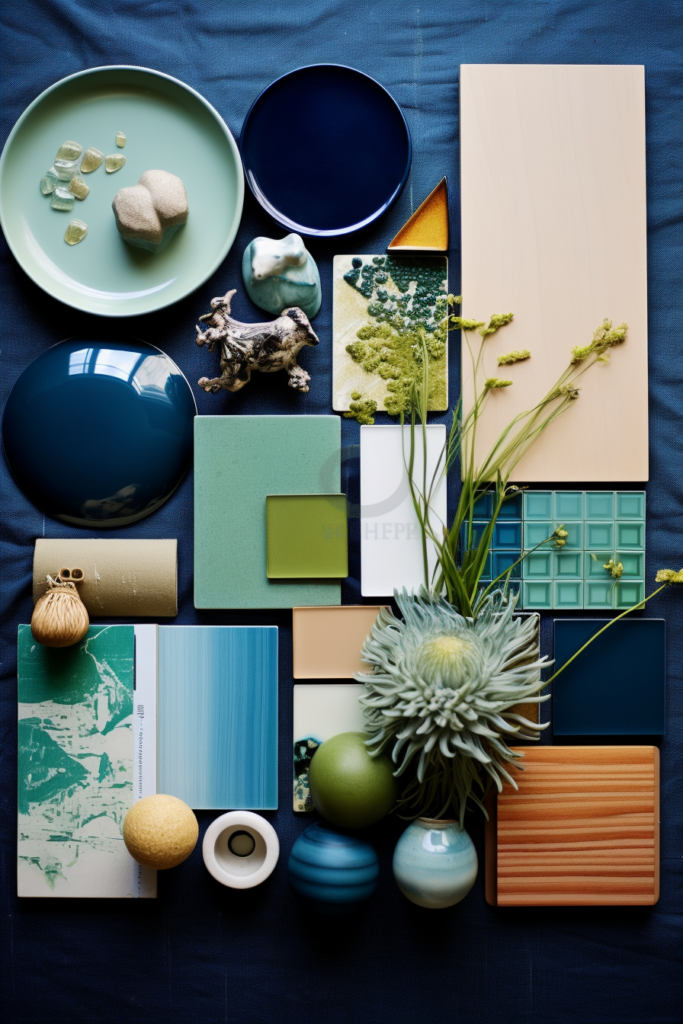
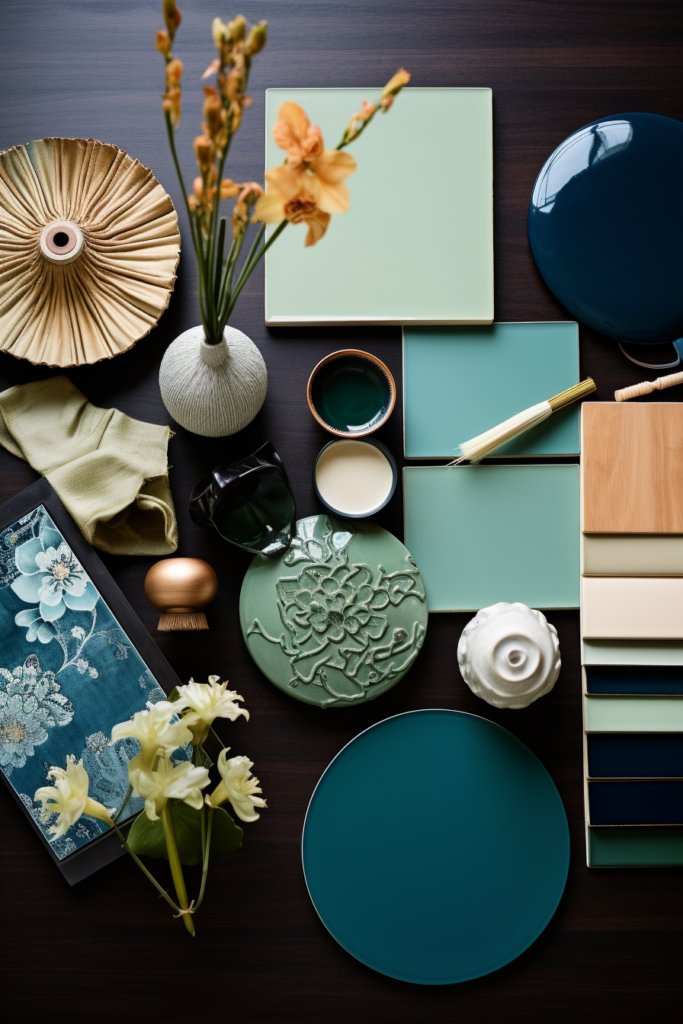
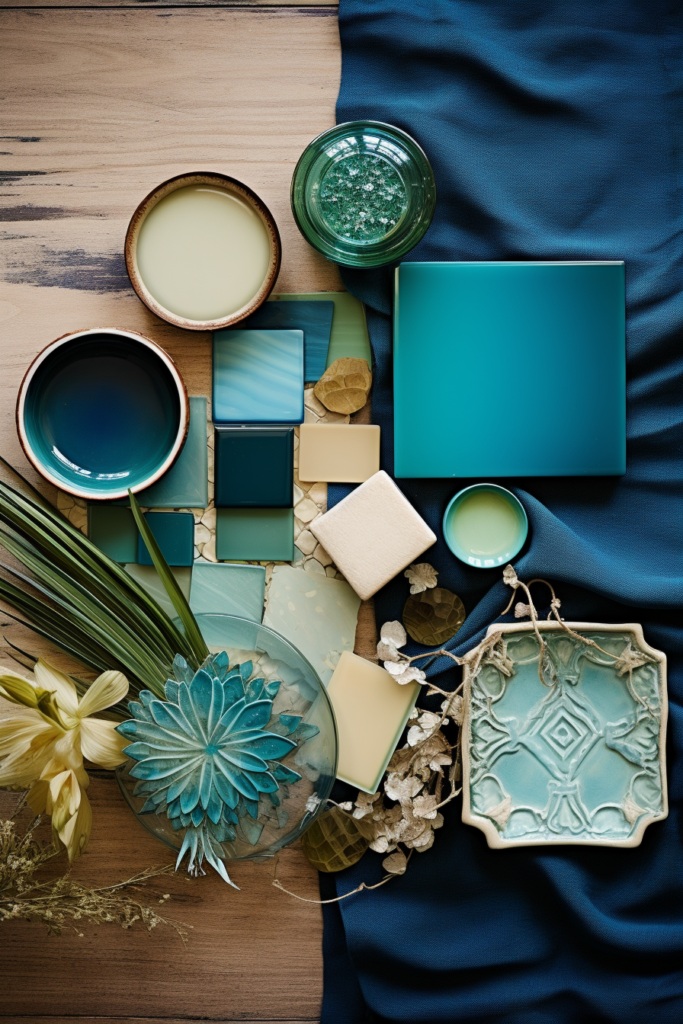
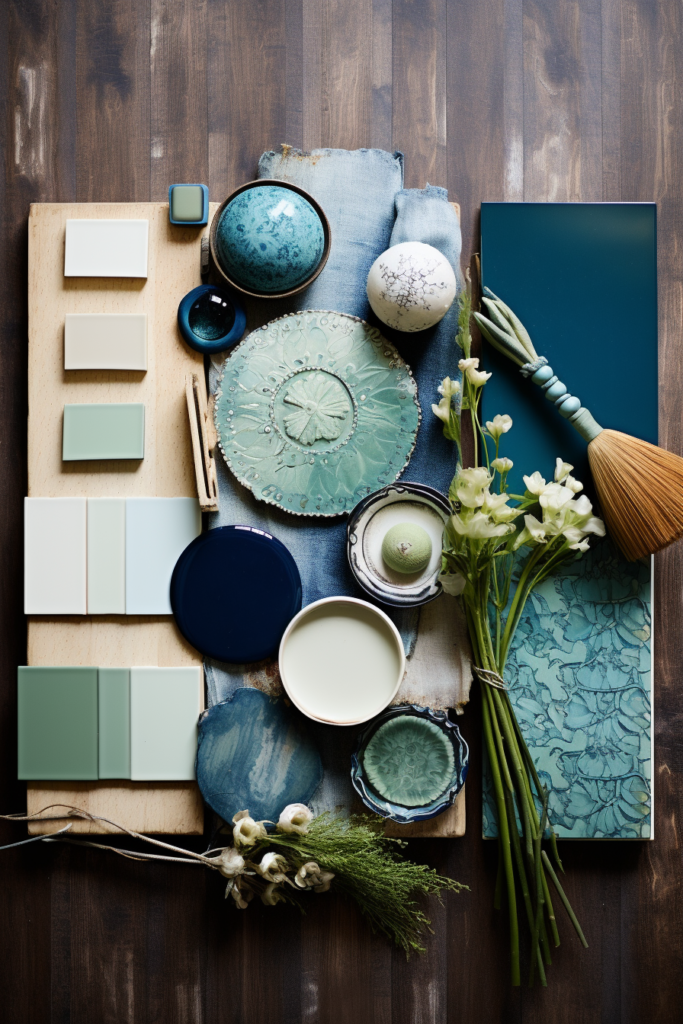
Choose Complementary Colors for the Textured Wall
When selecting a color for your textured statement wall, consider existing furniture and decor pieces that will remain in the living room. The goal is to choose a hue that complements your current palette.
- Identify existing color schemes of interior design elements like sofas, rugs, art etc.
- Decide if you want contrasting or matching colors for the textured wall.
- Select a coordinating paint color or material finish fitting the overall aesthetic.
Key Takeaways
- A contrasting color can make the texture pop while blending hues create unity.
- Be sure the accent color complements existing furniture/decor.
- Seek inspiration from interior design websites and magazines.
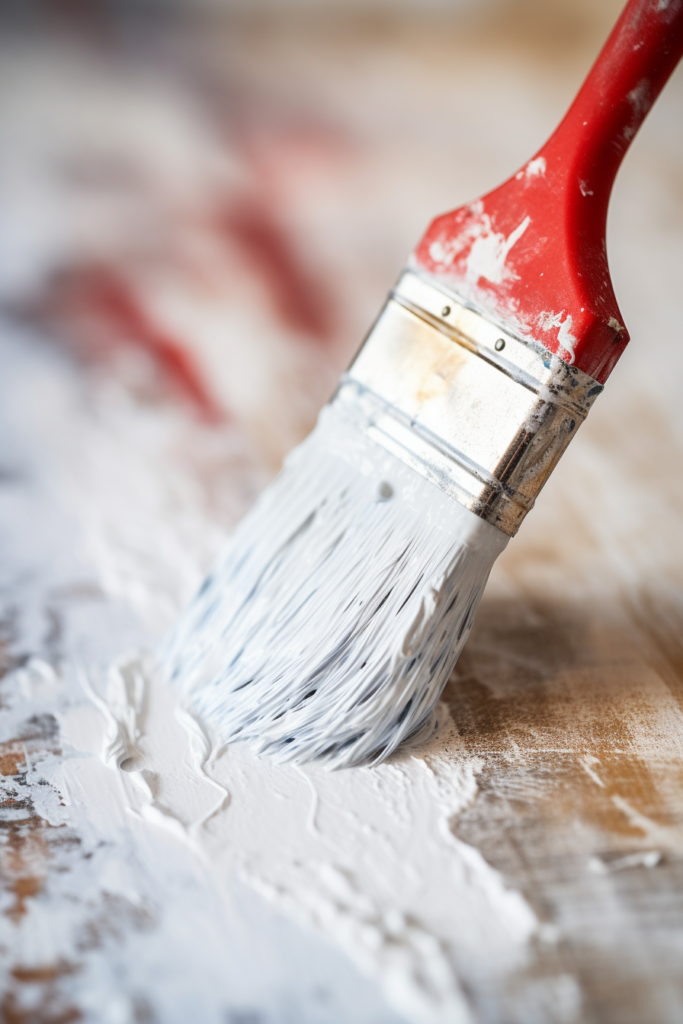
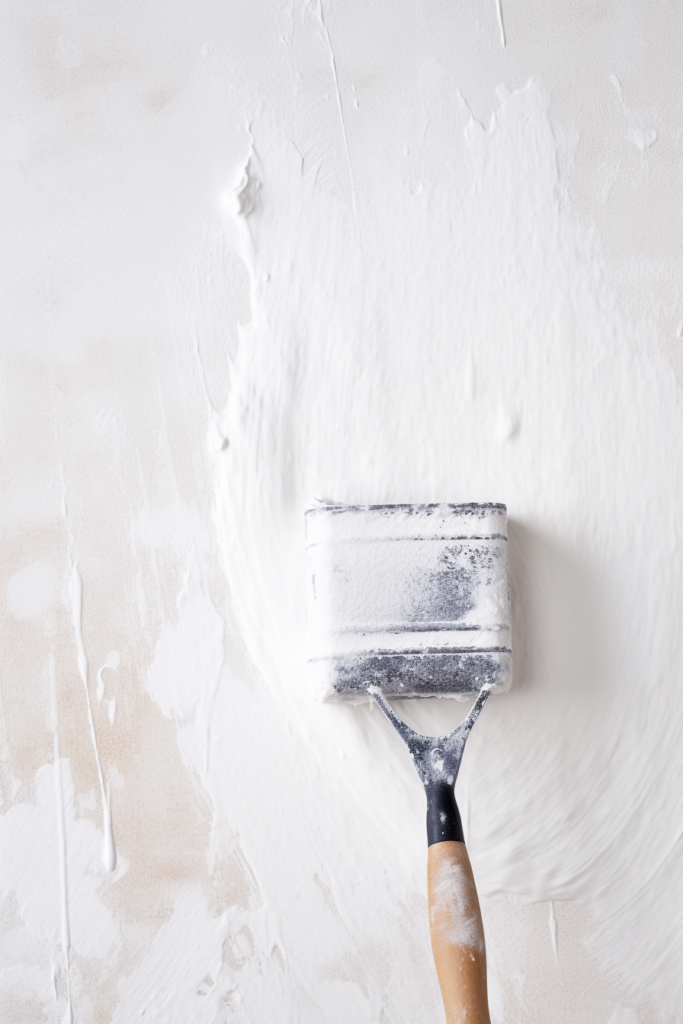
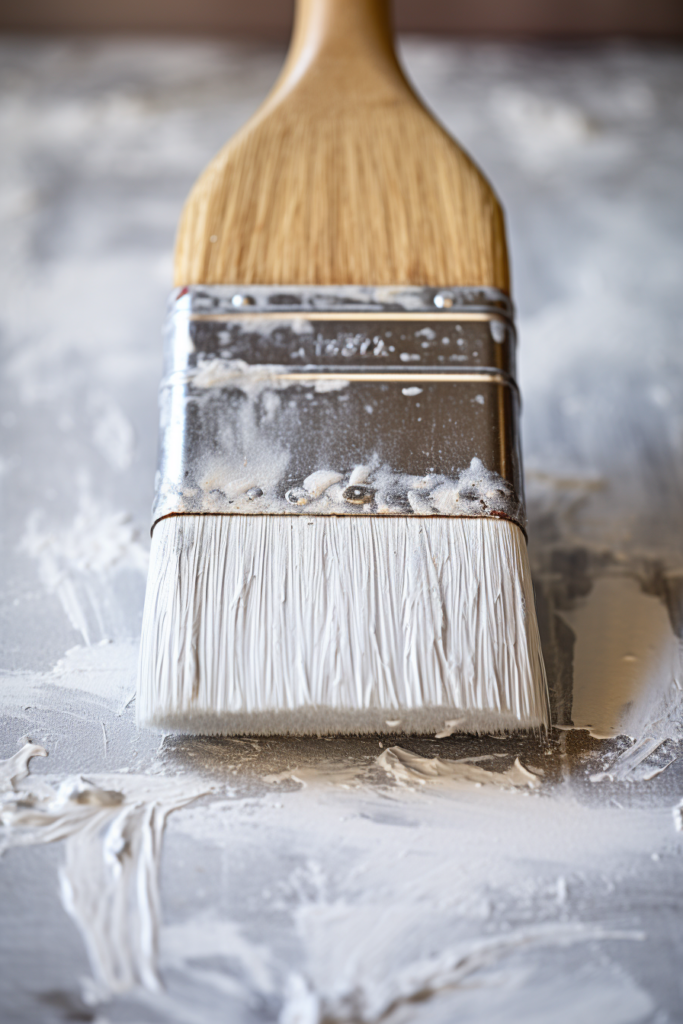
Prep and Protect Surrounding Areas During Installation
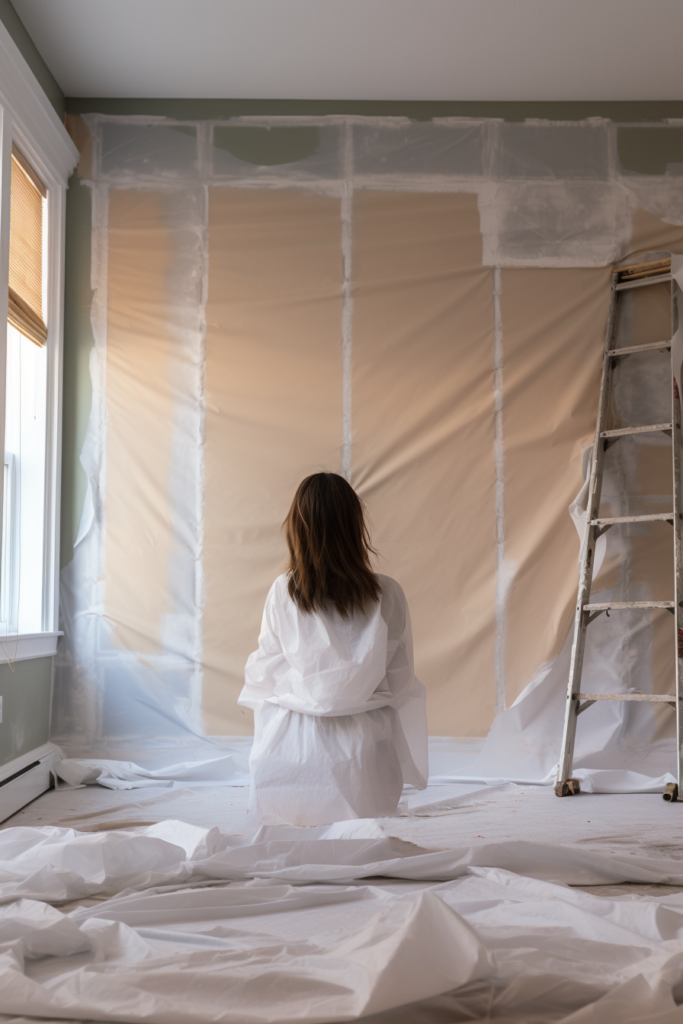
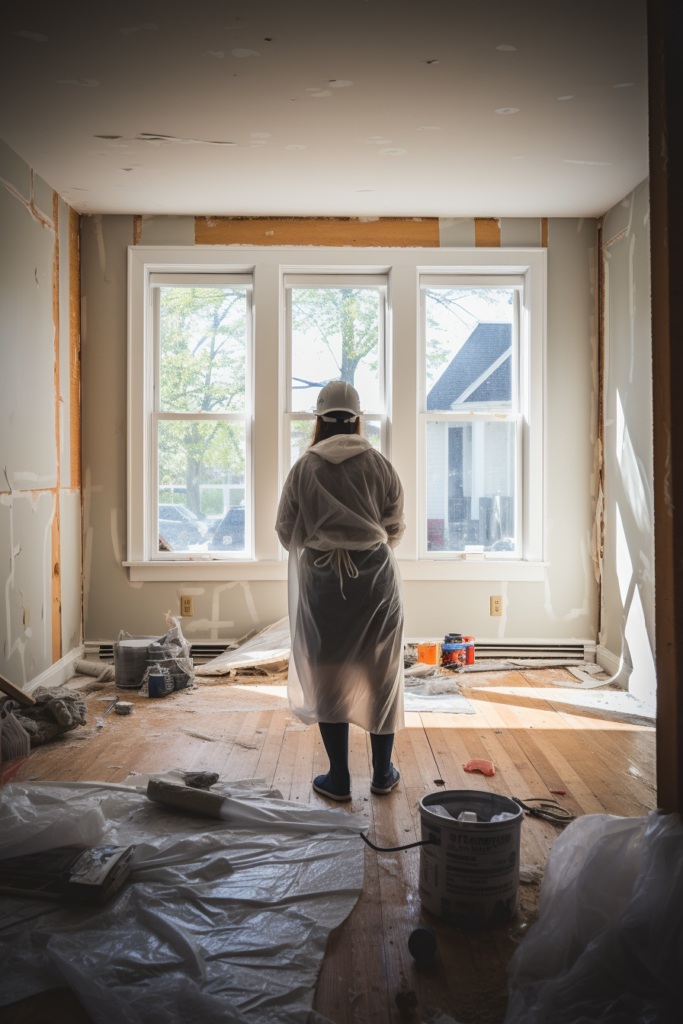
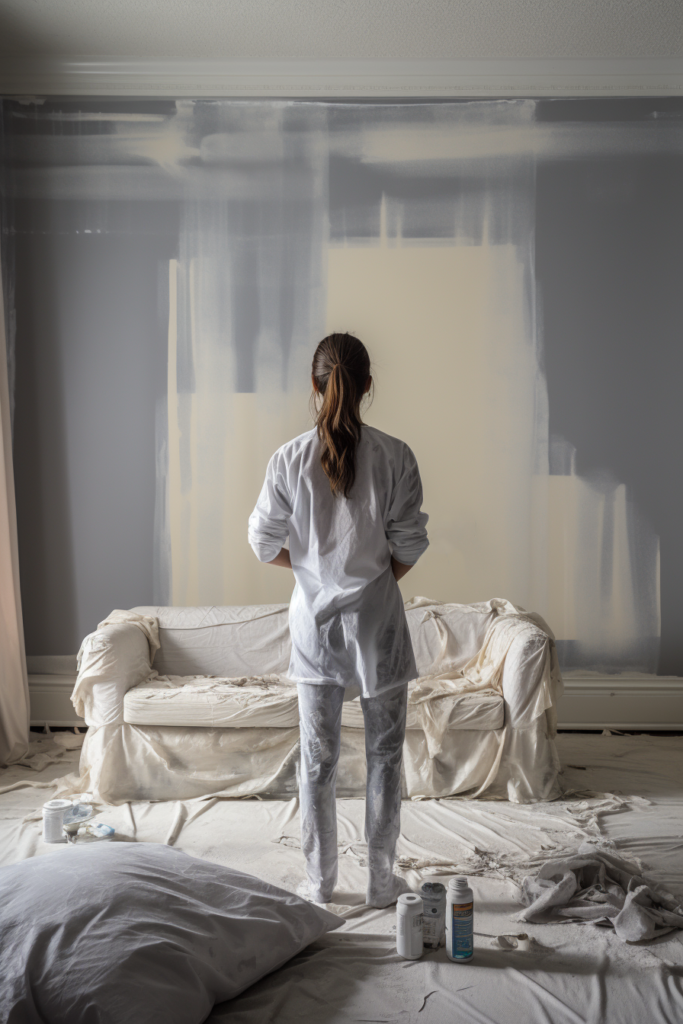
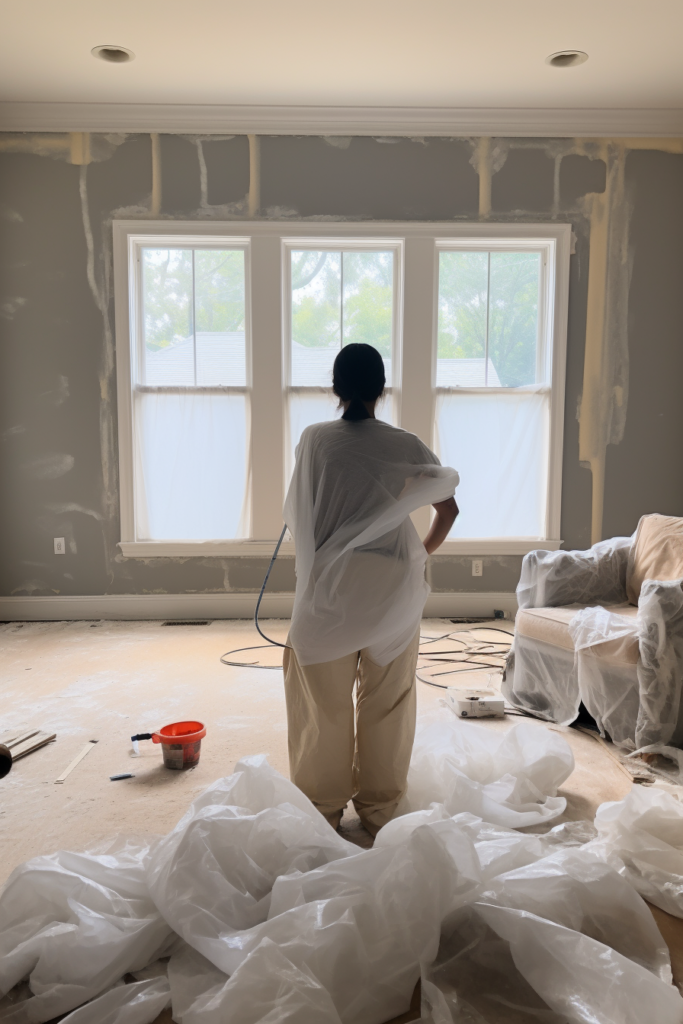
When tackling a DIY textured wall installation, properly prepare the work area by protecting existing floors, furniture, trim, and nearby walls from splatters. Spackle holes, clean thoroughly, and apply painter’s tape.
- Clean the wall surface and fill any holes or cracks with spackle compound. Sand smooth.
- Cover floors with a canvas drop cloth and nearby walls with painter’s tape/plastic.
- Relocate or carefully cover furniture, outlets, baseboards, and window/door trim.
Key Takeaways
- Spackle and sand wall before installation for best results.
- Cover floors, furniture, and trim/fixtures well before starting the project.
- Having an uncluttered workspace makes installation much easier.
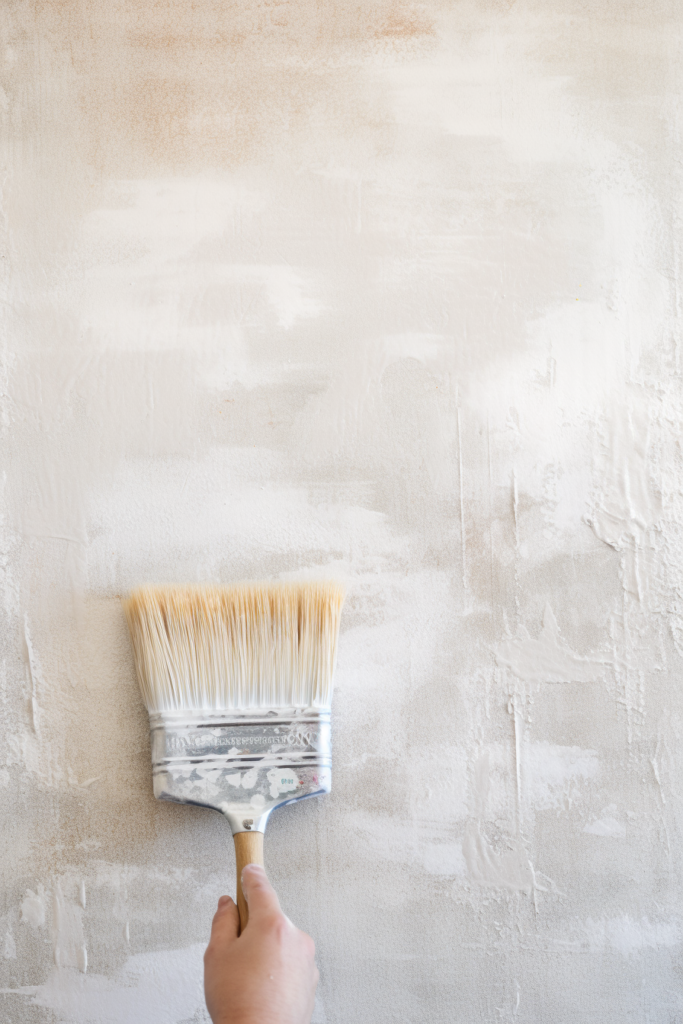
Apply Primer Prior to Execution of the Main Texture
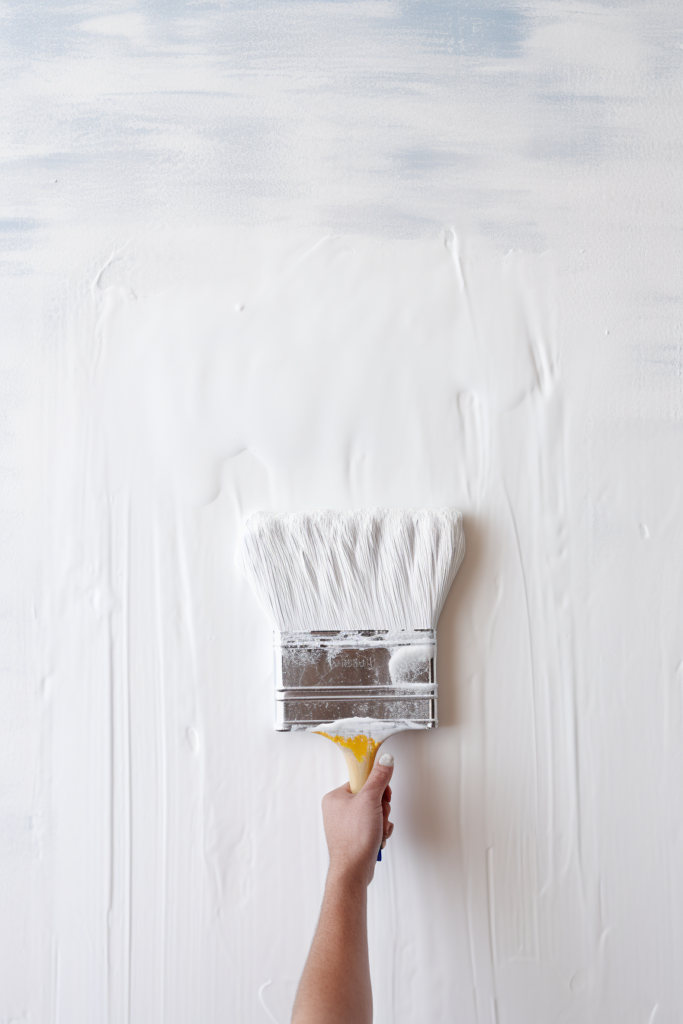
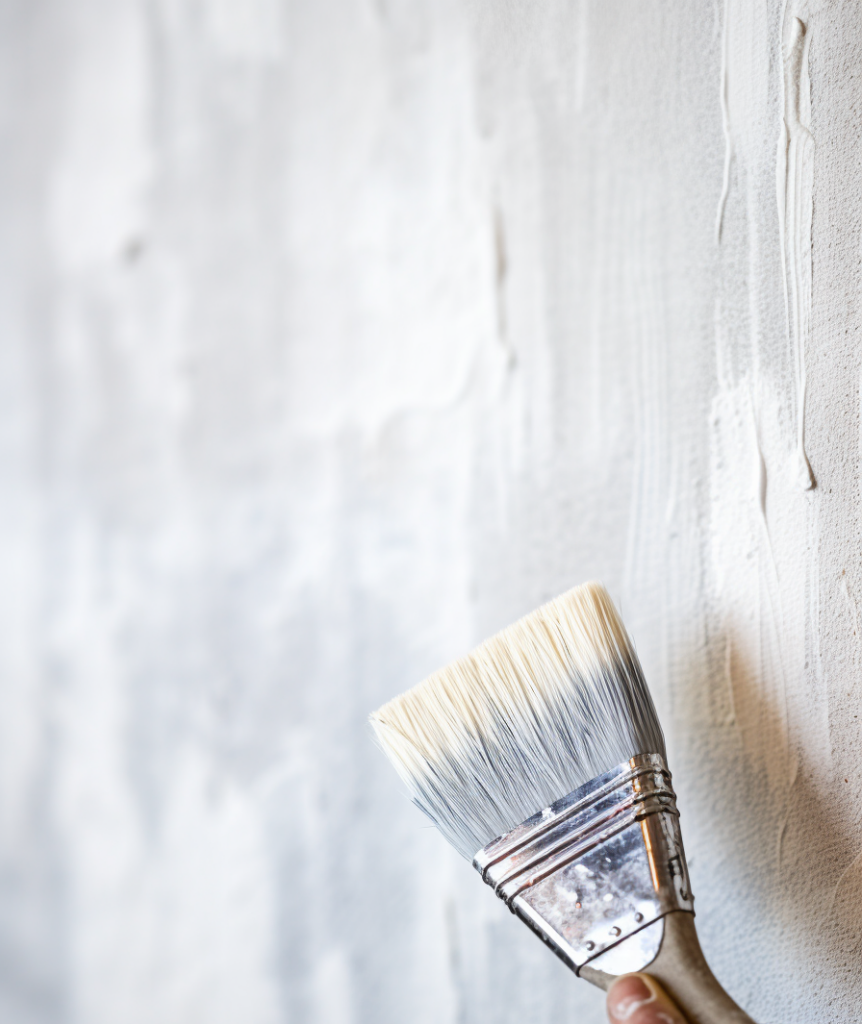
Priming the wall before tackling the faux finish or accent texture will allow for better adhesion. For DIY projects like stenciled wallpaper or hand-painted finishes, priming prepares the porous drywall surface.
- Select an interior latex wall primer according to your final paint/finish texture type.
- Apply primer evenly across the entire wall area using a paint roller and extension pole.
- Allow the primer to fully dry as recommended prior to executing textured wall design.
Key Takeaways
- Priming helps textured paint, wallpaper adhesive, wood glue, etc., bond properly.
- Be sure to prime the entire area where texture will be applied.
- Always allow the primer to fully dry before adding wall texture materials.
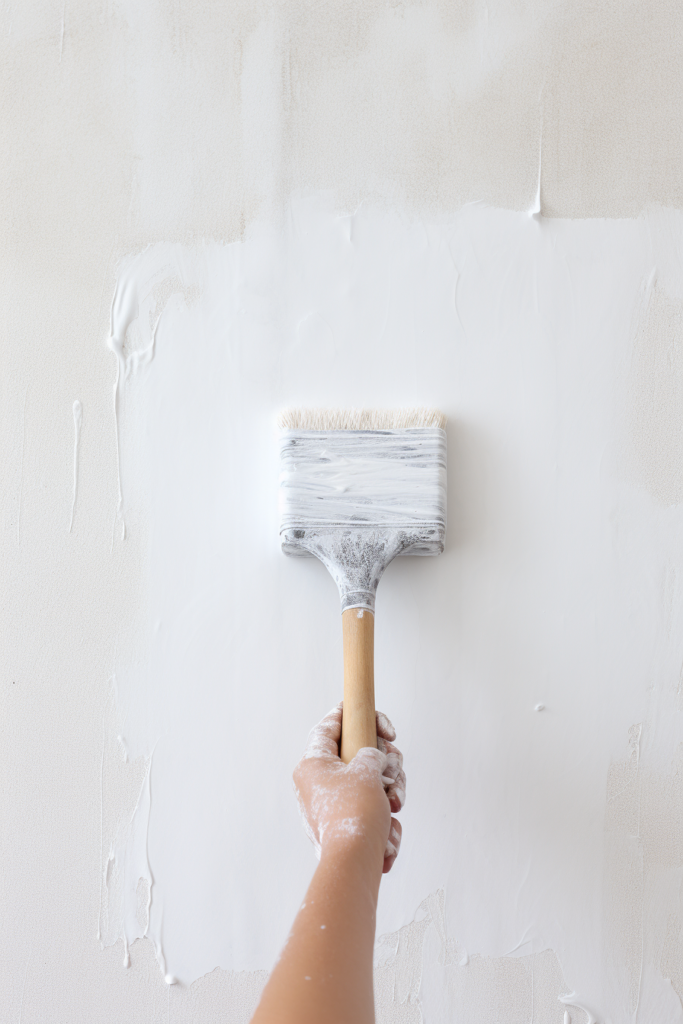
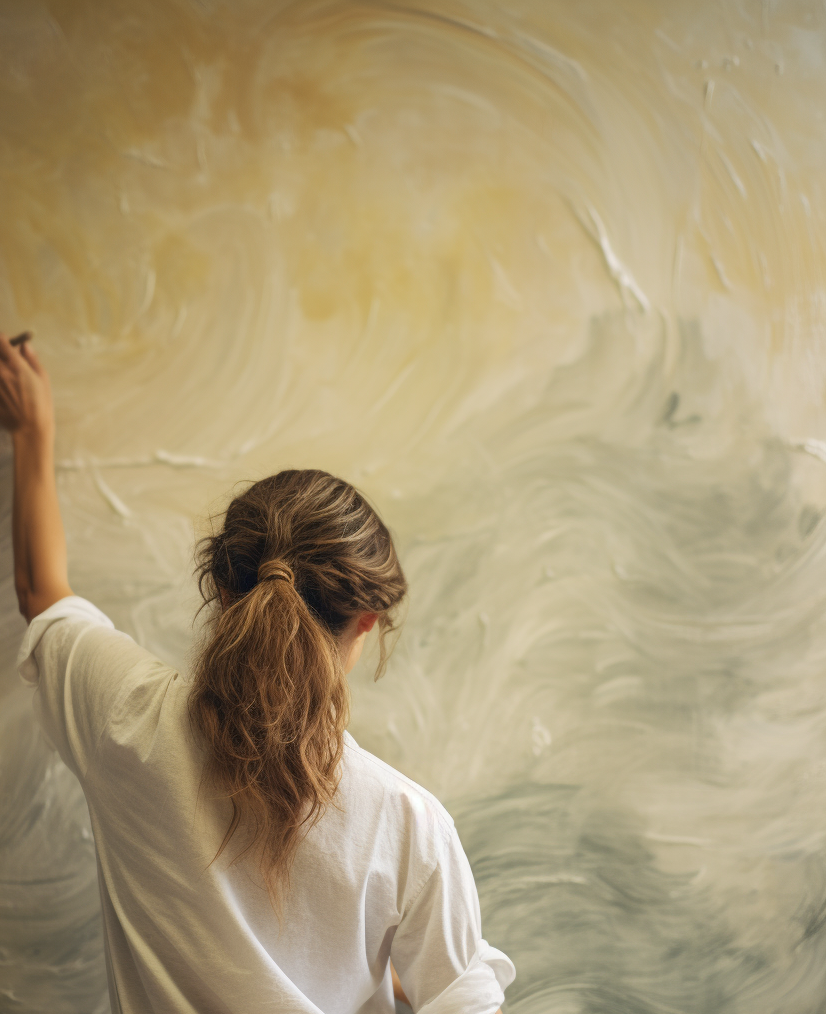
Create the Textured Wall Design in an Organized Manner
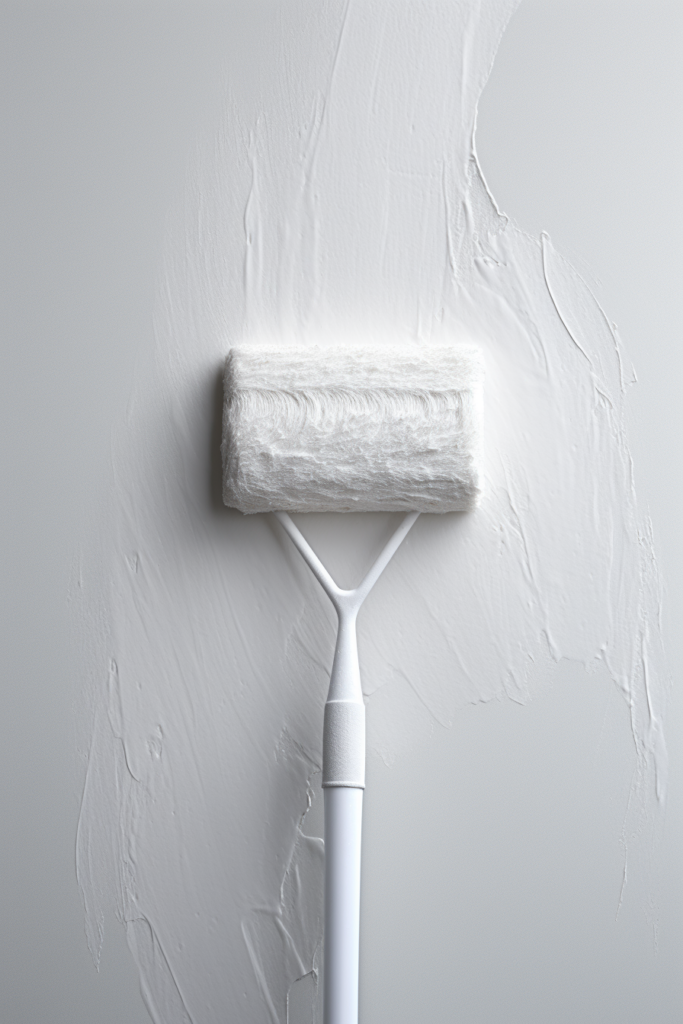
Carefully plan out the placement of the textured wall design prior to application. Measure wall dimensions and mark with painter’s tape to delineate boundaries as a guide. Apply the central design elements first.
- Measure the surface and mark off the design to achieve a balanced layout.
- Apply central ornamentation or artwork as a starting focal point.
- Work outward from the middle, adding supplementary elements in careful progression.
Key Takeaways
- Meticulously measure and mark the wall to map out organized applications.
- Anchor the layout by centrally applying focal components first.
- Work methodically outward, adding coordinated textures.
Allow Proper Dry Times According to Manufacturer Specs
It’s crucial to follow all dry-time recommendations when working on DIY textured wall installations. This helps ensure appropriate bonding, cures any shrinkage cracks, and prevents surface damage over time. Abide by direction specifications.
- Review manufacturer instructions for dry/cure times on all materials.
- Mark timing requirements on the project calendar to track accurately.
- Confirm each layer/section meets guidelines before adding the next elements.
Key Takeaways
- Improper drying leads to poor adhesion and aesthetic defects.
- Manufacturer guidelines indicate the safest cure times for installation longevity.
- Closely following all surface preparation specs ensures success.
Seal Textured Accent Wall Using Protective Clear Finish
Adding a clear top coat protects accent walls against possible damage, scuffs, fading, or darkening over time. Use high-quality sealer suitable for your accent wall materials like textured paint, wood, faux finishes etc.
- Lightly sand any ridges on applied textures to smooth. Blow/wipe away residue.
- Select a durable clear coat sealer designed specifically for your project finish type.
- Apply 1-2 uniform coats as directed, allowing proper drying time between each.
Key Takeaways
- Sanding smoothes textured materials, prepping for sealed gloss.
- Sealing helps preserve aesthetic quality and prevents deterioration.
- Applying sealer according to exact product guidelines is vital.
Style the Textural Accent Wall by Adding Coordinating Decor
The finishing touch to highlighting your new textural feature wall is decorating with complementary accessories. This helps integrate the texture with other living room elements for a polished, curated appearance.
- Gather inspiring ambient decor ideas that align with your wall texture style.
- Select artwork, greenery, shelves, or lighting that fits the concept.
- Harmoniously blend accent pieces with existing furnishings.
Key Takeaways
- Accent the wall texture with suitable artwork or greenery for impact.
- Reposition existing furniture/decor to balance with new focal visuals.
- Creatively blend textural architecture to evoke an alluring elegance.
Maintain Textured Accent Wall Appearance Over Time

Properly caring for textural wall installations helps promote long-lasting enjoyment of these statement-making focal points. Utilize mild cleaning methods and occasionally touch up sealants as needed. Handle delicately.
Key Takeaways
- Use soft microfiber cloths with only mild pH-neutral cleaners if needed.
- Avoid harsh chemicals or abrasive tools/brushes to prevent damage.
- Routinely inspect for scuffs/cracks, re-sealing as the manufacturer recommends.
- Delicately dust textured surfaces instead of actual wiping whenever possible.
Conclusion
Implementing a textural accent wall transforms plain living room walls into stunning works of art. From selecting the ideal location and choosing materials that align with your interior design to properly executing application techniques, creating a focal feature requires research and precision. But the end results are well worth the effort, providing an undeniably polished elegance. Just be sure to take care of these statement installations over time.
Follow Quiet Minimal on Pinterest for more home design tips and inspiration.