Hanging plants from the ceiling can add visual interest and greenery to any indoor space. However, properly installing ceiling hooks and hardware is crucial for safety and security. Selecting the suitable materials and using the proper technique will ensure your mounted plants remain securely fastened.

In this comprehensive guide, we will walk through the key considerations and step-by-step process for choosing, installing, and utilizing various ceiling hook systems to securely hang houseplants and planters.
Key Ideas:
- Assess ceiling material and weight capacity needs before selecting hardware
- Toggle bolts offer security in drywall; expander anchors work for plaster/lath
- Allow sufficient height for plant growth when positioning hooks
- Distribute weight evenly with multiple anchors for large/heavy plants
- Routinely inspect installation for signs of loosening or wear
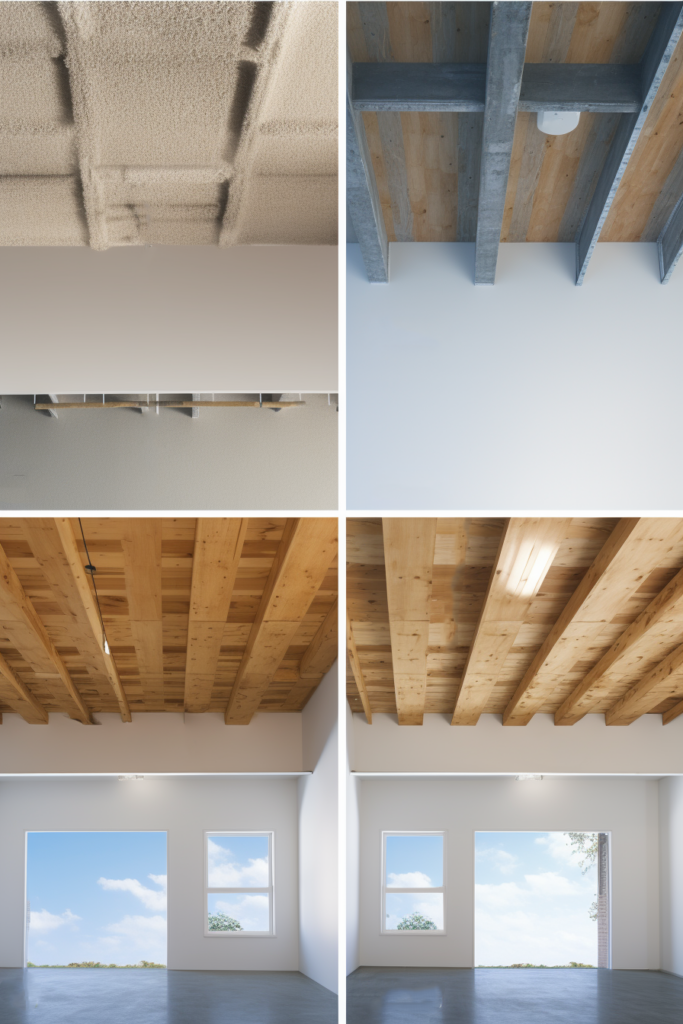
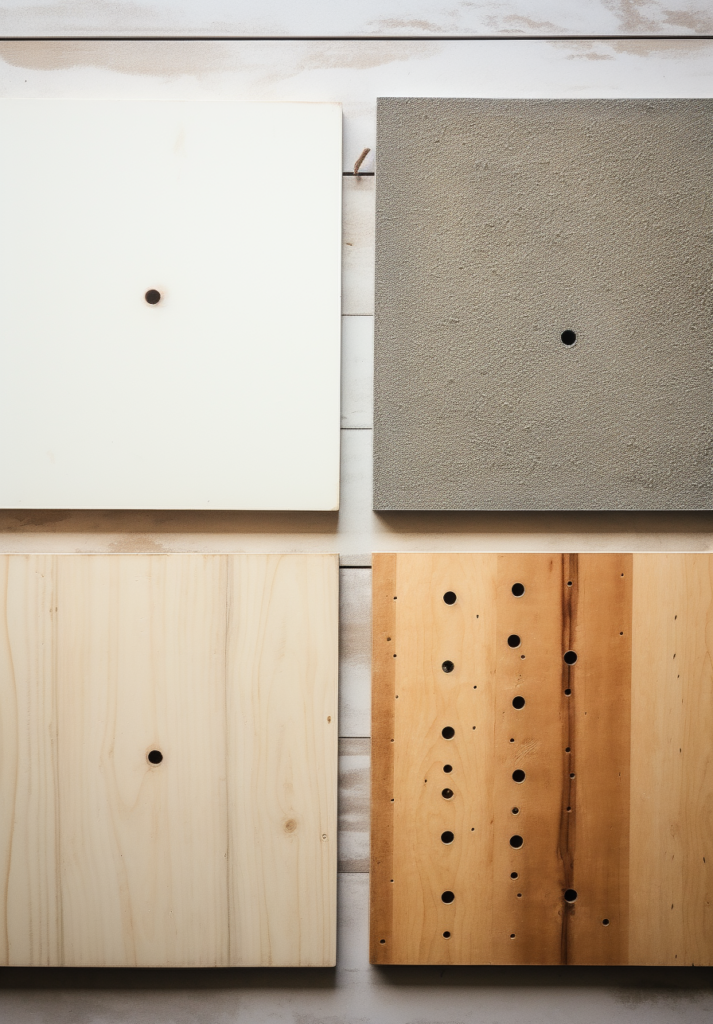
Assessing Your Ceiling Type and Weight Requirements
When selecting ceiling hooks and mounting hardware for hanging plants, the first step is identifying your ceiling type and composition. The most common residential ceiling materials are drywall, plaster, concrete, or wood. You’ll also need to consider the finished weight of your plant and hanging planter when determining weight capacity requirements.
Key Ideas:
- Drywall: Use toggle bolts or hollow wall anchors
- Plaster/Lath: Opt for expander anchors
- Concrete: Choose concrete screw anchors
- Wood: Standard wood screws are ideal
Matching Plant Weight to Hardware Weight Ratings
Once you’ve identified your ceiling type, match this to hardware designed to safely support the total hanging weight. Light trailing plants in small pots may weigh only a few pounds. However, larger plants in heavy decorative planters can weigh upwards of 60 pounds or more when watered. Exceeding maximum weight capacities risks hardware failure or pulling anchors right out of the ceiling.
Key Ideas:
- Weigh fully watered plant + hanger when possible
- Allow for future plant growth over time
- Distribute weight across multiple anchors for heavy loads
Installation Process for Drywall Ceilings
Drywall ceilings are a very common surface for installing ceiling hooks to hang plants. Toggle bolts and hollow drywall anchors allow secure attachment despite the hollow space behind. Here is the basic process:

Key Ideas:
- The drill pilot hole is slightly smaller than the hardware diameter
- For toggle bolts, enlarge the hole for “wings” to pivot open
- Ensure bolts/anchors tighten flush against drywall
Step-by-Step Toggle Bolt and Hollow Anchor Installation
Follow these key steps for proper drywall anchor selection and installation:
- Drill pilot hole with a bit slightly smaller than the screw diameter
- For toggle bolts, enlarge the hole to fit wings when folded
- Insert bolt/anchor into the hole and tighten until flush
- Attach hook and confirm stable before hanging plant
Installing Concrete Ceiling Anchors
Concrete ceilings require anchors designed to grip and wedge into the solid surface. Concrete screw anchors allow secure threading into the dense material. Here is an overview of considerations:


Key Ideas:
- Concrete screws wedge into material when turned
- It may require a hammer drill for the pilot hole
- Use anchors evenly distributed for heavy loads
Hammer Drilling Pilot Holes
Hammer drilling concrete to pre-drill pilot holes may be necessary prior to setting concrete screw anchors. This uses impact to pulverize the spot where the anchor will be located. Follow the tips below:
- Mark the ceiling at the desired location(s)
- Use the hammer function to drill the pilot hole
- Vacuum debris before inserting anchors
- Twist in anchors until snug against the surface
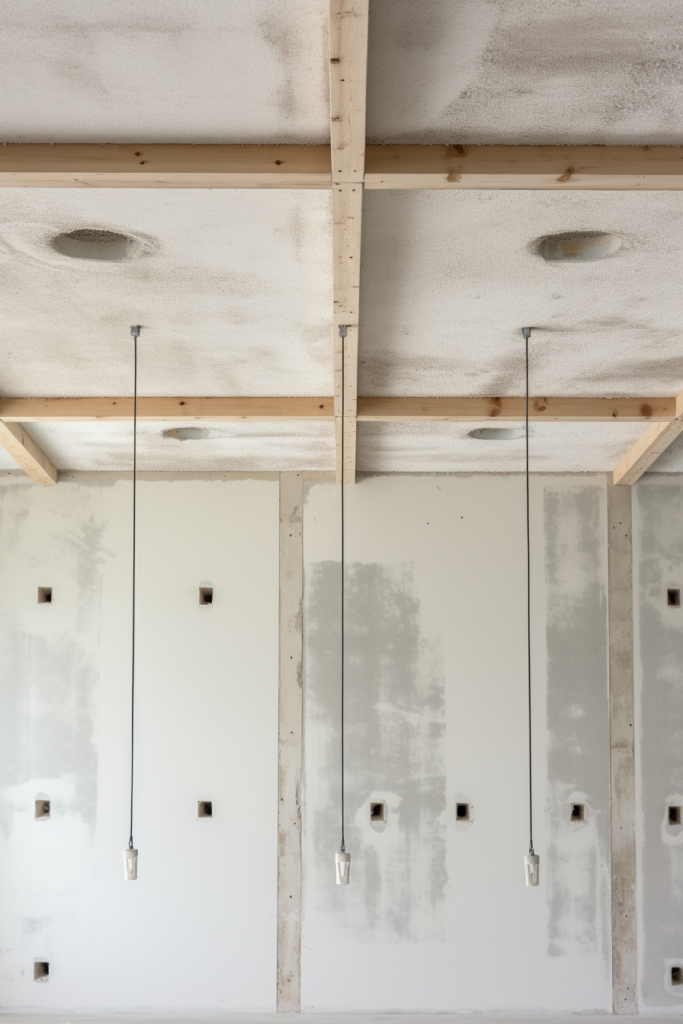
Hanging Plants from Wood Beam Ceilings
For ceilings with exposed wood beam construction, you can use basic wood screws to provide hanging support. Just ensure screw lengths are sufficient to fully penetrate beams. Here are helpful guidelines:

Key Ideas:
- Avoid delicate wood trim/molding sections
- Match heavy-duty wood screw to beam thickness
- Pre-drilling may ease screw installation
Pre-Drill Holes Prior to Installing Wood Screws
Follow these instructions for installing wood screws in beam ceilings:
- Identify and mark solid wood beam location(s)
- Pre-drill clearance hole if screw meets resistance
- Select the appropriate wood screw length
- Install hooks and test stability before hanging
Positioning Hooks for Proper Height and Accessibility
When mapping outplacement for plant hanging hooks, consider both the current and future size of your plants. Ensure ample overhead space remains for growth without encroaching on other elements like light fixtures. Also, allow sufficient access for ongoing plant care.
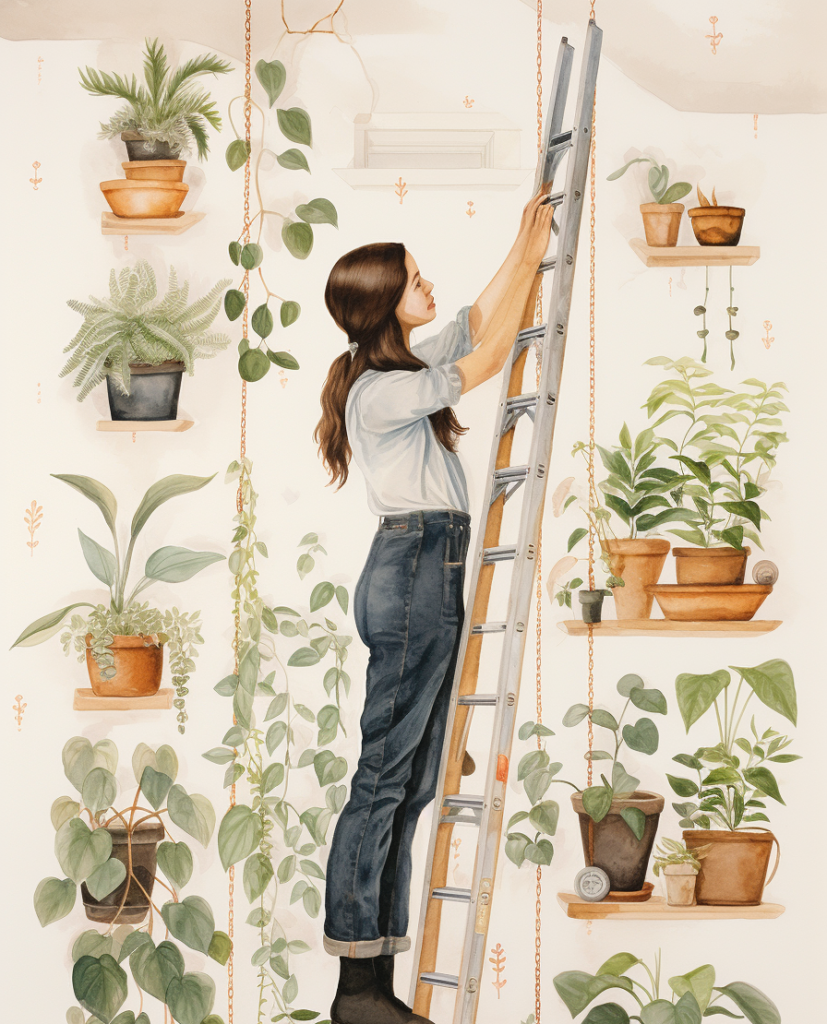
Key Ideas:
- Leave 18-24″ clearance above the tallest current height
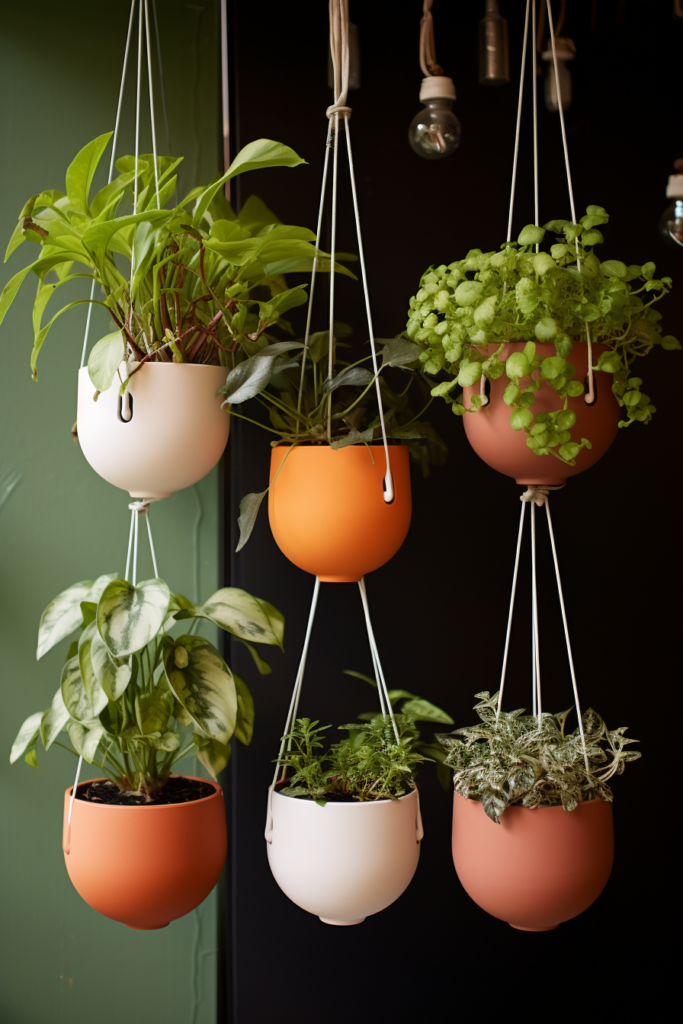
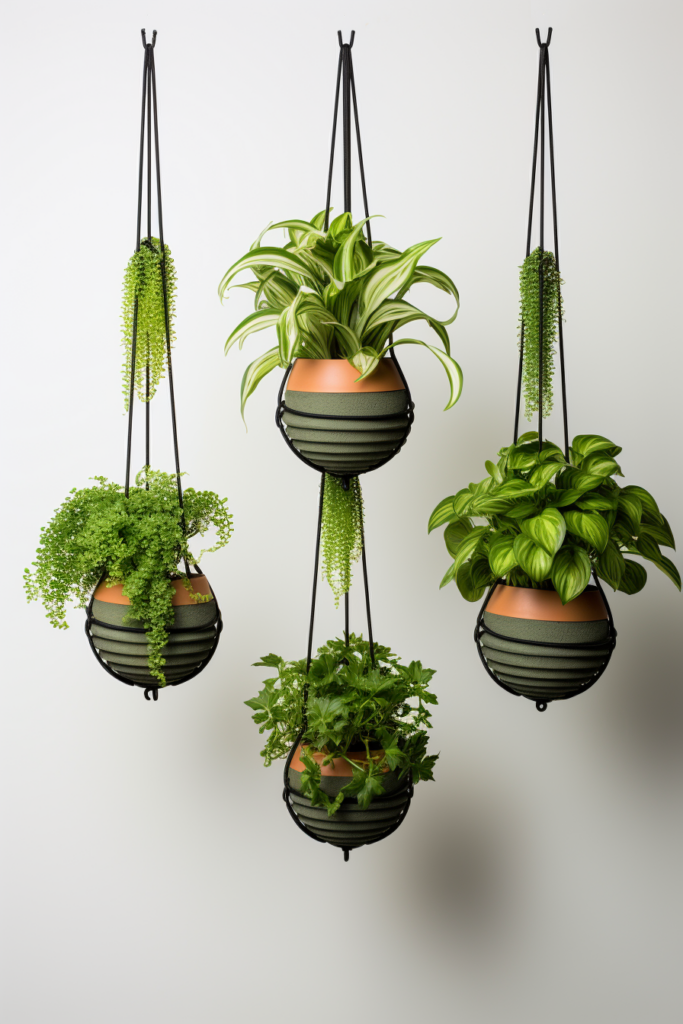
- Group smaller plants clustered together
- Ensure ability to water/prune/tend plants
Allow for Empty Space Above Ceiling Hooks

Here are key tips for mapping ceiling hook placement:
- Mark current plant height + extra for growth
- Consider grouping multiple smaller plants
- Confirm accessibility for watering or pruning
- Adjust locations accordingly before installing
Distributing Weight Evenly Across Multiple Anchors
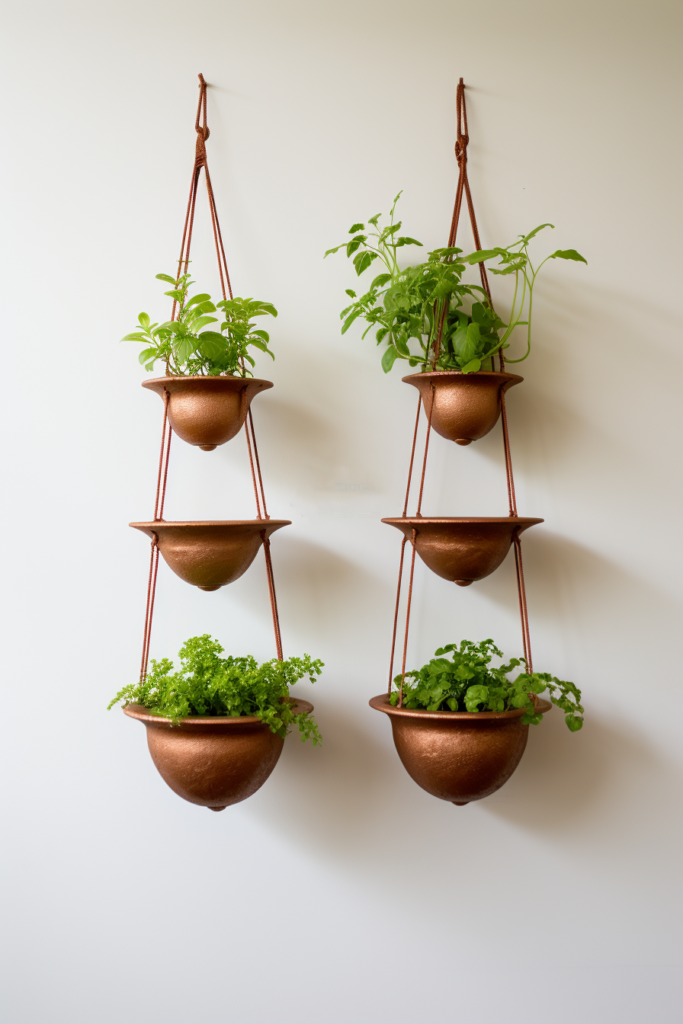
Larger or heavier hanging plants will require spreading the ceiling mounting forces across several anchors. This prevents overloading or loosening of any single screw or bolt. Utilize symmetrical alignments and allow some slack for the hanging apparatus to stabilize.

Key Ideas:
- Heavier loads warrant 2-4 anchors
- Space additional anchors evenly
- Leave some slack/swing room on hangers
Adding Supplemental Anchors for Heavy Loads
Securely mounting larger hanging plants utilizes:
- Mark ceiling for evenly-spaced additional hooks
- Use level lines to align the layout
- Install supplemental anchors properly
- Attach hangers without over-tensioning
- Test stability before the mounting plant
Ongoing Inspection and Maintenance Best Practices
While initially installing ceiling hooks for plants properly is crucial, routinely checking your mounting hardware is equally important. Loosening over time can occur due to anchor failure, age, accidents, or excessive weight. Periodically inspect installations.


Key Ideas:
- Visually check ceiling brackets every 2-3 months
- Confirm hooks are straight and secure
- Tighten any loosened screw anchors
- Replace damaged or faulty hardware
Regularly Monitor Ceiling Mount Condition
Follow these guidelines for keeping ceiling hooks and plants safely secured:

- Visually inspect hooks/anchors every few months
- Tighten any loose ceiling brackets or fasteners
- Replace any warped, broken, or faulty hardware
- Use care when working around mounted plants
Conclusion
Installing ceiling hooks for securely mounting hanging plants requires proper planning and technique. However, once appropriate ceiling fasteners are properly installed, they allow beautiful displays without sacrificing floor space. Just be sure to inspect anchorage points regularly. And reach out to a professional if uncertain about undertaking any complex mounting scenarios.
Follow Quiet Minimal on Pinterest for more home design tips and inspiration.