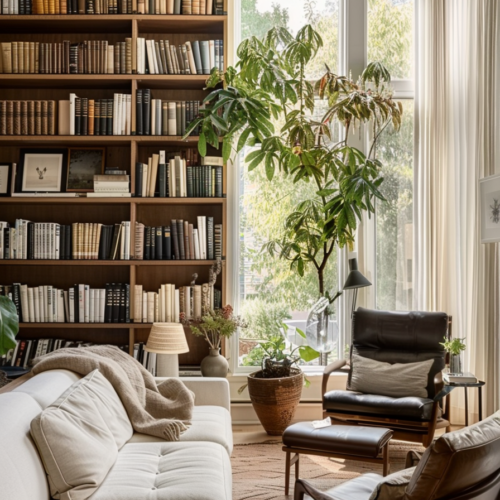
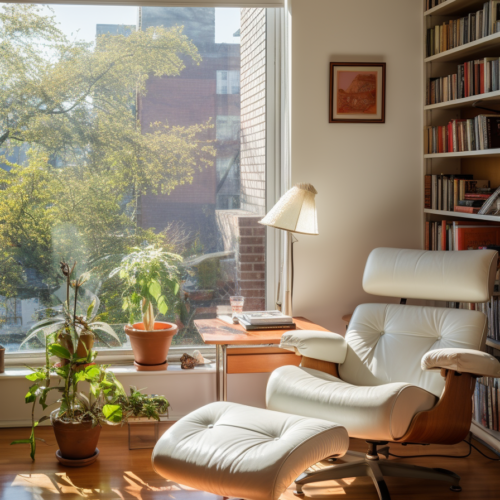
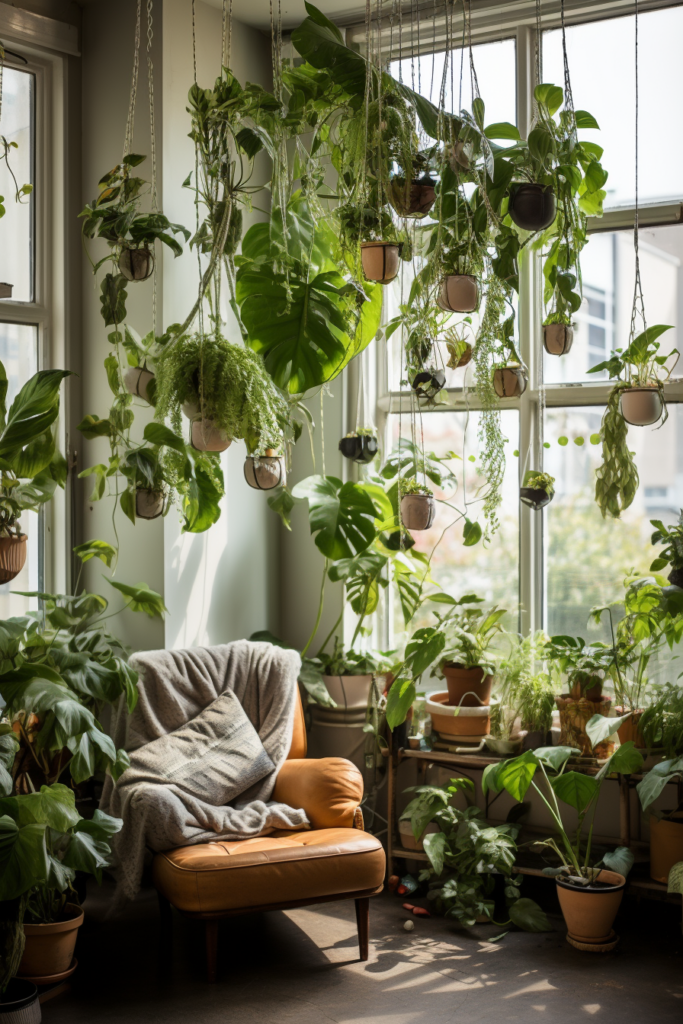
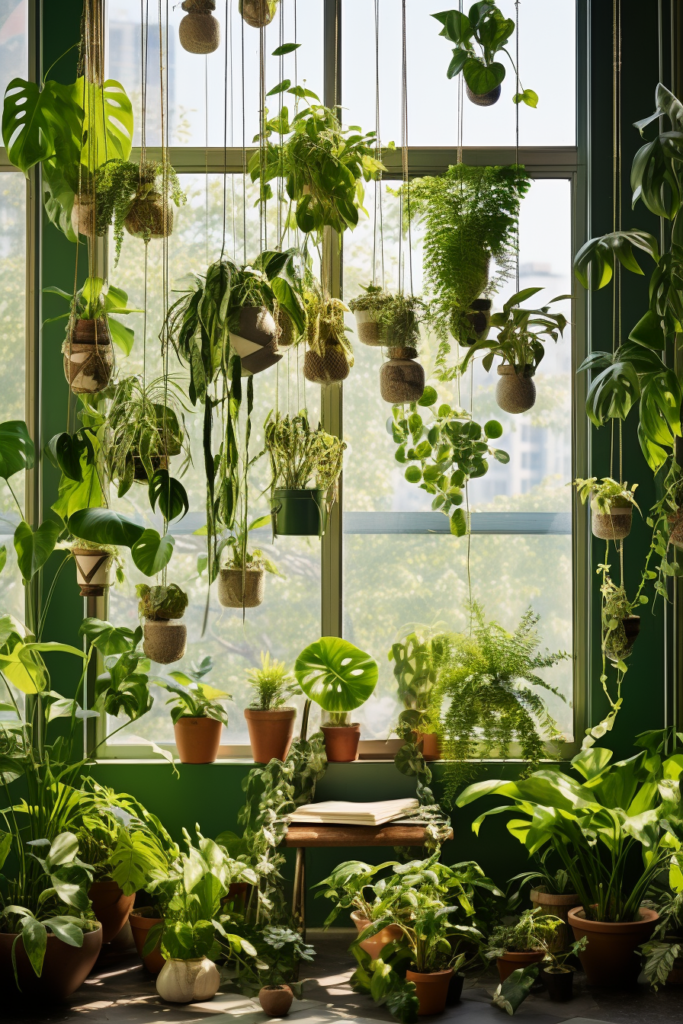
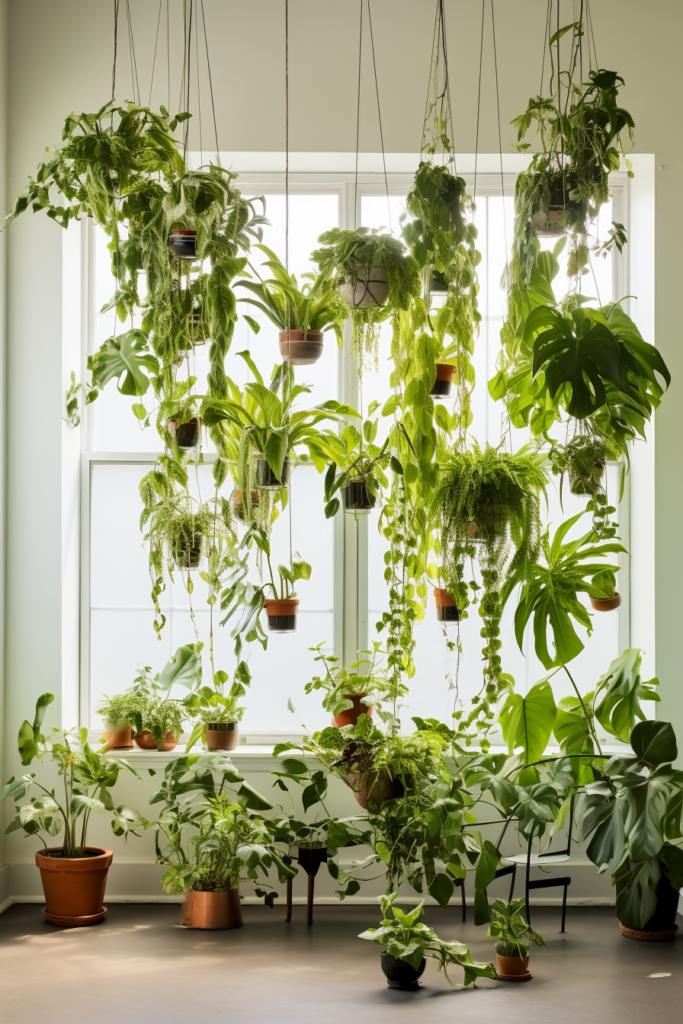
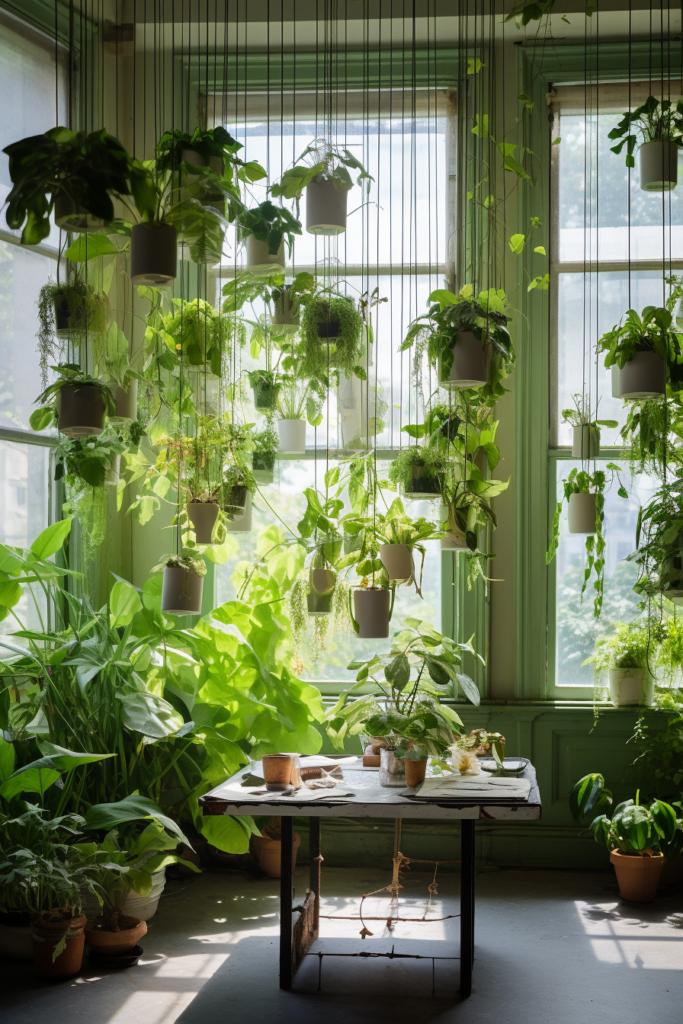
Bringing nature indoors with plants is an excellent way to add life and beauty to any space. Hanging gardens, in particular, allow you to utilize vertical real estate and create stunning multi-dimensional displays. When designing a hanging garden, thoughtful layering and strategic grouping of plants are key for visual impact.
Follow this step-by-step guide to important considerations and techniques for successfully installing and styling your own fabulous hanging garden.
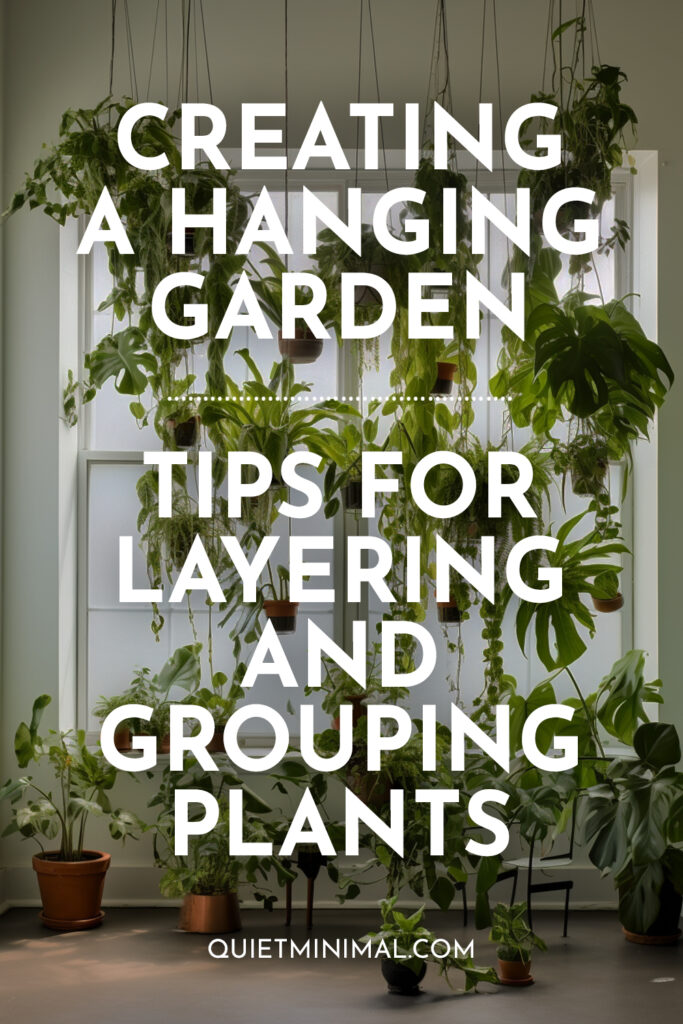
Selecting Plants
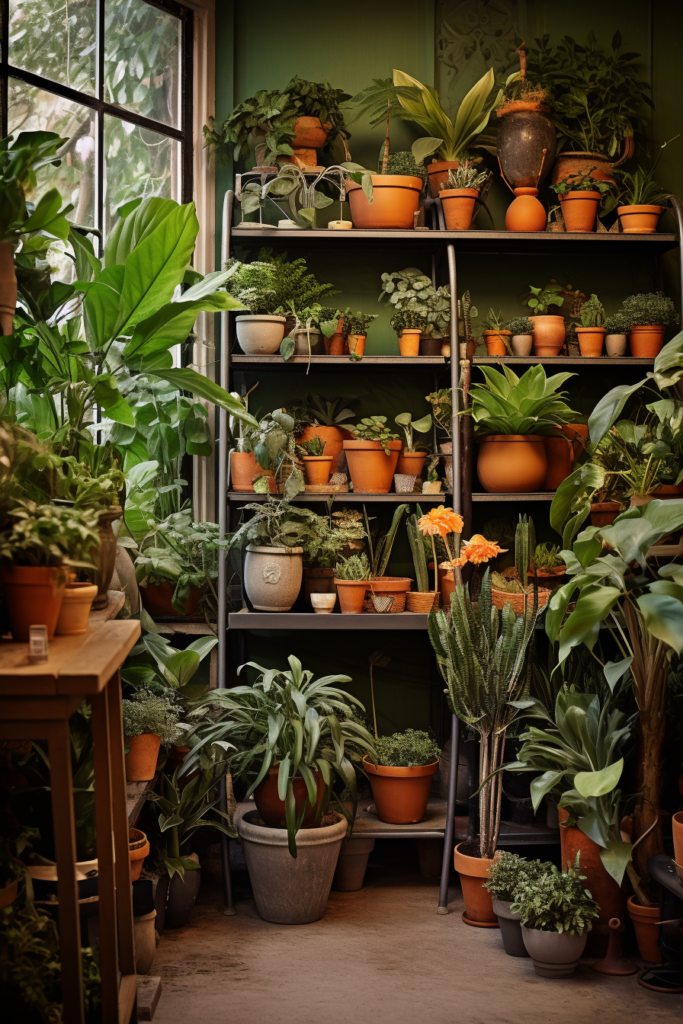
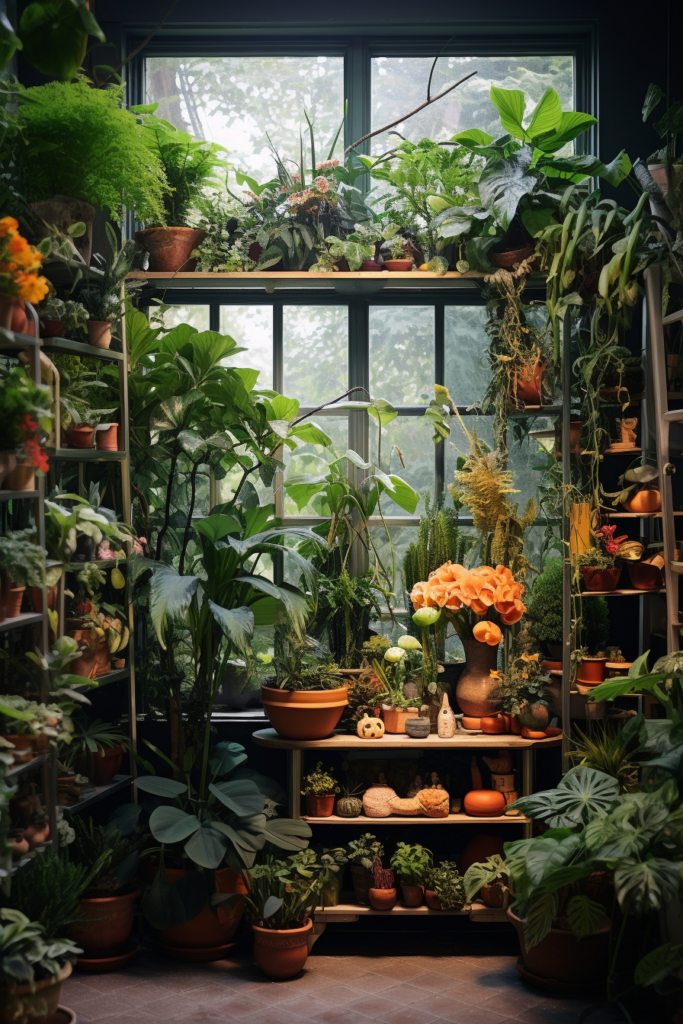
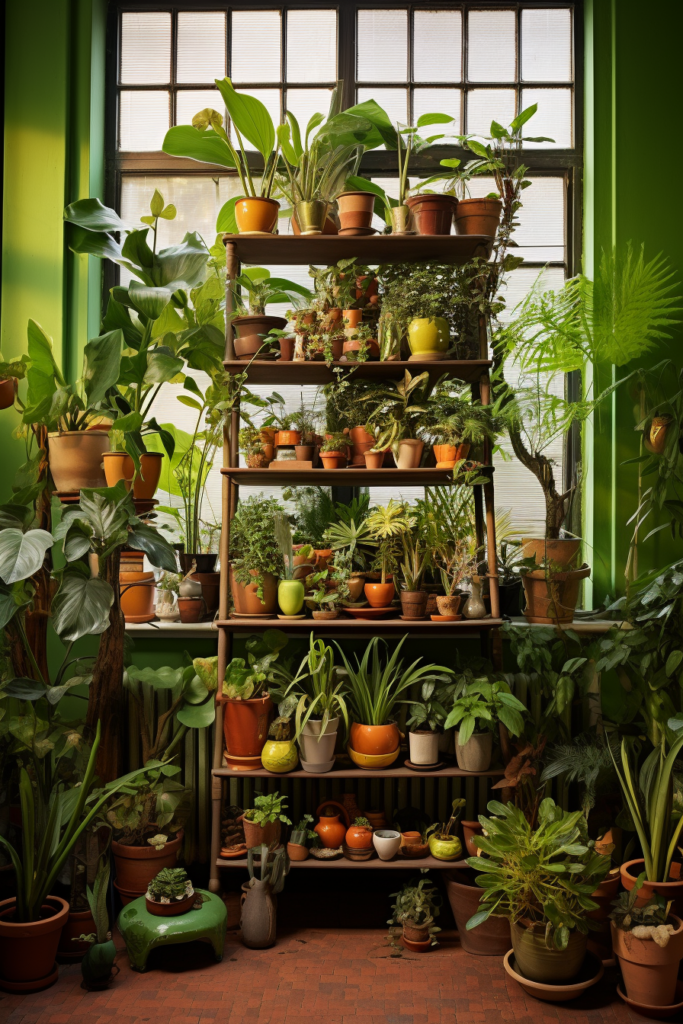
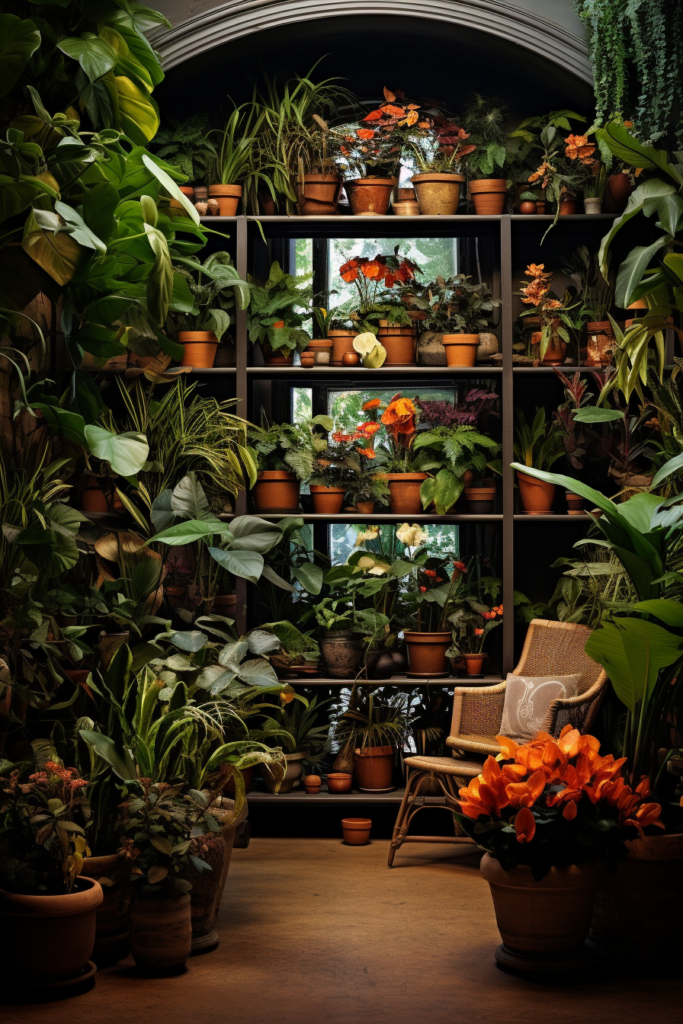
When choosing plants, consider factors like sunlight levels in the space, airflow, humidity preferences, and watering needs. A mix of foliage shapes, textures, and colors will contribute to an appealing composition. Trailing, vining, and cascading plants that naturally grow vertically work especially well.
Key Ideas:
- Evaluate sunlight, airflow, humidity, and watering needs
- Choose a diverse mix of plant varieties and characteristics
- Look for trailing, vining, and cascading plants
Preparing the Set-Up
Set up the physical structure to support your hanging garden first. Secure hooks in the walls or ceiling to hang planters at varying heights. For a more temporary solution, use decorative plant stands, shelves, or ladders of different heights placed together.
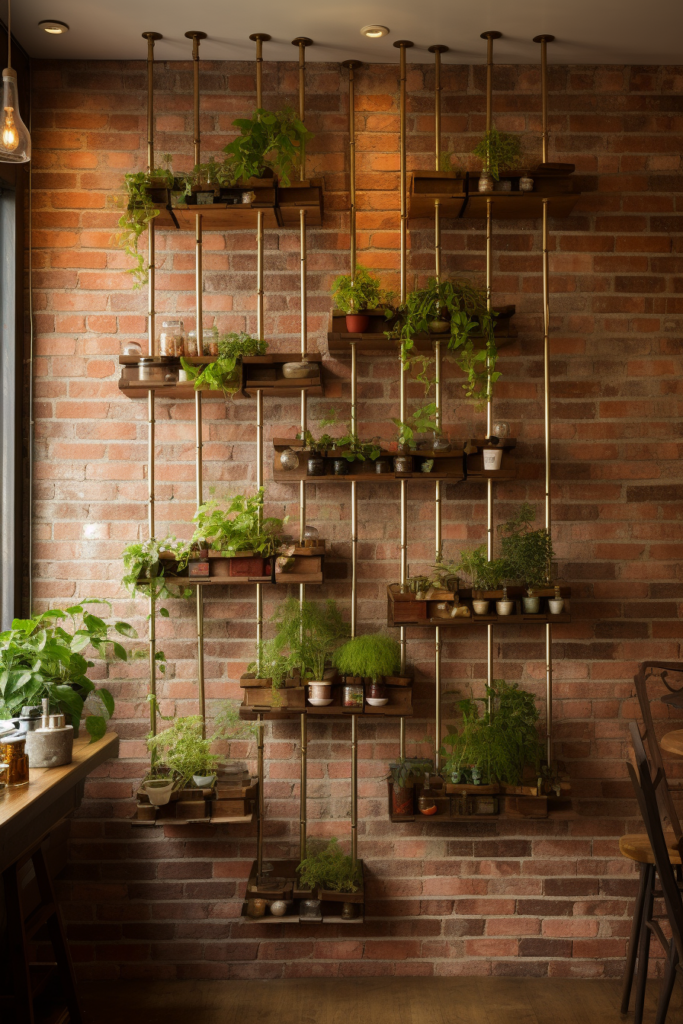
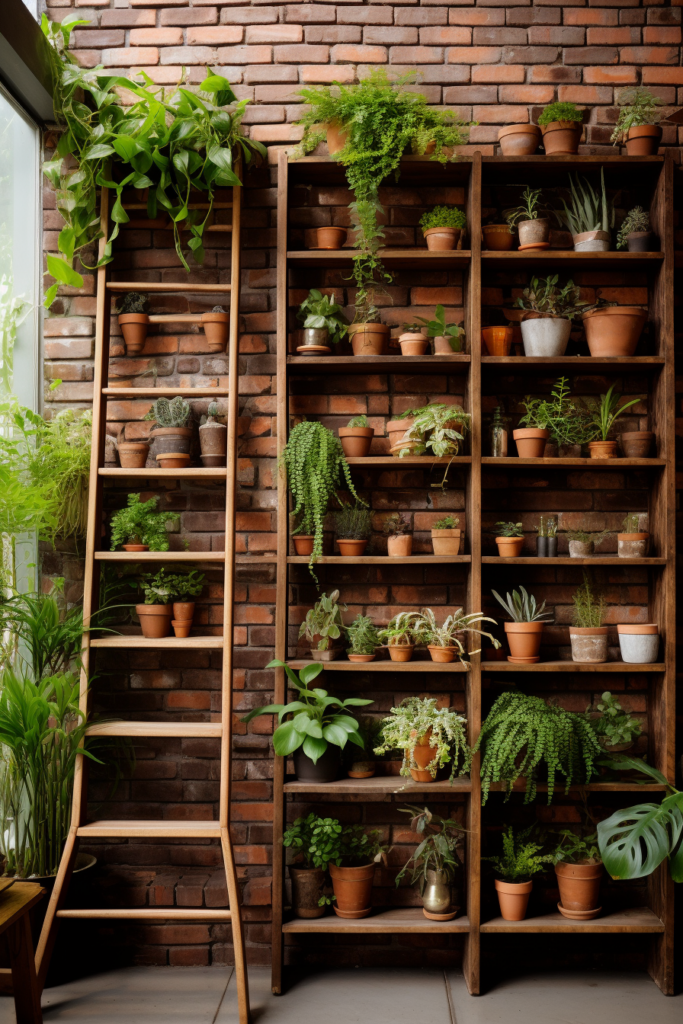
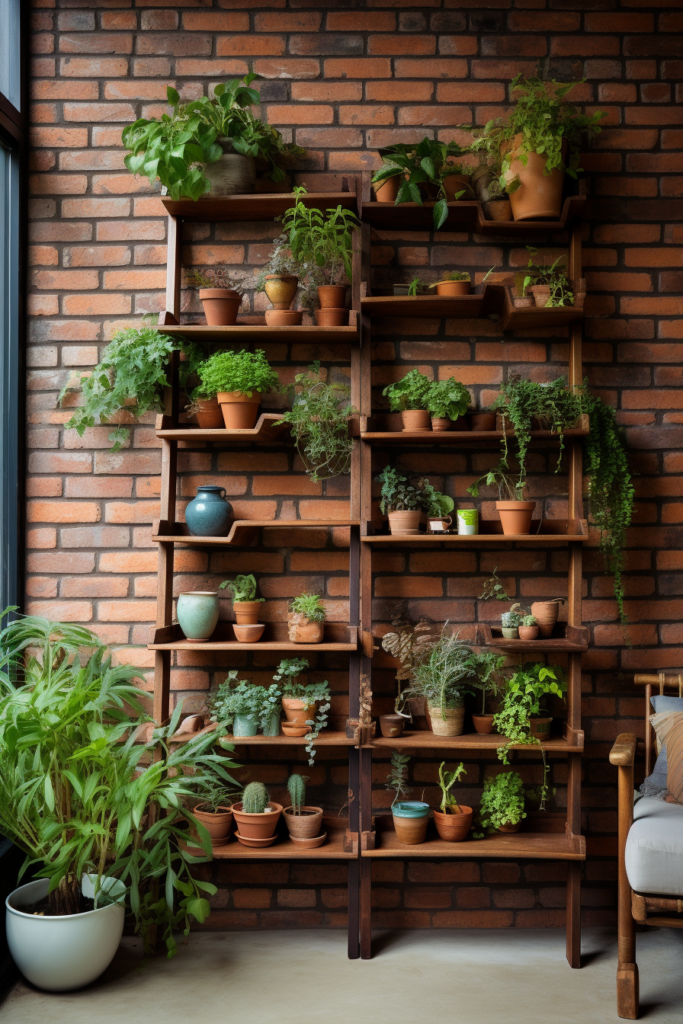
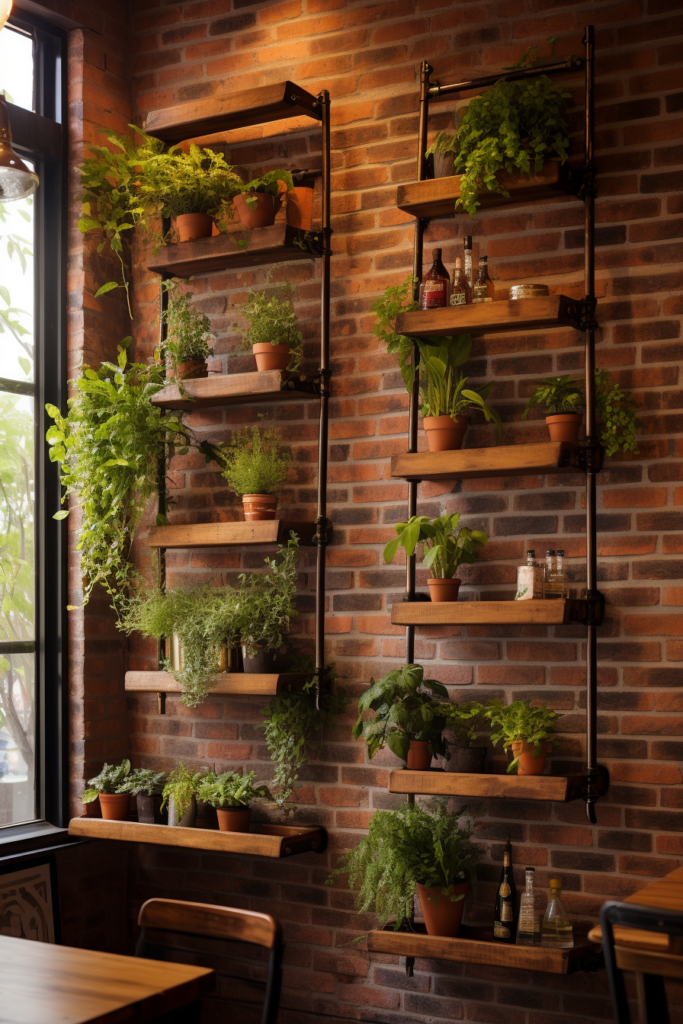
Key Ideas:
- Install secure hooks in walls/ceiling for hanging planters
- Use plant stands, shelves, and ladders to create height levels
- Build a structure to support the weight of plants, soil, and water
Arranging Empty Planters
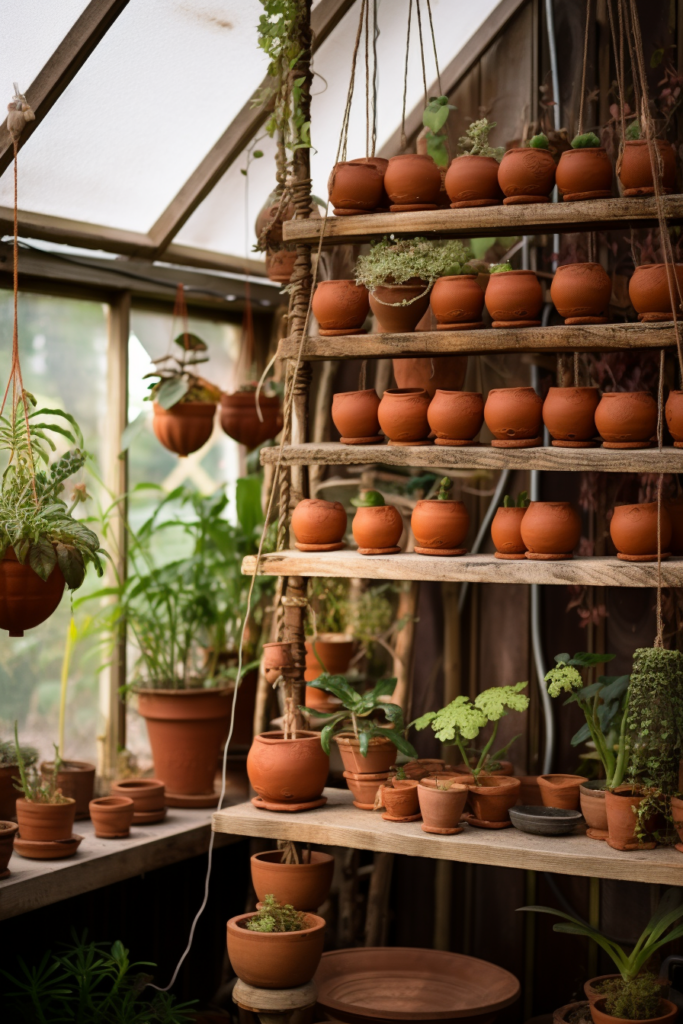
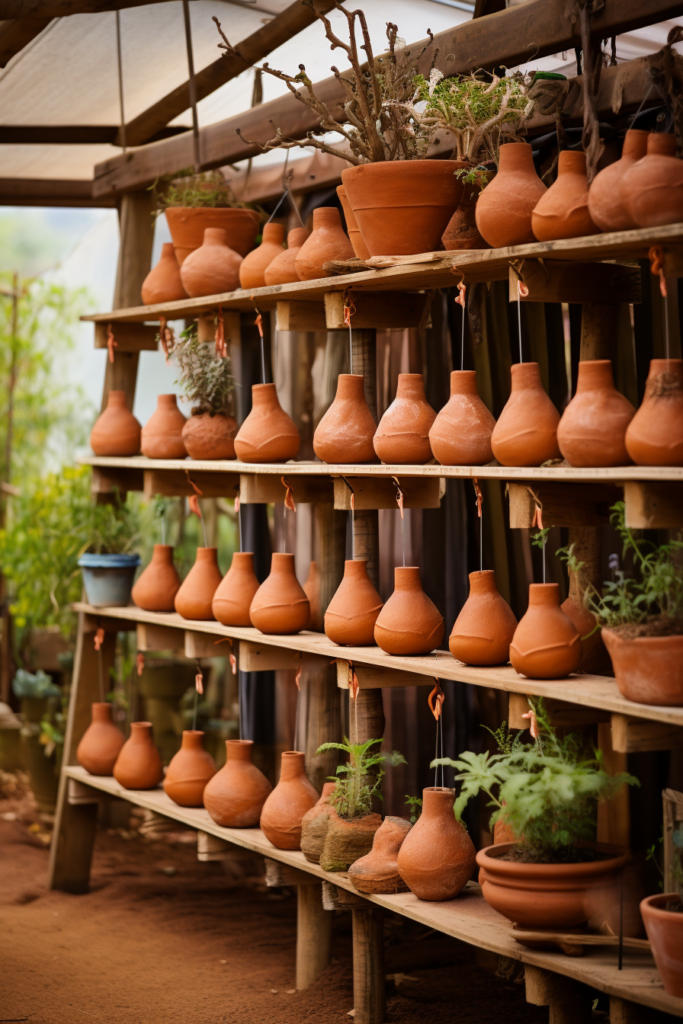
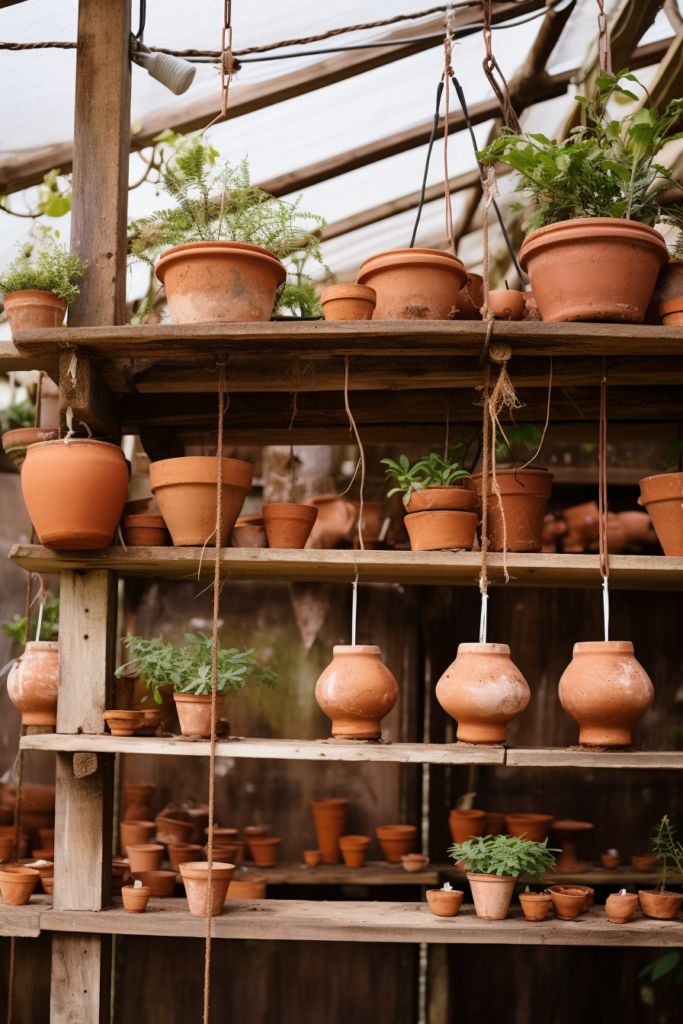
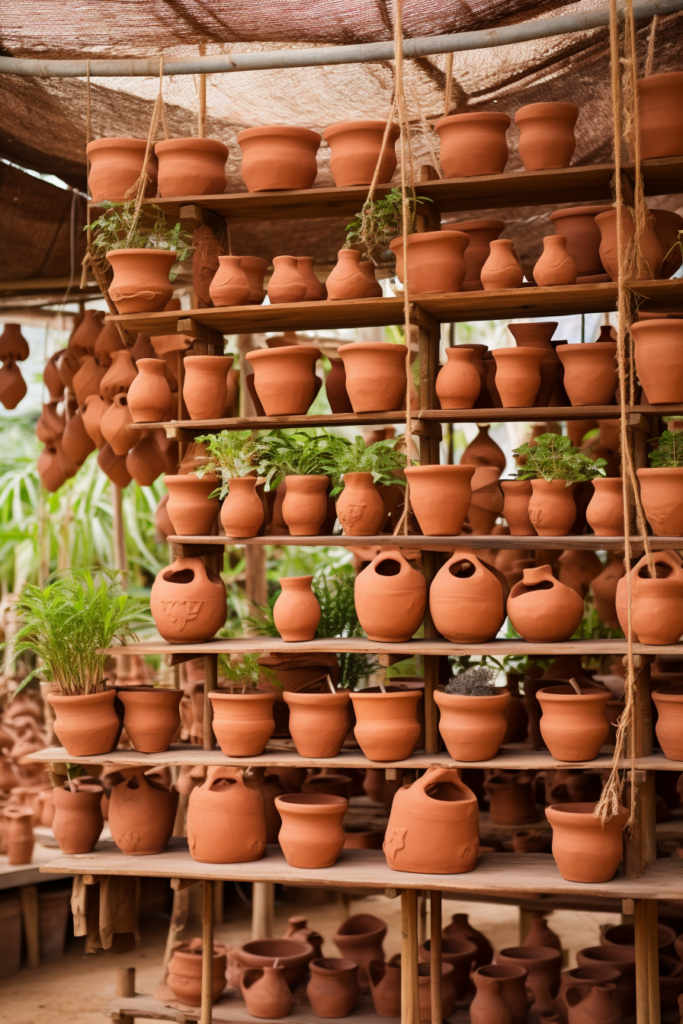
Before planting, arrange your empty pots and planters to map out the design. Place larger, heavier planters at the bottom and smaller containers higher up. The tallest trailing plants will go at the top to cascade downwards. Step back and visualize how the plants will fill out the vertical space. Adjust placements as needed.
Key Ideas:
- Map out the design with empty pots and planters
- Place larger, heavier pots at the bottom; smaller ones higher up
- Position for tall trailing plants at the top to cascade down
- Step back, visualize, and adjust the arrangement
Planting from Low to High
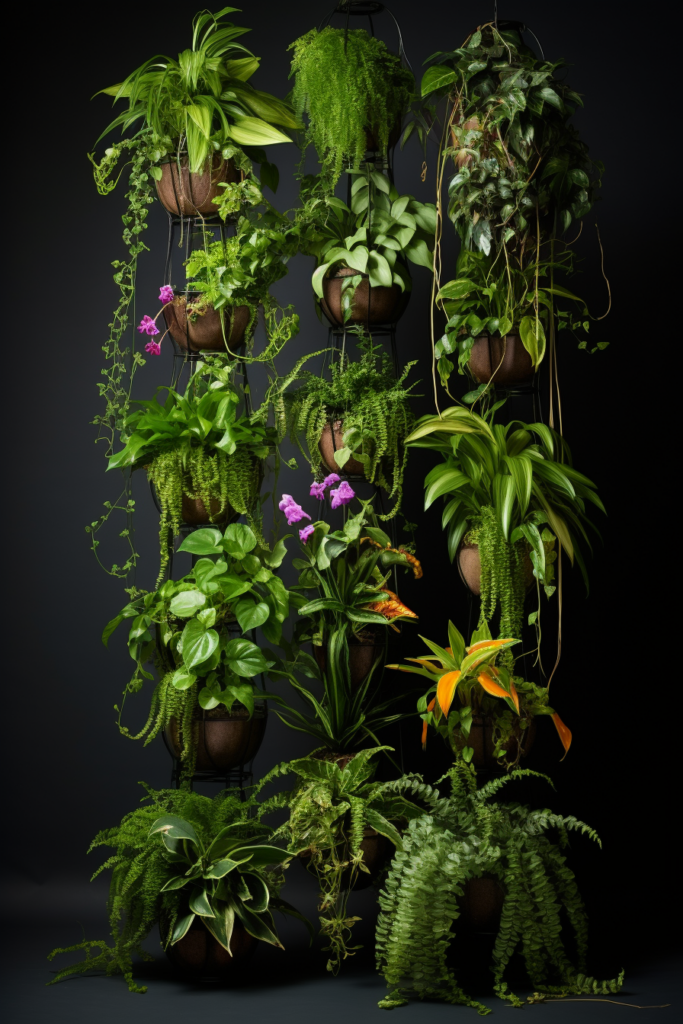
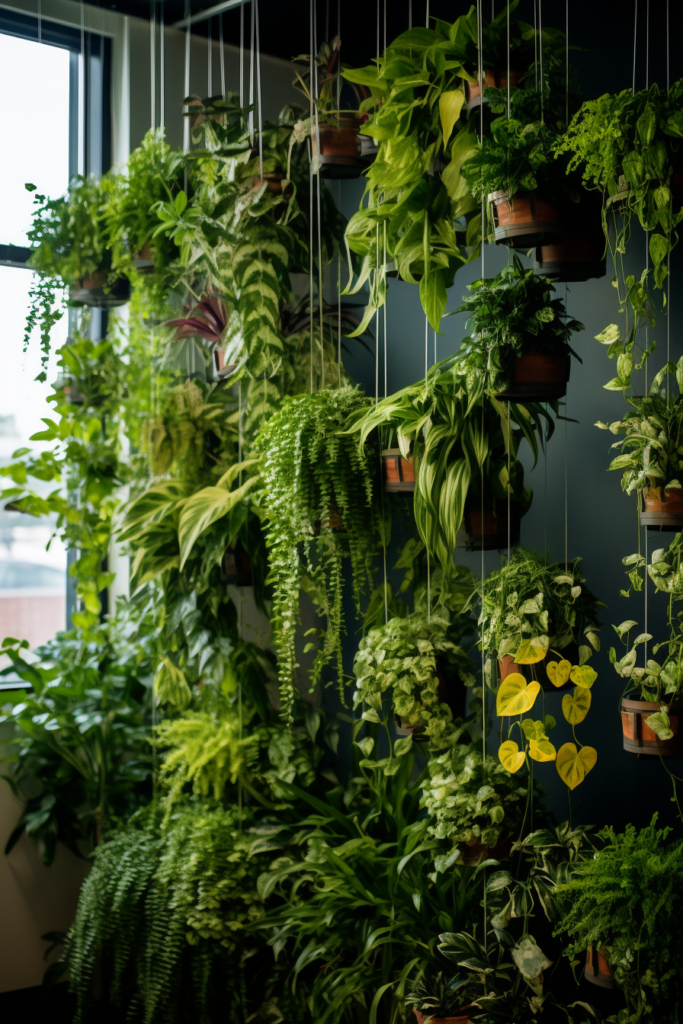
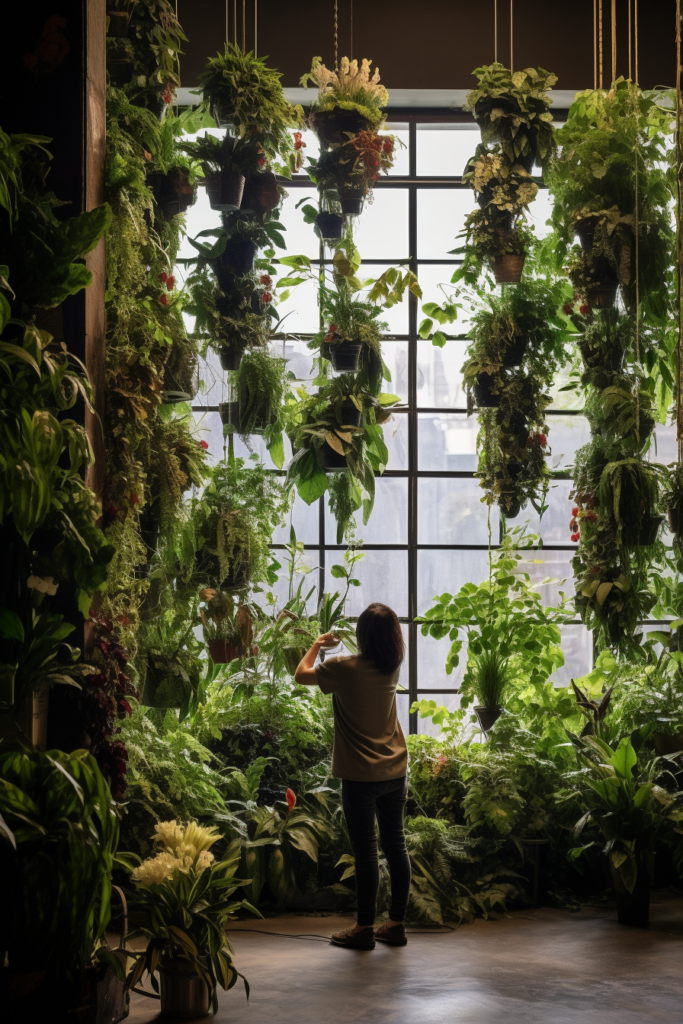
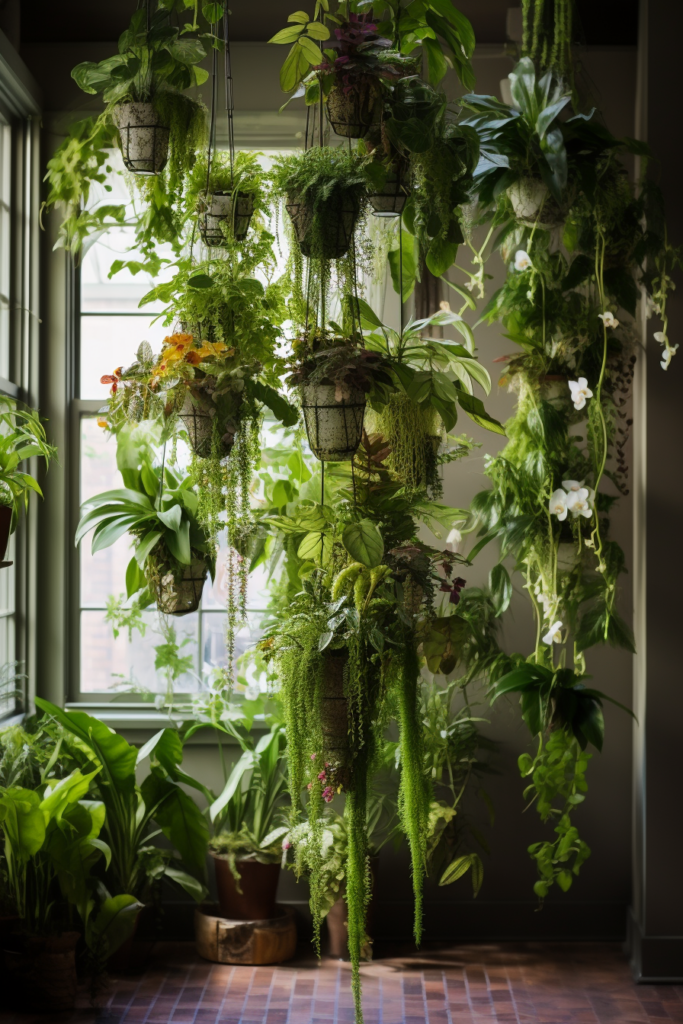
When planting, start by filling and arranging the lowest planters first before installing higher-hanging pots. Begin with a visually impactful showstopper plant in a main centerpiece planter. Surrounding with complementary plants – varied leaf shapes and contrasting foliage colors work nicely for added interest. Repeat layering higher up, working planter upwards by planter.
Key Ideas:
- Anchor with eye-catching centerpiece plant(s) at the bottom
- Surround with complementary plants for added appeal
- Repeat layering and plant placement moving upwards
- Build cohesive design from the ground upwards
Incorporating Support Elements
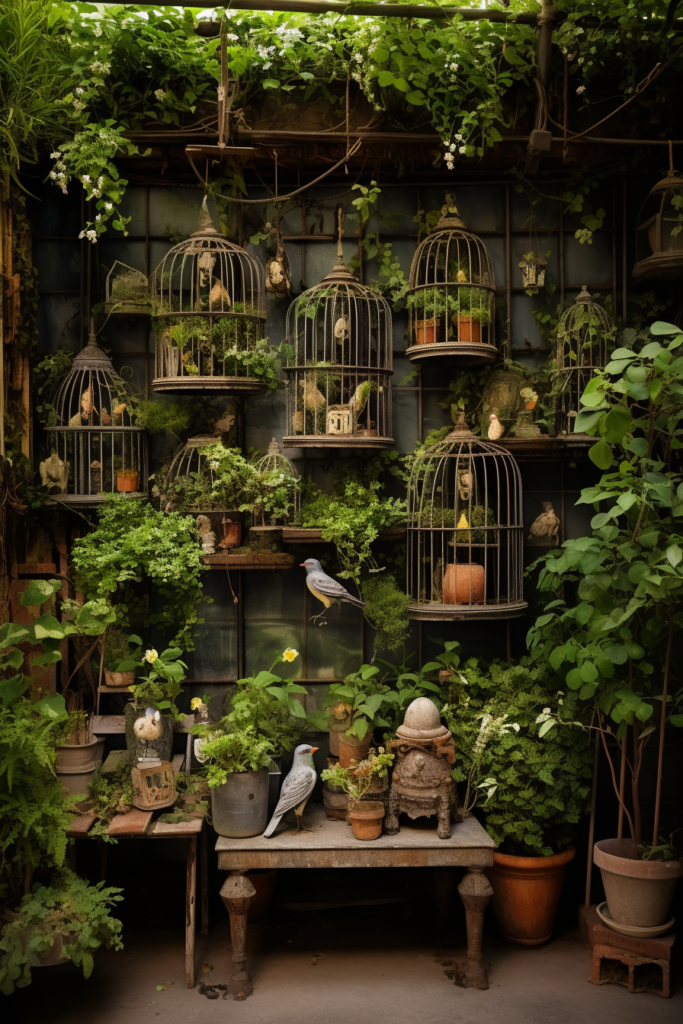
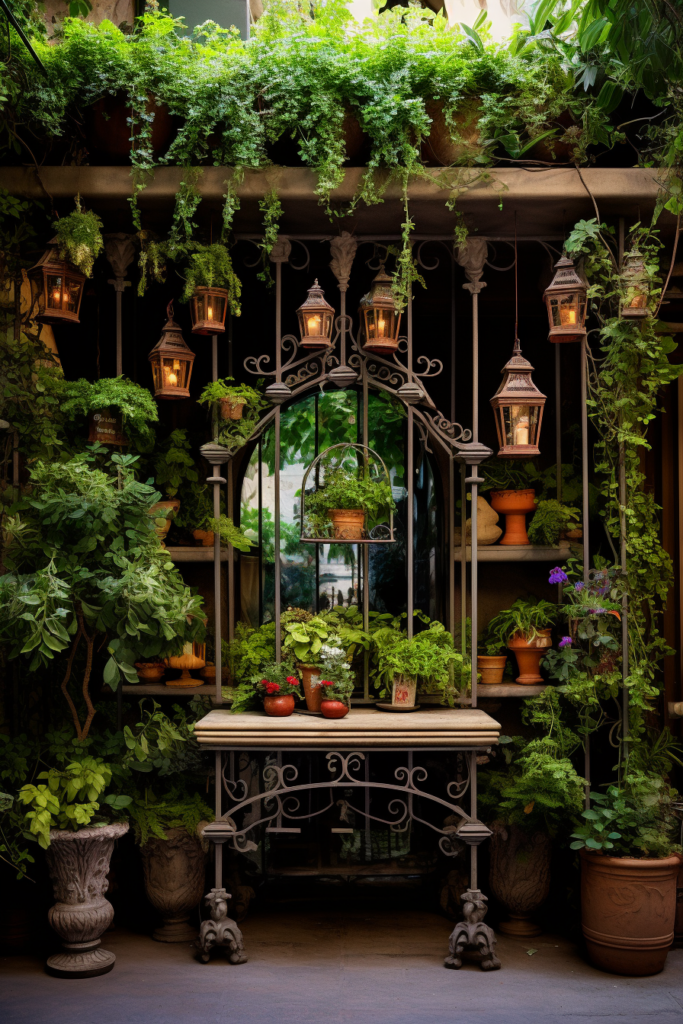
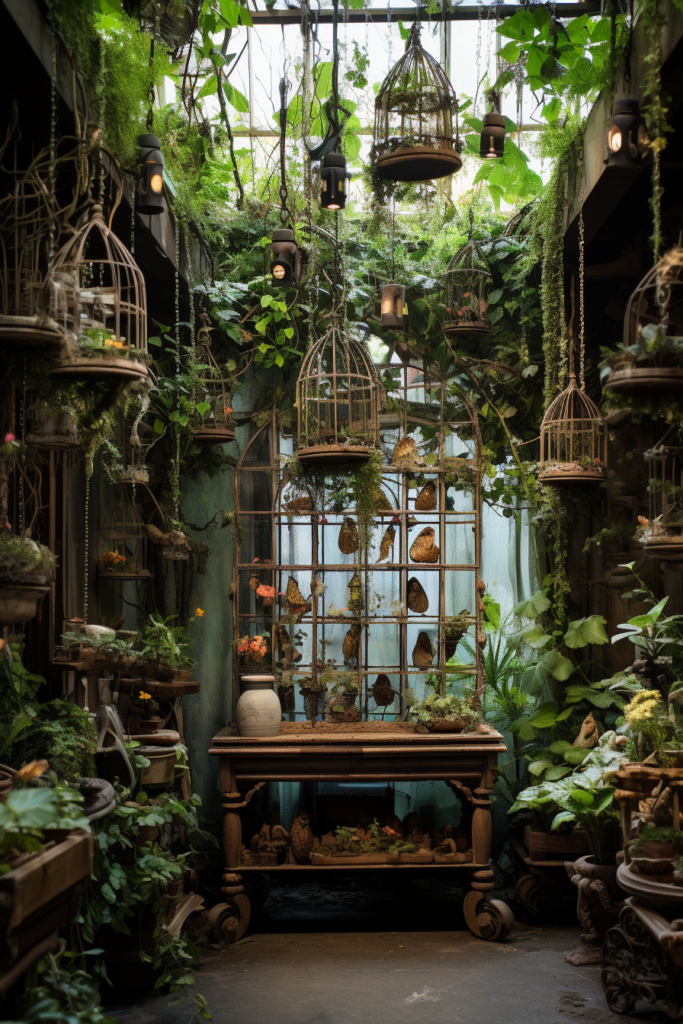
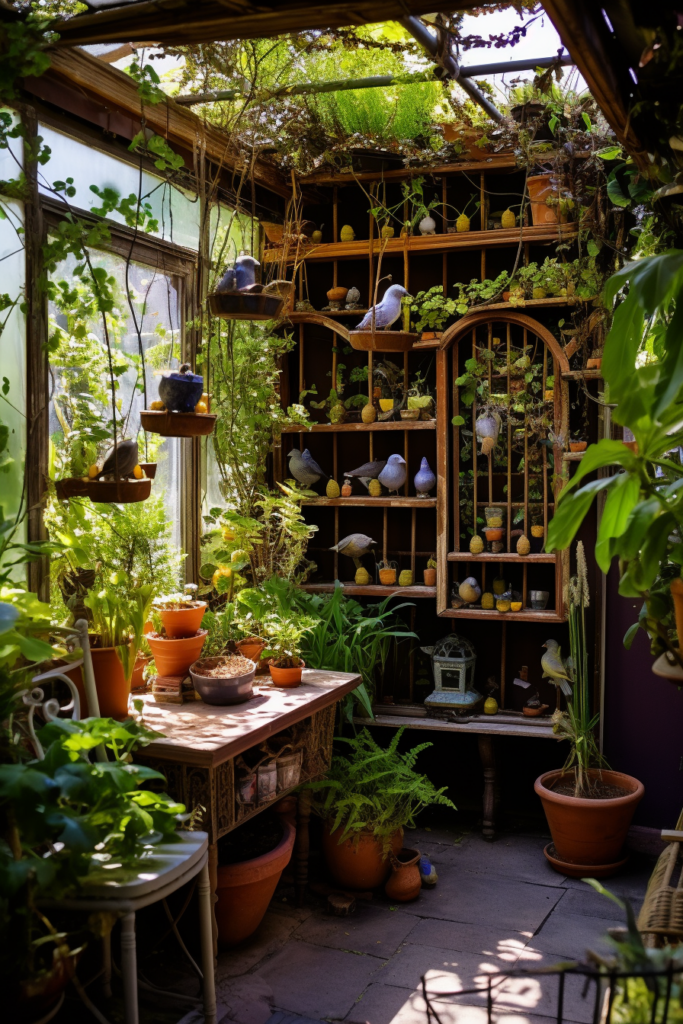
Incorporate non-plant elements for hanging structural support and as decorative accents. Attractive trellises and obelisks provide climbing support and a visual framework. Twigs, branches, and dried botanicals can add textural contrast. Strategically place garden art and decor for pops of color and whimsy.
Key Ideas:
- Add trellises obelisks for climbing support
- Use branches of dried botanicals for textural contrast
- Sprinkle in garden art and decor for personality
Maintaining Balance
Assess the overall look and make adjustments over time. Redistribute heavier trailing plants if planters start to tilt. Prune and train plants gently using soft ties or velcro plant tape to manipulate growth in desired display directions. Remove small sections of overgrown plants as needed to prevent one variety from dominating.
Key Ideas:
- Redistribute weight if planters start to tilt
- Prune and gently train plant growth patterns
- Remove sections of overgrown plants for balance
Amending Support Set-Up
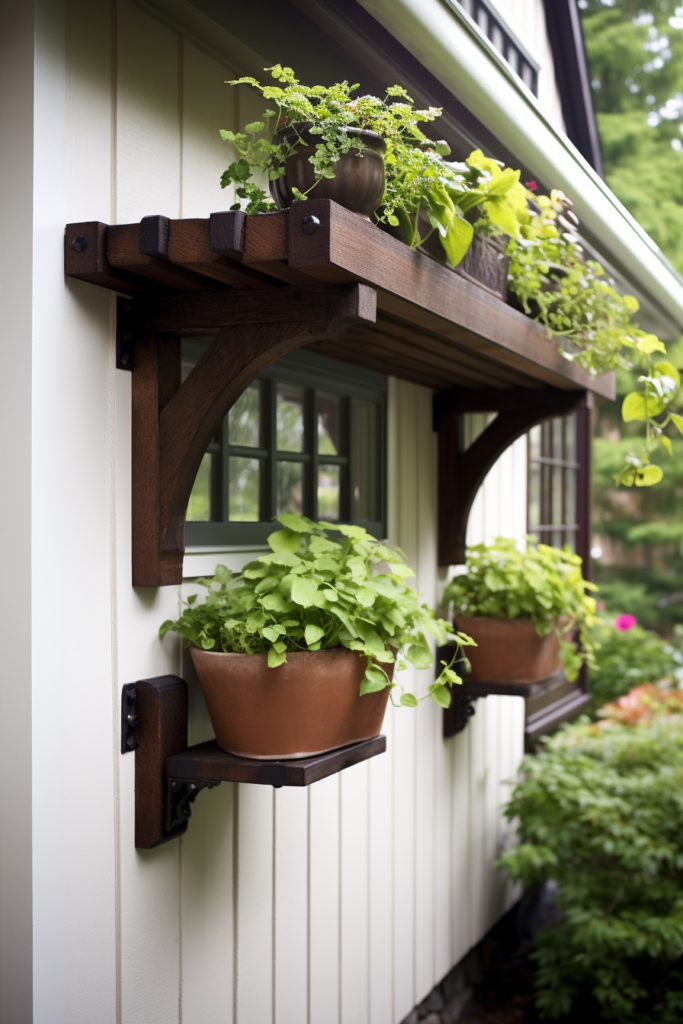
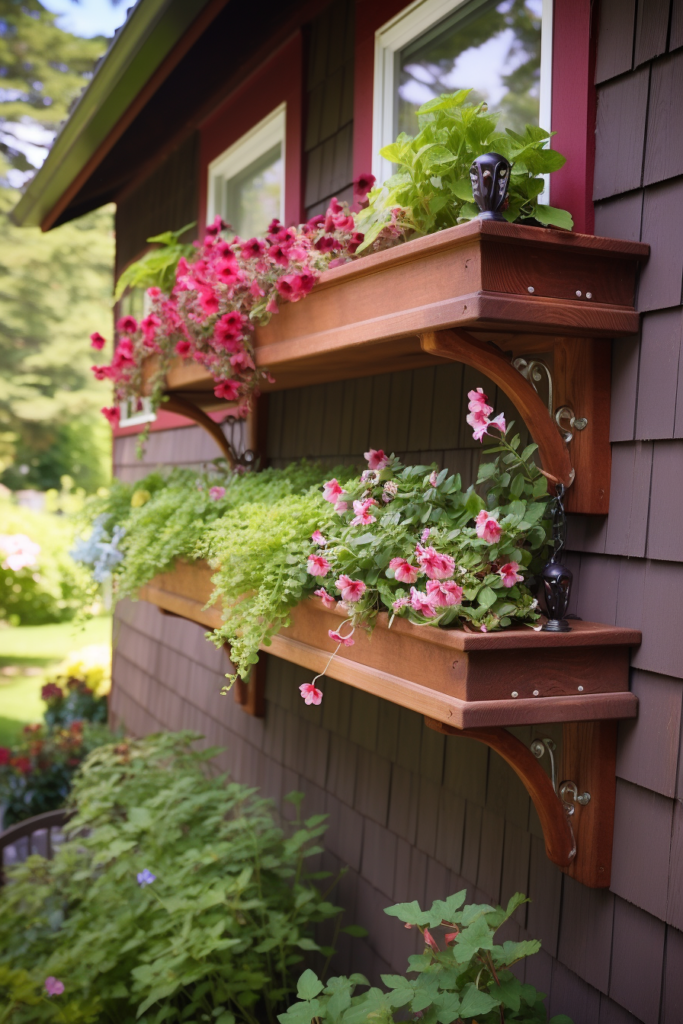
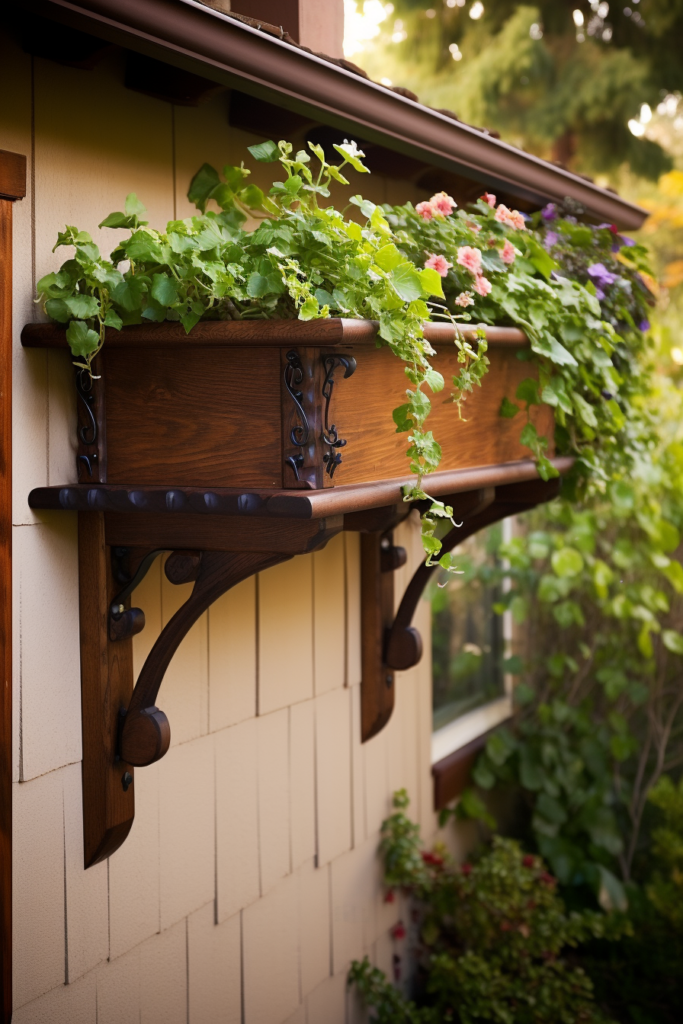
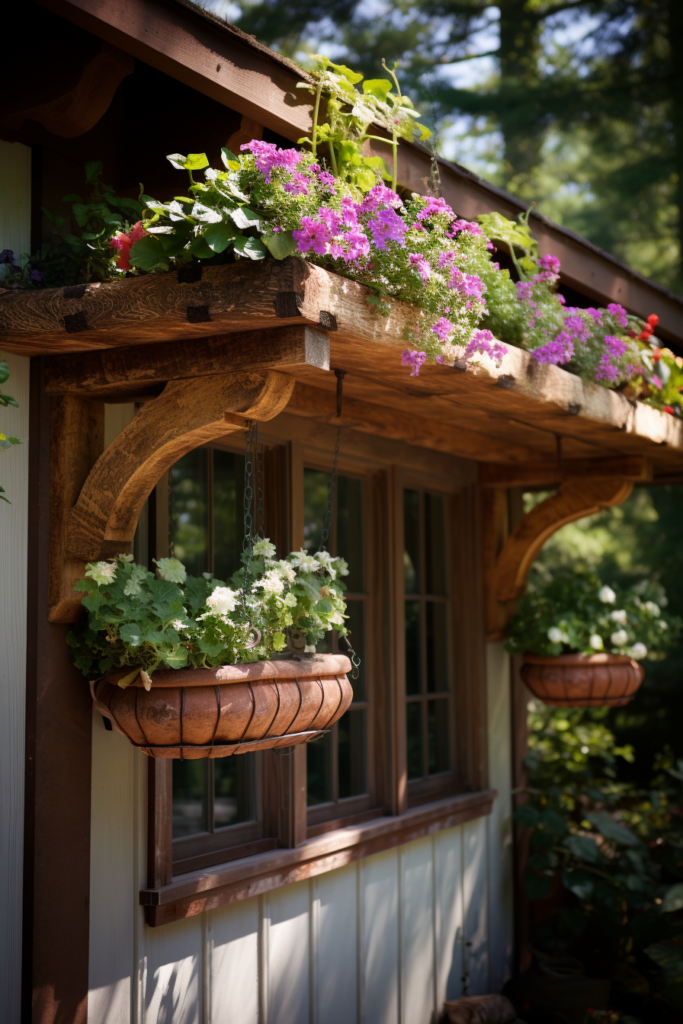
If existing support furniture starts to bow or tilt, reinforce the structures. For shelving or ladders, place custom brackets underneath for more support. Add discreet reinforcement beams or panels behind a decorative screen. For ceiling hooks, install additional hooks to distribute the load more evenly across multiple anchor points.
Key Ideas:
- Add custom brackets to reinforce sagging shelves/ladders
- Discreetly install reinforcement panels/beams
- Redistribute weight across more ceiling hooks
Rotating Seasonal Plants
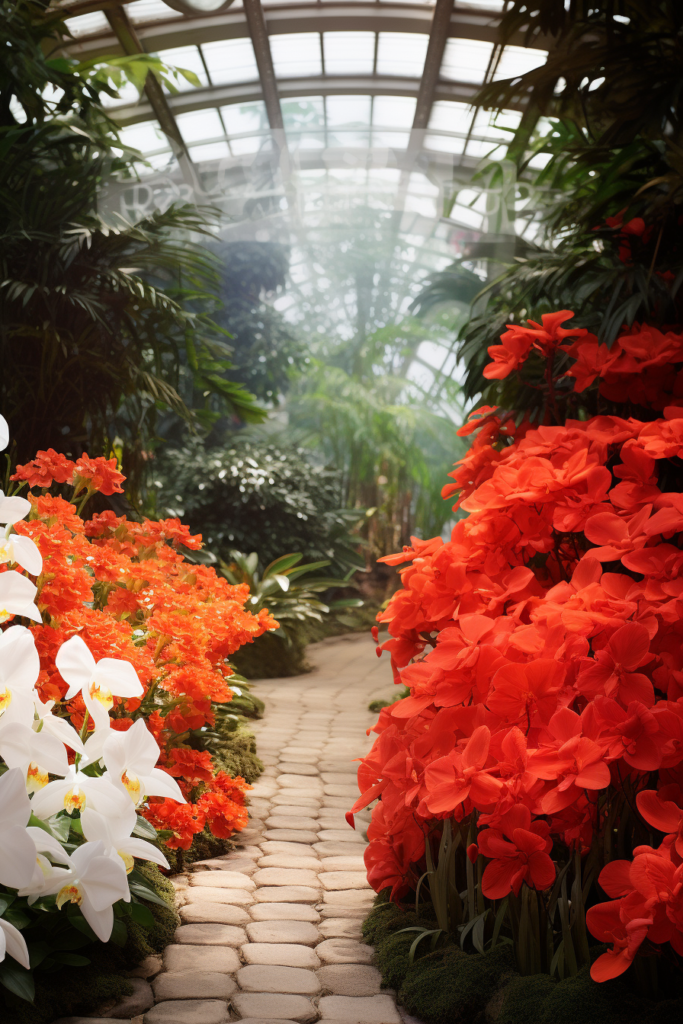
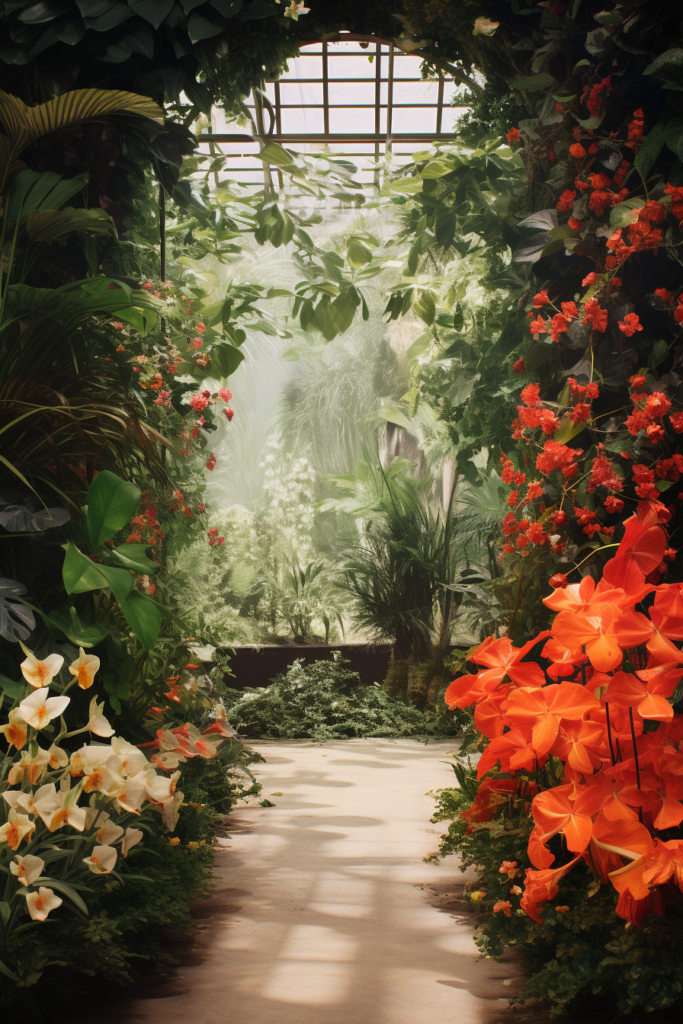
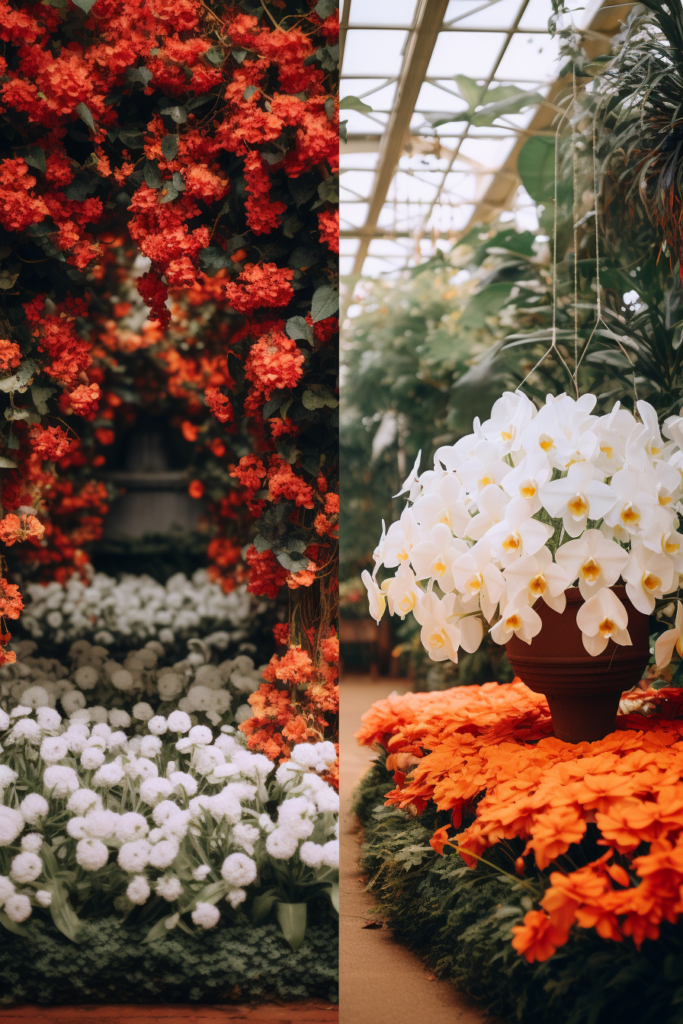
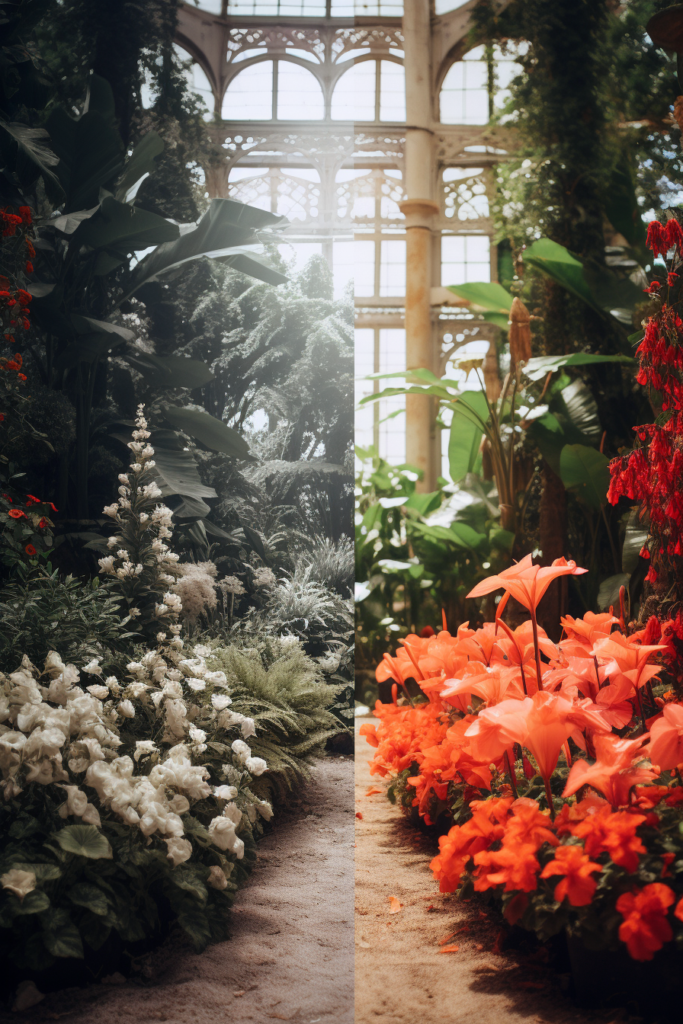
Keep your hanging garden looking fresh by swapping plants in and out seasonally. As some plants wrap up their growing season, replace them with interesting specimens suitable for the next season. Foliage plants and air plants can lend year-round interest while flowering varieties rotate. New compositions prevent the design from going stale.
Key Ideas:
- Replace concluding seasonal plants with interesting new specimens
- Keep some year-round foliage/air plants for consistency
- New combinations prevent design stagnation
Illuminating with Lighting
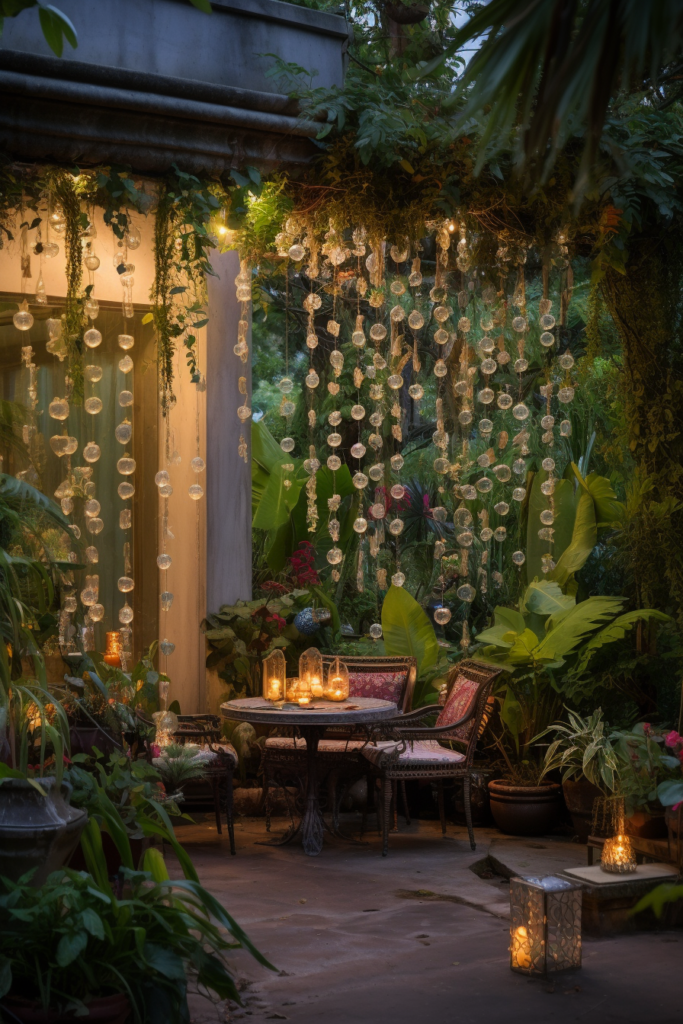
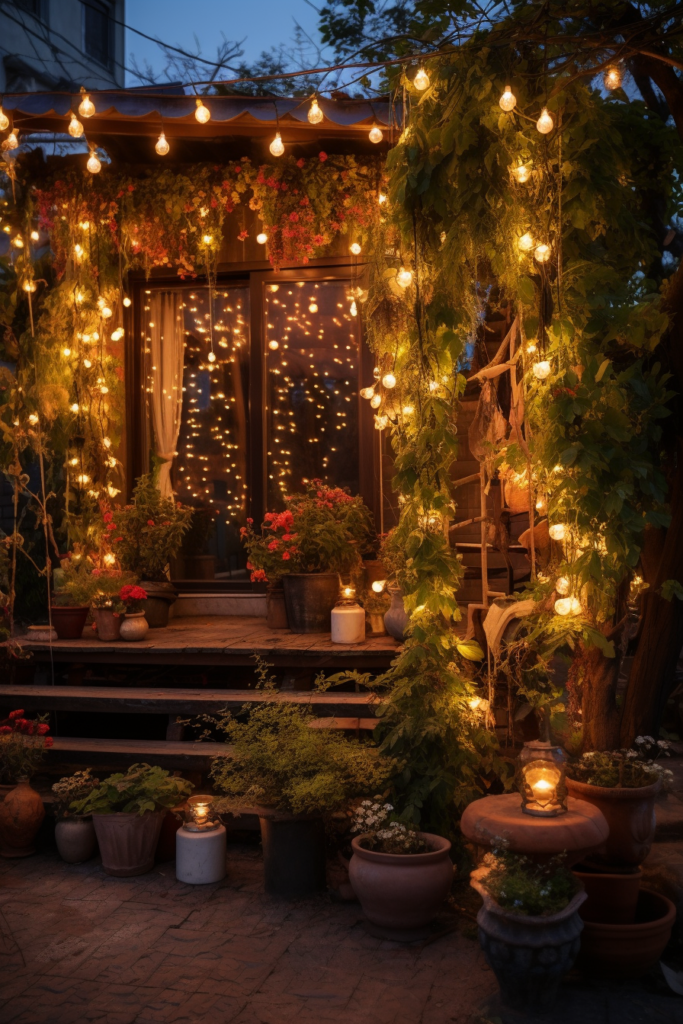
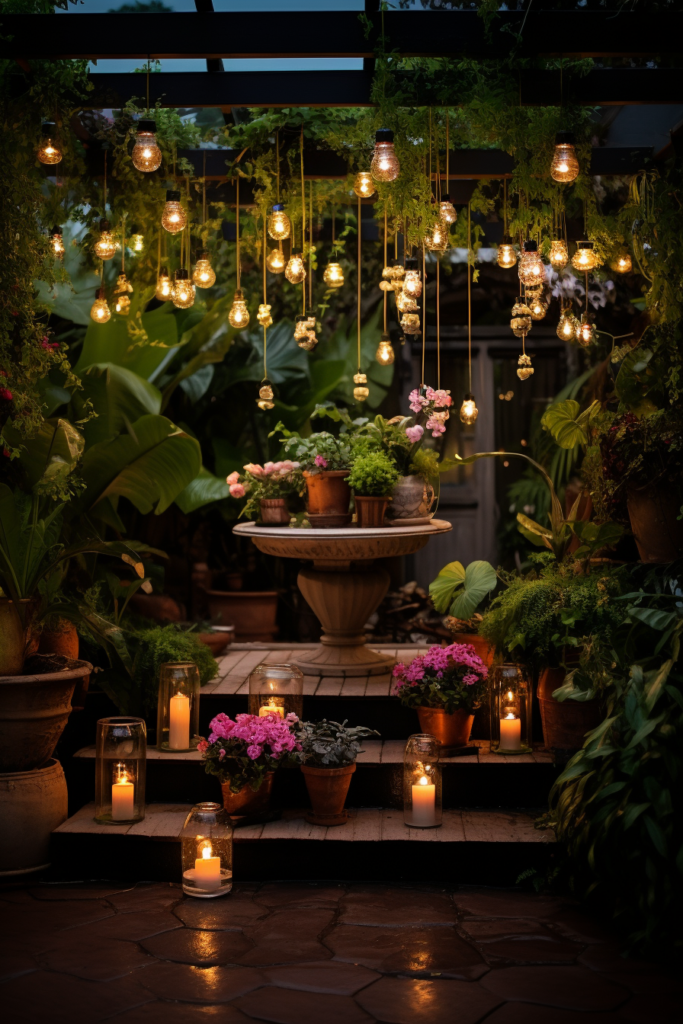
Don’t overlook the impact of lighting on the look and enjoyment of your living art installation. Use attractive grow lights to supplement natural sunlight. Spotlights, fairy lights, and lanterns add a gorgeous glow during the evenings. Uplights highlight architectural ceiling features, while downlights accentuate plants. Programmable timers automate lighting schedules.
Key Ideas:
- Incorporate grow lights to supplement natural sunlight
- Layer ambient and task lighting at various heights
- Use timers for automated lighting schedules
Conclusion
Creating a fabulous vertical garden is an immensely rewarding endeavor. By thoughtfully selecting and arranging an appealing diversity of plants in layered planters at multiple heights, you can craft a one-of-a-kind living installation that transforms any indoor space. Adjust and tweak over time as plants grow in. Most importantly, enjoy the verdant tranquility and beauty your living wall brings.
Follow Quiet Minimal on Pinterest for more home design tips and inspiration.
